Undermount Bathroom Sink Installation
Are you tired of the traditional over-the-counter bathroom sinks and looking for a more modern and sleek option? Look no further than undermount bathroom sinks. They not only provide a clean and seamless look to your bathroom, but they also offer more counter space and are easier to clean. In this article, we will discuss the top 10 steps for a successful undermount bathroom sink installation.


Undermount Bathroom Sink Installation


Undermount Sink Installation
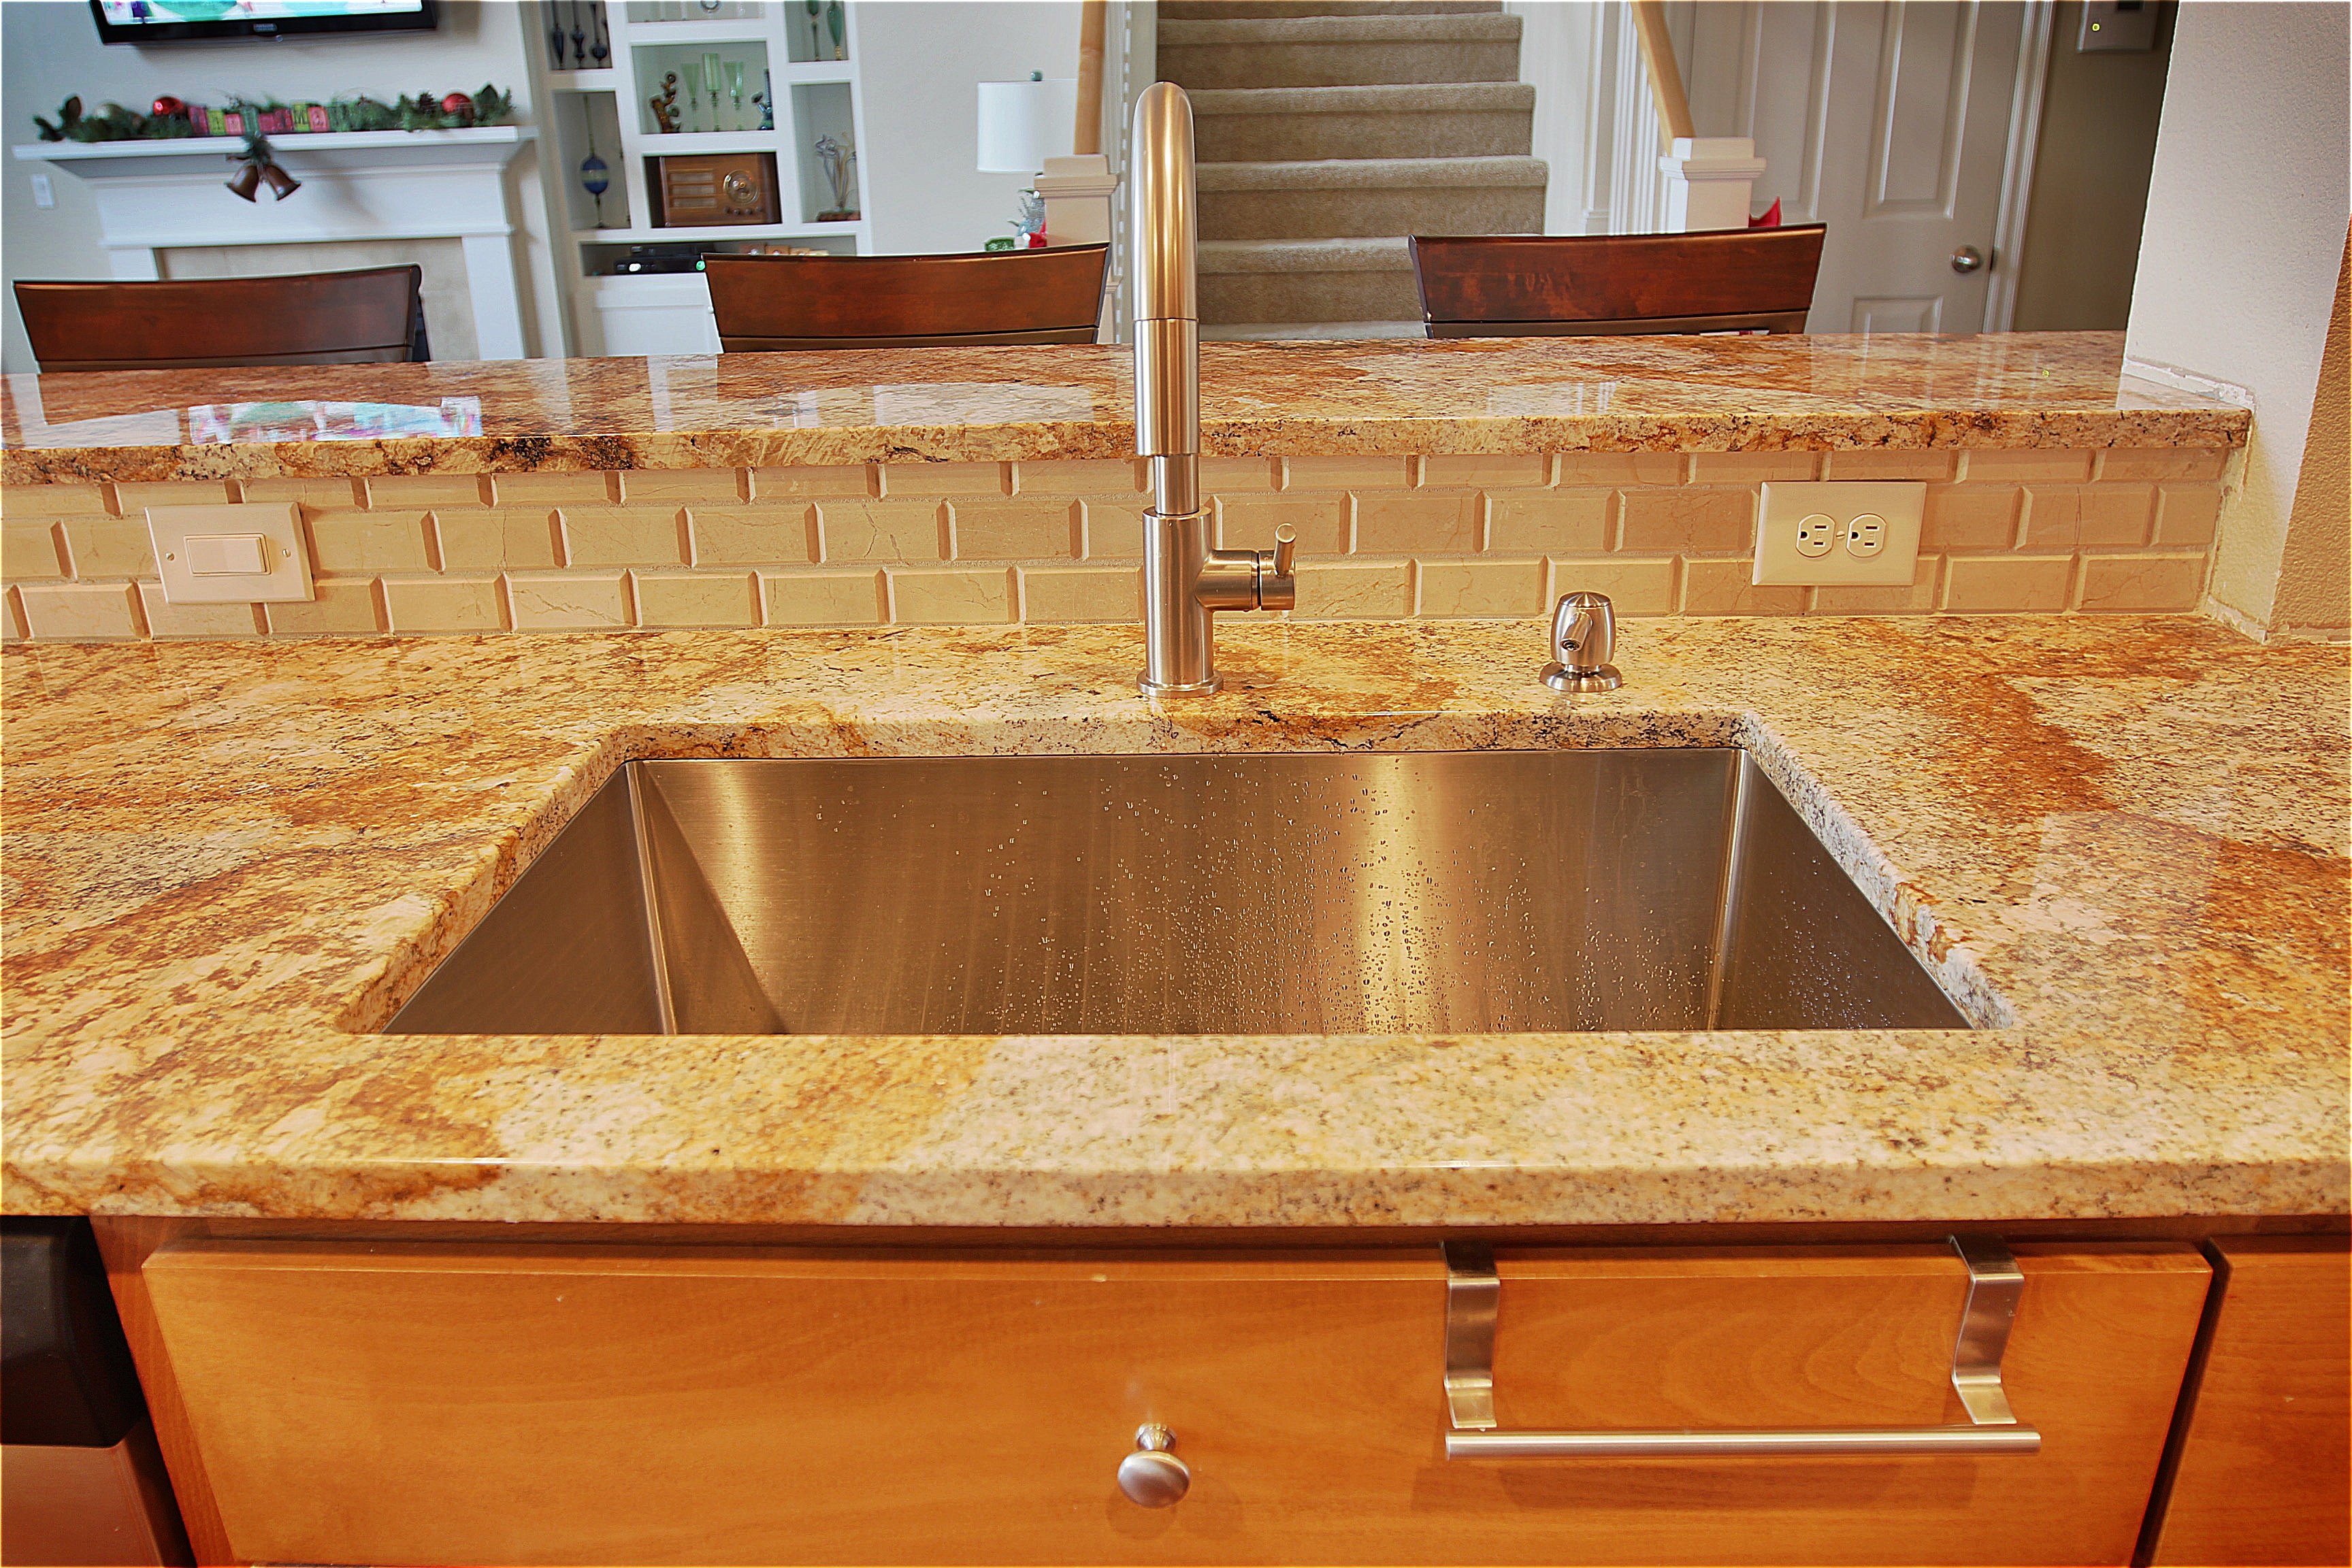
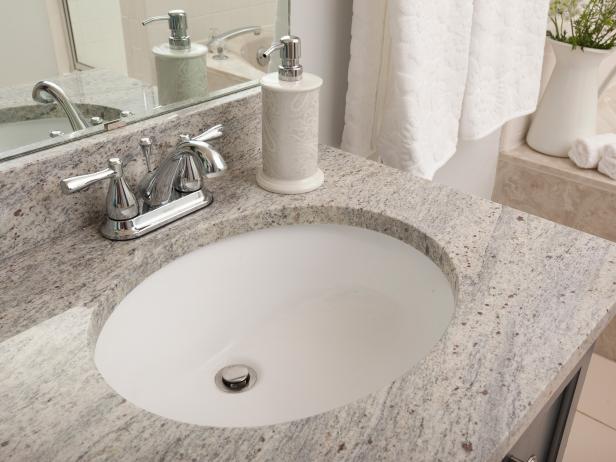
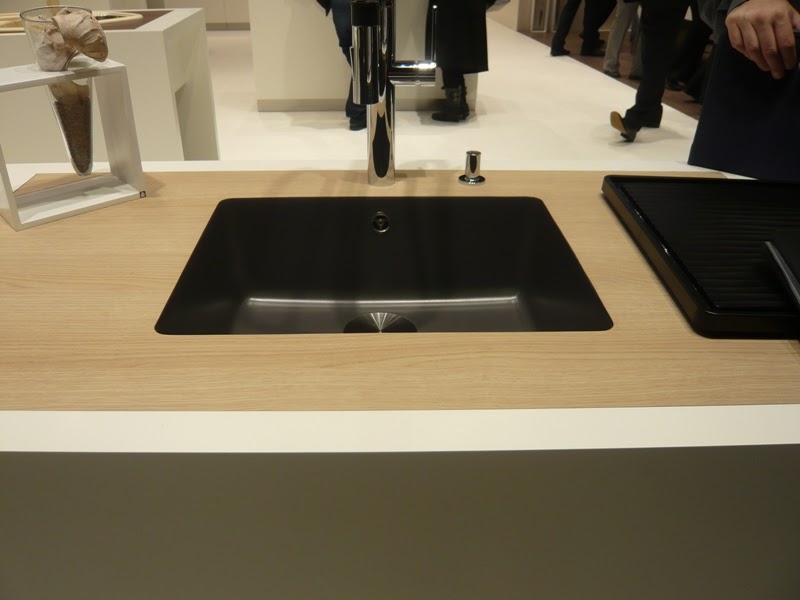
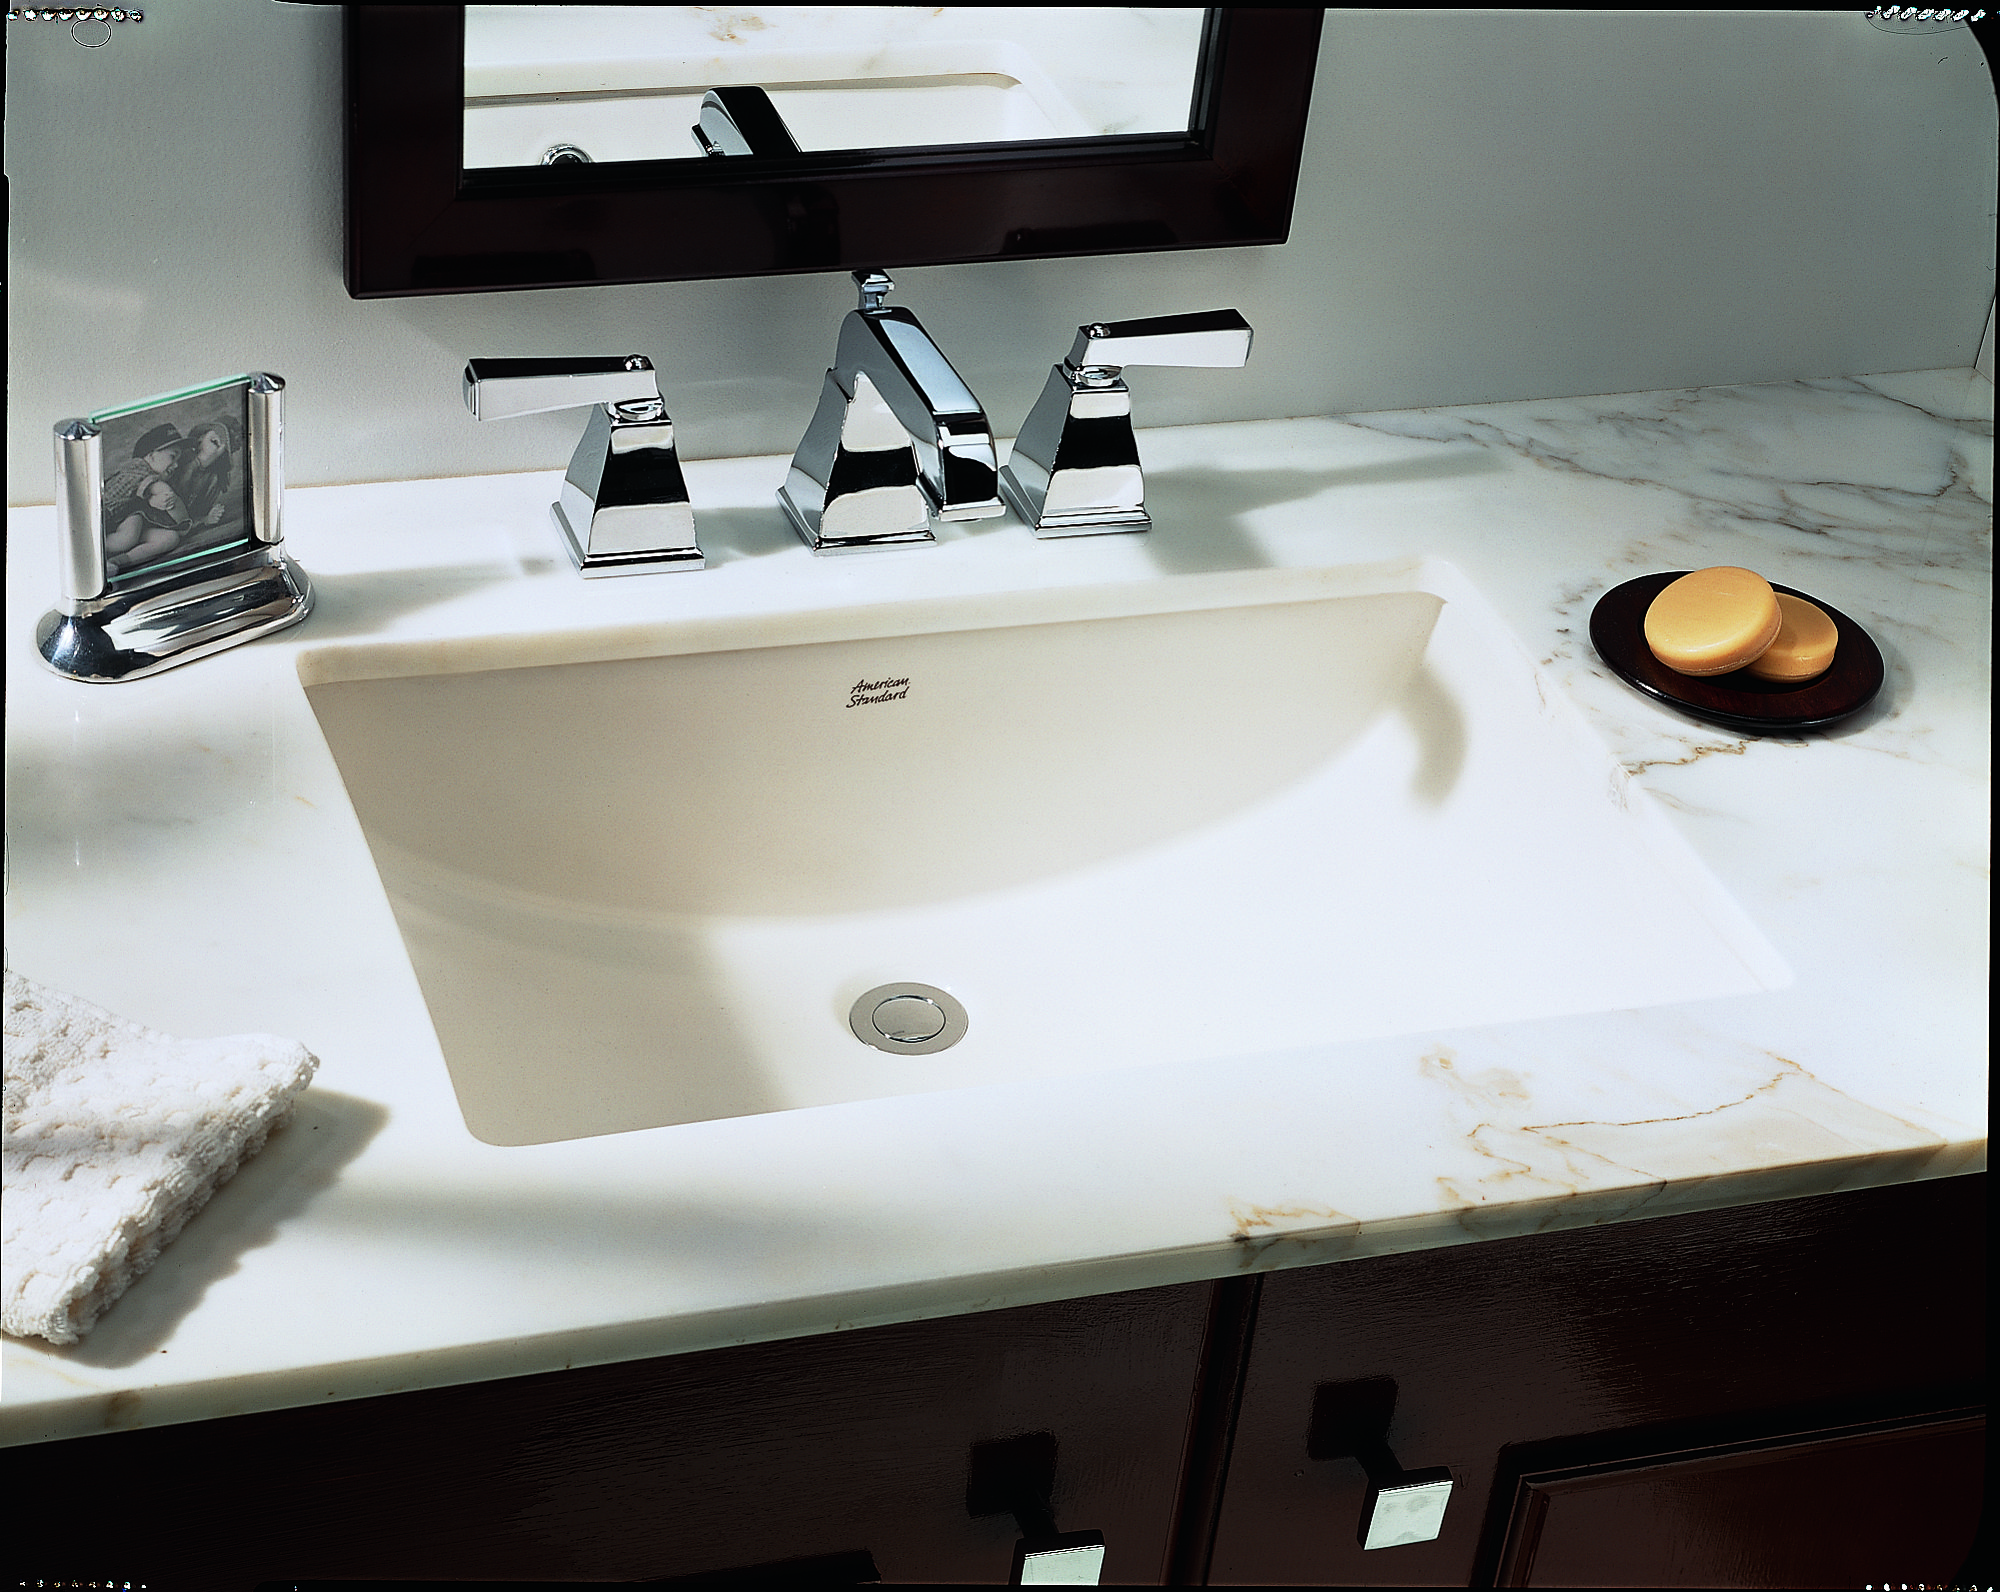
Before we delve into the specifics of undermount bathroom sink installation, it is important to understand the basics. An undermount sink is installed underneath the countertop, creating a seamless and sleek look. Although it may seem like a daunting task, with the right tools and materials, you can easily install an undermount sink in your bathroom.


Undermount Sink Installation


Bathroom Sink Counter Installation
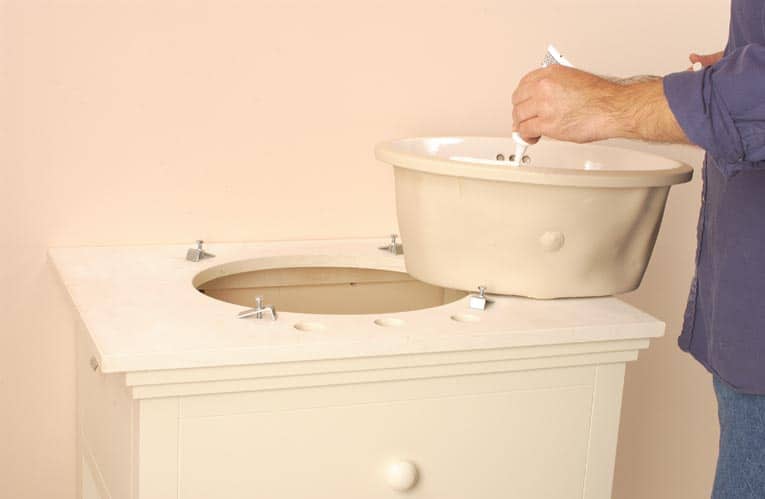
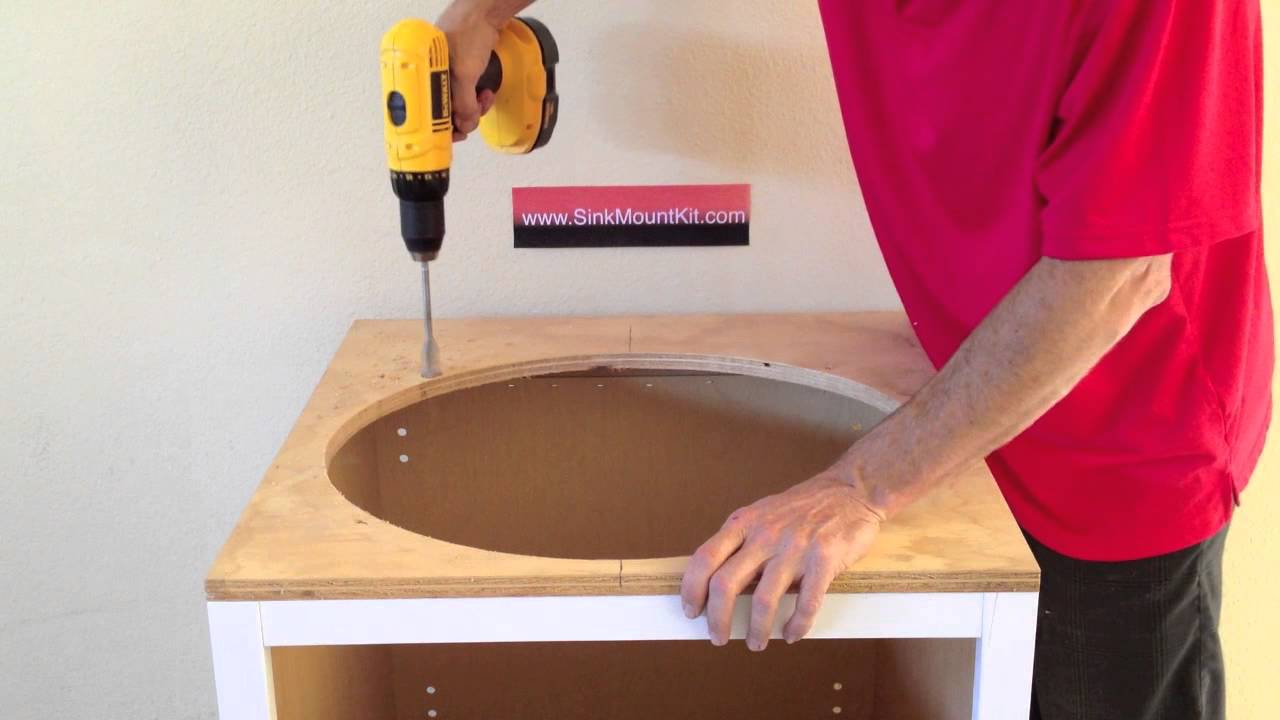
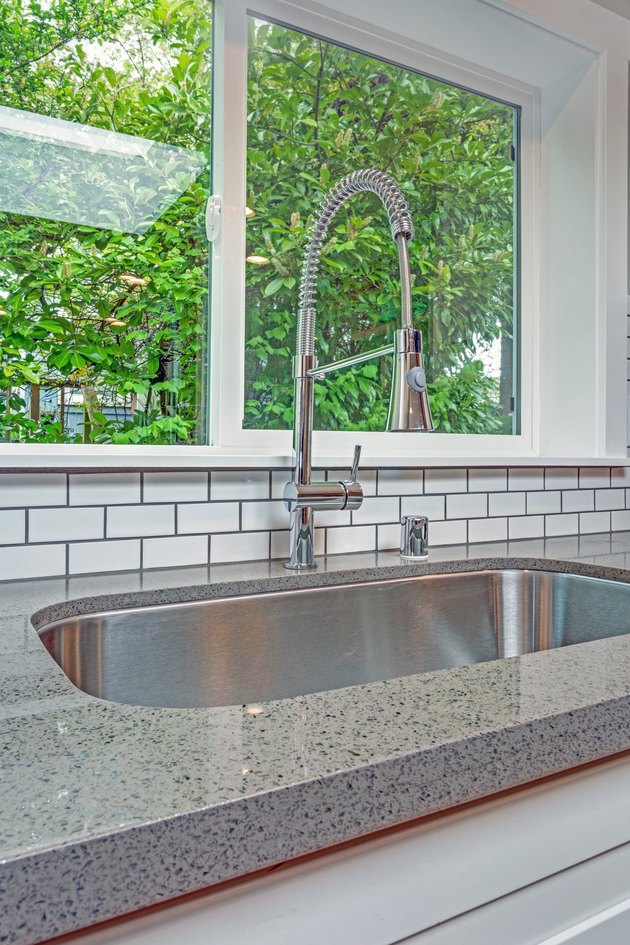
The first step in installing an undermount bathroom sink is to ensure that your bathroom counter is ready for the installation. This includes measuring the size of the sink and cutting a hole in the counter to fit the sink. It is important to make precise measurements and cuts to ensure a perfect fit for your new undermount sink.


Bathroom Sink Counter Installation


/bathroom-sink-523598998-5797c0dc5f9b58461f3d5c23.jpg)
Undermount Sink Counter Installation
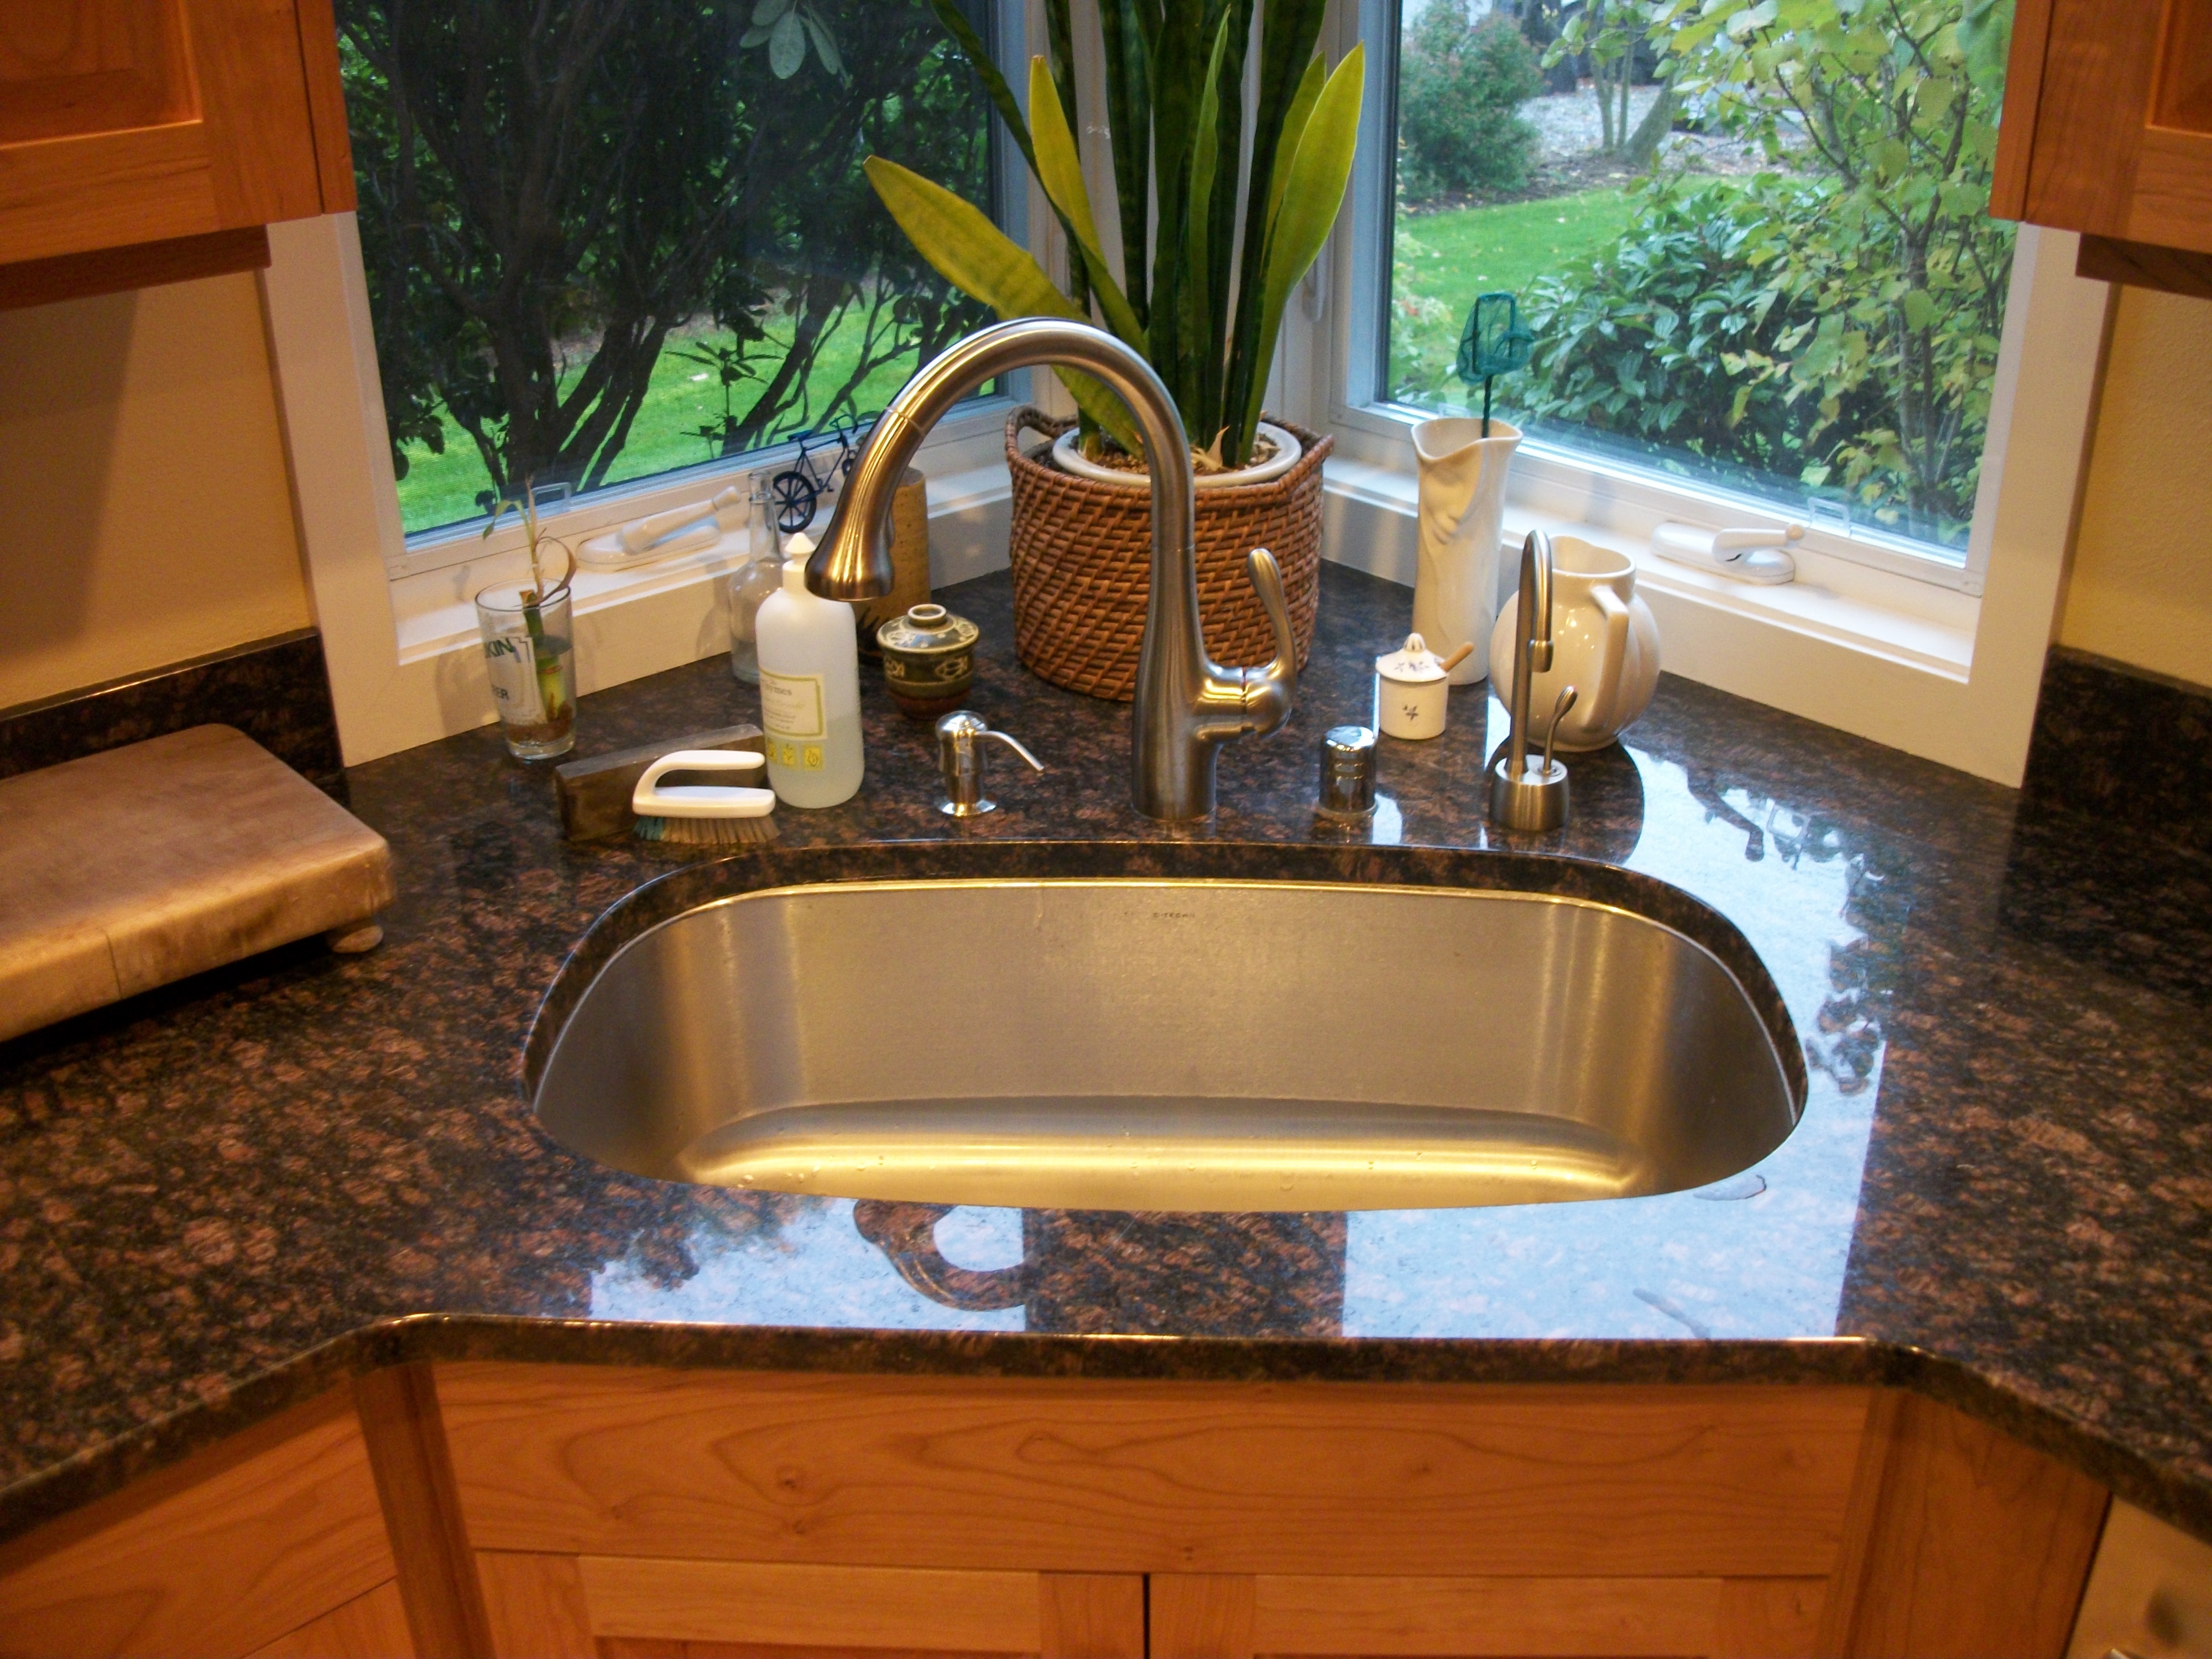
Once the counter is prepared, it is time to install the sink. The first step is to apply a bead of silicone adhesive around the edge of the sink cutout. This will help seal the sink to the counter and prevent any leaks. Then, carefully lower the sink into the cutout, making sure it is centered and level. Use clamps to secure the sink in place while the adhesive dries.


Undermount Sink Counter Installation


Bathroom Sink Installation
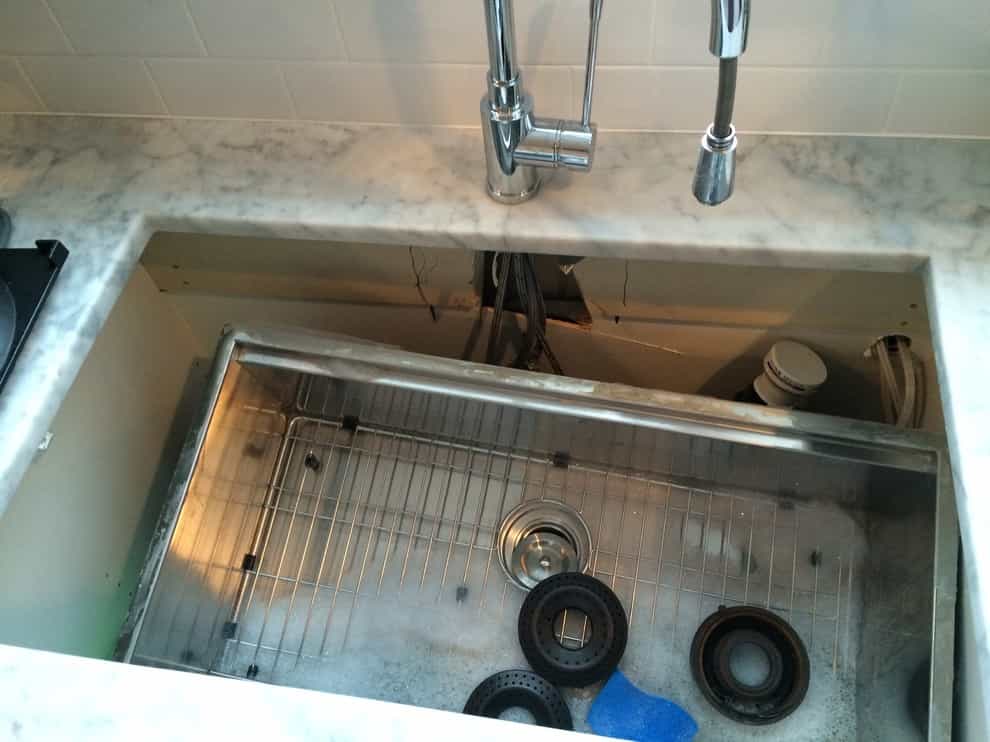
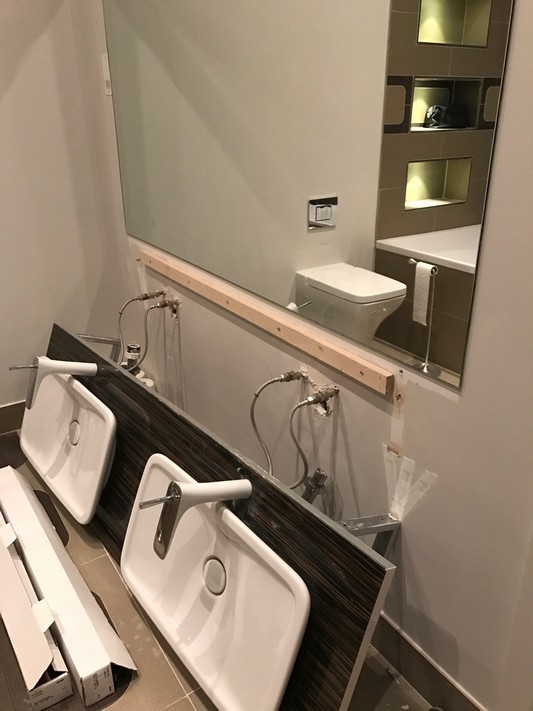
After securing the sink to the counter, the next step is to install the drain and faucet. Install the drain according to the manufacturer's instructions, making sure to use plumber's putty to create a watertight seal. Then, attach the faucet to the sink, following the instructions provided. Once the faucet is installed, turn off the water supply and connect the water supply lines.

Bathroom Sink Installation


Undermount Counter Installation
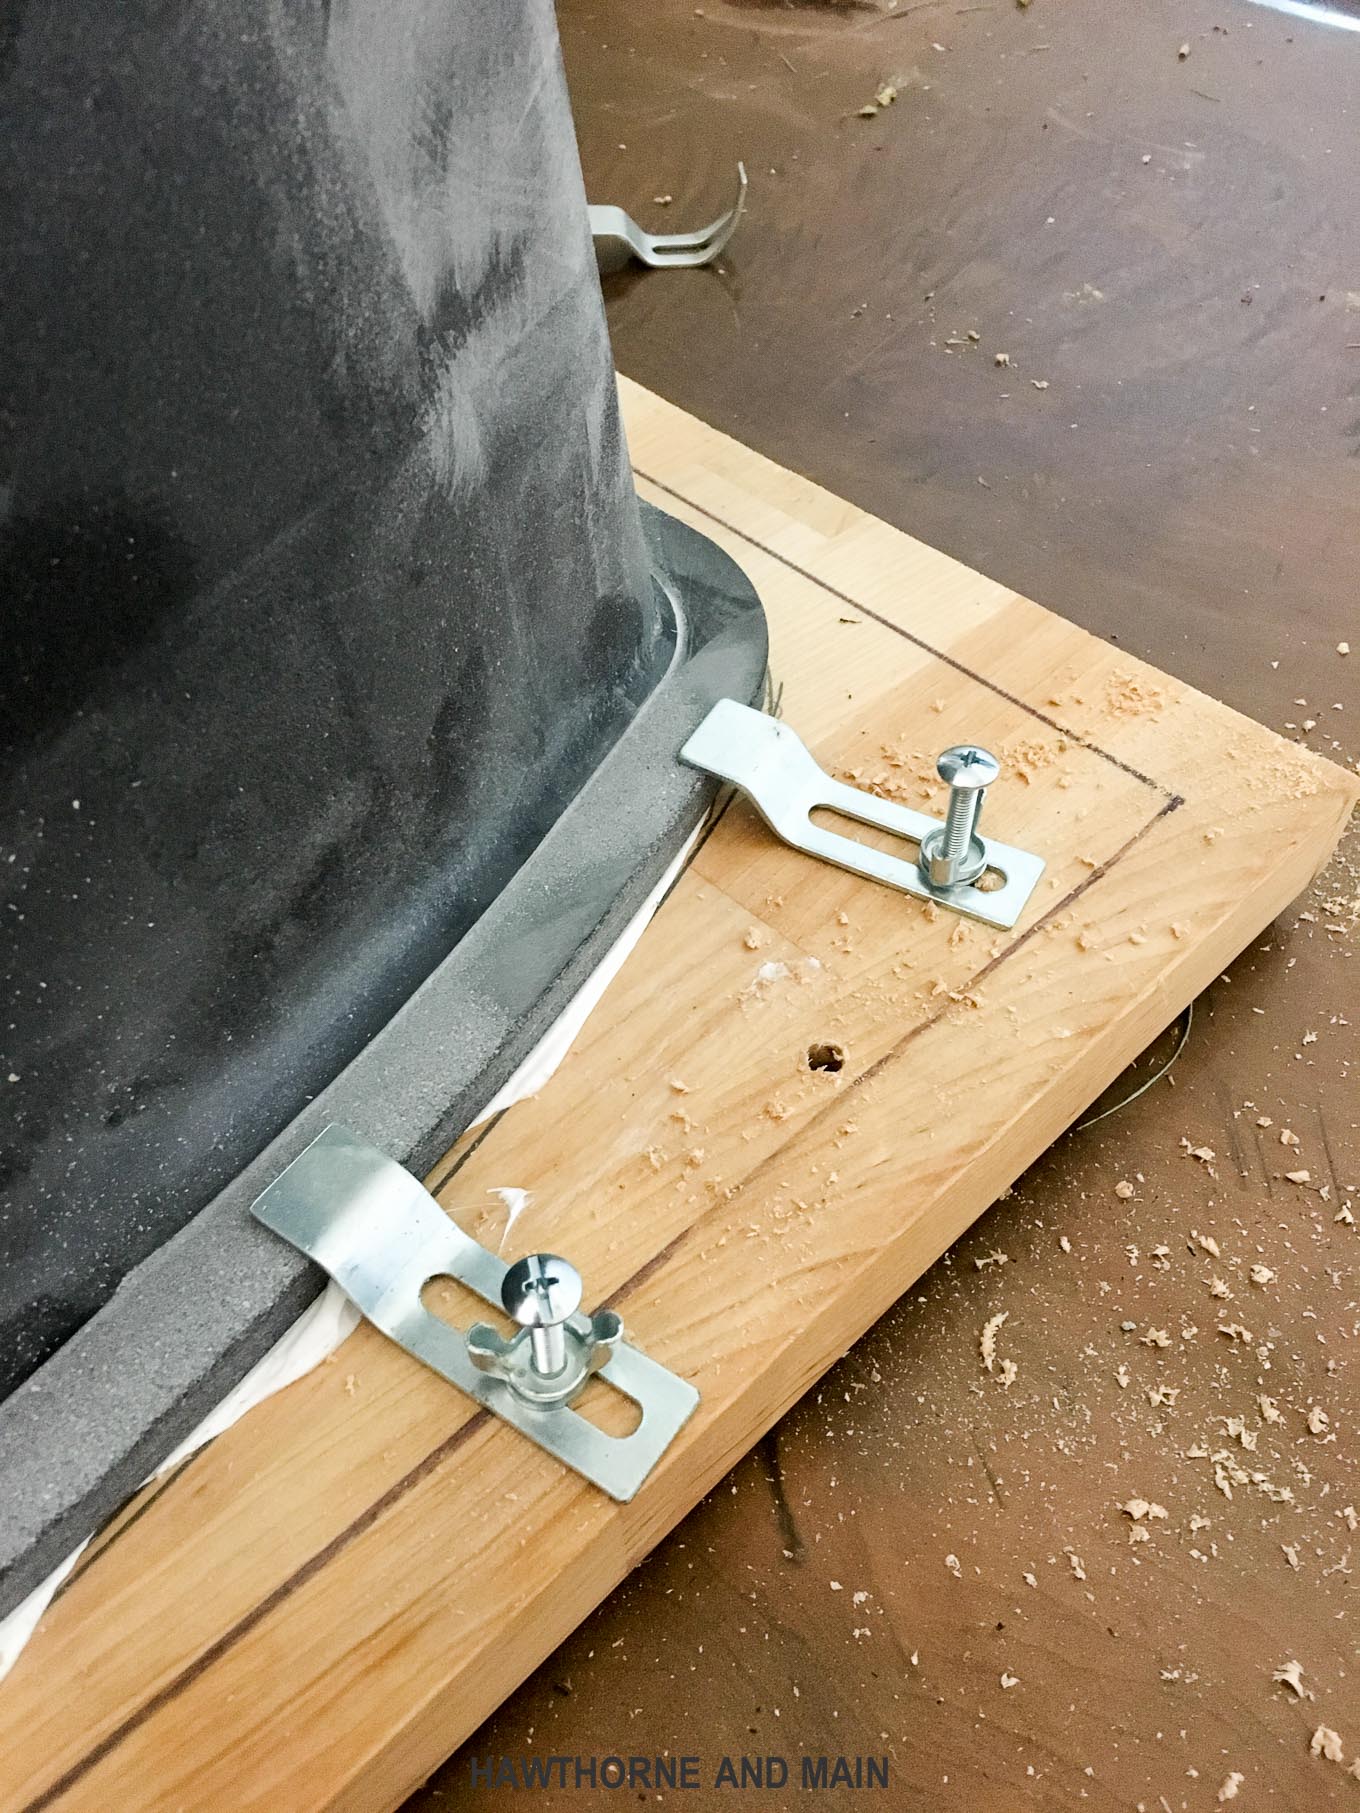
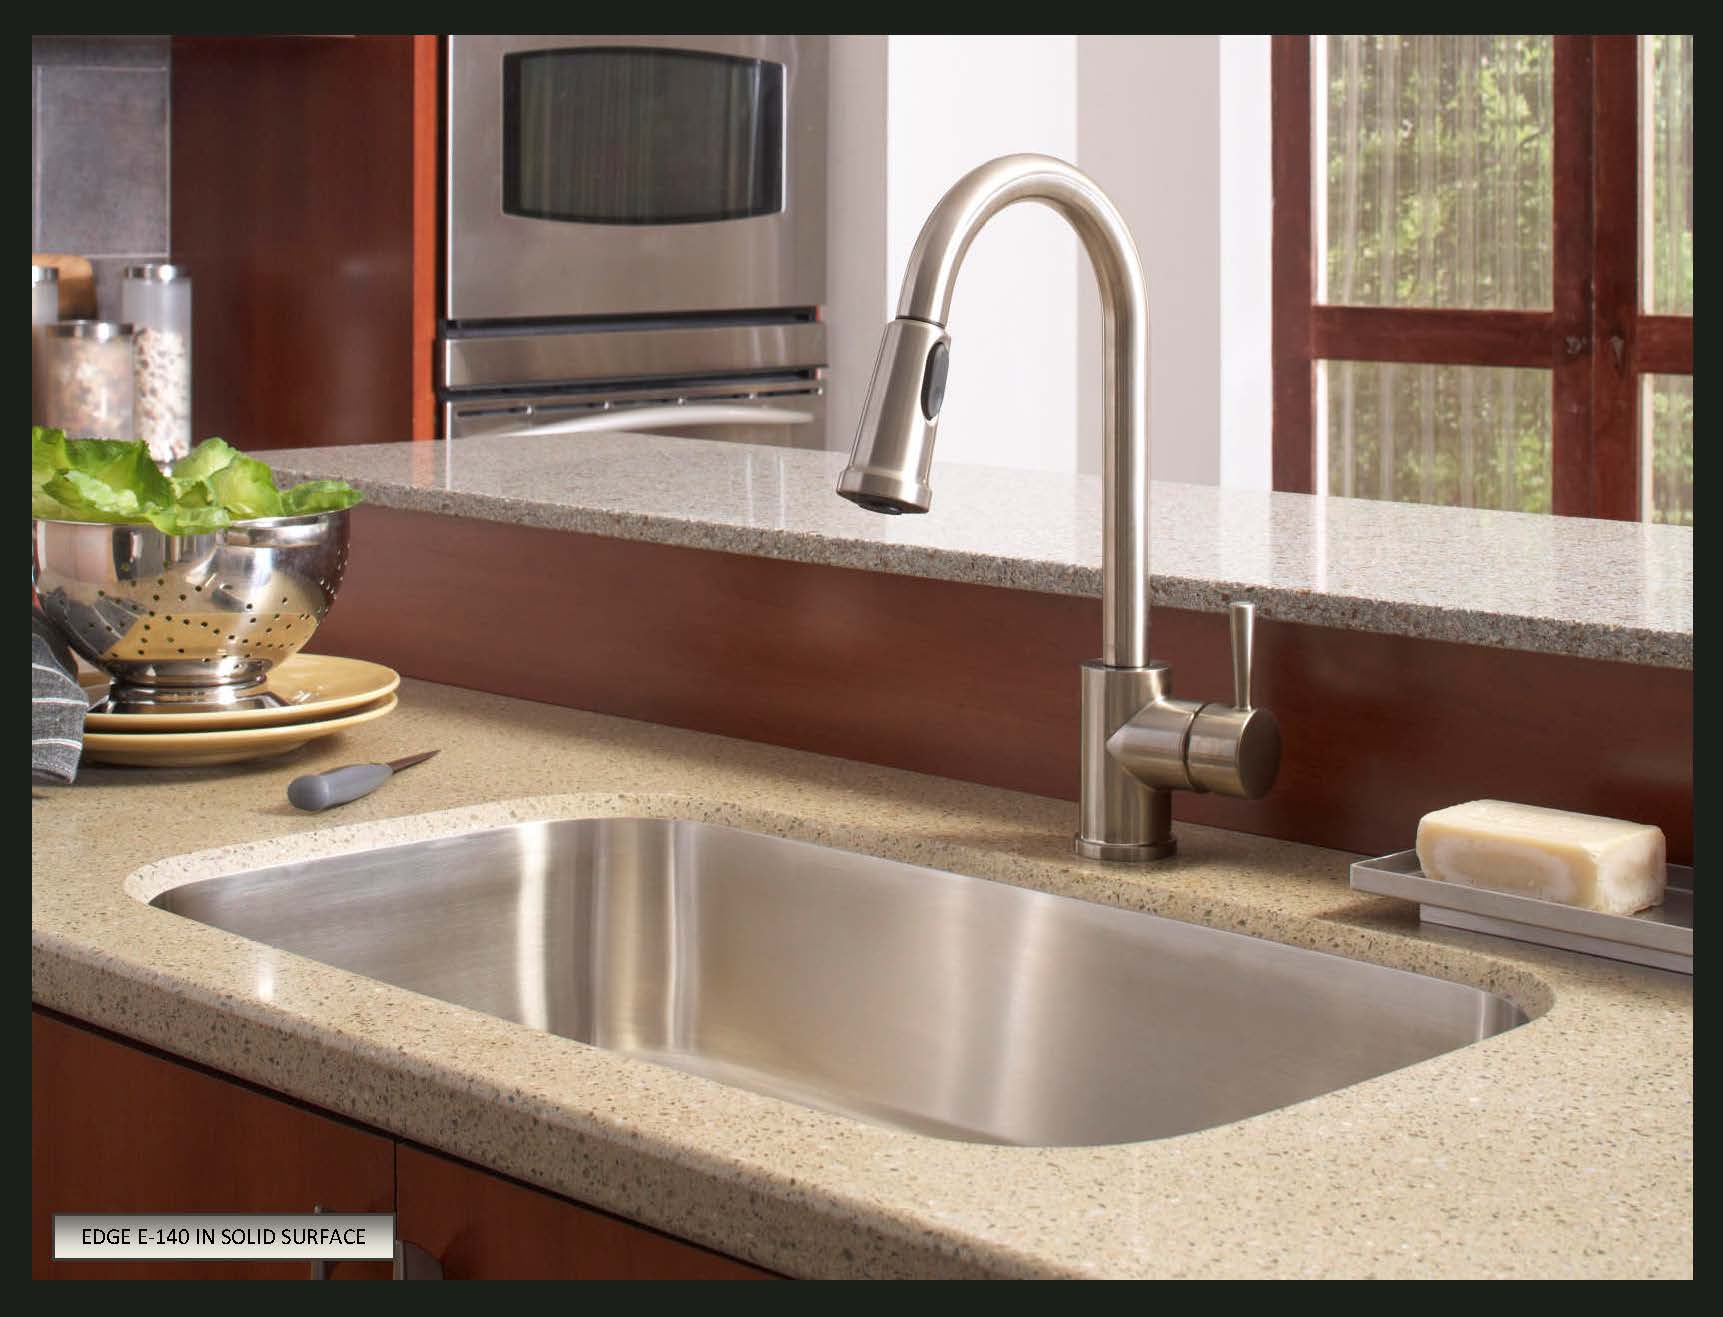
Once the sink and faucet are installed, it is time to secure the sink to the counter. Use a clamp or heavy object to press down on the sink while the adhesive dries. This will ensure a tight and secure bond between the sink and the counter. Leave the sink clamped for at least 24 hours to allow the adhesive to fully dry.


Undermount Counter Installation


Bathroom Counter Installation
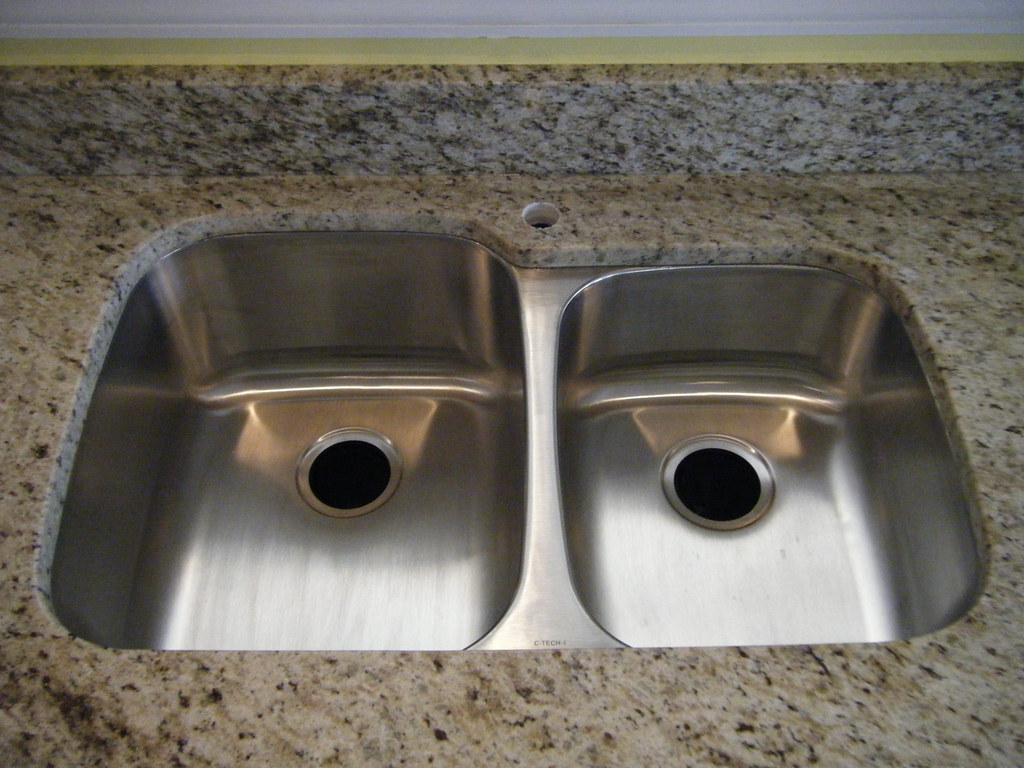
After the sink is securely attached to the counter, it is time to finish the installation by connecting the plumbing and installing any additional fixtures, such as a backsplash. Make sure to test the sink for any leaks before using it regularly.


Bathroom Counter Installation


:max_bytes(150000):strip_icc()/8_IMG_3767-56a4a2753df78cf772835b72.JPG)

Undermount Bathroom Sink Counter
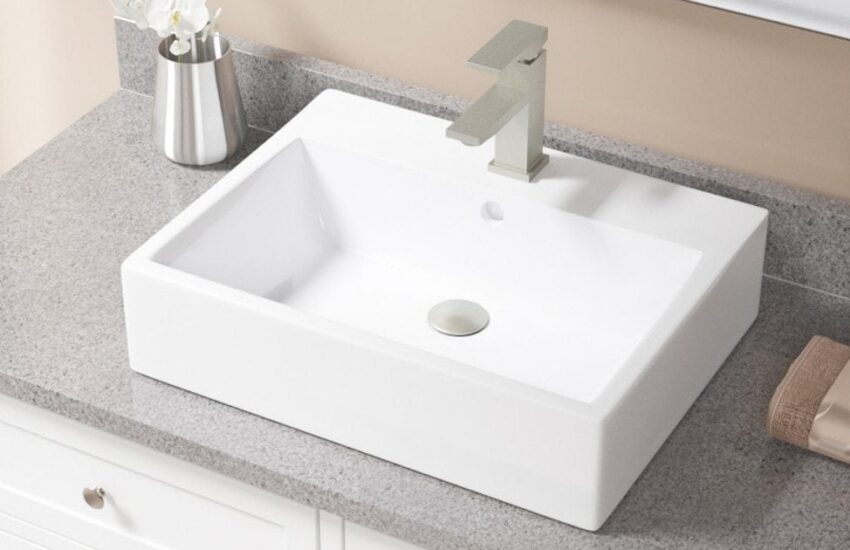
Congratulations, your undermount bathroom sink installation is complete! Enjoy the sleek and modern look of your new sink and the added counter space it provides. With proper maintenance and care, your undermount sink will last for years to come.


Undermount Bathroom Sink Counter


Undermount Sink Counter
Now that you have mastered the installation process, it is important to know how to properly care for your undermount sink. Always avoid using harsh chemicals or abrasive cleaners, as they can damage the sink's finish. Instead, use a mild soap and water solution to clean the sink regularly. Also, make sure to wipe away any standing water to prevent water spots and mineral buildup.


Undermount Sink Counter


Bathroom Sink Counter
In conclusion, undermount bathroom sink installation may seem like a daunting task, but with the right tools and instructions, it can be easily accomplished. Follow these top 10 steps for a successful undermount sink installation and enjoy the sleek and modern look it brings to your bathroom. Remember to properly maintain your sink to ensure its longevity and enjoy your new undermount sink for years to come.


Bathroom Sink Counter


Creating a Sleek and Modern Bathroom Design with Undermount Bathroom Sink Counters
Why Choose an Undermount Bathroom Sink Counter?
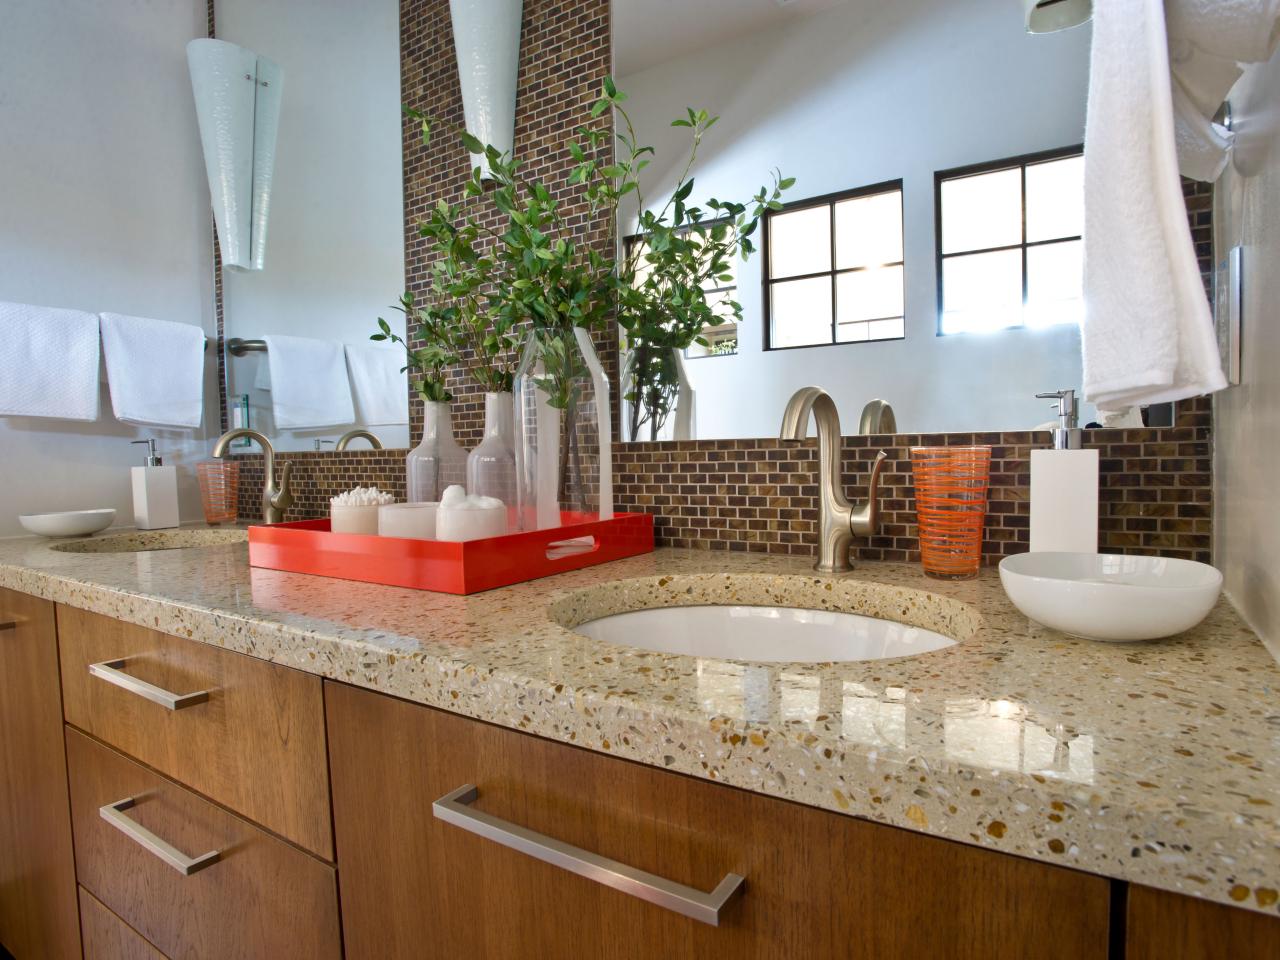
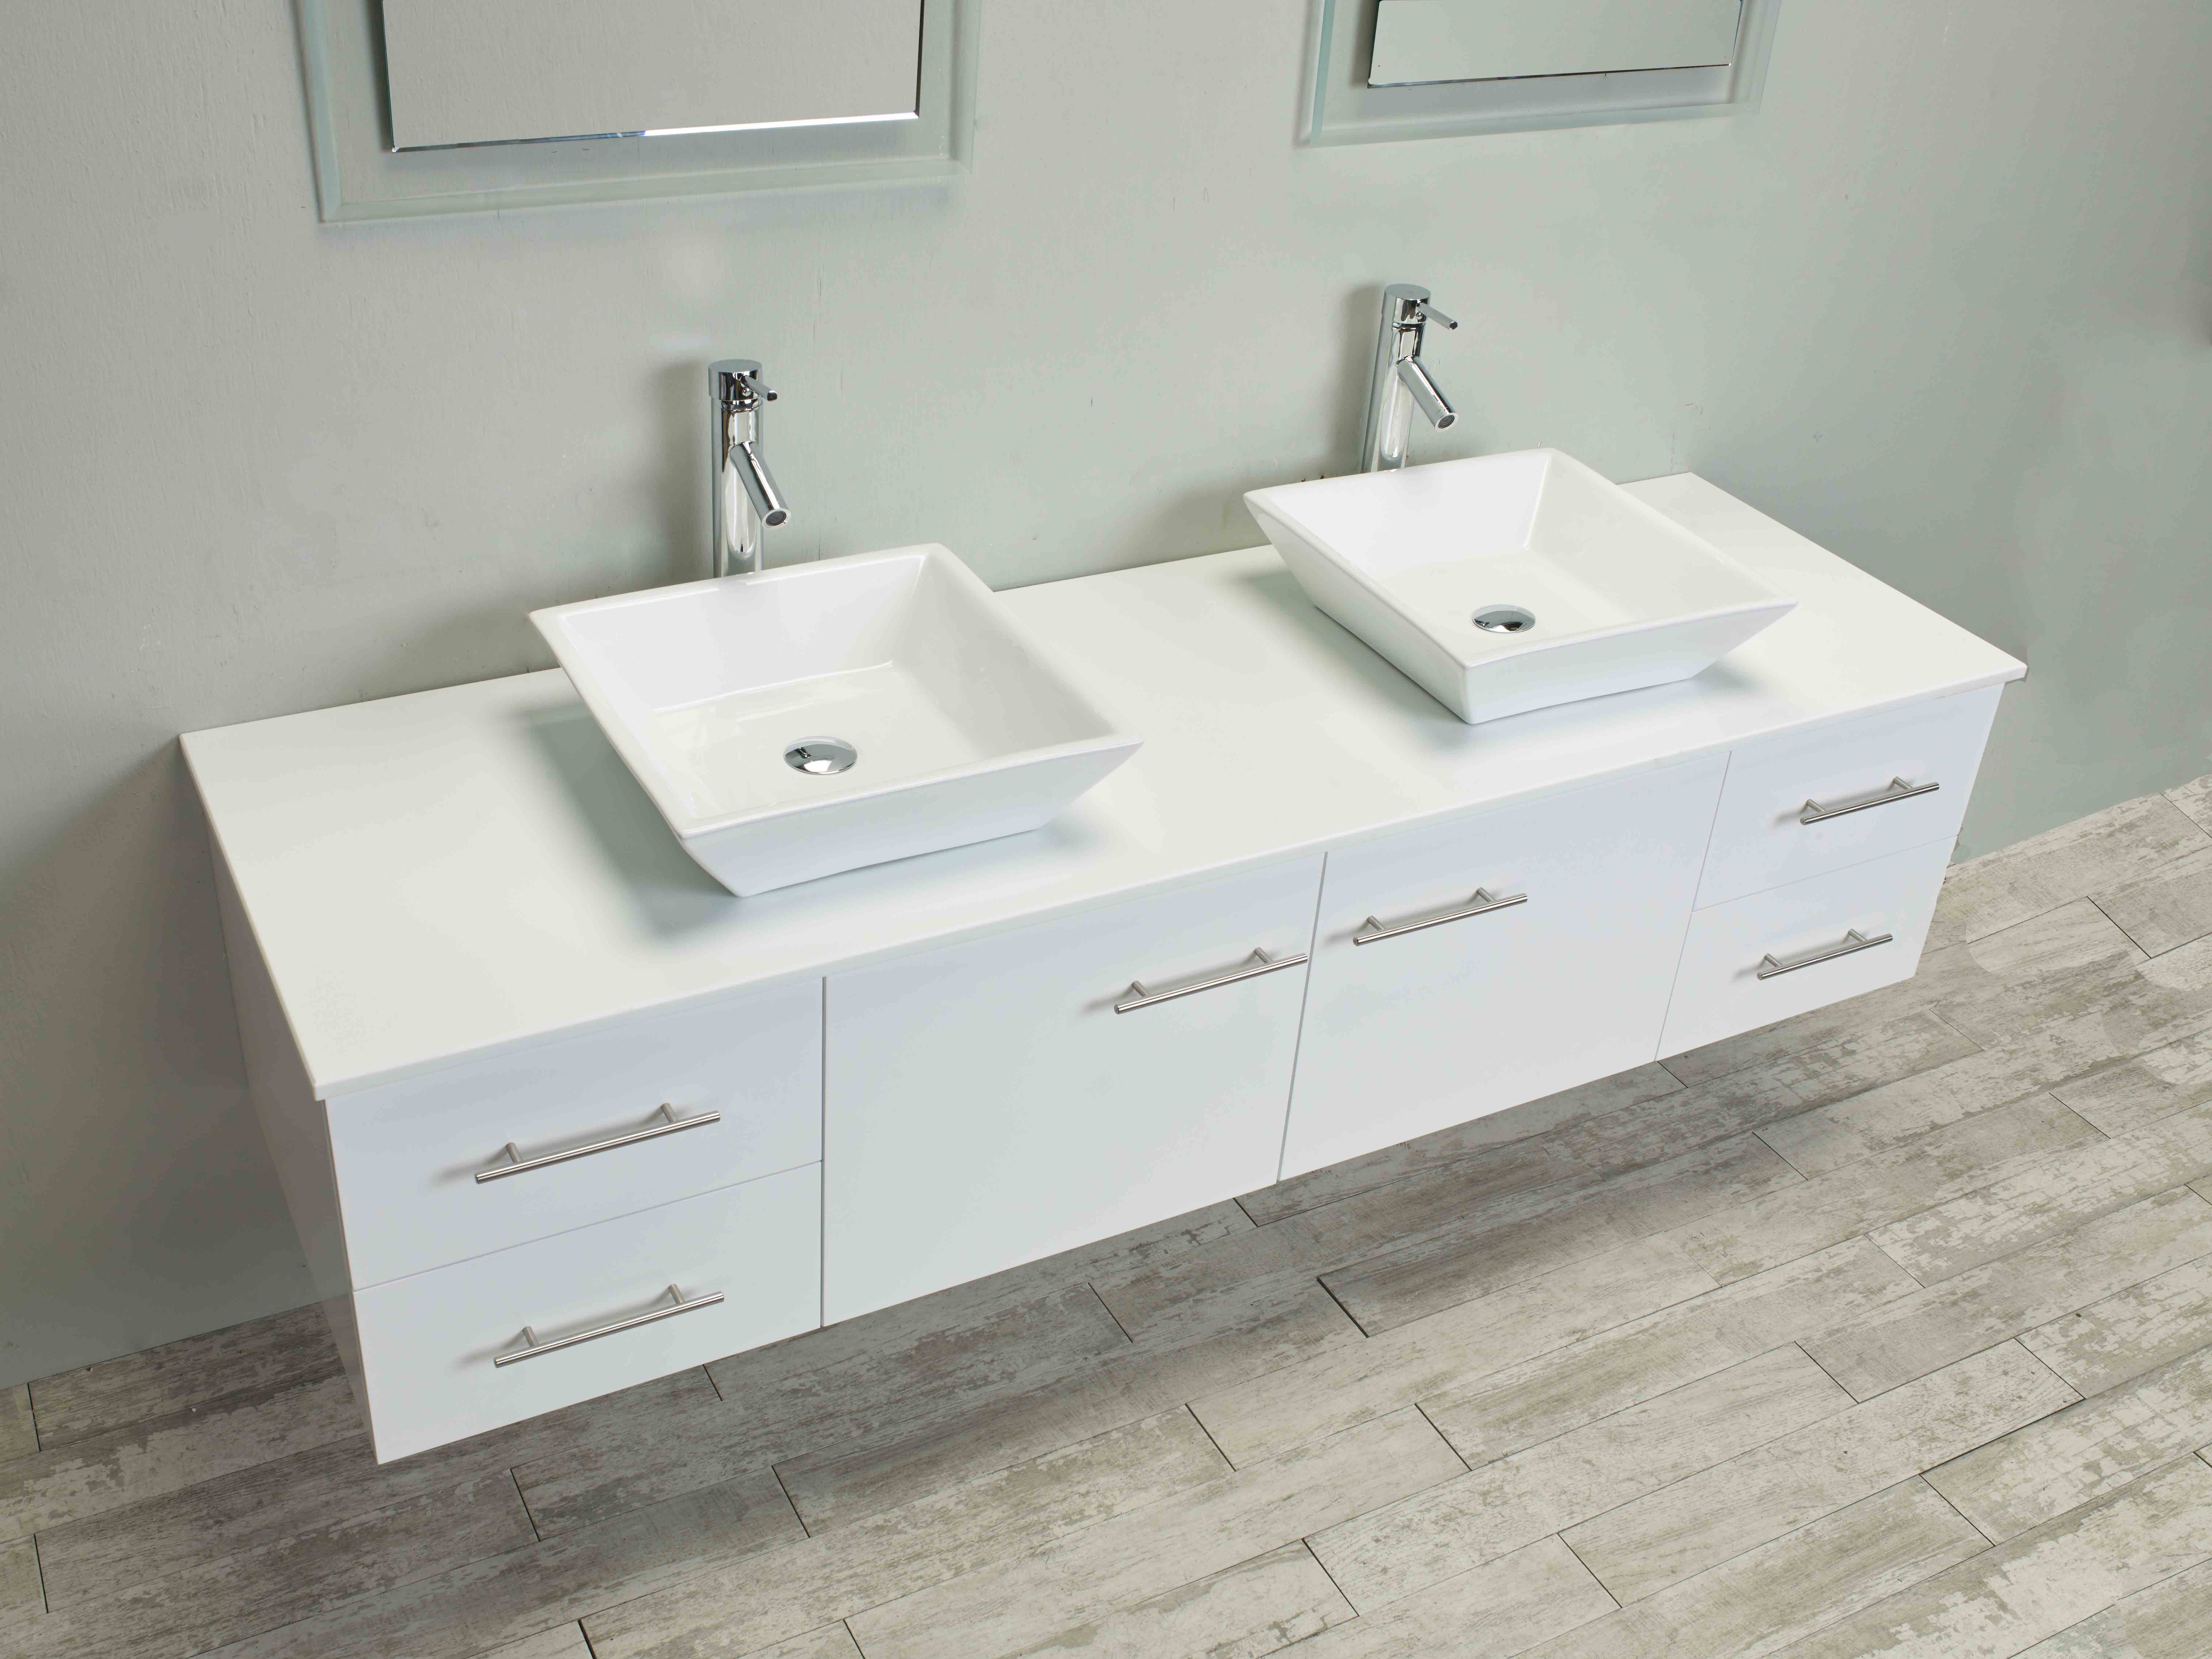
 When it comes to designing your bathroom, every detail matters. And one of the most crucial elements of a bathroom design is the sink. Not only does it serve a functional purpose, but it also adds to the overall aesthetic of the space. That's why many homeowners are opting for undermount bathroom sink counters.
Undermount bathroom sink counters
are installed beneath the countertop, giving a seamless and clean look to your bathroom. Unlike traditional drop-in sinks, undermount sinks do not have a lip or rim that sits on top of the countertop, making them easy to clean and maintain. This design also allows for more counter space, making it perfect for smaller bathrooms.
When it comes to designing your bathroom, every detail matters. And one of the most crucial elements of a bathroom design is the sink. Not only does it serve a functional purpose, but it also adds to the overall aesthetic of the space. That's why many homeowners are opting for undermount bathroom sink counters.
Undermount bathroom sink counters
are installed beneath the countertop, giving a seamless and clean look to your bathroom. Unlike traditional drop-in sinks, undermount sinks do not have a lip or rim that sits on top of the countertop, making them easy to clean and maintain. This design also allows for more counter space, making it perfect for smaller bathrooms.
Installation Process
 Installing an undermount bathroom sink counter may seem like a daunting task, but with the right tools and steps, it can be a simple and straightforward process. The first step is to measure the size of your sink and
choose a countertop material
that is compatible with it. Common materials used for undermount sinks include granite, marble, and quartz.
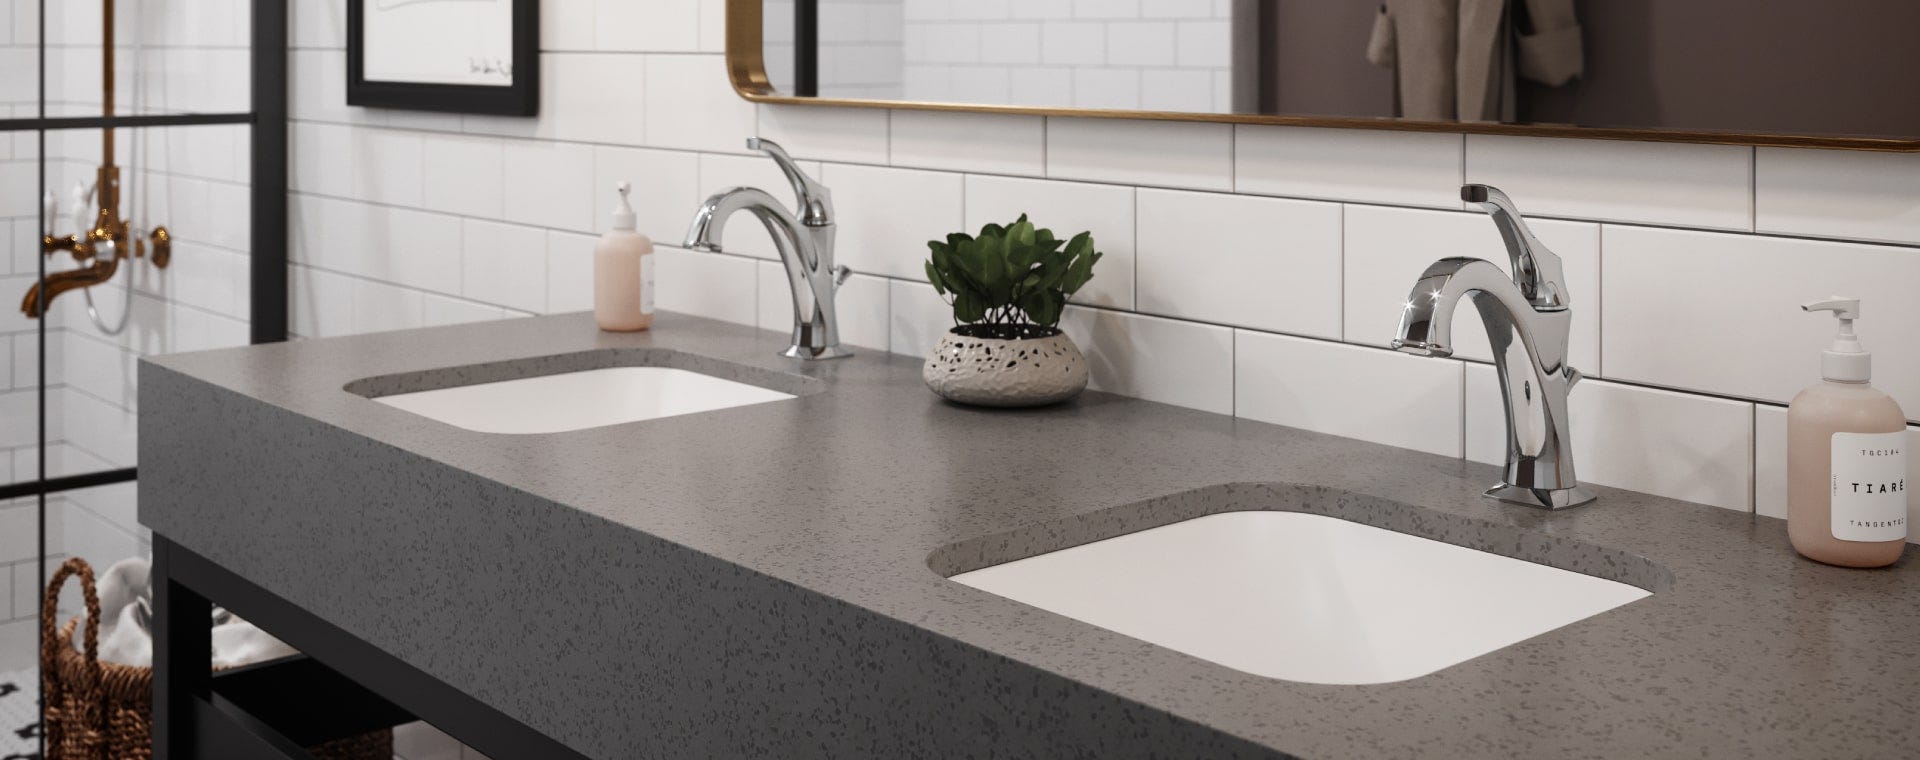
Once you have your countertop ready, the next step is to cut a hole in the countertop for the sink to fit in. This should be done carefully and precisely to ensure a snug fit. Next, you will need to attach the sink to the countertop using adhesive and secure it with clips until the adhesive dries. Finally, install the sink's plumbing and attach the countertop to your bathroom vanity or cabinet.
Installing an undermount bathroom sink counter may seem like a daunting task, but with the right tools and steps, it can be a simple and straightforward process. The first step is to measure the size of your sink and
choose a countertop material
that is compatible with it. Common materials used for undermount sinks include granite, marble, and quartz.
Once you have your countertop ready, the next step is to cut a hole in the countertop for the sink to fit in. This should be done carefully and precisely to ensure a snug fit. Next, you will need to attach the sink to the countertop using adhesive and secure it with clips until the adhesive dries. Finally, install the sink's plumbing and attach the countertop to your bathroom vanity or cabinet.
Benefits of Undermount Bathroom Sink Counters
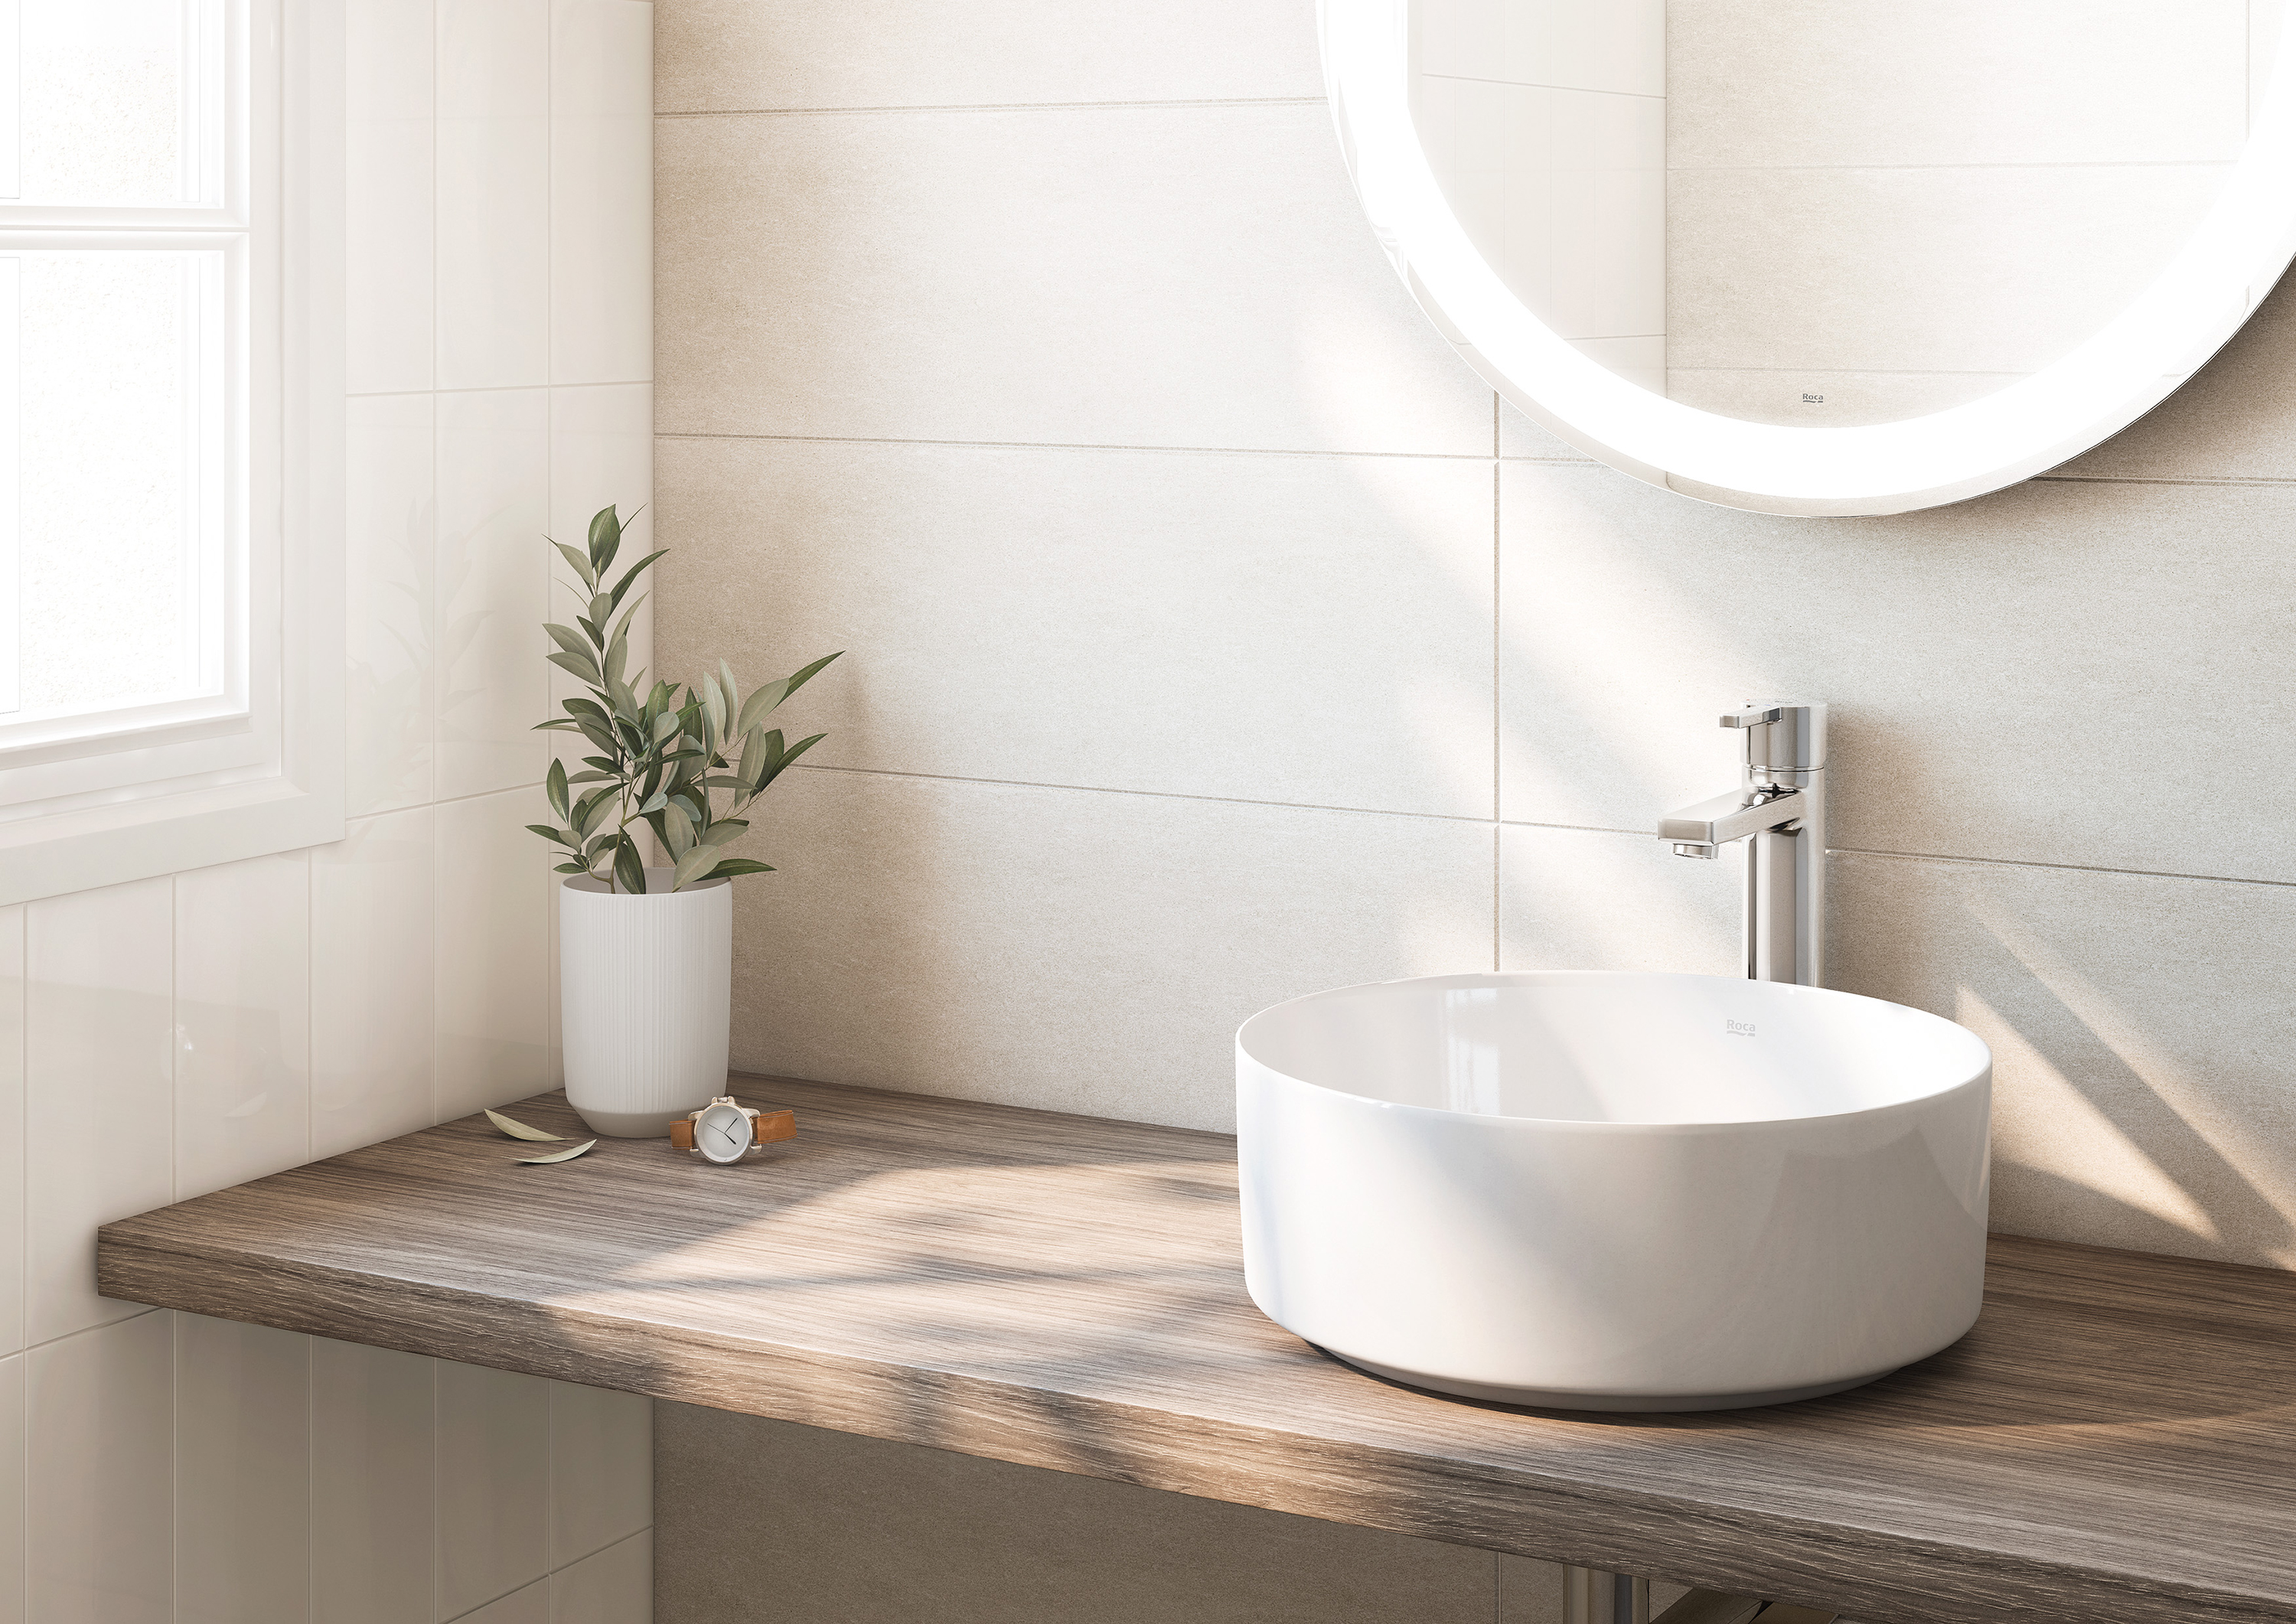
 Aside from the sleek and modern look it adds to your bathroom design, undermount bathroom sink counters also have a few other benefits. As mentioned earlier, the lack of a rim or lip makes cleaning a breeze. This design also prevents water from pooling on the countertop, making it ideal for families with young children. Undermount sinks also come in a variety of shapes, sizes, and materials, making it easy to find one that fits your personal style and budget.
In conclusion,
undermount bathroom sink counters
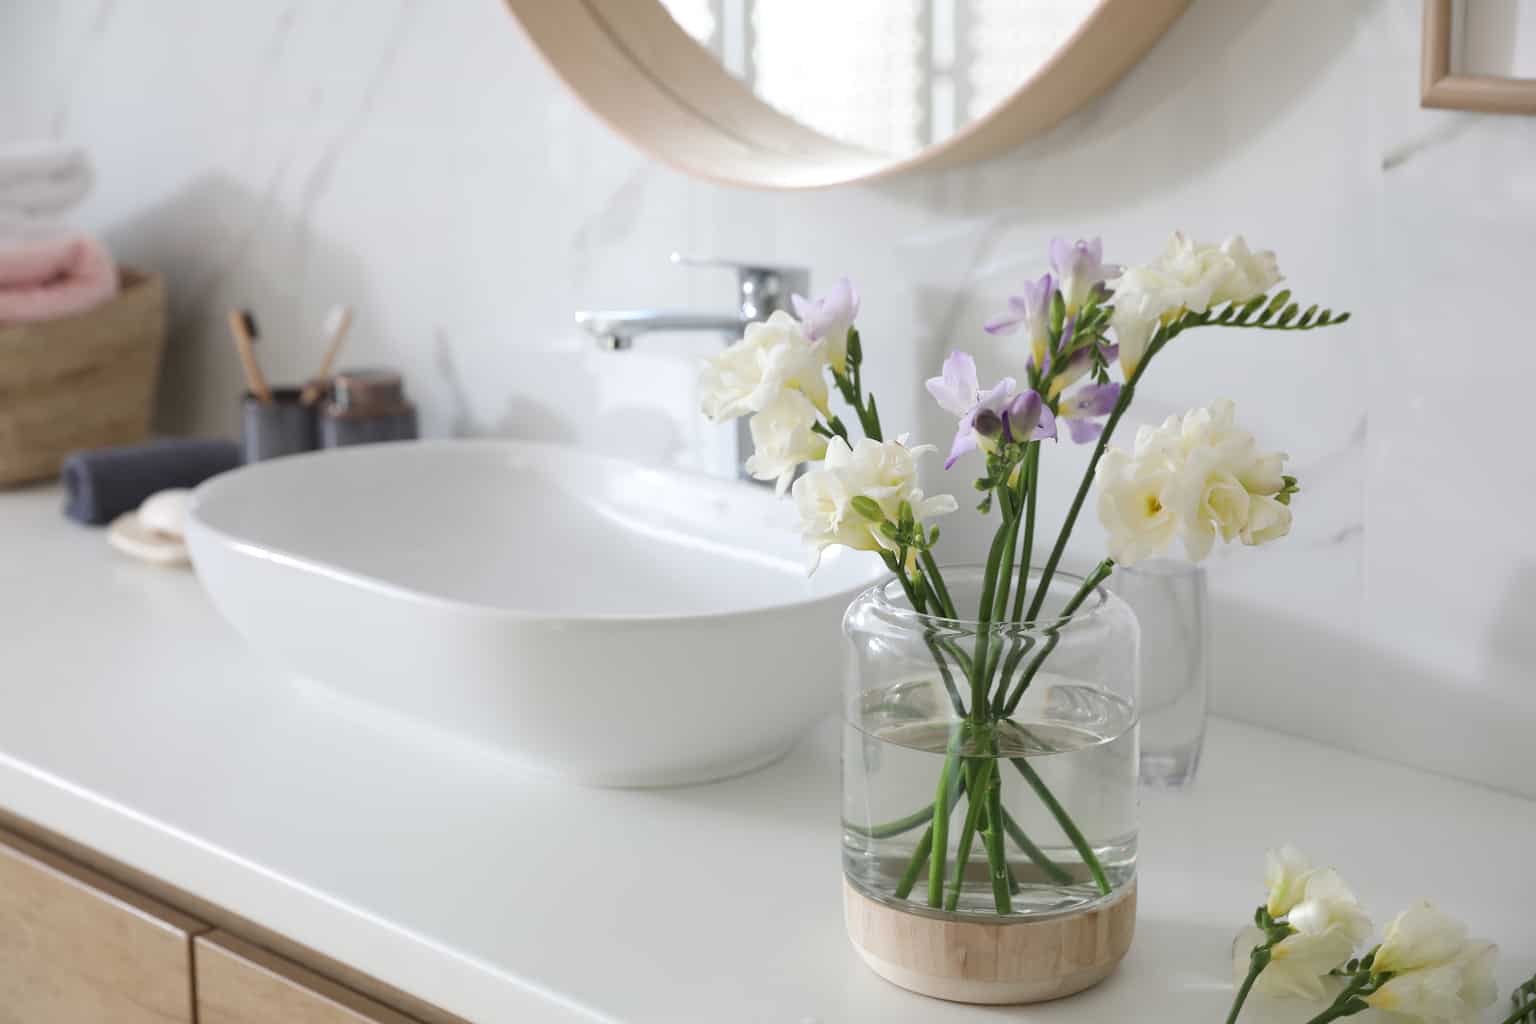
are a perfect choice for those looking to create a sleek and modern bathroom design. With its seamless and clean look, easy maintenance, and variety of options, it's no wonder why it's becoming a popular choice among homeowners. So, if you're planning to renovate your bathroom, consider installing an undermount sink counter for a stylish and functional space.
Aside from the sleek and modern look it adds to your bathroom design, undermount bathroom sink counters also have a few other benefits. As mentioned earlier, the lack of a rim or lip makes cleaning a breeze. This design also prevents water from pooling on the countertop, making it ideal for families with young children. Undermount sinks also come in a variety of shapes, sizes, and materials, making it easy to find one that fits your personal style and budget.
In conclusion,
undermount bathroom sink counters
are a perfect choice for those looking to create a sleek and modern bathroom design. With its seamless and clean look, easy maintenance, and variety of options, it's no wonder why it's becoming a popular choice among homeowners. So, if you're planning to renovate your bathroom, consider installing an undermount sink counter for a stylish and functional space.