Under Bathroom Sink Installation: What You Need to Know
Installing a new bathroom sink can be a daunting task, especially when it involves working under a vanity. But with the right tools and knowledge, you can easily install an undermount bathroom sink and give your bathroom a fresh new look. Here's everything you need to know about under bathroom sink installation.


Under Bathroom Sink Installation: What You Need to Know


How to Install a Bathroom Sink Under a Vanity
The first step to installing an undermount bathroom sink is to choose the right sink for your vanity. Look for a sink that fits the size and style of your vanity and make sure it comes with a mounting kit. You'll also need a drill, silicone sealant, and a wrench for this project.


How to Install a Bathroom Sink Under a Vanity
:max_bytes(150000):strip_icc()/8_IMG_3767-56a4a2753df78cf772835b72.JPG)


/replace-and-install-bathroom-vanity-1824869-hero-952f8968530f46f4a79a1b33b03f0169.jpg)

Step-by-Step Guide for Installing an Undermount Bathroom Sink
Now that you have all the necessary tools, it's time to start the installation process. Follow these steps for a successful under bathroom sink installation:
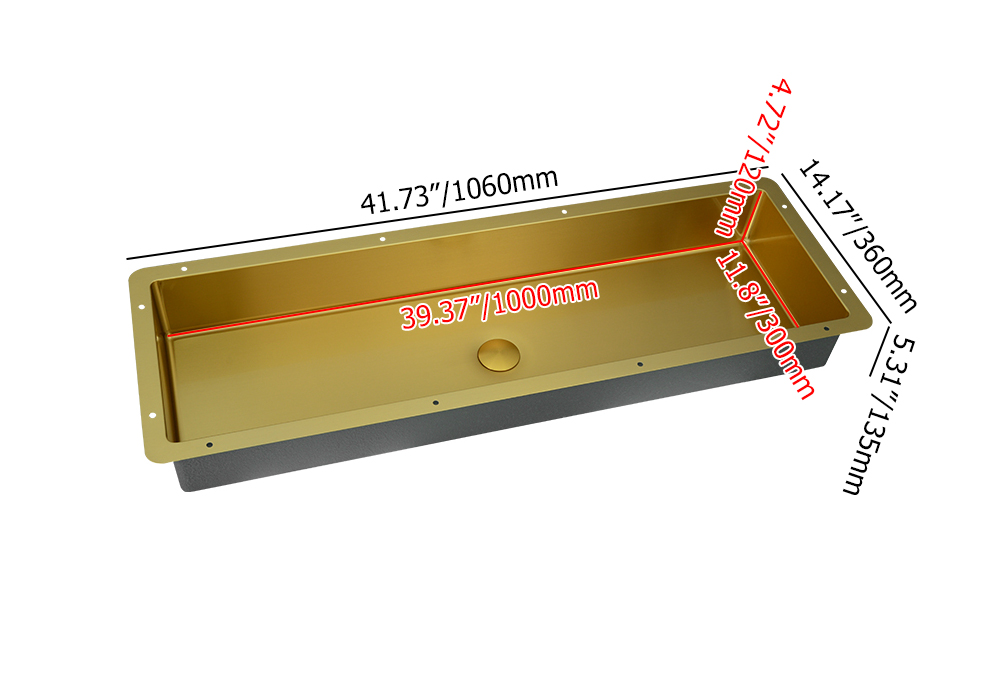
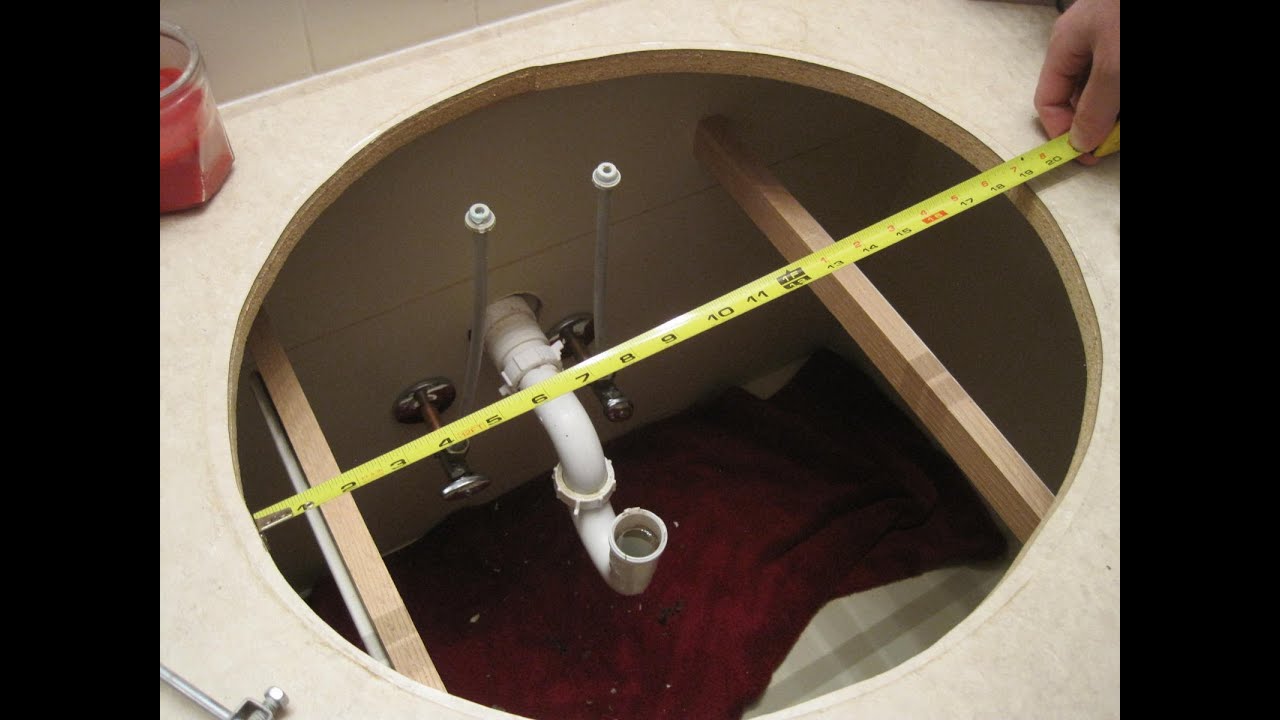
Step 1: Measure and Mark Your Sink's Placement - Measure the width and depth of your sink and mark the placement on the underside of your vanity. Use a template provided by the sink manufacturer to ensure accurate placement.
Step 2: Drill Pilot Holes - Use a drill to create pilot holes in the marked locations. These holes will be used to secure the sink to the vanity.
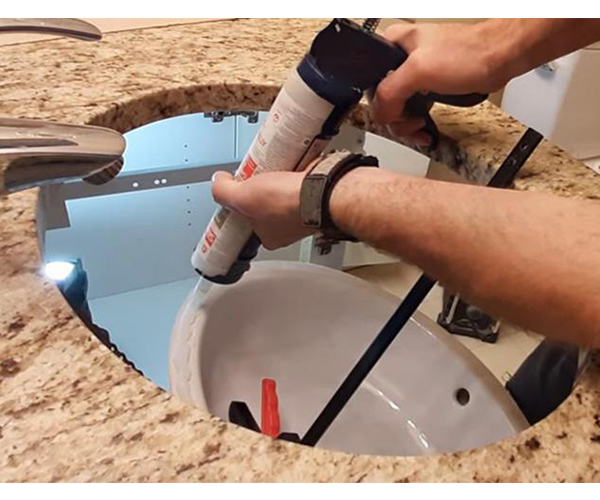
Step 3: Apply Silicone Sealant - Apply a thin layer of silicone sealant around the perimeter of the sink cutout on the vanity. This will create a watertight seal and prevent leaks.
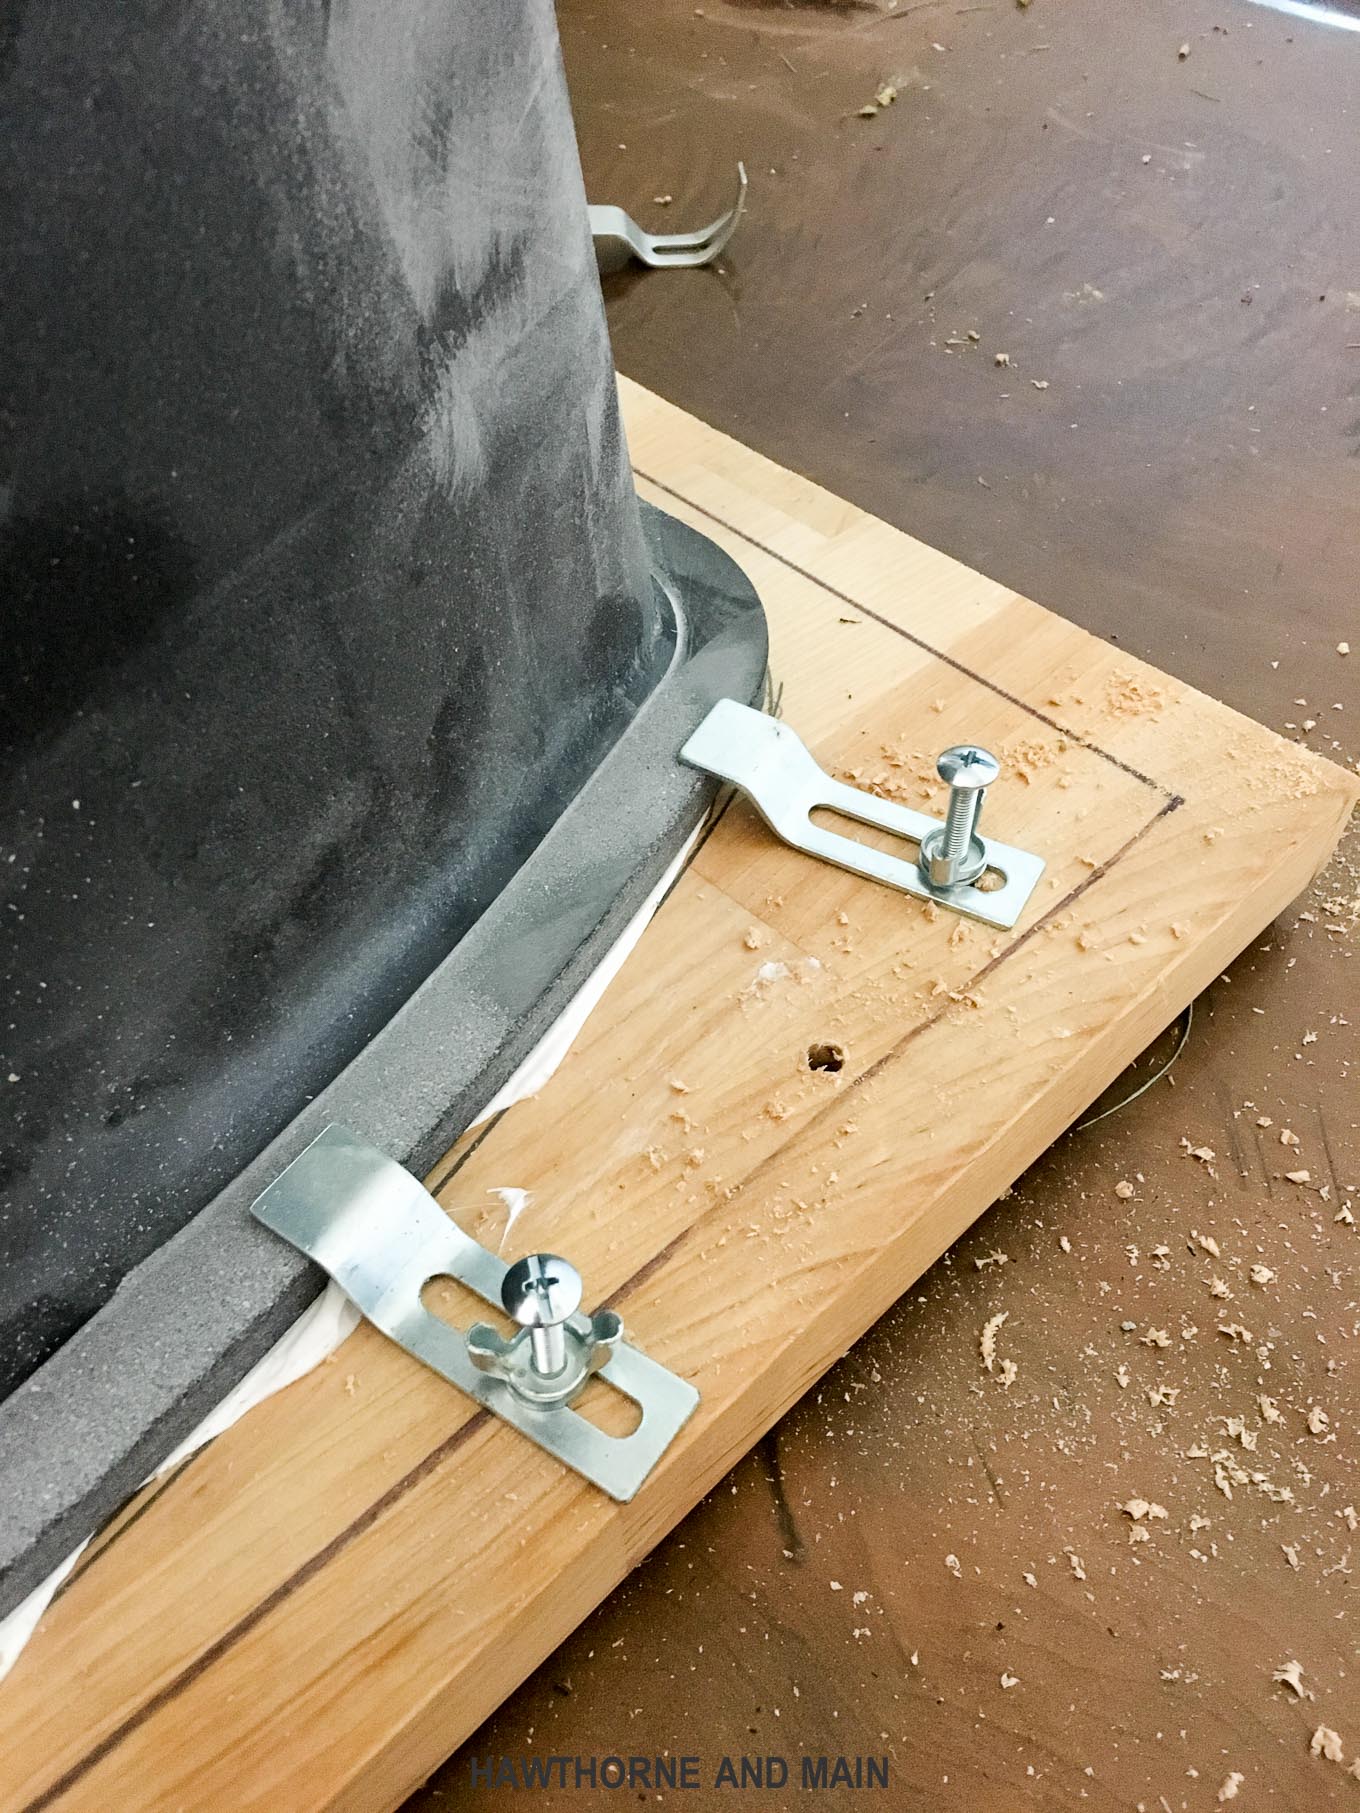
Step 4: Place the Sink - Carefully place the sink into the cutout on the vanity, making sure it is centered and level. Use the pilot holes to secure the sink to the vanity with screws provided in the mounting kit.
Step 5: Seal the Edges - Apply more silicone sealant around the edges of the sink where it meets the vanity. This will ensure a secure and waterproof seal.
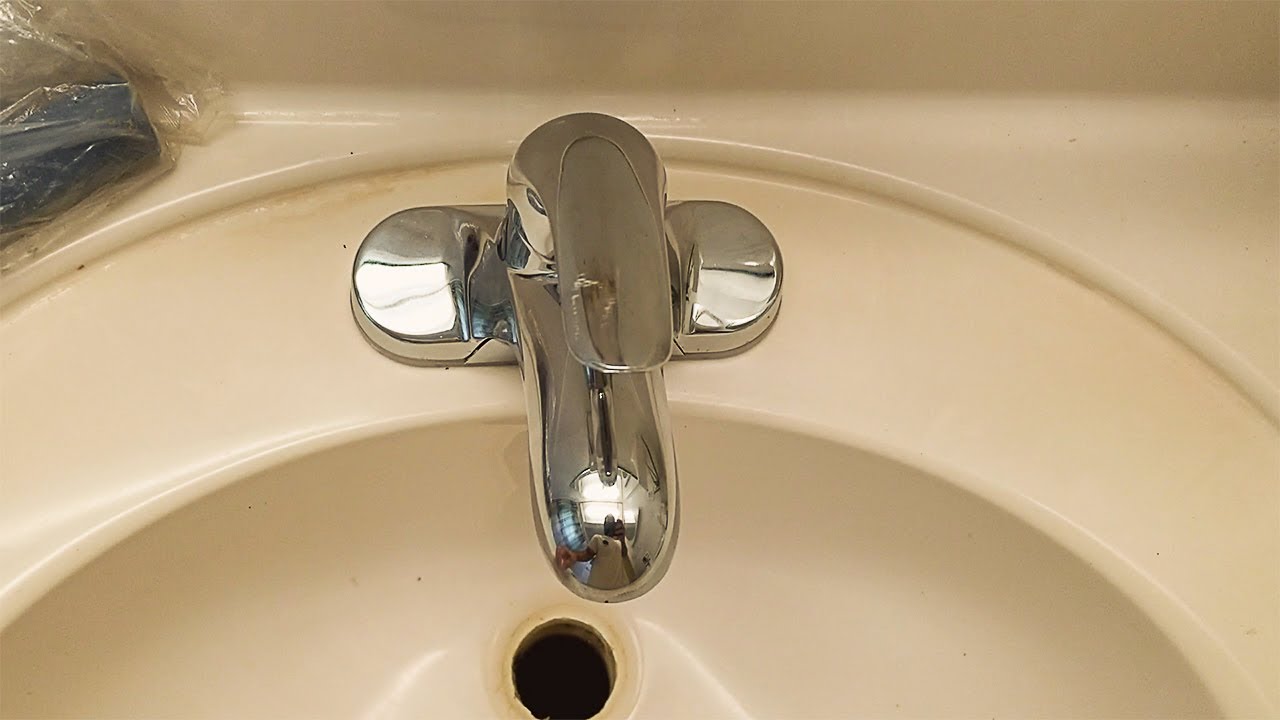
Step 6: Connect the Plumbing - Finally, connect the plumbing to the sink by attaching the P-trap and water supply lines. Use a wrench to tighten any loose fittings.


Step-by-Step Guide for Installing an Undermount Bathroom Sink


DIY Under Bathroom Sink Installation: Tips and Tricks
Installing an undermount bathroom sink yourself can save you money and give you a sense of accomplishment. Here are some tips and tricks to make the process smoother:
Tip 1: Use a clear silicone sealant to prevent any visible sealant lines around the edges of the sink.
Tip 2: Before securing the sink to the vanity, test the fit and make any necessary adjustments.
Tip 3: Follow the manufacturer's instructions for proper installation and use of the mounting kit.

DIY Under Bathroom Sink Installation: Tips and Tricks


The Benefits of Installing an Undermount Bathroom Sink
There are several benefits to installing an undermount bathroom sink, including:
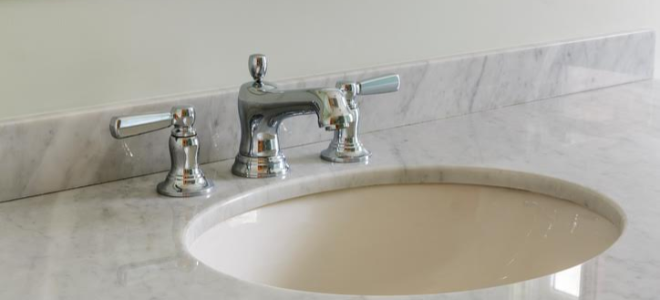
Improved Aesthetics: Undermount sinks provide a seamless and sleek look, as they are installed underneath the vanity rather than on top.
Easier Cleaning: With no edges or crevices, undermount sinks are easier to clean and maintain.
More Counter Space: Since undermount sinks don't take up counter space, you'll have more room for your bathroom essentials.


The Benefits of Installing an Undermount Bathroom Sink


Common Mistakes to Avoid When Installing an Under Bathroom Sink
While undermount sink installation is a fairly straightforward process, there are some common mistakes to avoid:
Mistake 1: Not using enough sealant, which can lead to leaks and damage to your vanity and floors.
Mistake 2: Not checking the fit of the sink before securing it to the vanity, which can lead to a crooked or uneven sink.
Mistake 3: Not following the manufacturer's instructions for proper installation and use of the mounting kit.


Common Mistakes to Avoid When Installing an Under Bathroom Sink


Tools and Materials Needed for Under Bathroom Sink Installation
To install an undermount bathroom sink, you will need the following tools and materials:
Tools: Drill, wrench, level, measuring tape
Materials: Undermount sink, mounting kit, silicone sealant, screws, P-trap, water supply lines

Tools and Materials Needed for Under Bathroom Sink Installation


How to Properly Seal an Undermount Bathroom Sink
Properly sealing your undermount bathroom sink is crucial for preventing leaks and ensuring its longevity. Here's how to do it:
Step 1: Clean the area around the sink cutout on the vanity to remove any dirt or debris.
Step 2: Apply a thin layer of silicone sealant around the edges of the sink cutout on the vanity.
Step 3: Carefully place the sink into the cutout and secure it with screws provided in the mounting kit.
Step 4: Apply more silicone sealant around the edges of the sink where it meets the vanity.
Step 5: Use a damp cloth to remove any excess sealant and smooth out the edges.


How to Properly Seal an Undermount Bathroom Sink


Professional vs. DIY Under Bathroom Sink Installation: Which is Right for You?
Deciding whether to hire a professional or do the under bathroom sink installation yourself depends on your skill level, budget, and time constraints. While hiring a professional may ensure a flawless installation, doing it yourself can save you money and give you a sense of accomplishment.

Professional vs. DIY Under Bathroom Sink Installation: Which is Right for You?


Cost of Under Bathroom Sink Installation: What to Expect
The cost of under bathroom sink installation can vary depending on the type of sink, your location, and whether you hire a professional or do it yourself. On average, you can expect to pay between $200-$500 for the sink and installation.


Cost of Under Bathroom Sink Installation: What to Expect


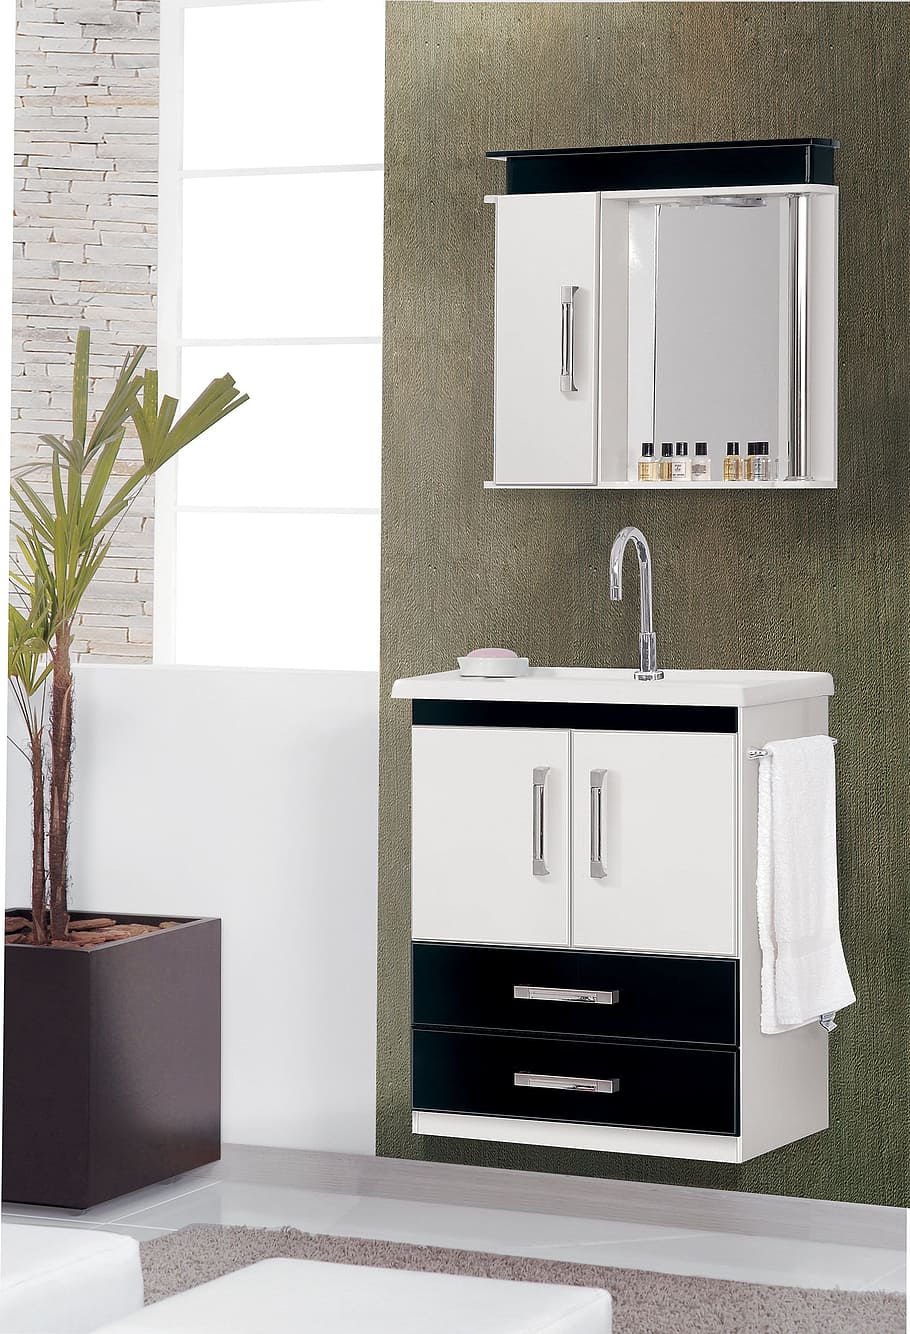
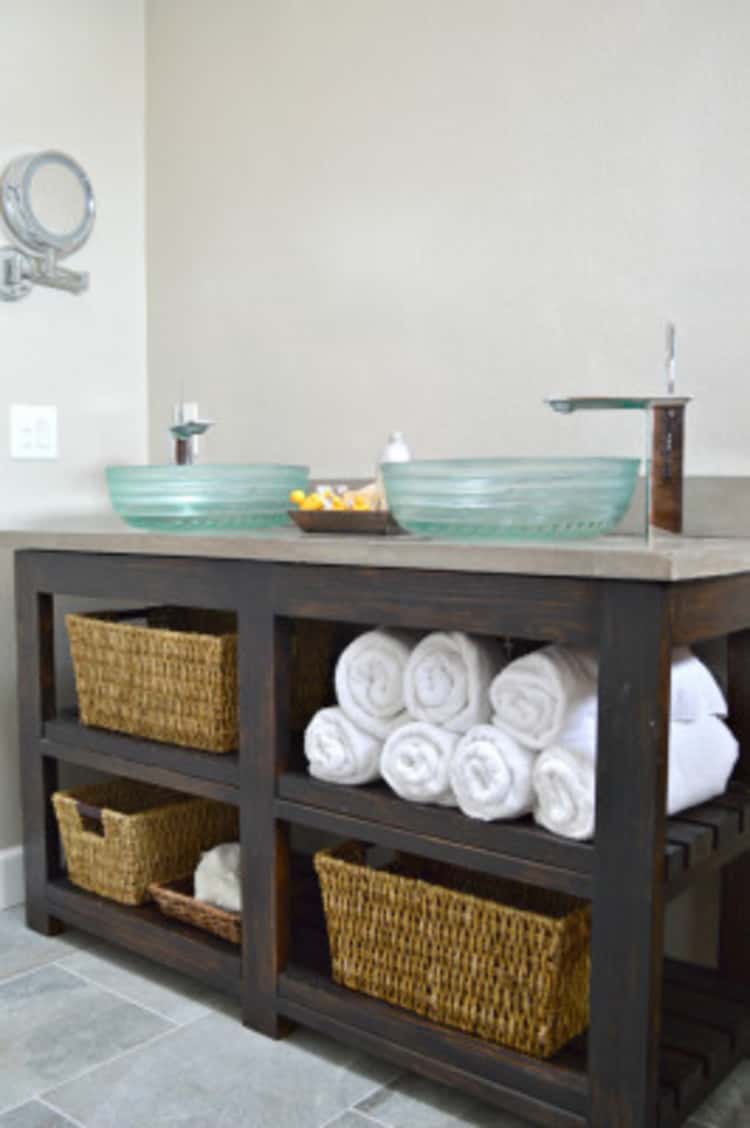
Maximizing Storage Space: Under Bathroom Sink Installation

Organizing your bathroom
 When it comes to house design, one of the most overlooked areas is the bathroom. Often seen as a purely functional space, the bathroom is often not given enough attention in terms of design and storage. However, with the right
under bathroom sink installation
, you can transform your bathroom into a well-organized and clutter-free space.
When it comes to house design, one of the most overlooked areas is the bathroom. Often seen as a purely functional space, the bathroom is often not given enough attention in terms of design and storage. However, with the right
under bathroom sink installation
, you can transform your bathroom into a well-organized and clutter-free space.
The importance of under sink storage
 The area under the bathroom sink is usually left unused or becomes a dumping ground for cleaning supplies and other miscellaneous items. However,
maximizing under sink storage
is essential for keeping your bathroom tidy and functional. With proper installation, you can make the most of this often neglected space and keep your bathroom essentials neatly organized.
The area under the bathroom sink is usually left unused or becomes a dumping ground for cleaning supplies and other miscellaneous items. However,
maximizing under sink storage
is essential for keeping your bathroom tidy and functional. With proper installation, you can make the most of this often neglected space and keep your bathroom essentials neatly organized.
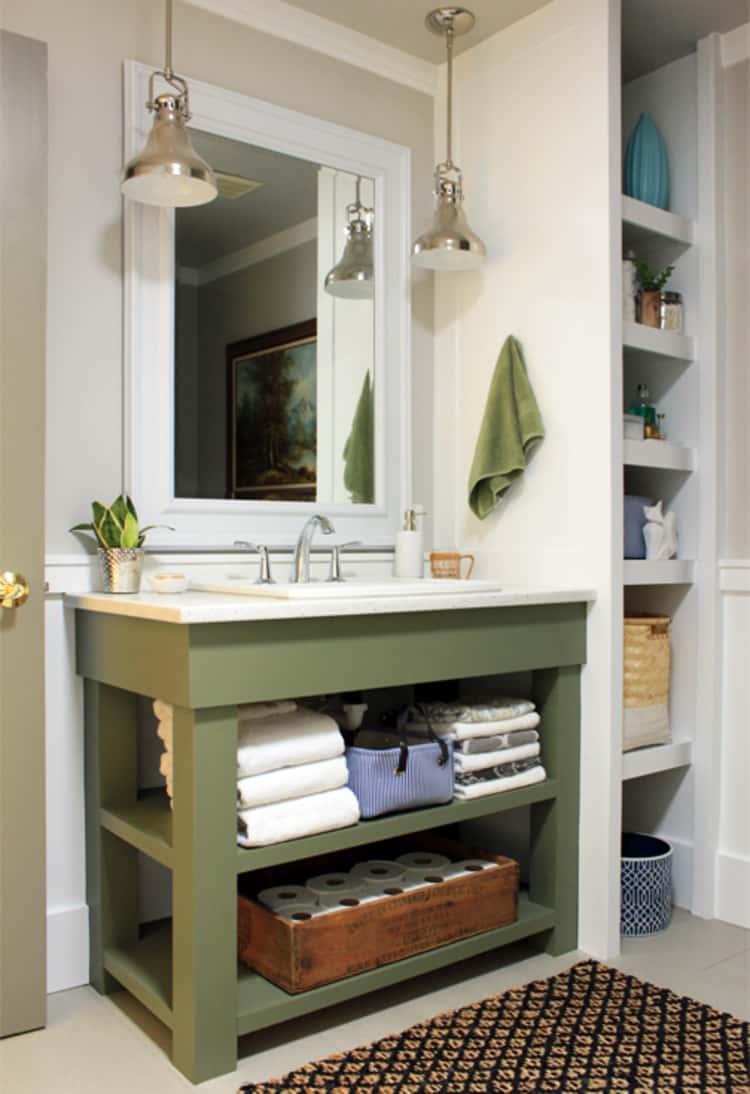
Choosing the right storage solutions
 When it comes to
under bathroom sink installation
, there are various storage solutions available to suit your needs. One option is to install a cabinet or shelving unit under the sink, providing ample space to store towels, toiletries, and cleaning supplies. Another option is to use stackable storage containers or baskets to keep smaller items organized and easily accessible.
When it comes to
under bathroom sink installation
, there are various storage solutions available to suit your needs. One option is to install a cabinet or shelving unit under the sink, providing ample space to store towels, toiletries, and cleaning supplies. Another option is to use stackable storage containers or baskets to keep smaller items organized and easily accessible.
Creating a clutter-free look
 One of the main benefits of
under bathroom sink installation
is that it creates a clutter-free look in your bathroom. By utilizing this often overlooked space, you can free up counter space and create a more visually appealing and functional bathroom. This can also help reduce stress and make your morning routine more efficient.
One of the main benefits of
under bathroom sink installation
is that it creates a clutter-free look in your bathroom. By utilizing this often overlooked space, you can free up counter space and create a more visually appealing and functional bathroom. This can also help reduce stress and make your morning routine more efficient.
Professional installation
 To ensure the best results, it is recommended to seek professional help for
under bathroom sink installation
. A professional can assess your bathroom layout and provide customized storage solutions that best fit your needs. They can also ensure proper installation, maximizing the use of the available space and providing a clean and polished look.
In conclusion,
under bathroom sink installation
is a crucial aspect of house design that should not be overlooked. With proper storage solutions and professional installation, you can transform your bathroom into a well-organized and clutter-free space, making your daily routine more efficient and stress-free. So don't neglect the space under your bathroom sink and start maximizing your storage space today.
To ensure the best results, it is recommended to seek professional help for
under bathroom sink installation
. A professional can assess your bathroom layout and provide customized storage solutions that best fit your needs. They can also ensure proper installation, maximizing the use of the available space and providing a clean and polished look.
In conclusion,
under bathroom sink installation
is a crucial aspect of house design that should not be overlooked. With proper storage solutions and professional installation, you can transform your bathroom into a well-organized and clutter-free space, making your daily routine more efficient and stress-free. So don't neglect the space under your bathroom sink and start maximizing your storage space today.