Unhooking a bathroom sink may seem like a daunting task, but with the right tools and knowledge, it can be a simple and easy process. Whether you're replacing your old sink or just need to temporarily remove it for a renovation, knowing how to properly unhook it is important. In this guide, we'll take you through the step-by-step process of unhooking a bathroom sink.How to Unhook a Bathroom Sink
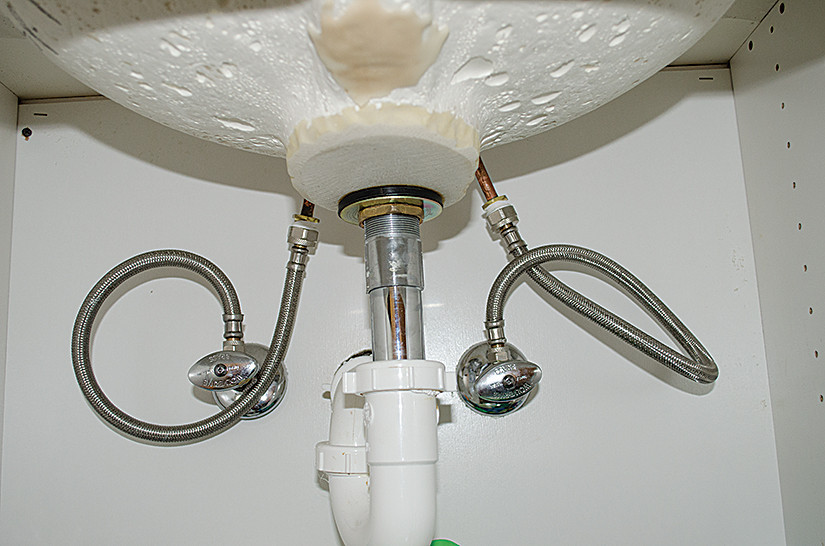
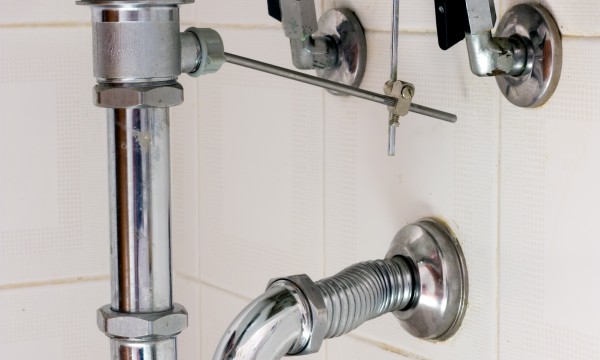
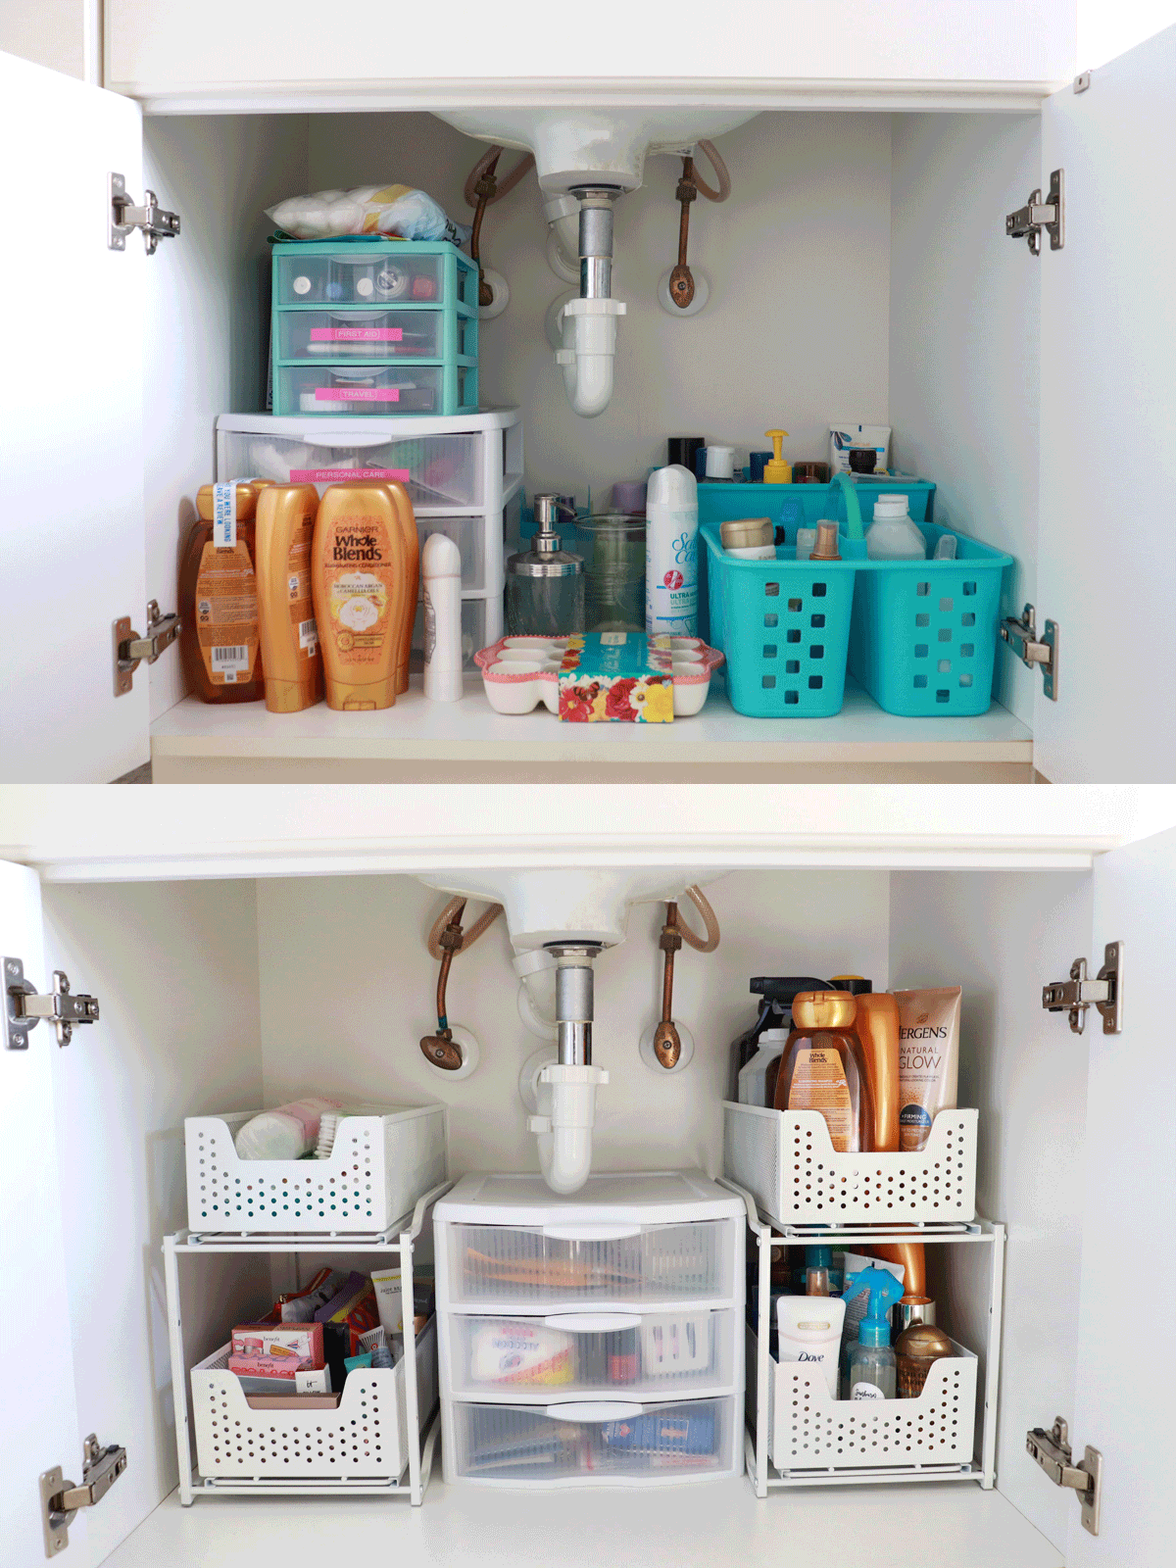
Before you begin, make sure you have all the necessary tools and materials. These may include a wrench, pliers, a bucket, and a new drain assembly if you're replacing the sink. Now, let's get started on unhooking your bathroom sink. Step 1: Turn off the water supply and disconnect the water lines. You can do this by turning the shut-off valves located under the sink in a clockwise direction. Then, use a wrench to loosen the water line connections and gently pull them off. Make sure to have a bucket ready to catch any water that may still be in the lines. Step 2: Disconnect the P-trap. The P-trap is the curved pipe located under the sink that connects to the drainage pipe in the wall. Use pliers to loosen the slip nuts and remove the P-trap. Make sure to have a bucket ready to catch any water that may still be in the P-trap. Step 3: Remove the sink from the countertop. Most sinks are held in place with clips or screws underneath. Use a screwdriver or pliers to loosen and remove these, and then gently lift the sink off the countertop. Step 4: Remove the drain assembly. If you're replacing the sink, you'll need to remove the drain assembly from the old sink. This is done by unscrewing the lock nut that holds the assembly in place. If you're keeping the same sink, you can skip this step. Step 5: Clean and prepare the area. Once the sink is removed, you'll have access to the area underneath. Use a rag to clean up any debris or residue and make sure the area is dry before installing the new sink.Unhooking a Bathroom Sink: Step-by-Step Guide
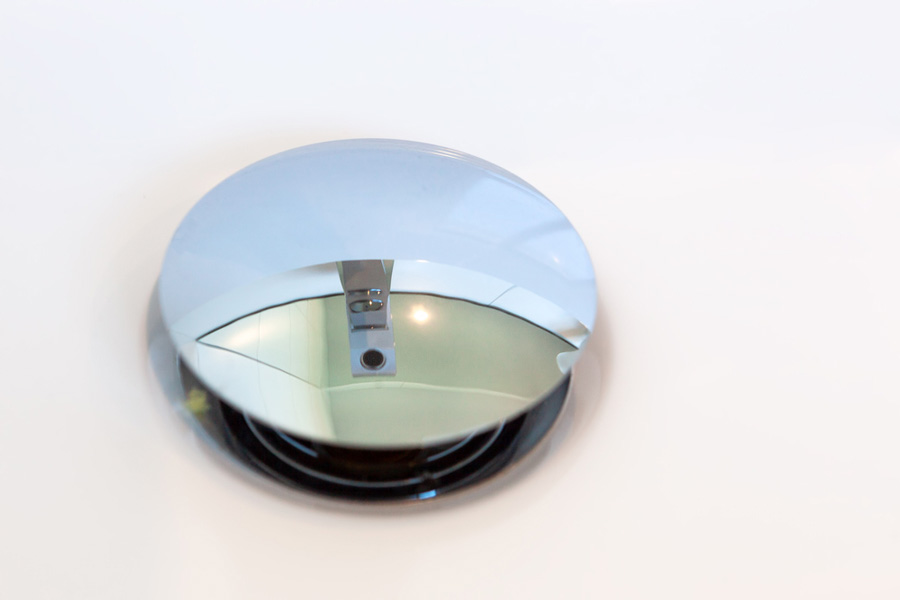
If you're just replacing the drain assembly, you can follow these steps to remove the old one and install the new one. Step 1: Remove the old drain assembly. This is done by unscrewing the lock nut that holds it in place. Once removed, you can pull the old assembly out from the top of the sink. Step 2: Install the new drain assembly. Slide the new assembly in from the top of the sink and secure it with the lock nut underneath. Make sure it is tightly secured and then attach the drain flange to the sink with the necessary hardware. Step 3: Reattach the P-trap. Once the drain assembly is in place, you can reattach the P-trap to the sink and the drainage pipe in the wall. Make sure the connections are secure and use plumber's tape if necessary. Step 4: Reinstall the sink. Carefully place the sink back onto the countertop and secure it with the clips or screws from underneath.Removing a Bathroom Sink Drain
If you're feeling confident in your handy skills, you can try unhooking your bathroom sink yourself. Just make sure to follow the steps carefully and have the necessary tools and materials on hand.DIY: Unhooking a Bathroom Sink
Here are a few tips and tricks to make unhooking a bathroom sink even easier: Tip 1: Use a bucket to catch any water that may still be in the lines or P-trap. Tip 2: Use plumber's tape to ensure a tight and leak-free connection. Tip 3: If the connections are stuck, use a lubricant such as WD-40 to loosen them.Unhooking a Bathroom Sink: Tips and Tricks
If you're not confident in your DIY skills or simply don't have the time, you can always hire a professional plumber to unhook your bathroom sink for you. They have the knowledge and experience to get the job done quickly and efficiently.The Easy Way to Unhook a Bathroom Sink
Here are some common mistakes to avoid when unhooking a bathroom sink: Mistake 1: Forgetting to turn off the water supply before disconnecting the water lines. Mistake 2: Not having a bucket ready to catch any water. Mistake 3: Using too much force and damaging the sink or its components.Unhooking a Bathroom Sink: Common Mistakes to Avoid
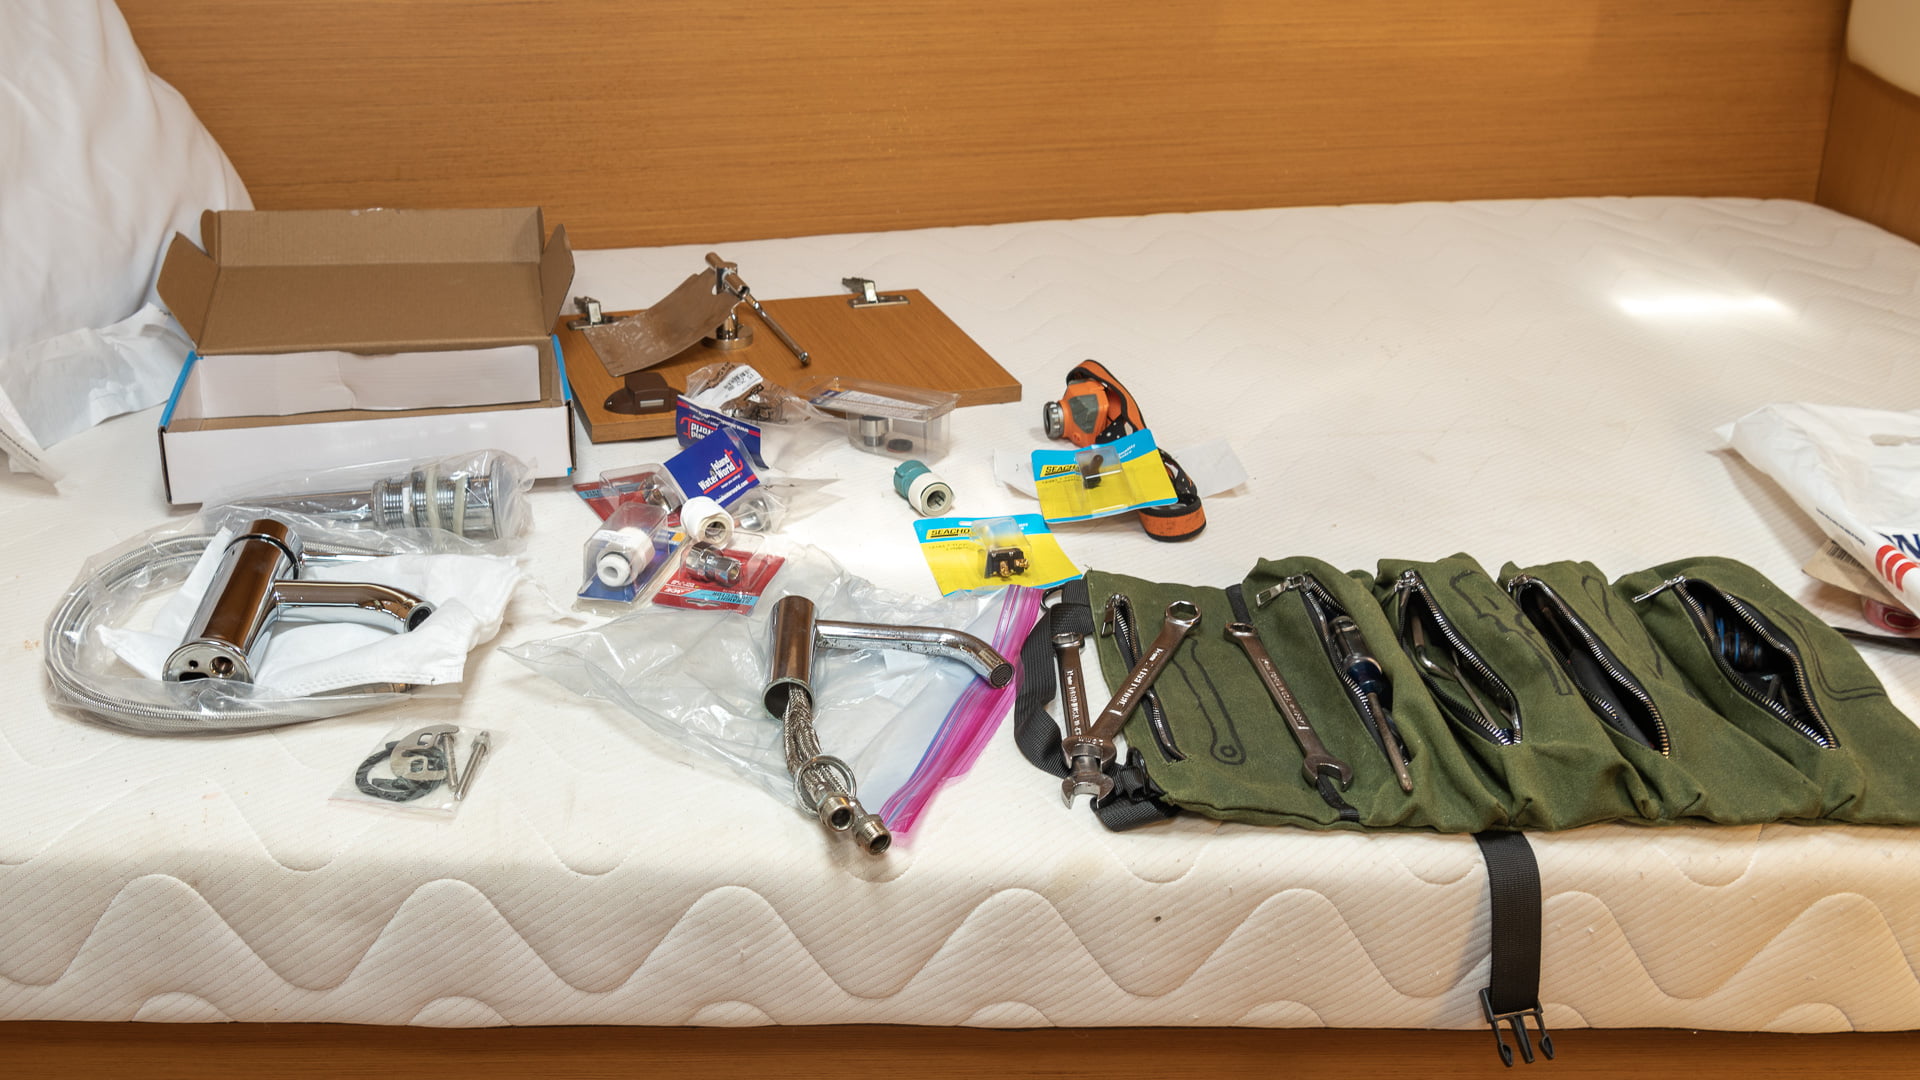
Here are the tools and materials you'll need to unhook a bathroom sink: Tool 1: Wrench Tool 2: Pliers Tool 3: Screwdriver Tool 4: Bucket Tool 5: Plumber's tapeUnhooking a Bathroom Sink: Tools You'll Need
If you encounter any issues while unhooking your bathroom sink, here are some troubleshooting tips: Issue 1: Water is still flowing after turning off the shut-off valves. Make sure the valves are fully closed and if necessary, replace them. Issue 2: Connections are stuck. Use a lubricant to loosen them. Issue 3: Leakages. Make sure all connections are tight and use plumber's tape if needed.Unhooking a Bathroom Sink: Troubleshooting Common Issues
When unhooking a bathroom sink, it's important to take safety precautions to avoid any accidents or injuries. Precaution 1: Always turn off the water supply before disconnecting any water lines. Precaution 2: Wear gloves to protect your hands from any sharp edges or debris. Precaution 3: Use caution when handling any tools to avoid injury. Now that you know the steps and tips for unhooking a bathroom sink, you can confidently tackle this task yourself or hire a professional to do it for you. Just remember to always take the necessary safety precautions and follow the steps carefully for a successful unhooking process.Unhooking a Bathroom Sink: Safety Precautions to Take
Why Unhooking the Bathroom Sink is Essential for Efficient House Design

The Importance of Properly Installing Bathroom Fixtures
 When it comes to designing a house, every detail matters. From the layout to the color scheme, each element plays a crucial role in creating a functional and aesthetically pleasing space. One often overlooked aspect of house design is the installation of bathroom fixtures, specifically the bathroom sink.
Unhooking the bathroom sink
may seem like a daunting task, but it is an essential step in achieving an efficient and well-designed bathroom.
Ensuring Proper Drainage
 One of the main reasons for unhooking a bathroom sink is to ensure proper drainage. Overtime, hair, soap scum, and other debris can clog the pipes and cause water to back up. This not only leads to unpleasant odors but can also cause damage to the sink and surrounding area. By unhooking the sink, you can access and clean out the pipes, ensuring that water flows freely and preventing any potential damage. This simple maintenance task can save you from costly repairs in the future.
Creating Space and Flexibility
 Another benefit of unhooking the bathroom sink is the added space and flexibility it provides. In smaller bathrooms, every inch counts, and having a fixed sink can limit your options for storage and layout. By unhooking the sink, you can easily move it to a different location or replace it with a different style, allowing for better use of space and a more personalized design. Additionally, unhooking the sink for renovations or updates allows for more flexibility and ease of installation.
Ensuring Proper Installation
 During the installation process, it is crucial to make sure the sink is correctly secured to the wall or vanity. If not properly installed, a sink can become loose over time and cause damage to the surrounding area. By unhooking the sink, you can ensure that it is properly attached and secure, providing peace of mind and avoiding any potential accidents or repairs down the line.
Conclusion
 In conclusion,
unhooking the bathroom sink
is an essential step in achieving an efficient and well-designed bathroom. It allows for proper drainage, creates space and flexibility, and ensures proper installation. Whether it's for routine maintenance or a house renovation, taking the time to unhook the sink will not only benefit your bathroom's functionality but also contribute to the overall design aesthetic of your home.

