Installing a kitchen sink drain may seem like a daunting task, but with the right tools and a little bit of know-how, it can be a simple and straightforward process. Whether you are replacing an old drain or installing a new one, here are the steps you need to follow to get the job done right. Step 1: Measure and cut the drain pipe to fit between the sink and the main plumbing line. Use a hacksaw to cut the pipe to the correct length. Step 2: Apply plumber's putty to the underside of the drain flange and insert it into the sink drain opening. Step 3: From underneath the sink, place the rubber gasket and then the mounting ring onto the drain flange. Tighten the mounting ring with pliers to secure the drain in place. Step 4: Connect the drain pipe to the sink by tightening the compression nut with pliers. Step 5: Connect the other end of the drain pipe to the main plumbing line using a slip nut and washer. Tighten the slip nut with pliers. Step 6: Turn on the water and check for any leaks. If everything is secure, your kitchen sink drain is now installed and ready to use!How to Install a Kitchen Sink Drain


How to Install a Kitchen Sink Drain

/how-to-install-a-sink-drain-2718789-hero-b5b99f72b5a24bb2ae8364e60539cece.jpg)


:max_bytes(150000):strip_icc()/how-to-install-a-sink-drain-2718789-hero-24e898006ed94c9593a2a268b57989a3.jpg)


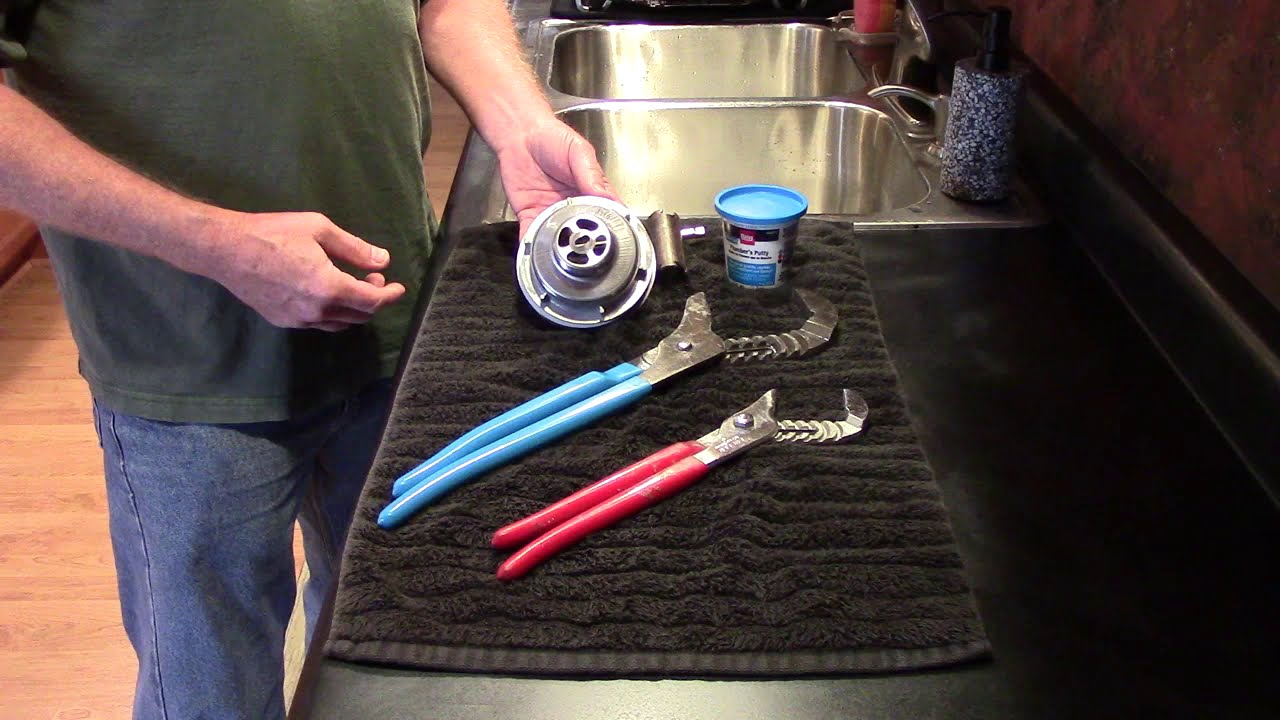
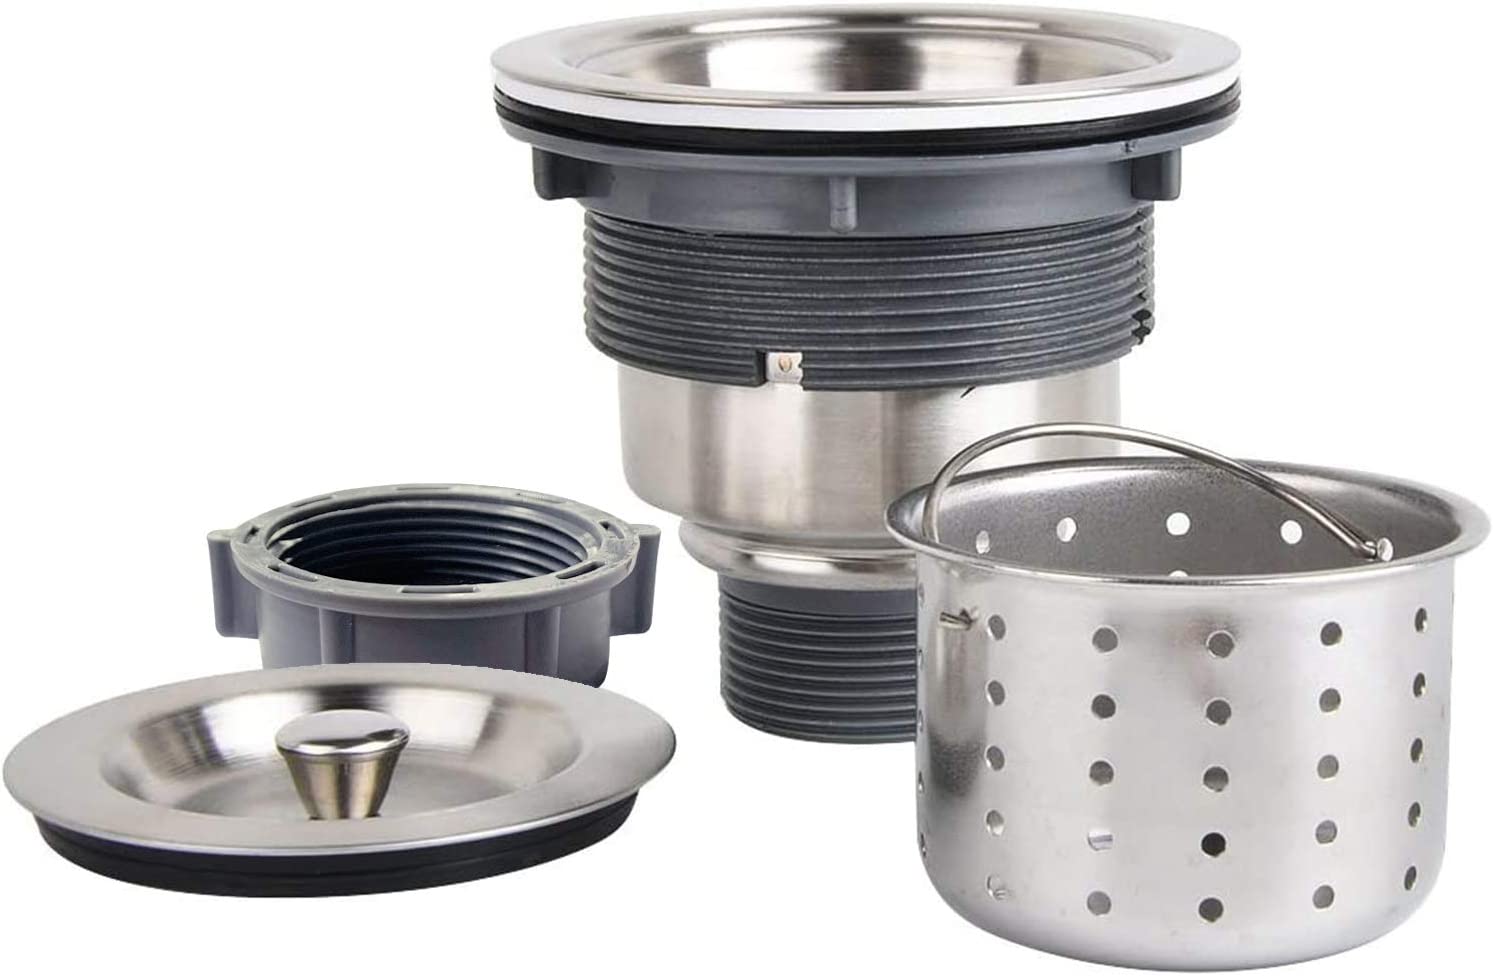
If your kitchen sink basket strainer is old or damaged, it may be time to replace it. This is a relatively simple process that can be done in a few easy steps. Step 1: Remove the old basket strainer by loosening the slip nut connecting it to the sink drain pipe. This may require the use of pliers. Step 2: Clean the area around the sink drain opening to ensure a good seal for the new basket strainer. Step 3: Apply plumber's putty to the underside of the new basket strainer and insert it into the sink drain opening. Step 4: From underneath the sink, place the rubber gasket and then the mounting ring onto the basket strainer. Tighten the mounting ring with pliers to secure the strainer in place. Step 5: Reconnect the drain pipe to the new basket strainer using a slip nut and washer. Tighten the slip nut with pliers. Step 6: Turn on the water and check for any leaks. If everything is secure, your new kitchen sink basket strainer is now installed!How to Replace a Kitchen Sink Basket Strainer

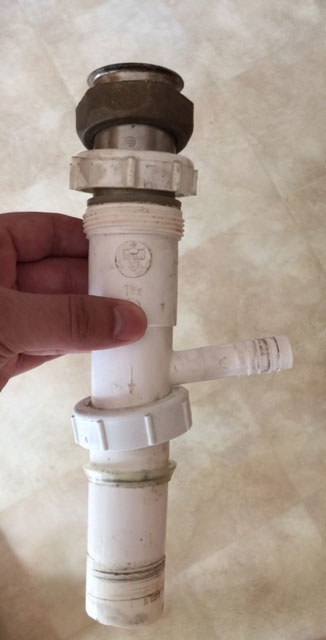

How to Replace a Kitchen Sink Basket Strainer


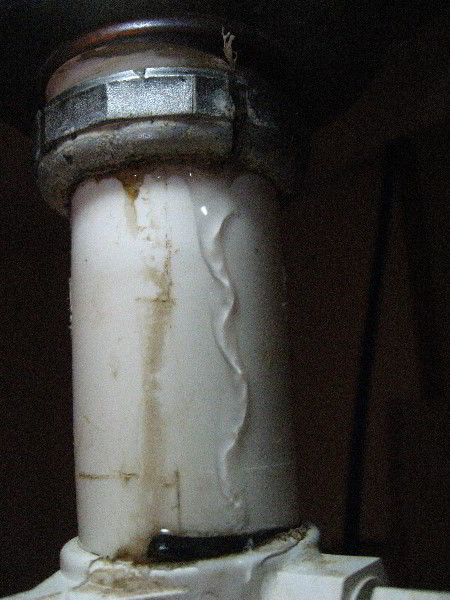
A leaky kitchen sink drain can not only be annoying, but it can also lead to water damage if left untreated. Here's how you can fix a leaky drain in a few simple steps. Step 1: Locate the source of the leak. It could be coming from the drain flange, the drain pipe, or the slip nut connecting the two. Step 2: If the leak is coming from the drain flange, you will need to remove it and apply new plumber's putty before reattaching it. Step 3: If the leak is coming from the drain pipe or slip nut, you may need to tighten them with pliers to create a better seal. Step 4: Turn on the water and check for any leaks. If the leak persists, you may need to replace the drain pipe or slip nut.How to Fix a Leaky Kitchen Sink Drain


How to Fix a Leaky Kitchen Sink Drain


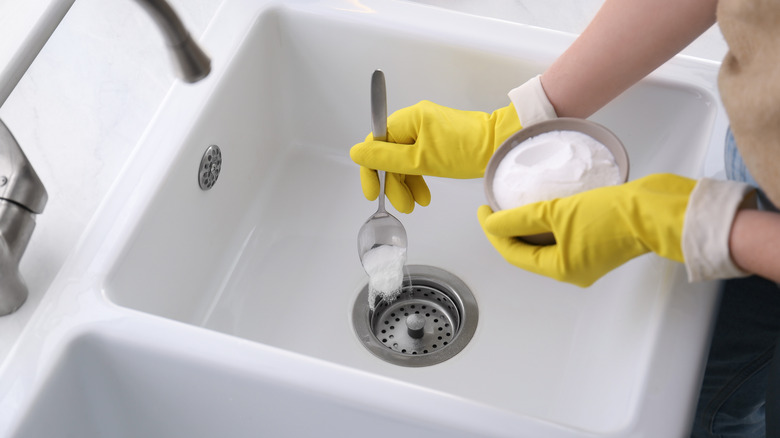
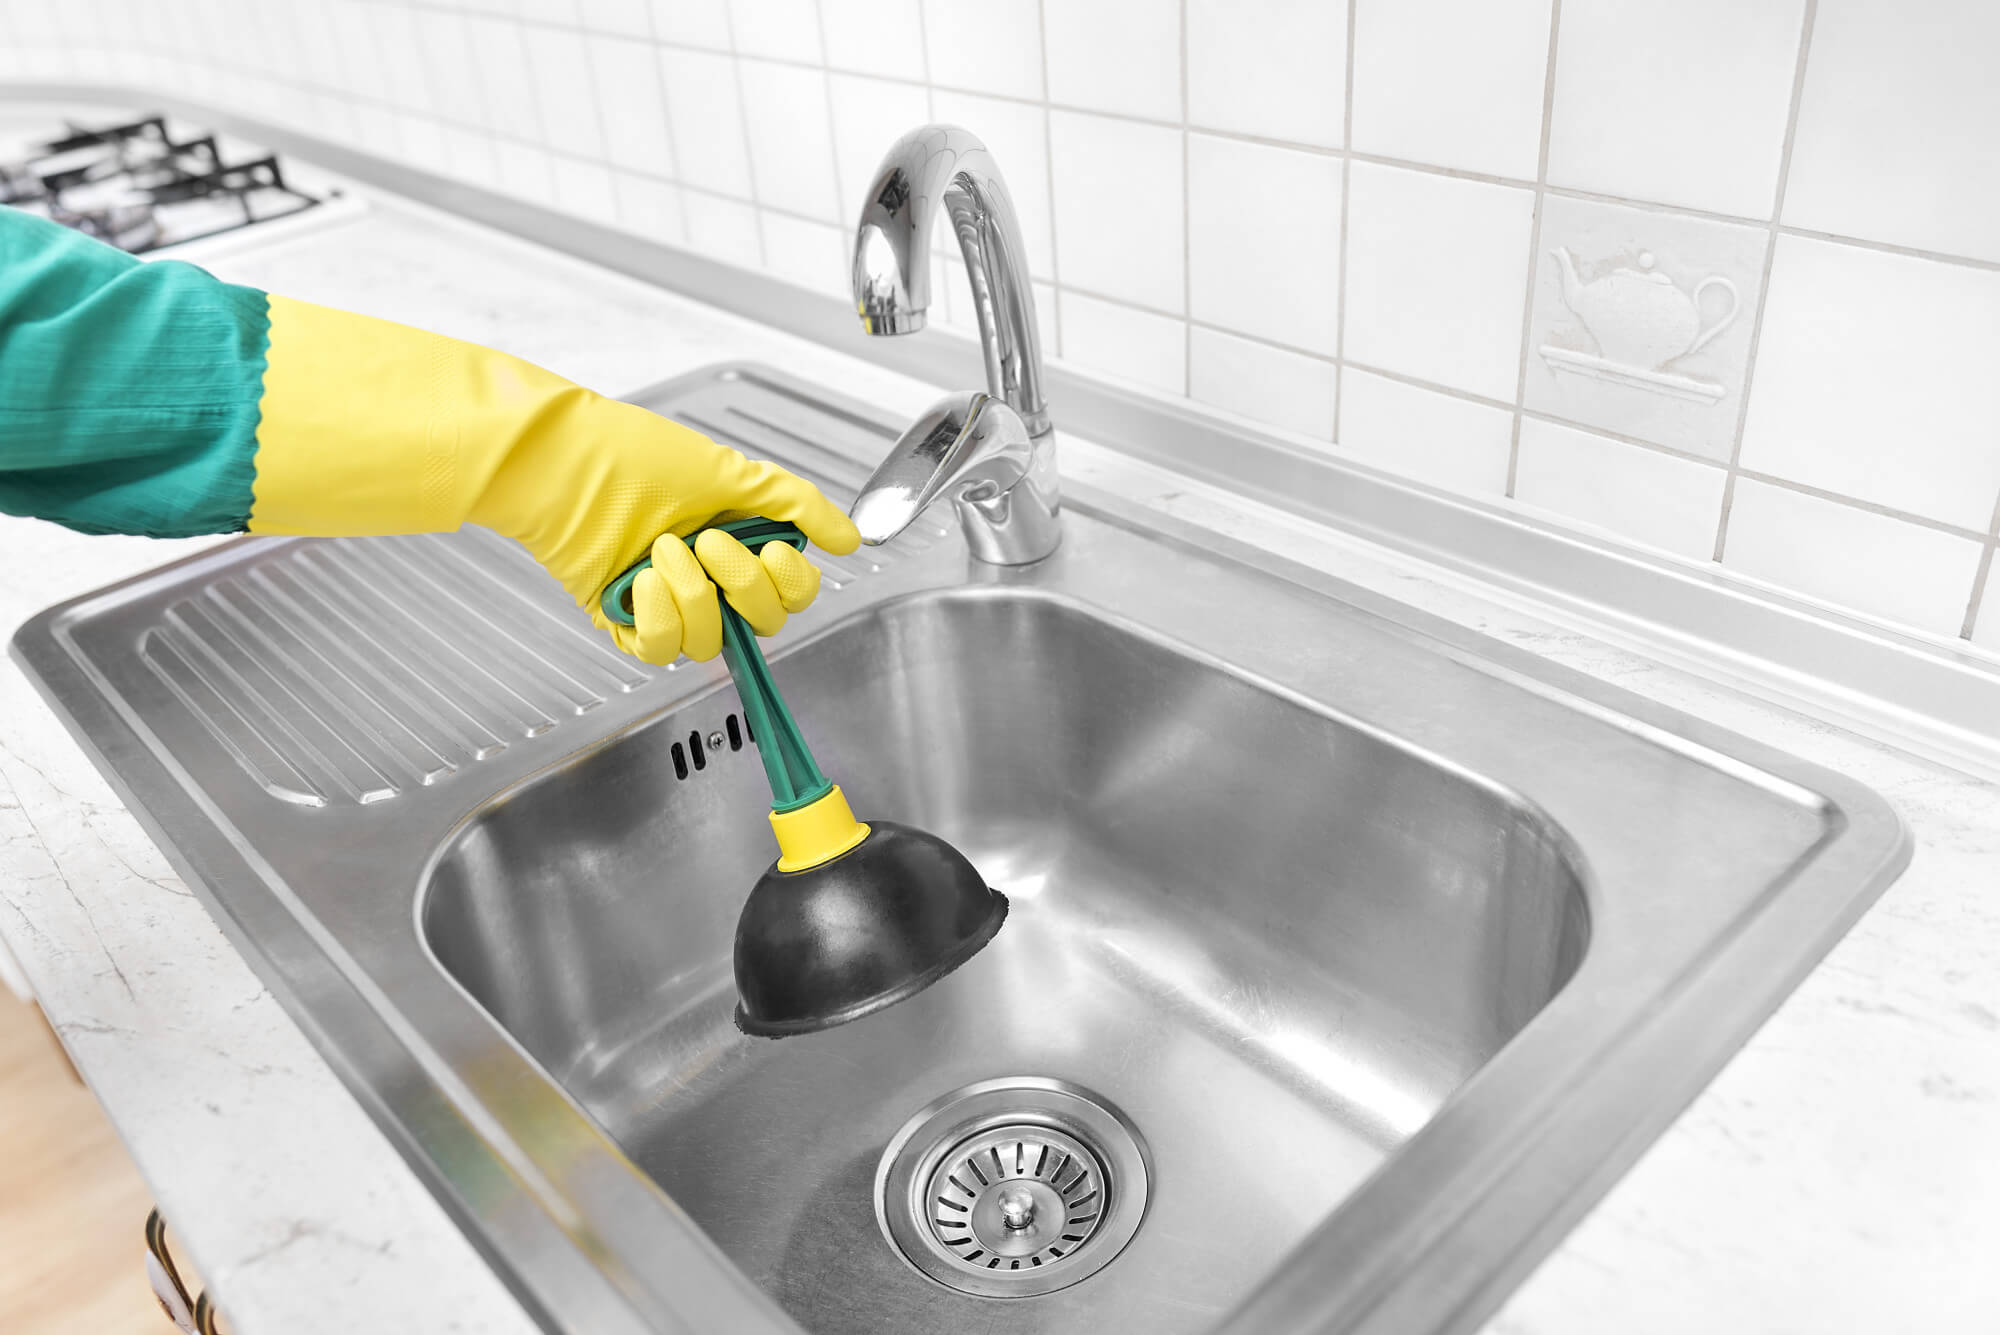
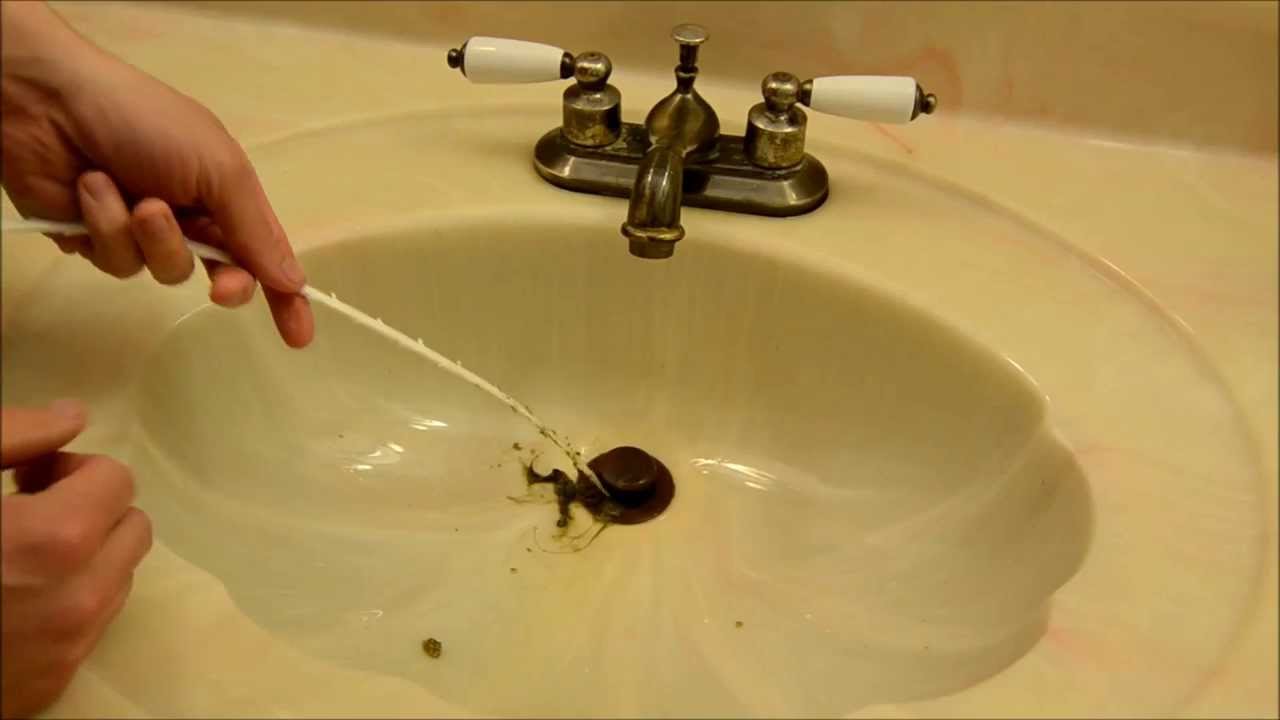
A clogged kitchen sink drain can be a major inconvenience, but with a few simple steps, you can easily unclog it and get your sink back to working properly. Step 1: Start by using a plunger to try and dislodge the clog. Make sure to cover the overflow opening with a wet cloth to create a better seal. Step 2: If plunging doesn't work, try using a drain snake to break up and remove the clog. Step 3: For stubborn clogs, you can use a mixture of baking soda and vinegar to help break up the clog. Pour 1/2 cup of baking soda down the drain, followed by 1/2 cup of vinegar. Let it sit for 15 minutes before flushing with hot water. Step 4: If none of these methods work, you may need to call a plumber to professionally remove the clog.How to Unclog a Kitchen Sink Drain


How to Unclog a Kitchen Sink Drain

:max_bytes(150000):strip_icc()/freshen-and-unclog-drain-with-baking-soda-1900466-22-bbf940b70afa4d5abef0c54da23b1d3f.jpg)


/how-to-unclog-a-kitchen-sink-2718799_sketch_FINAL-8c5caa805a69493ab22dfb537c72a1b7.png)

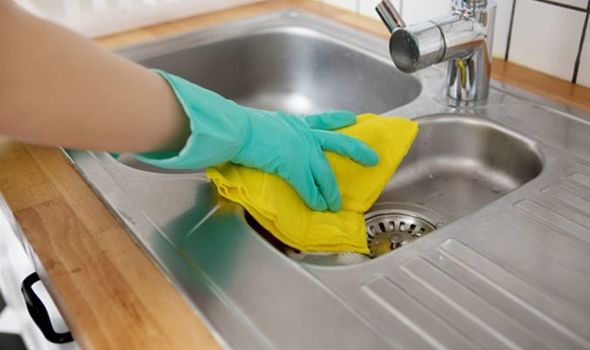
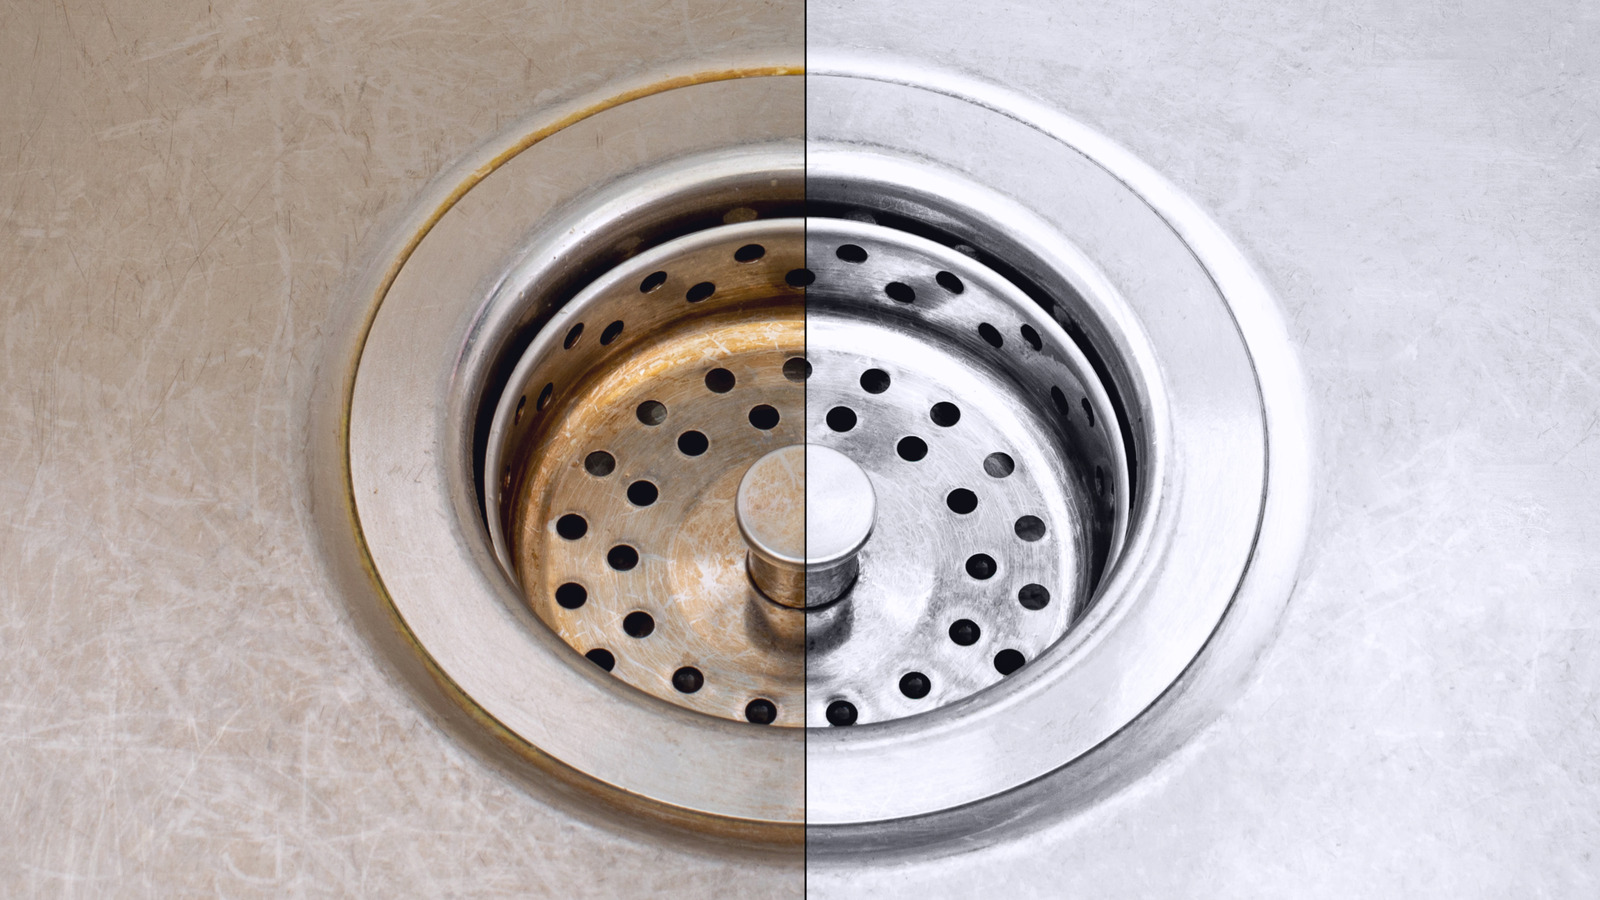
Keeping your kitchen sink drain clean is important for maintaining proper drainage and preventing unpleasant odors. Here's how you can easily clean your sink drain. Step 1: Start by removing any visible debris from the drain. You can use a small brush or your hands to do this. Step 2: Pour 1/2 cup of baking soda down the drain, followed by 1/2 cup of vinegar. Let it sit for 15 minutes before flushing with hot water. Step 3: For a deeper clean, you can use a drain snake to remove any buildup or debris that may be stuck in the drain. Step 4: To prevent future buildup, you can also pour a small amount of dish soap down the drain and run hot water for a few seconds every few days.How to Clean a Kitchen Sink Drain


How to Clean a Kitchen Sink Drain


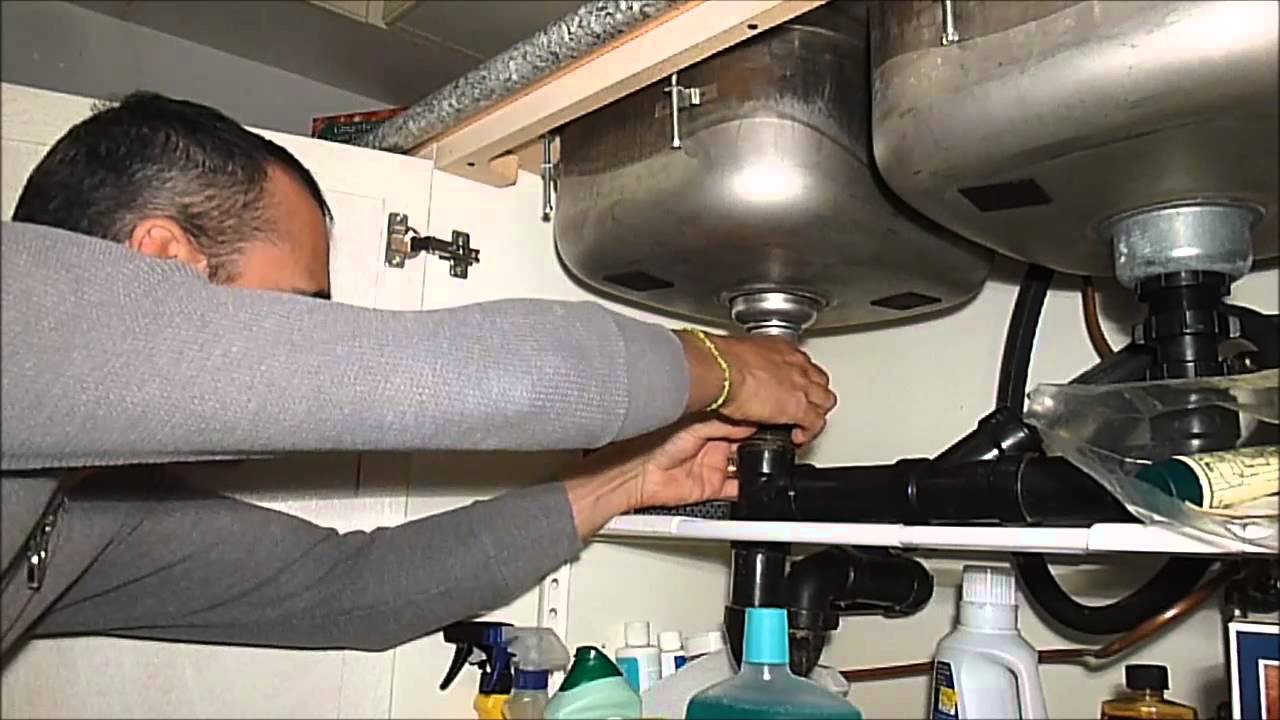
If you need to remove your kitchen sink drain for any reason, such as replacing it or cleaning it thoroughly, here's how you can do it in a few simple steps. Step 1: Start by disconnecting the drain pipe from the sink drain. You may need to use pliers to loosen the slip nut. Step 2: From underneath the sink, loosen and remove the mounting ring and rubber gasket from the drain flange. Step 3: Using a drain wrench, loosen and remove the drain flange from the sink drain opening. Step 4: Clean the area around the sink drain opening before reattaching the new drain flange. Step 5: Reattach the mounting ring and rubber gasket, followed by the drain pipe using a slip nut and washer. Step 6: Turn on the water and check for any leaks. If everything is secure, your sink drain has been successfully removed and reinstalled.How to Remove a Kitchen Sink Drain


How to Remove a Kitchen Sink Drain


If you are installing a new kitchen sink or replacing an old one, you will need to install a new drain pipe to connect the sink to the main plumbing line. Here's how you can do it in a few simple steps. Step 1: Measure and cut the drain pipe to fit between the sink and the main plumbing line. Use a hacksaw to cut the pipe to the correct length. Step 2: Connect one end of the drain pipe to the sink using a slip nut and washer. Tighten the slip nut with pliers. Step 3: Connect the other end of the drain pipe to the main plumbing line using a slip nut and washer. Tighten the slip nut with pliers. Step 4: Turn on the water and check for any leaks. If everything is secure, your new kitchen sink drain pipe is now installed and ready to use!How to Install a Kitchen Sink Drain Pipe


How to Install a Kitchen Sink Drain Pipe

If you are experiencing issues with your kitchen sink drain, such as leaks or clogs, it may be time to repair it. Here's how you can do it in a few simple steps. Step 1: Start by locating the source of the issue. If it is a leak, you may need to tighten the slip nut connecting the drain pipe to the sink or replace the drain flange. Step 2: If it is a clog, you can use a plunger or drain snake to try and remove it. Step 3: If these methods do not work, you may need to replace the drain pipe or call a plumber for professional repair.How to Repair a Kitchen Sink Drain

How to Repair a Kitchen Sink Drain


If your kitchen sink drain pipe is old or damaged, it may need to be replaced for proper drainage. Here's how you can do it in a few simple steps. Step 1: Start by removing the old drain pipe from the sink and main plumbing line using pliers to loosen the slip nuts. Step 2: Measure and cut the new drain pipe to fit between the sink and the main plumbing line. Step 3: Connect one end of the new drain pipe to the sink using a slip nut and washer. Tighten the slip nut with pliers. Step 4: Connect the other end of the new drain pipe to the main plumbing line using a slip nut and washer. Tighten the slip nut with pliers. Step 5: Turn on the water and check for any leaks. If everything is secure, your new kitchen sink drain pipe is now installed and ready to use!How to Replace a Kitchen Sink Drain Pipe


How to Replace a Kitchen Sink Drain Pipe


A slow kitchen sink drain can be frustrating, but luckily there are a few simple steps you can take to fix it. Step 1: Start by removing any visible debris from the drain. You can use a small brush or your hands to do this. Step 2: Pour 1/2 cup of baking soda down the drain, followed by 1/2 cup of vinegar. Let it sit for 15 minutes before flushing with hot water. Step 3: If the drain is still slow, you can try using a plunger or drain snake to remove any buildup or debris that may be causing the issue. Step 4: If the problem persists, you may need to call a plumber for professional assistance.How to Fix a Slow Kitchen Sink Drain


How to Fix a Slow Kitchen Sink Drain


:max_bytes(150000):strip_icc()/Five-Ways-to-Fix-a-Slow-Sink-Drain-05-a5fceccbd5a64b1b8730ee1e24b81b4f.jpg)
The Importance of Proper Kitchen Sink Basket Drain Plumbing

Maximizing Functionality in Your Kitchen
 When it comes to designing a functional and efficient kitchen, the
kitchen sink basket drain plumbing
is often overlooked. However, the
drain
plays a crucial role in keeping your kitchen clean and organized. Without proper plumbing, you may experience clogged drains, slow water flow, and even foul odors. This can make everyday tasks such as washing dishes and preparing food a frustrating and unpleasant experience. Therefore, it is important to understand the
importance of proper kitchen sink basket drain plumbing
and how it can enhance the functionality of your kitchen.
When it comes to designing a functional and efficient kitchen, the
kitchen sink basket drain plumbing
is often overlooked. However, the
drain
plays a crucial role in keeping your kitchen clean and organized. Without proper plumbing, you may experience clogged drains, slow water flow, and even foul odors. This can make everyday tasks such as washing dishes and preparing food a frustrating and unpleasant experience. Therefore, it is important to understand the
importance of proper kitchen sink basket drain plumbing
and how it can enhance the functionality of your kitchen.
Preventing Clogs and Blockages
 One of the main purposes of a kitchen sink basket drain is to filter out food particles and debris, preventing them from clogging your pipes. However, if the drain is not installed or maintained properly, it can lead to frequent clogs and blockages. This not only disrupts your daily routine but can also cause damage to your plumbing system.
Proper kitchen sink basket drain plumbing
involves choosing the right type and size of drain for your sink, as well as regularly cleaning and maintaining it. This will help to prevent clogs and ensure a smooth water flow in your kitchen.
One of the main purposes of a kitchen sink basket drain is to filter out food particles and debris, preventing them from clogging your pipes. However, if the drain is not installed or maintained properly, it can lead to frequent clogs and blockages. This not only disrupts your daily routine but can also cause damage to your plumbing system.
Proper kitchen sink basket drain plumbing
involves choosing the right type and size of drain for your sink, as well as regularly cleaning and maintaining it. This will help to prevent clogs and ensure a smooth water flow in your kitchen.
Minimizing Odors and Bacteria
 Another important aspect of
proper kitchen sink basket drain plumbing
is preventing foul odors and the growth of bacteria. When food particles and debris get stuck in your drain, it can create a breeding ground for bacteria, resulting in unpleasant odors. This not only affects the air quality in your kitchen but can also be a health hazard. By properly installing and maintaining your drain, you can minimize the buildup of bacteria and odors, creating a more hygienic and pleasant environment in your kitchen.
Another important aspect of
proper kitchen sink basket drain plumbing
is preventing foul odors and the growth of bacteria. When food particles and debris get stuck in your drain, it can create a breeding ground for bacteria, resulting in unpleasant odors. This not only affects the air quality in your kitchen but can also be a health hazard. By properly installing and maintaining your drain, you can minimize the buildup of bacteria and odors, creating a more hygienic and pleasant environment in your kitchen.
Optimizing Space in Your Kitchen
 A properly installed kitchen sink basket drain can also help to optimize the space in your kitchen. By choosing a
drain
that is the right size and style for your sink, you can create more counter space and make your kitchen look more spacious. Additionally, choosing a
drain
with a removable basket allows you to easily remove and empty any trapped debris, saving you time and effort in cleaning.
In conclusion,
proper kitchen sink basket drain plumbing
is essential for a functional and efficient kitchen. By choosing the right type and size of drain, regularly maintaining it, and addressing any potential issues, you can prevent clogs, minimize odors and bacteria, and optimize space in your kitchen. Don't overlook the importance of your kitchen sink basket drain and ensure it is installed and maintained properly for a hassle-free and enjoyable cooking experience.
A properly installed kitchen sink basket drain can also help to optimize the space in your kitchen. By choosing a
drain
that is the right size and style for your sink, you can create more counter space and make your kitchen look more spacious. Additionally, choosing a
drain
with a removable basket allows you to easily remove and empty any trapped debris, saving you time and effort in cleaning.
In conclusion,
proper kitchen sink basket drain plumbing
is essential for a functional and efficient kitchen. By choosing the right type and size of drain, regularly maintaining it, and addressing any potential issues, you can prevent clogs, minimize odors and bacteria, and optimize space in your kitchen. Don't overlook the importance of your kitchen sink basket drain and ensure it is installed and maintained properly for a hassle-free and enjoyable cooking experience.