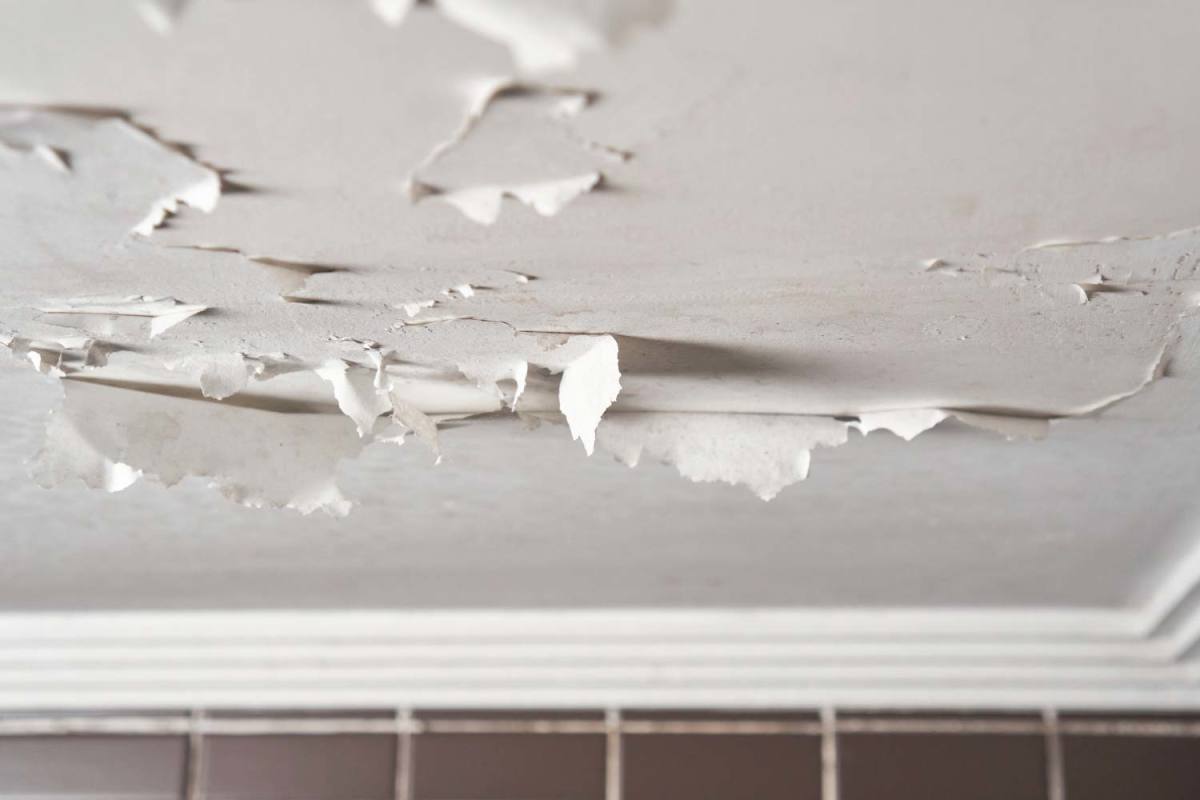
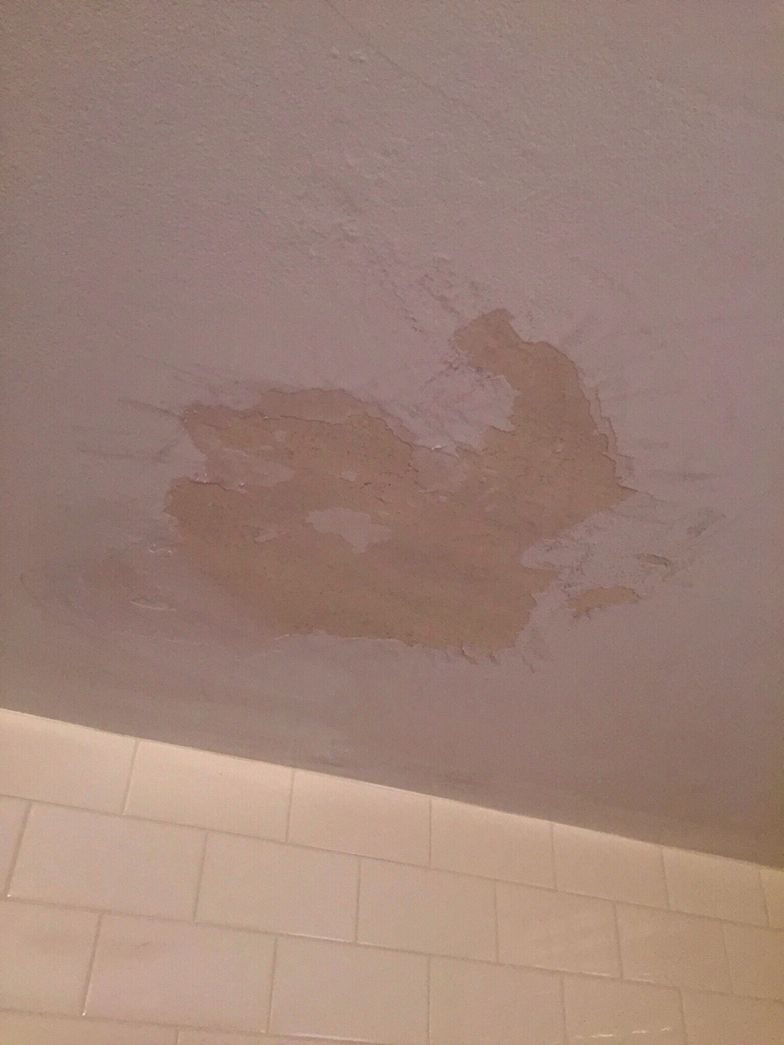
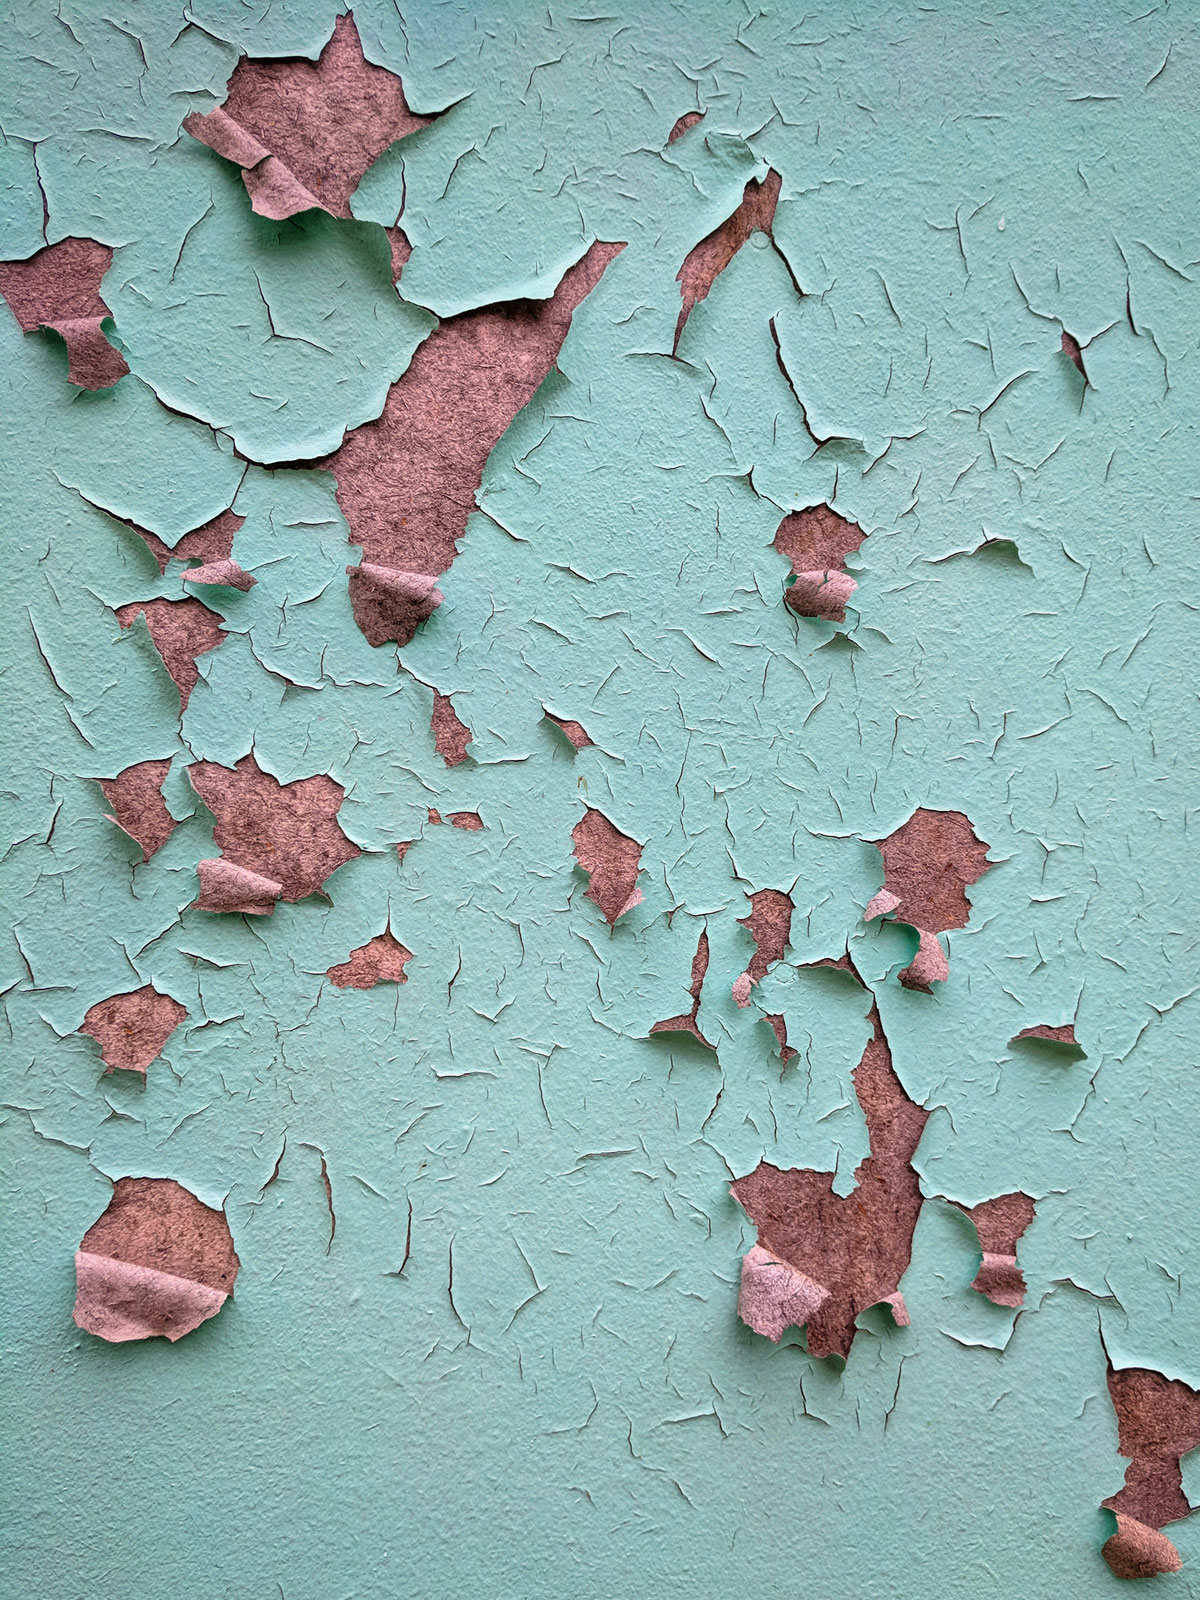
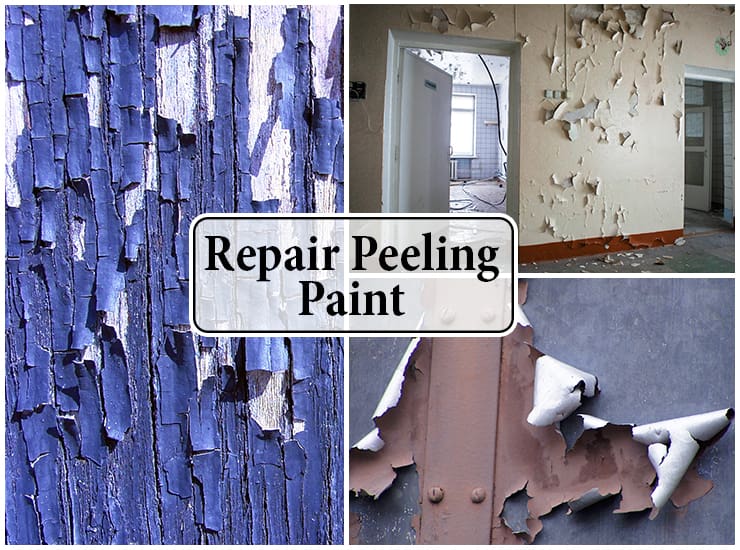
If you've noticed peeling paint on your kitchen ceiling, don't panic. This is a common problem in many homes, and fortunately, it is not too difficult to fix. In this article, we will guide you through the steps to repair and repaint your kitchen ceiling so it looks as good as new. The first step is to determine the cause of the peeling paint. It could be due to moisture, old age, or poor application. Once you have identified the cause, you can take the appropriate steps to fix it. If the peeling paint is due to moisture, it is important to address the source of the moisture before proceeding with any repairs. This could be a leaky roof or pipes, or even excessive humidity in the kitchen. Once the source of the moisture is fixed, you can move on to repairing the paint. Main keyword: peeling paint on kitchen ceiling Related keywords: fix peeling paint, kitchen ceiling, repair and repaint, common problem, moisture, old age, poor application, source of moisture, leaky roof, leaky pipes, excessive humidity1. How to Fix Peeling Paint on the Kitchen Ceiling | This Old House


1. How to Fix Peeling Paint on the Kitchen Ceiling


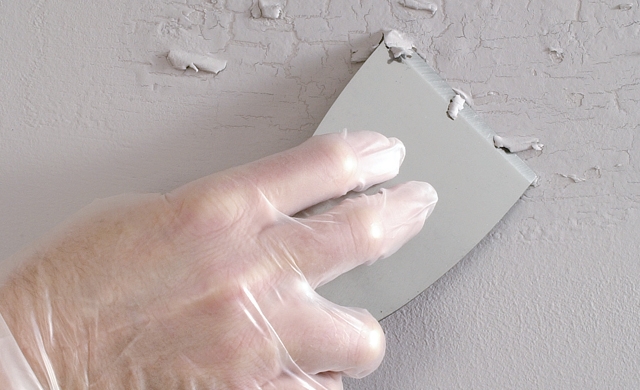
Peeling paint on kitchen cabinets can be frustrating to deal with, especially if you've recently spent time and money on a kitchen renovation. However, with the right tools and techniques, you can easily repair the peeling paint and give your cabinets a fresh new look. The first step is to remove any loose or flaking paint from the cabinets. You can use a scraper or sandpaper to gently remove the peeling paint. Once the surface is smooth and free of any loose paint, clean the cabinets thoroughly to remove any dust or debris. Next, apply a primer to the cabinets to help the new paint adhere better. Once the primer is dry, you can apply a fresh coat of paint to the cabinets. It is important to choose a paint that is specifically designed for kitchen cabinets to ensure durability and a smooth finish. Main keyword: peeling paint on kitchen cabinets Related keywords: repair, frustrating, kitchen renovation, tools, techniques, loose paint, scraper, sandpaper, clean, primer, new paint, durability, smooth finish2. How to Repair Peeling Paint on Kitchen Cabinets | DoItYourself.com


This Old House


Dealing with peeling paint on a textured ceiling can be a bit trickier than a smooth ceiling, but it is still possible to fix it yourself. The key is to use the right tools and techniques to ensure a seamless repair. The first step is to scrape off any loose or flaking paint from the ceiling. Next, use a sanding sponge to smooth out the surface and remove any rough spots. Then, apply a coat of primer to help the new paint adhere better. Once the primer is dry, you can apply a fresh coat of paint to the ceiling, making sure to blend it in with the surrounding texture. If the peeling paint is due to moisture, it may be necessary to address the source of the moisture before repairing the paint. This will help prevent future peeling and damage to your ceiling. Main keyword: peeling paint on textured ceiling Related keywords: trickier, right tools, techniques, seamless repair, scrape off, sanding sponge, rough spots, primer, new paint, blend, moisture, source, prevent, damage3. How to Fix Peeling Paint on a Textured Ceiling | Today's Homeowner


2. How to Repair Peeling Paint on Kitchen Cabinets


Peeling paint on drywall can be a common occurrence, especially in high-traffic areas such as the kitchen. Fortunately, it is a relatively easy fix that you can do yourself with a few simple tools and materials. The first step is to scrape off any loose or flaking paint from the drywall. Next, use a sanding sponge to smooth out the surface and remove any rough spots. Then, apply a coat of primer to help the new paint adhere better. Once the primer is dry, you can apply a fresh coat of paint to the drywall. If the peeling paint is due to poor application, it may be necessary to remove all of the paint and start fresh. This will ensure a smooth and long-lasting finish on your walls. Main keyword: peeling paint on drywall Related keywords: common occurrence, high-traffic areas, easy fix, simple tools, materials, scrape off, sanding sponge, rough spots, primer, new paint, poor application, remove, start fresh, smooth, long-lasting finish4. How to Fix Peeling Paint on Drywall | The Spruce


DoItYourself.com


Peeling paint on walls can be unsightly and can make a room look unkempt. However, with the right tools and techniques, you can easily repair the peeling paint and give your walls a fresh new look. The first step is to scrape off any loose or flaking paint from the walls. Next, use a sanding sponge to smooth out the surface and remove any rough spots. Then, apply a coat of primer to help the new paint adhere better. Once the primer is dry, you can apply a fresh coat of paint to the walls. If the peeling paint is due to old age or moisture, it may be necessary to address the underlying issue before repairing the paint. This will help prevent future peeling and ensure a long-lasting finish. Main keyword: peeling paint on walls Related keywords: unsightly, unkempt, tools, techniques, repair, fresh new look, scrape off, sanding sponge, rough spots, primer, new paint, old age, moisture, underlying issue, prevent, long-lasting finish5. How to Fix Peeling Paint on Walls | The Home Depot
3. How to Fix Peeling Paint on a Textured Ceiling


Peeling paint on wood can be a common problem, especially in areas that are exposed to moisture or extreme temperatures. However, with the right tools and techniques, you can easily repair the peeling paint and restore the beauty of your wood surfaces. The first step is to remove any loose or flaking paint from the wood surface. Next, use a sanding sponge to smooth out the surface and remove any rough spots. Then, apply a coat of primer to help the new paint adhere better. Once the primer is dry, you can apply a fresh coat of paint to the wood. If the peeling paint is due to moisture, it may be necessary to address the source of the moisture before repairing the paint. This will help prevent future peeling and damage to your wood surfaces. Main keyword: peeling paint on wood Related keywords: common problem, moisture, extreme temperatures, tools, techniques, repair, restore, beauty, wood surfaces, scrape off, sanding sponge, rough spots, primer, new paint, source, prevent, damage6. How to Fix Peeling Paint on Wood | Bob Vila


Today's Homeowner


/cloudfront-us-east-1.images.arcpublishing.com/gray/ENHV6EQVKZEYDFVYB36BOO7EG4.jpg)


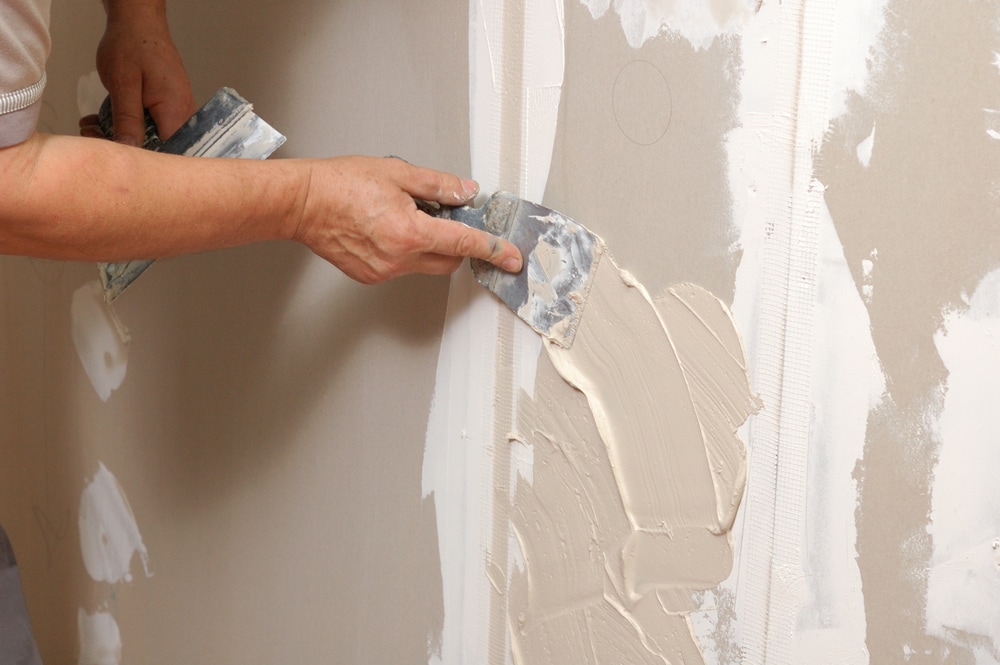
If you have peeling paint on plaster walls, you may be wondering how to fix it without damaging the plaster. Fortunately, with the right tools and techniques, you can easily repair the peeling paint and restore the look of your walls. The first step is to gently scrape off any loose or flaking paint from the walls. Next, use a sanding sponge to smooth out the surface and remove any rough spots. Then, apply a coat of primer to help the new paint adhere better. Once the primer is dry, you can apply a fresh coat of paint to the walls. If the peeling paint is due to moisture, it may be necessary to address the source of the moisture before repairing the paint. This will help prevent future peeling and ensure a long-lasting finish on your plaster walls. Main keyword: peeling paint on plaster walls Related keywords: damage, tools, techniques, repair, restore, gentle, scrape off, sanding sponge, rough spots, primer, new paint, moisture, source, prevent, long-lasting finish7. How to Fix Peeling Paint on Plaster Walls | This Old House


4. How to Fix Peeling Paint on Drywall


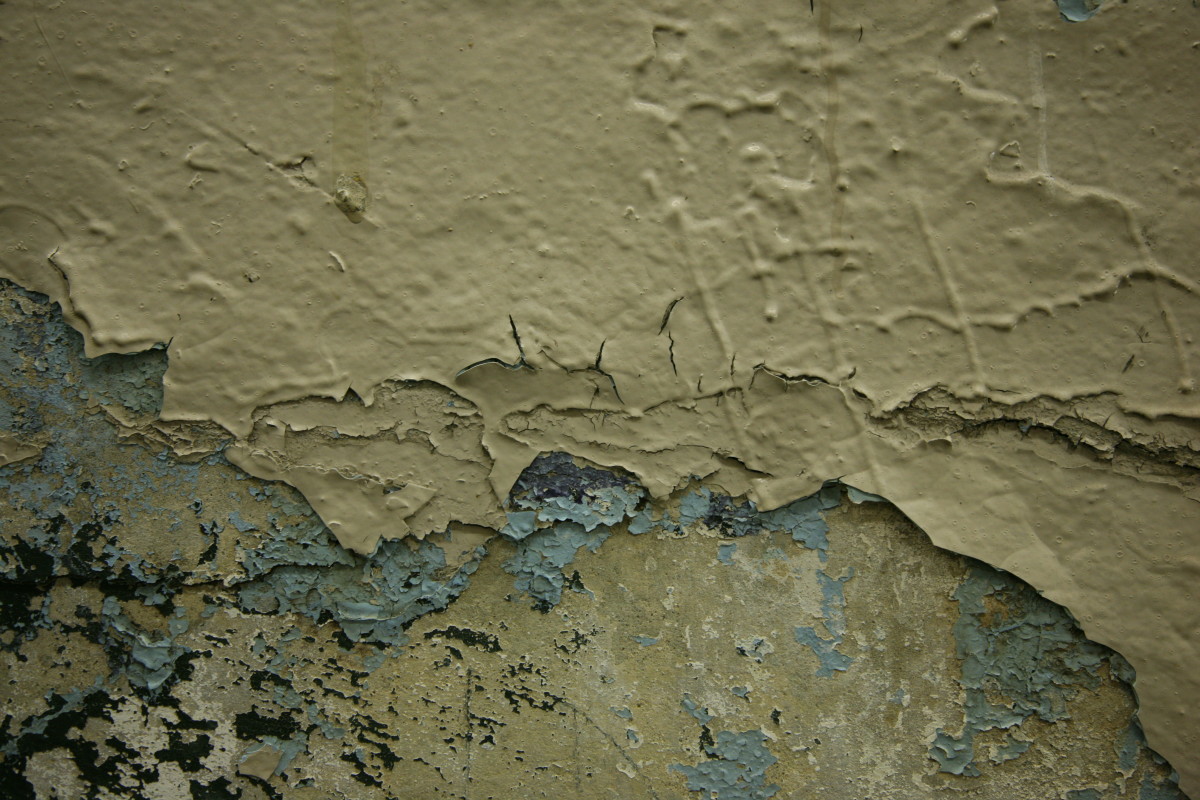
Peeling paint on the exterior walls of your home can be an eyesore and can also leave your walls vulnerable to the elements. However, with the right tools and techniques, you can easily repair the peeling paint and protect your walls from further damage. The first step is to scrape off any loose or flaking paint from the walls. Next, use a pressure washer to clean the walls and remove any dirt or debris. Then, apply a coat of primer to help the new paint adhere better. Once the primer is dry, you can apply a fresh coat of paint to the walls. If the peeling paint is due to poor application or moisture, it may be necessary to address these issues before repairing the paint. This will help ensure a long-lasting and attractive finish on your exterior walls. Main keyword: peeling paint on exterior walls Related keywords: eyesore, vulnerable, elements, tools, techniques, repair, protect, scrape off, pressure washer, clean, dirt, debris, primer, new paint, poor application, moisture, address, long-lasting, attractive finish8. How to Fix Peeling Paint on Exterior Walls | DIY Network


The Spruce
/GettyImages-564734565-58dbe7bb5f9b584683f795b1.jpg)
:max_bytes(150000):strip_icc()/white-spruce-branch-837600712-5313112828fd4f4aa49d5d8f2e05568c.jpg)
:max_bytes(150000):strip_icc()/white-spruce-branch-1251151185-332cc9b191054193ba88789dd48ba70e.jpg)


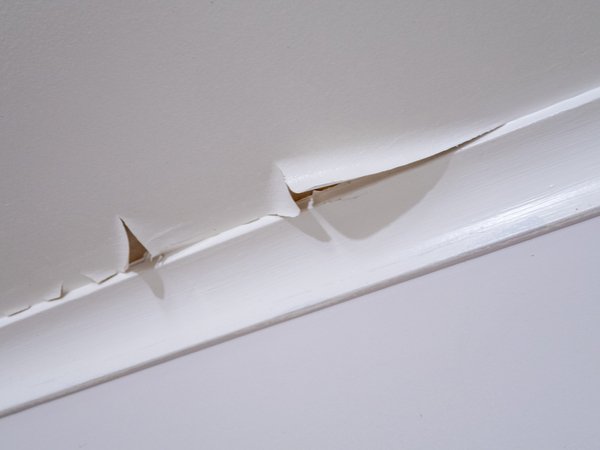
Peeling paint on trim can be a common problem, especially in high-traffic areas such as door frames and baseboards. Fortunately, with the right tools and techniques, you can easily repair the peeling paint and give your trim a fresh new look. The first step is to remove any loose or flaking paint from the trim. Next, use a sanding sponge to smooth out the surface and remove any rough spots. Then, apply a coat of primer to help the new paint adhere better. Once the primer is dry, you can apply a fresh coat of paint to the trim. If the peeling paint is due to moisture, it may be necessary to address the source of the moisture before repairing the paint. This will help prevent future peeling and ensure a long-lasting finish on your trim. Main keyword: peeling paint on trim Related keywords: common problem, high-traffic areas, tools, techniques, repair, fresh new look, remove, sanding sponge, rough spots, primer, new paint, moisture, source, prevent, long-lasting finish9. How to Fix Peeling Paint on Trim | The Family Handyman


5. How to Fix Peeling Paint on Walls


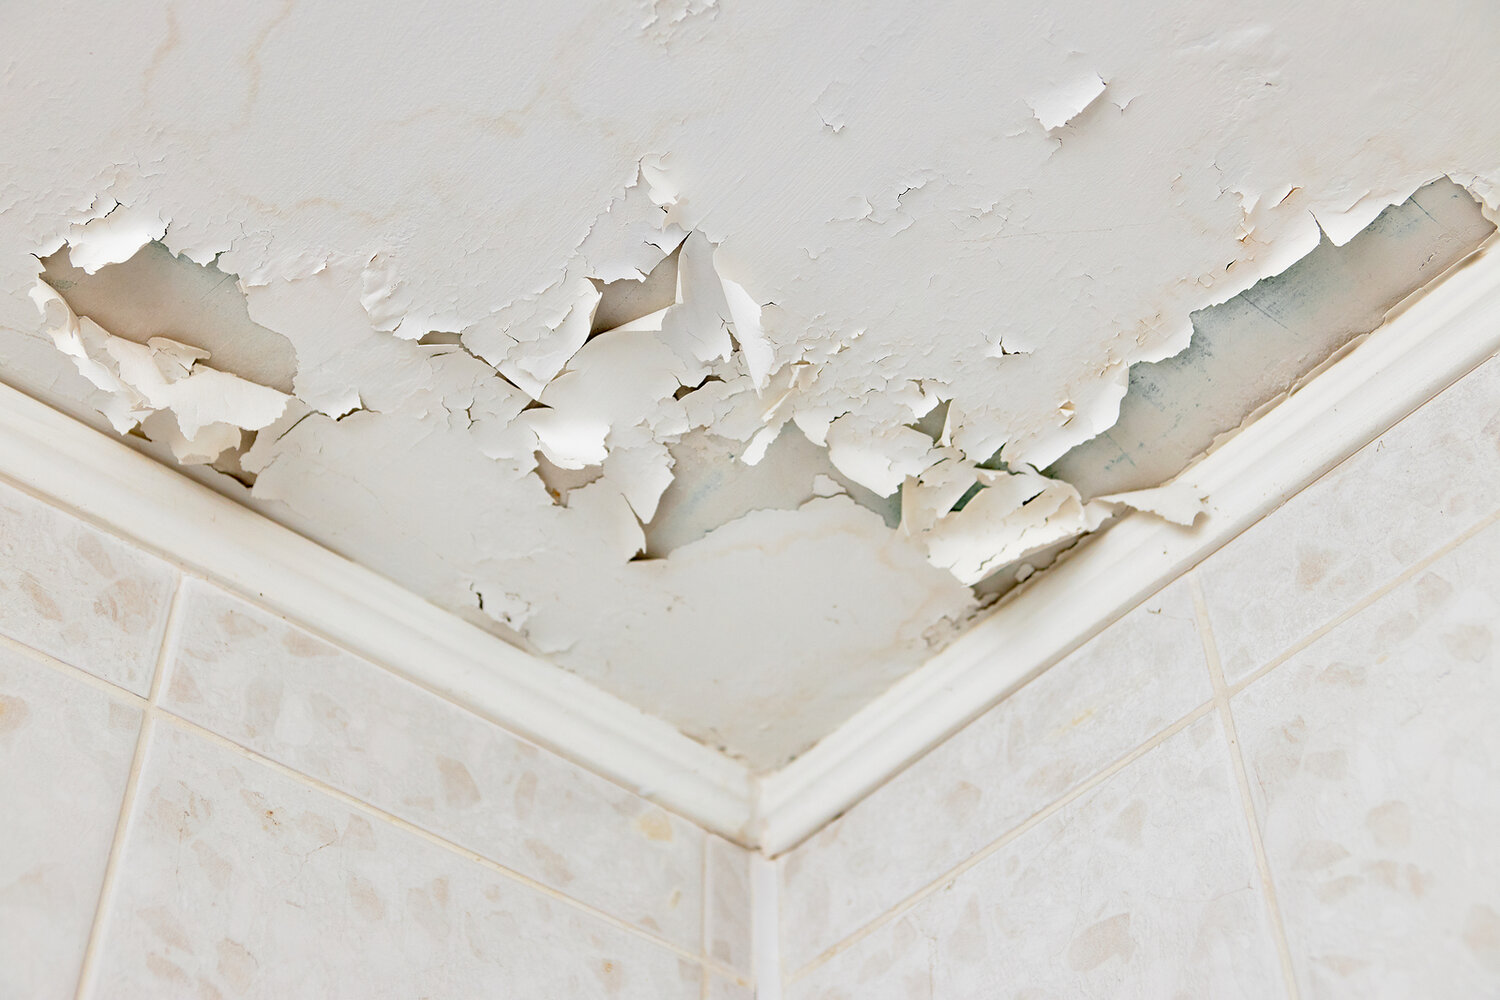
Dealing with peeling paint on a bathroom ceiling can be a frustrating experience, especially since bathrooms are often prone to moisture and humidity. However, with the right tools and techniques, you can easily repair the peeling paint and give your ceiling a fresh new look. The first step is to remove any loose or flaking paint from the ceiling. Next, use a sanding sponge to smooth out the surface and remove any rough spots. Then, apply a coat of primer to help the new paint adhere better. Once the primer is dry, you can apply a fresh coat of paint to the ceiling. If the peeling paint is due to moisture, it may be necessary to address the source of the moisture before repairing the paint. This will help prevent future peeling and damage to your bathroom ceiling. Main keyword: peeling paint on bathroom ceiling Related keywords: frustrating, experience, moisture, humidity, tools, techniques, repair, fresh new look, remove, sanding sponge, rough spots, primer, new paint, source, prevent, damage10. How to Fix Peeling Paint on a Bathroom Ceiling | Home Guides | SF Gate


The Home Depot


/iStock-459232917-min.jpg)


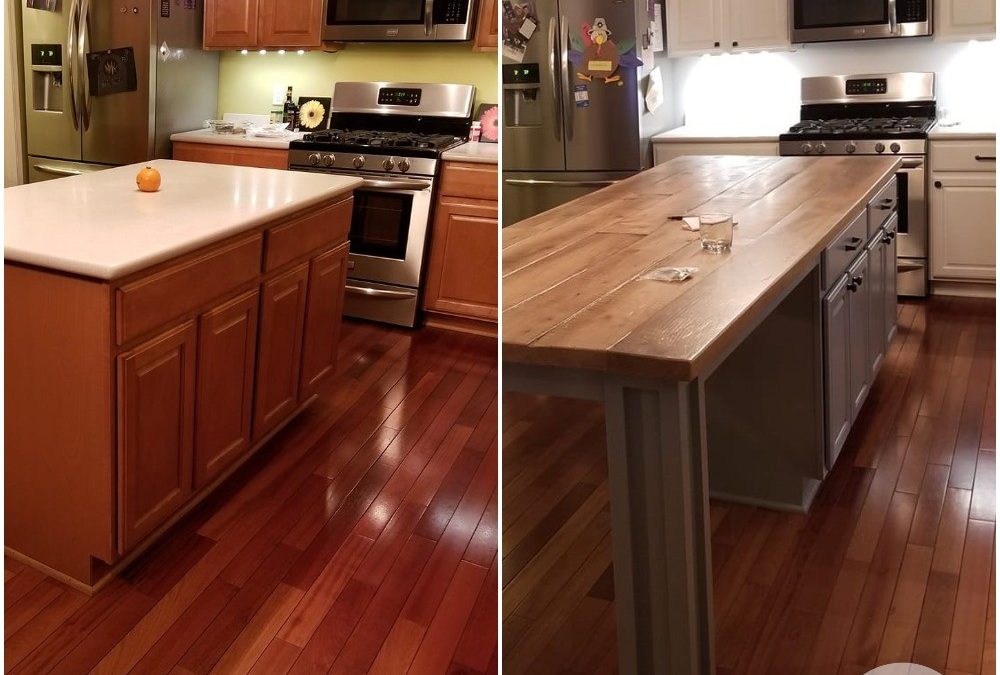
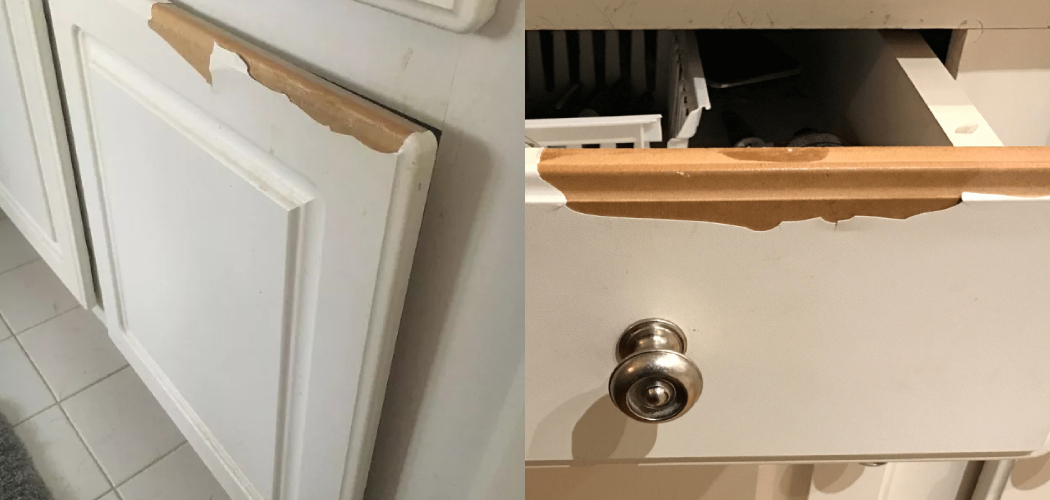
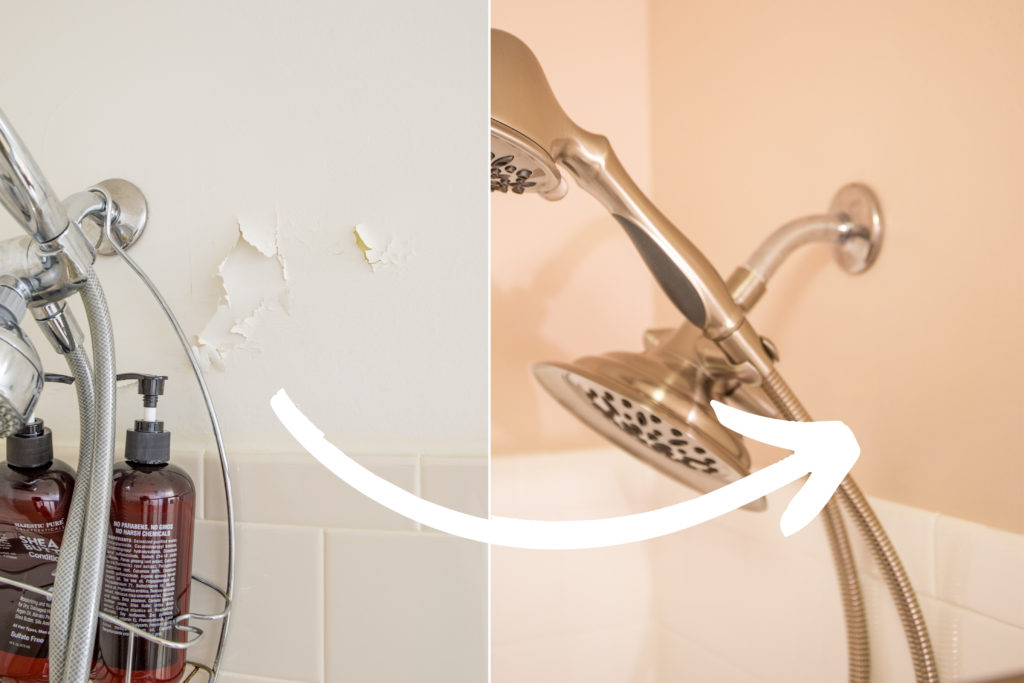
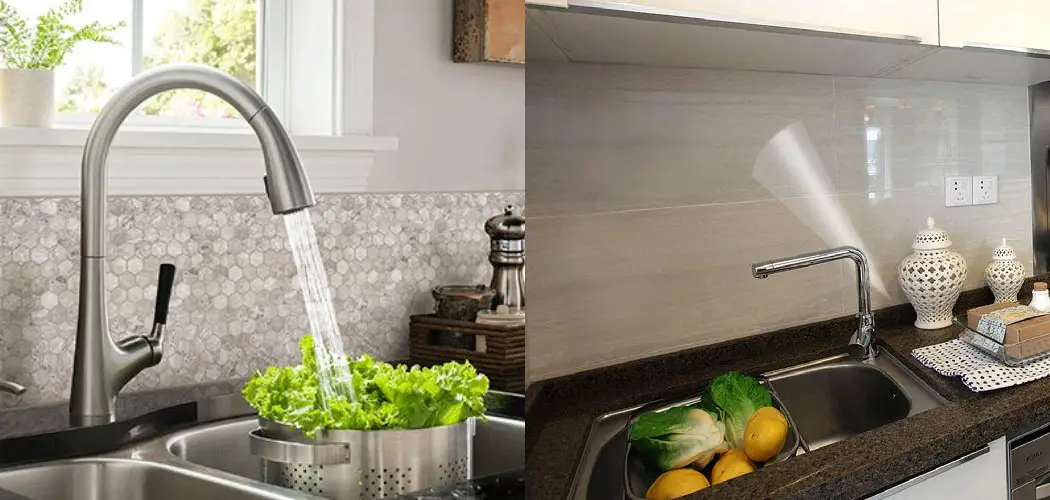
How to Prevent Peeling Trim Behind Your Kitchen Sink
Maintaining the Aesthetics of Your Kitchen
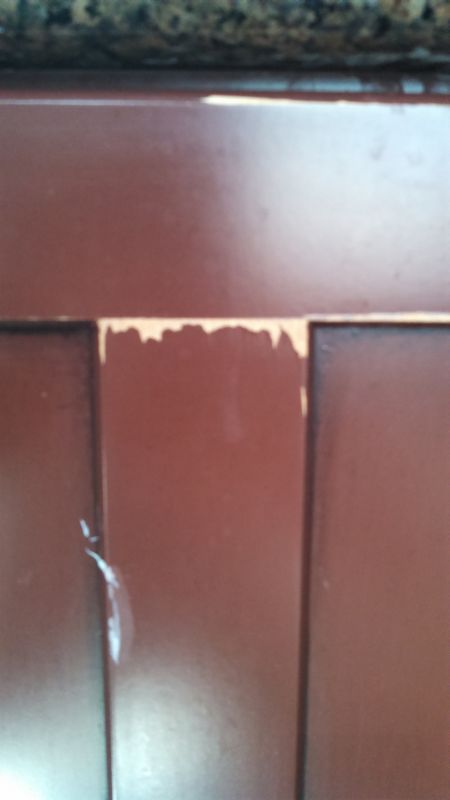
 If you've noticed that the trim behind your kitchen sink is starting to peel, don't panic. This is a common issue that many homeowners face, and it can easily be remedied. Not only does peeling trim look unsightly, but it can also lead to further damage if left unaddressed. In this article, we will discuss the causes of peeling trim and provide some helpful tips on how to prevent it from happening in the future.
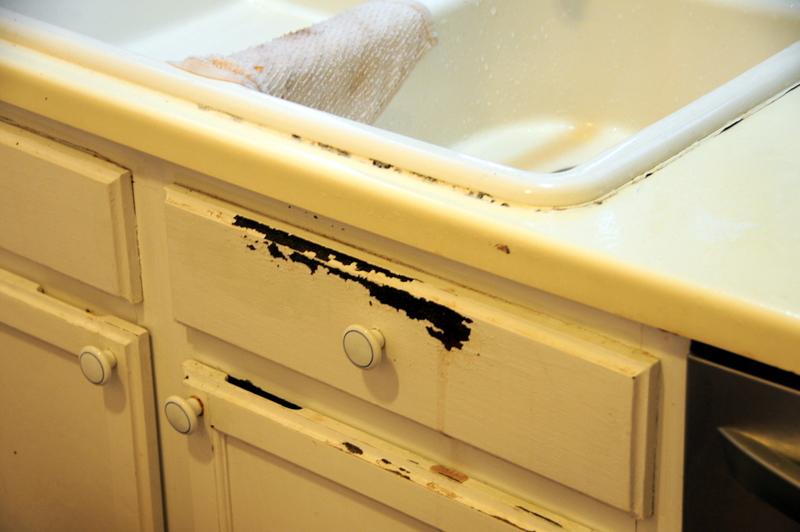
Causes of Peeling Trim
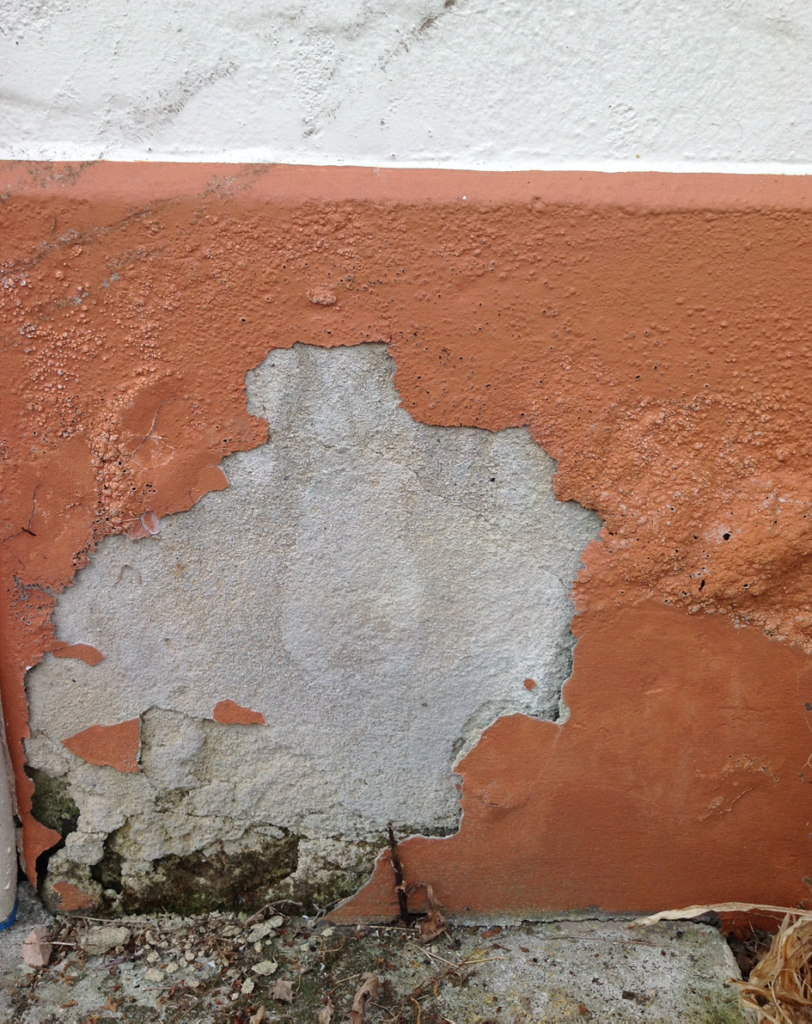
 Before we dive into prevention methods, it's important to understand why your trim may be peeling in the first place. The most common cause is moisture. The area behind your kitchen sink is prone to water splashes and spills, which can seep into the trim and cause it to peel. Other factors such as heat and humidity can also contribute to peeling trim.
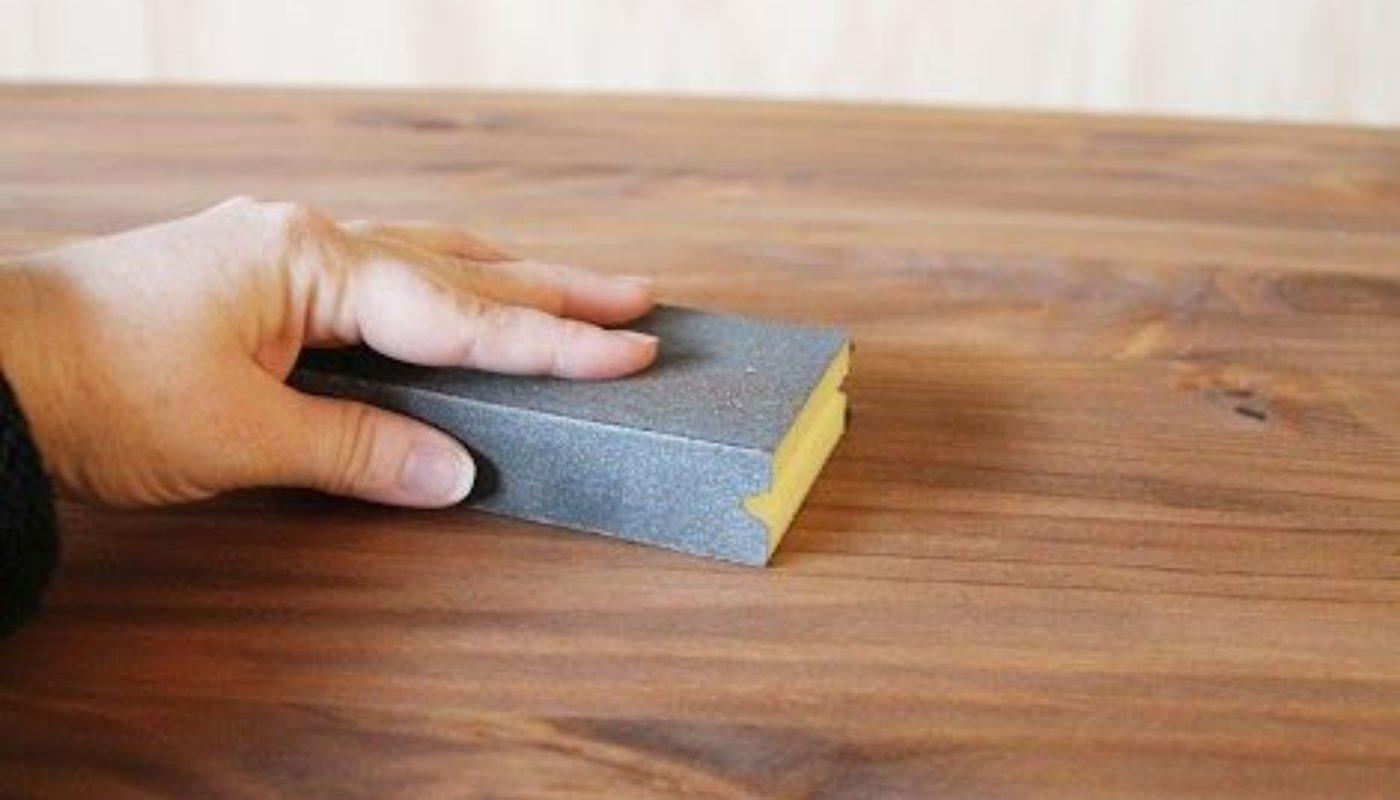
Prevention Methods
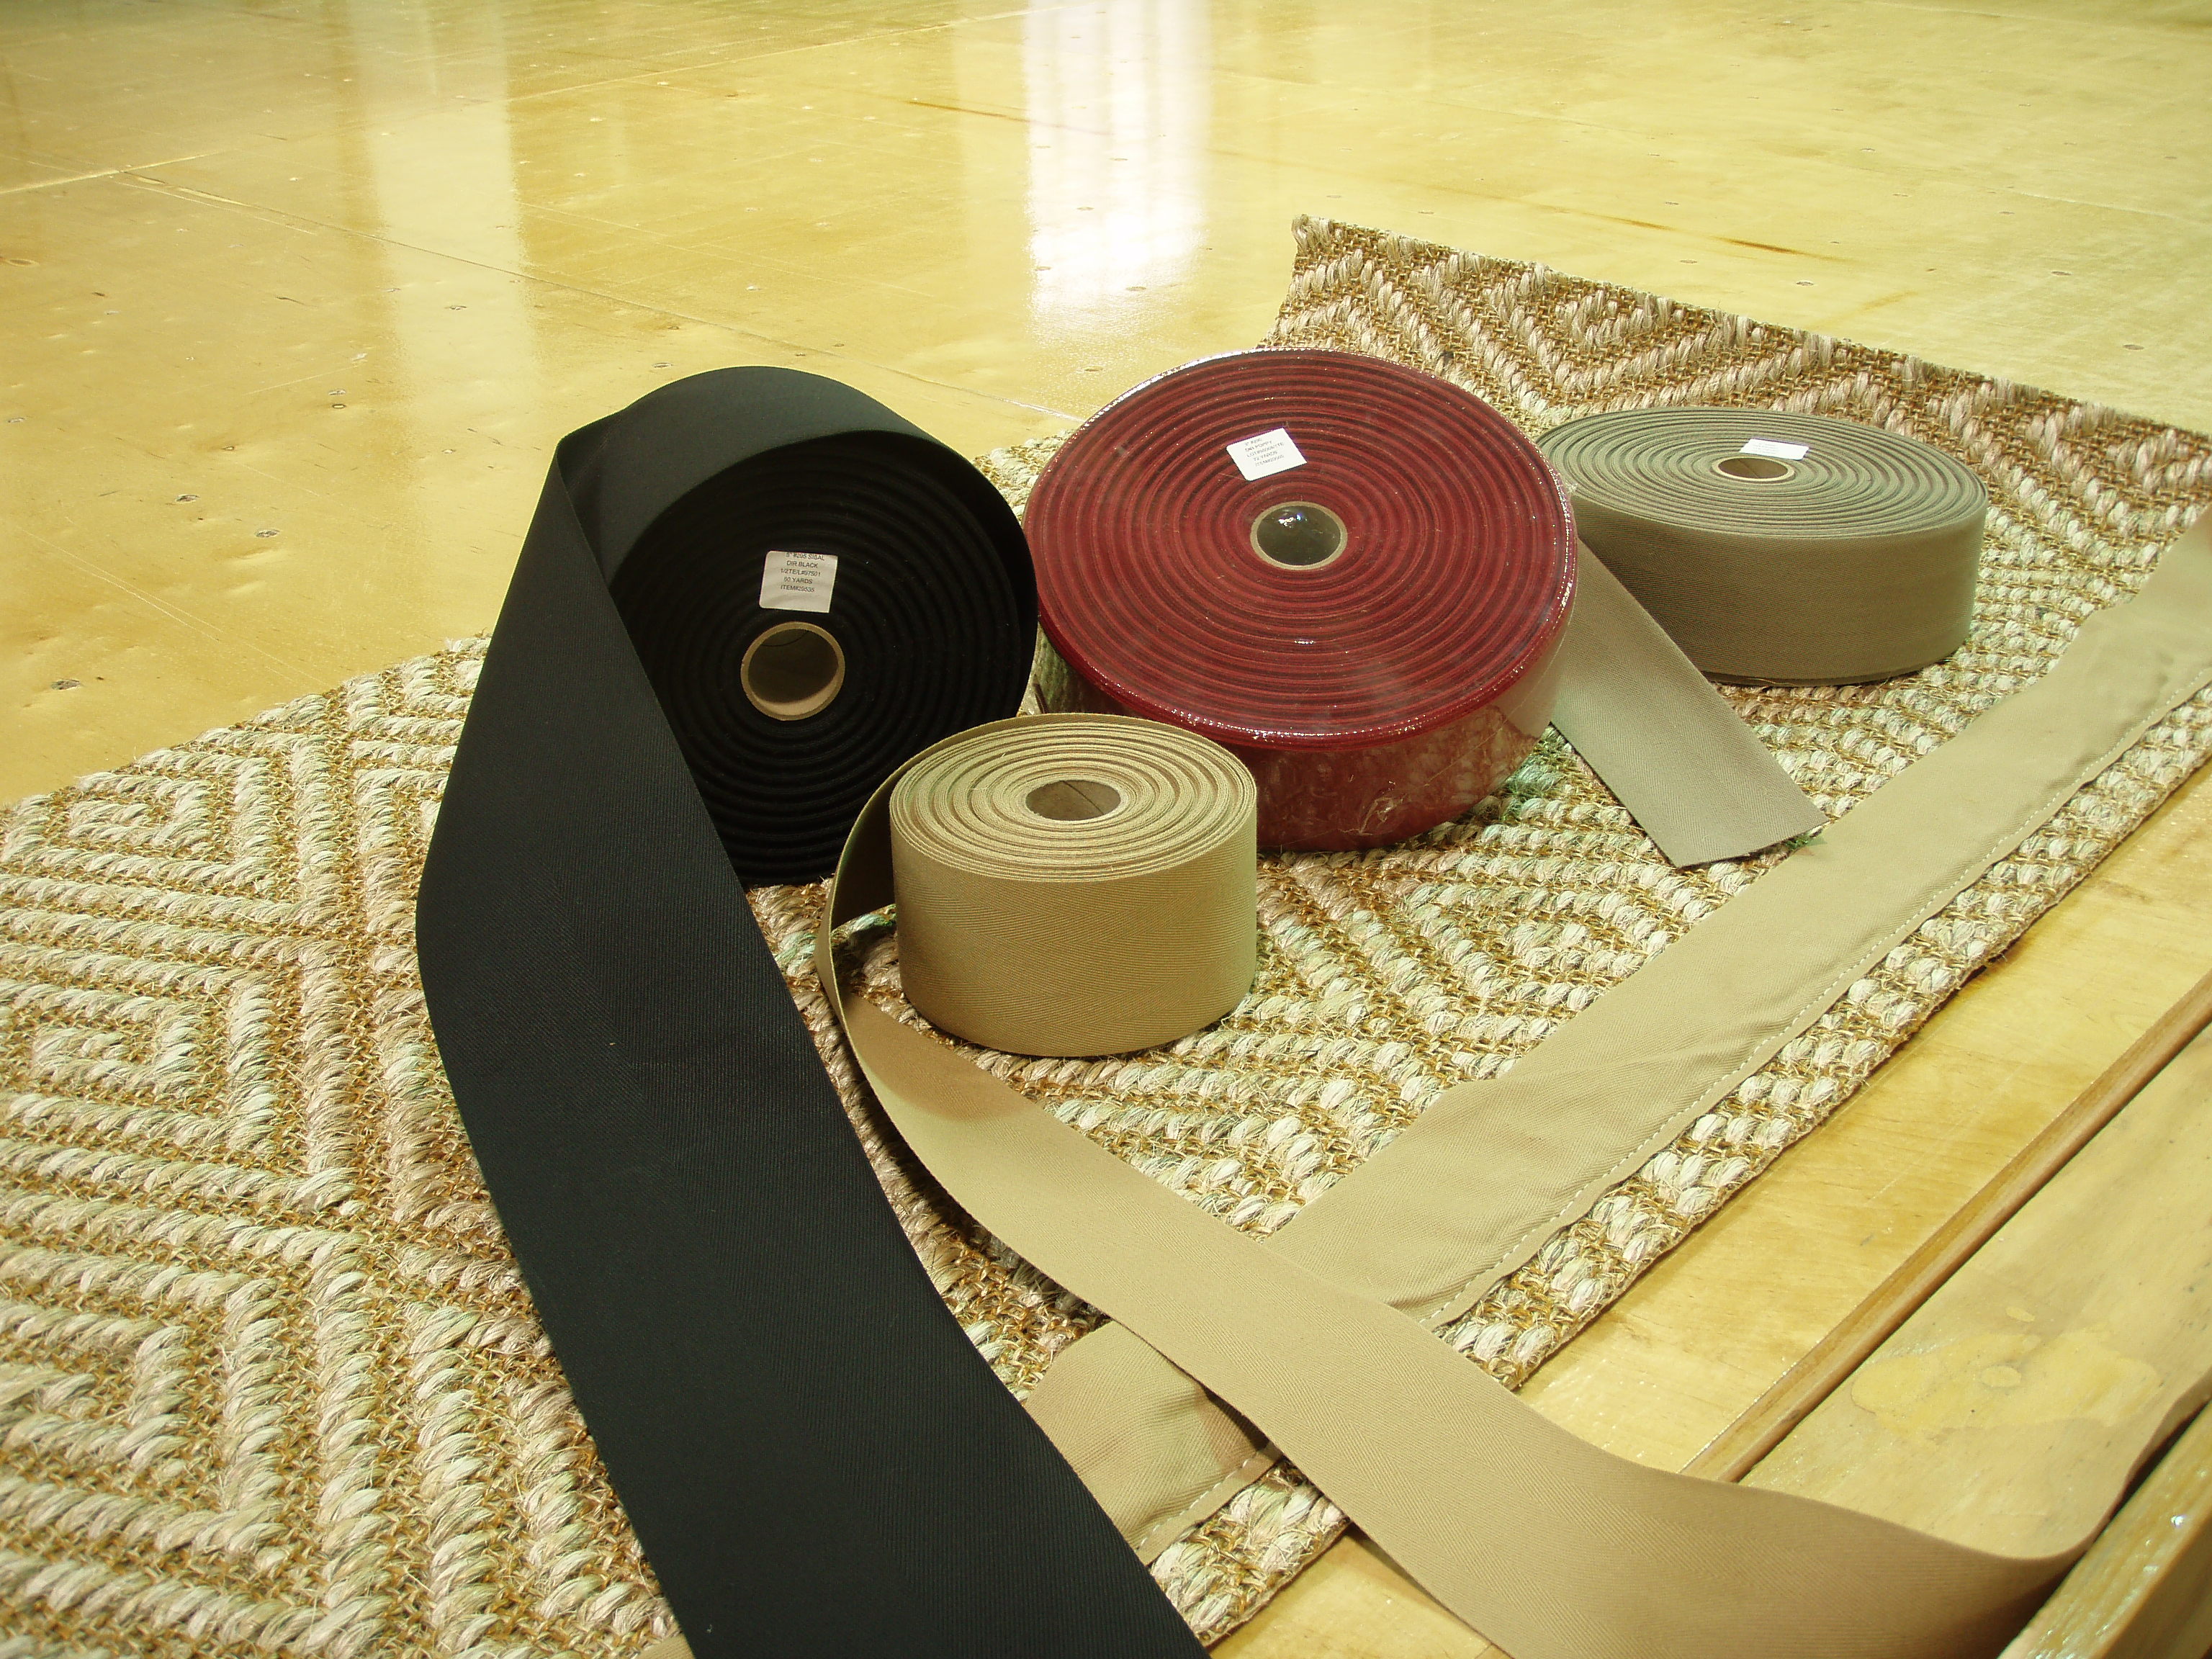
 1. Choose the Right Material
The type of material used for your trim can make a big difference in its durability. When selecting trim for your kitchen, opt for materials that are resistant to moisture, such as PVC or vinyl. These materials are also easy to clean and maintain, making them ideal for kitchen use.
2. Seal and Protect
Applying a sealant or protective coating to your trim can help prevent water from seeping in and causing damage. This is especially important for natural materials like wood, which are more susceptible to water damage. Make sure to regularly reapply the sealant to maintain its effectiveness.
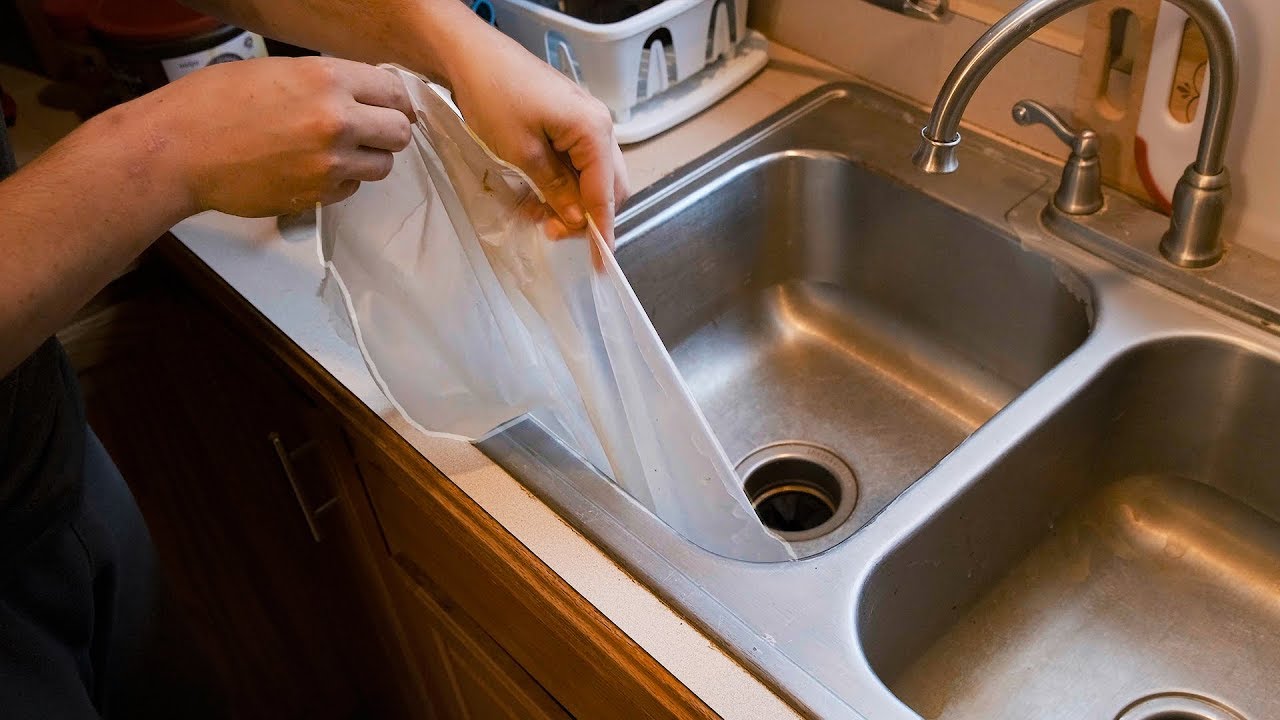
3. Fix Leaks Promptly
If you have a leaky faucet or pipes under your kitchen sink, it's crucial to get them fixed as soon as possible. Even a small leak can result in water damage and cause your trim to peel. Regularly check for any signs of leaks and address them promptly to prevent further damage.
4. Wipe Down Your Sink Area
After using your sink, take a few extra seconds to wipe down the surrounding area with a dry cloth. This will help prevent water from pooling and seeping into the trim. Additionally, make sure to regularly clean your sink and remove any buildup of soap or food particles that can contribute to moisture.
5. Proper Ventilation
Proper ventilation is essential in preventing moisture buildup in your kitchen. Make sure your kitchen is well-ventilated by using exhaust fans or opening windows while cooking or washing dishes. This will help reduce humidity and prevent damage to your trim.
1. Choose the Right Material
The type of material used for your trim can make a big difference in its durability. When selecting trim for your kitchen, opt for materials that are resistant to moisture, such as PVC or vinyl. These materials are also easy to clean and maintain, making them ideal for kitchen use.
2. Seal and Protect
Applying a sealant or protective coating to your trim can help prevent water from seeping in and causing damage. This is especially important for natural materials like wood, which are more susceptible to water damage. Make sure to regularly reapply the sealant to maintain its effectiveness.
3. Fix Leaks Promptly
If you have a leaky faucet or pipes under your kitchen sink, it's crucial to get them fixed as soon as possible. Even a small leak can result in water damage and cause your trim to peel. Regularly check for any signs of leaks and address them promptly to prevent further damage.
4. Wipe Down Your Sink Area
After using your sink, take a few extra seconds to wipe down the surrounding area with a dry cloth. This will help prevent water from pooling and seeping into the trim. Additionally, make sure to regularly clean your sink and remove any buildup of soap or food particles that can contribute to moisture.
5. Proper Ventilation
Proper ventilation is essential in preventing moisture buildup in your kitchen. Make sure your kitchen is well-ventilated by using exhaust fans or opening windows while cooking or washing dishes. This will help reduce humidity and prevent damage to your trim.
In Conclusion
 Peeling trim behind your kitchen sink is a common issue, but with the right preventive measures, it can easily be avoided. By choosing the right materials, regularly maintaining and protecting your trim, and addressing any leaks promptly, you can keep your kitchen looking its best. Remember to always prioritize proper ventilation and cleanliness in your kitchen to prevent moisture buildup. With these tips, you can keep your kitchen trim looking flawless for years to come.