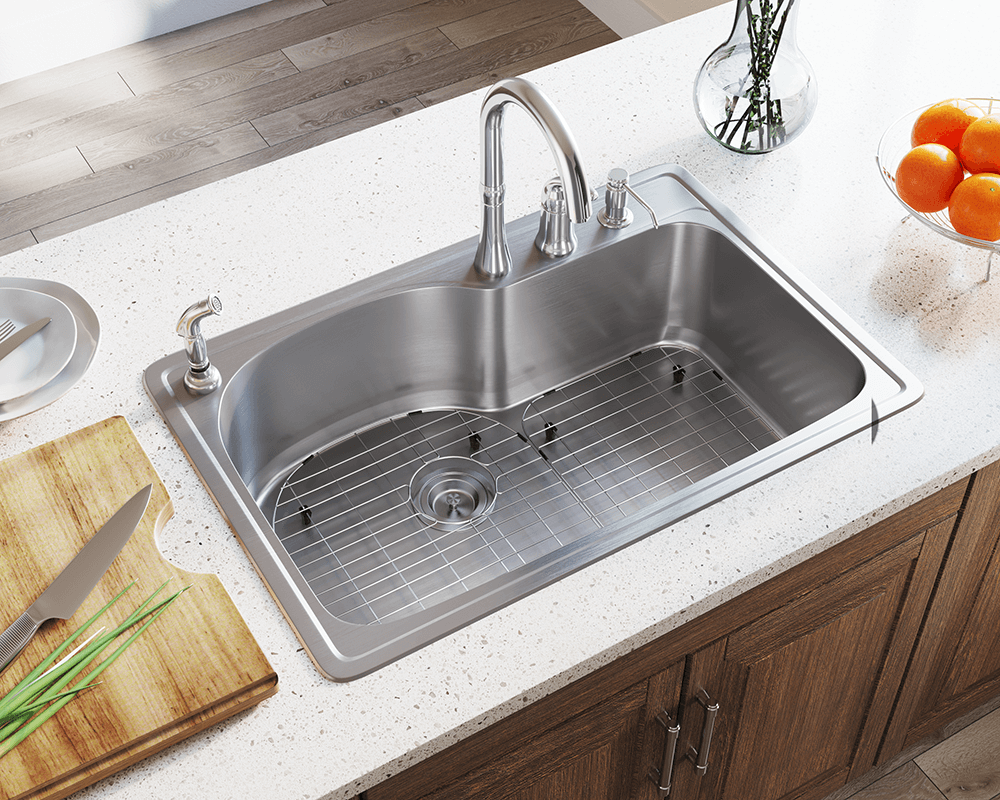
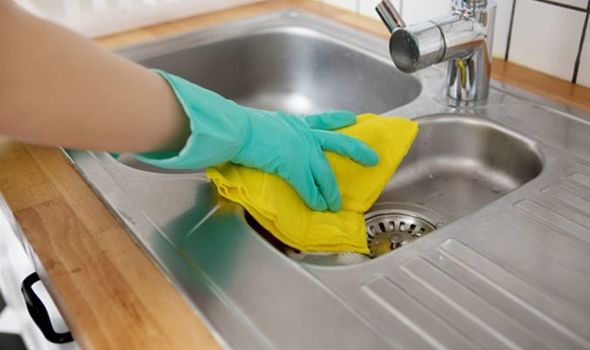
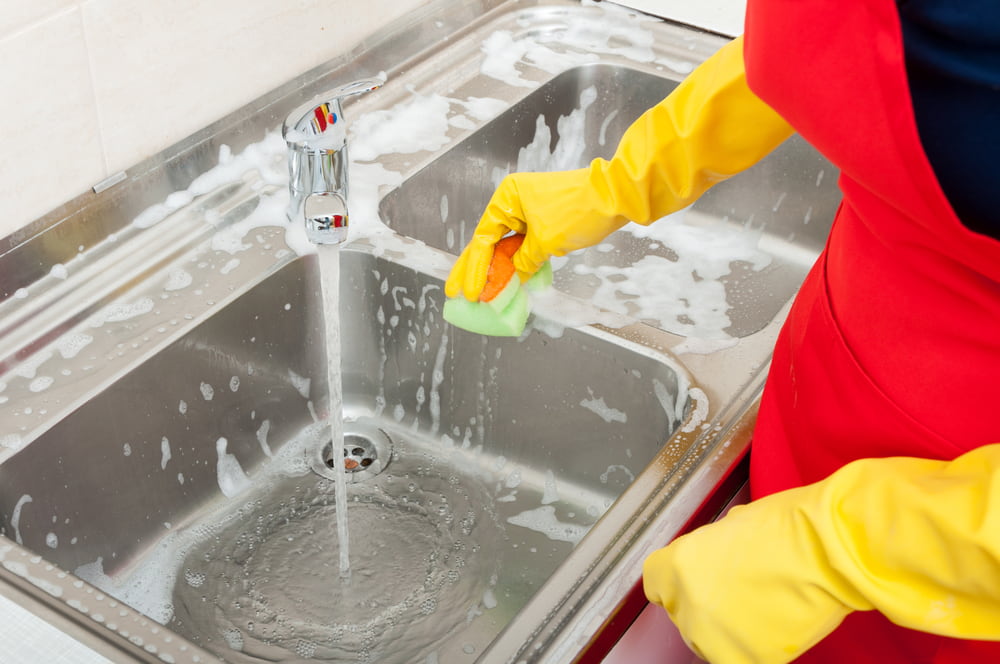
Before you begin caulking your kitchen sink, it's important to clean the area thoroughly. Use a mild cleaner and a damp cloth to remove any dirt, grime, or old caulk residue. This will ensure that the caulk adheres properly and provides a tight seal.1. Clean the area around the sink


1. Clean the area around the sink


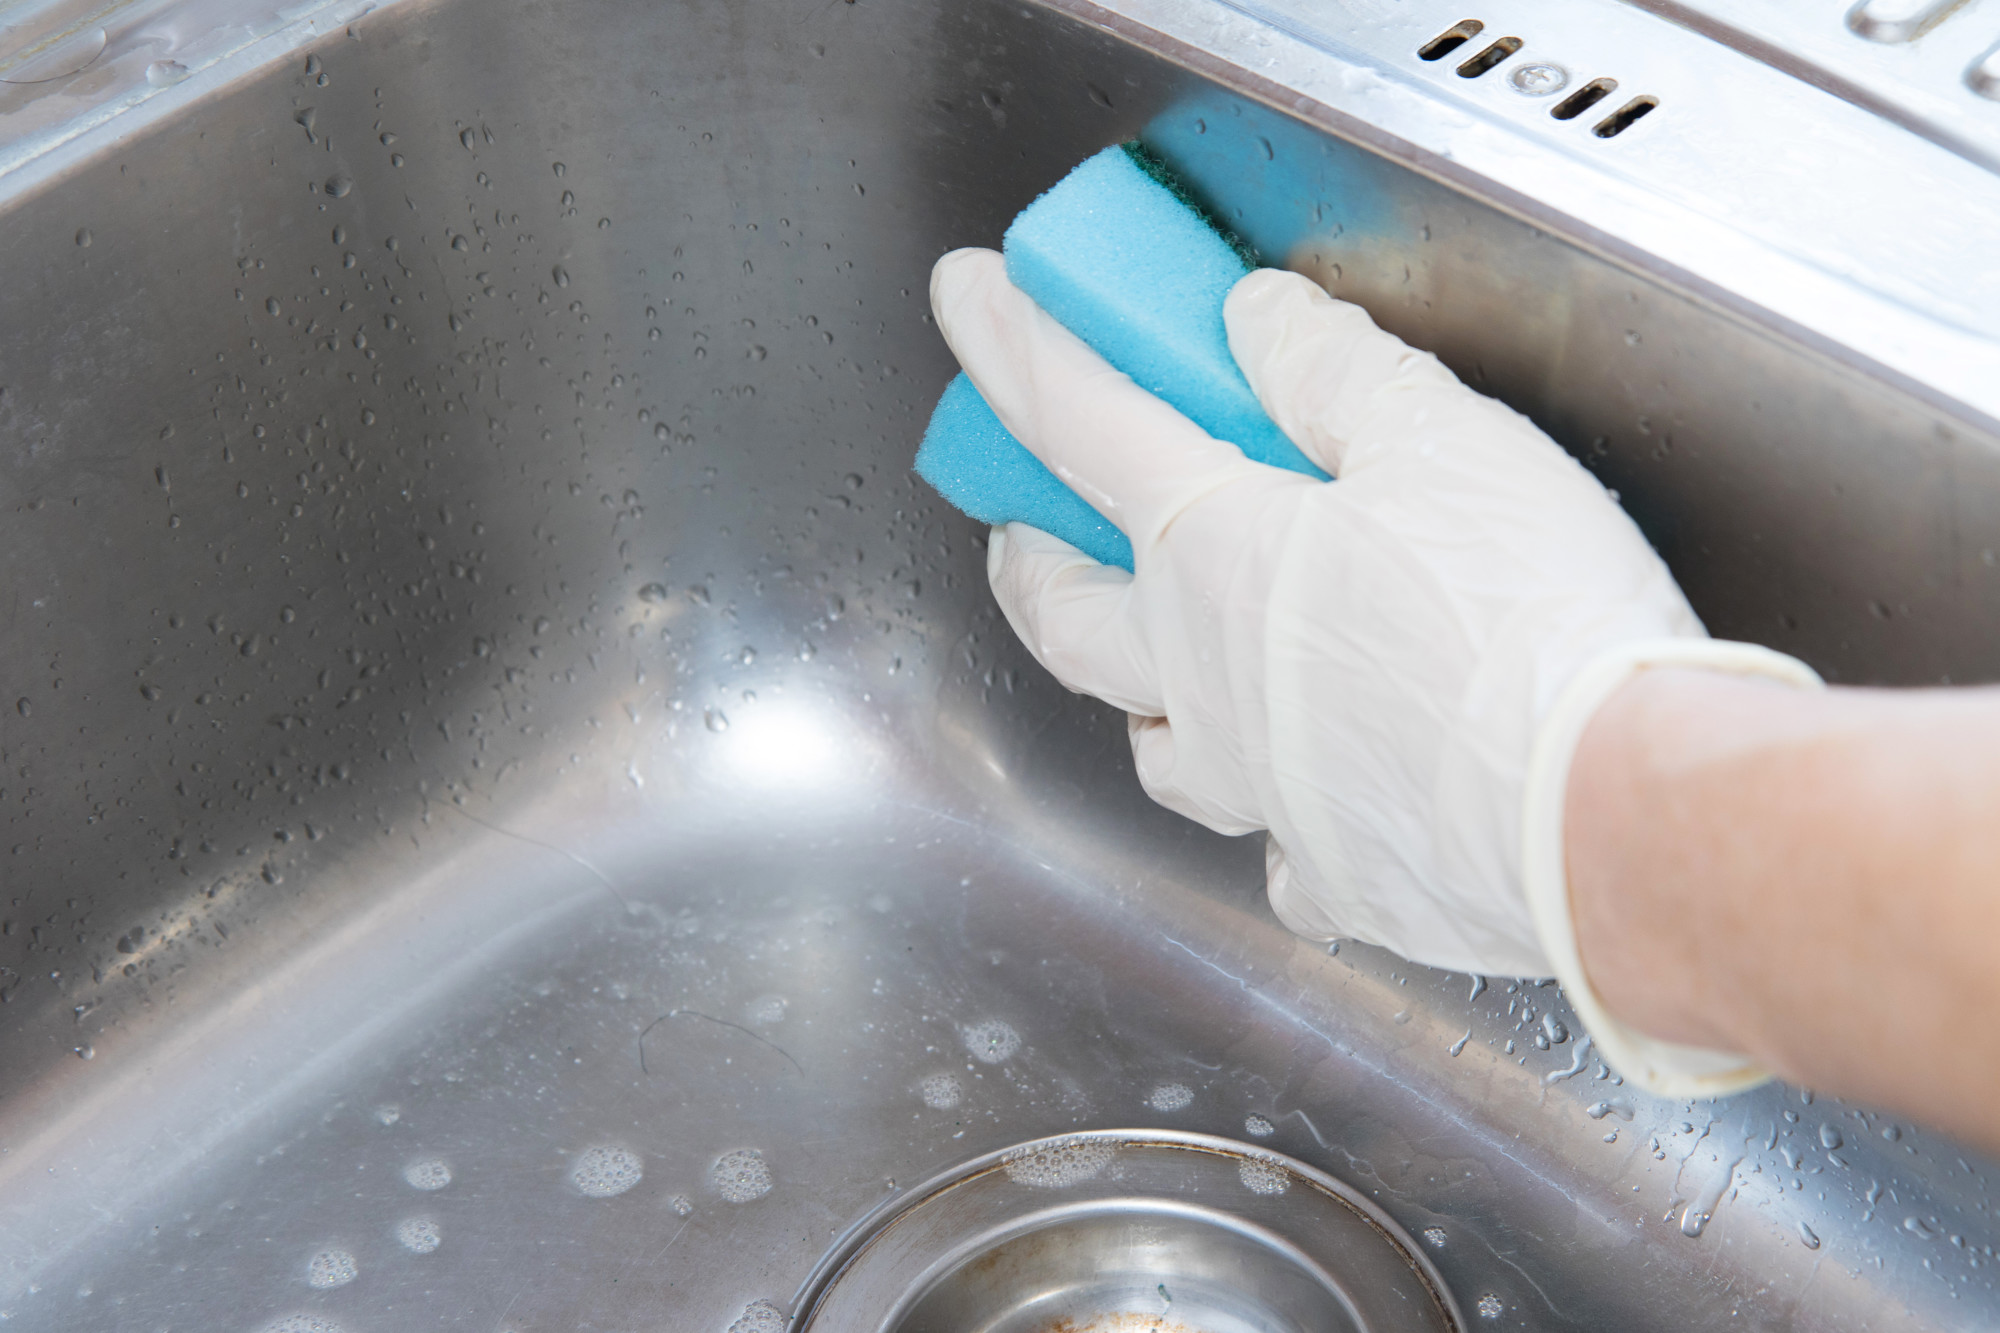

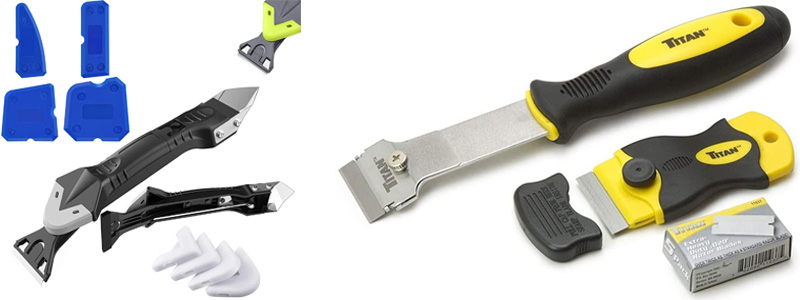
If there is old caulk present, it's crucial to remove it before applying new caulk. Use a caulk remover tool or a razor blade to carefully scrape away the old caulk. Make sure to clean the area again after removing the old caulk to ensure a smooth surface.2. Remove old caulk


2. Remove old caulk


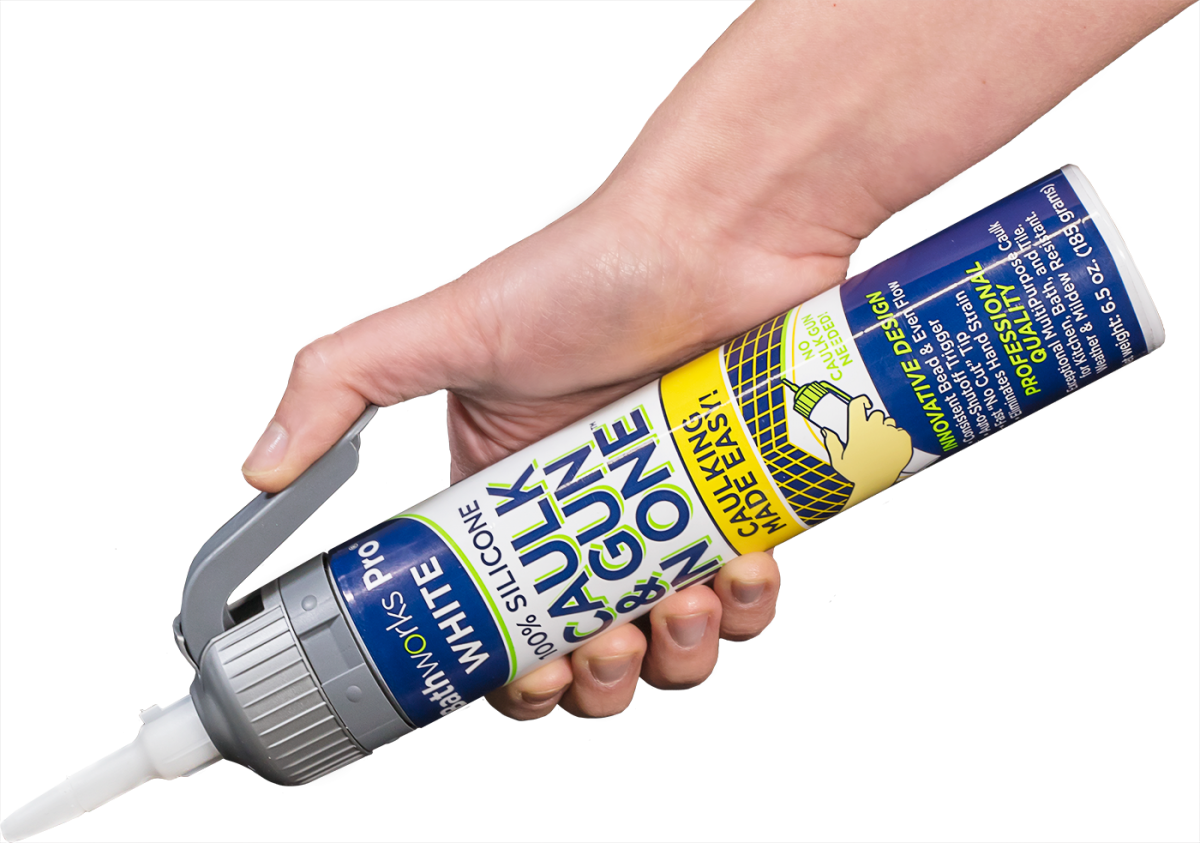
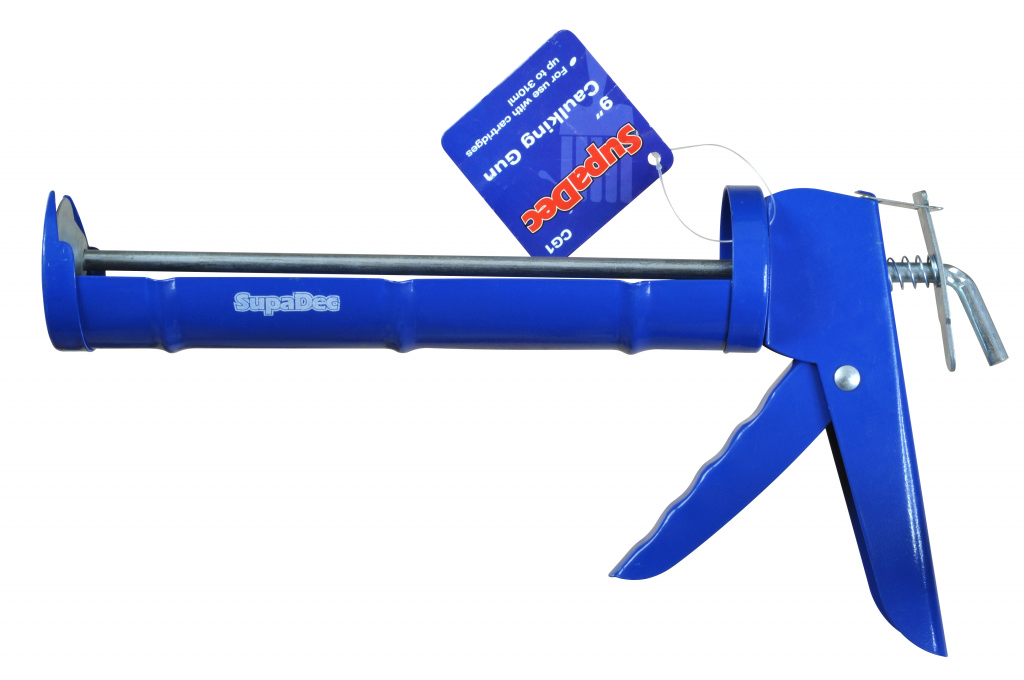
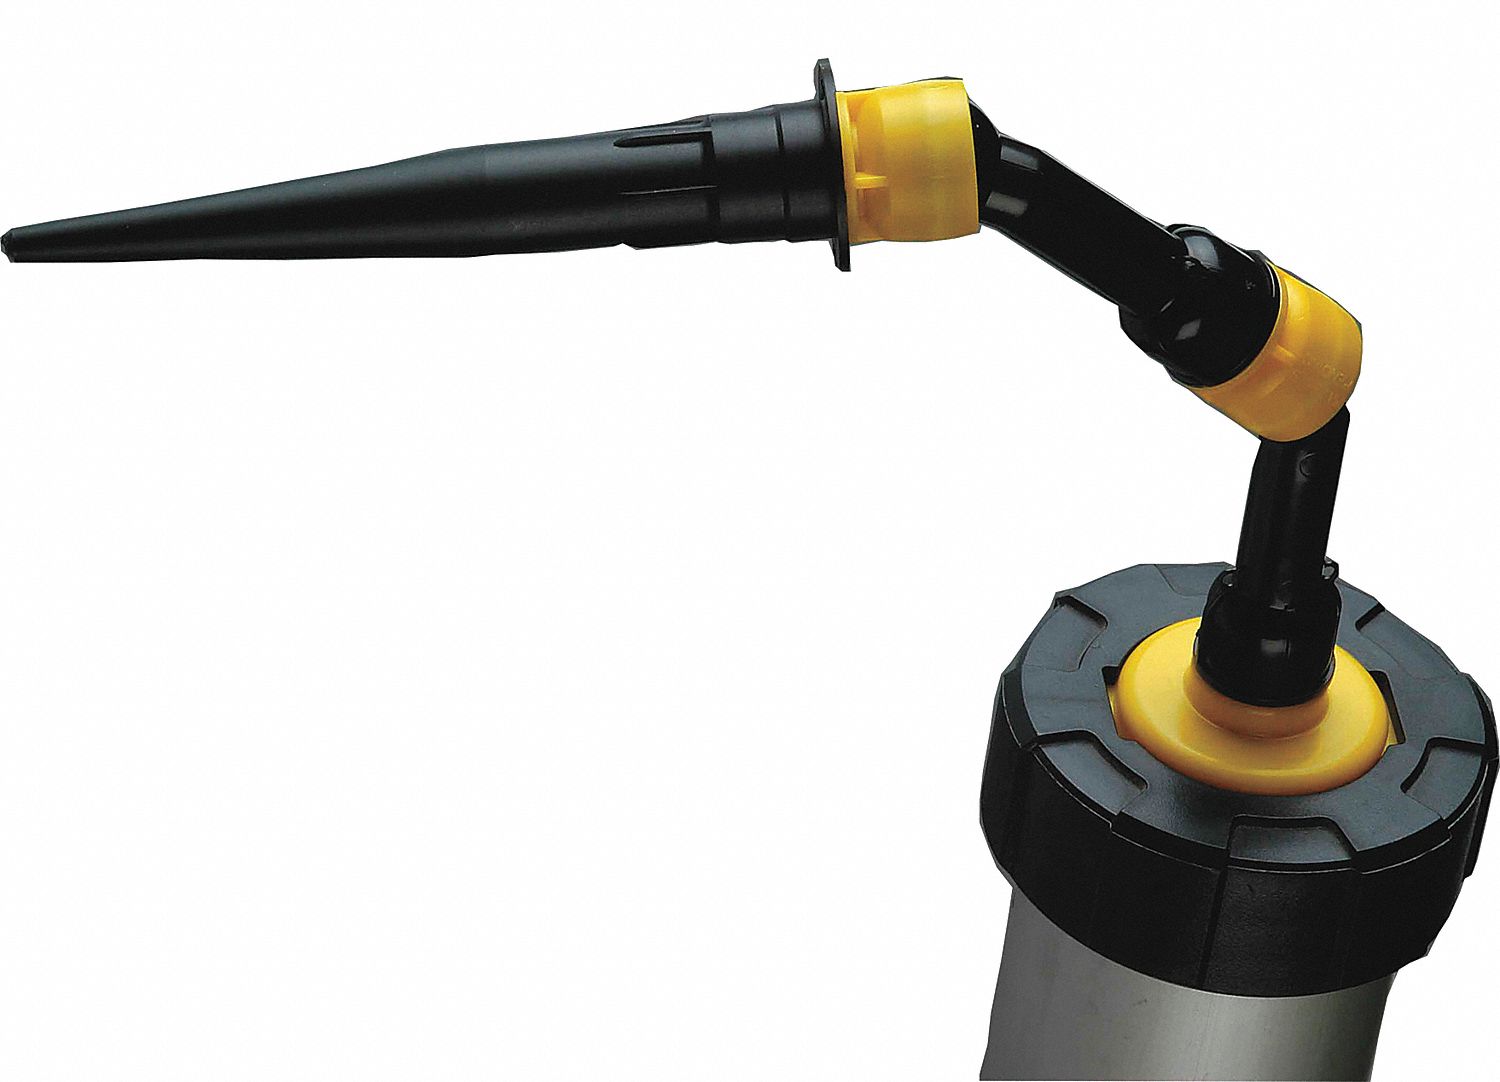
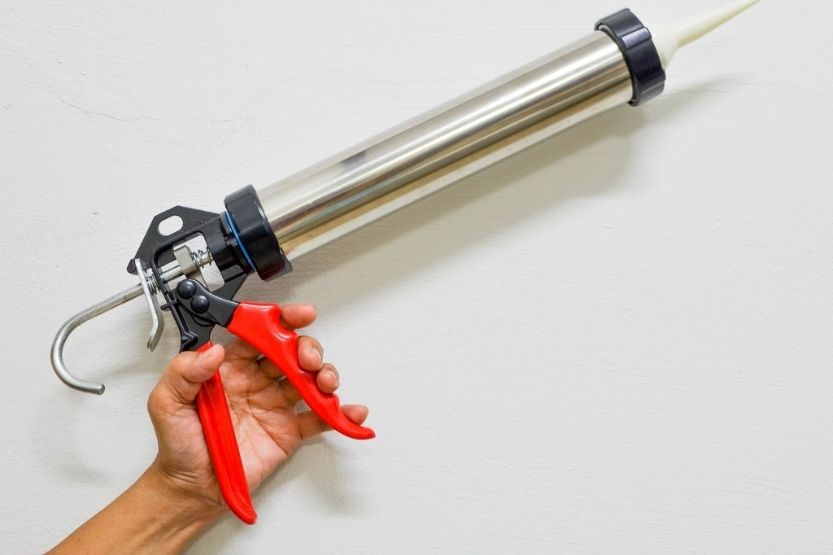
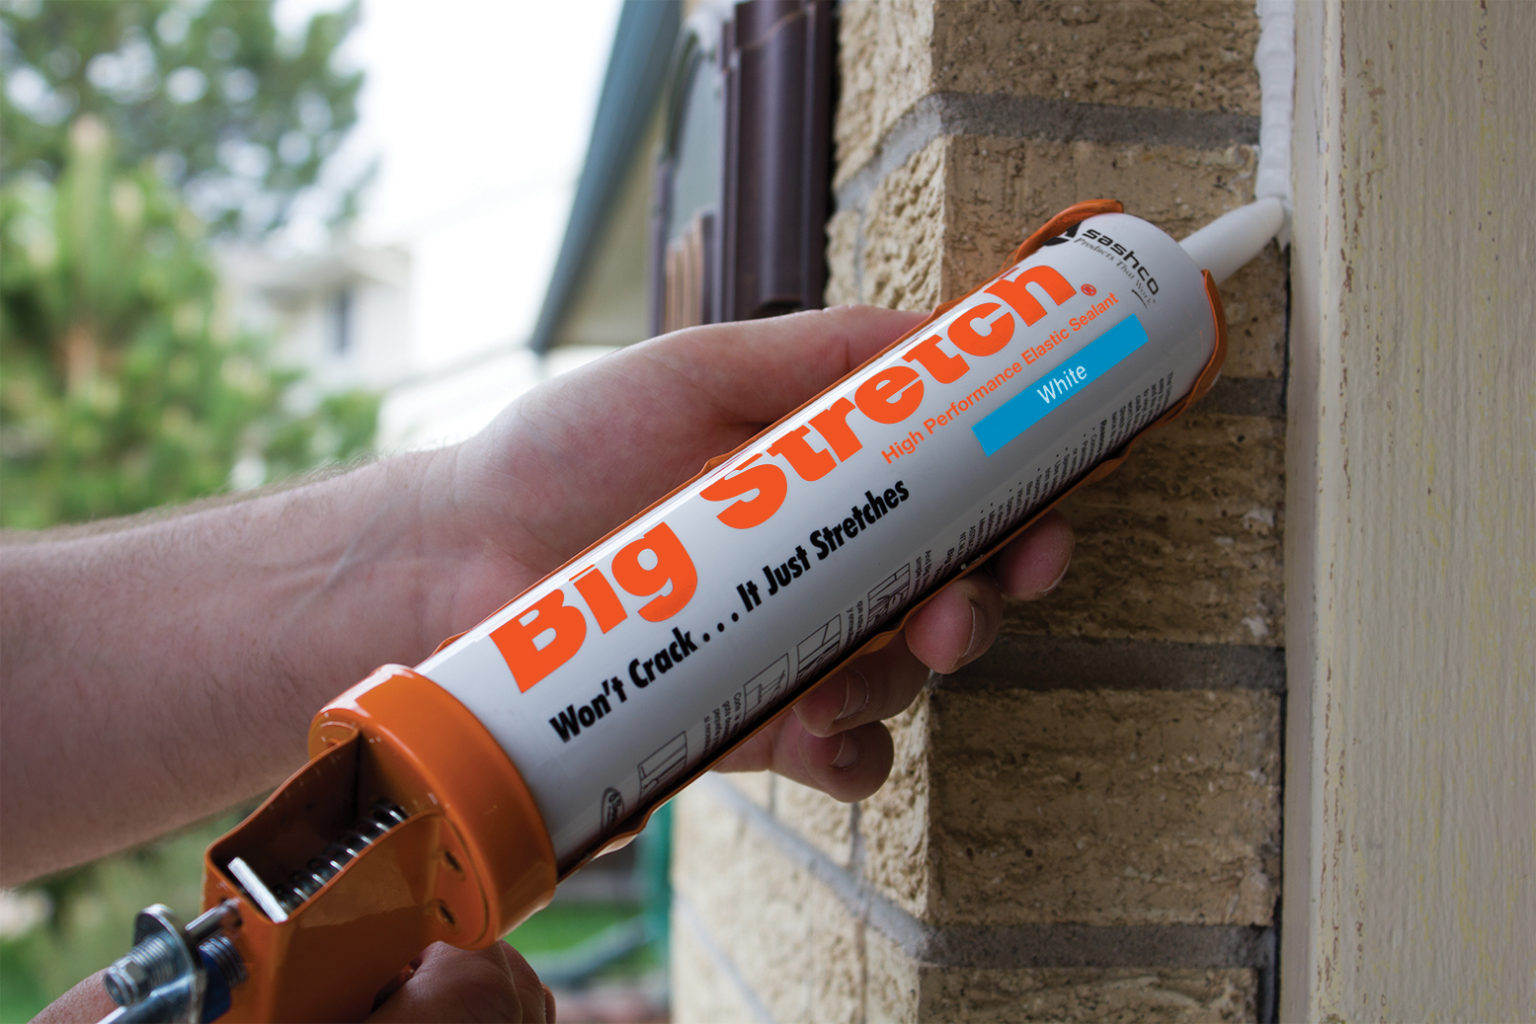
A caulk gun is a must-have tool for caulking a kitchen sink. It allows for precise application and reduces mess. Make sure to choose the right type of caulk for your sink, whether it's silicone or acrylic, and load it into the caulk gun according to the manufacturer's instructions.3. Use a caulk gun


3. Use a caulk gun


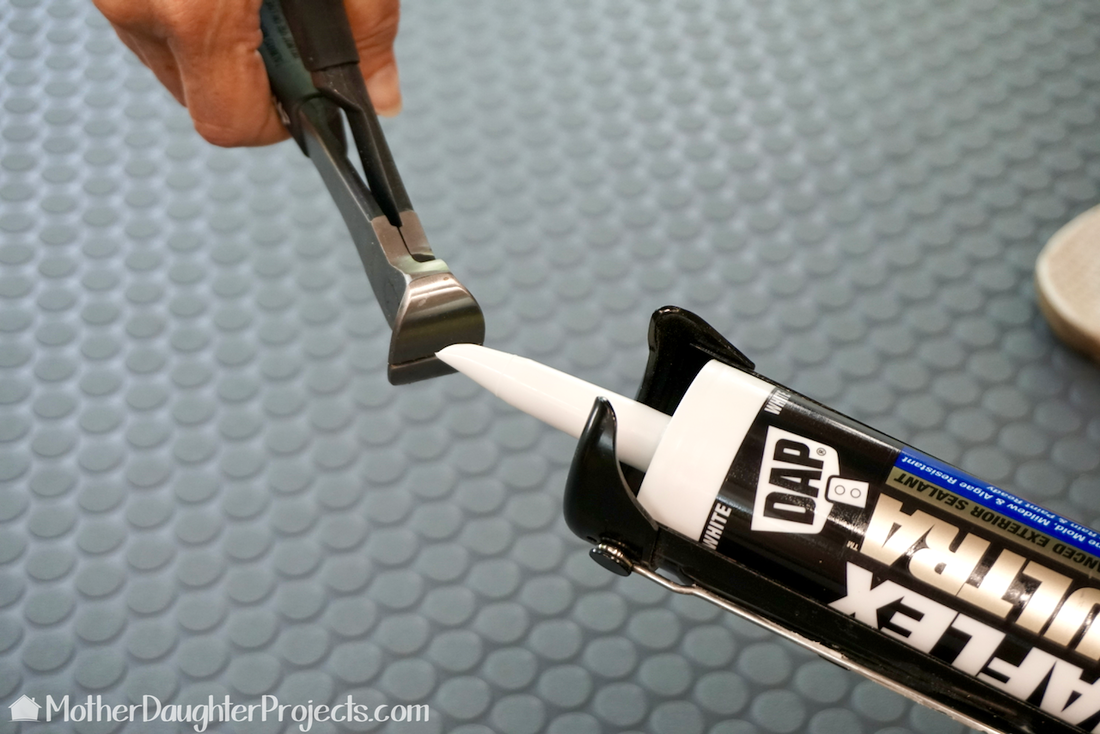
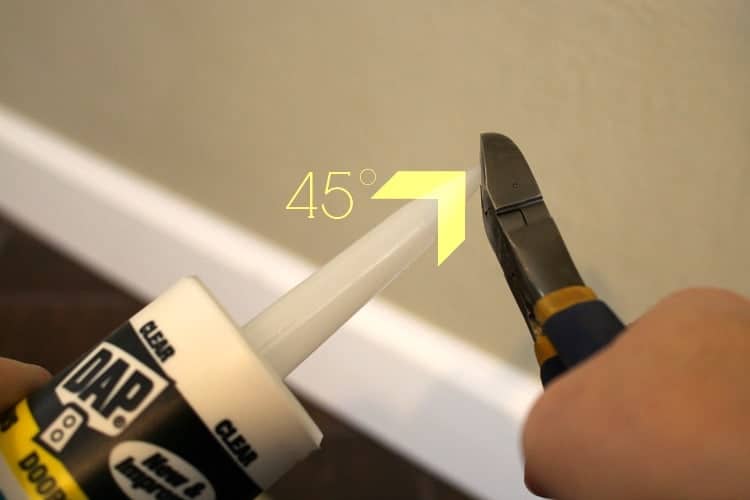
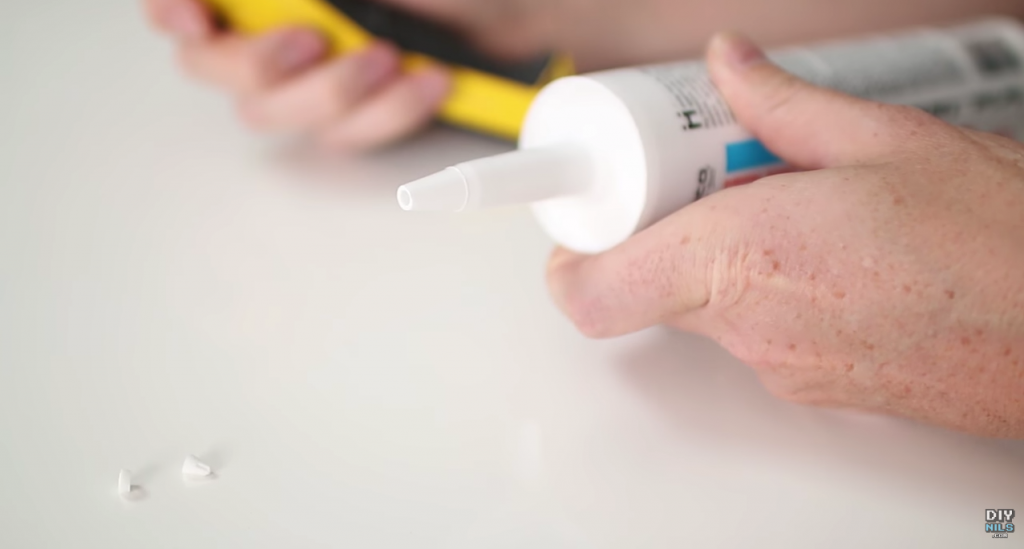
Before applying caulk, cut the tip of the caulk tube at a 45-degree angle. This will help you control the flow of caulk and create a neat and even line. If you're unsure of how much caulk you will need, start with a smaller opening and cut more if necessary.4. Cut the tip of the caulk tube at a 45-degree angle


4. Cut the tip of the caulk tube at a 45-degree angle


Using the caulk gun, apply a continuous line of caulk along the edge of the sink and the countertop. Be sure to apply enough pressure to ensure that the caulk adheres to the surface. Keep a consistent speed and pressure to create a clean and even line.5. Apply caulk in a continuous line


5. Apply caulk in a continuous line


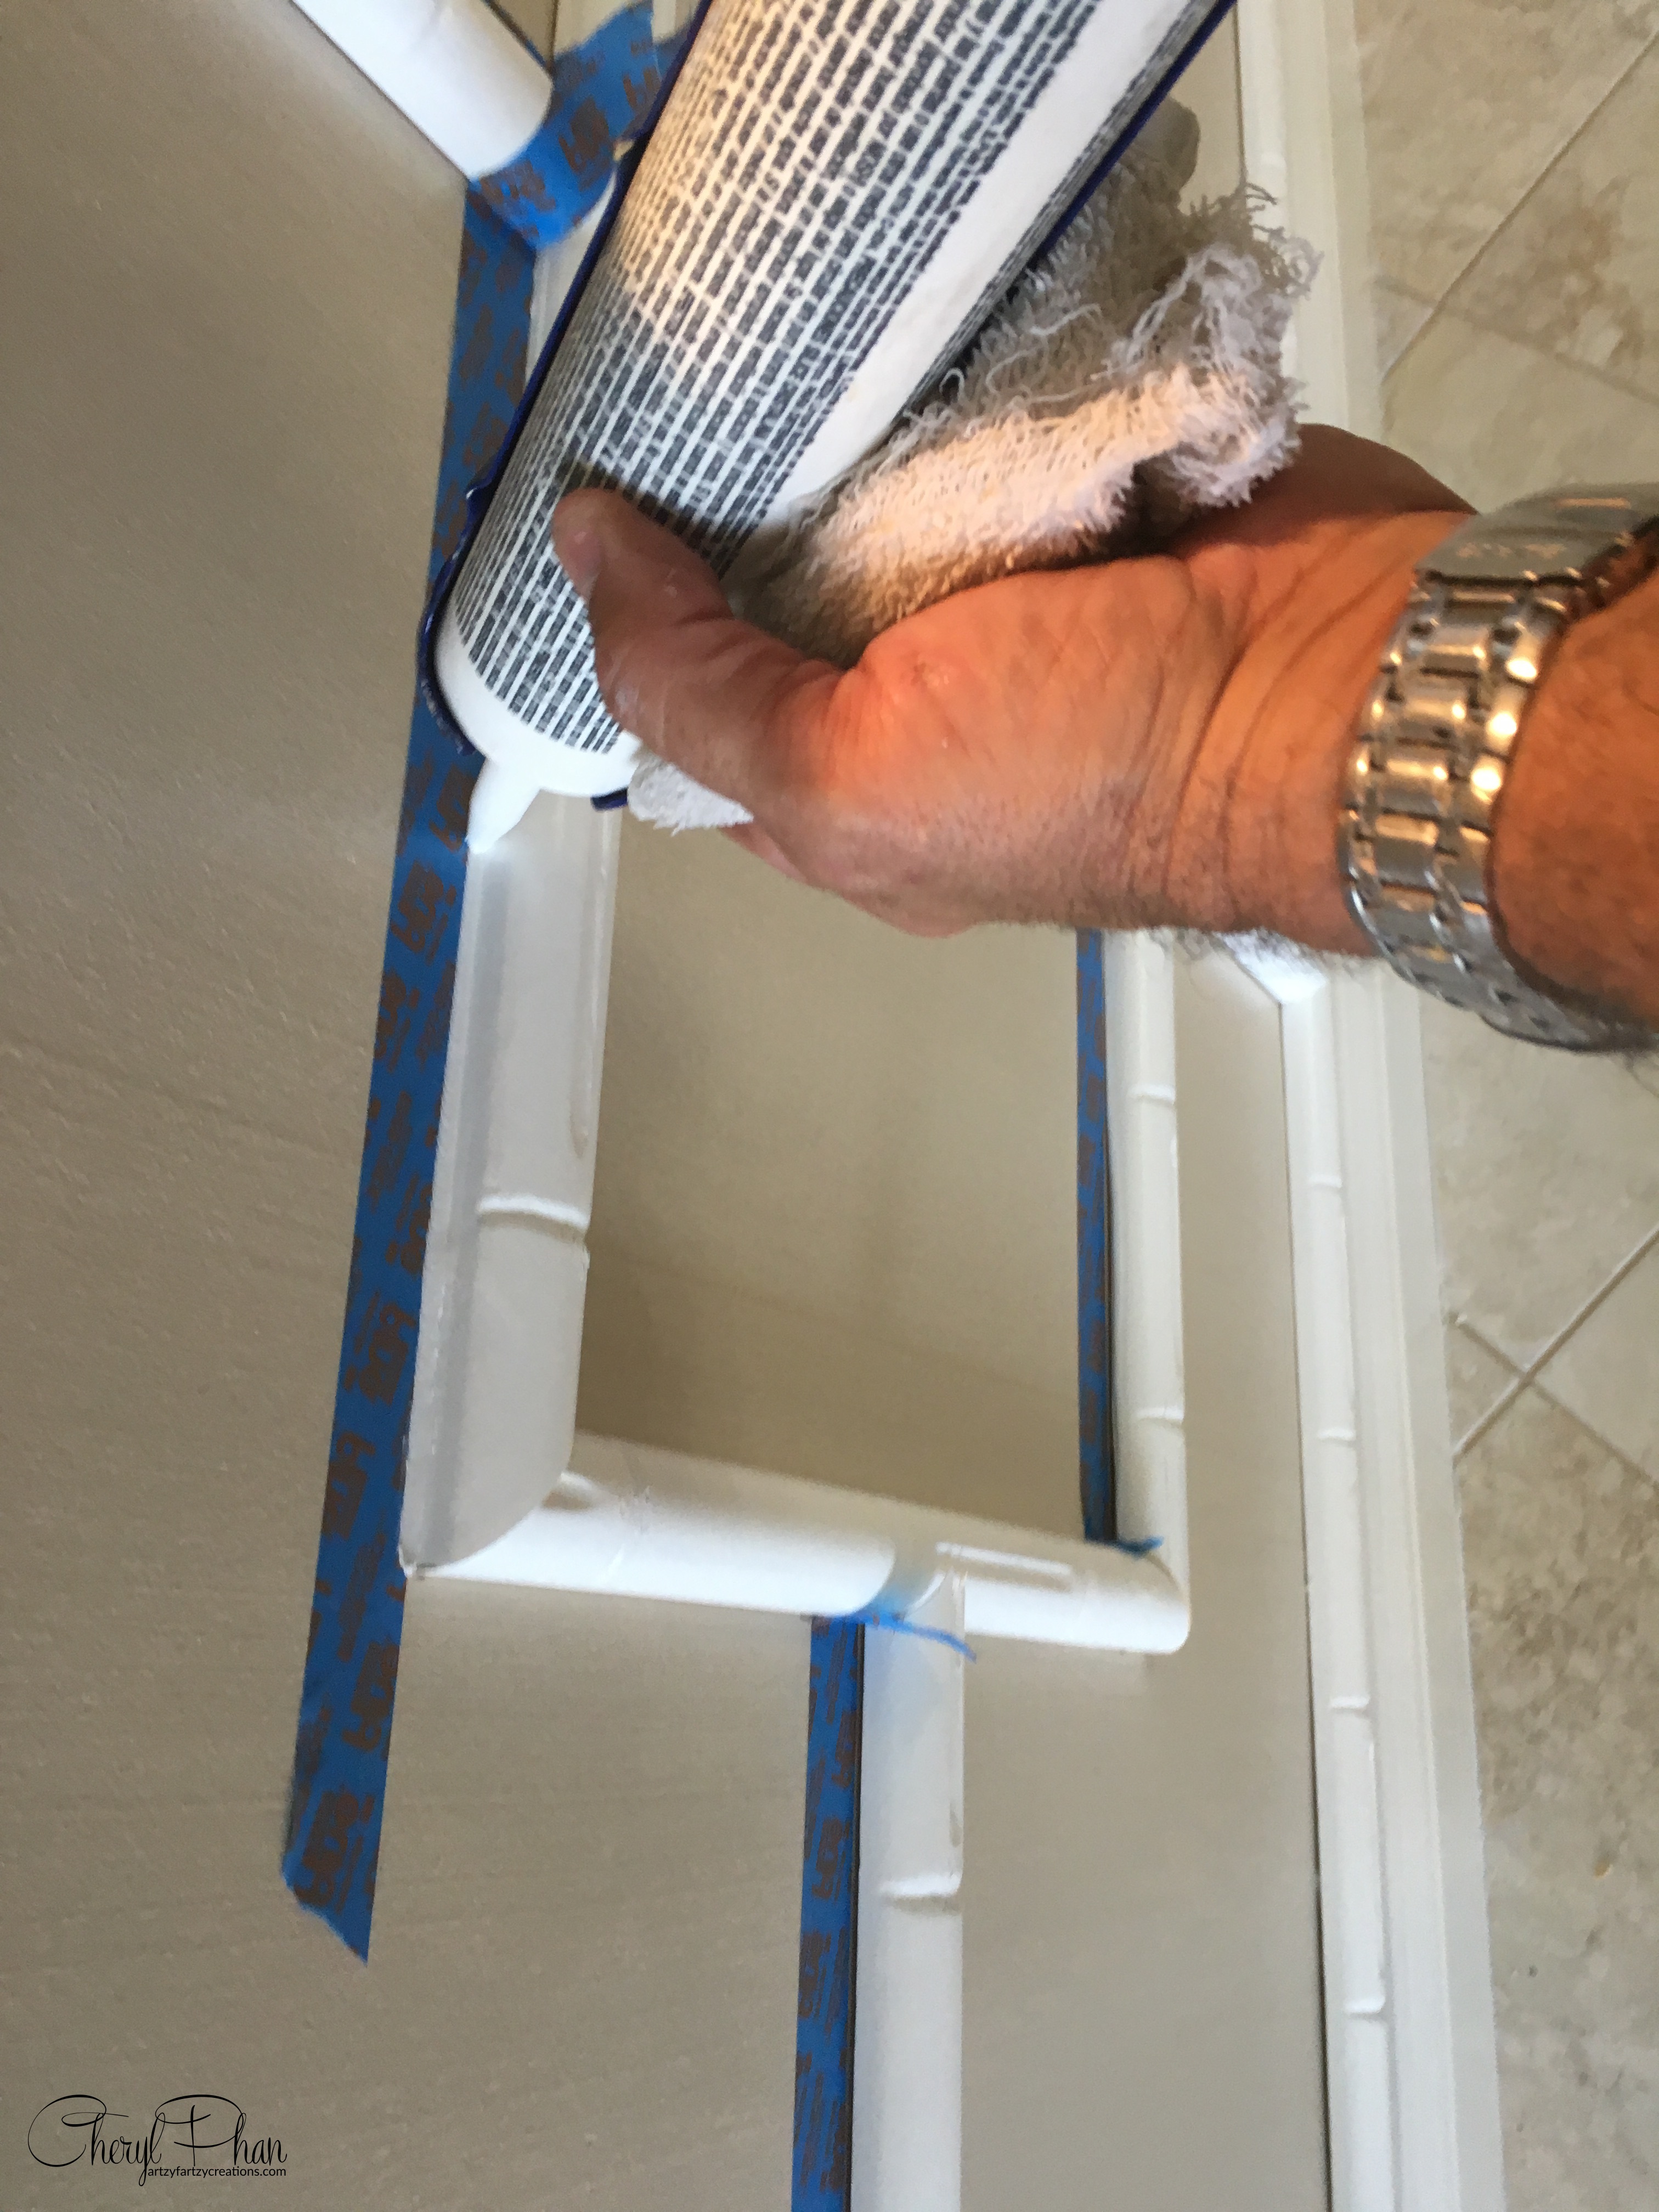
After applying the caulk, use a caulk finishing tool or your finger to smooth out the line. This will help create a tight seal and remove any excess caulk. Make sure to wipe off any excess caulk from the tool or your finger as you go.6. Smooth the caulk with a caulk finishing tool
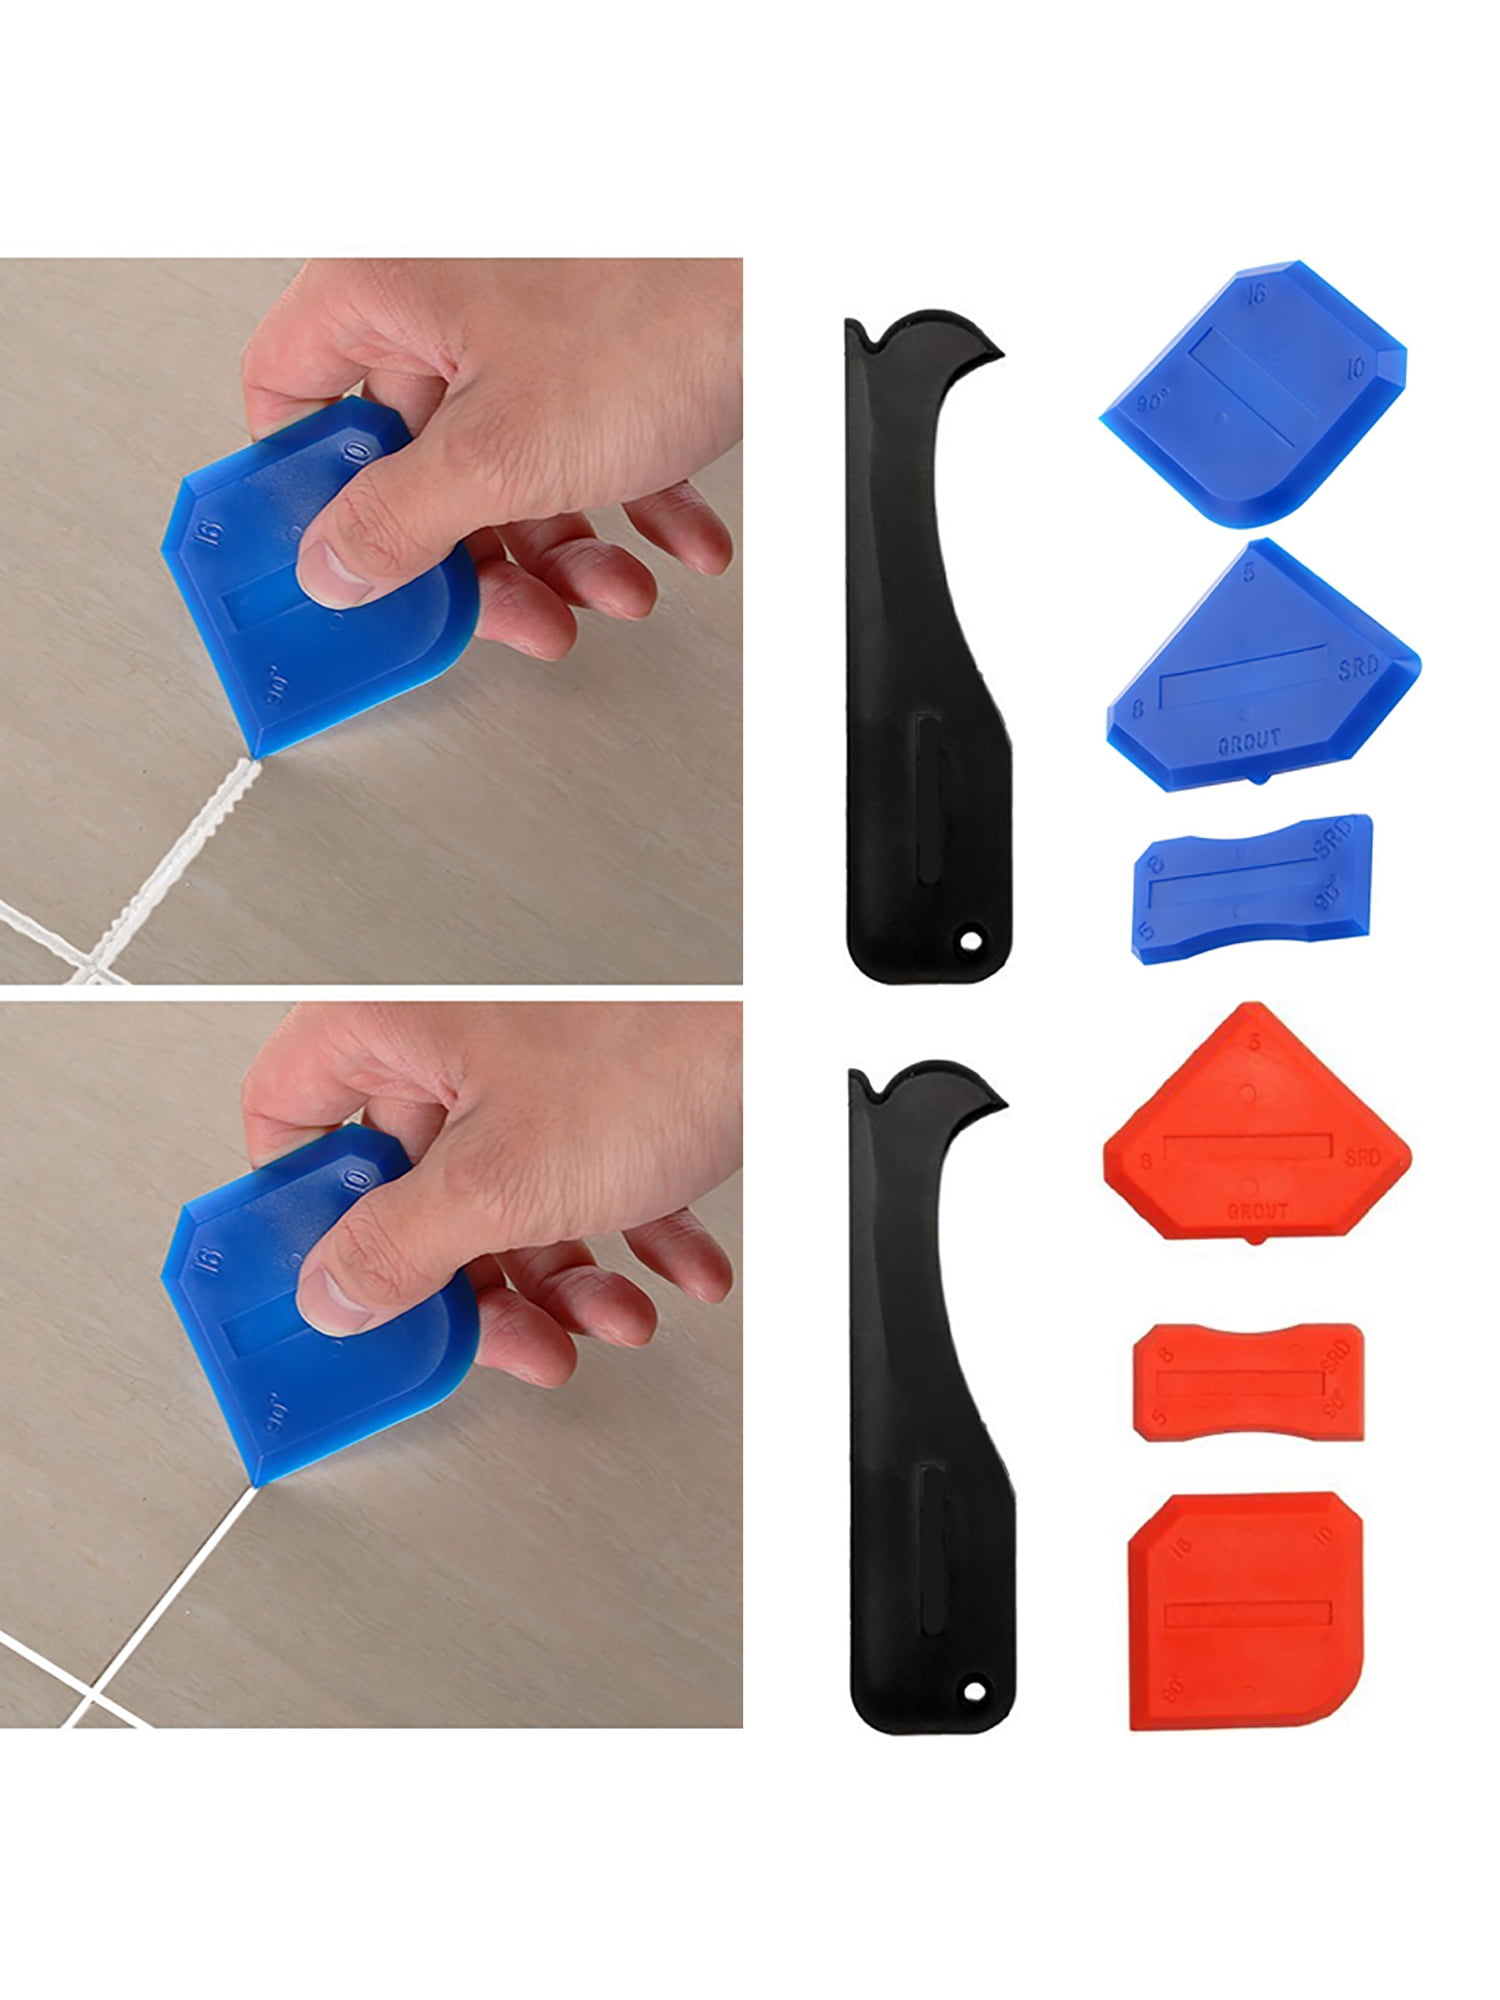


6. Smooth the caulk with a caulk finishing tool
:max_bytes(150000):strip_icc()/caulk-removal-tool-56ec7f1b3df78ce5f83535fe.jpg)


Once you've smoothed out the caulk, use a damp cloth to wipe away any excess caulk. This will help create a clean and professional-looking finish. Make sure to use a clean cloth and dampen it with water before wiping away the excess caulk.7. Use a damp cloth to remove excess caulk


7. Use a damp cloth to remove excess caulk


It's important to let the caulk dry completely before using your sink. This can take anywhere from 24 to 48 hours, depending on the type of caulk used. Be sure to read the manufacturer's instructions for the recommended drying time.8. Let the caulk dry completely

8. Let the caulk dry completely


:max_bytes(150000):strip_icc()/how-to-remove-old-caulk-1824827-04-c71b38e1f79142e3b7b6656a81cdcdbb.jpg)


After the caulk has dried, inspect the area for any gaps or missed spots. If you find any, simply apply a small amount of caulk to fill in the gaps. It's better to have too much caulk than not enough.9. Check for any gaps or missed spots


9. Check for any gaps or missed spots


If you notice that the caulk has shrunk or pulled away from the sink or countertop, you may need to apply a second layer of caulk. This will ensure a tight seal and prevent any leaks. Make sure to follow the same steps as before and let the caulk dry completely. Caulking a kitchen sink may seem like a daunting task, but by following these top 10 tips, you can achieve a professional-looking finish in no time. Remember to clean the area, use the right tools, and be patient while allowing the caulk to dry. Your sink will be sealed and ready for use in no time!10. Apply a second layer of caulk if necessary


10. Apply a second layer of caulk if necessary


Additional Tips for Caulking a Kitchen Sink

Proper Caulking Techniques
 When it comes to caulking a kitchen sink, it's important to use the proper techniques to ensure a clean and professional finish. First, make sure to clean the area thoroughly before applying any caulk. This will ensure that the caulk adheres properly and lasts longer. Next, use a caulk gun to apply an even and consistent bead of caulk along the seam between the sink and the countertop. Be sure to apply enough pressure to the gun to ensure the caulk is pushed into the seam. Once the caulk is applied, use a wet finger or a caulk smoothing tool to smooth out the caulk and create a clean edge.
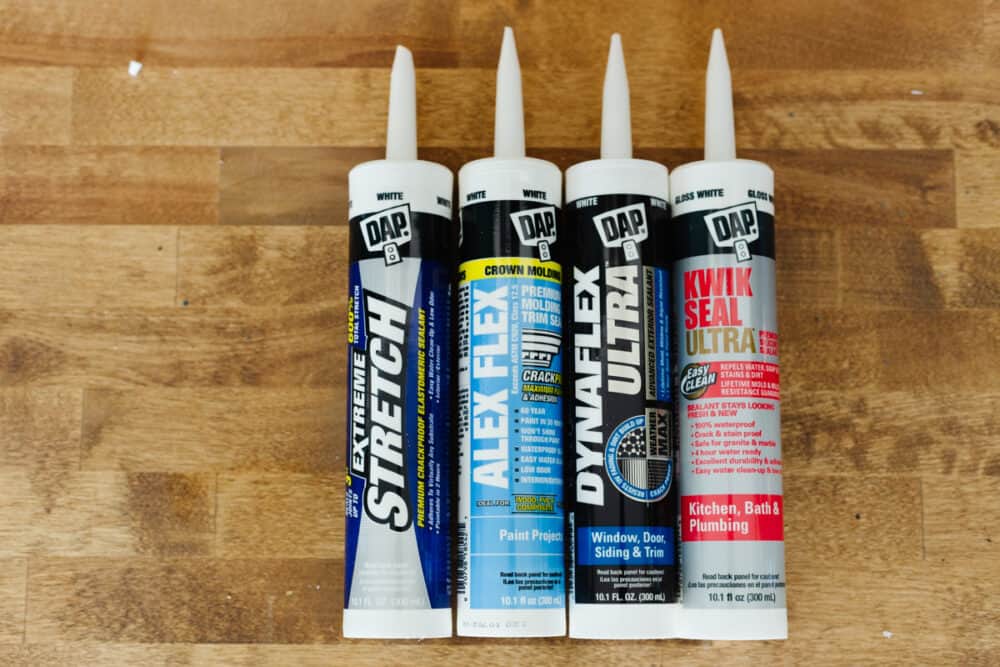
Choose the Right Caulk
 It's important to choose the right type of caulk for your kitchen sink.
Silicone caulk
is a popular choice for its durability and flexibility, making it perfect for sealing gaps between the sink and the countertop. However, if you have a
stone or marble countertop
, you may want to consider using a
siliconeized acrylic caulk
to prevent any potential damage to the surface. Additionally,
clear caulk
is often the go-to choice for kitchen sinks, but colored caulk can also be used to match the color of your countertop or sink.
It's important to choose the right type of caulk for your kitchen sink.
Silicone caulk
is a popular choice for its durability and flexibility, making it perfect for sealing gaps between the sink and the countertop. However, if you have a
stone or marble countertop
, you may want to consider using a
siliconeized acrylic caulk
to prevent any potential damage to the surface. Additionally,
clear caulk
is often the go-to choice for kitchen sinks, but colored caulk can also be used to match the color of your countertop or sink.
Take Your Time
 One of the biggest mistakes people make when caulking a kitchen sink is rushing through the process. Take your time and work slowly to ensure a neat and clean finish. If you make a mistake, don't panic. You can easily remove the excess caulk with a damp cloth or a caulk removal tool. It's better to take your time and do it right the first time, rather than having to go back and fix mistakes later.
Regular Maintenance
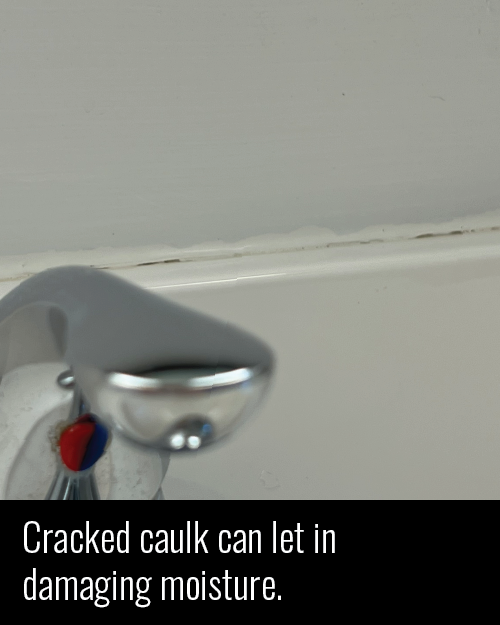
 After caulking your kitchen sink, it's important to regularly check for any signs of wear and tear. Over time, caulk can shrink or crack, which can lead to water leaks and potential damage to your countertop and cabinets. Make it a habit to inspect your caulk every few months and reapply as needed. This will ensure that your kitchen sink remains well-sealed and in good condition.
Final Thoughts
 Caulking a kitchen sink may seem like a simple task, but it's important to do it properly to ensure a long-lasting and professional finish. By following these additional tips, you'll be able to caulk your kitchen sink like a pro. Remember to choose the right caulk for your specific needs, take your time, and regularly maintain your caulk to keep your kitchen looking clean and well-designed.