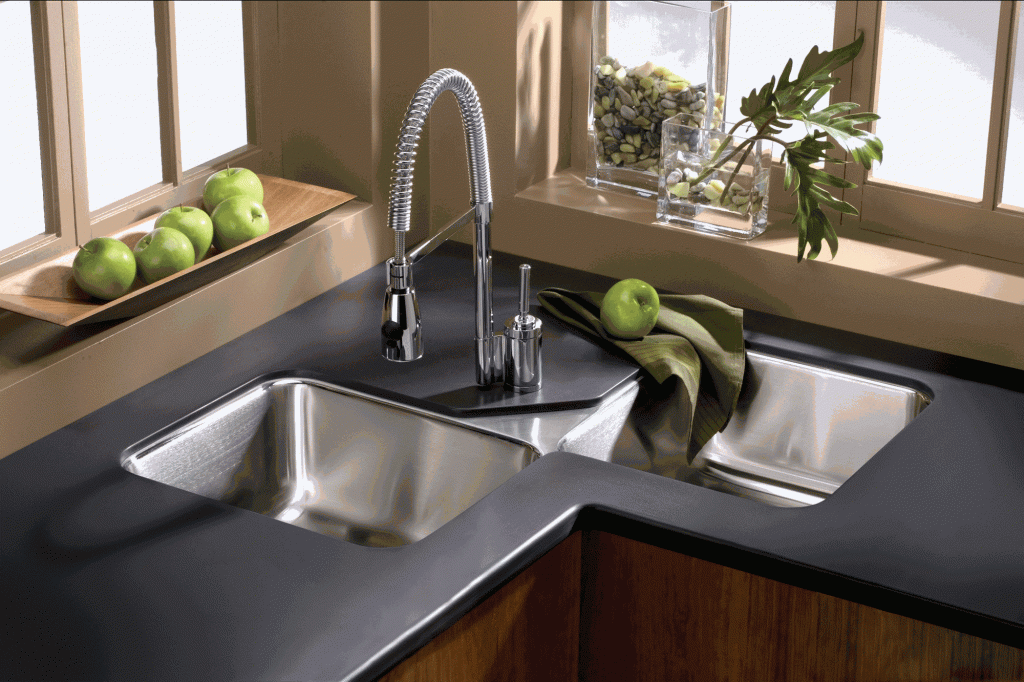
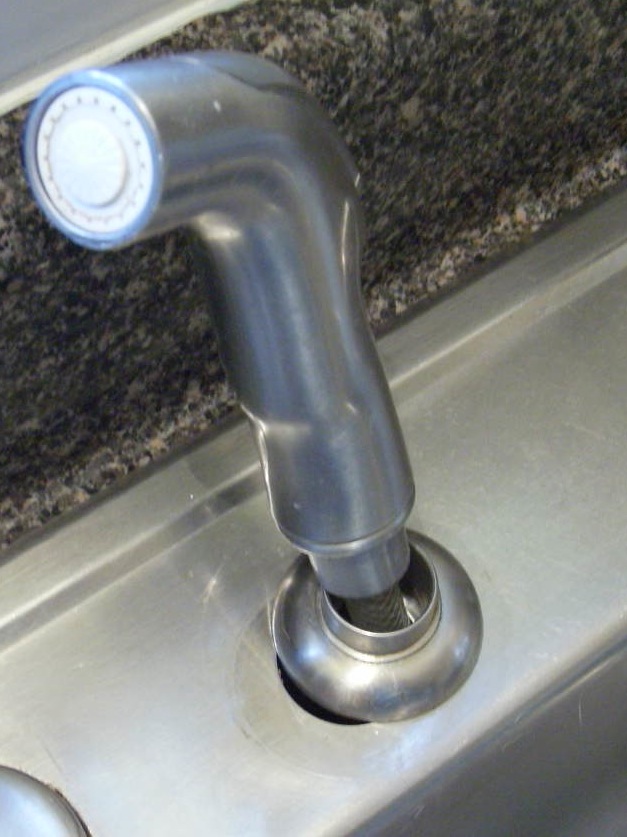
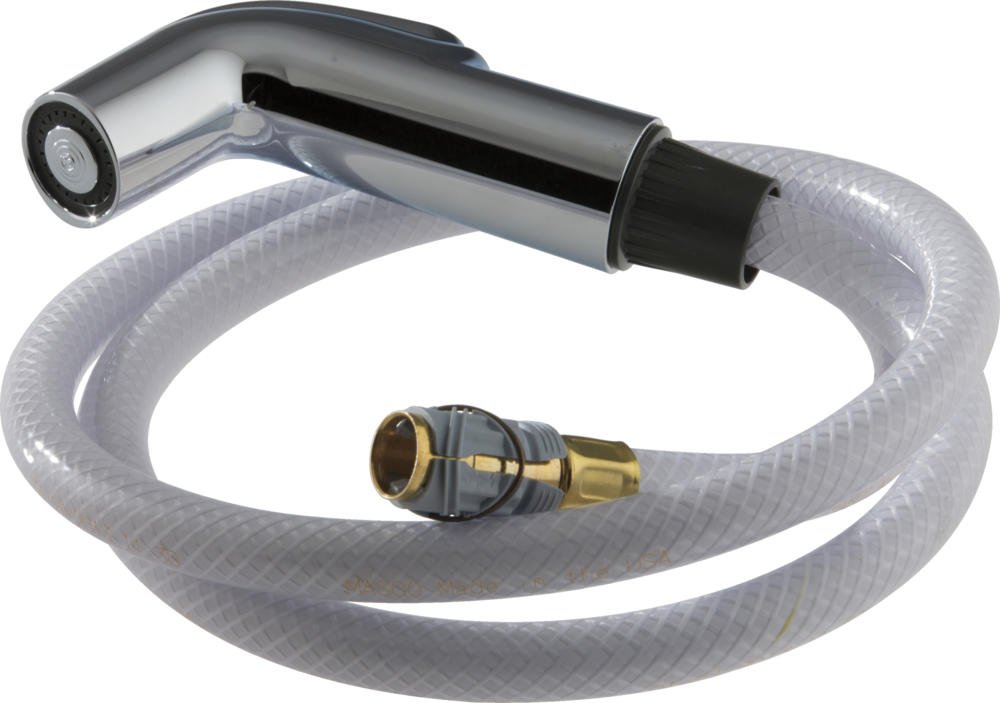
How to Tighten a Kitchen Sink Sprayer
If you notice your kitchen sink sprayer is starting to feel loose and wobbly, it's important to take care of it before it becomes a bigger issue. A loose sprayer can lead to leaks and even damage to your sink. Luckily, tightening a kitchen sink sprayer is a simple task that can be done in just a few minutes. Follow these steps to keep your kitchen sink sprayer secure and functioning properly.


How to Tighten a Kitchen Sink Sprayer


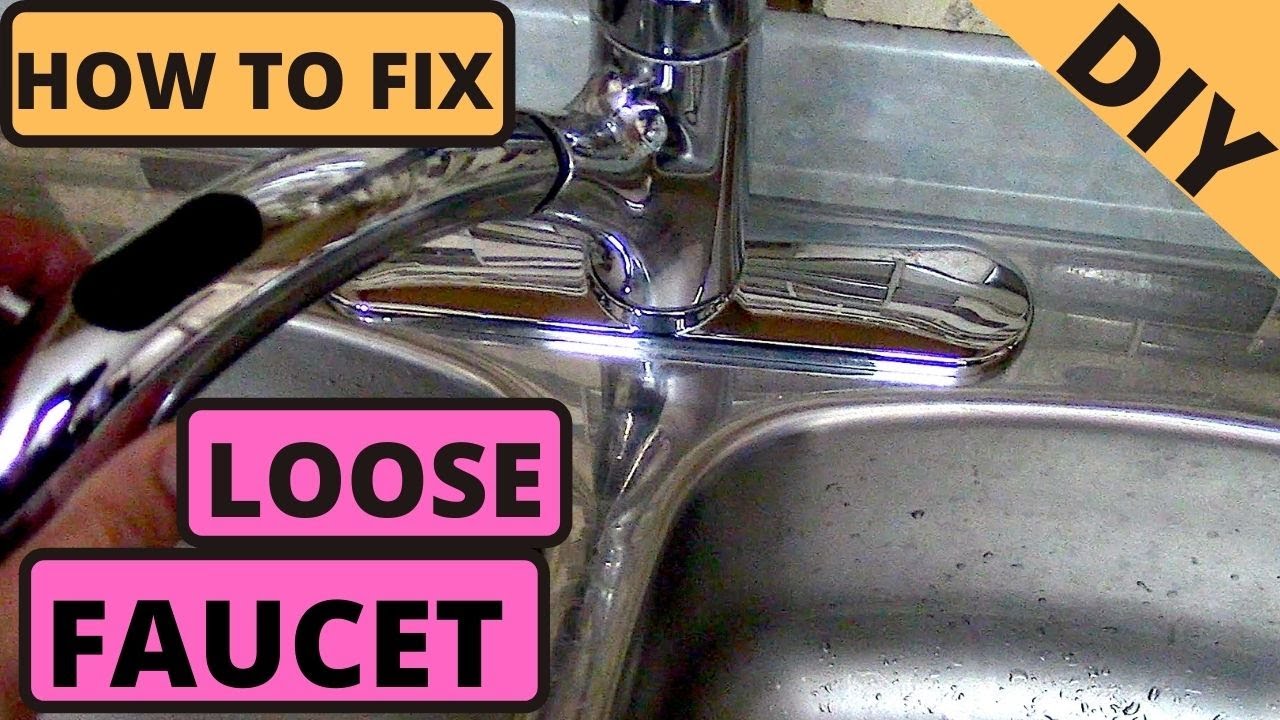
How to Fix a Loose Kitchen Sink Sprayer
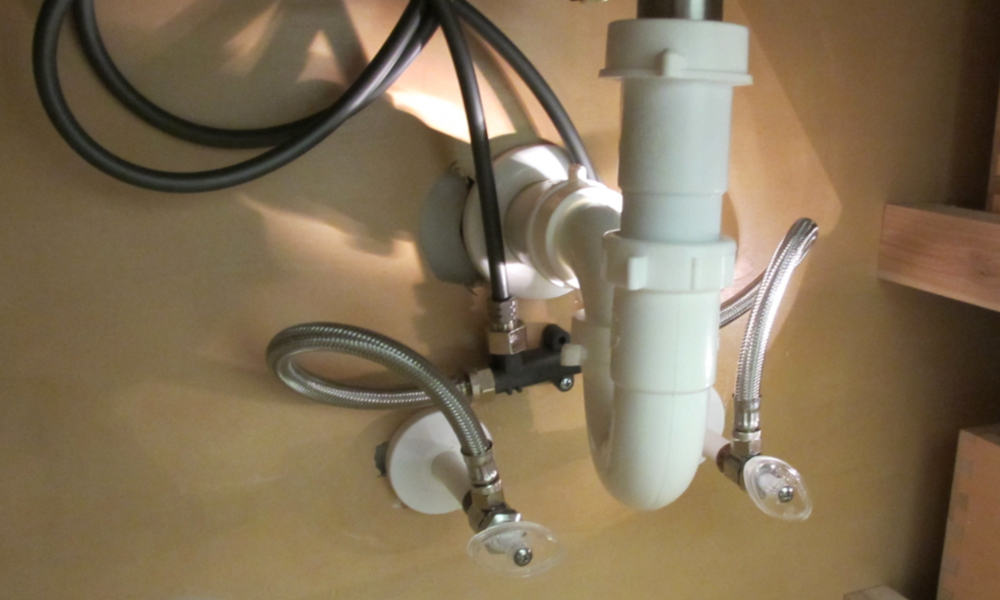
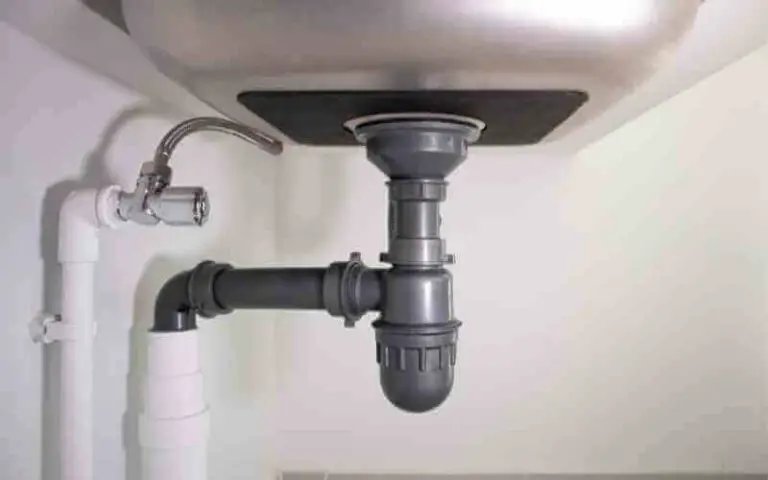
The first step to fixing a loose kitchen sink sprayer is to identify where the problem is coming from. This could be due to a loose sprayer head, a loose connection between the sprayer and the hose, or a loose connection between the hose and the water supply. Once you have determined the source of the issue, you can then proceed with tightening the necessary parts.


How to Fix a Loose Kitchen Sink Sprayer


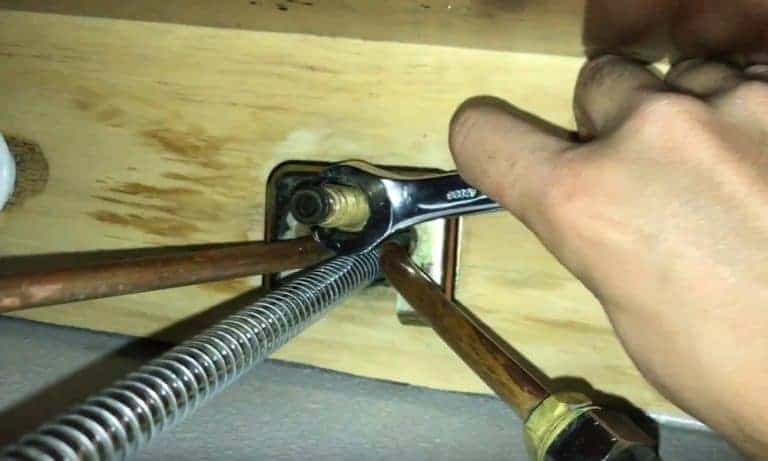
Steps to Tighten a Kitchen Sink Sprayer
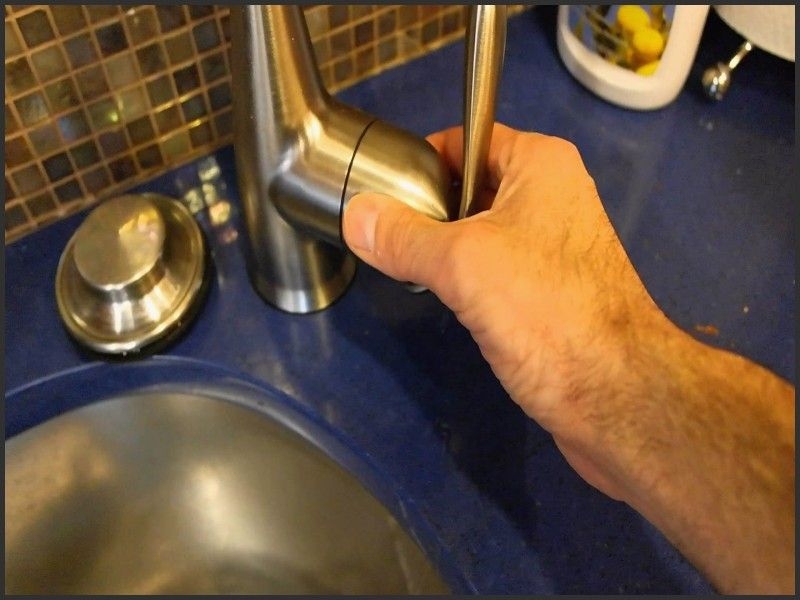
If the sprayer head itself is the problem, you can easily tighten it by using a pair of pliers. Simply wrap a towel around the sprayer head to protect it from scratches, and use the pliers to grip the base of the sprayer head. Twist the pliers in a clockwise direction until the sprayer head is securely tightened.
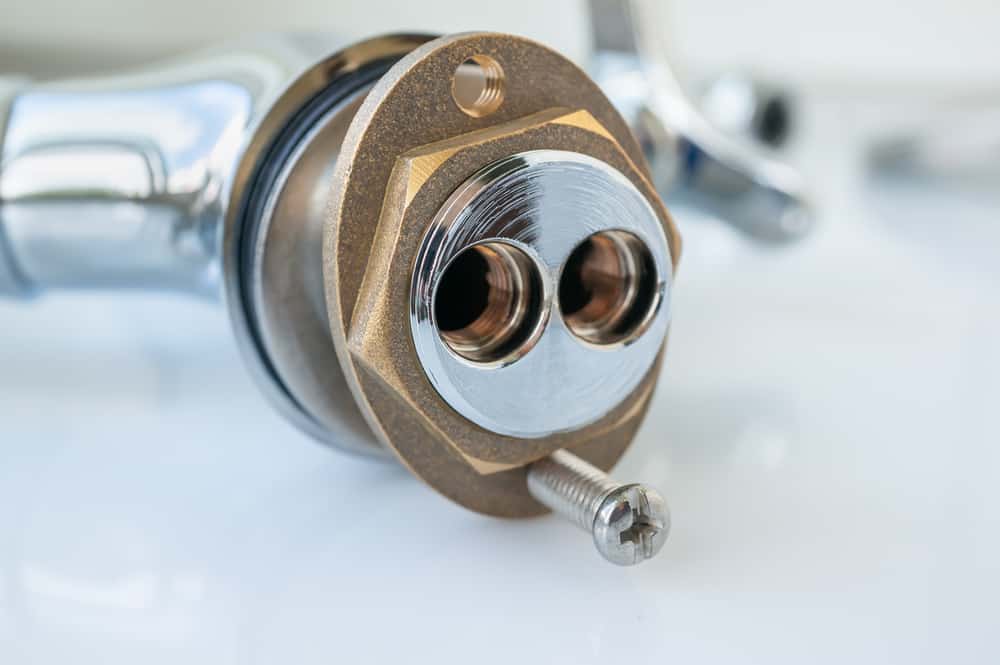
If the connection between the sprayer and the hose is loose, you can use a wrench to tighten the connection. Again, make sure to wrap a towel around the parts to avoid scratches. Use the wrench to turn the connection in a clockwise direction until it is snug and secure.
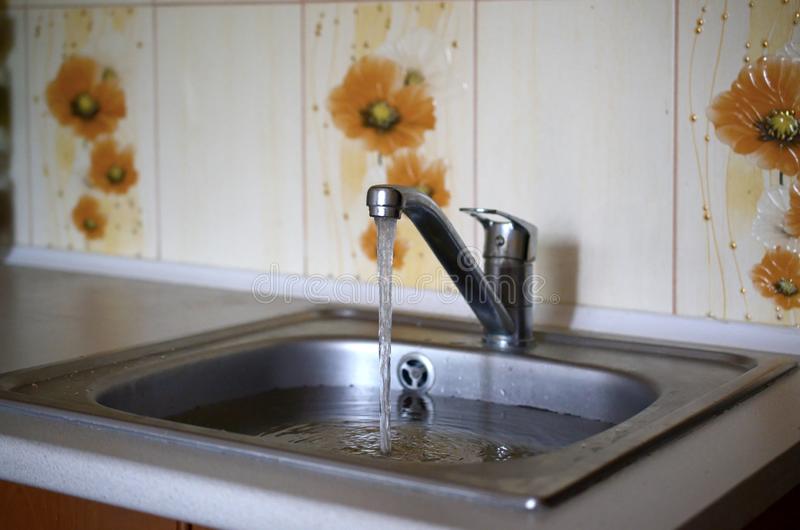
For a loose connection between the hose and the water supply, you may need to use a pair of pliers or a wrench to tighten the connection. Make sure to turn off the water supply before attempting this step. Once the connection is tightened, turn the water supply back on and test the sprayer to ensure it is functioning properly.


Steps to Tighten a Kitchen Sink Sprayer


DIY: Tightening a Kitchen Sink Sprayer
If you're the DIY type, you may be wondering if there is a way to tighten a kitchen sink sprayer without using any tools. While it is always best to use the appropriate tools for the job, there is a temporary fix that can be done without tools. Simply wrap a rubber band around the base of the sprayer head and twist it clockwise until the sprayer is secure. Keep in mind that this is not a permanent solution and it is important to properly tighten the sprayer using the appropriate tools as soon as possible.


DIY: Tightening a Kitchen Sink Sprayer


Quick Fix for a Loose Kitchen Sink Sprayer
If you're short on time and need a quick fix for a loose kitchen sink sprayer, there is a simple solution. Use a rubber band or a hair tie to secure the sprayer head to the faucet. This will keep the sprayer in place and prevent it from moving around while you use it. This is a temporary fix, so be sure to properly tighten the sprayer as soon as possible.


Quick Fix for a Loose Kitchen Sink Sprayer


Easy Solution for a Loose Kitchen Sink Sprayer
If you want a more permanent solution for a loose kitchen sink sprayer, you can use a pipe sealant tape. This tape is commonly used for plumbing and can be found at most hardware stores. Wrap the tape around the base of the sprayer head and twist it clockwise until it is snug and secure. This will create a tight seal and prevent the sprayer from becoming loose again.


Easy Solution for a Loose Kitchen Sink Sprayer

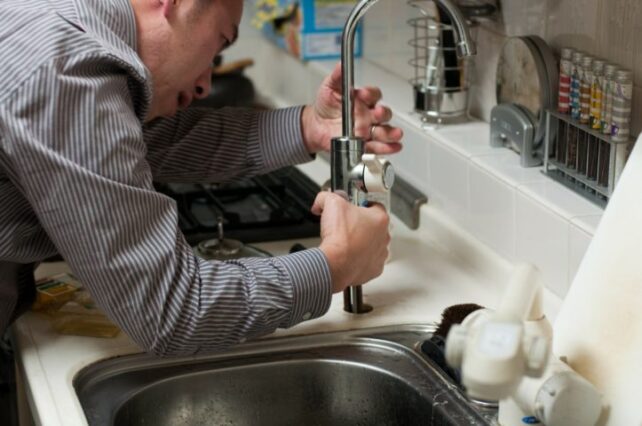
Fixing a Loose Kitchen Sink Sprayer in 5 Minutes
Fixing a loose kitchen sink sprayer doesn't have to be a time-consuming task. In fact, with the right tools and preparation, it can be done in just 5 minutes. Keep a pair of pliers and a wrench handy in your kitchen for any tightening needs. Regularly check your sprayer to ensure it is secure and tighten it as needed to prevent any future issues.


Fixing a Loose Kitchen Sink Sprayer in 5 Minutes


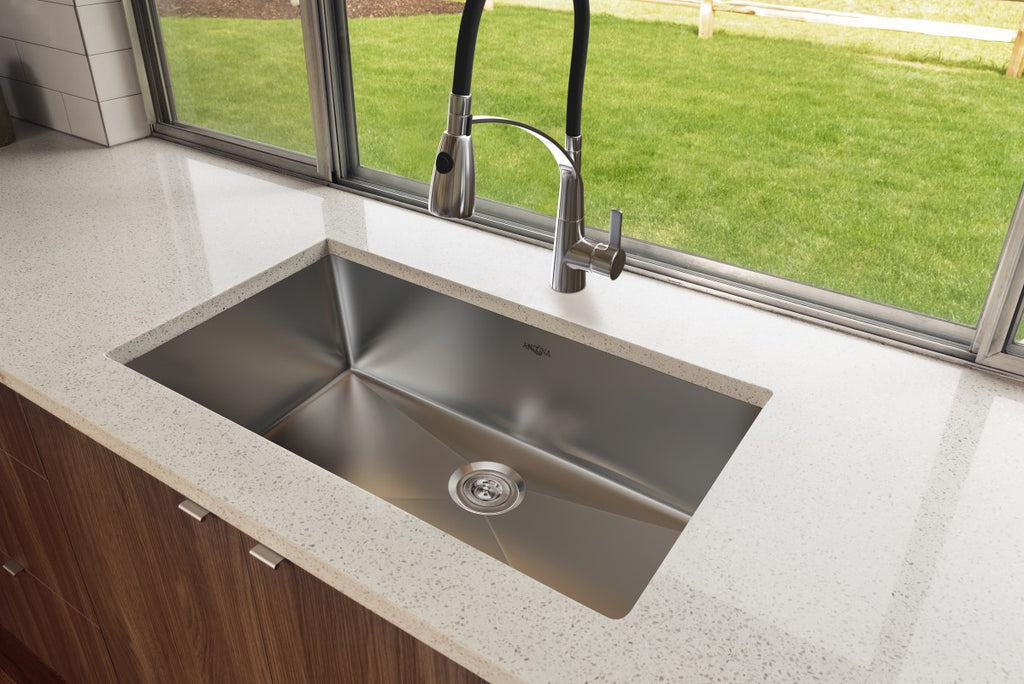
/25089301983_c5145fe85d_o-58418ef15f9b5851e5f392b5.jpg)

How to Secure a Kitchen Sink Sprayer
Prevention is key when it comes to keeping your kitchen sink sprayer secure. One way to prevent the sprayer from becoming loose is to properly install it in the first place. Follow the manufacturer's instructions carefully and make sure all connections are tightened before using the sprayer. Additionally, avoid using excessive force when using the sprayer, as this can cause it to become loose over time.

How to Secure a Kitchen Sink Sprayer


Tightening a Kitchen Sink Sprayer: Step-by-Step Guide
For a step-by-step guide on how to tighten your kitchen sink sprayer, follow these simple steps:
Step 1: Identify where the problem is coming from - the sprayer head, the connection between the sprayer and hose, or the connection between the hose and water supply.
Step 2: Use the appropriate tools - pliers, wrench, or pipe sealant tape - to tighten the necessary parts.
Step 3: Check the sprayer to ensure it is secure and functioning properly.
Step 4: Use preventative measures to avoid future issues - properly install the sprayer and use it with care.


Tightening a Kitchen Sink Sprayer: Step-by-Step Guide


Common Problems with Kitchen Sink Sprayers and How to Fix Them
There are a few common problems that can occur with kitchen sink sprayers, such as leaks, clogs, and loose connections. To fix leaks, make sure all connections are tight and replace any worn out parts. For clogs, use a mixture of vinegar and baking soda to clean out the sprayer head. And for loose connections, follow the steps outlined in this guide to properly tighten them.
With these tips and tricks, you can easily tighten a kitchen sink sprayer and prevent any further issues. Remember to regularly check your sprayer for any loose parts and to properly tighten them as needed. This will help keep your kitchen functioning smoothly and prevent any costly repairs in the future.


Common Problems with Kitchen Sink Sprayers and How to Fix Them


The Importance of Tightening the Sprayer on Your Kitchen Sink
Why a Secure Sprayer is Essential for Your Kitchen Sink
 When it comes to designing your dream kitchen, there are many small details that often get overlooked. One of these details is the
tightness of the sprayer on your kitchen sink
. While it may seem like a minor aspect, having a secure sprayer can make a big difference in the overall functionality and aesthetics of your kitchen.
Firstly, a properly tightened sprayer ensures that there are no leaks or drips, which can cause unnecessary water waste and damage to your sink and countertop. A leaking sprayer can also lead to mold and mildew growth, creating an unhealthy environment in your kitchen. By regularly checking and tightening the sprayer, you can prevent these issues and save yourself from costly repairs in the future.
Moreover, a secure sprayer also adds to the overall cleanliness of your kitchen. A loose sprayer can cause water to splash and spray in all directions, making a mess on your countertops and surrounding areas. This not only creates more work for you in terms of cleanup, but it also poses a safety hazard, especially if there are electrical appliances nearby. By keeping your sprayer tightly secured, you can minimize the mess and maintain a clean and safe kitchen environment.
In terms of design, a properly tightened sprayer can enhance the overall look of your kitchen sink. A loose sprayer can look unsightly and disrupt the flow of your sink area, while a secure sprayer seamlessly blends in and adds to the aesthetic appeal of your kitchen. It may seem like a small detail, but in the world of house design, every element counts. So why not pay attention to the sprayer on your kitchen sink and elevate the look of your space?
In conclusion, while it may seem like a simple task, regularly tightening the sprayer on your kitchen sink is an important aspect of house design. It not only prevents leaks and maintains cleanliness, but it also adds to the overall functionality and aesthetic appeal of your kitchen. So the next time you're redesigning your kitchen, don't forget to pay attention to the small details, including the tightness of your sprayer. Your future self will thank you for it.
When it comes to designing your dream kitchen, there are many small details that often get overlooked. One of these details is the
tightness of the sprayer on your kitchen sink
. While it may seem like a minor aspect, having a secure sprayer can make a big difference in the overall functionality and aesthetics of your kitchen.
Firstly, a properly tightened sprayer ensures that there are no leaks or drips, which can cause unnecessary water waste and damage to your sink and countertop. A leaking sprayer can also lead to mold and mildew growth, creating an unhealthy environment in your kitchen. By regularly checking and tightening the sprayer, you can prevent these issues and save yourself from costly repairs in the future.
Moreover, a secure sprayer also adds to the overall cleanliness of your kitchen. A loose sprayer can cause water to splash and spray in all directions, making a mess on your countertops and surrounding areas. This not only creates more work for you in terms of cleanup, but it also poses a safety hazard, especially if there are electrical appliances nearby. By keeping your sprayer tightly secured, you can minimize the mess and maintain a clean and safe kitchen environment.
In terms of design, a properly tightened sprayer can enhance the overall look of your kitchen sink. A loose sprayer can look unsightly and disrupt the flow of your sink area, while a secure sprayer seamlessly blends in and adds to the aesthetic appeal of your kitchen. It may seem like a small detail, but in the world of house design, every element counts. So why not pay attention to the sprayer on your kitchen sink and elevate the look of your space?
In conclusion, while it may seem like a simple task, regularly tightening the sprayer on your kitchen sink is an important aspect of house design. It not only prevents leaks and maintains cleanliness, but it also adds to the overall functionality and aesthetic appeal of your kitchen. So the next time you're redesigning your kitchen, don't forget to pay attention to the small details, including the tightness of your sprayer. Your future self will thank you for it.