If you're looking to update your kitchen with a new faucet, the first step is to remove the old one. While it may seem like a daunting task, removing a kitchen sink faucet is actually a fairly simple process. With the right tools and some basic knowledge, you can have your old faucet out and ready for a new one in no time.How to Remove a Kitchen Sink Faucet


How to Remove a Kitchen Sink Faucet


Replacing a kitchen sink faucet not only gives your kitchen a fresh new look, but it can also improve the functionality of your sink. Whether you're tired of a leaky faucet or just want to upgrade to a more modern style, replacing a kitchen sink faucet is a DIY project that anyone can tackle.How to Replace a Kitchen Sink Faucet


How to Replace a Kitchen Sink Faucet


Removing a kitchen sink faucet yourself can save you time and money. Plus, it's a great way to learn more about your plumbing and gain confidence in DIY projects. With our step-by-step guide, you'll be able to remove your old faucet and prepare for a new one in just a few simple steps.DIY Kitchen Sink Faucet Removal


DIY Kitchen Sink Faucet Removal


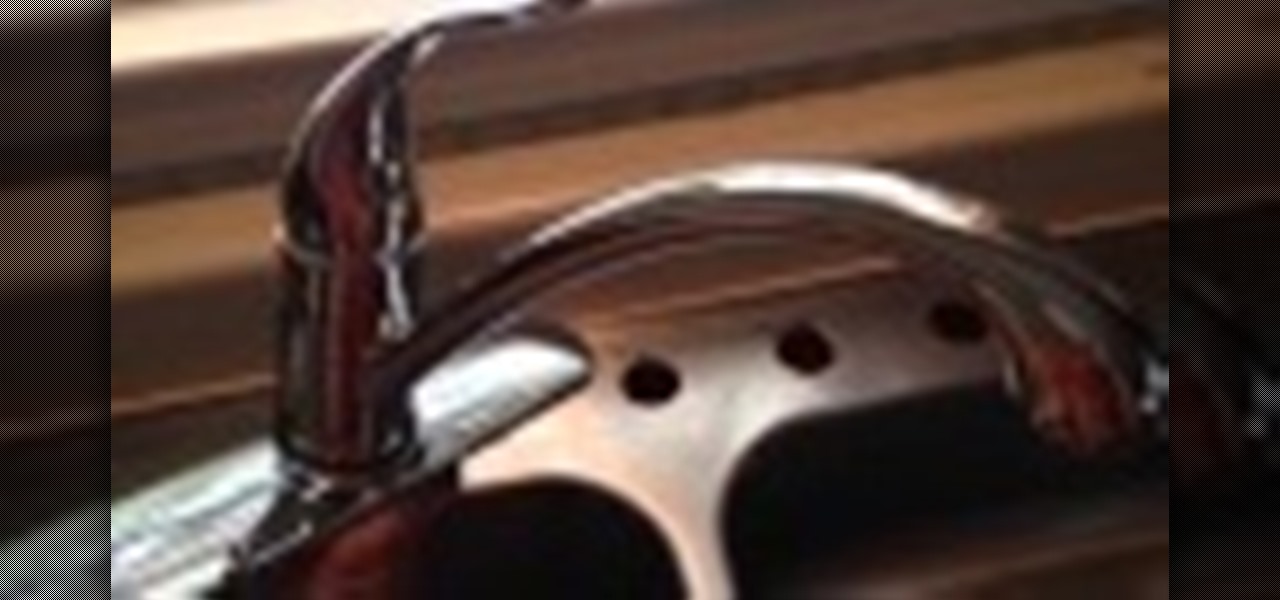
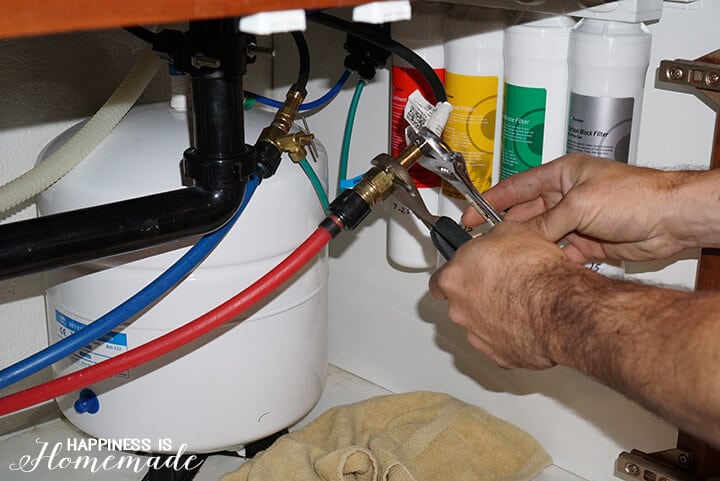
Before you begin, make sure to turn off the water supply to your faucet. This can usually be done by turning off the valves located under your sink. Once the water is off, follow these steps to remove your kitchen sink faucet: Step 1: Remove any accessories that may be attached to the faucet, such as a sprayer or soap dispenser. Step 2: Use pliers or a wrench to loosen and remove the nuts and bolts that hold the faucet in place. Step 3: Once the faucet is loose, lift it up and out of the sink. Step 4: Clean the area where the old faucet was attached to the sink to remove any debris or build-up. Step 5: You can now install your new faucet following the manufacturer's instructions.Step-by-Step Guide for Removing a Kitchen Sink Faucet


Step-by-Step Guide for Removing a Kitchen Sink Faucet


Before you begin removing your kitchen sink faucet, make sure you have the following tools on hand: - Pliers or a wrench to loosen and remove nuts and bolts - A basin wrench for hard-to-reach areas - A screwdriver for removing any screws or other attachments - A towel or rag to clean up any water or debrisTools Needed for Removing a Kitchen Sink Faucet

Tools Needed for Removing a Kitchen Sink Faucet


Here are some helpful tips to keep in mind when removing a kitchen sink faucet: - Take your time: Rushing through the process can lead to mistakes and potential damage to your sink or faucet. - Refer to the manufacturer's instructions: Every faucet is different, so it's important to follow the specific instructions for your faucet model. - Use a towel or rag: Placing a towel or rag over your sink will help protect it from any scratches or damage while you work. - Have a bucket or container handy: This will come in handy to catch any excess water that may drip out while removing the faucet.Tips for Taking Out a Kitchen Sink Faucet


Tips for Taking Out a Kitchen Sink Faucet


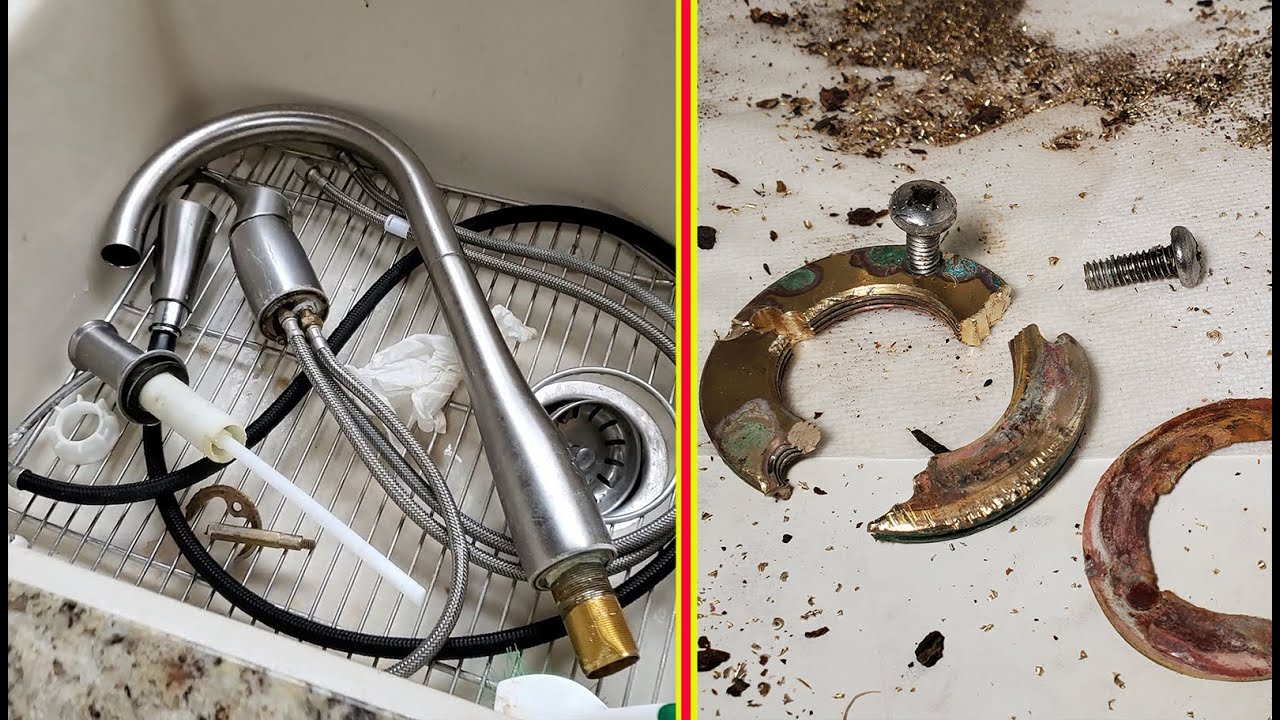
One of the main concerns when removing a kitchen sink faucet is causing damage to the sink itself. To avoid any potential damage, follow these steps: - Use a basin wrench: This tool is specifically designed to reach and loosen nuts and bolts in hard-to-reach areas, making it easier to remove the faucet without causing damage to the sink. - Be gentle: When using pliers or a wrench, be careful not to overtighten or apply too much pressure, as this can cause damage to the sink. - Clean the area: After removing the old faucet, make sure to clean the area thoroughly to remove any debris or build-up that may have accumulated over time.Removing a Kitchen Sink Faucet Without Damaging the Sink


Removing a Kitchen Sink Faucet Without Damaging the Sink


While removing a kitchen sink faucet is a fairly straightforward process, there are some common mistakes that people make. Here are a few things to avoid: - Not turning off the water supply: Forgetting to turn off the water supply can lead to a big mess and potential water damage. - Using the wrong tools: Using the wrong tools can not only make the process more difficult, but it can also cause damage to your faucet or sink. - Forgetting to clean the area: It's important to clean the area where the old faucet was attached to the sink to remove any debris or build-up that can affect the installation of the new faucet.Common Mistakes to Avoid When Removing a Kitchen Sink Faucet


Common Mistakes to Avoid When Removing a Kitchen Sink Faucet

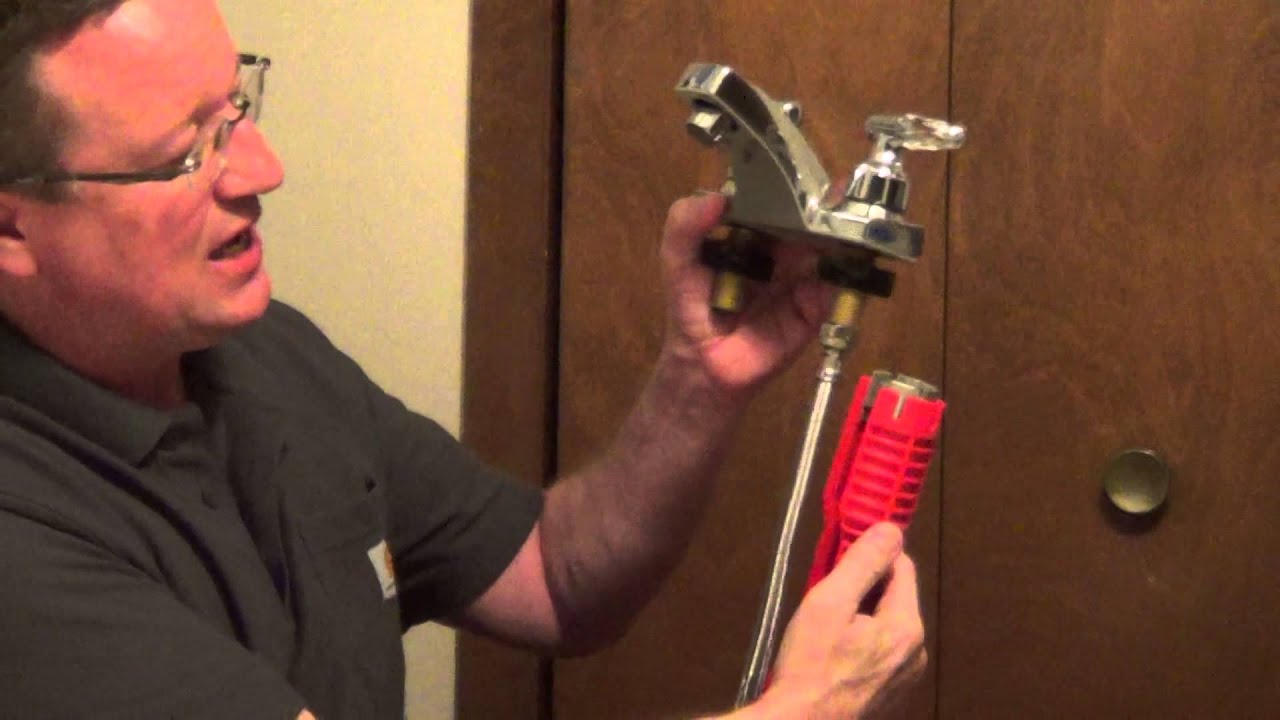
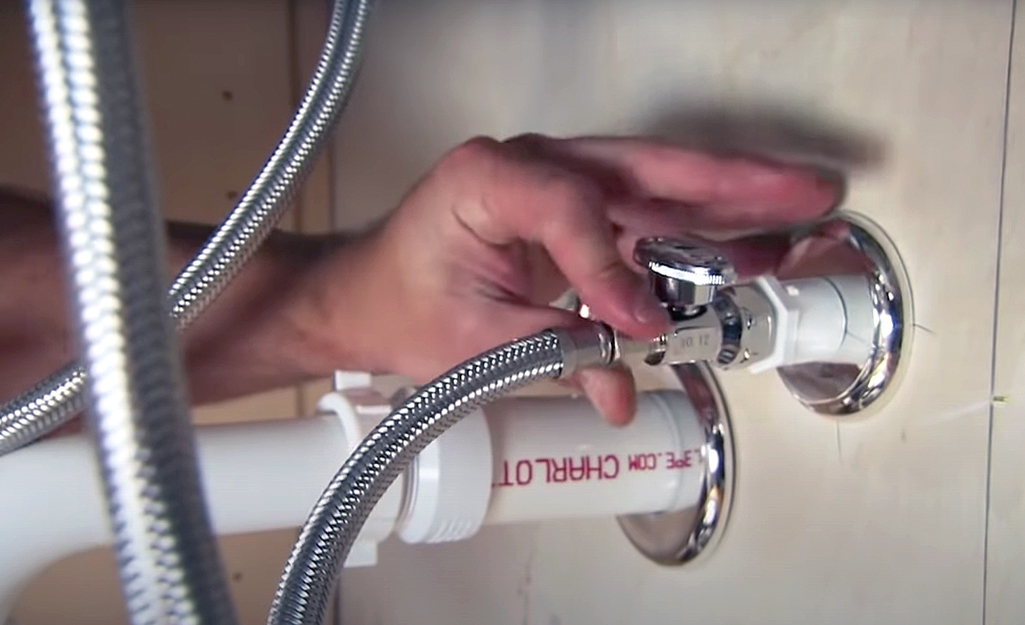
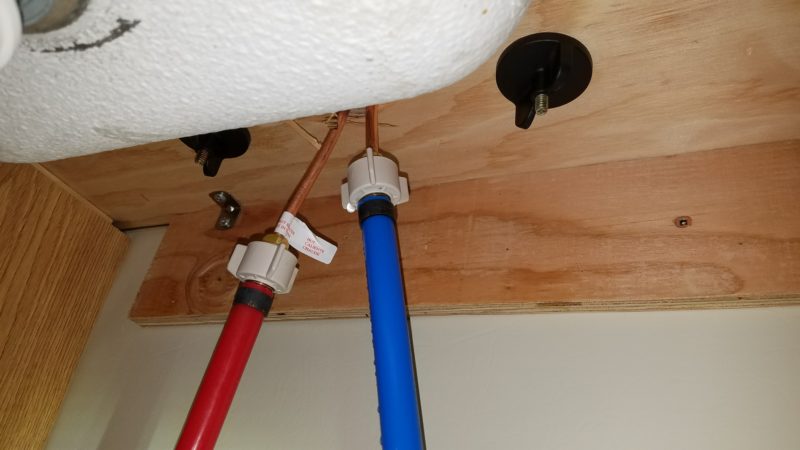
If you're replacing your kitchen sink faucet, you'll need to disconnect the water supply lines from the old faucet. Here's how to do it: Step 1: Turn off the water supply to your faucet. Step 2: Use pliers or a wrench to loosen the nuts connecting the water supply lines to the faucet. Step 3: Once the nuts are loose, remove the water supply lines from the faucet. Step 4: You can now install the new faucet and reconnect the water supply lines following the manufacturer's instructions.How to Disconnect Water Supply Lines from a Kitchen Sink Faucet


How to Disconnect Water Supply Lines from a Kitchen Sink Faucet


If your kitchen sink faucet is stuck and won't budge, here are a few tips to help remove it: - Use penetrating oil: Soak the nuts and bolts with a penetrating oil to help loosen them. - Use a basin wrench: A basin wrench can help reach and loosen hard-to-reach areas. - Apply heat: If the faucet is still stuck, try using a hairdryer to apply heat to the nuts and bolts. The heat can help loosen them and make it easier to remove the faucet. With these tips and a little bit of patience, you can successfully remove your old kitchen sink faucet and prepare for a new one. Remember to always follow safety precautions and refer to the manufacturer's instructions for your specific faucet model. Now that you know how to remove a kitchen sink faucet, you can confidently tackle this DIY project and give your kitchen a fresh new look.Removing a Stuck Kitchen Sink Faucet


Removing a Stuck Kitchen Sink Faucet


Tips for Taking Out a Kitchen Sink Faucet

Introduction
 Replacing a kitchen sink faucet may seem like a daunting task, but with the right tools and knowledge, it can be a simple and satisfying DIY project. Whether you want to update the look of your kitchen, fix a leaky faucet, or just replace a worn-out fixture, knowing how to properly take out a kitchen sink faucet is an essential skill for any homeowner. In this article, we will discuss the steps and tips for successfully removing a kitchen sink faucet.
Gather Your Tools
 Before starting the project, make sure you have all the necessary tools and materials. This includes a pair of pliers, an adjustable wrench, a basin wrench, a screwdriver, a bucket, and a new faucet. It's important to have the right tools to avoid any unnecessary complications during the process.
Turn Off the Water Supply
 Before attempting to remove the faucet, it's crucial to shut off the water supply. Look for the shut-off valves under the sink and turn them clockwise until they are fully closed. If you cannot find the shut-off valves, you can also turn off the main water supply to your house. This will prevent any water from leaking out while you work.
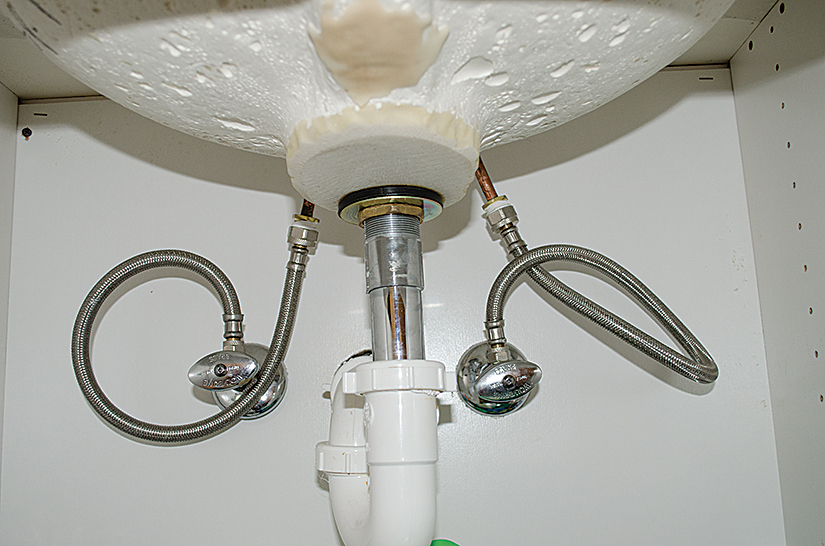
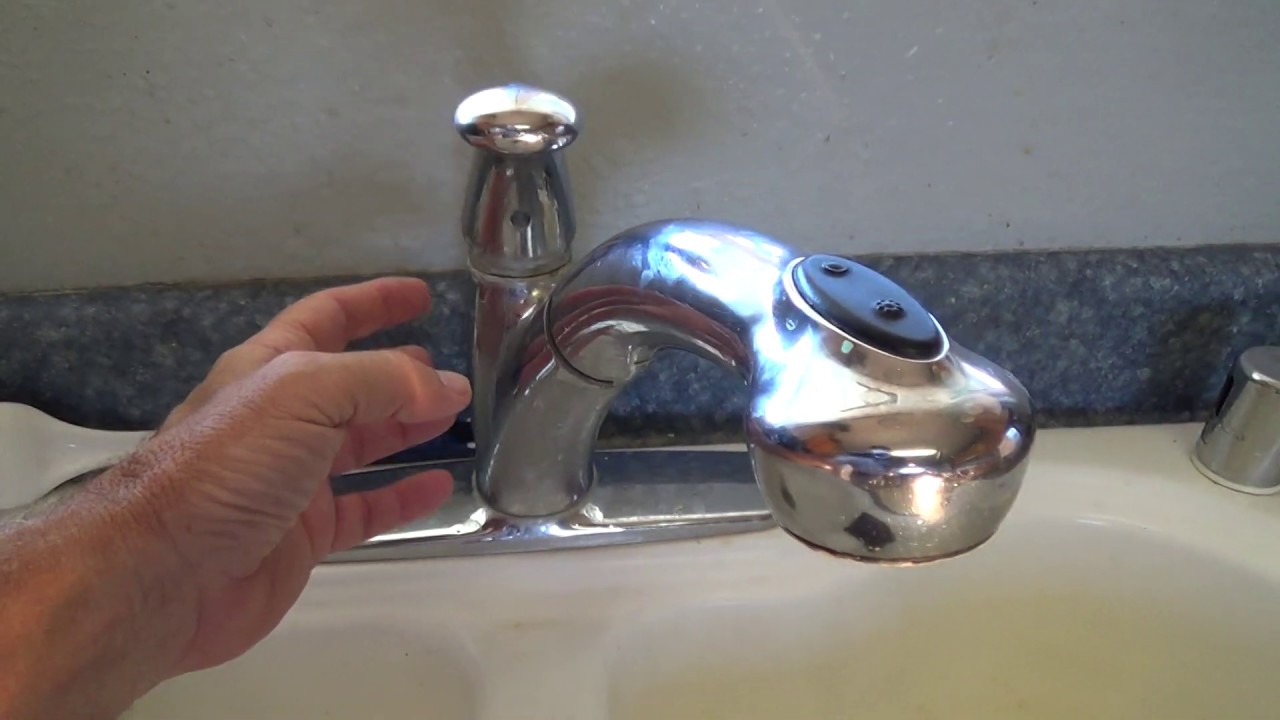
Remove the Old Faucet
 Now it's time to remove the old faucet. Use a basin wrench to loosen and remove the nuts holding the faucet in place. If the nuts are too tight, use a pair of pliers for extra leverage. Once the nuts are removed, carefully lift the faucet out of the sink. Be sure to have a bucket or towel handy to catch any excess water that may spill out.
Clean the Area
 After removing the old faucet, take the time to clean the area thoroughly. This will ensure that your new faucet will be installed on a clean and smooth surface. Use a mild cleaner or soap and water to remove any residue or buildup around the faucet holes.
Install the New Faucet
 Follow the manufacturer's instructions for installing the new faucet. This may include attaching any necessary parts, such as the handles or spout, and securing the faucet with the nuts and washers provided. Be sure to tighten the nuts with a basin wrench to ensure a secure fit.
Turn the Water Supply Back On
 Once the new faucet is installed, turn the water supply back on and check for any leaks. If you notice any leaks, tighten the nuts or any other connections until they are secure. If the leaks persist, you may need to seek professional help.
Conclusion
 Taking out a kitchen sink faucet may seem like a daunting task, but with the right tools and knowledge, it can be a simple and rewarding DIY project. By following these tips, you can successfully remove an old faucet and install a new one, giving your kitchen a fresh and updated look. Remember to always turn off the water supply before starting the project and to take your time to ensure a proper and secure installation. Happy faucet removing!


