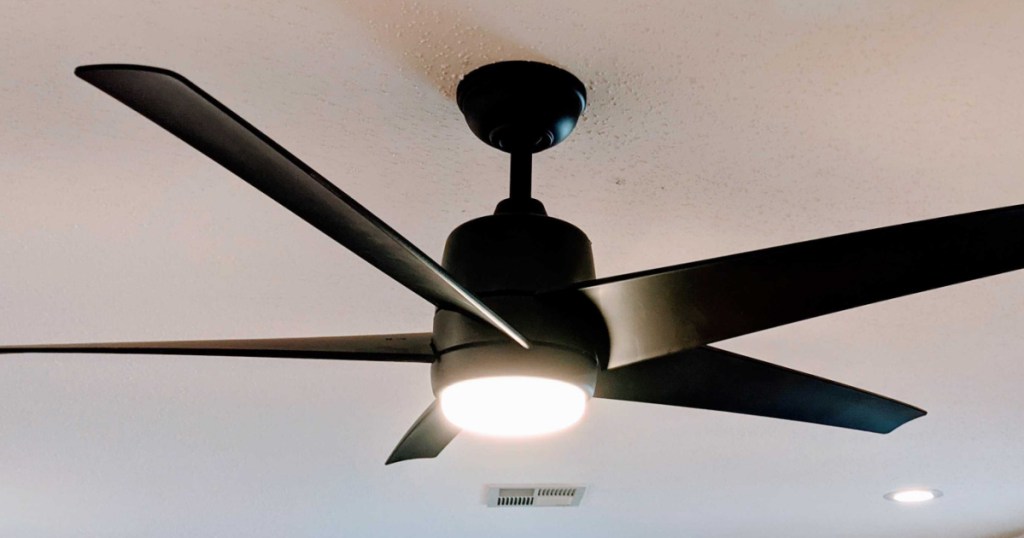
Are you tired of the outdated fan in your dining room and ready for an upgrade? The first step is removing the old fan. This may seem like a daunting task, but with the right tools and techniques, you can easily take off your dining room fan in no time. Follow these steps to uninstall your dining room fan and make way for a new and improved one. How to Remove Your Dining Room Fan with Ease
Before starting the removal process, gather all the necessary tools. You will need a ladder, screwdriver, pliers, wire cutters, and a voltage tester. It's important to have all these tools on hand to ensure a smooth and safe removal process. Gather Your Tools
Before you begin removing the fan, make sure to turn off the power. Use a voltage tester to double-check that there is no electricity running to the fan. This is a crucial step to ensure your safety while working with electrical components. Turn Off the Power
Start by removing the fan blades. Use a screwdriver to unscrew the screws that hold the blades in place. Once the screws are removed, gently pull the blades off the fan motor. Be careful not to damage the blades or the motor while doing this. Remove the Fan Blades
If your fan has a light fixture attached, you will need to detach it before removing the fan. Carefully unscrew the light fixture and disconnect the wires. Make sure to cap off the exposed wires to prevent any accidents. Detach the Light Fixture
Next, you will need to disconnect the wires that are connected to the fan motor. Use a voltage tester to confirm that the power is off before touching any wires. Once you have confirmed it is safe, use pliers to disconnect the wires from the fan motor. Disconnect the Wires
Once all the components are detached, it's time to take down the fan. Carefully unscrew the mounting bracket that holds the fan to the ceiling. Have someone assist you in holding the fan while you remove the last screw to prevent it from falling. Take Down the Fan
After taking down the fan, you will be left with the mounting bracket attached to the ceiling. Use a screwdriver to remove the screws and detach the bracket from the ceiling. Make sure to save the screws and bracket if you plan on reusing them for your new fan. Uninstall the Mounting Bracket
Now that your old fan is removed, you can install your new and improved one. Follow the instructions provided by the manufacturer to ensure proper installation. Make sure to double-check that all the components are securely attached and the wires are connected correctly before turning the power back on. Install Your New Fan
Instead of throwing your old fan away, consider recycling or donating it. Many organizations accept used fans and repurpose them for those in need. This is not only a sustainable option but also a great way to give back to your community. Recycle or Donate Your Old Fan
Why You Should Consider Taking Off Your Dining Room Fan for a More Modern House Design

The Importance of House Design
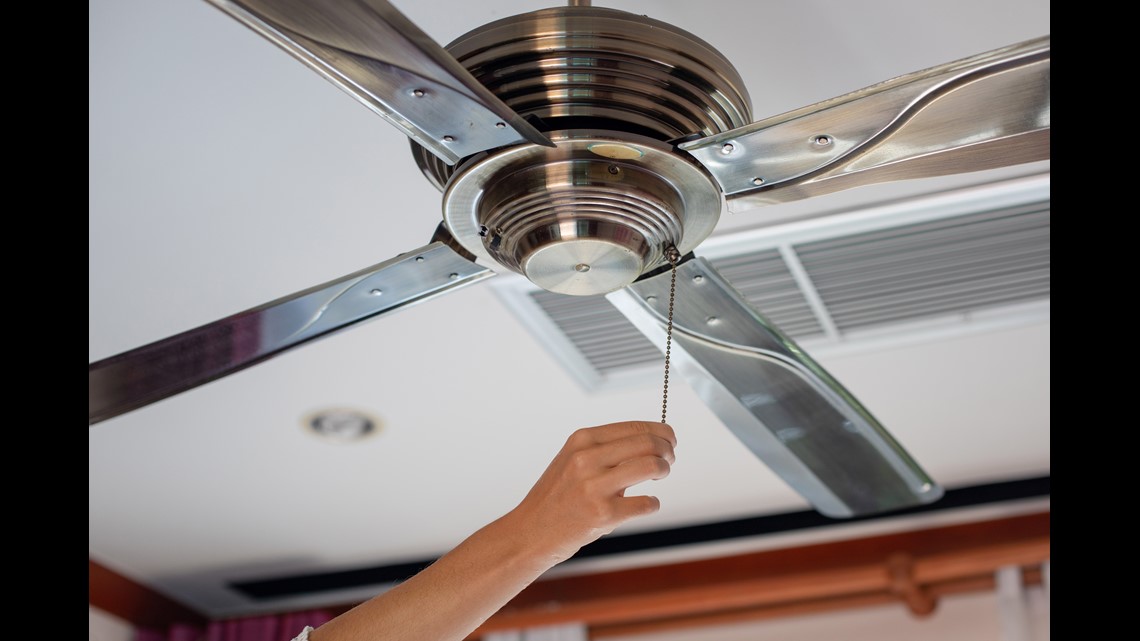 When it comes to creating the perfect home, the design of each room plays a crucial role. From the color scheme to the furniture and decor, every element contributes to the overall aesthetic and atmosphere of a room. One often overlooked aspect of house design is the ceiling fan in the dining room. While it may seem like a functional necessity, upgrading or even removing the fan can greatly enhance the look and feel of your dining space. In this article, we will discuss the benefits of taking off your dining room fan and how it can elevate your house design.
Outdated and Inefficient
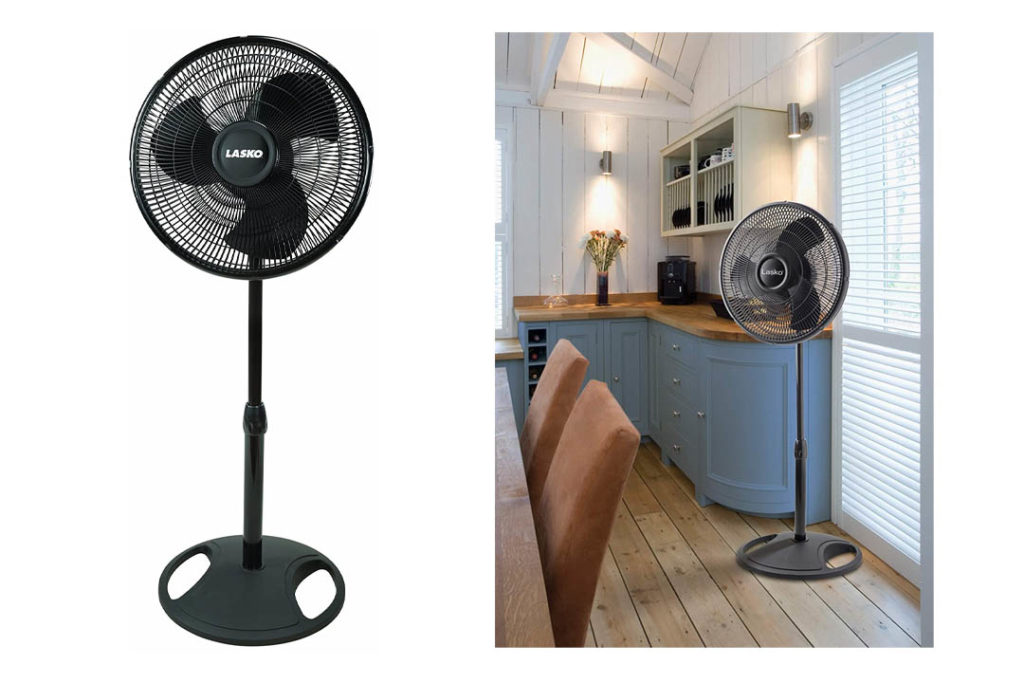 Let's face it, most dining room ceiling fans are outdated and unattractive. They often come in generic designs and can be an eyesore in an otherwise beautifully designed room. Not to mention, they can also be loud and inefficient, providing minimal cooling or air circulation. By removing the fan, you can open up the space and create a more modern and streamlined look for your dining room.
More Space for Decorative Lighting
 Removing the fan also creates more space for other decorative lighting options. With the fan out of the way, you can install a stylish chandelier or pendant light that will not only provide functional lighting but also serve as a statement piece in your dining room. This will add a touch of elegance and sophistication to your space, making it a more inviting and enjoyable place to dine and entertain guests.
Improved Airflow and Temperature Control
 You may be wondering, how will I keep my dining room cool without a fan? Well, there are other options available such as installing a ceiling-mounted or wall-mounted air conditioning unit. These units are not only more efficient in cooling a room, but they also provide better air circulation, making your dining room a more comfortable place to be during hot summer months. Additionally, you can also install a dimmer switch to control the brightness and temperature in your dining room, creating a customizable and cozy atmosphere for any occasion.
Bold and Modern Look
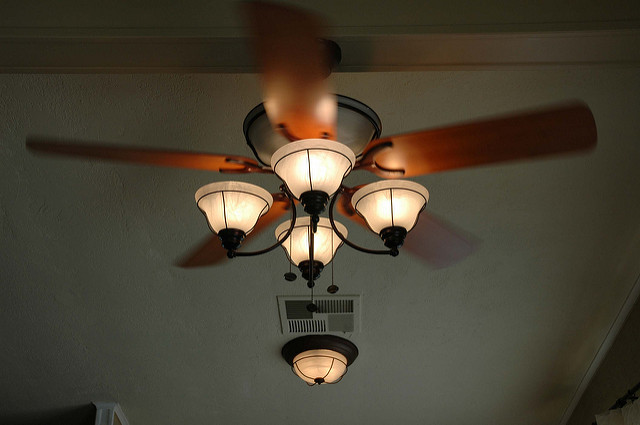 Finally, removing the dining room fan can give your space a bold and modern look. With the fan gone, your ceiling will appear higher, creating a more spacious and grand feel. This will also make your dining room feel more updated and in line with current design trends. Plus, by removing the fan, you can experiment with different ceiling textures, colors, or even add a decorative medallion to truly elevate the design of your dining room.
In conclusion, taking off your dining room fan may seem like a small change, but it can have a big impact on your house design. It will give your space a more modern and stylish look, provide better air circulation and temperature control, and create more opportunities for decorative lighting. So, if you're looking to upgrade your dining room and make it a more inviting and visually appealing space, consider taking off your dining room fan today.







:max_bytes(150000):strip_icc()/hot-to-hang-a-chandelier-1976284-GIF-V4-f1d9285bc97d4dbab70cdbfacf3caf01.gif)


