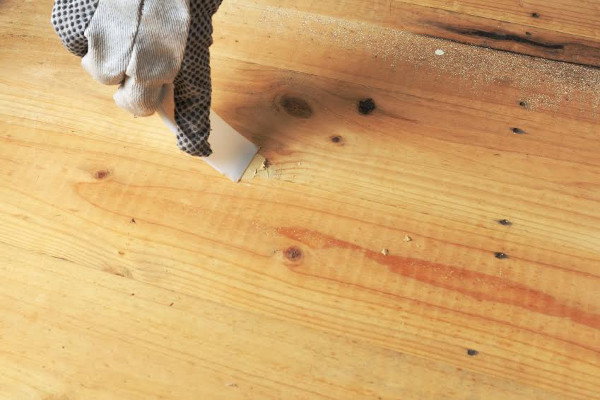
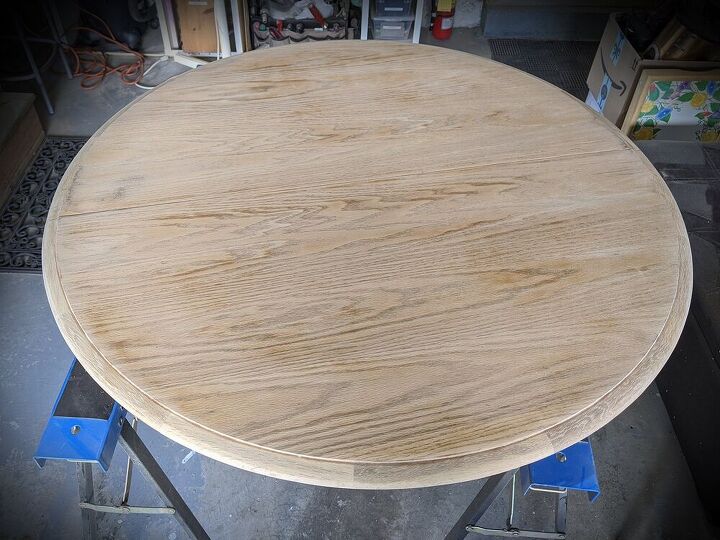
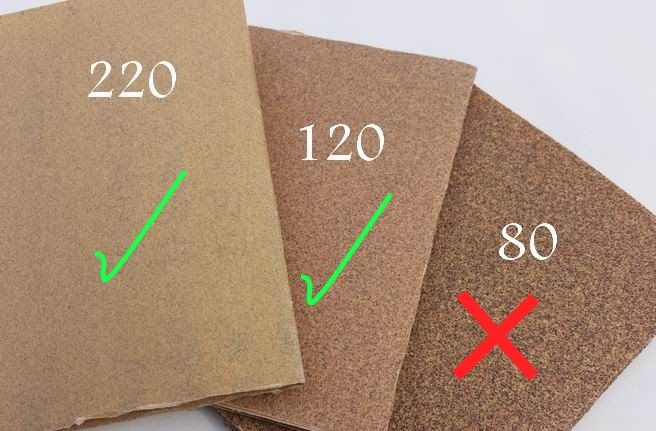
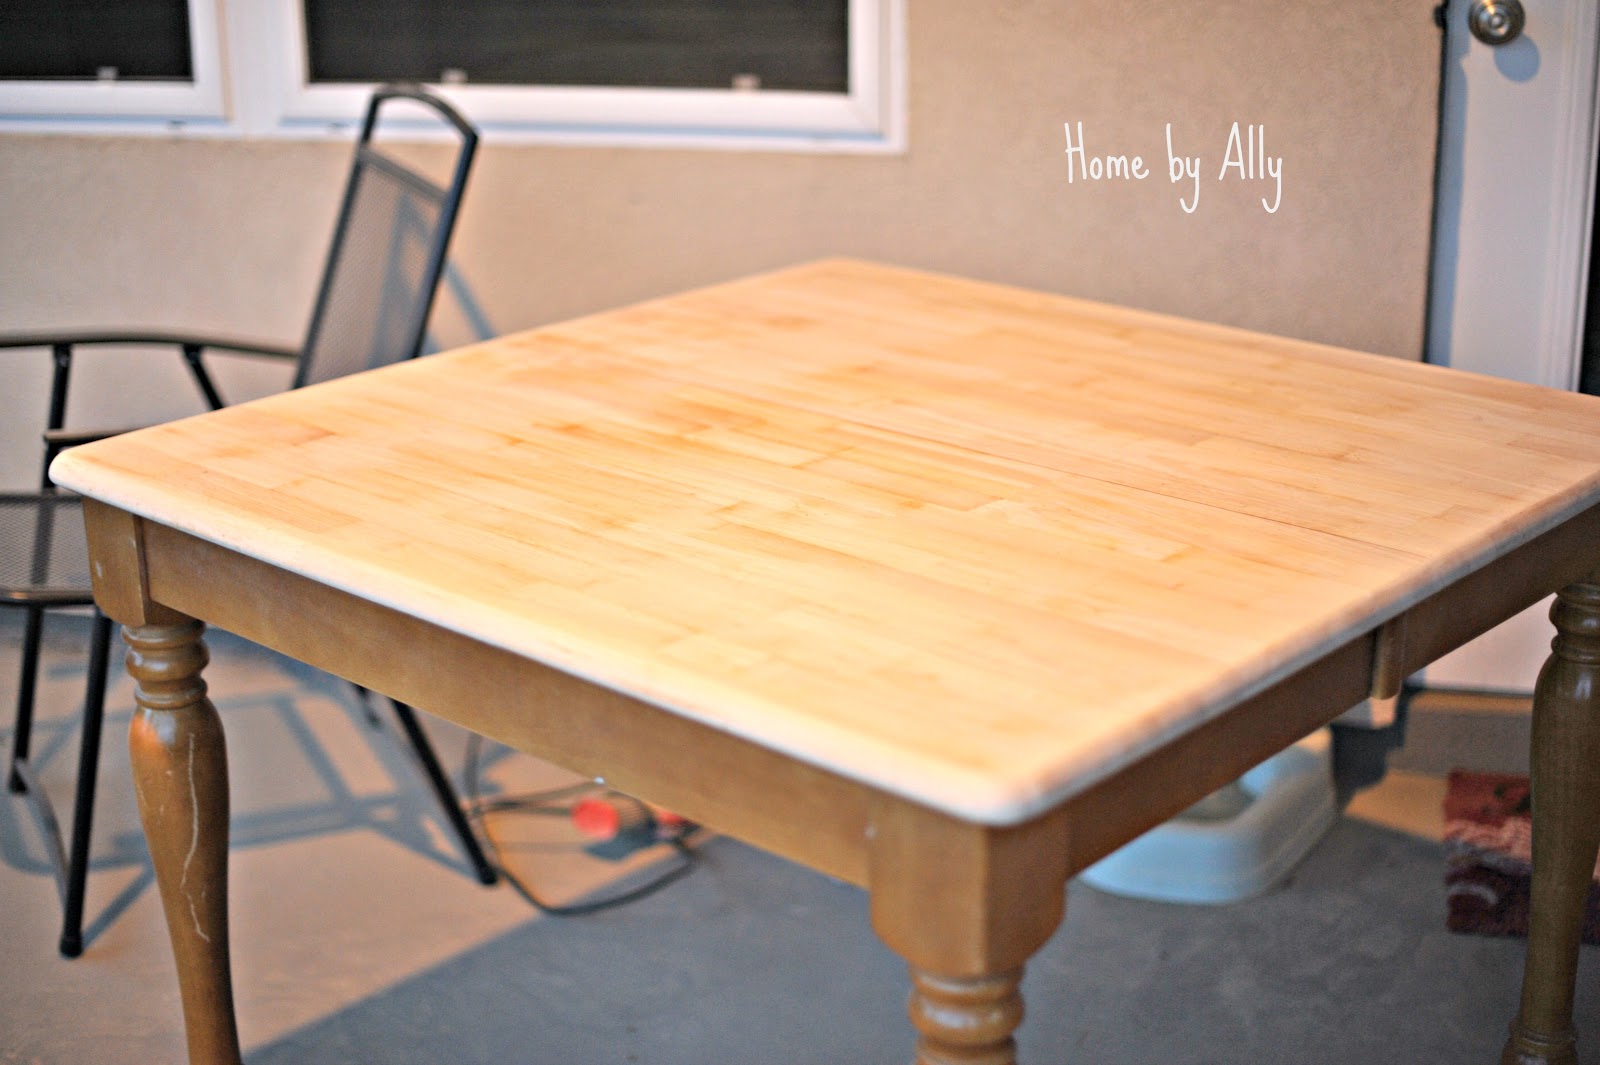
If you want to give your old kitchen table a brand new look, the first step is to sand the surface. This will help remove any imperfections, scratches, or old finish that may be present on the table. Use a medium-grit sandpaper and sand in the direction of the wood grain for best results. Make sure to also sand the edges and corners of the table to ensure a smooth and even finish.1. Sand the table surface


1. Sand the table surface


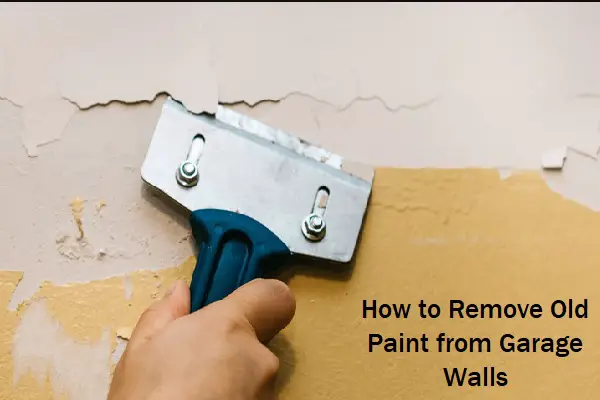
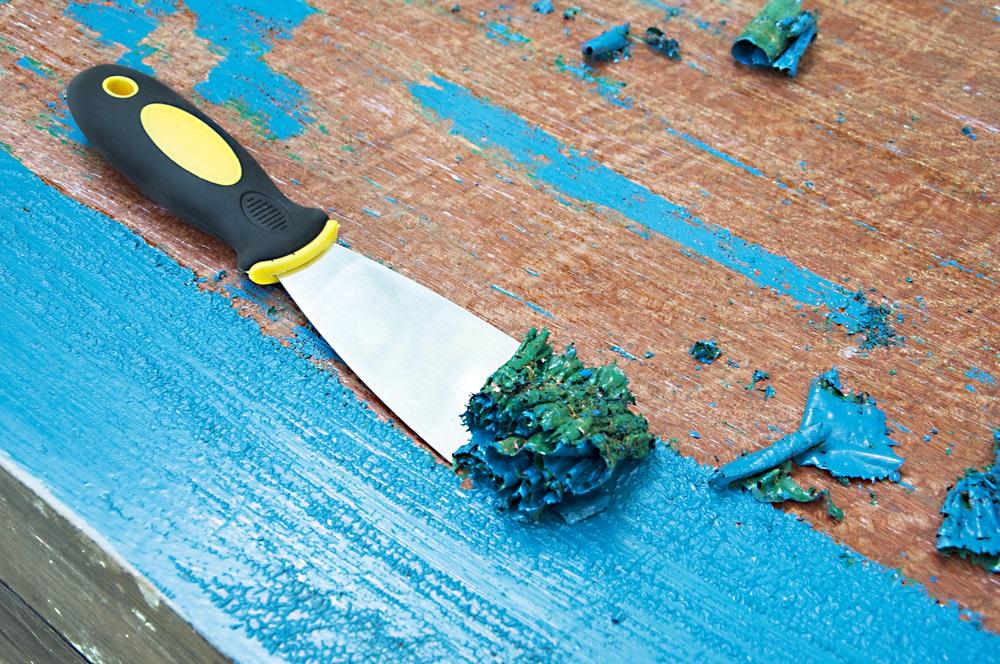
If your kitchen table has an old finish or paint, it’s important to remove it before starting the refinishing process. You can use a chemical stripper or a heat gun to remove the finish, depending on the type of finish used. Be sure to follow the instructions carefully and use protective gear when using chemical strippers.2. Remove any old finish or paint


2. Remove any old finish or paint


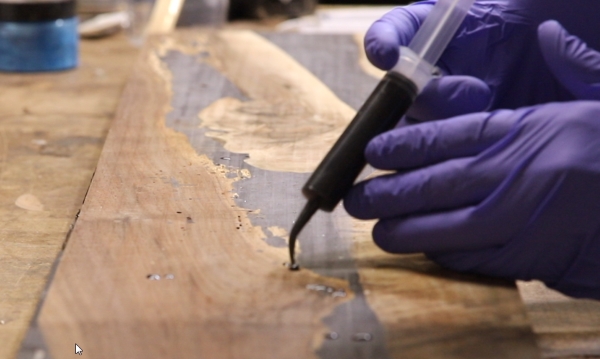
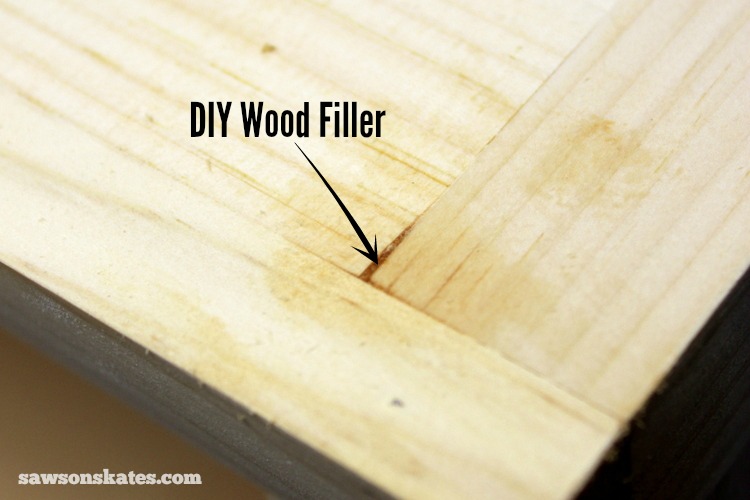
If your table has any cracks or holes, use a wood filler to fill them in. This will help create a smooth surface for painting or staining. Choose a wood filler that matches the color of your table for a seamless finish. Once you have filled in all the cracks and holes, let the wood filler dry completely.3. Fill in any cracks or holes with wood filler


3. Fill in any cracks or holes with wood filler


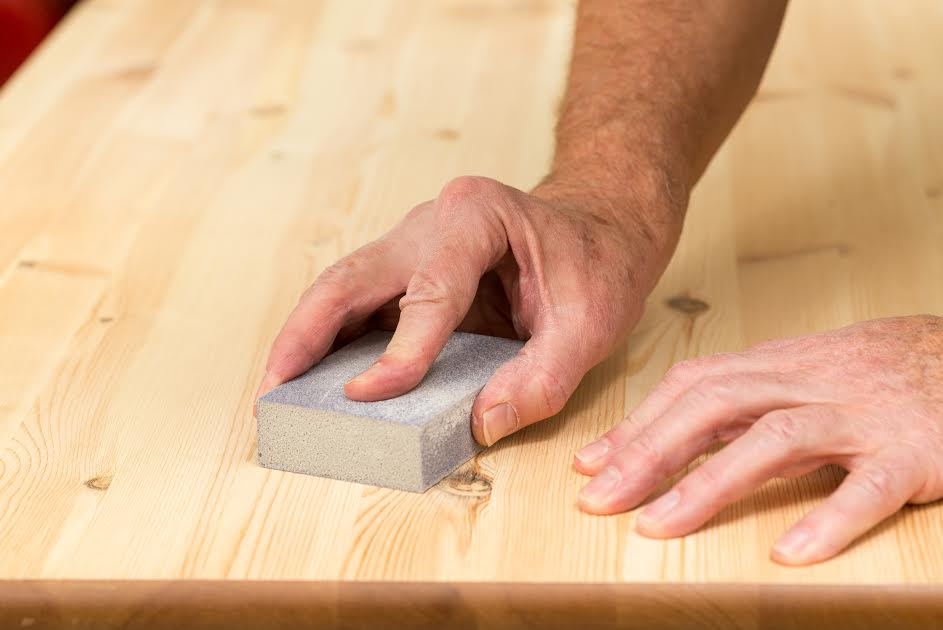
After the wood filler has dried, sand the surface again to smooth out any rough patches and ensure a flat and even surface. Use a fine-grit sandpaper for this step and sand in the direction of the wood grain. This will help blend the wood filler with the rest of the table surface.4. Sand again to smooth out the wood filler


4. Sand again to smooth out the wood filler


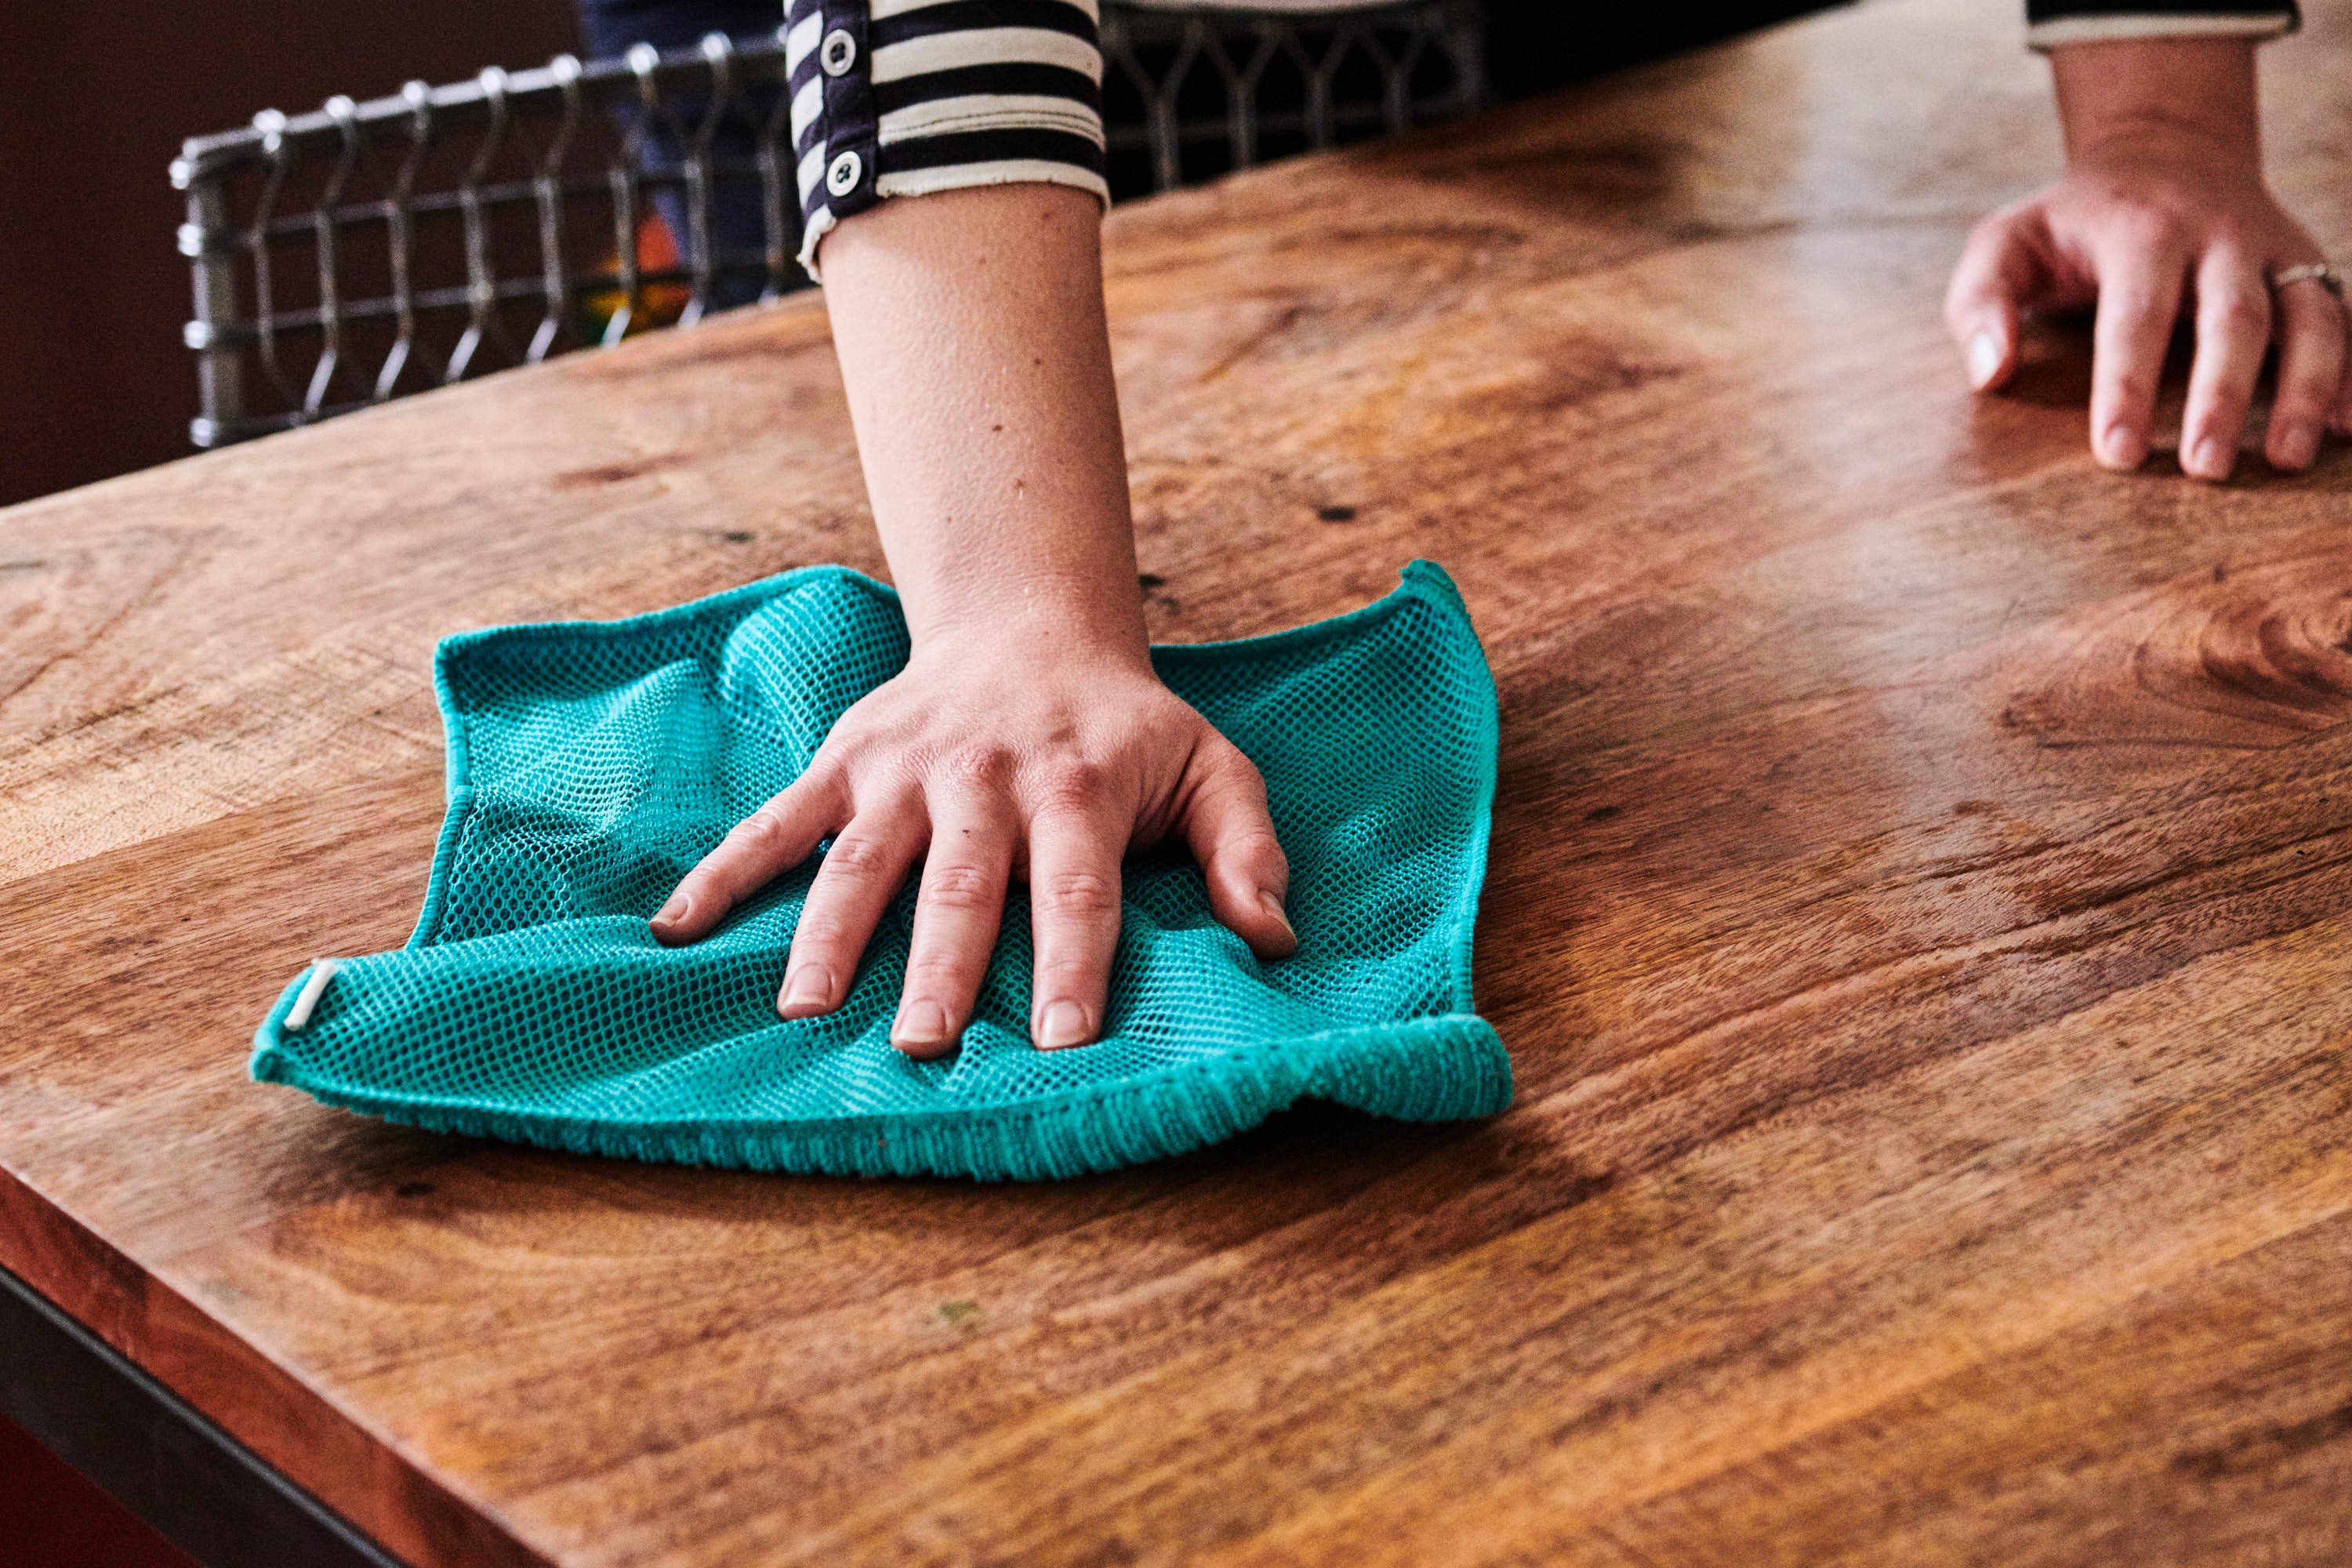
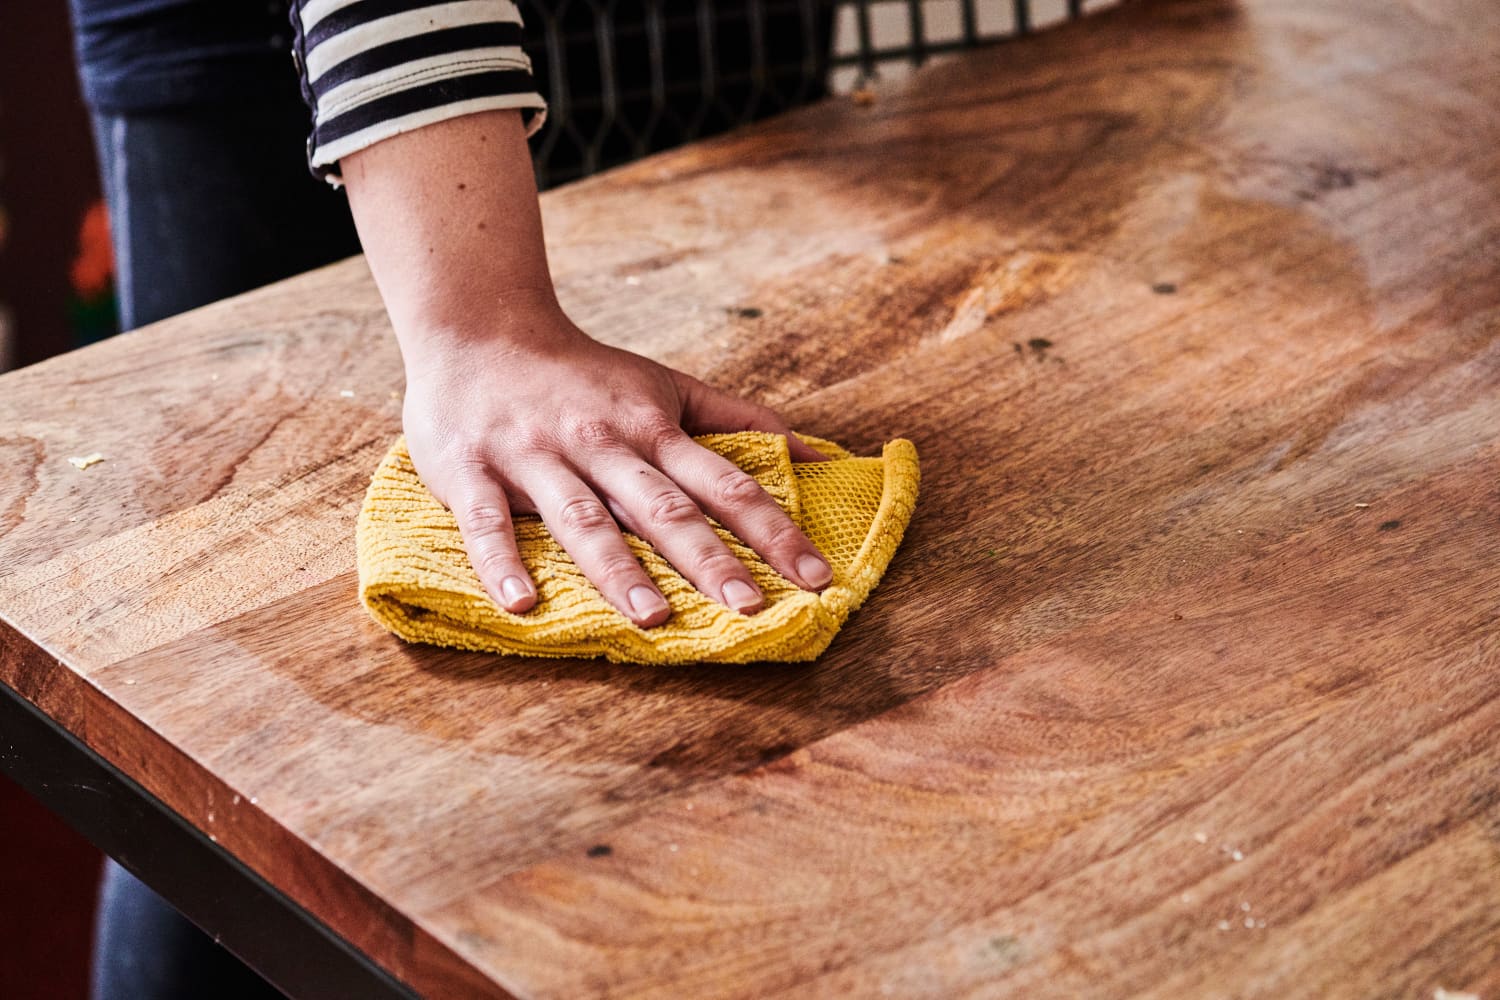
Before applying any new finish, it’s important to clean the table surface thoroughly. Use a damp cloth to wipe away any dust, dirt, or debris from sanding. For stubborn stains, you can use a mild cleaner or a mixture of water and vinegar. Make sure to dry the surface completely before moving on to the next step.5. Clean the table surface


5. Clean the table surface
/Tablewipe-GettyImages-468525932-3ada1758b9b44c10a4784f05d828d348.jpg)


_2x.jpg?crc=4093018966)


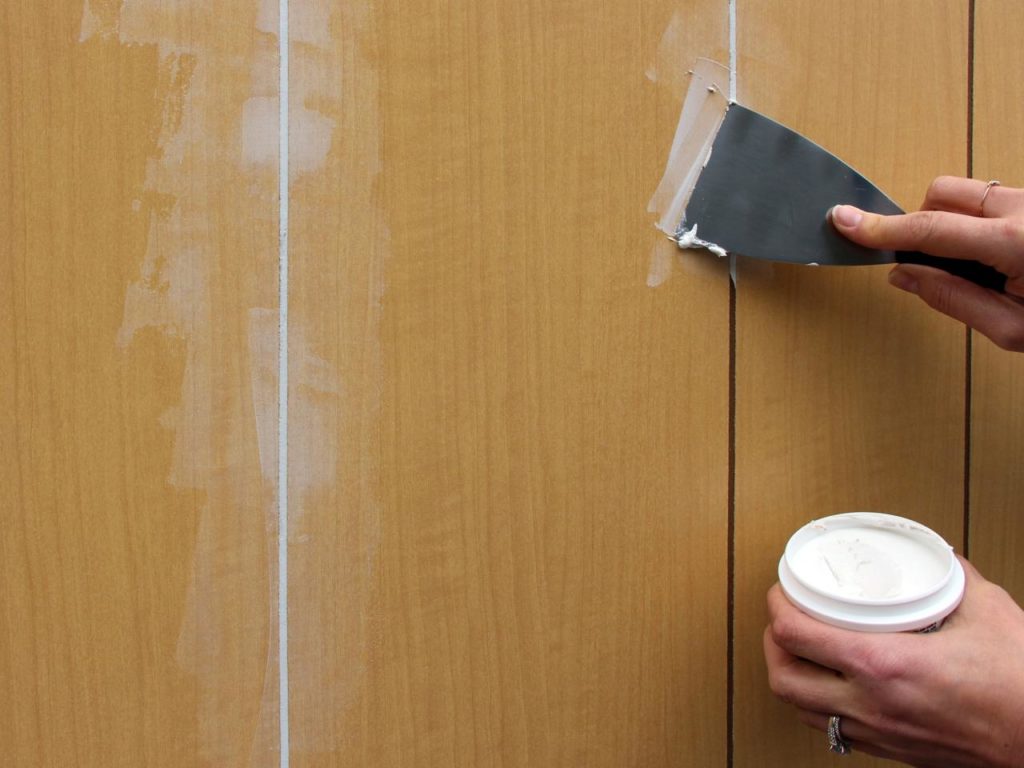
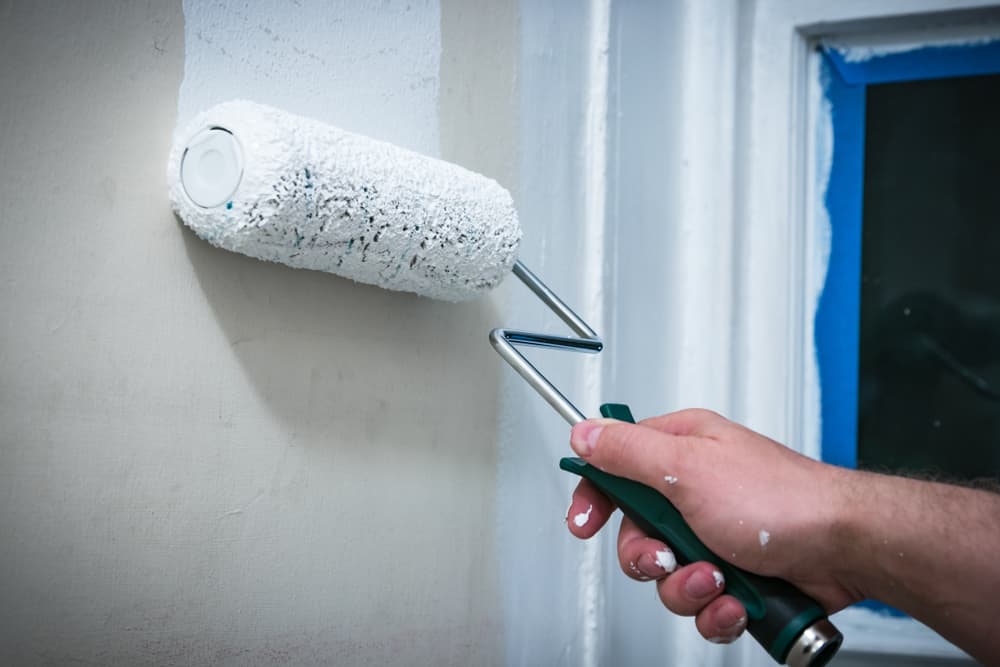
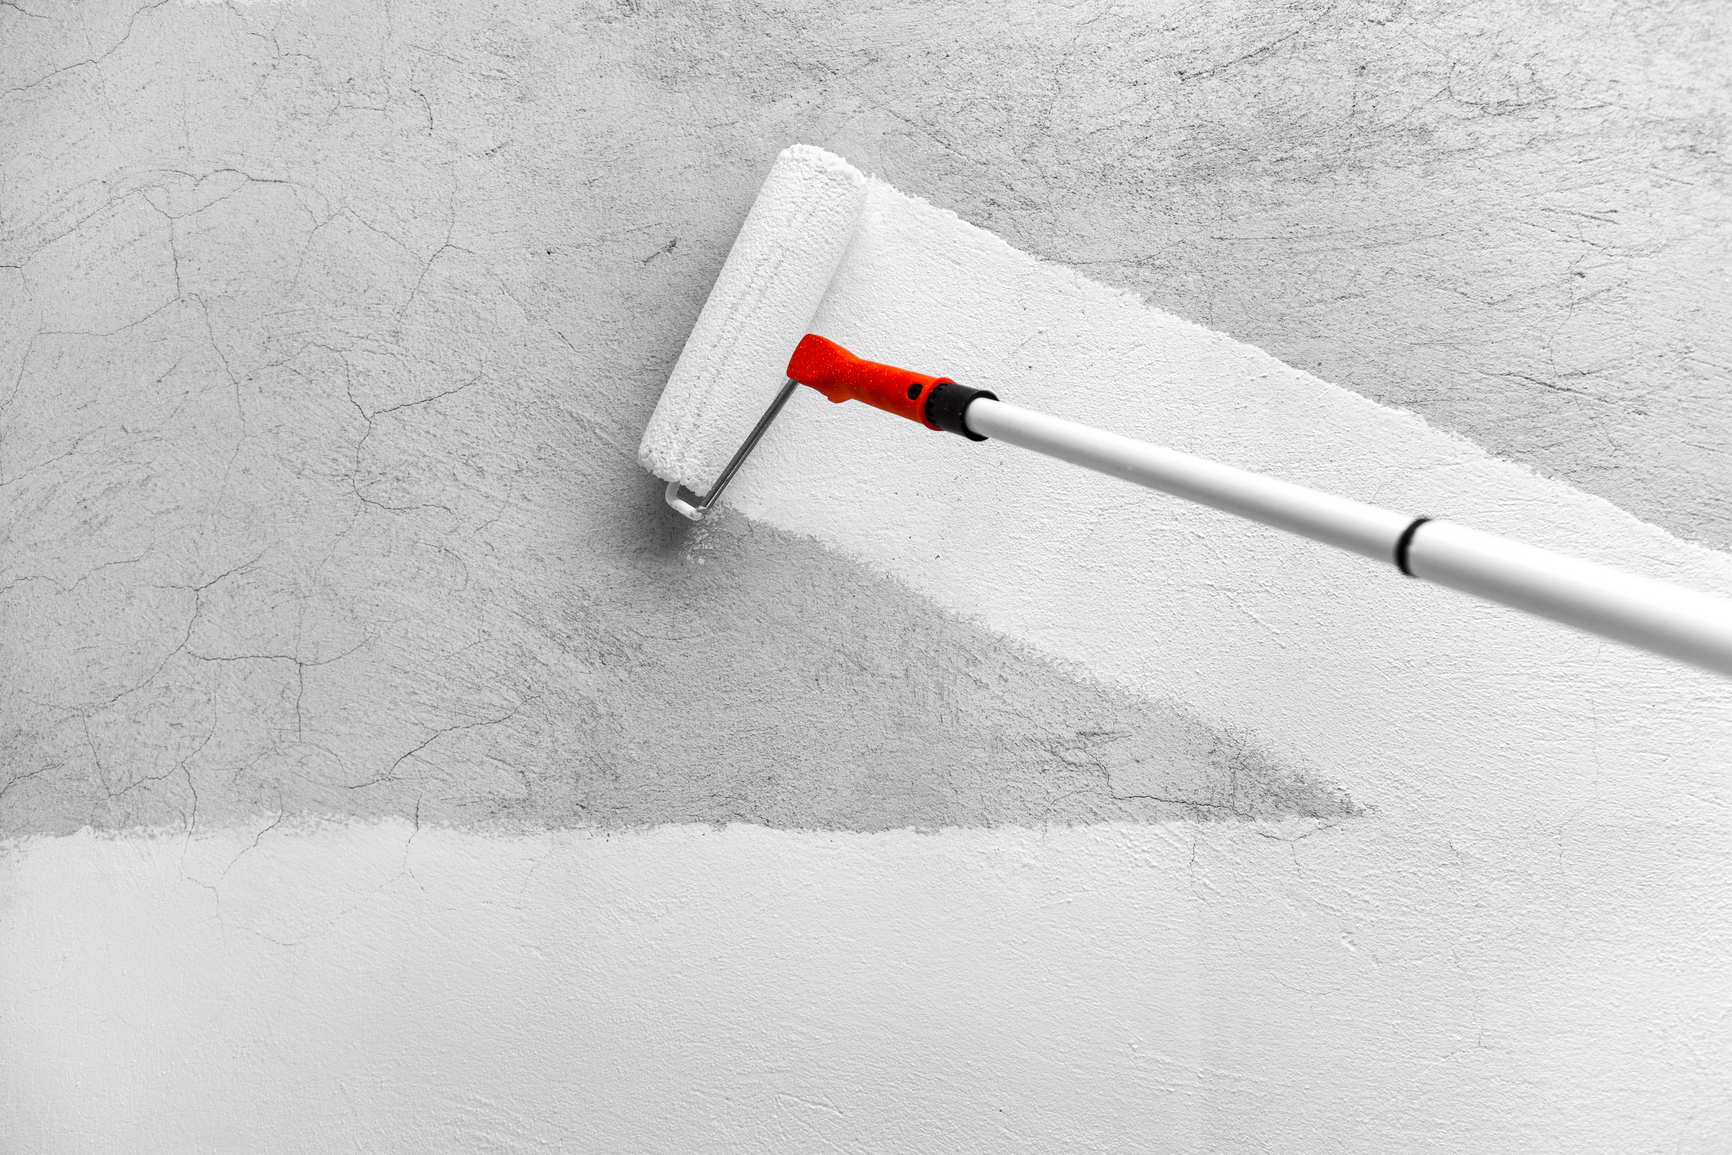
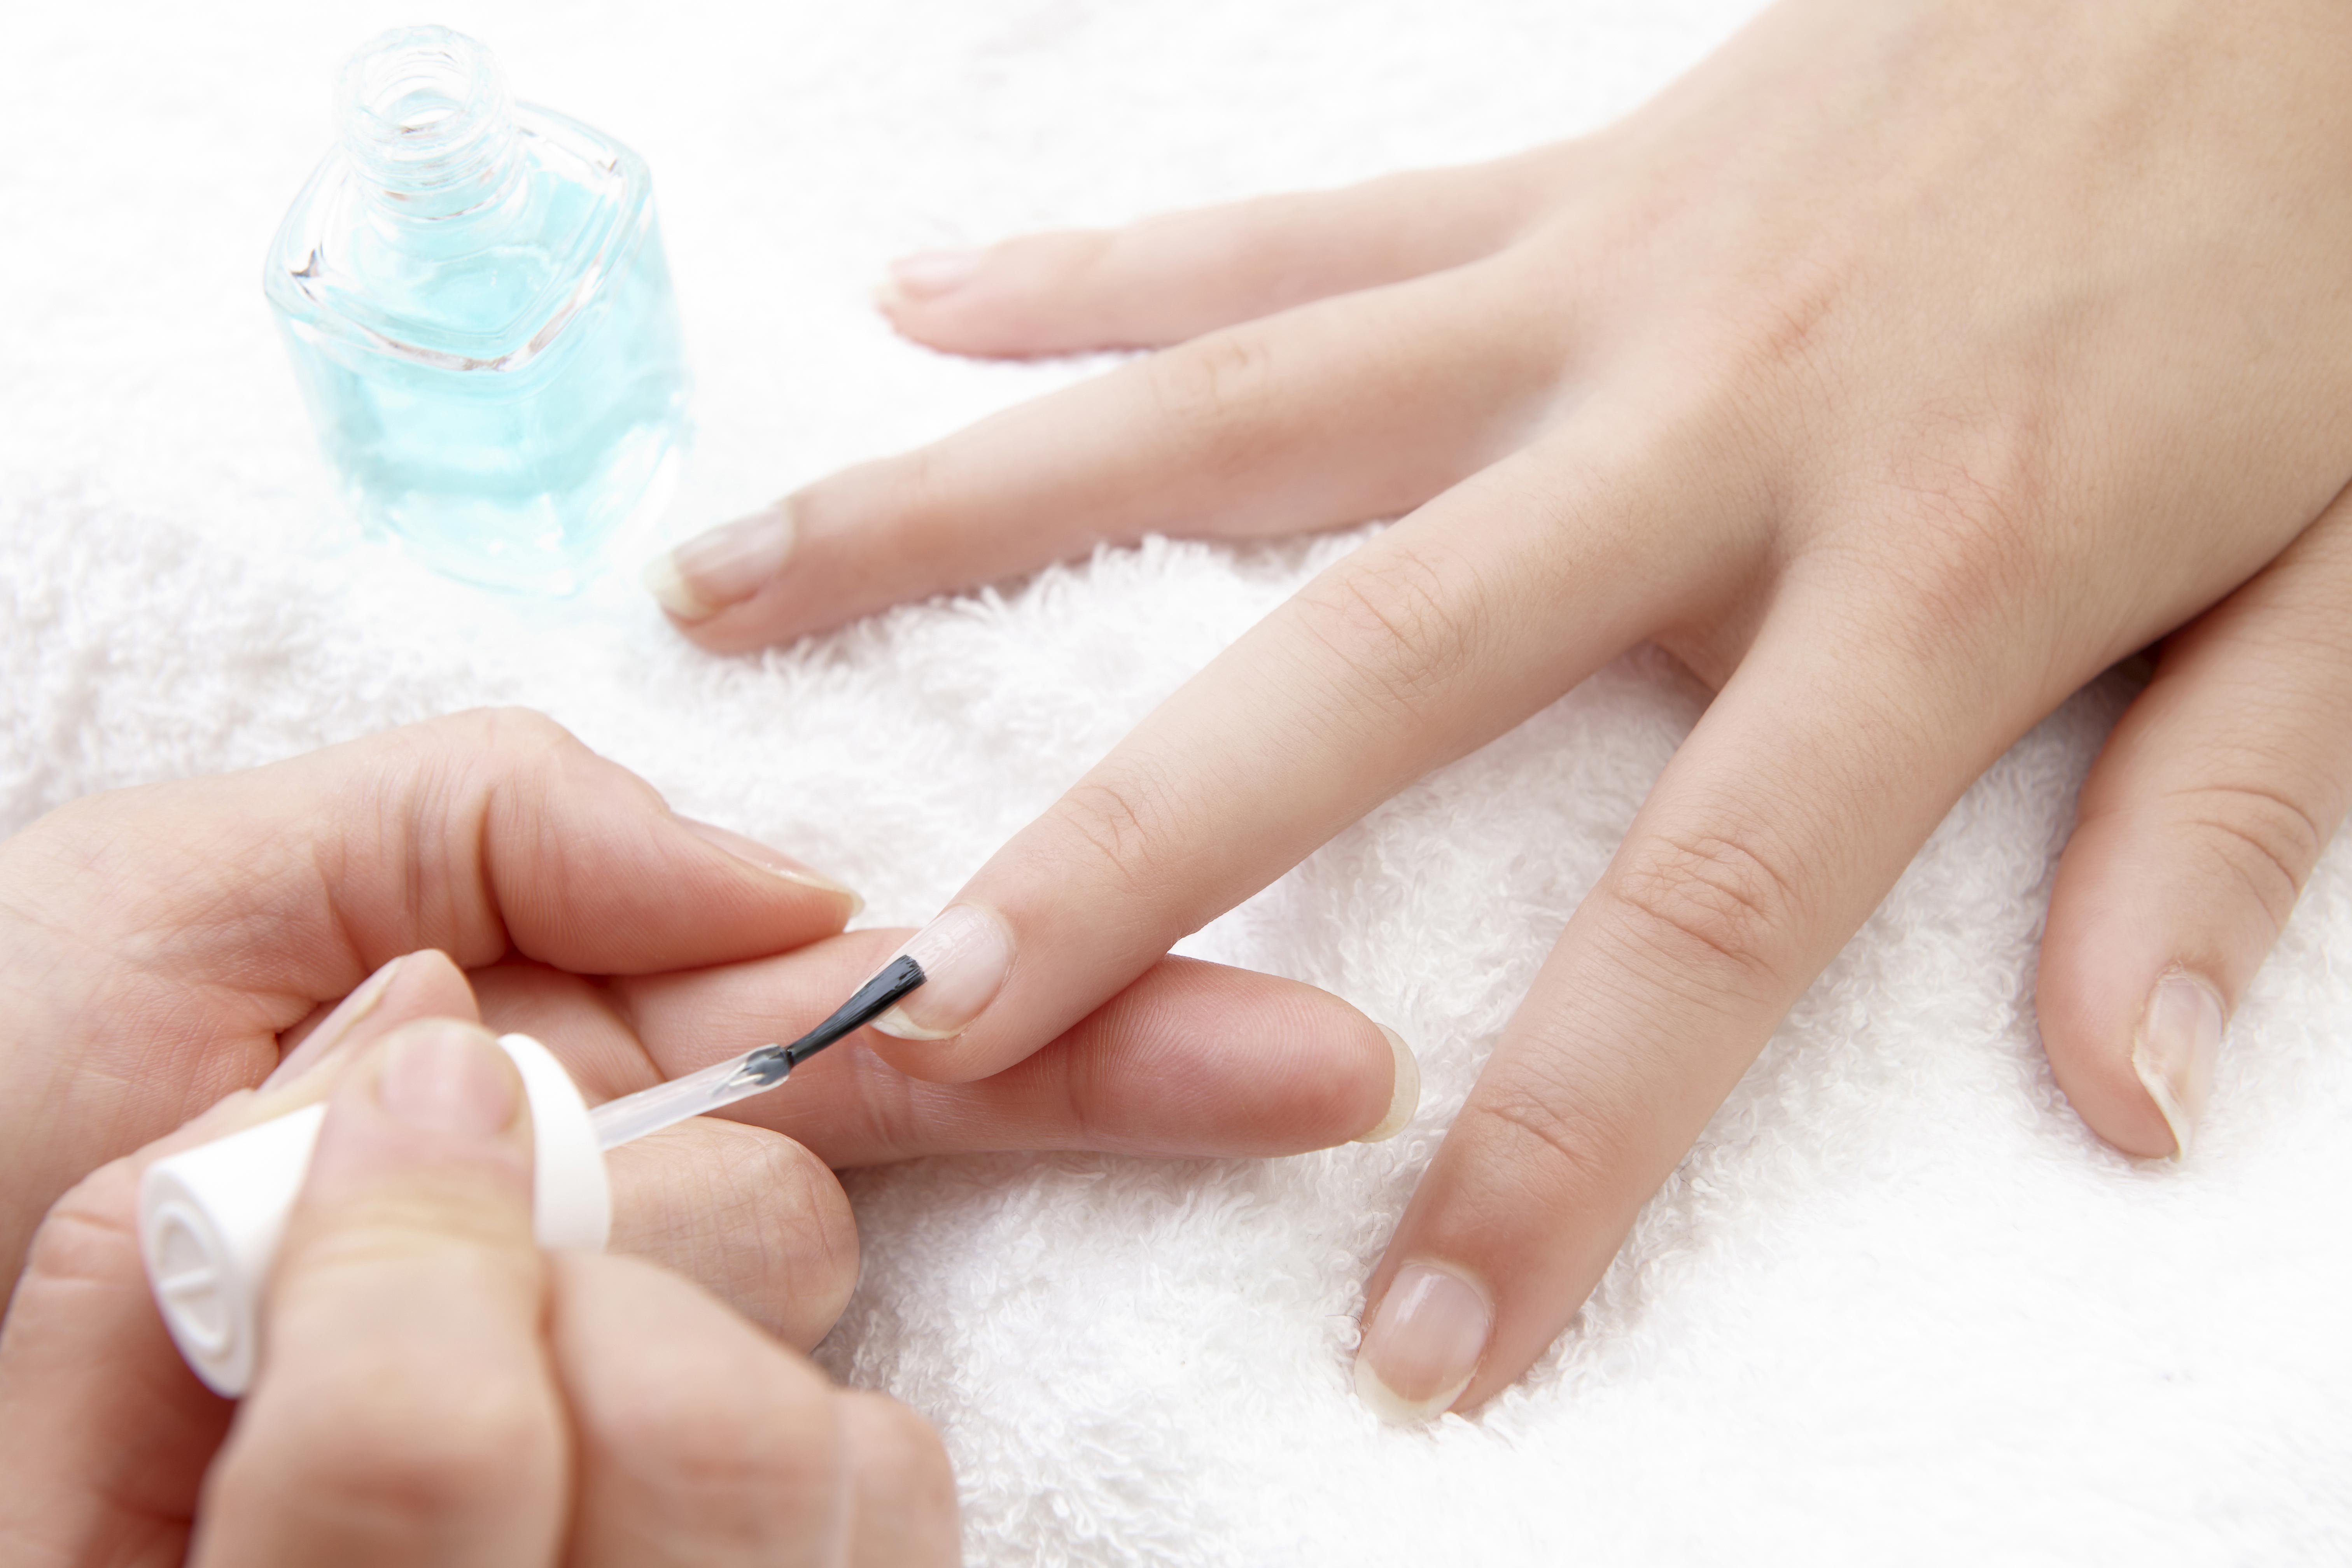
Primer is an important step in refinishing a kitchen table as it helps the paint or stain adhere to the surface better. Choose a primer that is suitable for the type of finish you want to use. Apply a thin and even coat of primer using a paintbrush or a roller. Let the primer dry completely before moving on to the next step.6. Apply a coat of primer


6. Apply a coat of primer


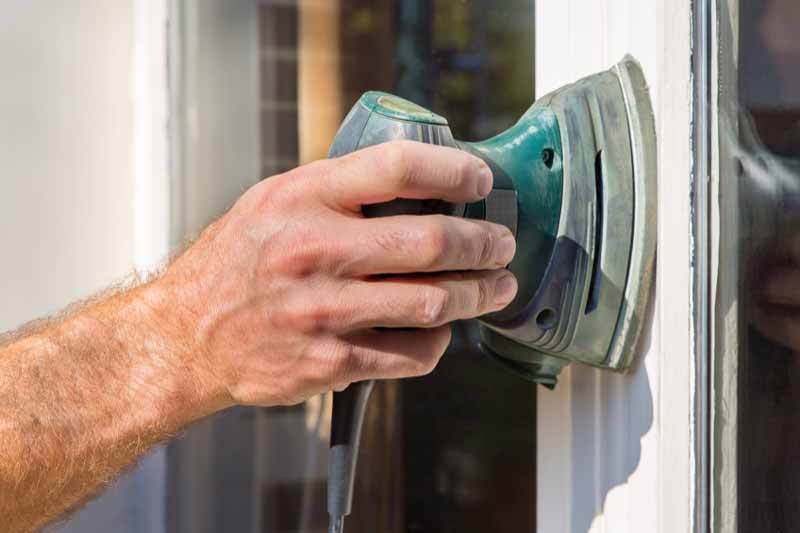
After the primer has dried, use a fine-grit sandpaper to lightly sand the surface. This will help smooth out any brush marks or imperfections and create a smooth surface for painting or staining. Make sure to wipe away any dust before moving on to the next step.7. Sand the primer once it is dry


7. Sand the primer once it is dry


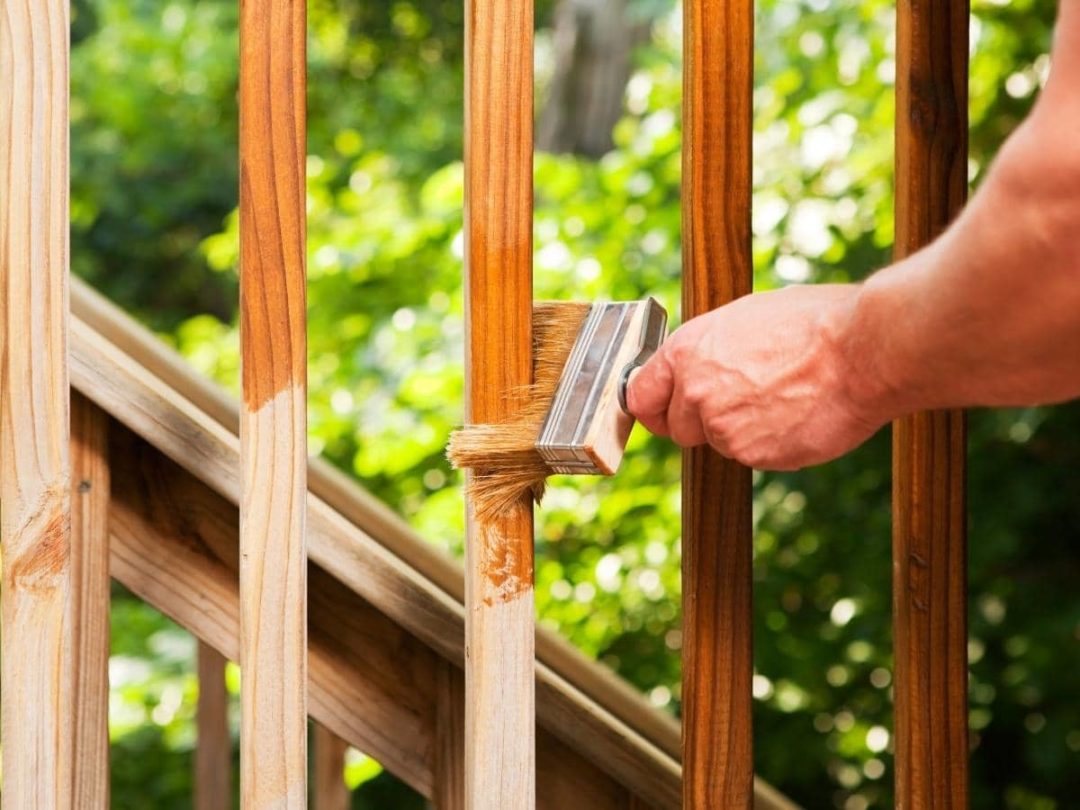
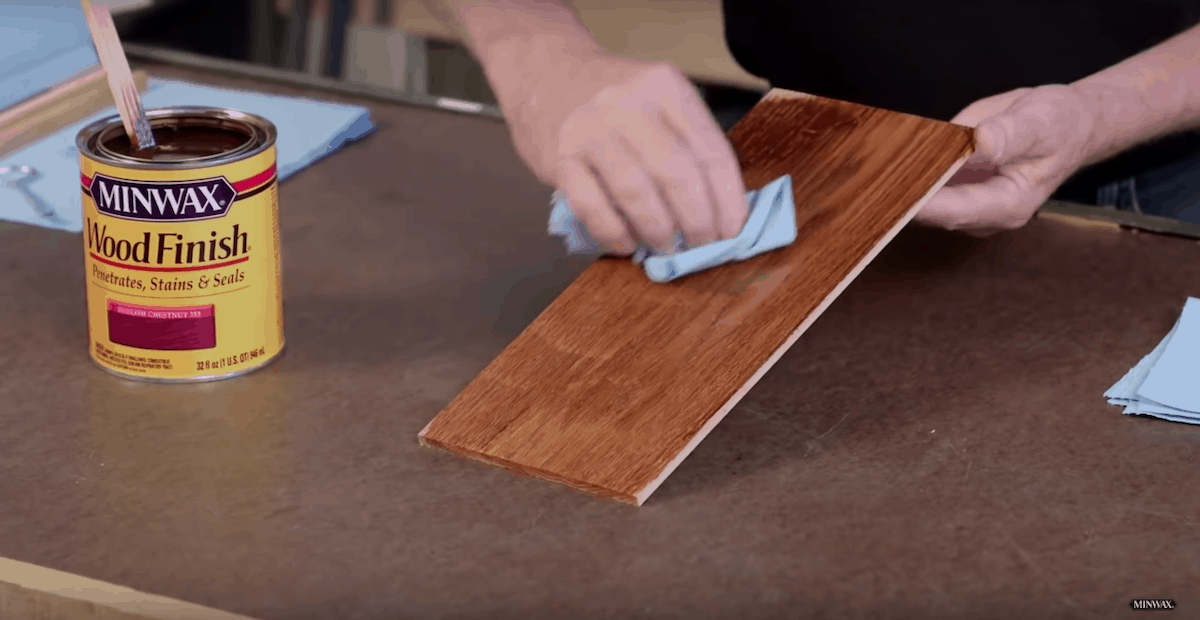
This is the fun part – adding color to your kitchen table! You can choose to paint your table with a color of your choice or use a wood stain to enhance the natural beauty of the wood. Apply the paint or stain in thin and even coats, following the direction of the wood grain. Let each coat dry completely before adding another one for a smooth and even finish.8. Apply a coat of paint or stain


8. Apply a coat of paint or stain


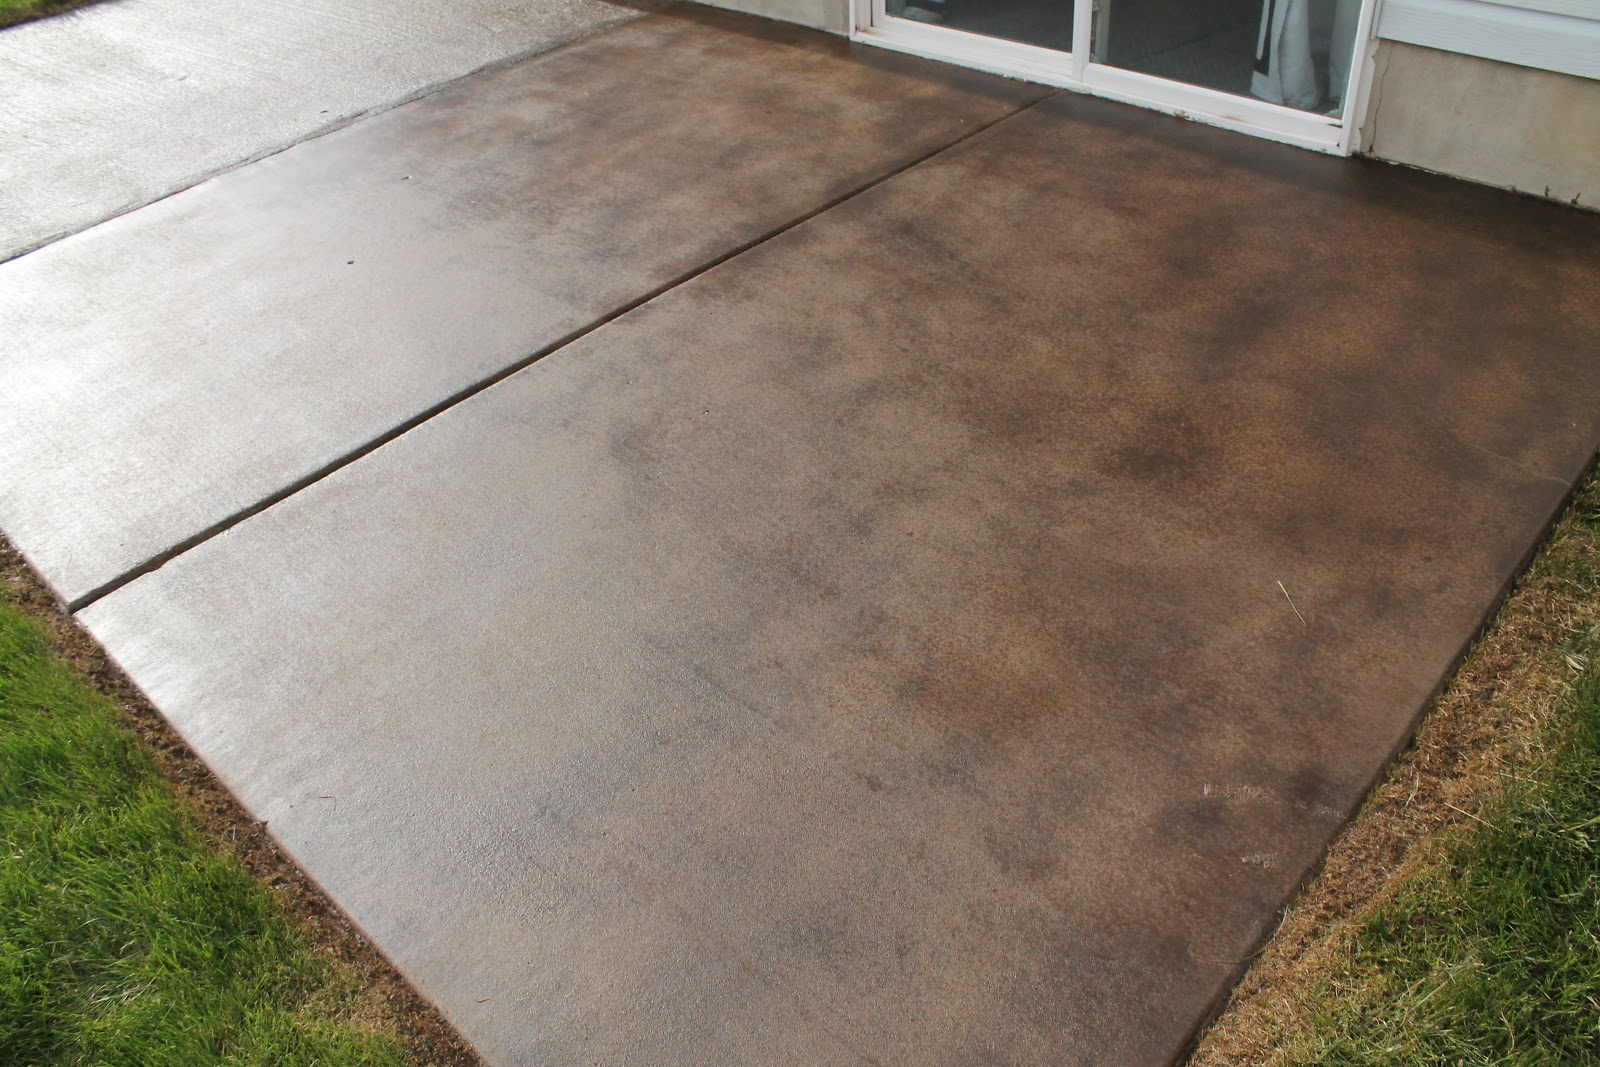


Once you have applied the final coat of paint or stain, let it dry completely. This can take anywhere from a few hours to overnight, depending on the type of finish used. Make sure to keep the table in a well-ventilated area while it dries to avoid any fumes or odors.9. Let the paint or stain dry completely


9. Let the paint or stain dry completely


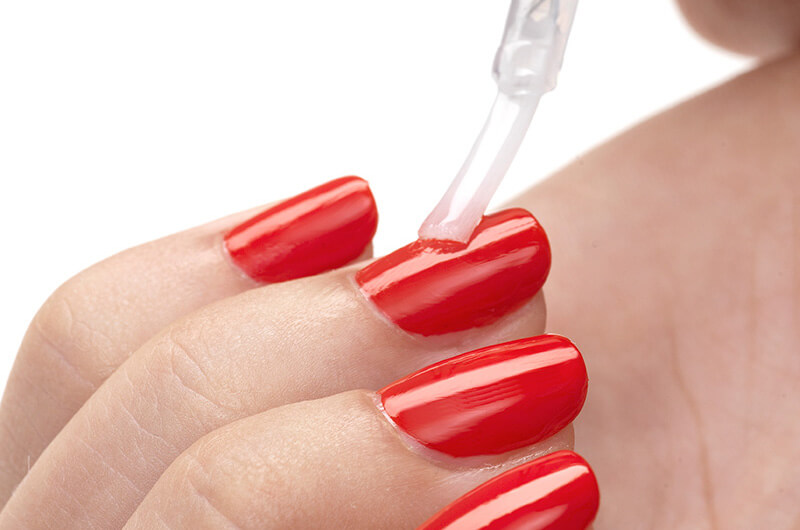
To protect your newly refinished kitchen table from scratches and stains, it’s important to apply a protective top coat. You can use a polyurethane, varnish, or wax for this step. Apply the top coat in thin and even coats, following the manufacturer’s instructions. Let it dry completely before using your table. By following these 10 main steps, you can easily redo your kitchen table and give it a new lease on life. With a little bit of time and effort, you can transform your old, worn-out table into a beautiful and stylish centerpiece for your kitchen. So, gather your supplies and get ready to enjoy a whole new look for your kitchen table!10. Apply a protective top coat


10. Apply a protective top coat


Additional Steps to Redo Your Kitchen Table

1. Choose a Suitable Paint
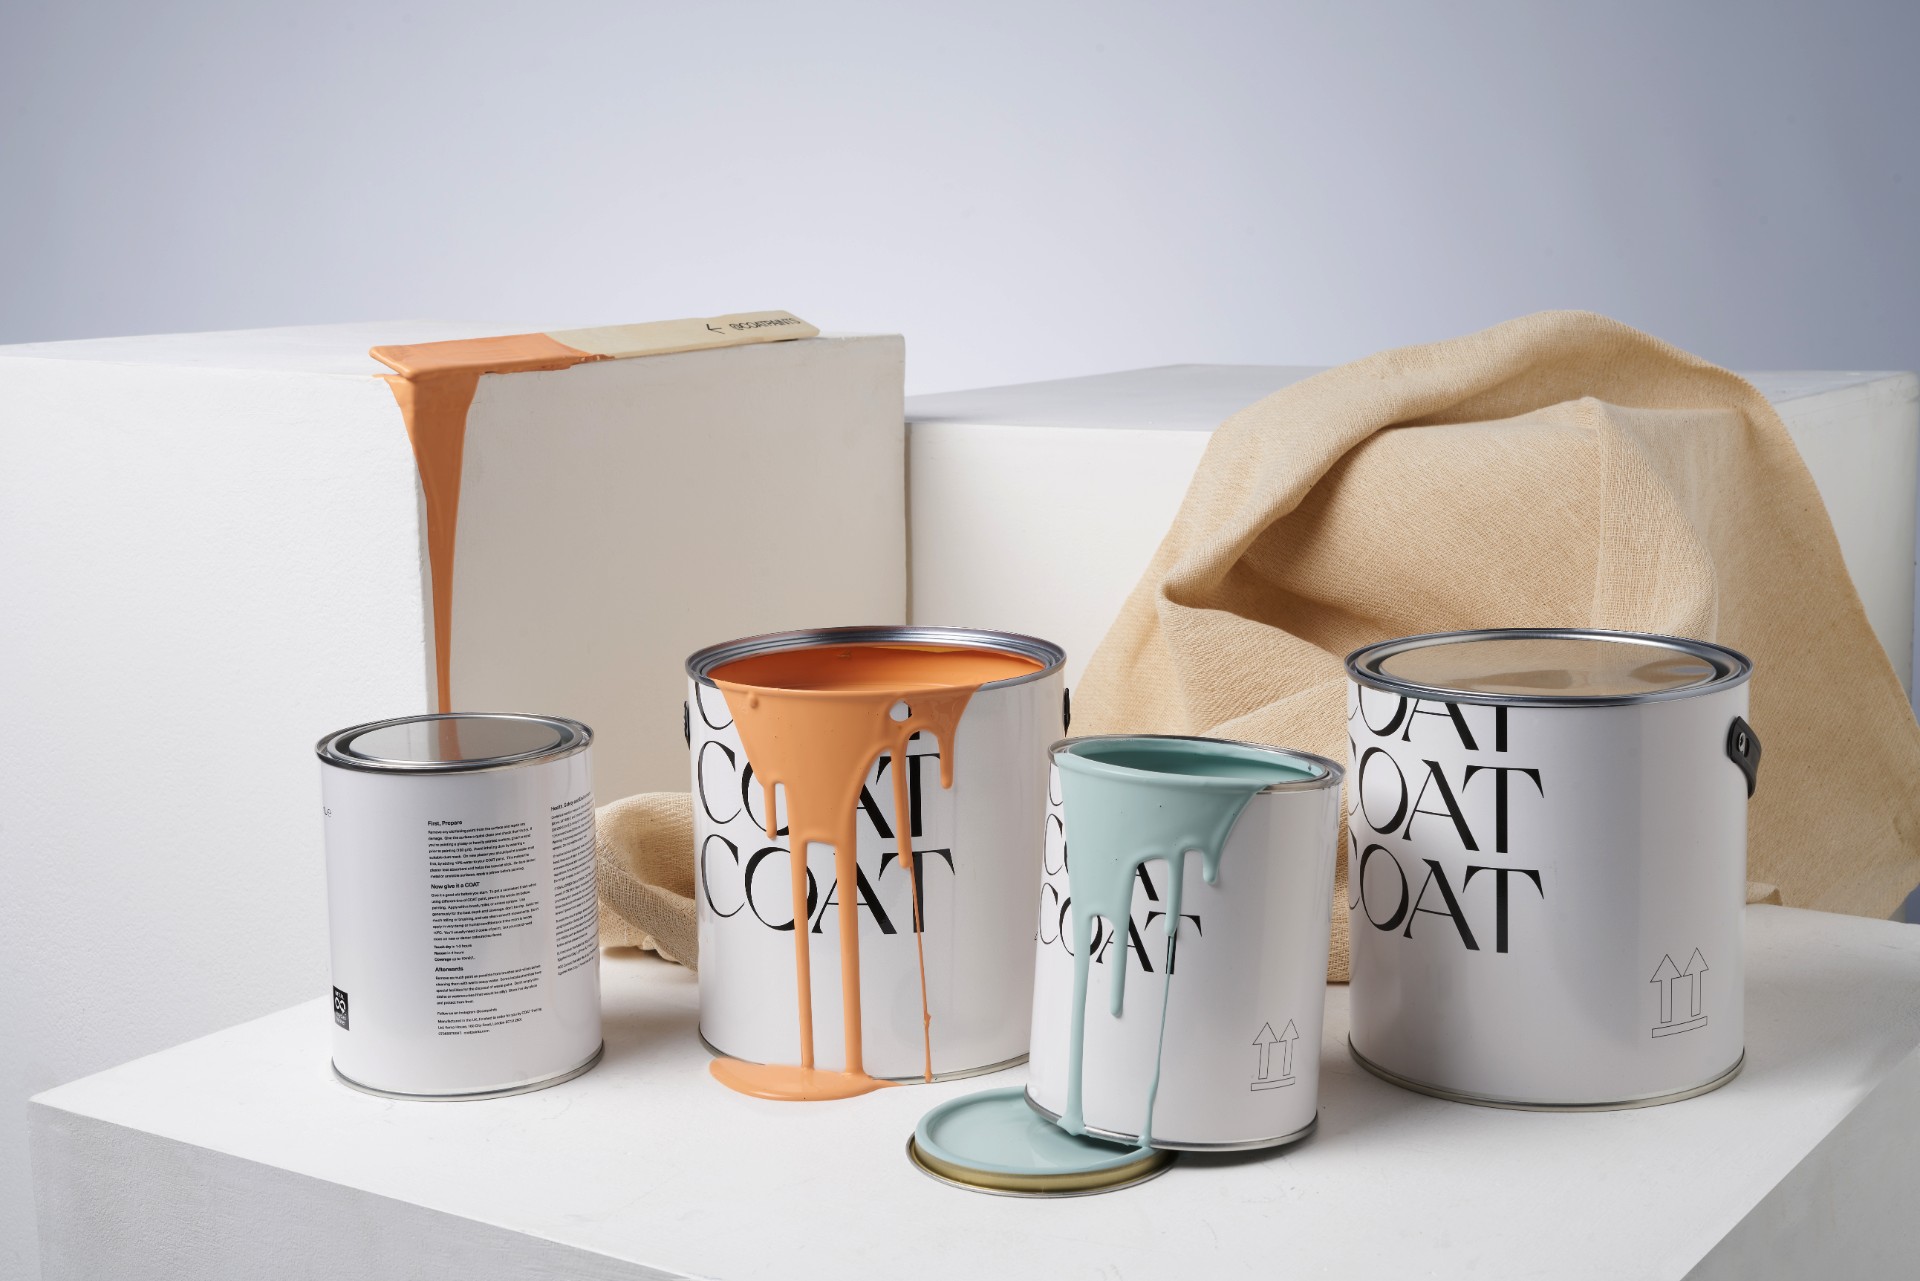
 When it comes to painting your kitchen table, the type of paint you choose is crucial.
Acrylic paint
is a popular choice for redoing furniture as it dries quickly and has a durable finish. If you want a glossy finish, consider using
oil-based paint
. However, keep in mind that it takes longer to dry and has a strong odor. If you prefer a more eco-friendly option,
chalk paint
is a great choice as it is low in volatile organic compounds (VOCs) and can easily be distressed for a vintage look.
When it comes to painting your kitchen table, the type of paint you choose is crucial.
Acrylic paint
is a popular choice for redoing furniture as it dries quickly and has a durable finish. If you want a glossy finish, consider using
oil-based paint
. However, keep in mind that it takes longer to dry and has a strong odor. If you prefer a more eco-friendly option,
chalk paint
is a great choice as it is low in volatile organic compounds (VOCs) and can easily be distressed for a vintage look.
2. Prep the Surface
 Before you start painting, it's important to properly prepare the surface of your kitchen table. This includes sanding down any rough areas and filling in any cracks or holes with wood filler. Use a fine-grit sandpaper to smooth out the surface and wipe it down with a damp cloth to remove any dust or debris. This will ensure that the paint adheres properly and the finished product looks smooth and professional.
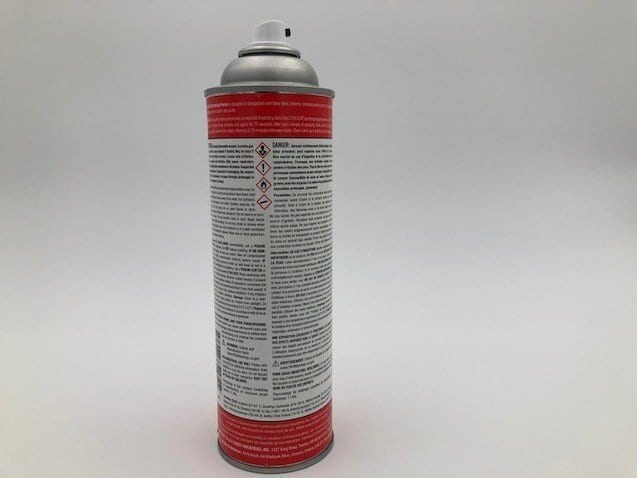
3. Use a Primer
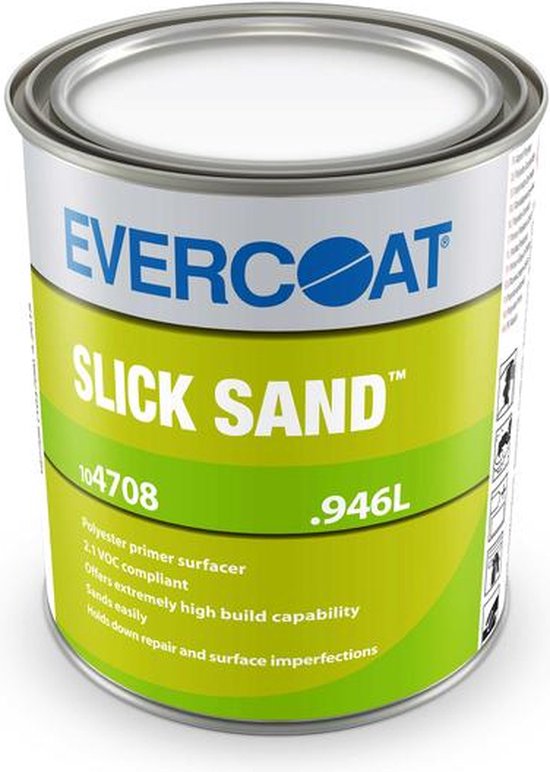
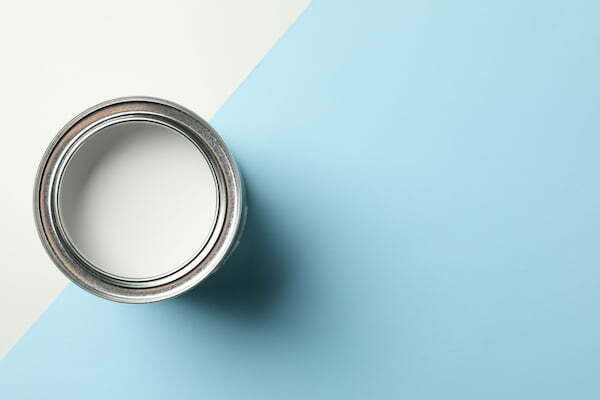
 Although it may seem like an extra step, using a primer can make a big difference in the final result of your kitchen table. A good primer will help the paint adhere better and prevent any stains or discoloration from showing through. Choose a
water-based primer
for acrylic paint and an
oil-based primer
for oil-based paint. Apply the primer evenly with a paintbrush and let it dry completely before moving on to the next step.
Although it may seem like an extra step, using a primer can make a big difference in the final result of your kitchen table. A good primer will help the paint adhere better and prevent any stains or discoloration from showing through. Choose a
water-based primer
for acrylic paint and an
oil-based primer
for oil-based paint. Apply the primer evenly with a paintbrush and let it dry completely before moving on to the next step.
4. Apply the Paint
 Now it's time to paint your kitchen table! Use a high-quality paintbrush or a foam roller for a smooth and even application. Start with the edges and corners and work your way towards the center of the table. Make sure to apply thin, even coats and let each coat dry completely before applying the next one. This will prevent any drips or uneven patches in the paint.
5. Add a Protective Finish
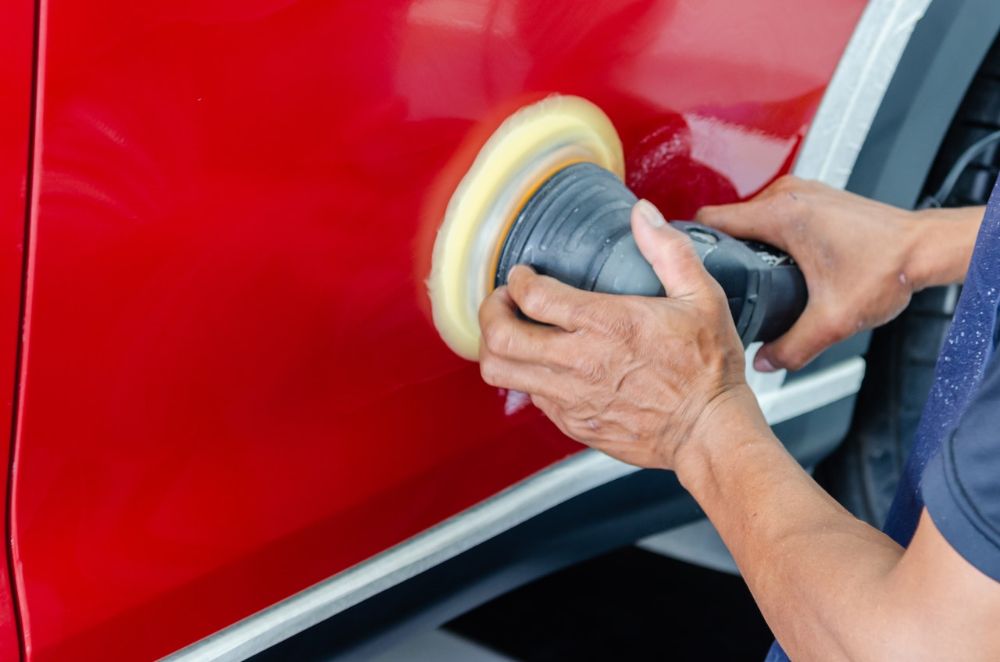
 To ensure that your newly painted kitchen table stays looking great for years to come, it's important to add a protective finish.
Polyurethane
is a popular choice for its durability and water resistance. Apply it with a paintbrush or foam roller in thin, even coats and let it dry completely between coats. If you want a more natural look, you can also use
wax
as a finish. Simply rub it on with a cloth and buff it to a shine.
With these additional steps, your kitchen table will not only look brand new, but it will also be protected from daily wear and tear. Follow these tips and your kitchen table will be the centerpiece of your revamped kitchen.
To ensure that your newly painted kitchen table stays looking great for years to come, it's important to add a protective finish.
Polyurethane
is a popular choice for its durability and water resistance. Apply it with a paintbrush or foam roller in thin, even coats and let it dry completely between coats. If you want a more natural look, you can also use
wax
as a finish. Simply rub it on with a cloth and buff it to a shine.
With these additional steps, your kitchen table will not only look brand new, but it will also be protected from daily wear and tear. Follow these tips and your kitchen table will be the centerpiece of your revamped kitchen.