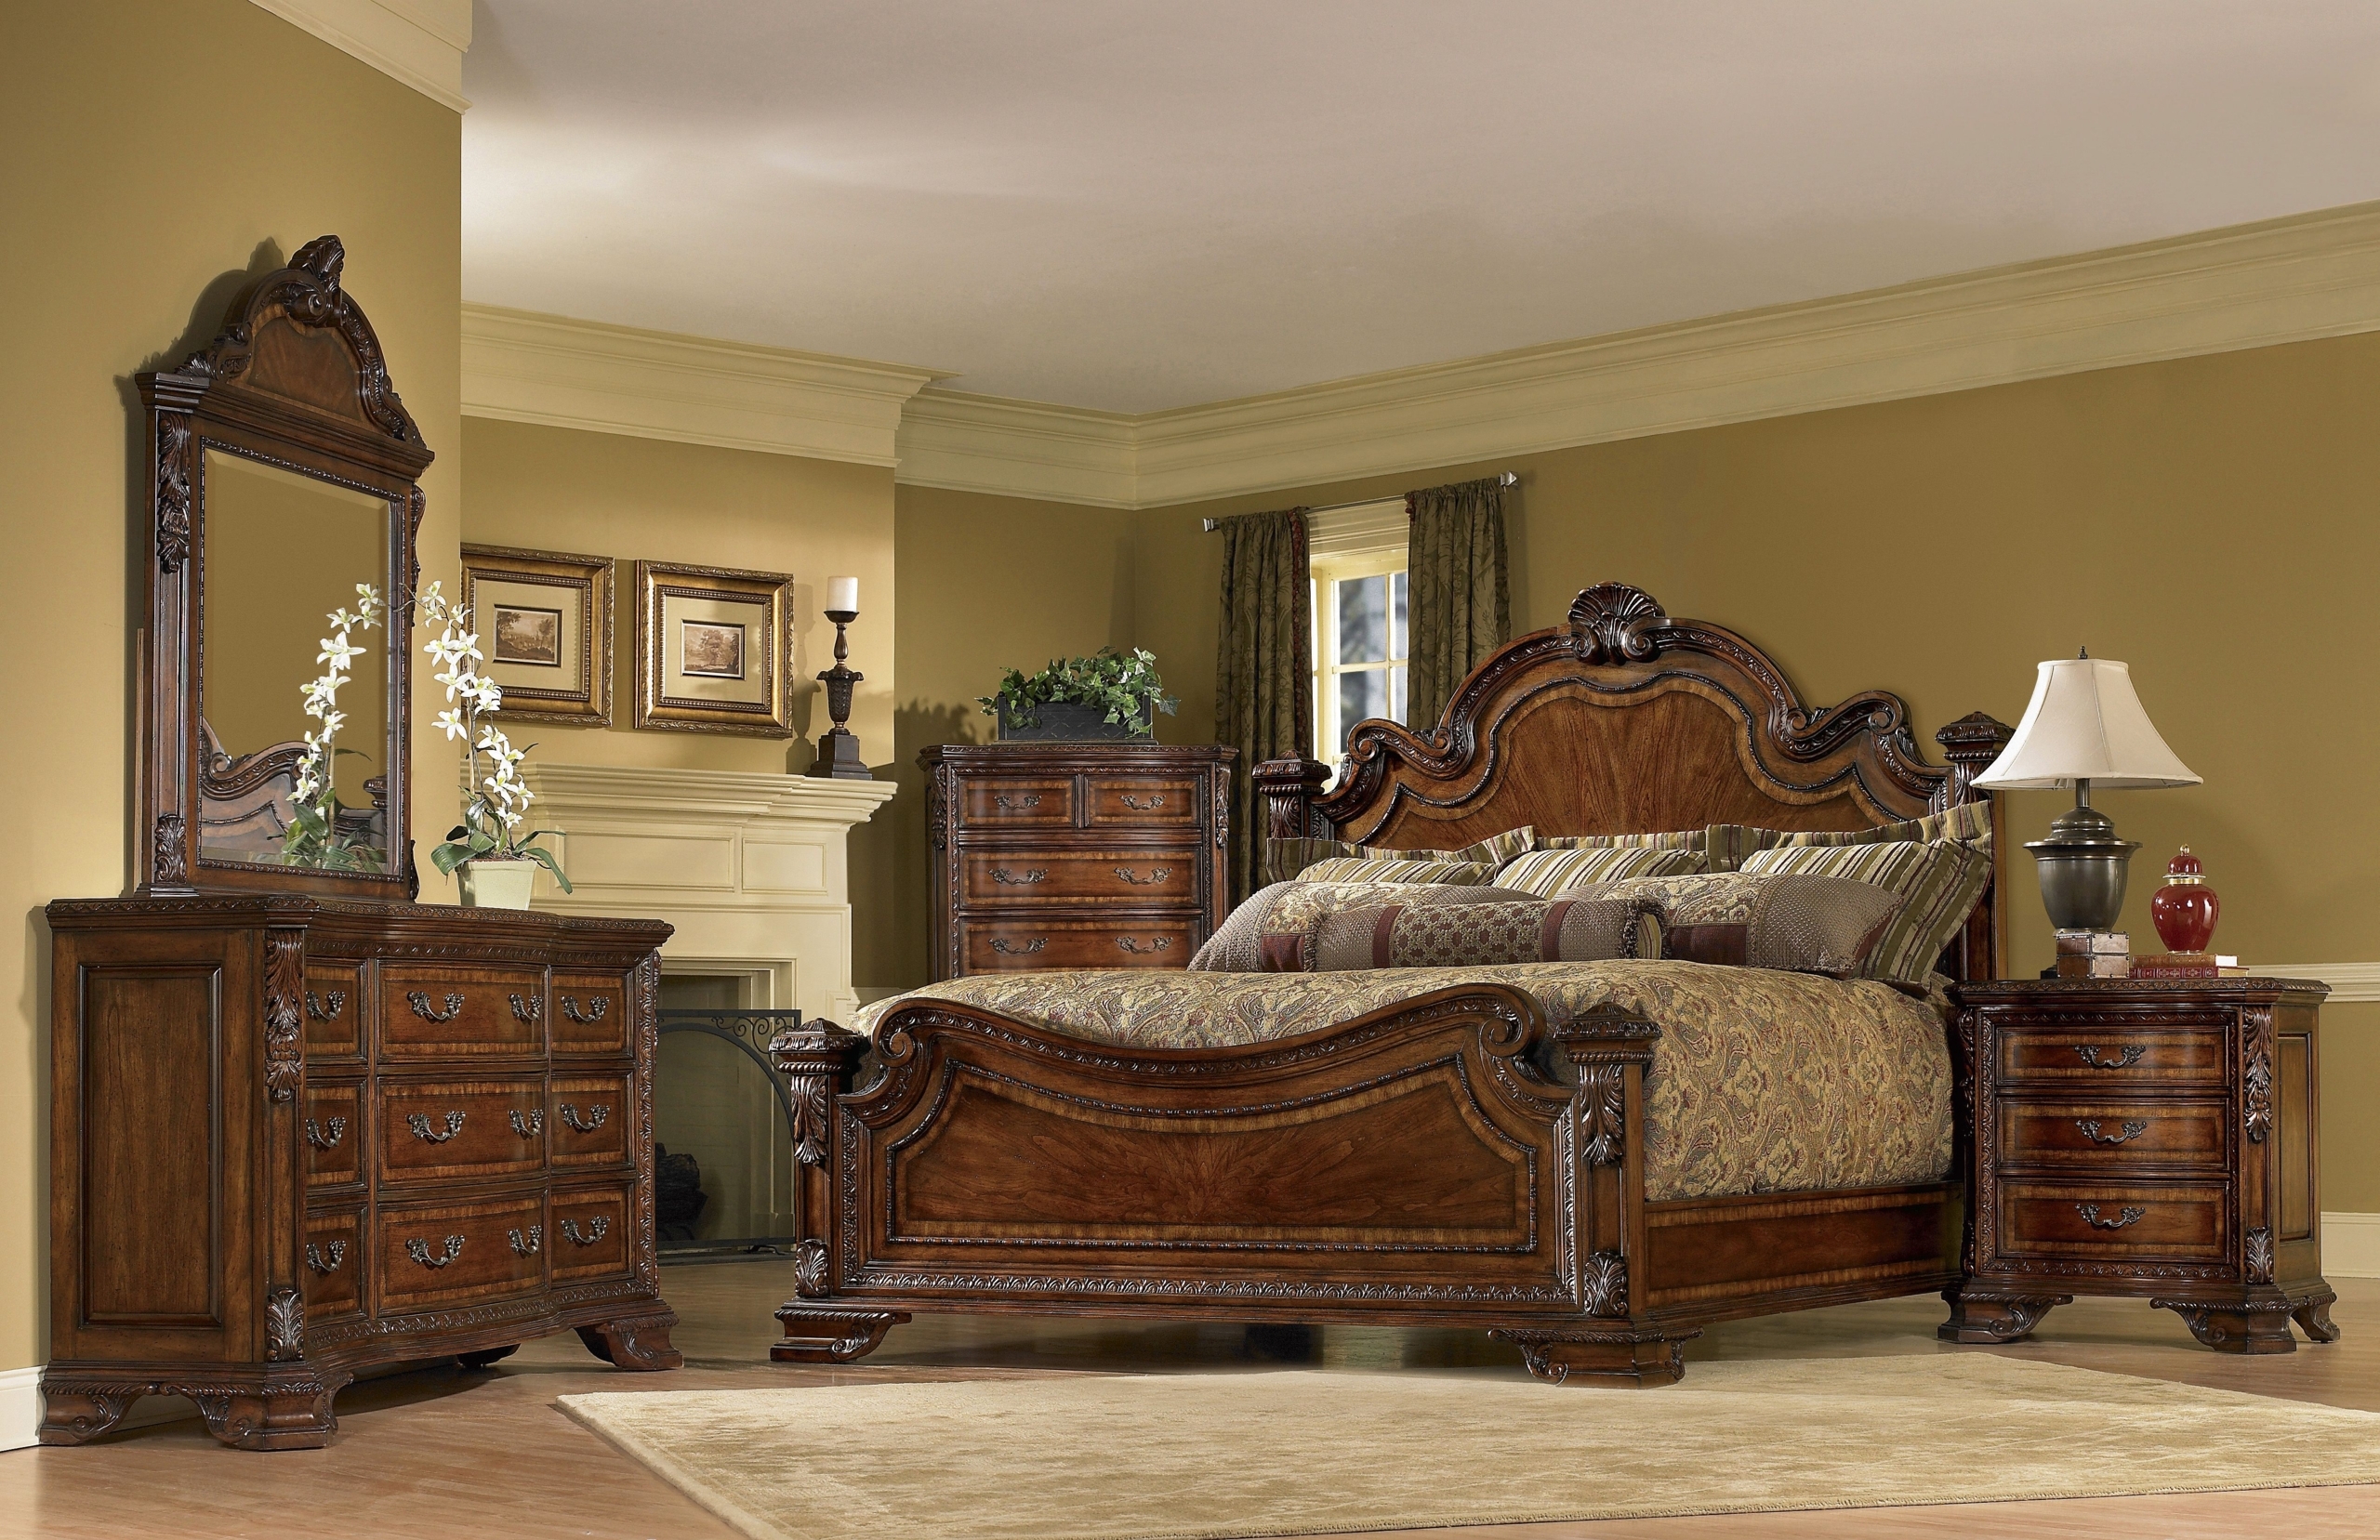
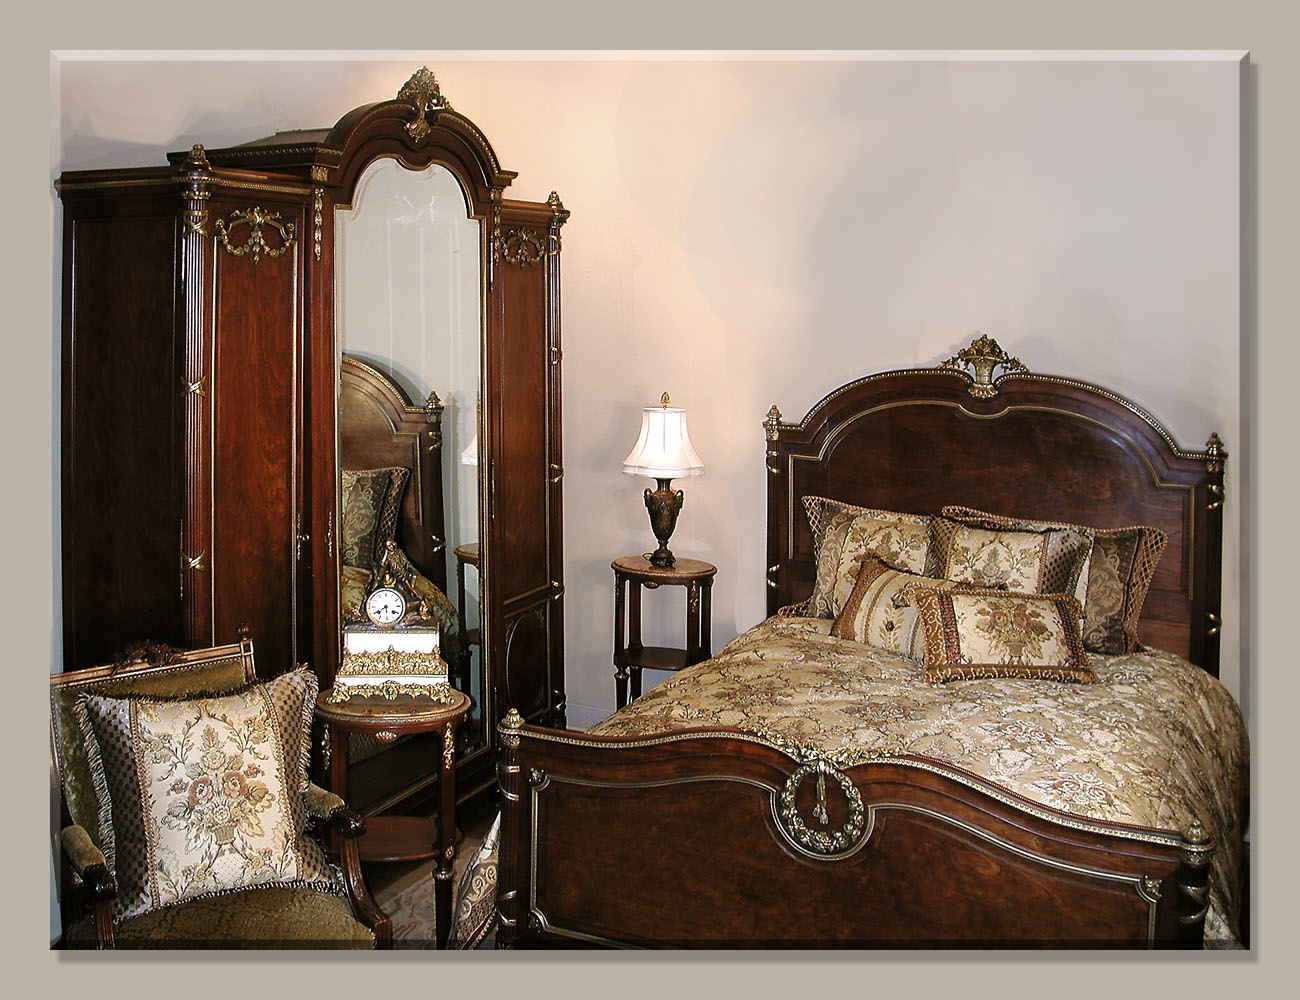
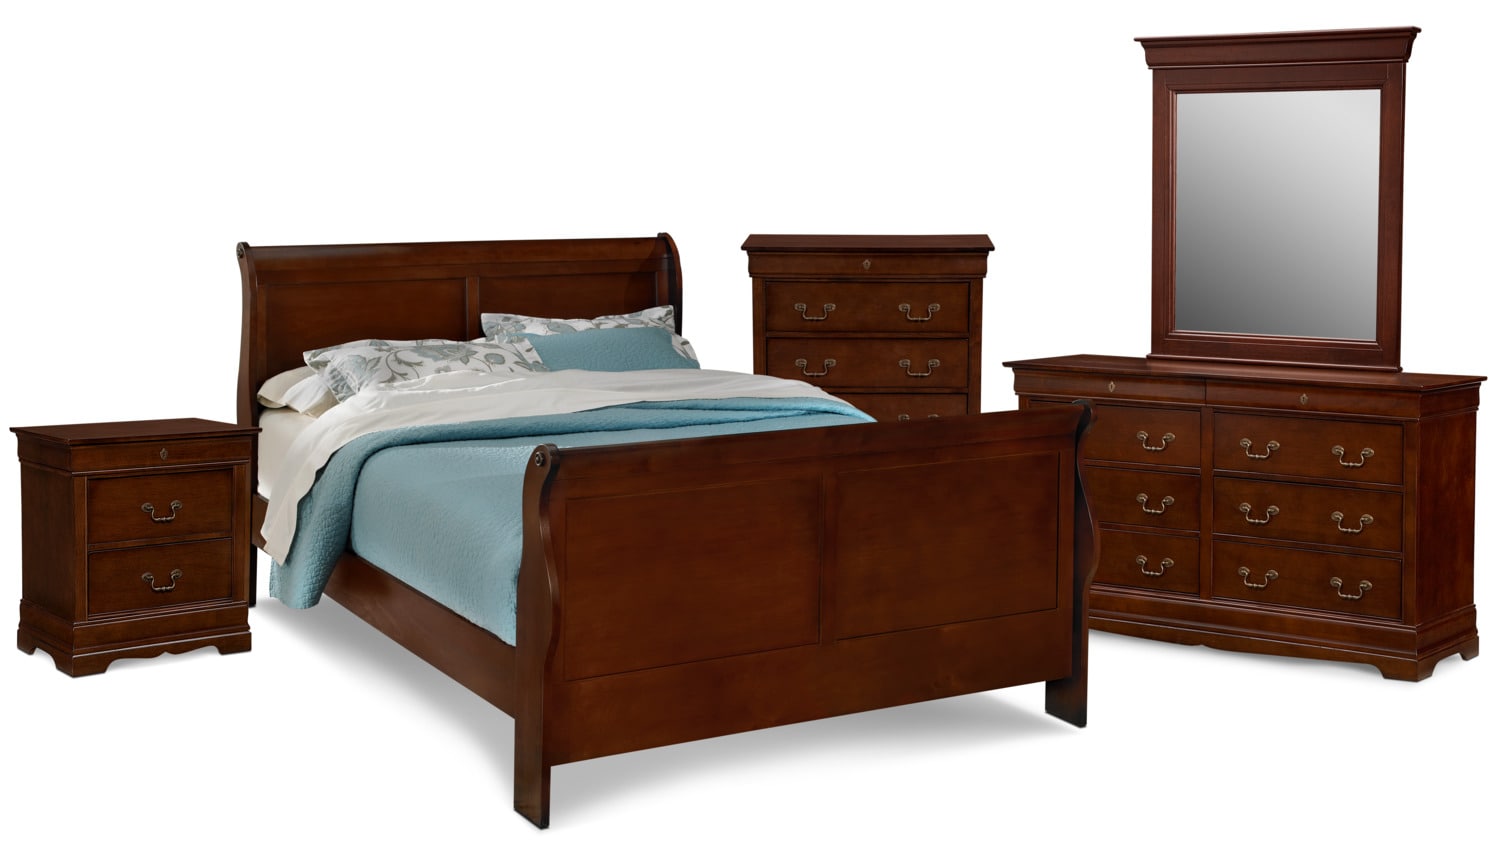
Do you have old bedroom furniture that is starting to look worn or outdated? Maybe you inherited a piece from a family member or found a great deal at a thrift store, but the finish is not quite what you want. Instead of replacing the furniture, consider staining it to give it new life and a fresh look. Staining old bedroom furniture is a cost-effective and relatively easy way to transform the look of your bedroom. Here are some tips and tricks to help you get started.Staining Old Bedroom Furniture: Tips and Tricks


Staining Old Bedroom Furniture: Tips and Tricks


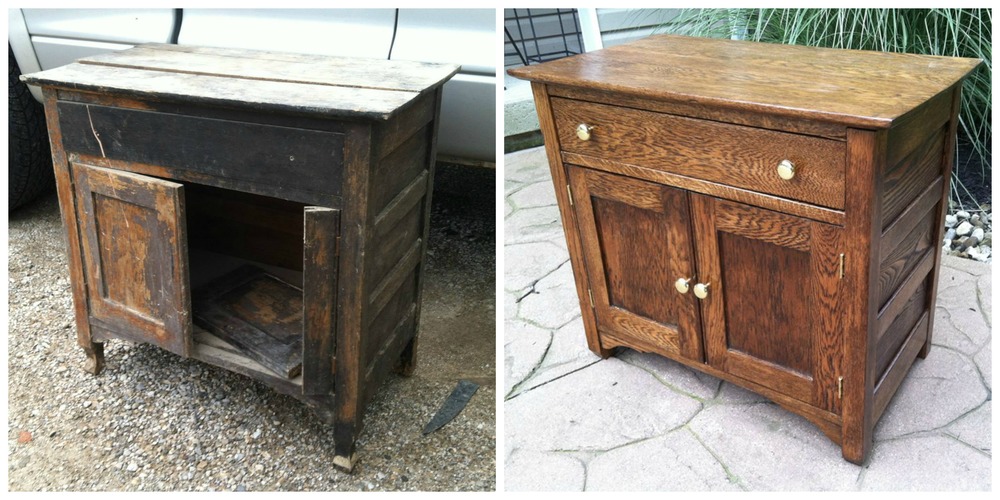
The first step in staining old bedroom furniture is to properly refinish it. This involves stripping off the old finish, sanding the surface, and cleaning it thoroughly. It is important to follow these steps carefully to ensure that the stain will adhere properly and give you the desired result. Start by removing any hardware, such as knobs or handles, from the furniture. Then, use a chemical stripper to remove the old finish. Be sure to follow the instructions on the stripper and wear protective gear, such as gloves and a mask, as it can be harsh on the skin and produce strong fumes. Once the old finish is removed, sand the surface of the furniture to smooth out any imperfections and create a clean, even surface for the stain to adhere to. Use a fine-grit sandpaper for this step and be sure to sand in the direction of the wood grain. After sanding, wipe down the furniture with a damp cloth to remove any dust or debris. Then, let it dry completely before moving on to the staining process.How to Refinish Old Bedroom Furniture


How to Refinish Old Bedroom Furniture


/AndreasvonEinsiedel-antiquedresser-5bbd12e5c9e77c002695211c.jpg)


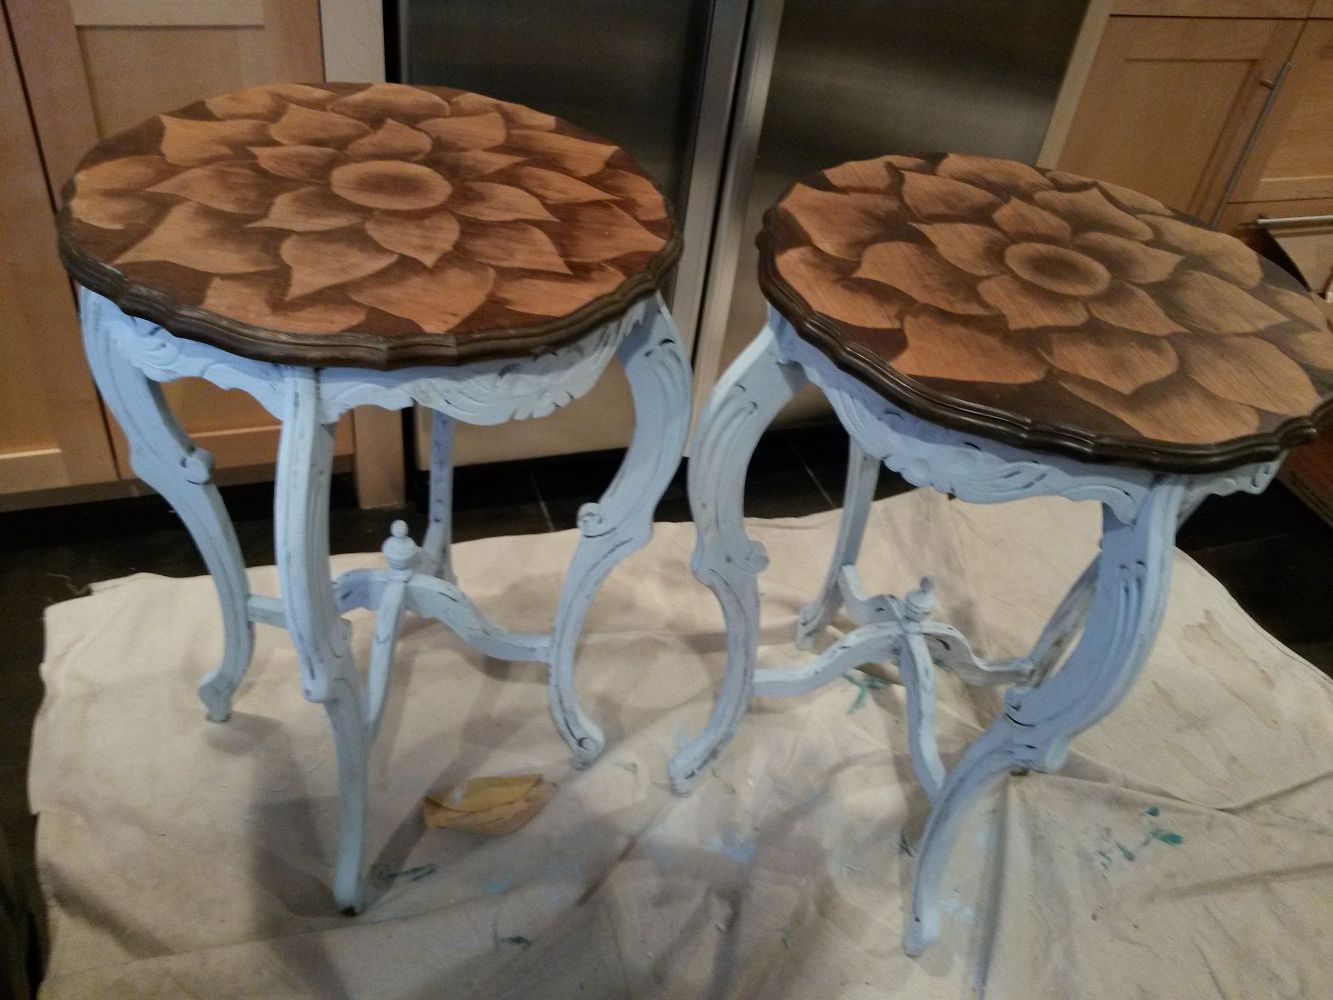
Staining old bedroom furniture can be done in a variety of ways, depending on the look you are trying to achieve. Here are some DIY techniques to consider: Gel Stains: Gel stains are a popular choice for refinishing old furniture because they are easy to use and provide a consistent, even finish. Simply apply the gel stain with a brush or cloth, let it sit for a few minutes, and wipe off the excess. Gel stains come in a variety of colors and can be used to achieve a modern or antique look. Dry Brushing: This technique involves using a dry brush to apply the stain, creating a textured or distressed look. It is a great option for adding depth and character to old bedroom furniture. Color Wash: For a more subtle and unique look, consider a color wash technique. This involves diluting the stain with water and applying it with a cloth or brush, allowing the wood grain to show through while adding a hint of color.DIY Staining Techniques for Old Bedroom Furniture


DIY Staining Techniques for Old Bedroom Furniture


Choosing the right stain is crucial for achieving the desired result when refinishing old bedroom furniture. Some popular options include: Minwax Wood Finish: This oil-based stain is available in a variety of colors and provides a rich, deep finish. It is also easy to apply and dries quickly. Varathane Premium Wood Stain: This stain is water-based, making it easier to clean up and less harsh on the environment. It comes in a wide range of colors and provides a durable finish. General Finishes Gel Stain: This gel stain is known for its easy application and ability to cover imperfections on the wood surface. It also comes in a variety of colors and provides a smooth finish.Best Stains for Restoring Old Bedroom Furniture


Best Stains for Restoring Old Bedroom Furniture


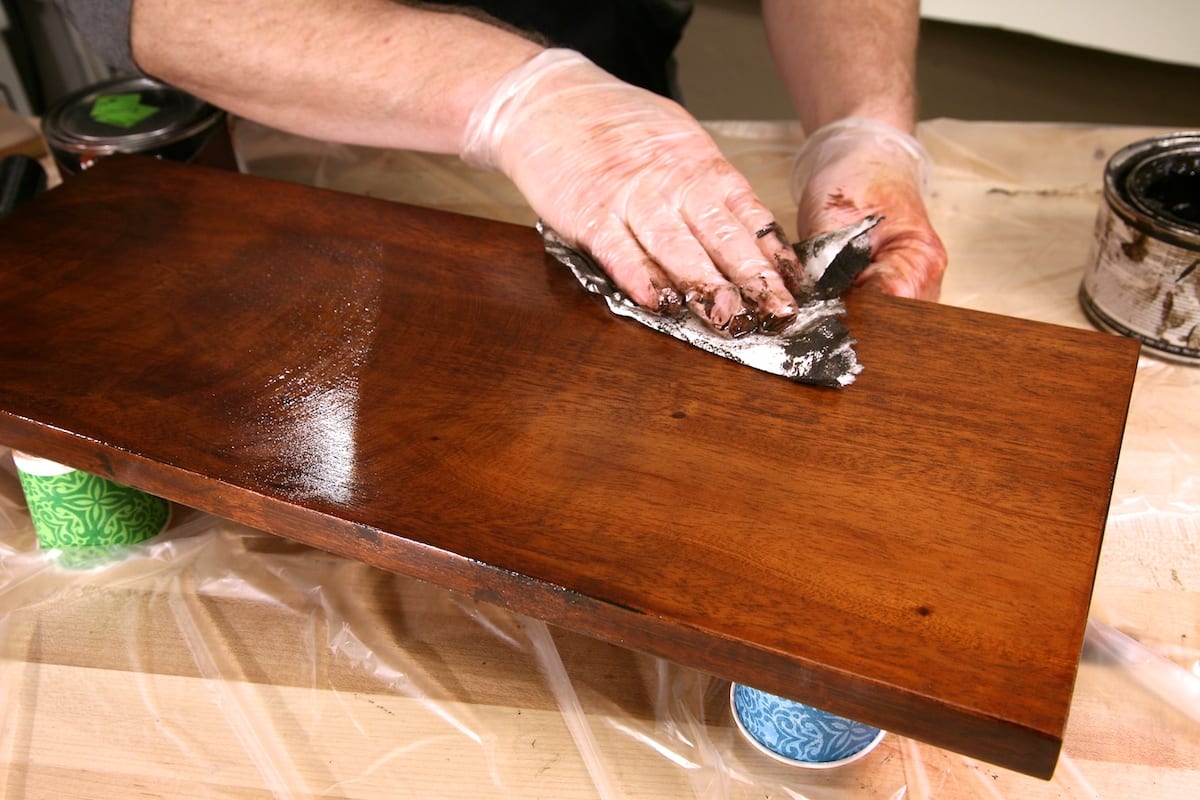
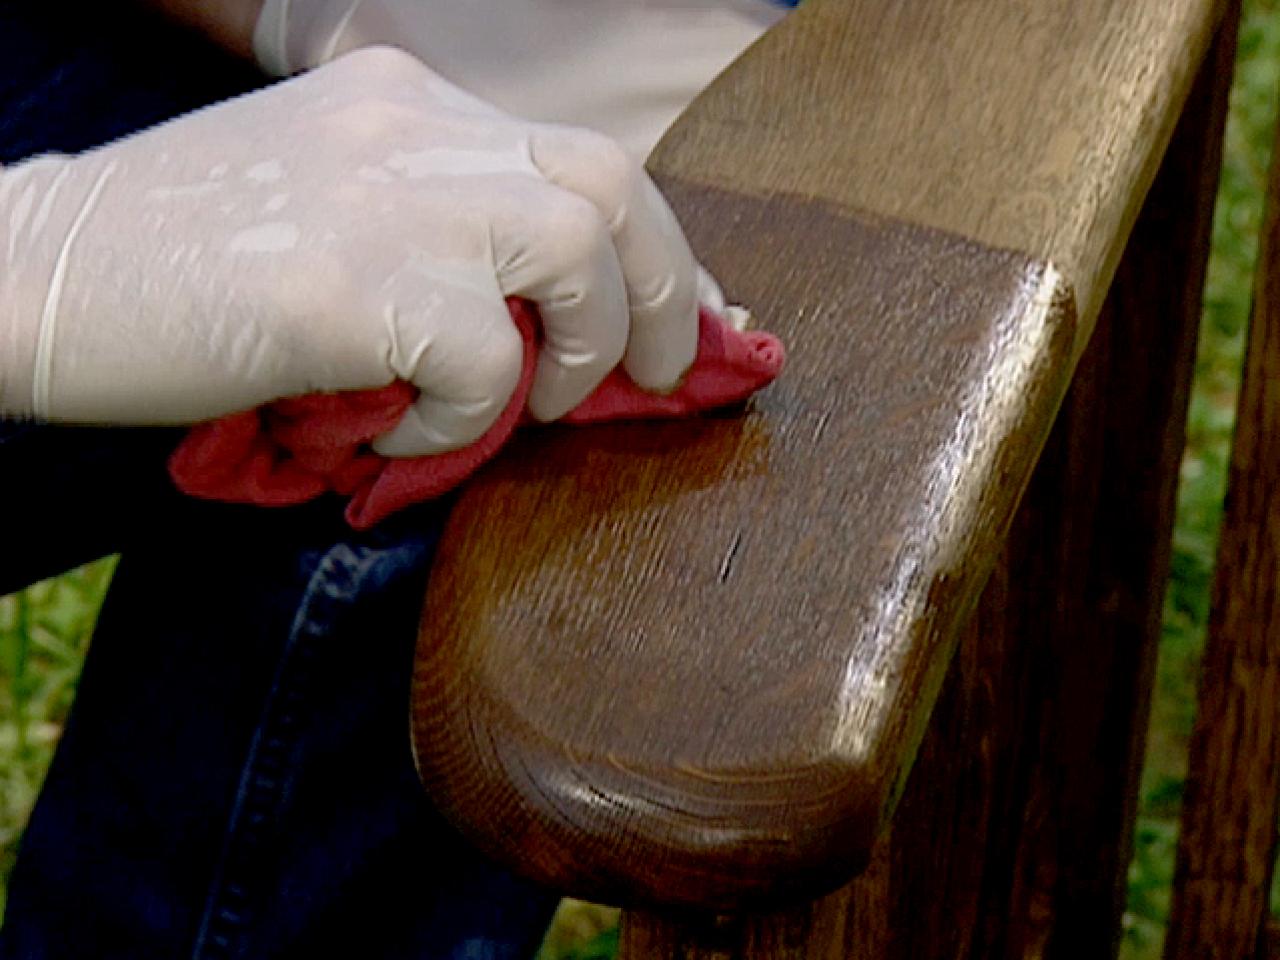
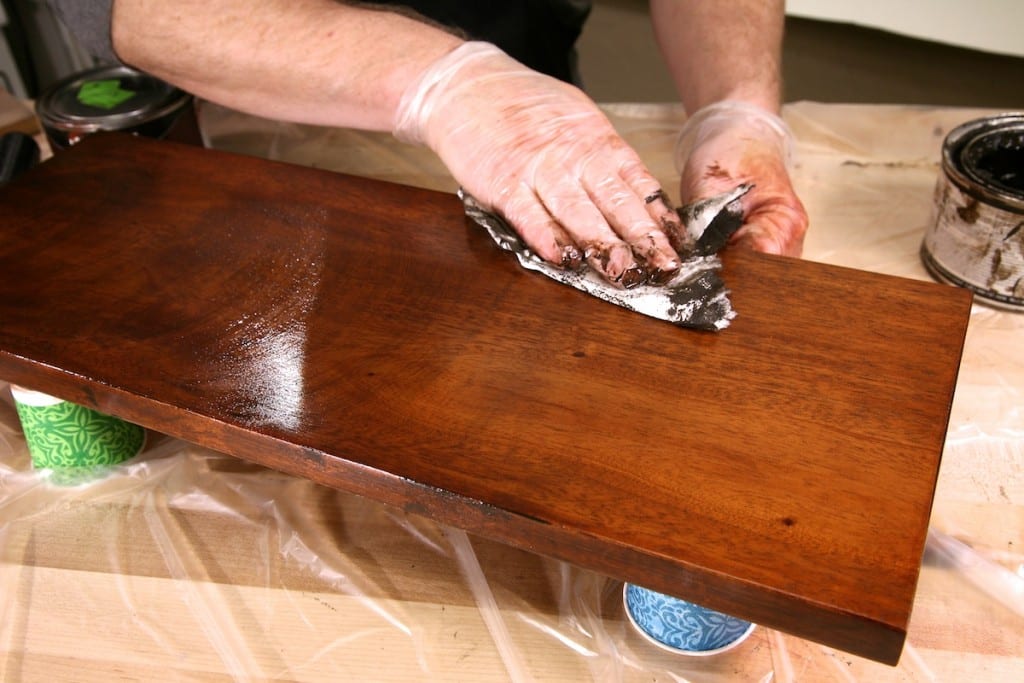
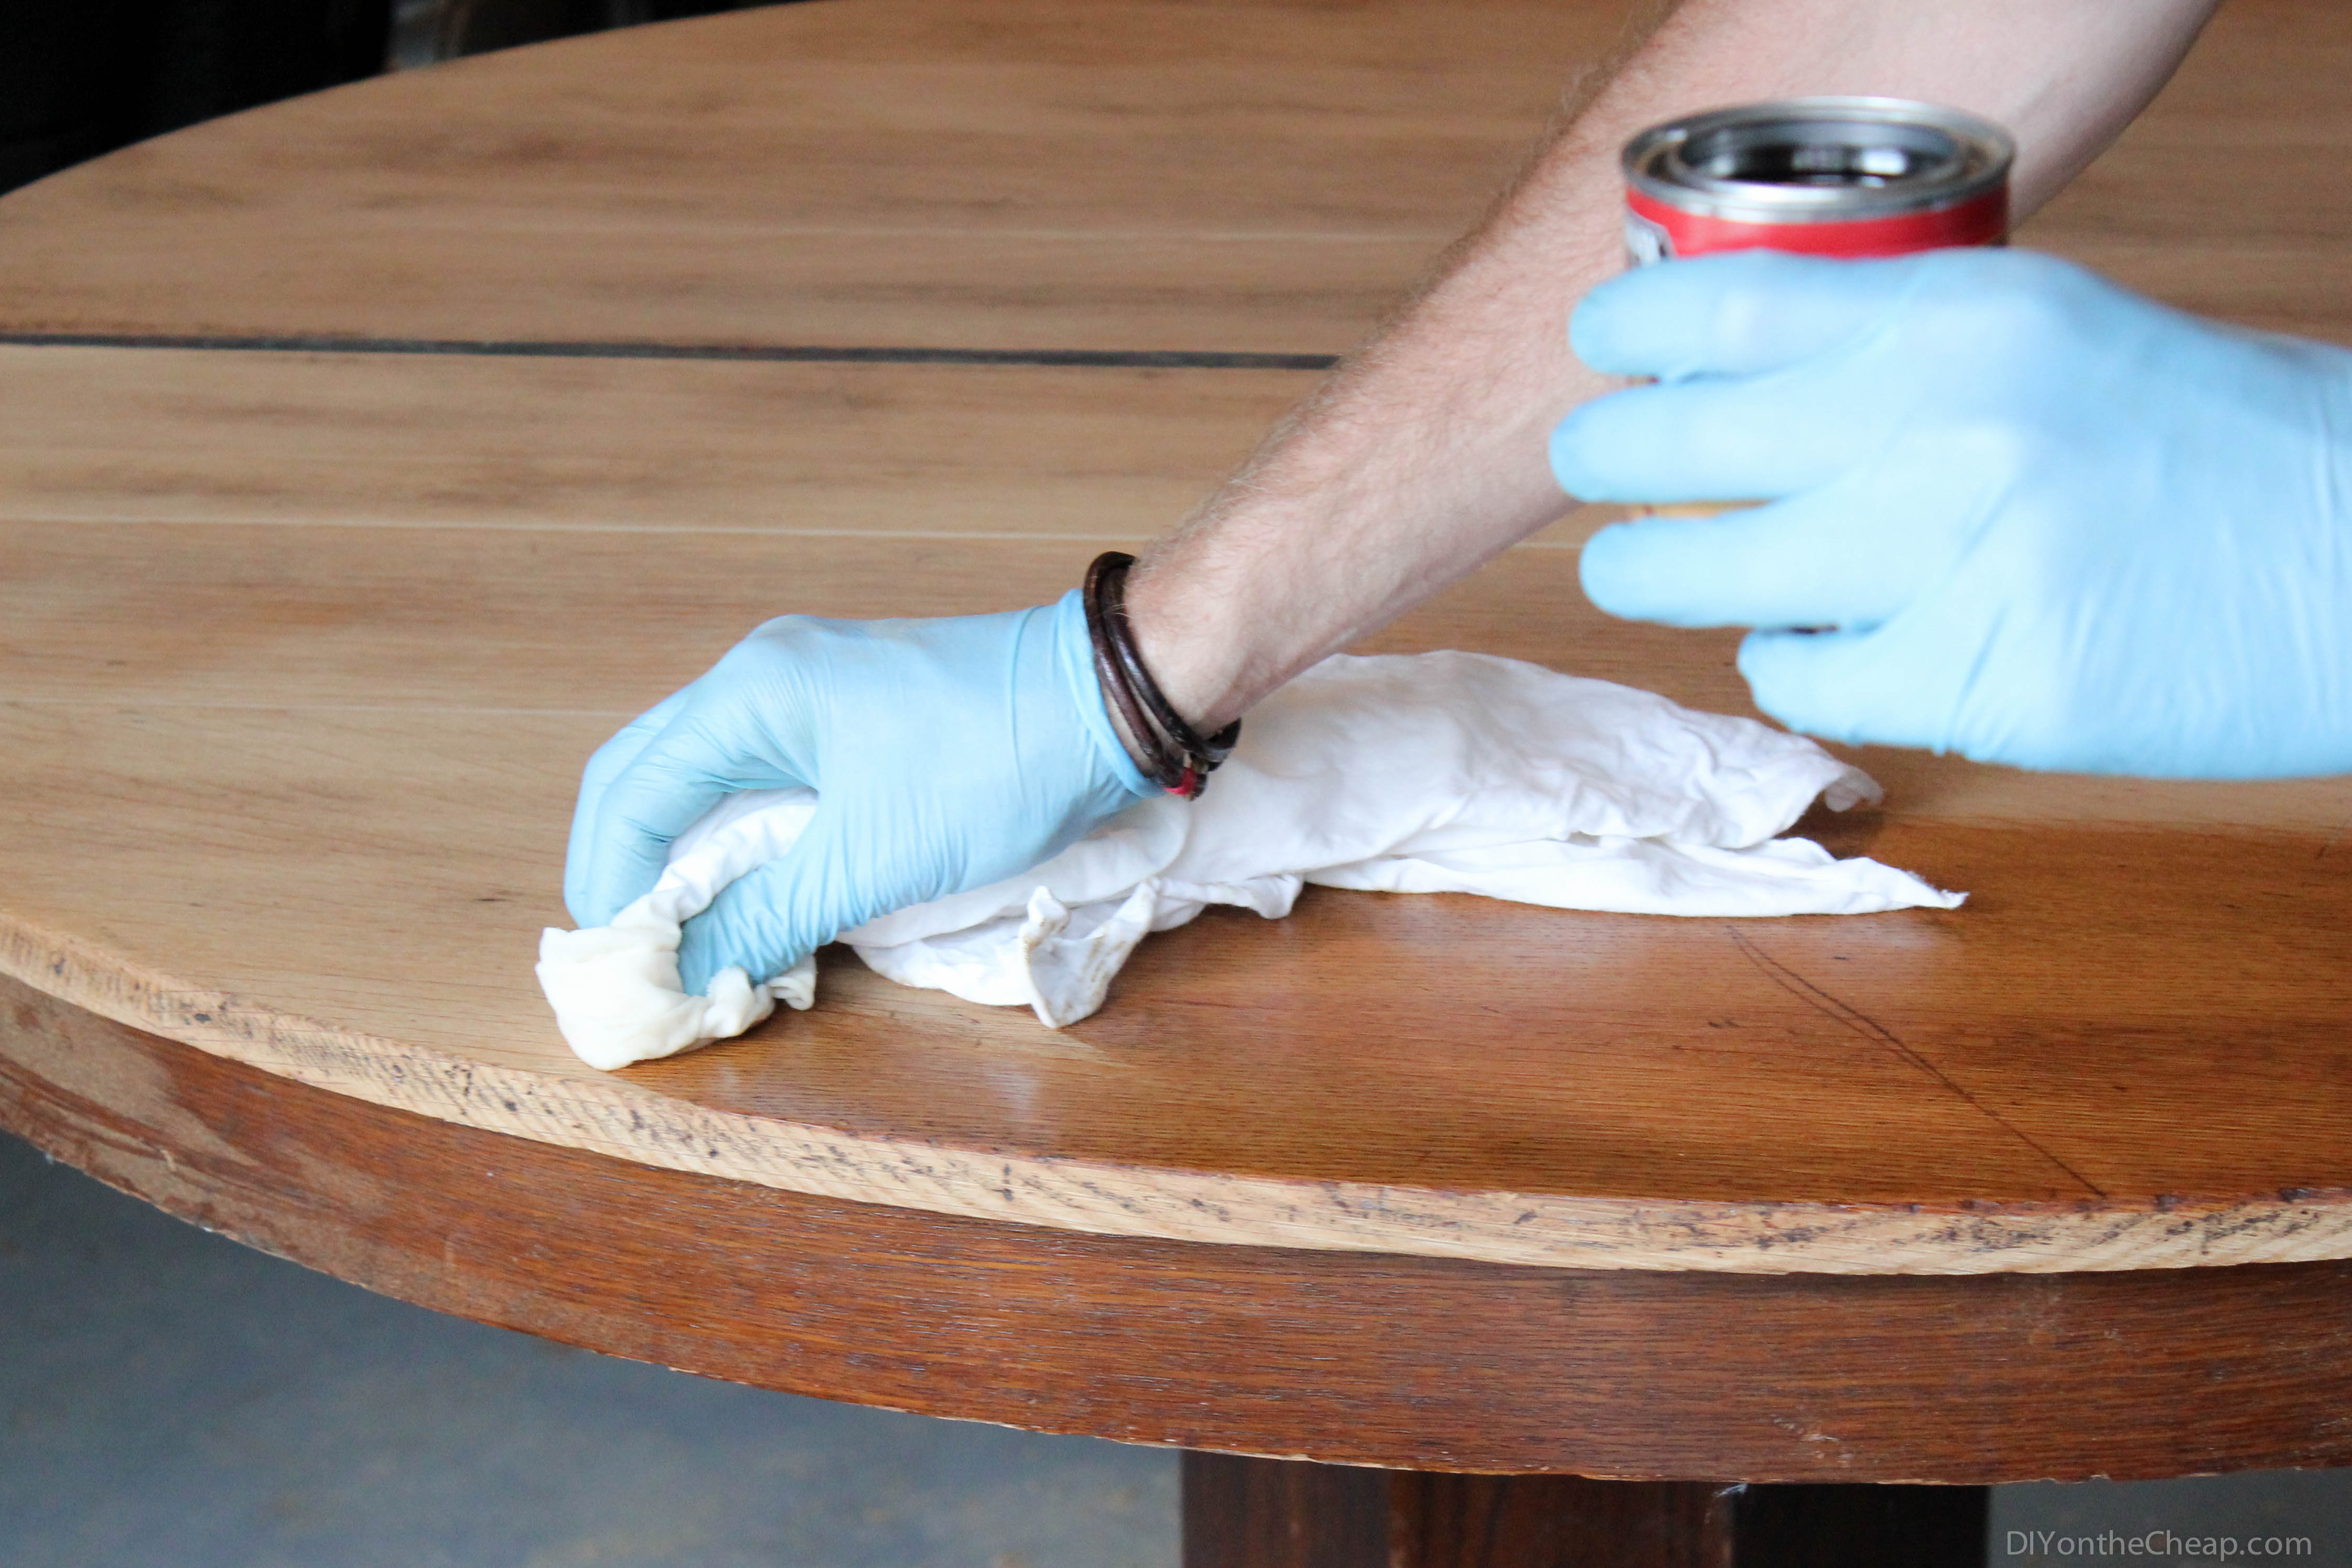
Now that you have chosen your stain and technique, it's time to start the staining process. Here is a step-by-step guide: Step 1: Begin by applying a pre-stain wood conditioner to the surface of the furniture. This will help the stain to absorb evenly and prevent any blotchiness or streaks. Step 2: Use a brush or cloth to apply the stain, following the direction of the wood grain. Be sure to work in small sections and wipe off any excess stain after a few minutes. Step 3: Let the first coat of stain dry completely before applying a second coat, if desired. This will help to deepen the color and create a more even finish. Step 4: Once the final coat is dry, apply a clear topcoat to protect the finish and give it a glossy or matte look, depending on your preference.Step-by-Step Guide to Staining Old Bedroom Furniture


Step-by-Step Guide to Staining Old Bedroom Furniture


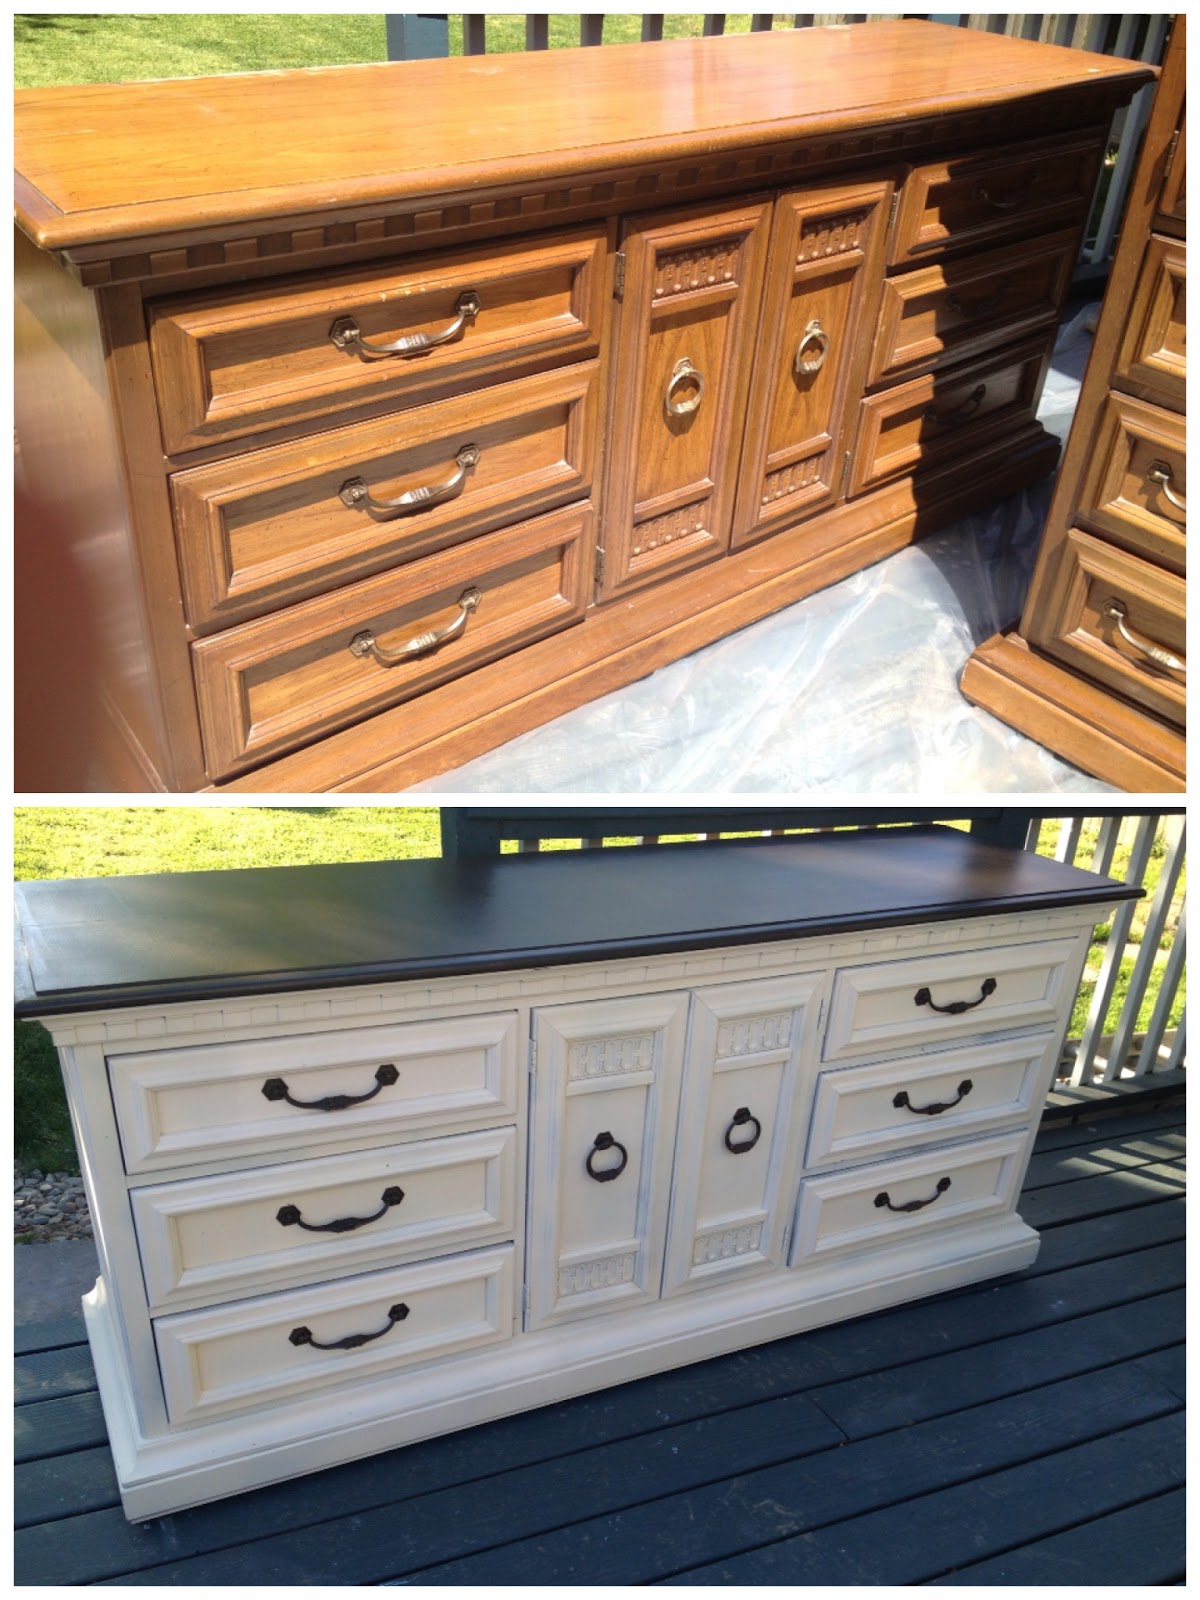
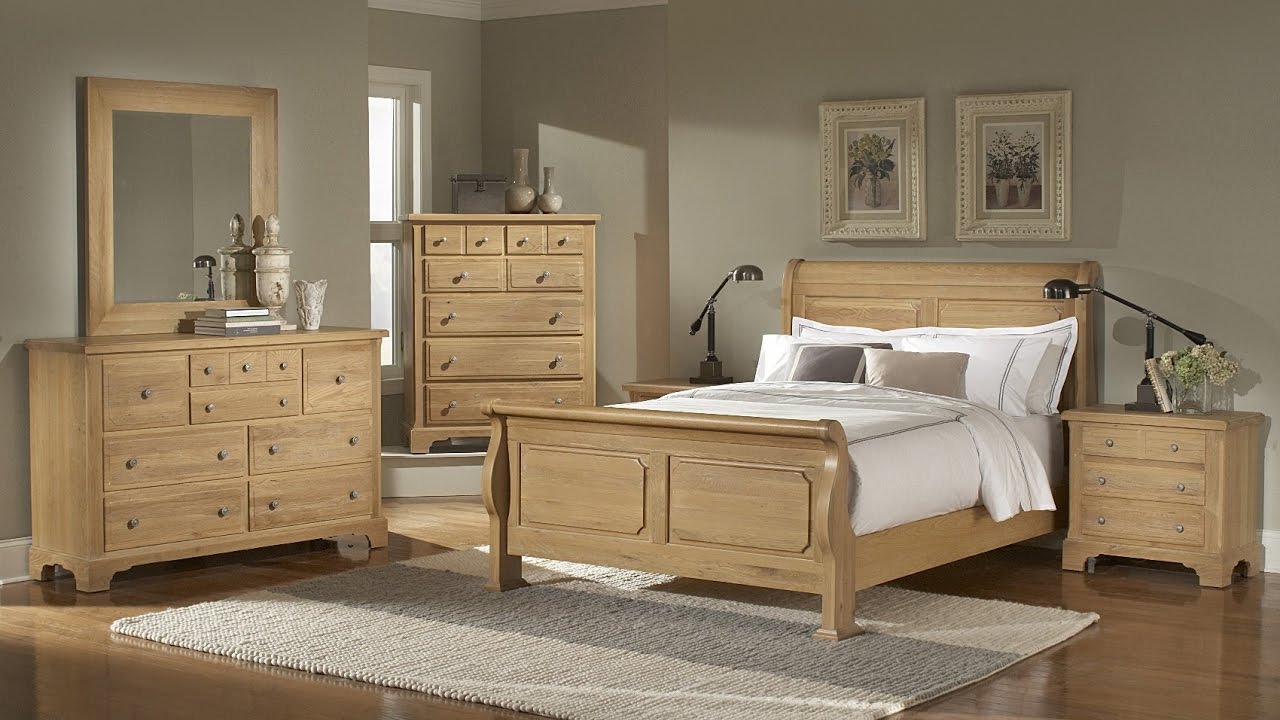
Staining old bedroom furniture is a great way to revive tired or outdated pieces and give them new life. Whether you want to modernize a piece or give it a vintage feel, staining allows for endless possibilities and customization. Additionally, staining is a more environmentally friendly option compared to painting, as it does not produce harmful fumes or require as many materials. It is also a cost-effective way to update your bedroom decor without having to replace all your furniture.Reviving Old Bedroom Furniture with Stain


Reviving Old Bedroom Furniture with Stain


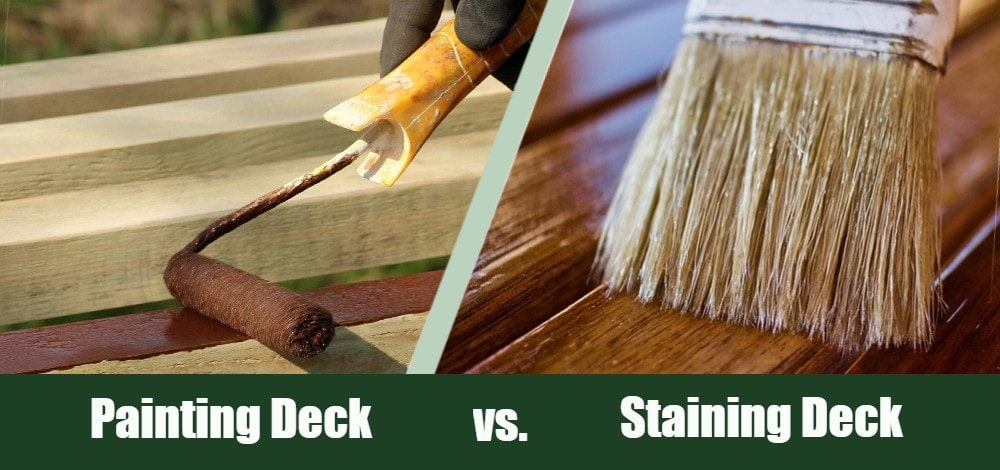
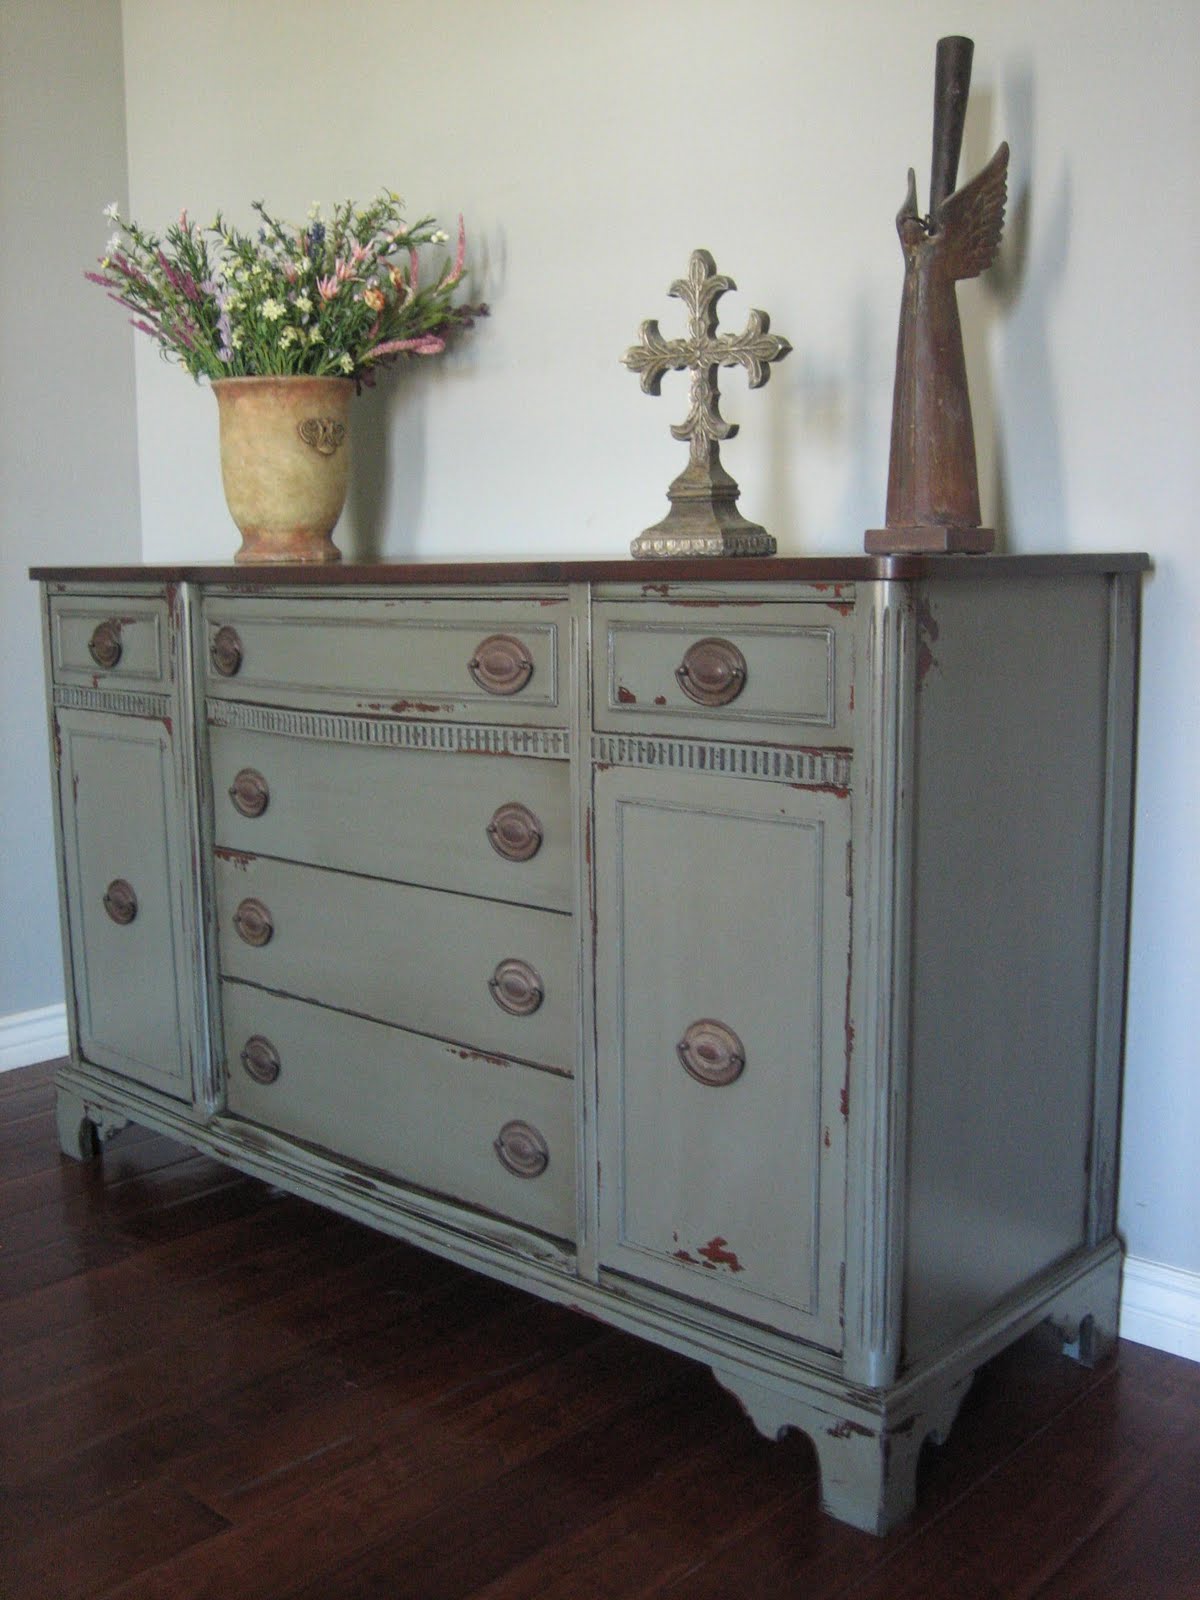
When it comes to refinishing old bedroom furniture, the decision between staining and painting can be a tough one. Both options have their advantages and it ultimately comes down to personal preference and the look you are trying to achieve. Staining is great for showcasing the natural beauty and character of the wood and can add depth and warmth to a room. Painting, on the other hand, allows for more creativity and gives you the option to completely change the color and style of the furniture. Ultimately, it's important to consider the condition and type of wood of your furniture, as well as your personal style and preferences, when deciding between staining and painting.Staining vs. Painting: Which is Better for Old Bedroom Furniture?


Staining vs. Painting: Which is Better for Old Bedroom Furniture?


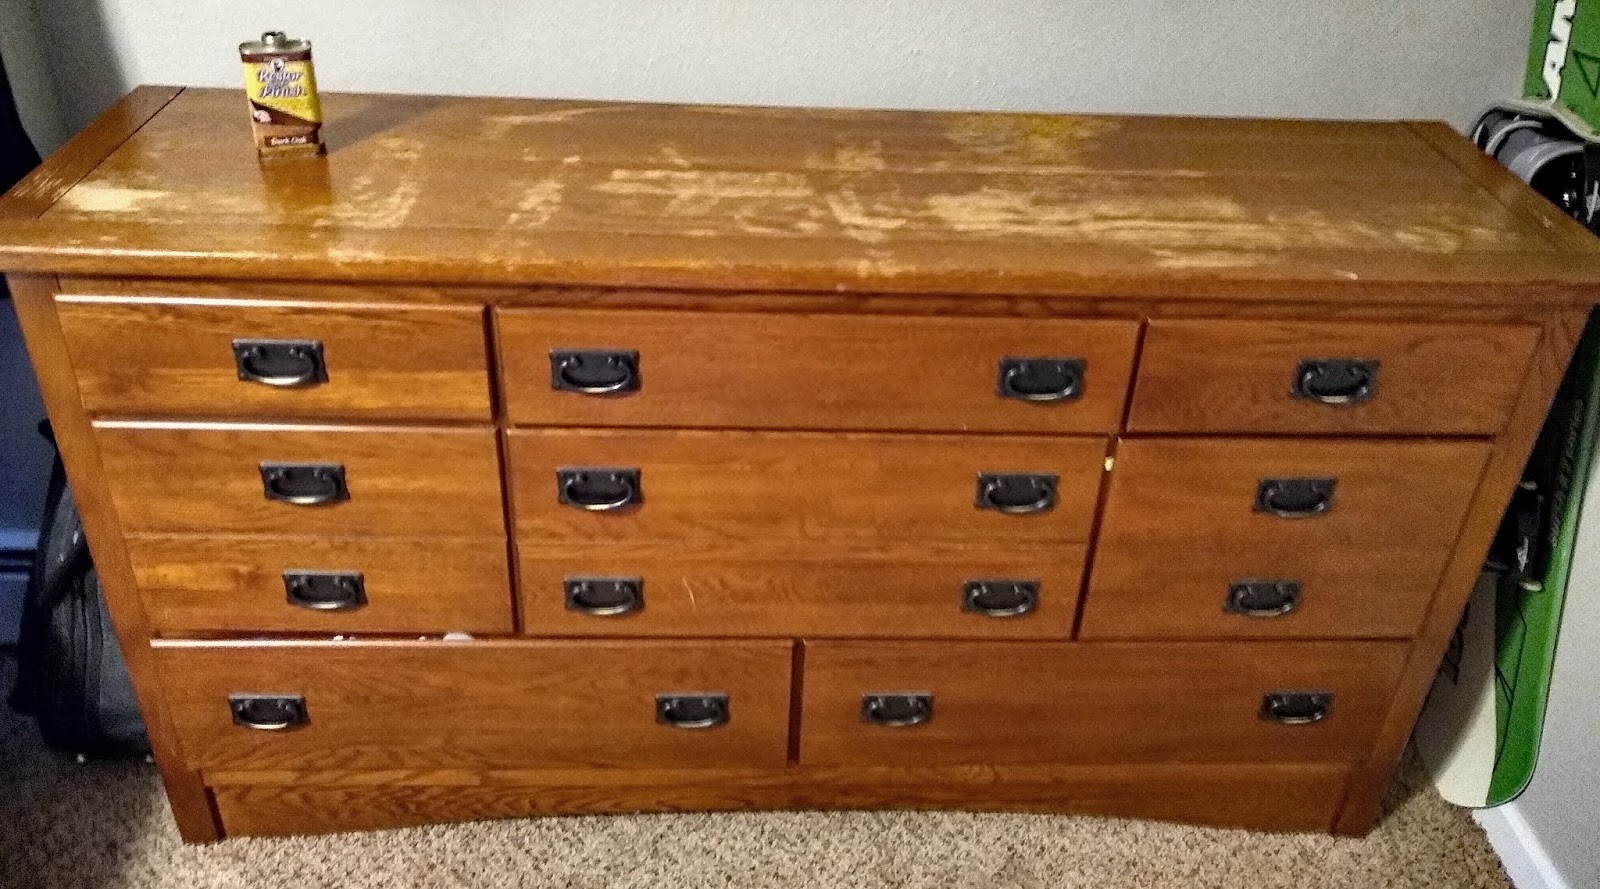
Staining old bedroom furniture may seem like a simple process, but there are a few common mistakes that can easily be avoided: Not Prepping the Surface: Skipping the necessary steps of stripping, sanding, and cleaning the furniture can result in an uneven or blotchy finish. Not Testing the Stain: It's important to test the stain on a small, inconspicuous area before applying it to the entire piece. This will help you determine the color and coverage before committing to the entire project. Not Using Enough Stain: It's better to apply multiple thin coats of stain rather than one thick coat. This will prevent drips and ensure an even finish.Common Mistakes to Avoid When Staining Old Bedroom Furniture


Common Mistakes to Avoid When Staining Old Bedroom Furniture


Properly prepping your old bedroom furniture is crucial for achieving a beautiful stained finish. Here are some tips to help you prepare: Clean and Sand: As mentioned before, be sure to thoroughly clean and sand the furniture before staining to ensure a smooth and even surface. Remove Hardware: If possible, remove any hardware such as knobs or handles before staining. This will make it easier to apply the stain and prevent any drips or smudges. Mask Off Areas: Use painter's tape to mask off areas you don't want to get stained, such as drawers or edges of the furniture.How to Prep Old Bedroom Furniture for Staining

How to Prep Old Bedroom Furniture for Staining


Here are some top products to consider when staining old bedroom furniture: Painter's Tape: This will help you mask off areas you don't want to get stained. Chemical Stripper: This will help you remove the old finish from the furniture. Minwax Wood Finish: A popular oil-based stain for achieving a rich, deep finish. General Finishes Gel Stain: A gel stain known for its easy application and ability to cover imperfections. Clear Topcoat: This will protect the finish and give it a glossy or matte look. With these tips and tricks in mind, you are now ready to tackle staining your old bedroom furniture. With the right techniques and products, you can transform your furniture and give your bedroom a fresh, new look. Happy staining!Top Products for Staining Old Bedroom Furniture


Top Products for Staining Old Bedroom Furniture


Revamp Your Bedroom with Freshly Stained Furniture
Why Staining Old Bedroom Furniture is a Great Idea
 Staining old bedroom furniture is a simple and cost-effective way to give your bedroom a fresh new look. Not only does it save you money from buying new furniture, but it also adds a touch of character and uniqueness to your room. Staining allows you to customize the color and finish of your furniture, making it a great option for those who want a personalized and one-of-a-kind bedroom design. Plus, with the right techniques and products, you can easily transform your old and worn-out furniture into beautiful and stylish pieces.
Choosing the Right Stain for Your Bedroom Furniture
 When it comes to staining old bedroom furniture, there are a variety of options to choose from. The most common types of stains are oil-based and water-based. Oil-based stains give a more traditional and richer color, while water-based stains offer a wider range of colors and are easier to clean up. It's important to choose a stain that not only complements your bedroom design but also works well with the type of wood and finish of your furniture.
Pro tip:
Before applying the stain, always test it on a small, inconspicuous area of your furniture to ensure you get the desired color and finish.
When it comes to staining old bedroom furniture, there are a variety of options to choose from. The most common types of stains are oil-based and water-based. Oil-based stains give a more traditional and richer color, while water-based stains offer a wider range of colors and are easier to clean up. It's important to choose a stain that not only complements your bedroom design but also works well with the type of wood and finish of your furniture.
Pro tip:
Before applying the stain, always test it on a small, inconspicuous area of your furniture to ensure you get the desired color and finish.
Preparing Your Furniture for Staining
 Before you start staining, it's crucial to properly prepare your furniture. This includes sanding down any rough or uneven surfaces, removing any existing finish or paint, and cleaning the furniture thoroughly. Sanding helps to create a smooth and even surface for the stain to adhere to, while cleaning removes any dirt, dust, or residue that could affect the staining process. It's also important to work in a well-ventilated area and wear protective gear, such as a mask and gloves, to avoid any potential health hazards.
Applying the Stain
 Now comes the fun part - applying the stain. Using a high-quality brush or cloth, apply an even coat of stain in the direction of the wood grain. It's essential to work in small sections and wipe off any excess stain with a clean cloth. For a darker and richer color, you can apply multiple coats, allowing each coat to dry completely before adding the next. Once you're satisfied with the color, let the stain dry for at least 24 hours before adding a protective finish.
Pro tip:
For a more natural and rustic look, consider using a gel stain, which tends to sit on top of the wood instead of penetrating it.
Now comes the fun part - applying the stain. Using a high-quality brush or cloth, apply an even coat of stain in the direction of the wood grain. It's essential to work in small sections and wipe off any excess stain with a clean cloth. For a darker and richer color, you can apply multiple coats, allowing each coat to dry completely before adding the next. Once you're satisfied with the color, let the stain dry for at least 24 hours before adding a protective finish.
Pro tip:
For a more natural and rustic look, consider using a gel stain, which tends to sit on top of the wood instead of penetrating it.
Adding a Protective Finish
 To protect your newly stained furniture from wear and tear, it's essential to add a protective finish. This can be in the form of a polyurethane, varnish, or wax, depending on the look and level of protection you desire. Apply the finish using a clean brush or cloth, making sure to follow the manufacturer's instructions. Let the finish dry completely before moving your furniture back into your bedroom.
Final Thoughts
 Staining old bedroom furniture is a budget-friendly and creative way to transform your room into a personalized and stylish space. With the right tools and techniques, you can give your old and worn-out furniture a new lease on life. So, why not give it a try and see the amazing results for yourself?