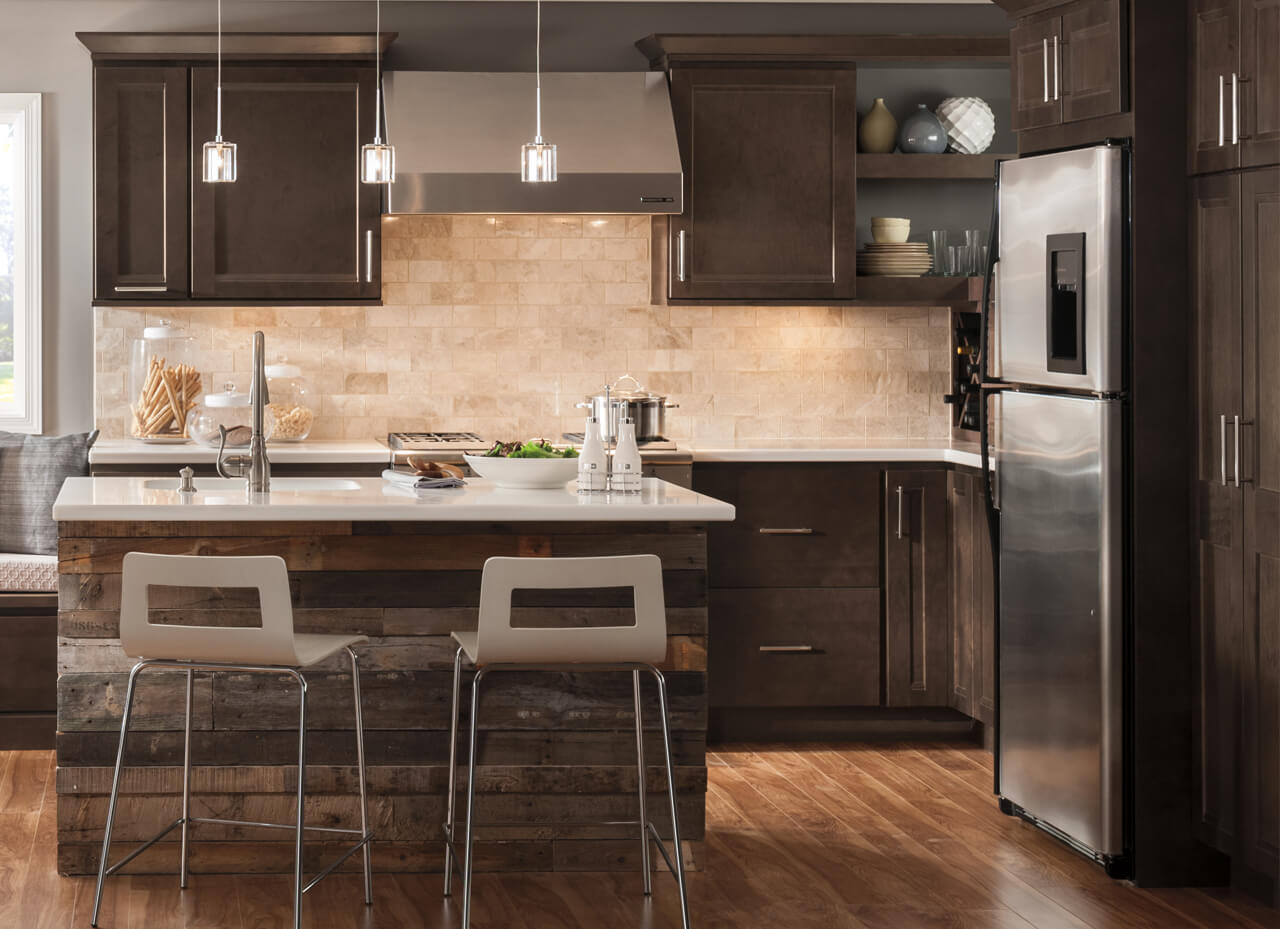
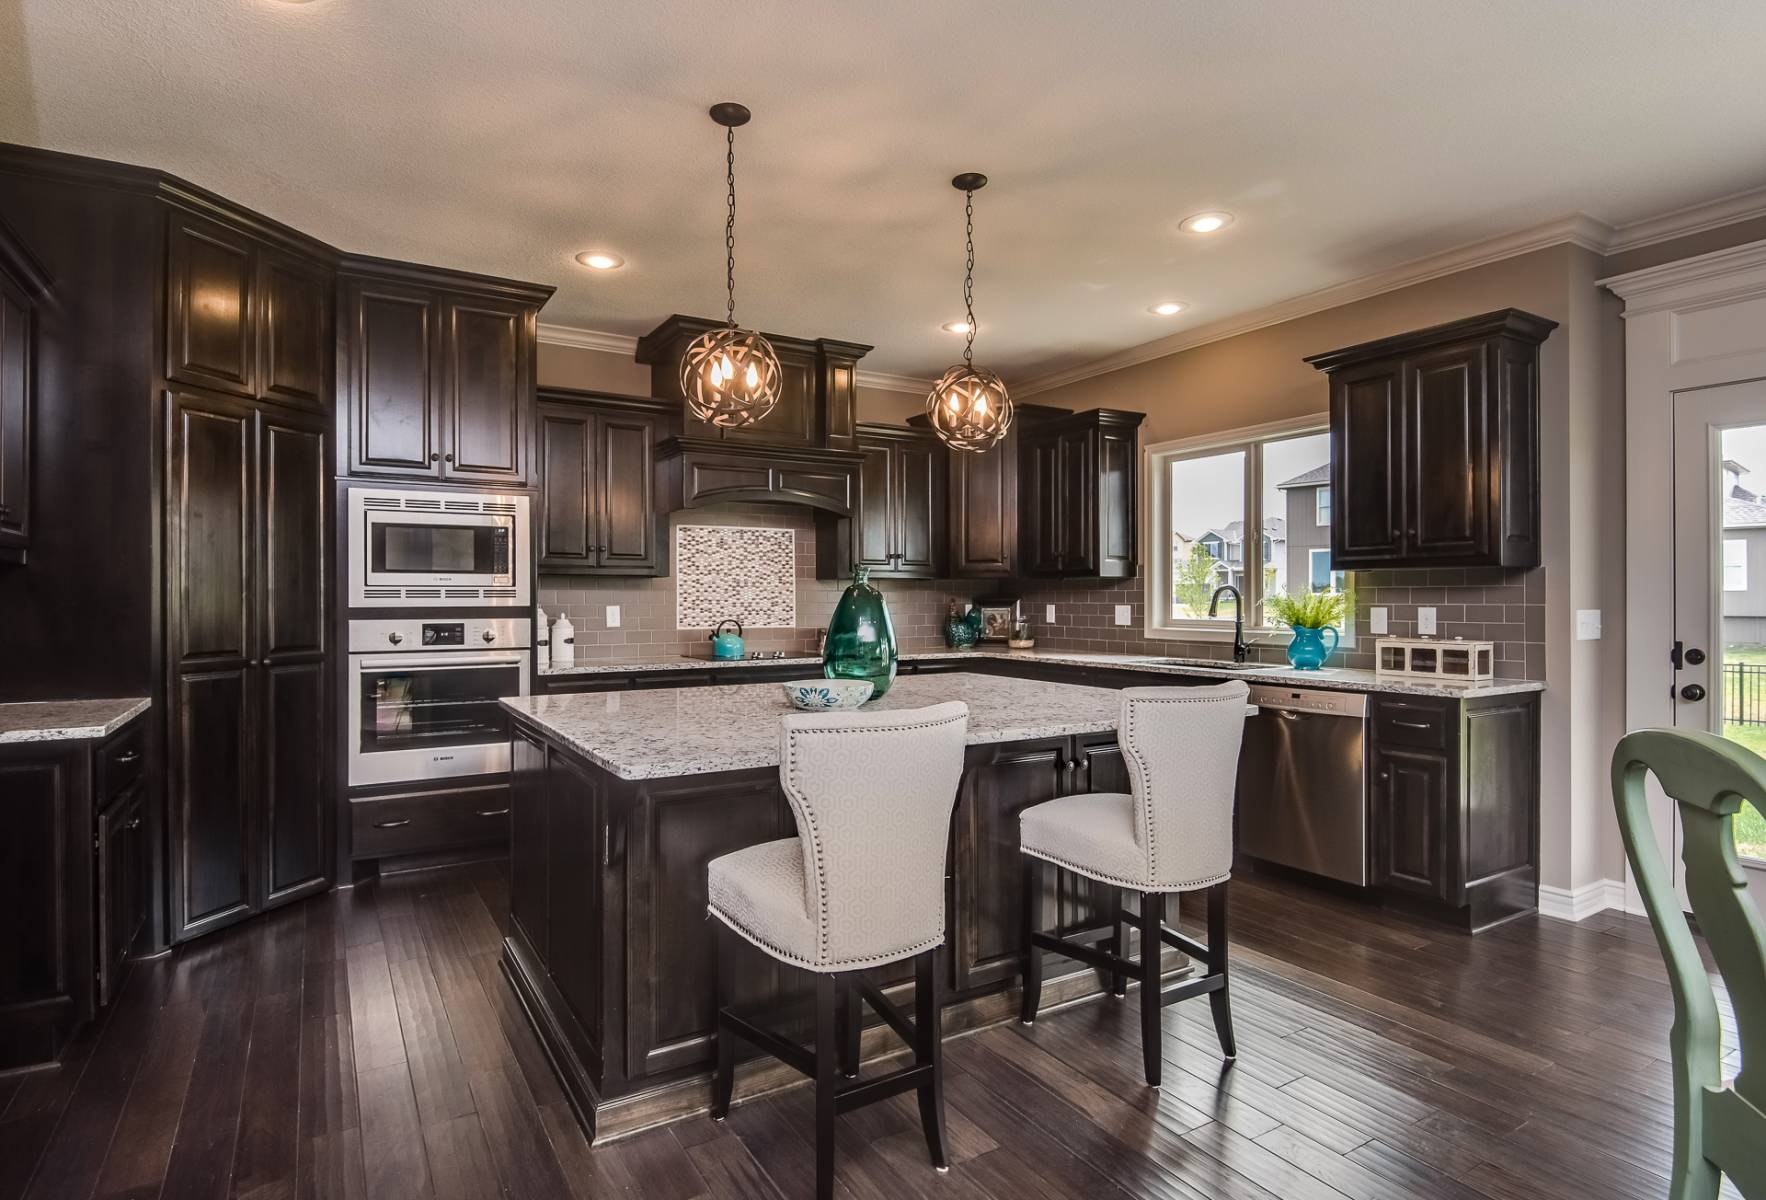
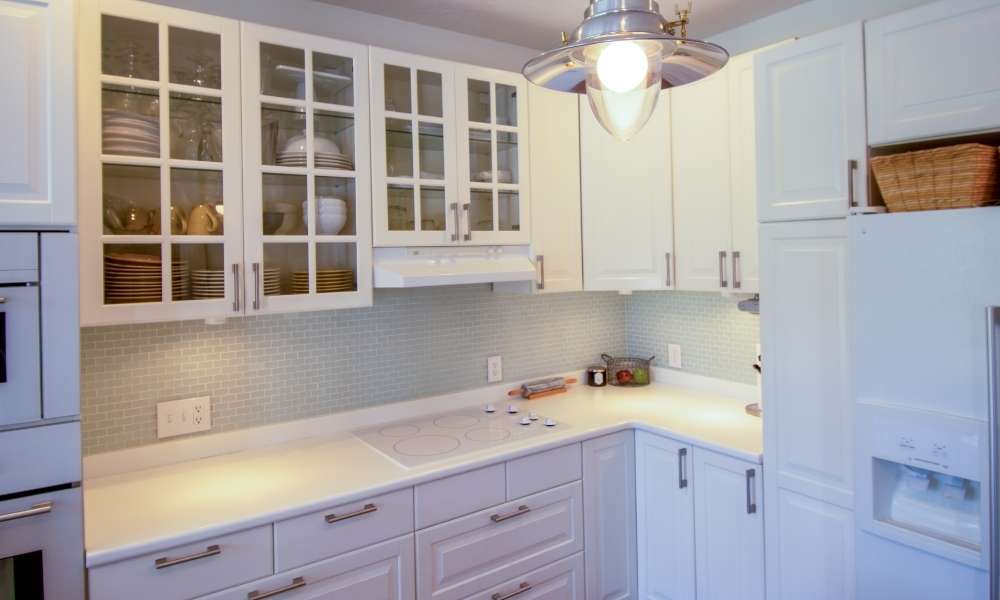
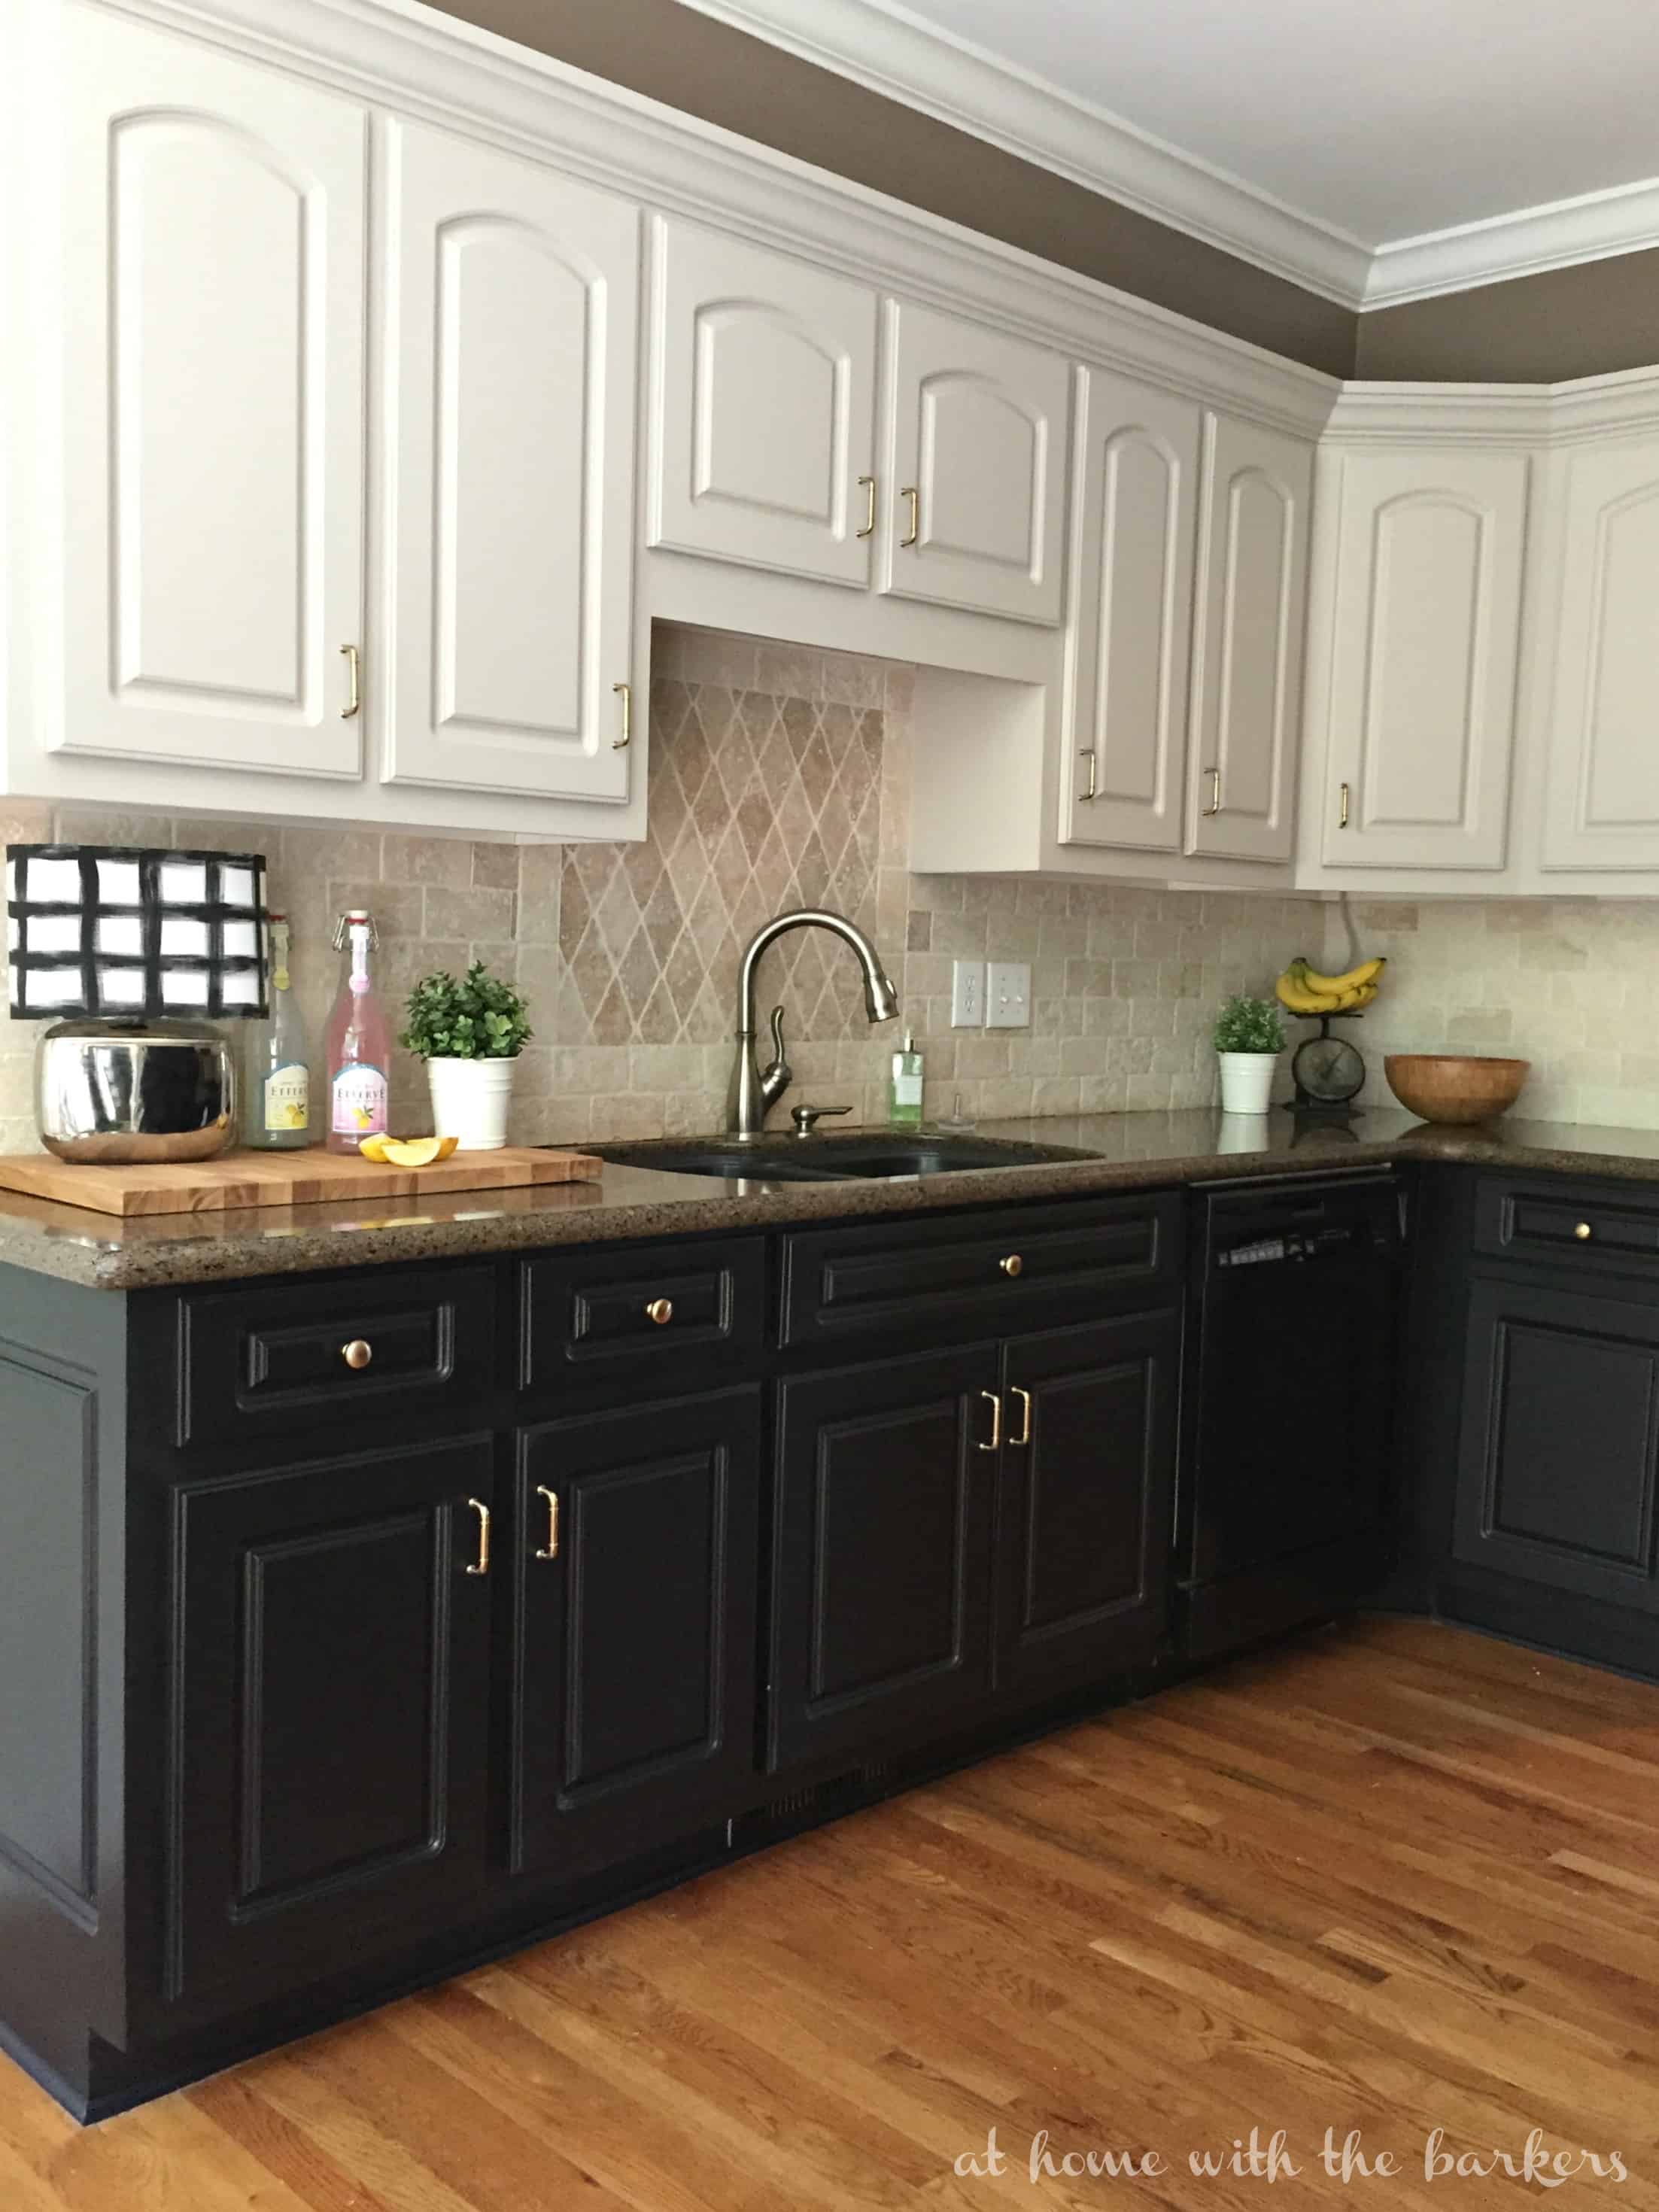
Staining your kitchen cabinets can be a great way to update the look of your kitchen without breaking the bank. However, if you've chosen a stain that turned out to be darker than you anticipated, you may be wondering how to lighten them up. Luckily, there are a few methods you can use to achieve a lighter stain on your kitchen cabinets. In this article, we'll go through the steps on how to stain kitchen cabinets lighter and provide some tips and tricks to help you achieve the perfect look.How to Stain Kitchen Cabinets Lighter


How to Stain Kitchen Cabinets Lighter


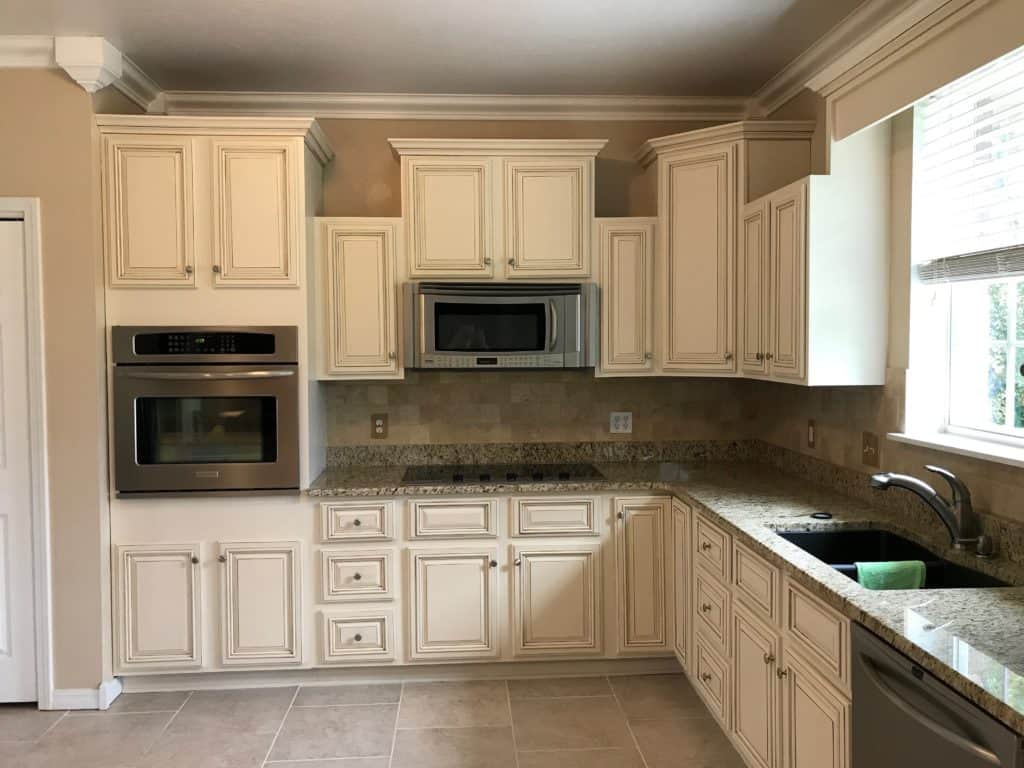
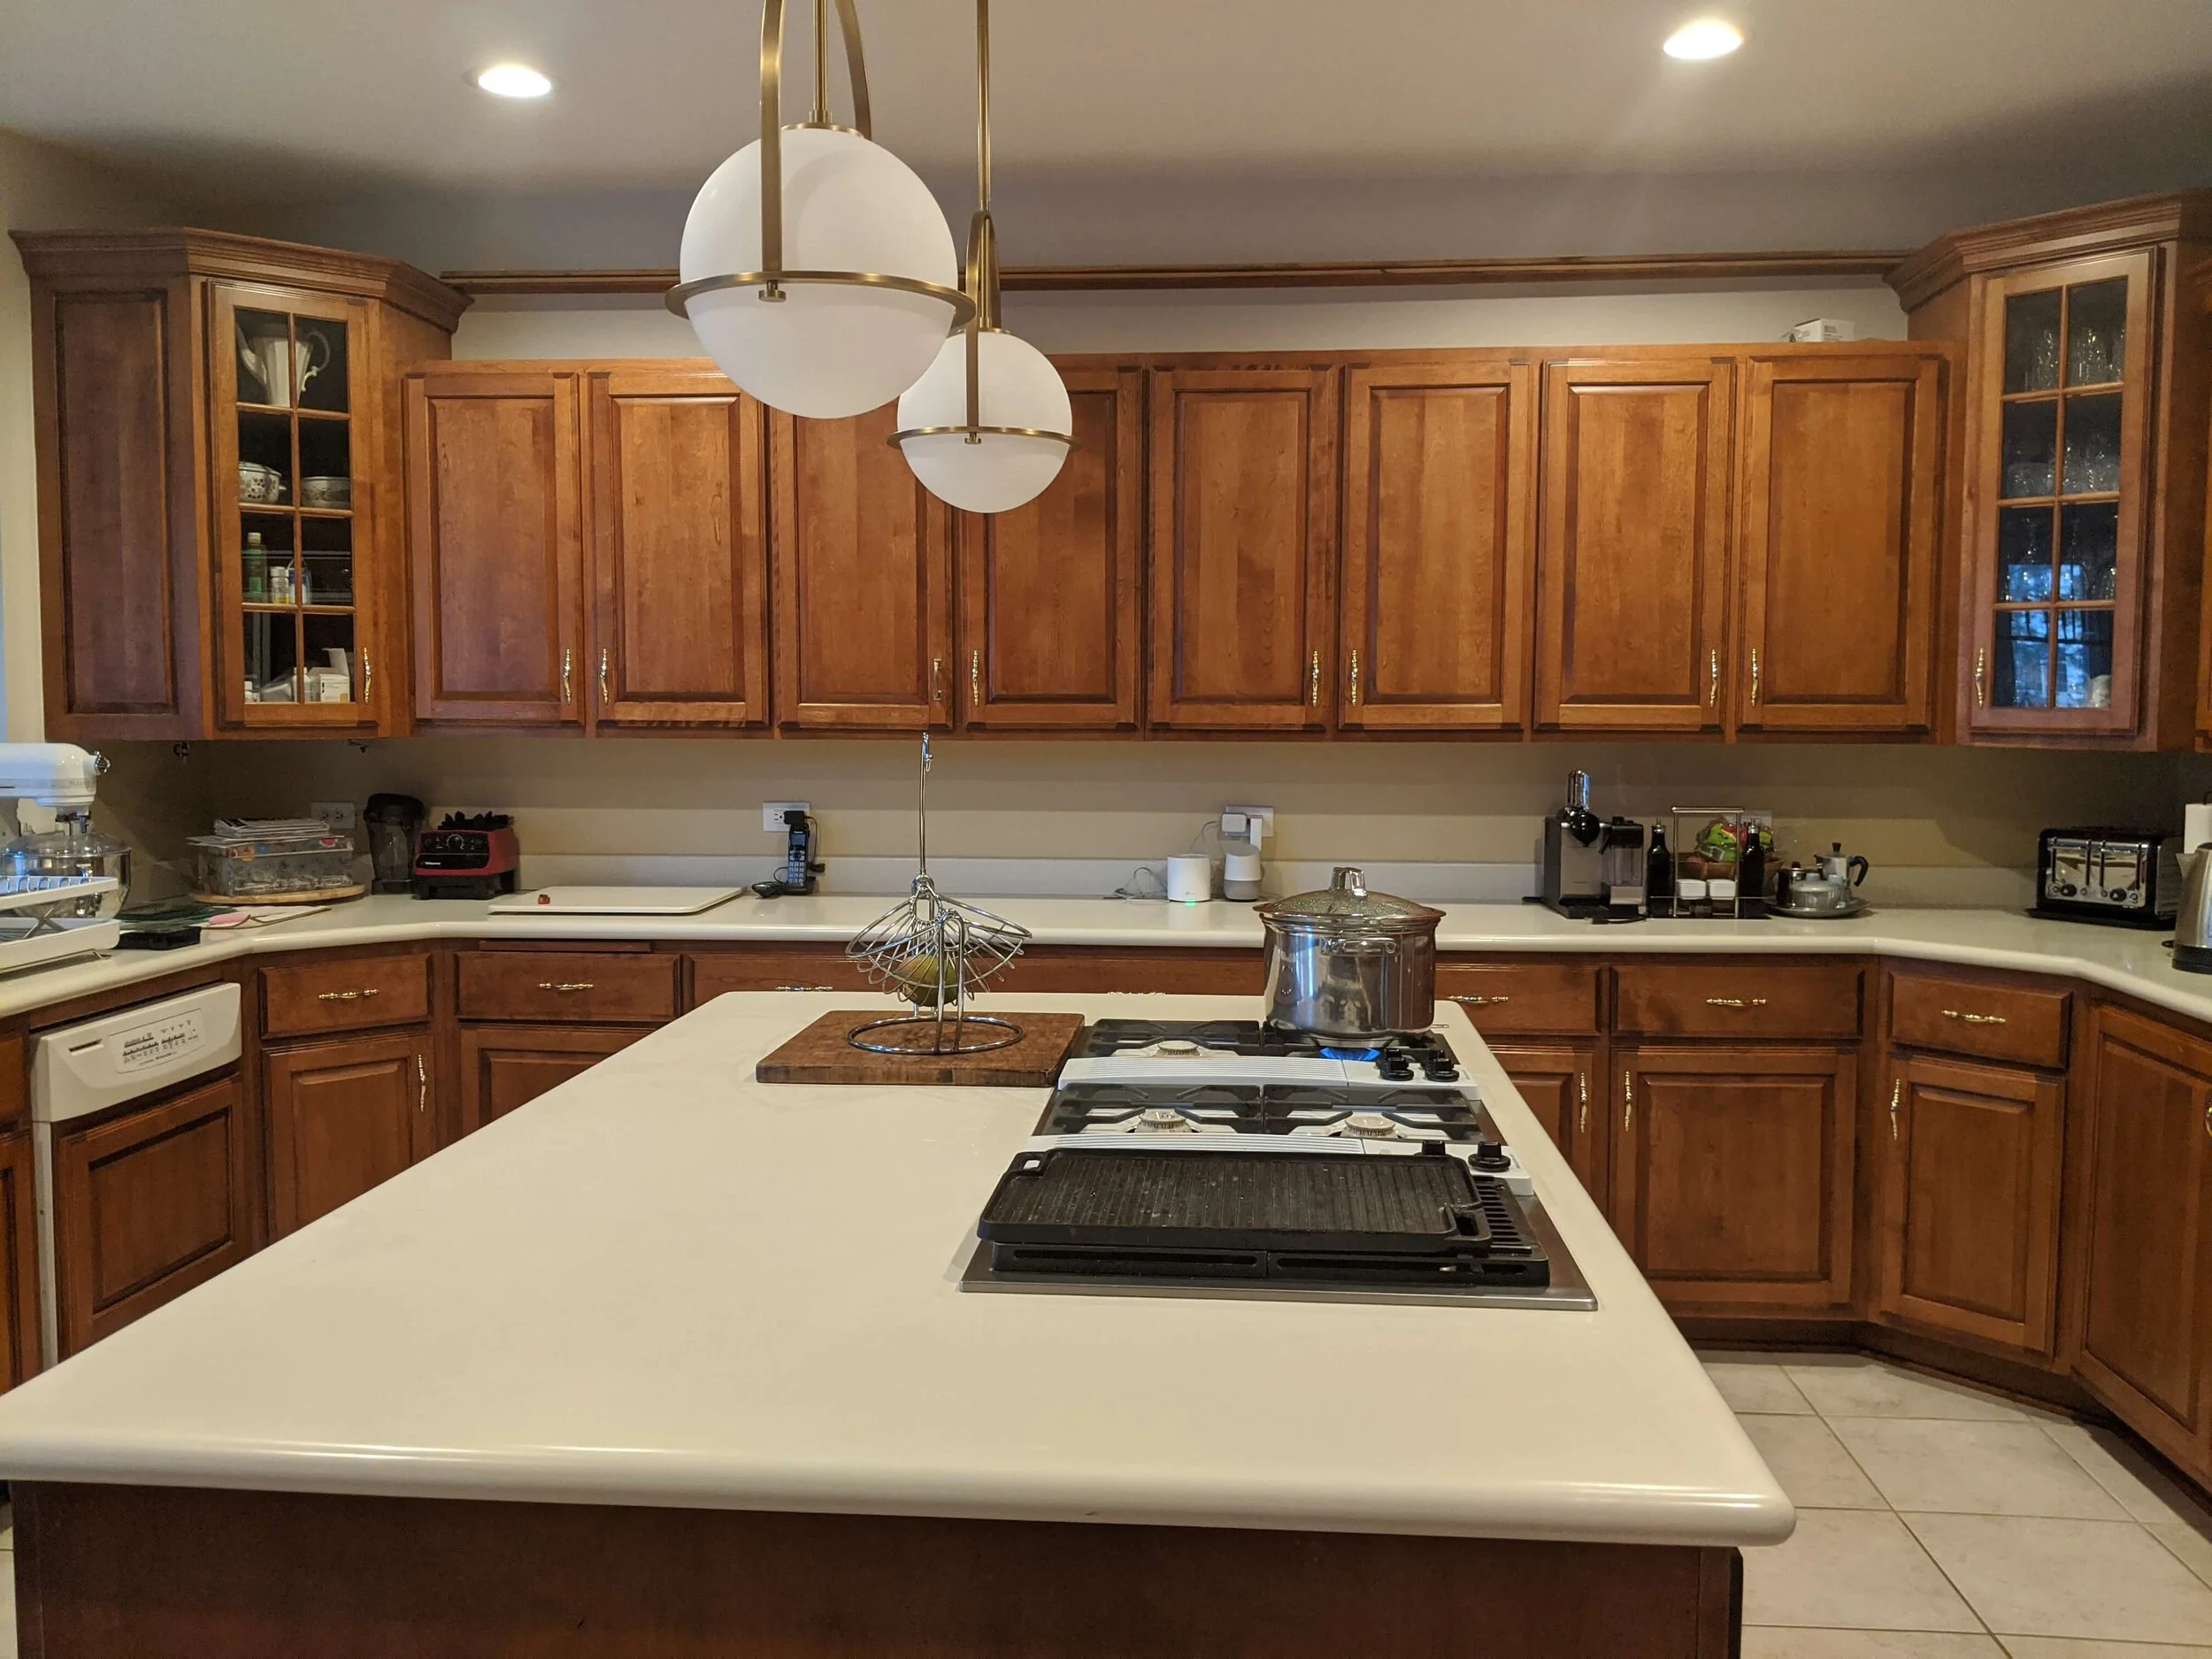
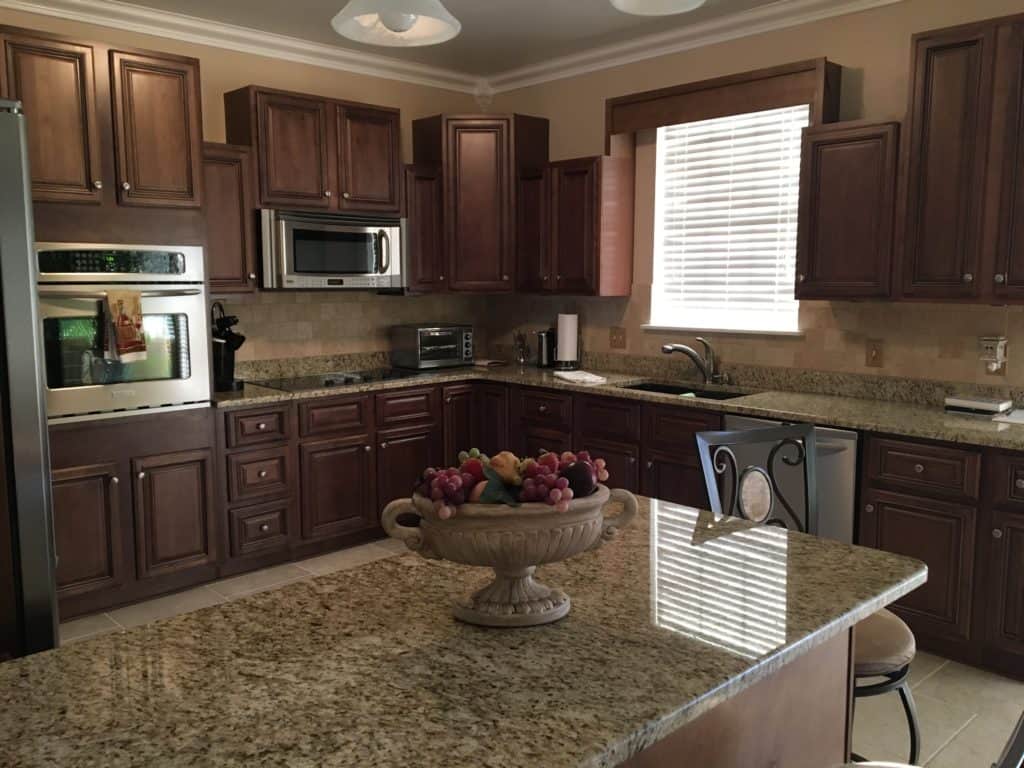
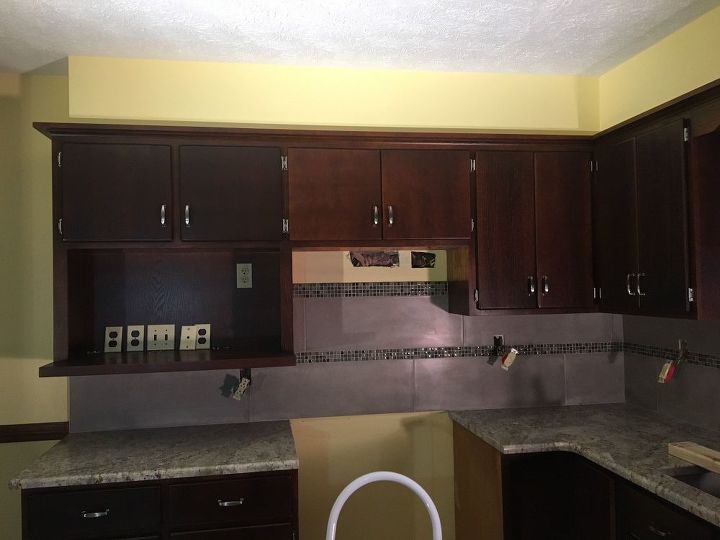
If you've already stained your kitchen cabinets and they turned out darker than you wanted, you may be wondering if there's a way to lighten them up. The good news is that there are a few methods you can use to achieve a lighter stain on your cabinets. The first method is to use a wood bleach, which will remove the existing stain and allow you to restain with a lighter color. Another method is to sand down the existing stain and apply a lighter stain on top. Whichever method you choose, it's important to carefully follow the instructions and test it out on a small, inconspicuous area first.How to Lighten Stained Kitchen Cabinets

How to Lighten Stained Kitchen Cabinets


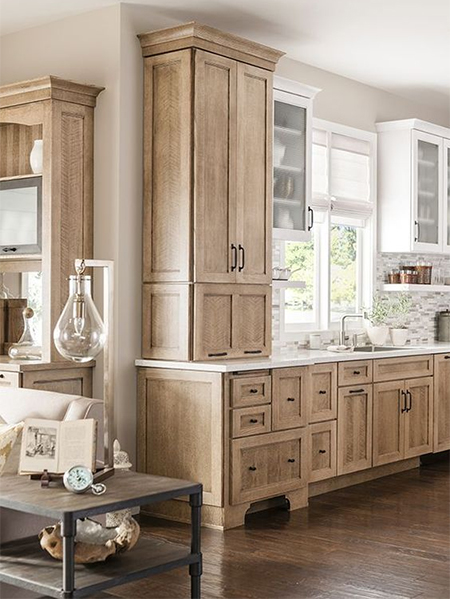
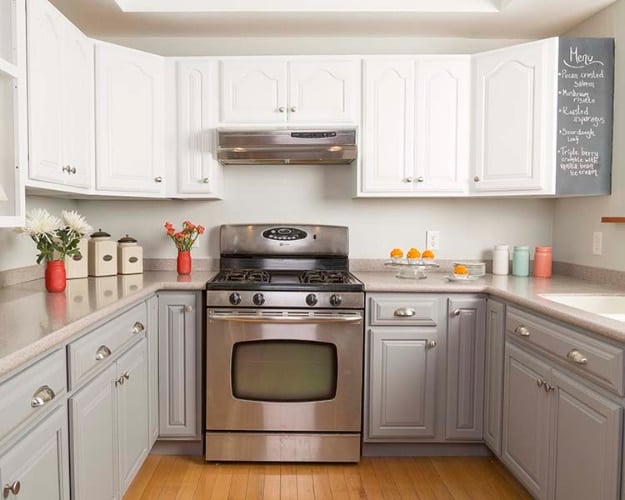
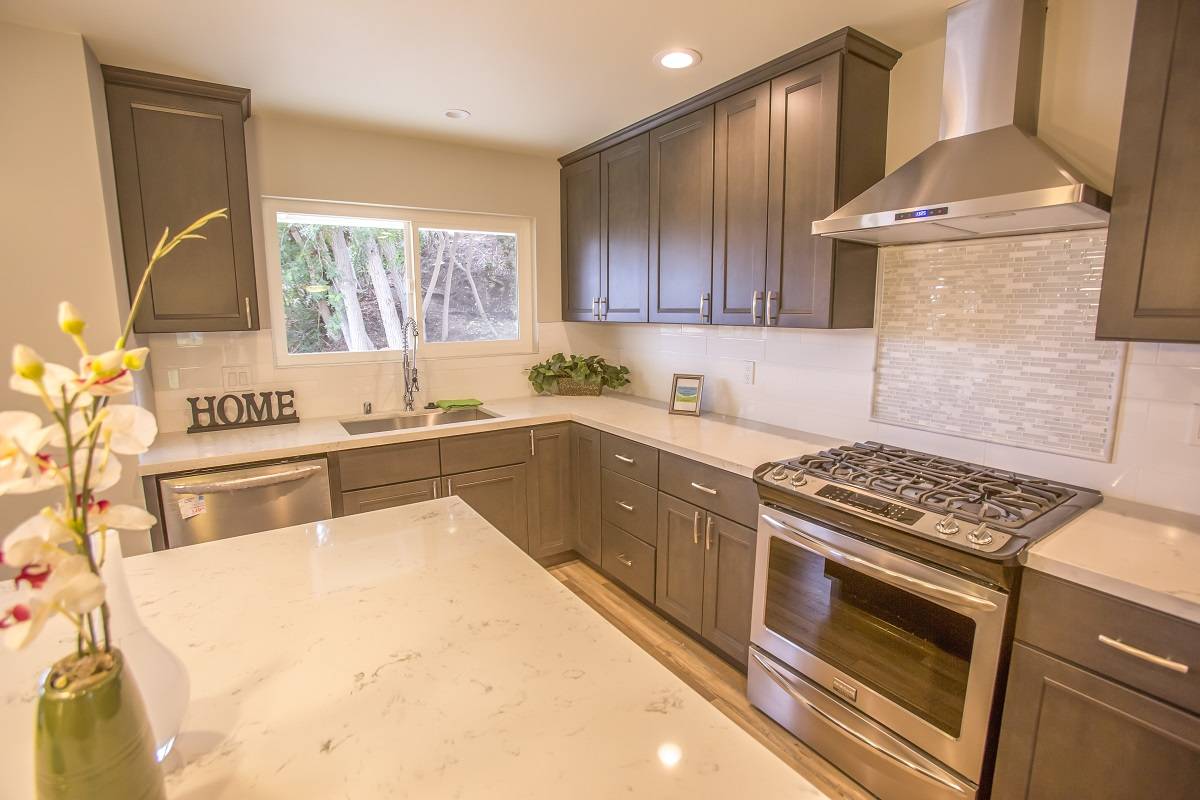
When choosing a stain to lighten up your kitchen cabinets, it's important to consider the type of wood you're working with. Some stains may work better on certain types of wood than others. If you're unsure, it's always best to consult with a professional or test a few different stains on a small area before committing to the whole project. Some popular options for lightening kitchen cabinets include whitewash or pickling stains, which can give a light, washed-out effect, or gel stains, which tend to be more opaque and can cover up darker stains. Best Stain for Lightening Kitchen Cabinets
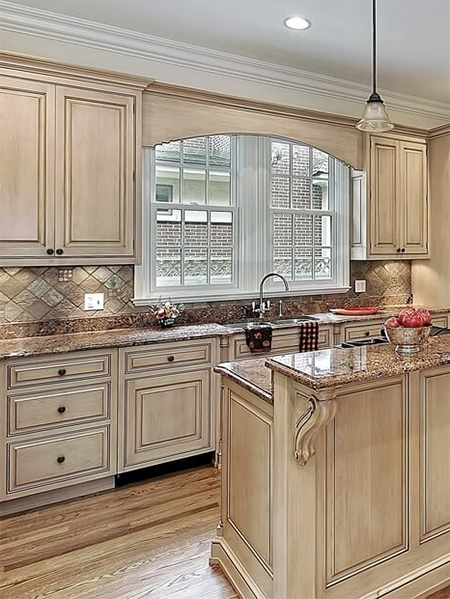
Best Stain for Lightening Kitchen Cabinets


:max_bytes(150000):strip_icc()/designersbuildersinc_119435621_173557914265817_3339330568184216681_n-ee0c803d12614d058ba1c65fd145e93b.jpg)


If you're planning on staining your kitchen cabinets yourself, there are a few tips and tricks you can follow to achieve a professional-looking finish. First, make sure to properly prep your cabinets by cleaning them and sanding them down to remove any existing finish. This will help the stain adhere better and create a more even finish. When applying the stain, work in small sections and wipe off excess stain with a clean cloth in the direction of the wood grain. This will help prevent streaks and ensure an even application. Lastly, make sure to apply a topcoat to protect your newly stained cabinets from any damage or wear and tear. DIY Kitchen Cabinet Staining Tips


DIY Kitchen Cabinet Staining Tips


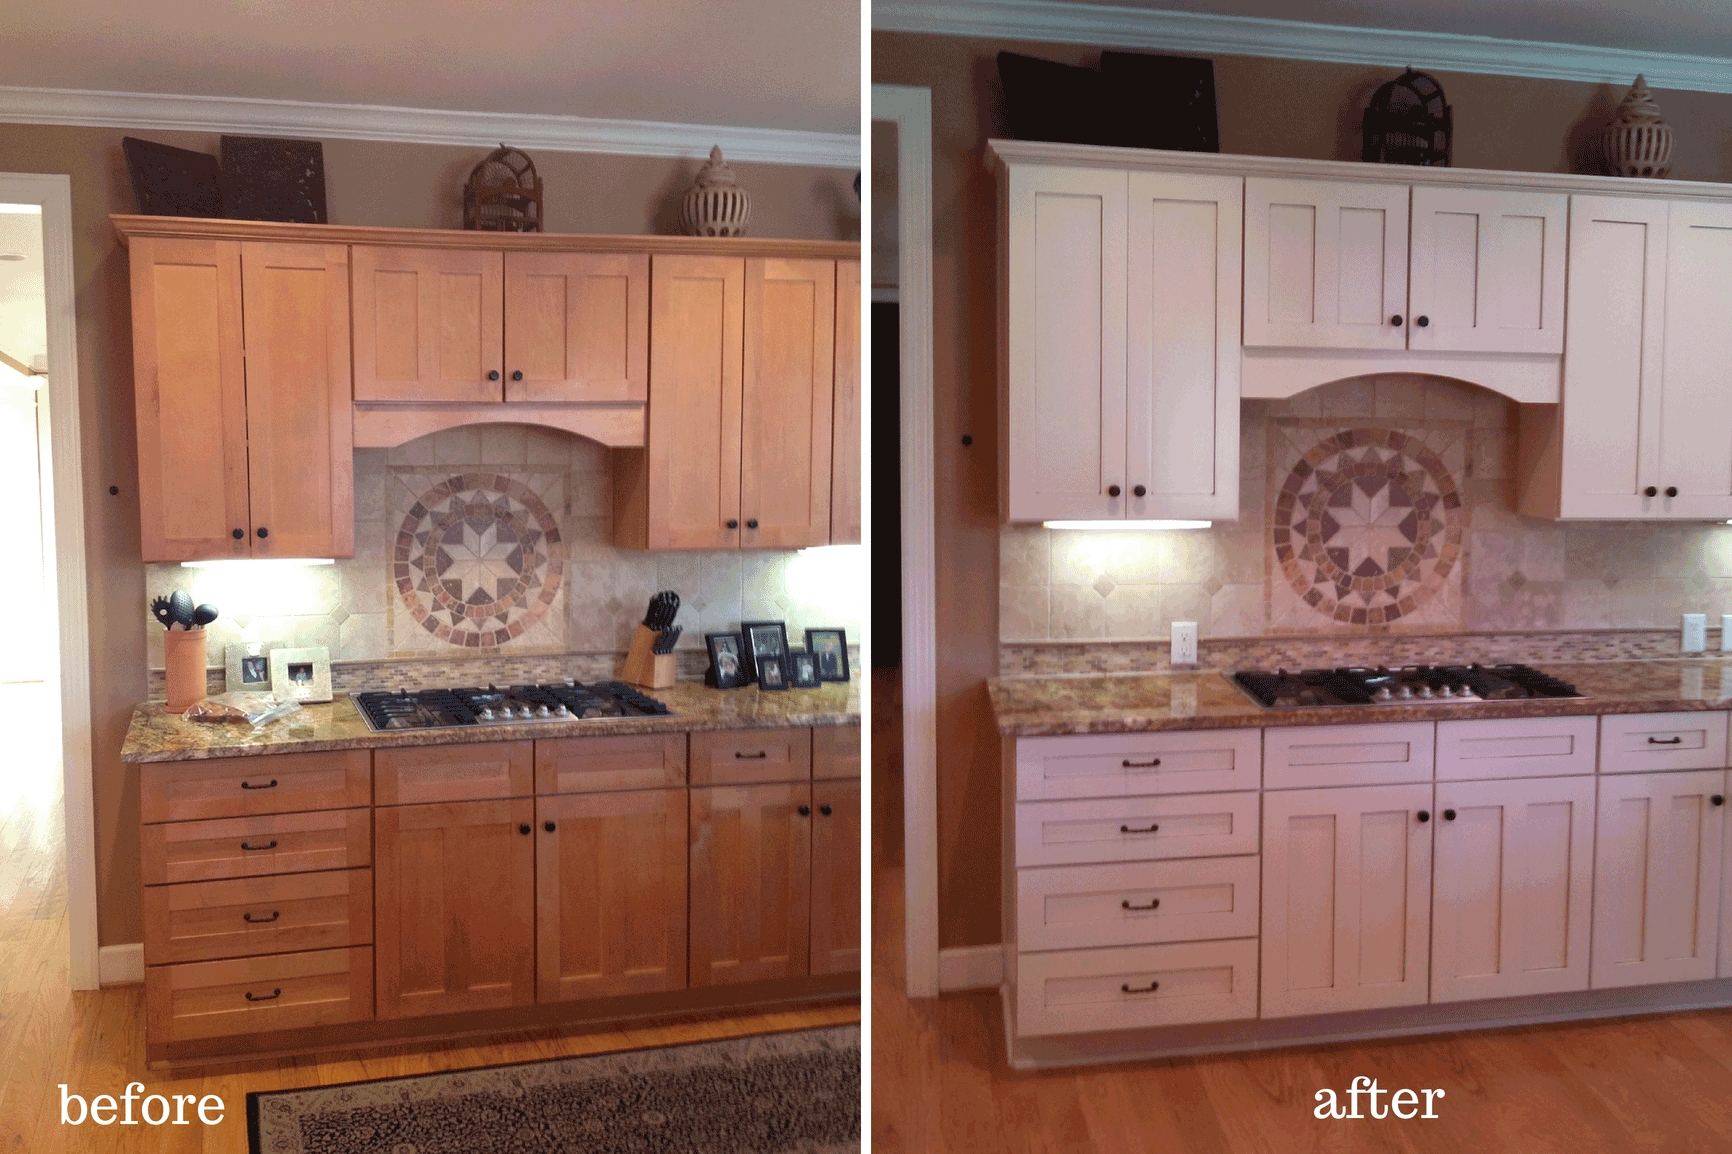
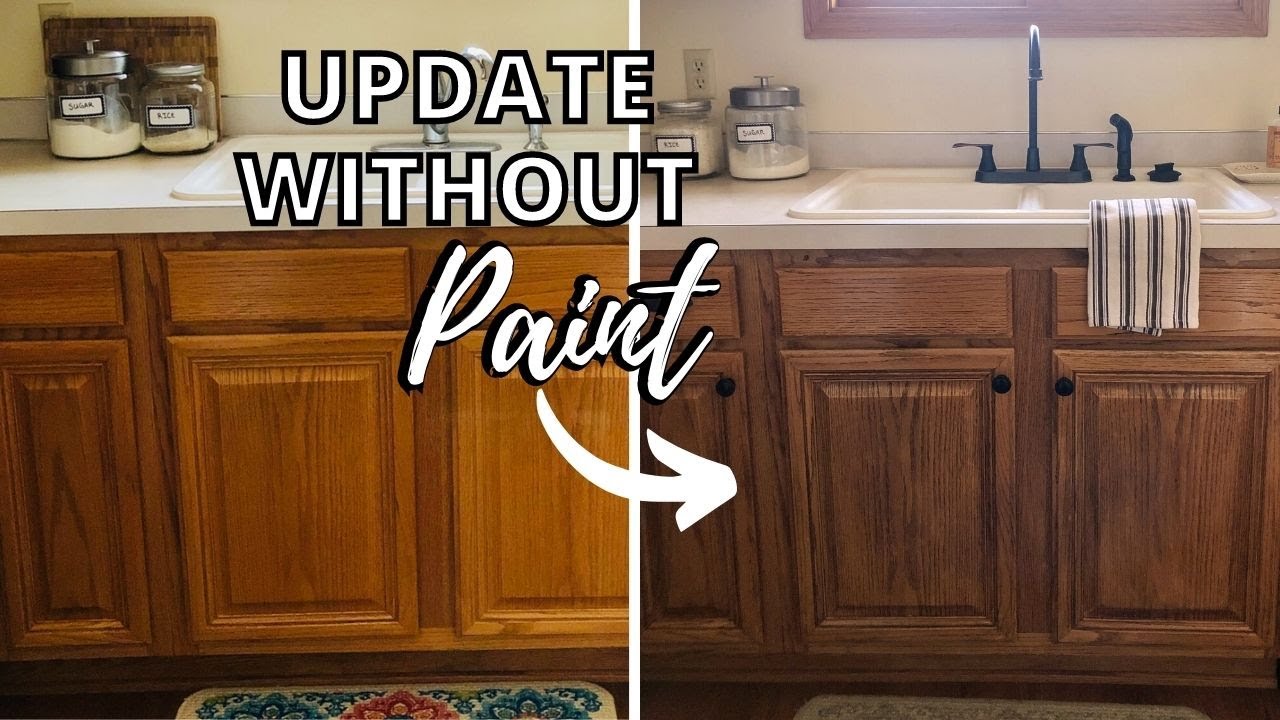
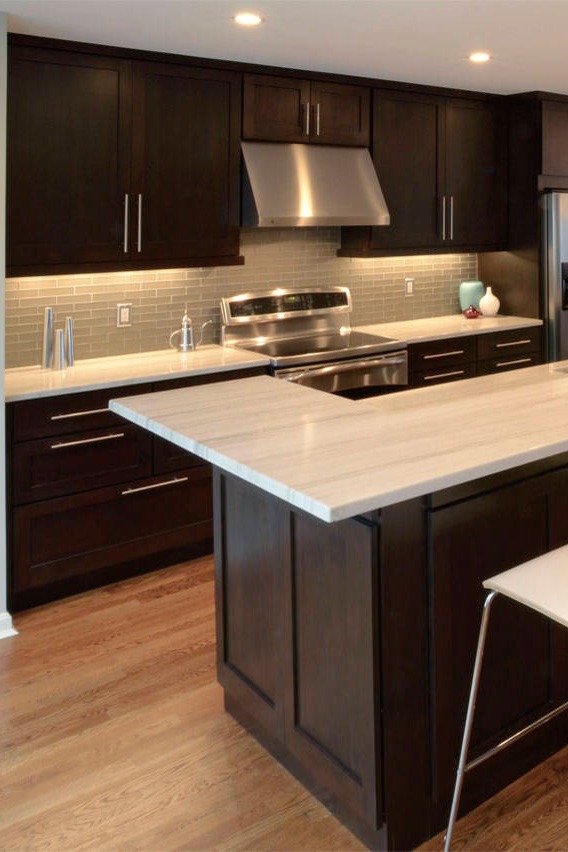
If you have dark stained kitchen cabinets and want to lighten them up, there are a few options you can try. As mentioned before, you can use a wood bleach or sand down the existing stain and restain with a lighter color. Another option is to use a tinted polyurethane topcoat, which will give your cabinets a slight tint and help lighten up the color. This method is best for darker stains as it won't completely change the color, but rather add a subtle lightening effect. Lightening Dark Stained Kitchen Cabinets


Lightening Dark Stained Kitchen Cabinets


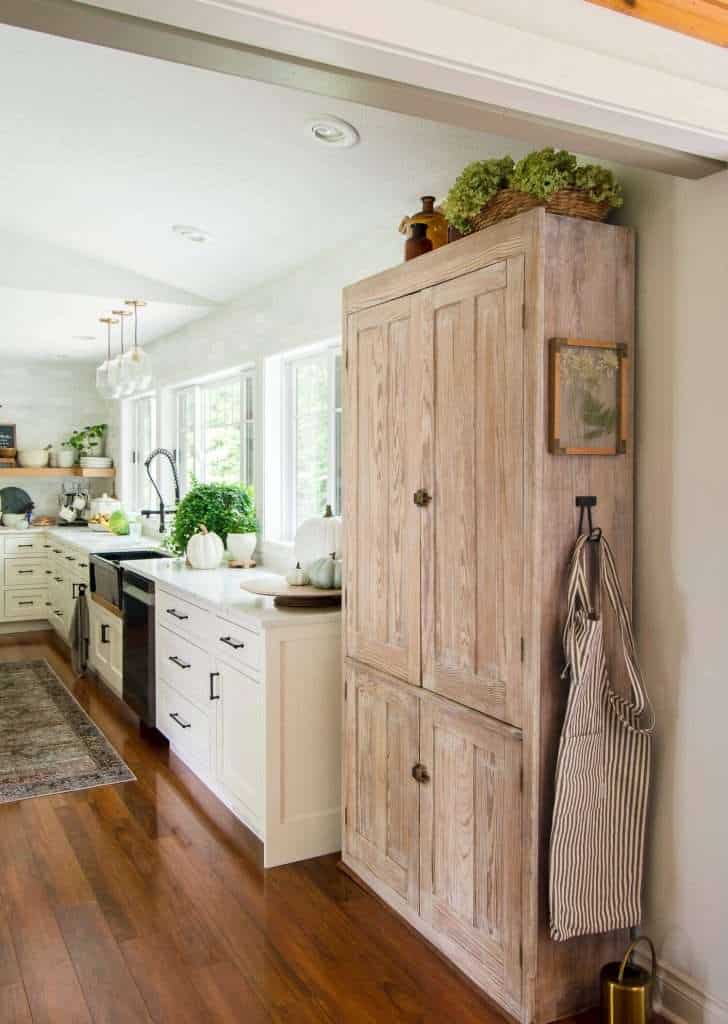
If you're starting with unfinished cabinets or want to completely change the color of your existing cabinets, you can choose to stain them with a lighter color. This process is similar to staining over an existing dark stain, but you may need to do multiple coats to achieve the desired color. It's also important to choose a stain color that will complement your kitchen's overall design and any existing elements such as countertops or backsplash. Staining Kitchen Cabinets with a Lighter Color


Staining Kitchen Cabinets with a Lighter Color


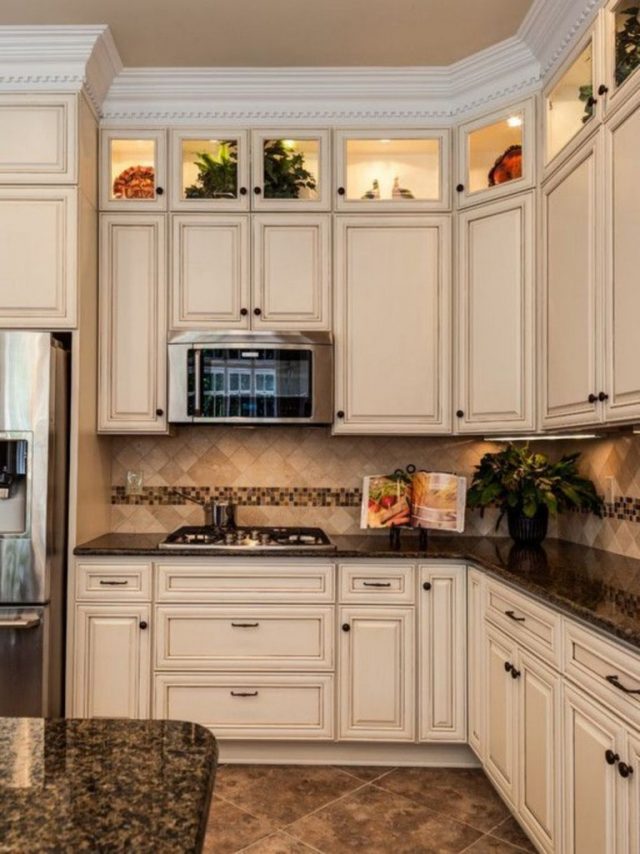
Oak is a popular wood choice for kitchen cabinets, but its natural color can be quite dark. If you have oak kitchen cabinets and want to lighten them up, the process is similar to lightening any other type of wood. You can use a wood bleach or sand down the existing stain and restain with a lighter color. However, it's important to keep in mind that oak has a strong, distinct grain pattern, so the final color may not be as light as you may have hoped. Lightening Oak Kitchen Cabinets with Stain

Lightening Oak Kitchen Cabinets with Stain


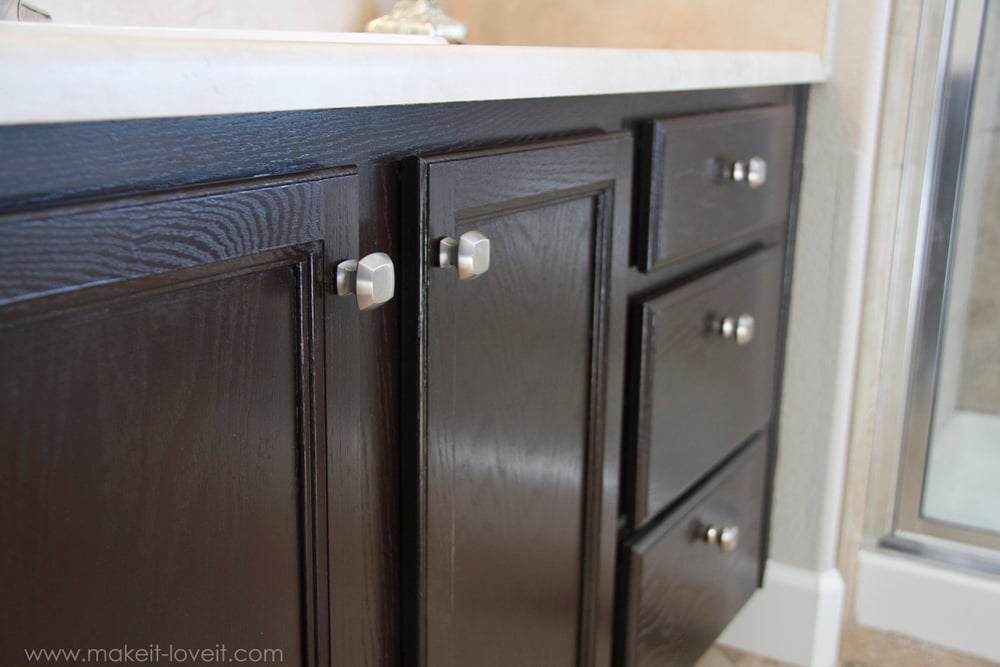
If you've decided that you no longer want stained kitchen cabinets and want to remove the stain completely, you can do so with a chemical stripper or by sanding down the existing stain. This process can be time-consuming and messy, so it's important to follow the instructions carefully and wear protective gear. Once the stain is removed, you can choose to paint your cabinets or leave them natural. How to Remove Stain from Kitchen Cabinets

How to Remove Stain from Kitchen Cabinets


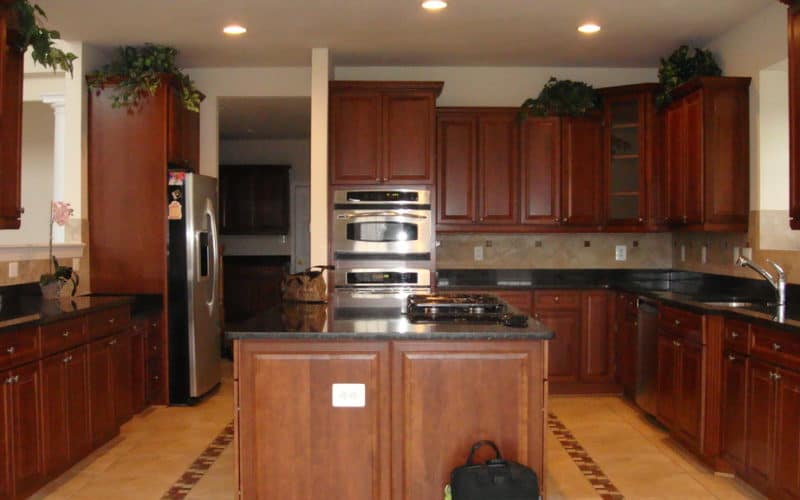
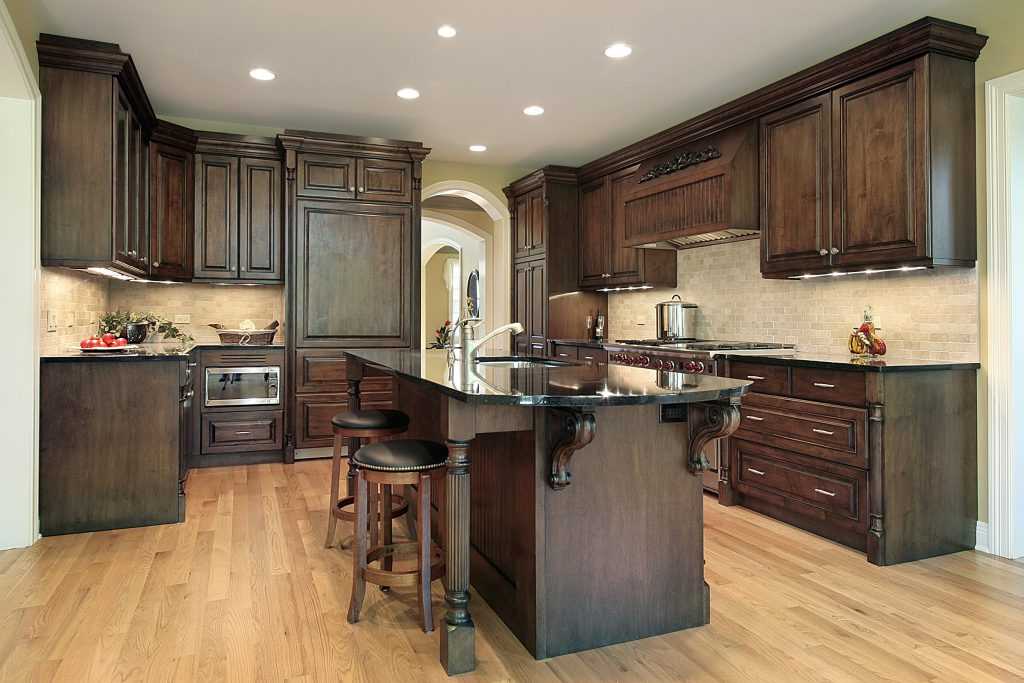
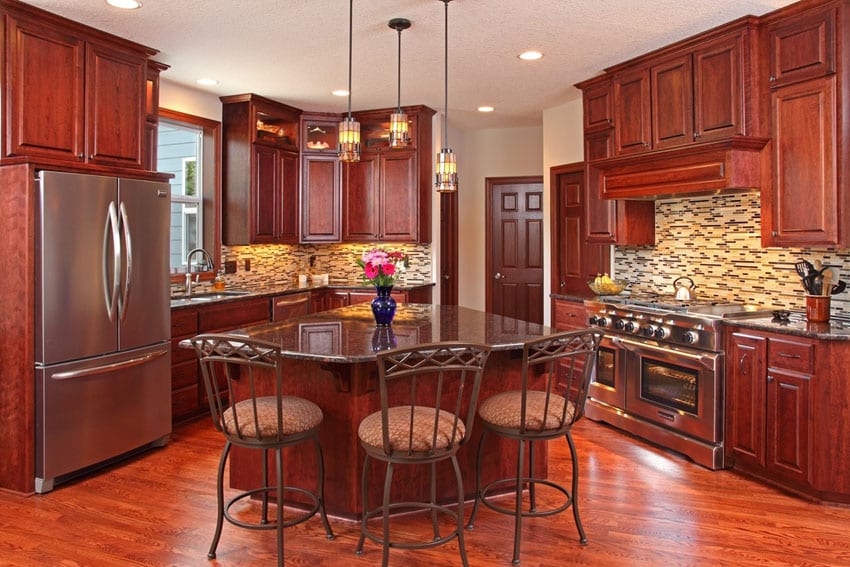
Cherry wood is known for its rich, dark color, which can be difficult to lighten with stain. If you have cherry stained kitchen cabinets and want to achieve a lighter look, the best option is to use a tinted polyurethane topcoat. This will give your cabinets a subtle lightening effect without completely changing the color. If you want to go even lighter, you may need to use a wood bleach or sand down the existing stain and restain with a lighter color. However, this may result in a more drastic change in color and may not be suitable for all kitchen designs. Lightening Cherry Stained Kitchen Cabinets


Lightening Cherry Stained Kitchen Cabinets


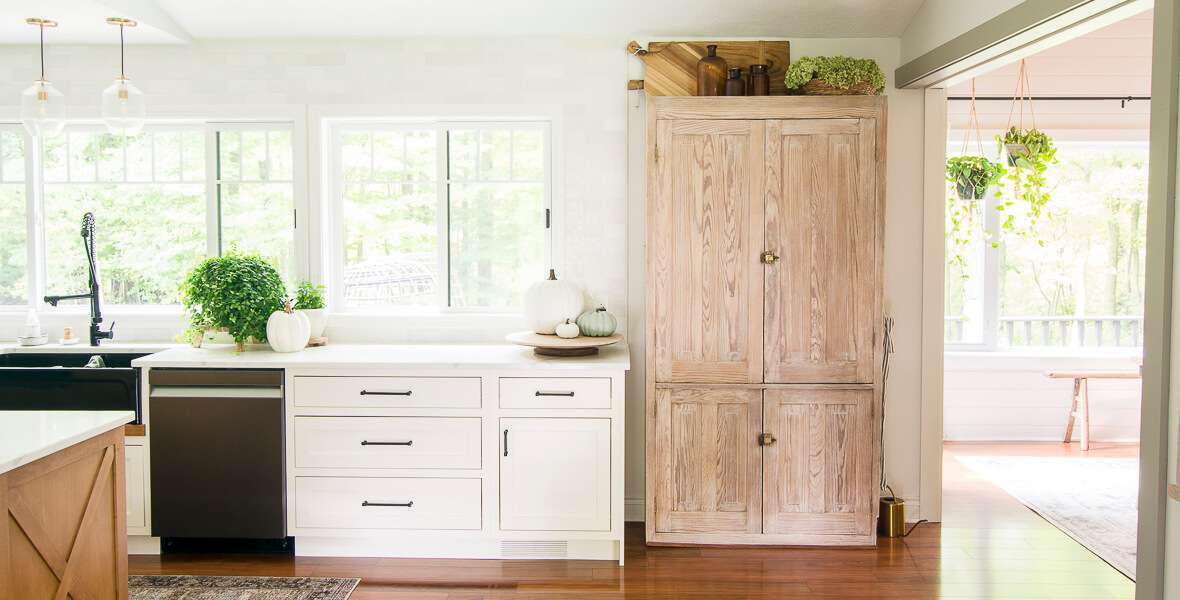
If you're updating your kitchen countertops to a lighter color and want your cabinets to match, you can easily achieve this by restaining them with a lighter color. This can be a cost-effective way to give your kitchen a fresh new look without having to replace the cabinets. Just be sure to properly prep and protect your cabinets before applying the new stain, and choose a stain color that will complement your new countertops. In conclusion, there are several methods you can use to achieve a lighter stain on your kitchen cabinets, whether you're starting with dark stained cabinets or want to change the color completely. By following these tips and tricks, you can achieve a professional-looking finish and update the look of your kitchen without spending a fortune. Remember to always test the stain on a small, inconspicuous area first and to properly prep and protect your cabinets for the best results.Staining Kitchen Cabinets to Match Lighter Countertops

Staining Kitchen Cabinets to Match Lighter Countertops


How to Stain Kitchen Cabinets Lighter: A Step-by-Step Guide
:max_bytes(150000):strip_icc()/designersbuildersinc_119435621_173557914265817_3339330568184216681_n-ee0c803d12614d058ba1c65fd145e93b.jpg)
Revamp Your Kitchen with a Lighter Stain
 Are your kitchen cabinets looking dull and outdated? Give them a fresh new look by
staining them lighter
. Staining your cabinets is a great way to bring new life into your kitchen without the hassle and expense of completely replacing them. With the right tools and techniques, you can achieve a professional-looking finish that will brighten up your space and make it feel like new. In this article, we will walk you through the steps to
stain kitchen cabinets lighter
and give your kitchen a whole new look.
Are your kitchen cabinets looking dull and outdated? Give them a fresh new look by
staining them lighter
. Staining your cabinets is a great way to bring new life into your kitchen without the hassle and expense of completely replacing them. With the right tools and techniques, you can achieve a professional-looking finish that will brighten up your space and make it feel like new. In this article, we will walk you through the steps to
stain kitchen cabinets lighter
and give your kitchen a whole new look.
Gather Your Materials
 Before you start staining, make sure you have all the necessary tools and materials. You will need:
- Sandpaper
- Wood conditioner
- Stain (in your desired shade)
- Paintbrush or foam brush
- Clean cloths
- Polyurethane sealant
- Screwdriver (if removing cabinet doors)
Before you start staining, make sure you have all the necessary tools and materials. You will need:
- Sandpaper
- Wood conditioner
- Stain (in your desired shade)
- Paintbrush or foam brush
- Clean cloths
- Polyurethane sealant
- Screwdriver (if removing cabinet doors)
Prep Your Cabinets
 The first step to
staining kitchen cabinets lighter
is to prepare your cabinets. If you have any hardware on your cabinets, such as handles or knobs, remove them with a screwdriver. Next, use sandpaper to remove the existing finish and any imperfections on the surface of the cabinets. Once sanded, use a clean cloth to wipe away any dust or debris.
The first step to
staining kitchen cabinets lighter
is to prepare your cabinets. If you have any hardware on your cabinets, such as handles or knobs, remove them with a screwdriver. Next, use sandpaper to remove the existing finish and any imperfections on the surface of the cabinets. Once sanded, use a clean cloth to wipe away any dust or debris.
Apply Wood Conditioner
 Before staining, it's important to apply a wood conditioner to ensure an even and smooth finish. This step is especially important if you are staining pine, cherry, or maple cabinets. Apply the conditioner with a clean cloth or paintbrush and let it sit for 15 minutes before wiping away any excess.
Stain Your Cabinets
 Now it's time to apply the stain. Stir the stain well and then use a paintbrush or foam brush to apply it in long, even strokes. Work in small sections, following the wood grain, and be sure to wipe away any excess stain with a clean cloth. Let the stain dry completely before applying a second coat if desired.
Seal the Cabinets
 To protect your newly stained cabinets, apply a polyurethane sealant. This will also give your cabinets a glossy and professional finish. Use a clean cloth to apply the sealant in thin, even coats, following the wood grain. Let the sealant dry completely before lightly sanding with fine-grit sandpaper and applying a second coat.
Reattach Hardware and Enjoy Your New Cabinets
 Once the sealant is dry, reattach any hardware and admire your newly stained cabinets. With just a few simple steps, you can
stain kitchen cabinets lighter
and give your kitchen a fresh new look. Remember to take your time, follow the instructions carefully, and always wear protective gear when working with stains and sealants.
Now that you have learned how to
stain kitchen cabinets lighter
, you can easily update the look of your kitchen without breaking the bank. With a little bit of effort and the right materials, you can transform your cabinets and give your kitchen a whole new feel. Get started on your project today and enjoy your beautifully stained cabinets in no time.
HTML Code:
Once the sealant is dry, reattach any hardware and admire your newly stained cabinets. With just a few simple steps, you can
stain kitchen cabinets lighter
and give your kitchen a fresh new look. Remember to take your time, follow the instructions carefully, and always wear protective gear when working with stains and sealants.
Now that you have learned how to
stain kitchen cabinets lighter
, you can easily update the look of your kitchen without breaking the bank. With a little bit of effort and the right materials, you can transform your cabinets and give your kitchen a whole new feel. Get started on your project today and enjoy your beautifully stained cabinets in no time.
HTML Code:
How to Stain Kitchen Cabinets Lighter: A Step-by-Step Guide

Revamp Your Kitchen with a Lighter Stain

Are your kitchen cabinets looking dull and outdated? Give them a fresh new look by staining them lighter . Staining your cabinets is a great way to bring new life into your kitchen without the hassle and expense of completely replacing them. With the right tools and techniques, you can achieve a professional-looking finish that will brighten up your space and make it feel like new. In this article, we will walk you through the steps to stain kitchen cabinets lighter and give your kitchen a whole new look.
Gather Your Materials
Before you start staining, make sure you have all the necessary tools and materials. You will need:
- Sandpaper
- Wood conditioner
- Stain (in your desired shade)
- Paintbrush or foam brush
- Clean cloths
- Polyurethane sealant
- Screwdriver (if removing cabinet doors)
Prep Your Cabinets
The first