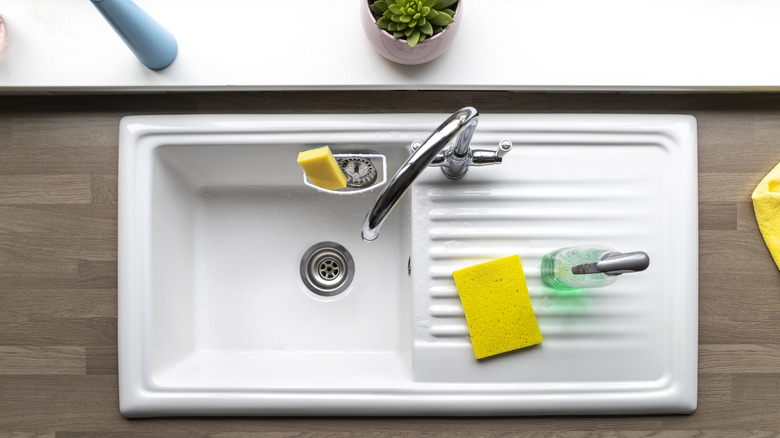
When it comes to maintaining a clean and functional kitchen, one of the most important areas to focus on is the kitchen sink. Not only is it used for washing dishes, but it also serves as a place to clean fruits and vegetables, and even as a temporary spot for food prep. With all the use it gets, it's no surprise that the kitchen sink is susceptible to wear and tear, which is why sealing it is crucial. Sealing a kitchen sink helps to protect it from water damage, stains, and bacteria growth. It also helps to keep the sink looking clean and new for longer. Without proper sealing, a kitchen sink can become an eyesore and even lead to more serious issues, such as leaks and mold growth.1. Importance of Sealing a Kitchen Sink


1. Importance of Sealing a Kitchen Sink


Sealing a kitchen sink may seem like a daunting task, but it can be easily done with the right materials and techniques. The first step is to thoroughly clean the sink and remove any old sealant. This can be done using a mild cleaner and a scrub brush. Once the sink is clean and dry, it's time to apply the sealant. There are various types of sealants available, such as silicone, caulk, and adhesive. It's important to choose a sealant that is specifically designed for use in a kitchen sink. Using a caulk gun, apply the sealant in a continuous bead along the edges of the sink. Smooth out the sealant using a damp cloth or your finger. Let it dry completely before using the sink.2. How to Properly Seal a Kitchen Sink


2. How to Properly Seal a Kitchen Sink


The benefits of sealing a kitchen sink go beyond just keeping it looking clean and new. A properly sealed sink helps to prevent water damage, which can lead to costly repairs. It also protects against stains and scratches, which can be unsightly and difficult to remove. Sealing a kitchen sink also helps to prevent bacteria growth. Without a sealant, water and food particles can get trapped in the crevices of the sink, creating a breeding ground for bacteria. This can potentially lead to food contamination and health issues. By sealing the sink, you can ensure that it is easier to clean and maintain proper hygiene in your kitchen.3. Benefits of Sealing a Kitchen Sink


3. Benefits of Sealing a Kitchen Sink


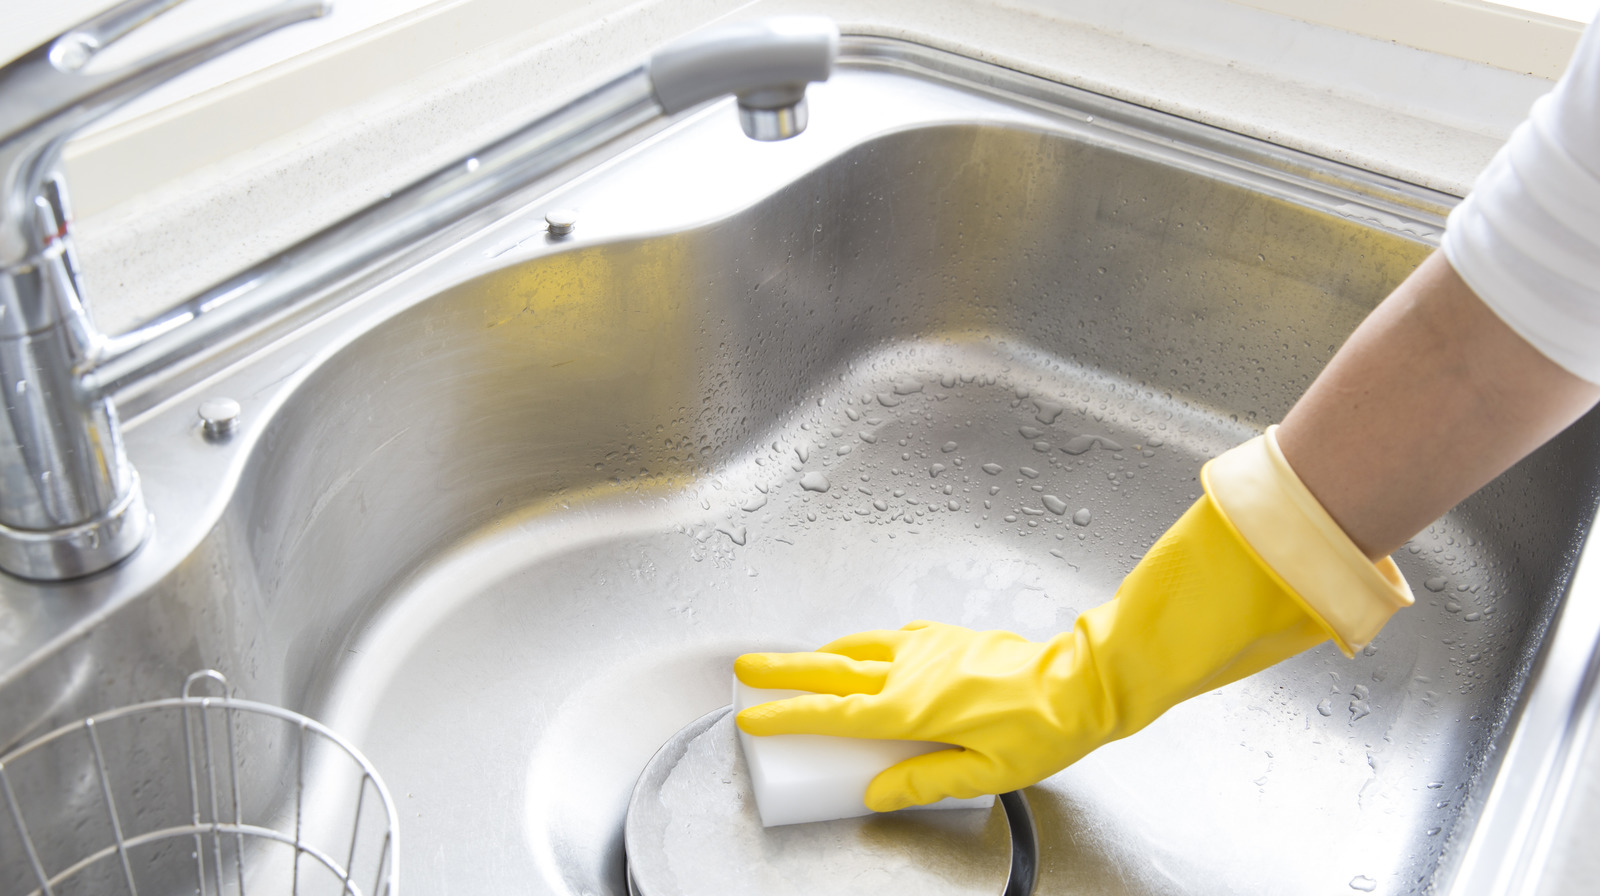
While sealing a kitchen sink may seem like a simple task, there are some common mistakes that people make which can affect the effectiveness of the sealant. One of the most common mistakes is not thoroughly cleaning the sink before applying the sealant. Any dirt or residue left behind can prevent the sealant from adhering properly. Another mistake is not using the right type of sealant. As mentioned earlier, it's important to choose a sealant that is specifically designed for use in a kitchen sink. Using the wrong type of sealant can result in it peeling or cracking, which defeats the purpose of sealing the sink in the first place.4. Common Mistakes When Sealing a Kitchen Sink


4. Common Mistakes When Sealing a Kitchen Sink


For a more detailed guide on how to properly seal a kitchen sink, follow these steps: Step 1: Thoroughly clean the sink and remove any old sealant. Step 2: Dry the sink completely. Step 3: Apply the sealant using a caulk gun. Step 4: Smooth out the sealant using a damp cloth or your finger. Step 5: Let the sealant dry completely. Step 6: Test the seal by running water over it and checking for any leaks.5. Step-by-Step Guide to Sealing a Kitchen Sink


5. Step-by-Step Guide to Sealing a Kitchen Sink


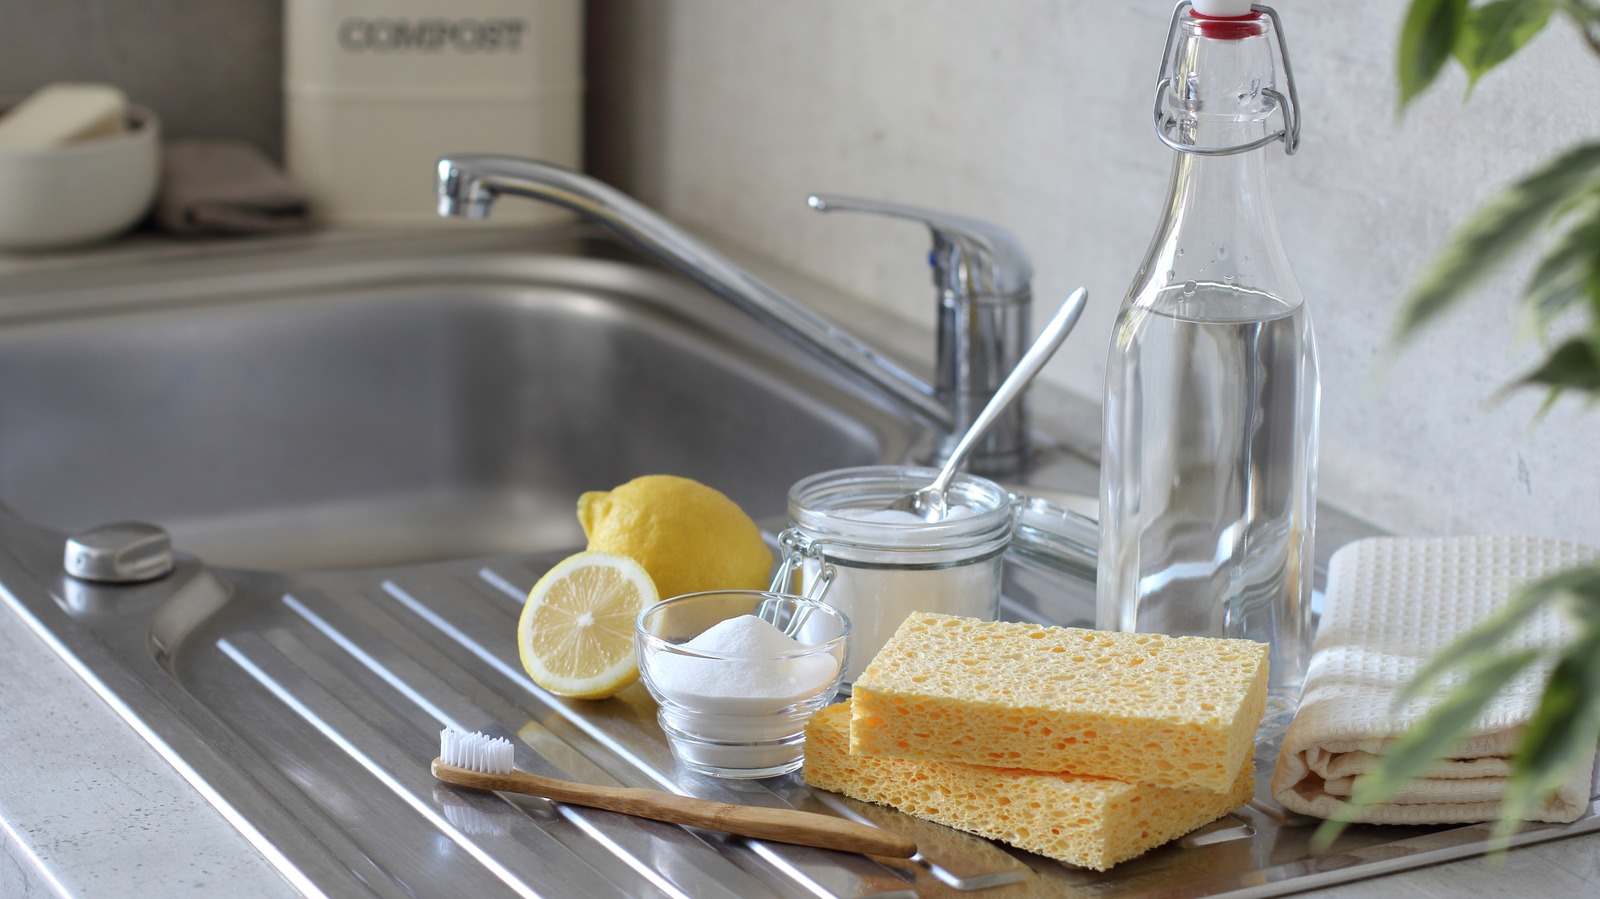
The materials needed to seal a kitchen sink may vary depending on the type of sealant chosen, but here are some essentials: - A mild cleaner to clean the sink before sealing. - A scrub brush to help remove any old sealant or stubborn stains. - A caulk gun to apply the sealant. - A damp cloth or your finger to smooth out the sealant. - The chosen sealant specifically designed for use in a kitchen sink.6. Materials Needed to Seal a Kitchen Sink


6. Materials Needed to Seal a Kitchen Sink
:no_upscale()/cdn.vox-cdn.com/uploads/chorus_asset/file/19495086/drain_0.jpg)

The frequency of sealing a kitchen sink may vary depending on the type of sealant used and the amount of use the sink gets. Generally, it's recommended to seal a kitchen sink every 6-12 months. This will help to ensure that the sink stays protected and in good condition. If you notice any signs of wear or damage, such as cracks or peeling sealant, it's important to reseal the sink as soon as possible to prevent further issues.7. How Often Should a Kitchen Sink be Sealed?

7. How Often Should a Kitchen Sink be Sealed?


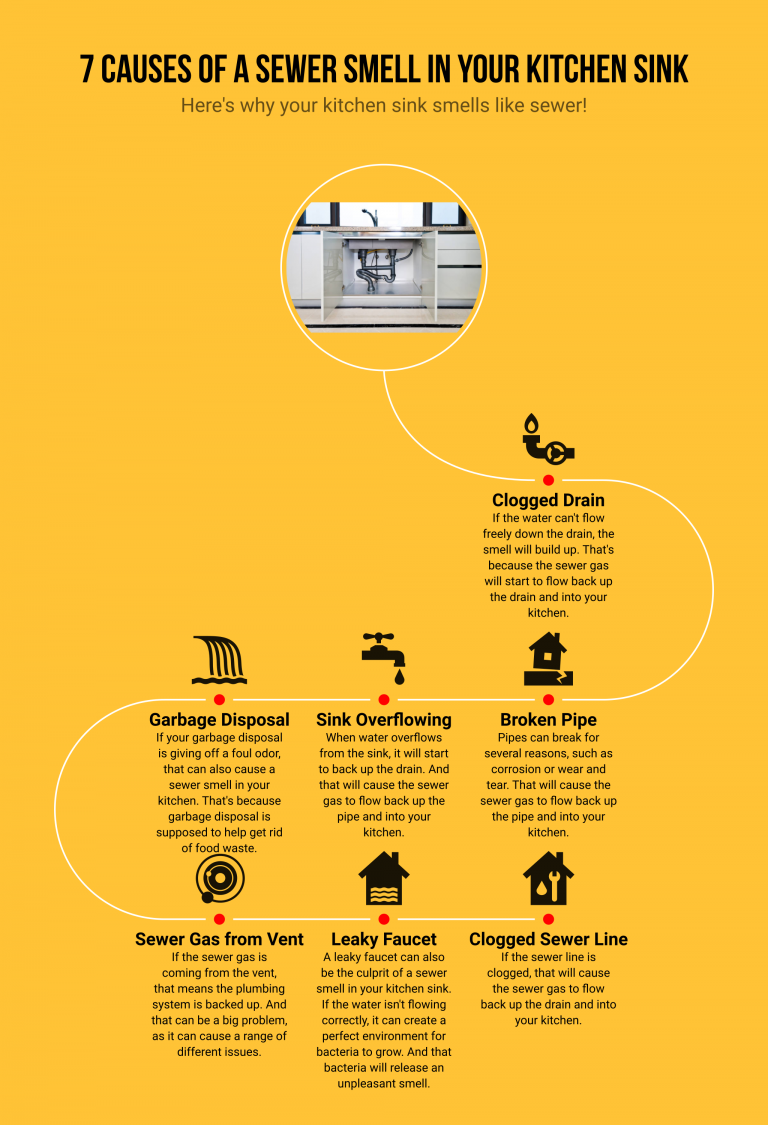
It's important to keep an eye out for any signs that your kitchen sink may need to be resealed. Some common signs include: - Water damage or stains around the edges of the sink. - Peeling or cracked sealant around the edges of the sink. - Difficulty in cleaning the sink or removing stubborn stains. - A foul odor emanating from the sink. If you notice any of these signs, it's important to take action and reseal your kitchen sink to prevent any further damage.8. Signs That Your Kitchen Sink Needs to be Sealed


8. Signs That Your Kitchen Sink Needs to be Sealed


While sealing a kitchen sink can be done as a DIY project, some homeowners may prefer to hire a professional for the job. Hiring a professional can ensure that the job is done correctly and efficiently, saving you time and potential headaches. However, if you are confident in your DIY skills and choose the right materials, sealing a kitchen sink can be easily done at home. It's important to carefully follow instructions and take your time to ensure a proper seal.9. DIY vs Professional Kitchen Sink Sealing


9. DIY vs Professional Kitchen Sink Sealing


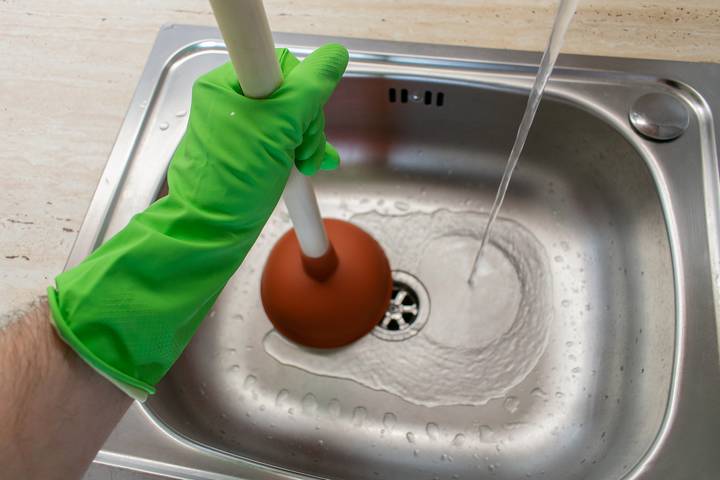
Even after sealing a kitchen sink, it's important to regularly maintain it to ensure it stays in good condition. This includes wiping down the sink after each use, avoiding abrasive cleaners or tools, and checking for any signs of wear or damage. By following these maintenance tips, you can prolong the lifespan of your sealed kitchen sink and avoid any potential issues in the future.10. Importance of Regular Maintenance for a Sealed Kitchen Sink


10. Importance of Regular Maintenance for a Sealed Kitchen Sink


:max_bytes(150000):strip_icc()/Basic-kitchen-sink-types-1821207_color_rev-0b539306b9ef4236a136624ad2a89a4c.jpg)

Why a Sealed Kitchen Sink is Essential for a Well-Designed Kitchen

The Role of a Kitchen Sink in House Design
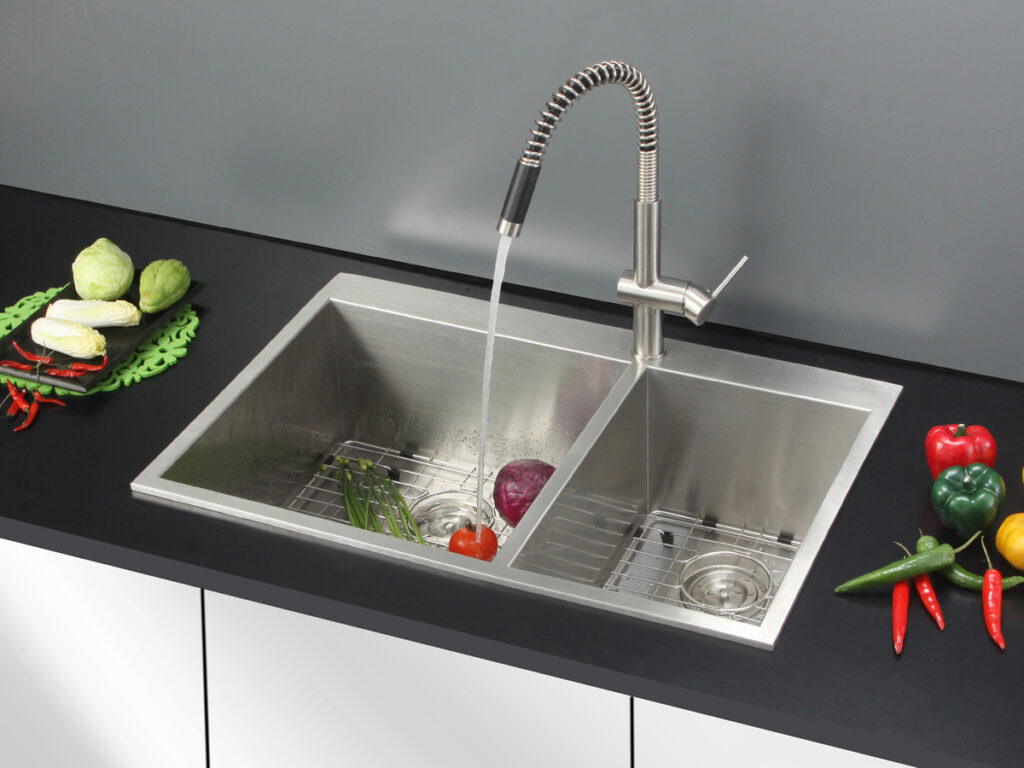
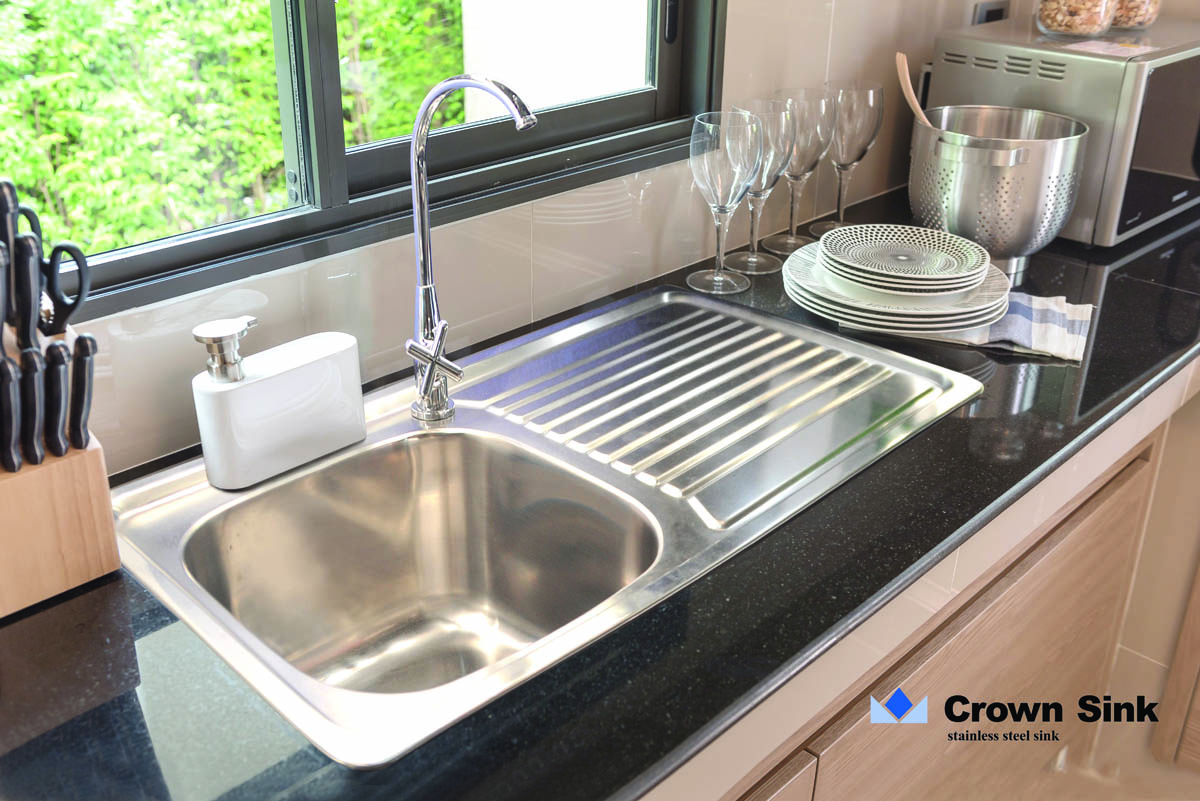
 When it comes to designing a house, the kitchen is often considered the heart of the home. It is where families gather, meals are prepared, and memories are made. Therefore, it is crucial to have a well-designed kitchen that is not only aesthetically pleasing but also functional. One of the most important features in a kitchen is the sink. It is where we wash our dishes, rinse our fruits and vegetables, and even fill up our pots with water. It is no surprise that a kitchen sink plays a significant role in the overall design and functionality of a kitchen.
The Importance of Proper Sealing for a Kitchen Sink
 A common question among homeowners is whether or not their kitchen sink should be sealed. The simple answer is yes, it should be. A sealed kitchen sink has several benefits that make it an essential component of a well-designed kitchen.
First and foremost, a sealed kitchen sink helps to prevent water damage. Without proper sealing, water can seep through the gaps between the sink and the countertop, causing damage to the surrounding area. This can lead to mold and mildew growth, which not only damages the aesthetics of your kitchen but can also pose health hazards.
Moreover, a sealed kitchen sink helps to maintain the cleanliness and hygiene of your kitchen. When water and food particles get trapped in the gaps between the sink and the countertop, it becomes a breeding ground for bacteria and germs. These can contaminate your dishes and food, putting your family at risk of illnesses. By sealing your kitchen sink, you are creating a barrier that prevents these harmful elements from entering and breeding in your kitchen.
A common question among homeowners is whether or not their kitchen sink should be sealed. The simple answer is yes, it should be. A sealed kitchen sink has several benefits that make it an essential component of a well-designed kitchen.
First and foremost, a sealed kitchen sink helps to prevent water damage. Without proper sealing, water can seep through the gaps between the sink and the countertop, causing damage to the surrounding area. This can lead to mold and mildew growth, which not only damages the aesthetics of your kitchen but can also pose health hazards.
Moreover, a sealed kitchen sink helps to maintain the cleanliness and hygiene of your kitchen. When water and food particles get trapped in the gaps between the sink and the countertop, it becomes a breeding ground for bacteria and germs. These can contaminate your dishes and food, putting your family at risk of illnesses. By sealing your kitchen sink, you are creating a barrier that prevents these harmful elements from entering and breeding in your kitchen.
The Aesthetic Appeal of a Sealed Kitchen Sink
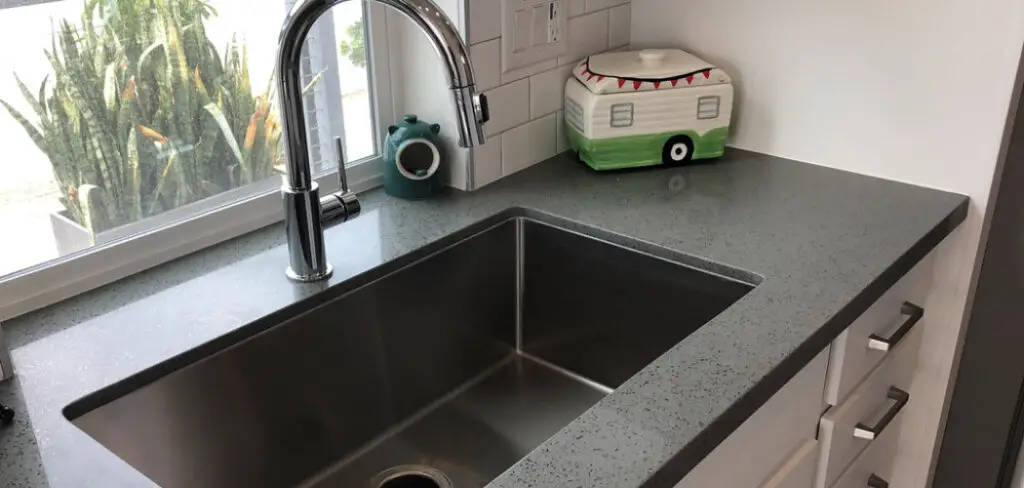
 Aside from its functional benefits, a sealed kitchen sink also adds to the overall aesthetic appeal of your kitchen. With a seamless and smooth transition between the sink and the countertop, your kitchen will have a clean and polished look. This is especially important if you have a modern or minimalist kitchen design.
Additionally, a sealed kitchen sink can also increase the value of your home. When potential buyers see a well-designed and properly maintained kitchen, it can be a major selling point. It shows that the homeowner has taken care of their property and pays attention to even the smallest details.
Aside from its functional benefits, a sealed kitchen sink also adds to the overall aesthetic appeal of your kitchen. With a seamless and smooth transition between the sink and the countertop, your kitchen will have a clean and polished look. This is especially important if you have a modern or minimalist kitchen design.
Additionally, a sealed kitchen sink can also increase the value of your home. When potential buyers see a well-designed and properly maintained kitchen, it can be a major selling point. It shows that the homeowner has taken care of their property and pays attention to even the smallest details.
Conclusion
 In conclusion, a sealed kitchen sink is an essential component of a well-designed kitchen. Not only does it prevent water damage and maintain cleanliness, but it also adds to the overall aesthetic appeal and value of your home. As such, it is important to invest in proper sealing for your kitchen sink to ensure a functional and visually appealing kitchen for years to come.

 (1).jpg)