Setting a bathroom sink may seem like a daunting task, but with the right tools and techniques, it can be a simple and rewarding DIY project. Whether you're replacing an old sink or installing a new one, following the proper steps is crucial for a successful installation. In this guide, we'll walk you through the process of setting a bathroom sink, from start to finish.How to Set a Bathroom Sink


How to Set a Bathroom Sink


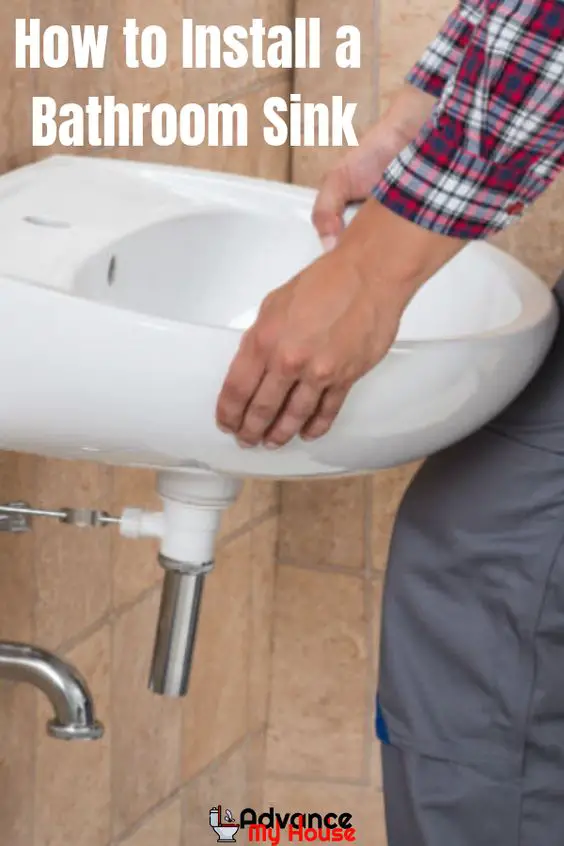
Before you begin, make sure you have all the necessary tools and materials. This includes a new sink, faucet, drain assembly, plumber's putty, adjustable wrench, pipe wrench, and silicone caulk. Once you have everything you need, follow these steps: Step 1: Turn off the water supply to the sink and remove any old fixtures. Step 2: Measure and mark the placement of the new sink on the vanity or countertop. Step 3: Install the faucet and drain assembly on the sink according to the manufacturer's instructions. Step 4: Apply plumber's putty around the edge of the sink where it will meet the countertop. This will create a watertight seal. Step 5: Carefully lower the sink into place, making sure it lines up with the markings on the countertop. Step 6: Tighten the mounting clips on the underside of the sink to secure it to the countertop. Step 7: Connect the water supply and drain pipes to the faucet and drain assembly. Step 8: Turn the water supply back on and check for any leaks. Step 9: Apply silicone caulk around the edges of the sink to create a waterproof seal. Step 10: Wipe away any excess caulk and let it dry for at least 24 hours before using the sink.Steps for Setting a Bathroom Sink


Steps for Setting a Bathroom Sink


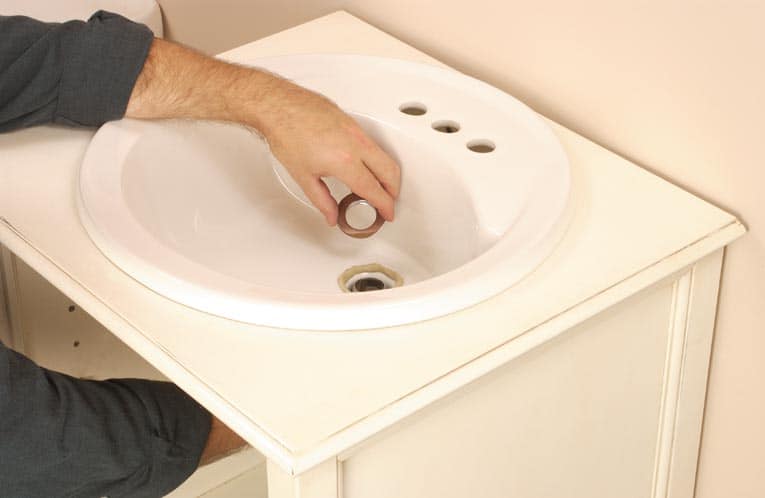
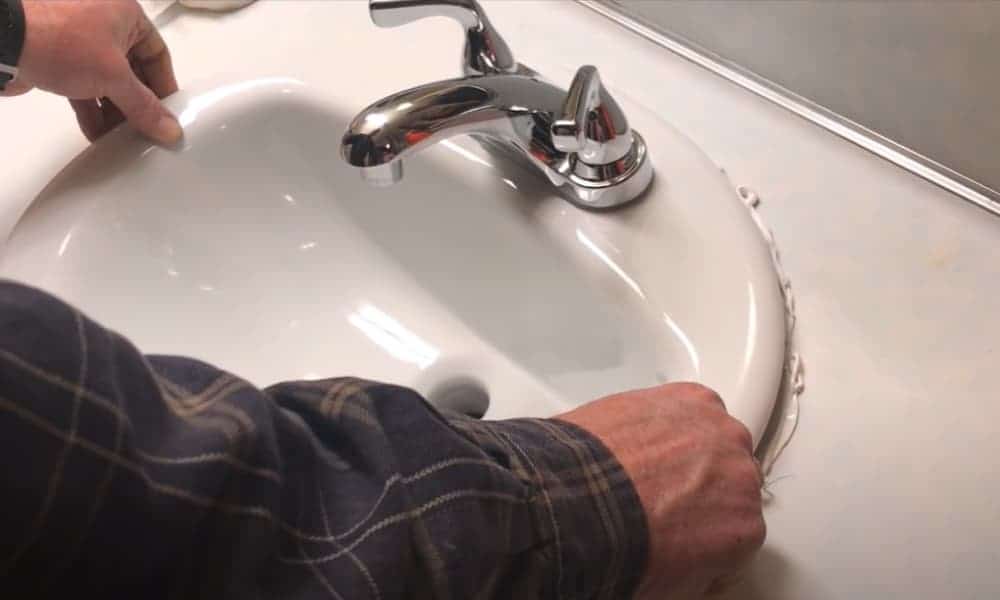
Now that you know the basic steps for setting a bathroom sink, let's dive into more detail on each of them. Step 1: Turn off the water supply to the sink and remove any old fixtures. Before beginning any work, it's important to turn off the water supply to the sink. This can usually be done by turning off the shut-off valves under the sink. If you're unable to locate these valves, you may need to shut off the main water supply to your house. Once the water is turned off, remove any old fixtures from the sink, including the faucet and drain assembly. Step 2: Measure and mark the placement of the new sink on the vanity or countertop. Using a measuring tape, measure the dimensions of your new sink and mark the placement on the vanity or countertop. Make sure to leave enough space for the sink to fit comfortably without being too close to the edge of the countertop. Step 3: Install the faucet and drain assembly on the sink according to the manufacturer's instructions. Before placing the sink on the countertop, install the faucet and drain assembly according to the manufacturer's instructions. This may involve attaching the faucet to the sink and connecting the drain assembly to the sink's drain hole. Step 4: Apply plumber's putty around the edge of the sink where it will meet the countertop. Plumber's putty is a soft, moldable substance that creates a waterproof seal between the sink and the countertop. Roll the putty into a thin rope and apply it around the edge of the sink where it will meet the countertop. Step 5: Carefully lower the sink into place, making sure it lines up with the markings on the countertop. With the help of a friend or family member, carefully lower the sink into place, making sure it lines up with the markings on the countertop. Adjust the sink as needed to ensure it is centered and level. Step 6: Tighten the mounting clips on the underside of the sink to secure it to the countertop. Underneath the sink, there will be mounting clips that secure the sink to the countertop. Use a screwdriver or wrench to tighten these clips, making sure the sink is securely attached to the countertop. Step 7: Connect the water supply and drain pipes to the faucet and drain assembly. Using adjustable and/or pipe wrenches, connect the water supply and drain pipes to the faucet and drain assembly. Make sure all connections are tight to prevent leaks. Step 8: Turn the water supply back on and check for any leaks. Once all connections are secure, turn the water supply back on and check for any leaks. If you notice any leaks, tighten the connections as needed. Step 9: Apply silicone caulk around the edges of the sink to create a waterproof seal. Using a caulk gun, apply a thin bead of silicone caulk around the edges of the sink where it meets the countertop. This will create a waterproof seal and prevent any water from seeping under the sink. Step 10: Wipe away any excess caulk and let it dry for at least 24 hours before using the sink. Using a damp cloth, wipe away any excess caulk around the edges of the sink. Let the caulk dry for at least 24 hours before using the sink to ensure a proper seal.Setting a Bathroom Sink: A Step-by-Step Guide


Setting a Bathroom Sink: A Step-by-Step Guide


Setting a bathroom sink can be a fun and rewarding DIY project. Not only does it save you money, but it also gives you a sense of accomplishment and allows you to customize your bathroom to your liking. Just make sure to carefully follow the steps and use the right tools to ensure a successful installation.DIY Bathroom Sink Installation


DIY Bathroom Sink Installation


Here are a few tips to keep in mind when setting a bathroom sink: Tip 1: Measure twice, cut once. Make sure all measurements are accurate before making any cuts or drilling any holes. Tip 2: Use a level to make sure the sink is straight and level before securing it to the countertop. Tip 3: Follow the manufacturer's instructions for installing the faucet and drain assembly to ensure a proper fit. Tip 4: Use plumber's tape on all threaded connections to prevent leaks.Tips for Installing a Bathroom Sink


Tips for Installing a Bathroom Sink


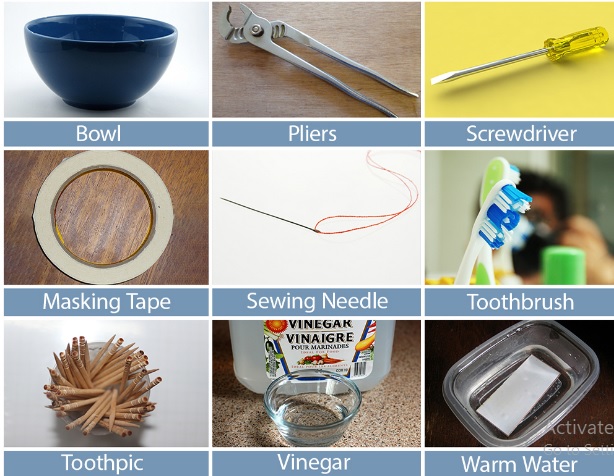
Here are the essential tools you'll need for setting a bathroom sink: Adjustable wrench: Used for tightening and loosening nuts and bolts of various sizes. Pipe wrench: Used for tightening and loosening pipes and fittings. Screwdriver: Used for tightening and loosening screws. Caulk gun: Used for applying silicone caulk. Measuring tape: Used for measuring the dimensions of the sink and marking its placement on the countertop.Essential Tools for Setting a Bathroom Sink


Essential Tools for Setting a Bathroom Sink


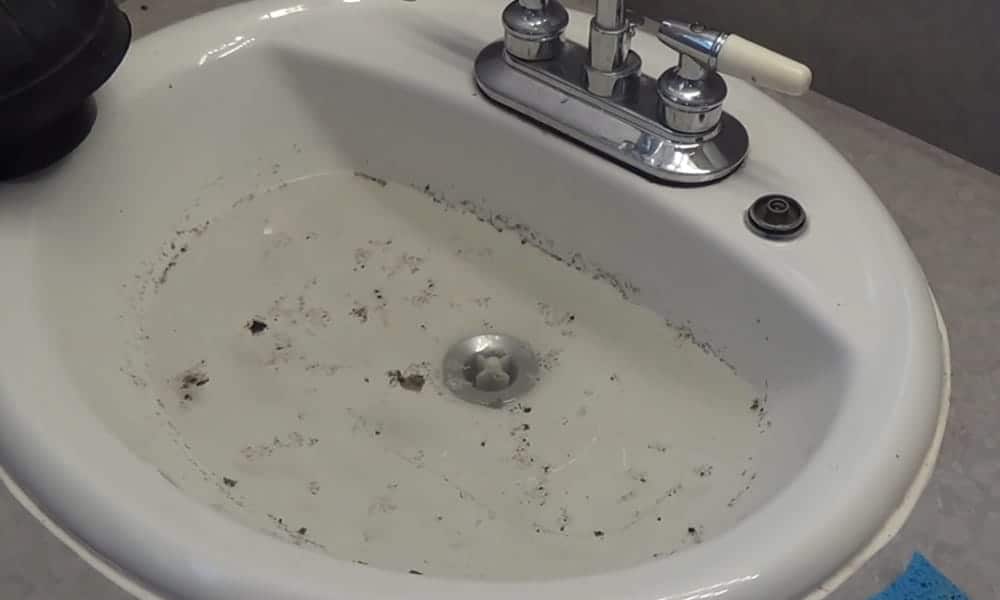
Here are some common mistakes to avoid when setting a bathroom sink: Mistake 1: Not turning off the water supply before beginning work. Mistake 2: Not following the manufacturer's instructions for the faucet and drain assembly. Mistake 3: Not using the right tools for the job. Mistake 4: Not properly securing the sink to the countertop.Common Mistakes to Avoid When Setting a Bathroom Sink


Common Mistakes to Avoid When Setting a Bathroom Sink


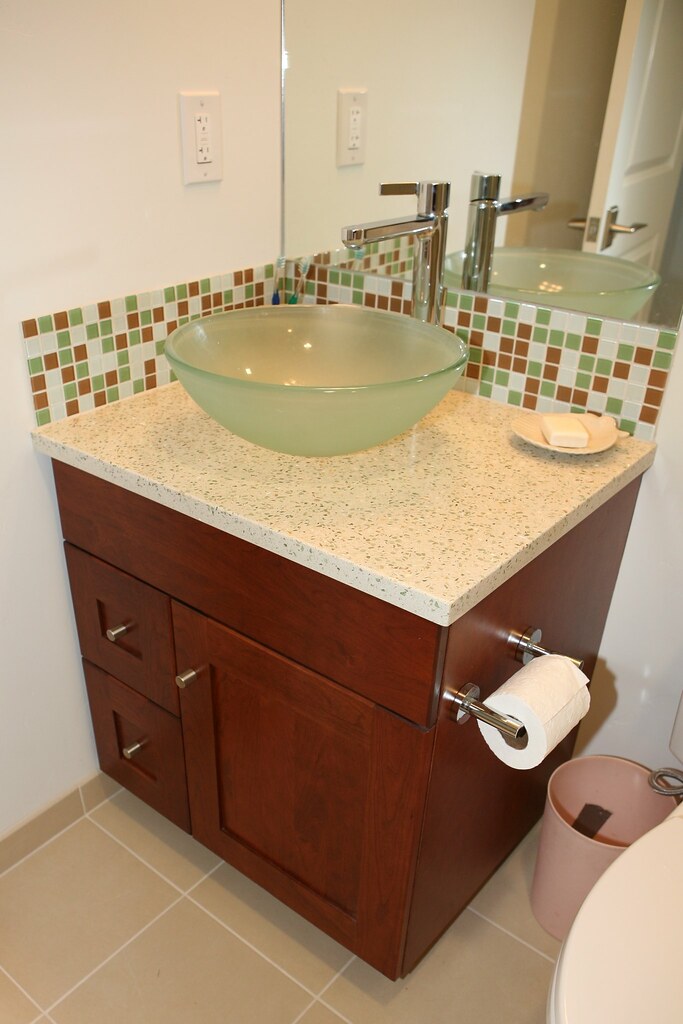
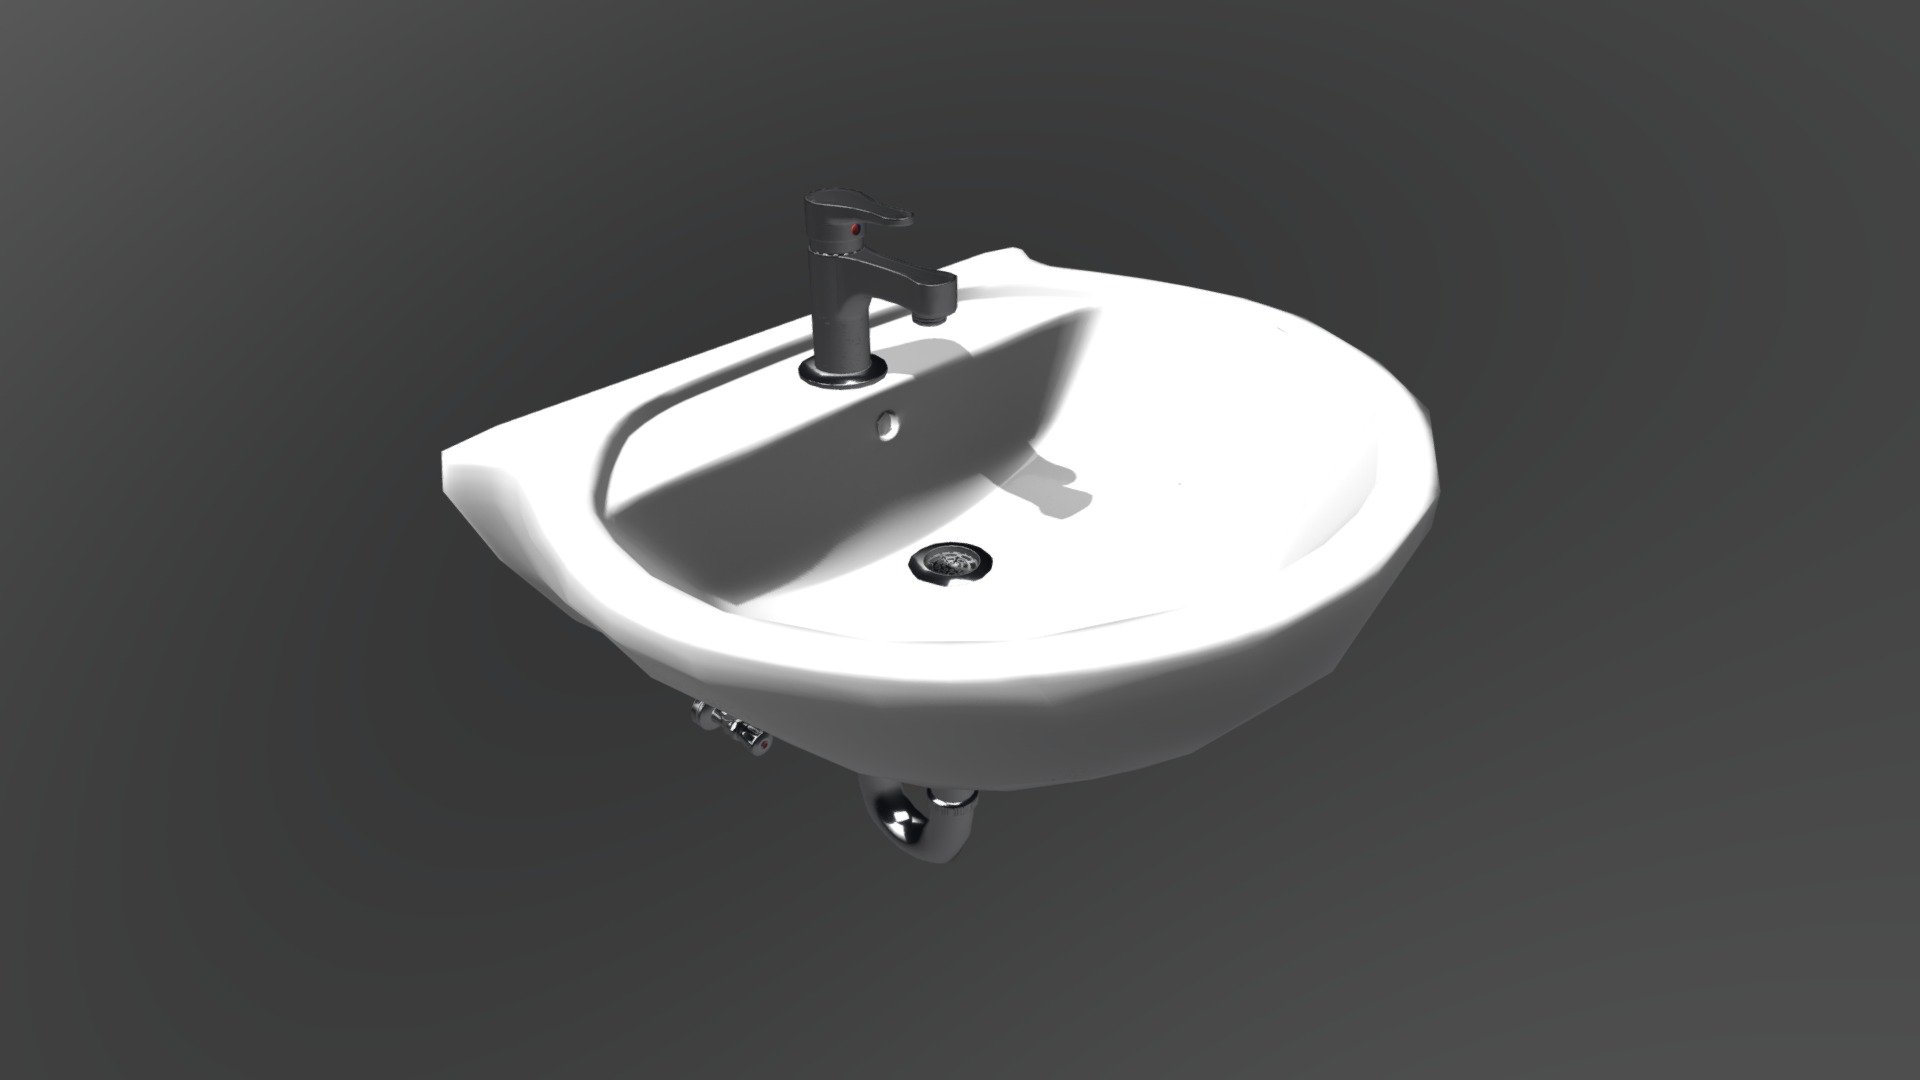
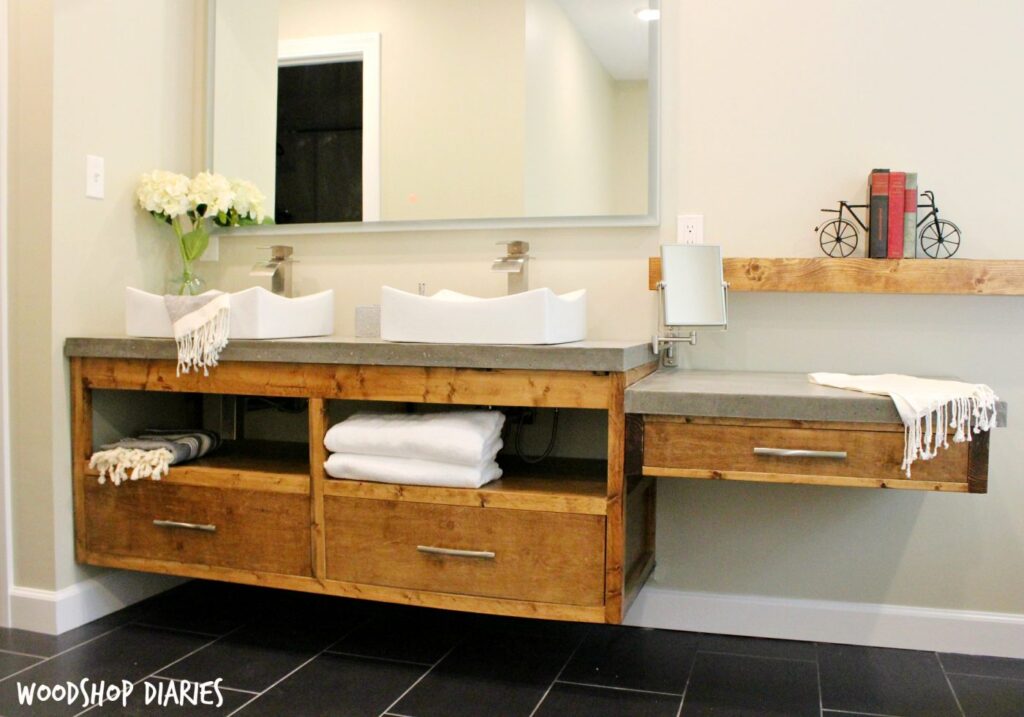
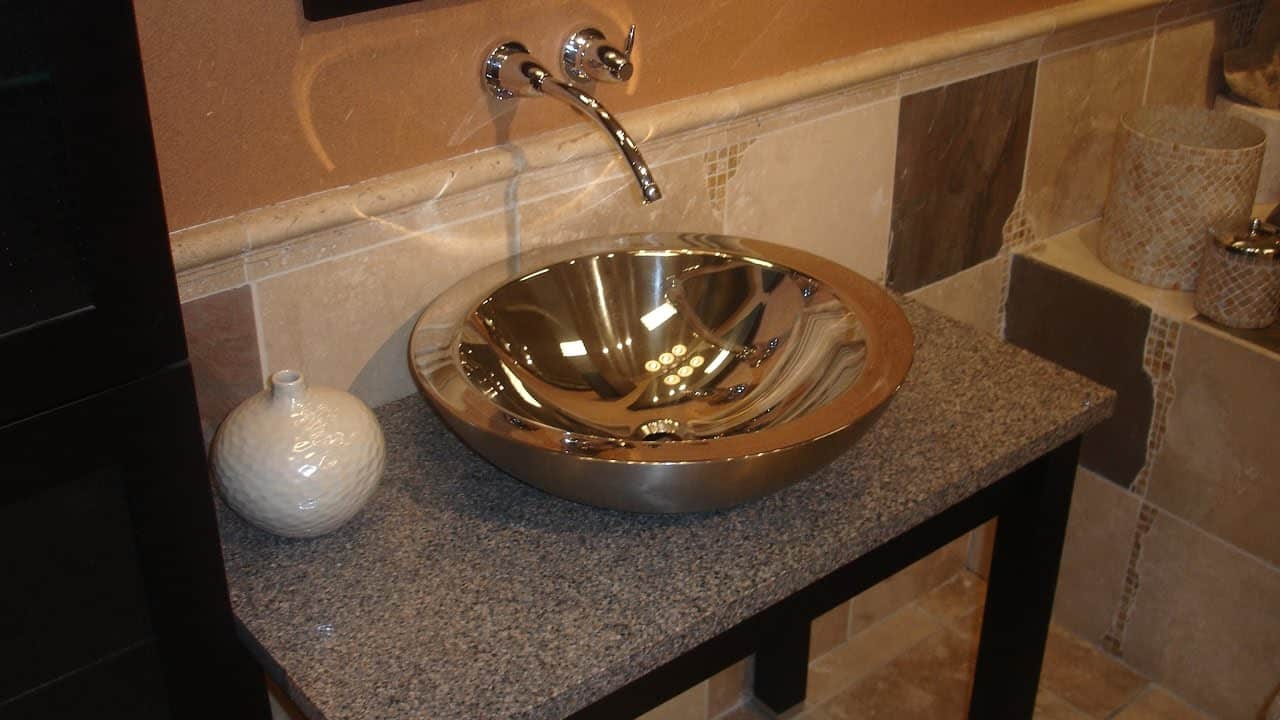
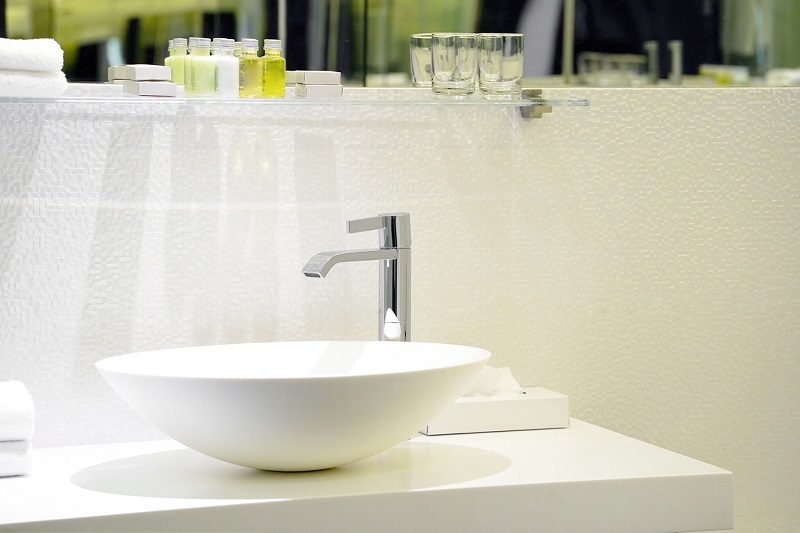
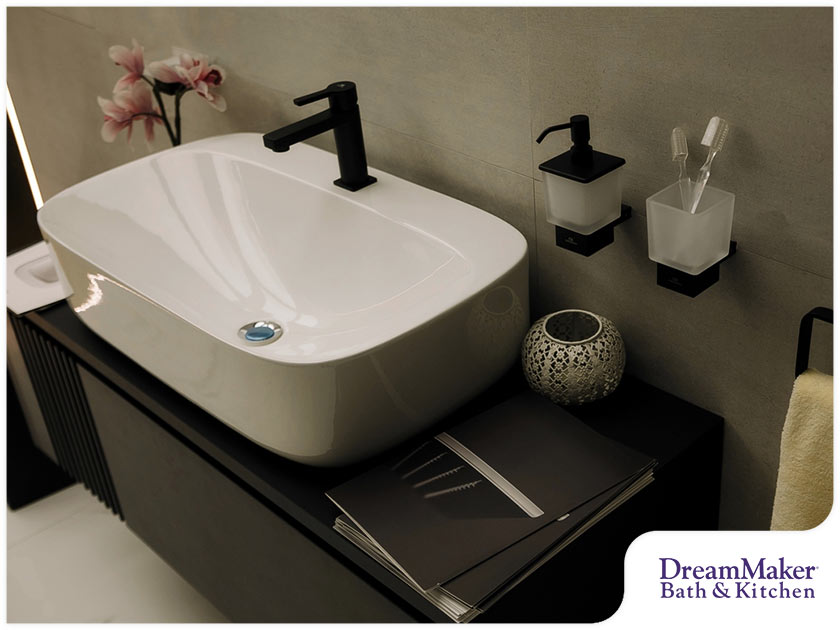
When it comes to choosing a sink for your bathroom, there are a few things to consider: Size: Make sure the sink will fit comfortably on your vanity or countertop. Style: Choose a sink that complements the design of your bathroom. Material: Sinks come in a variety of materials, such as porcelain, ceramic, and stone. Consider the durability and maintenance of each material before making your decision.Choosing the Right Sink for Your Bathroom

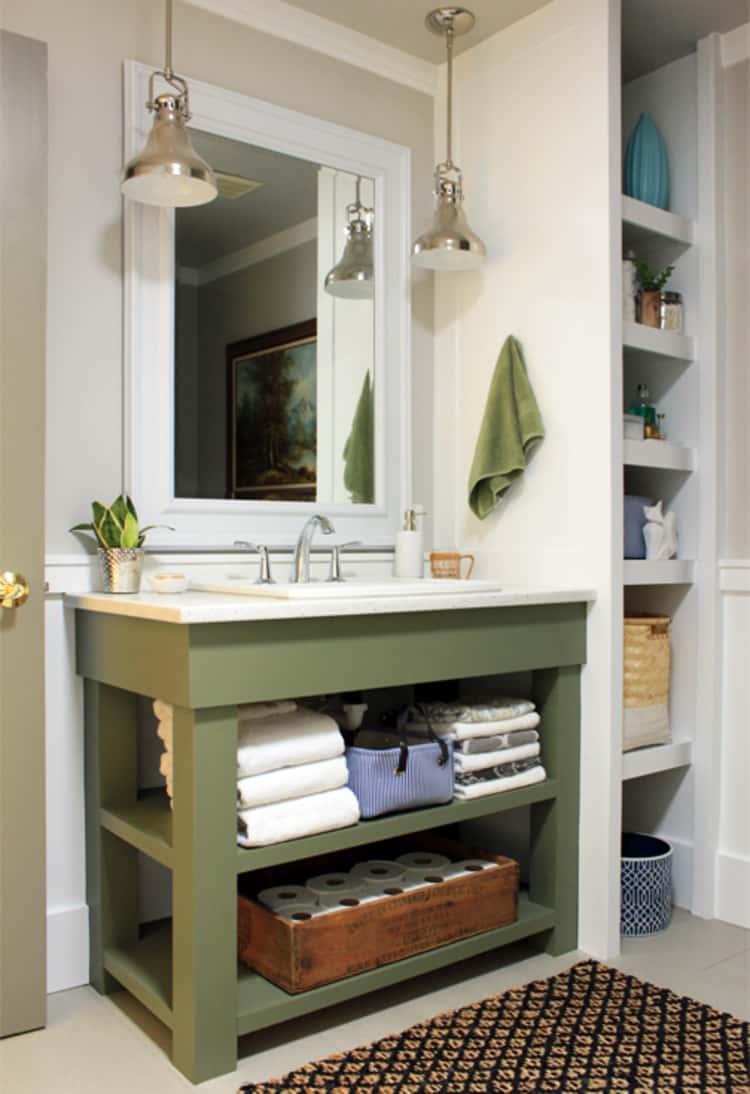
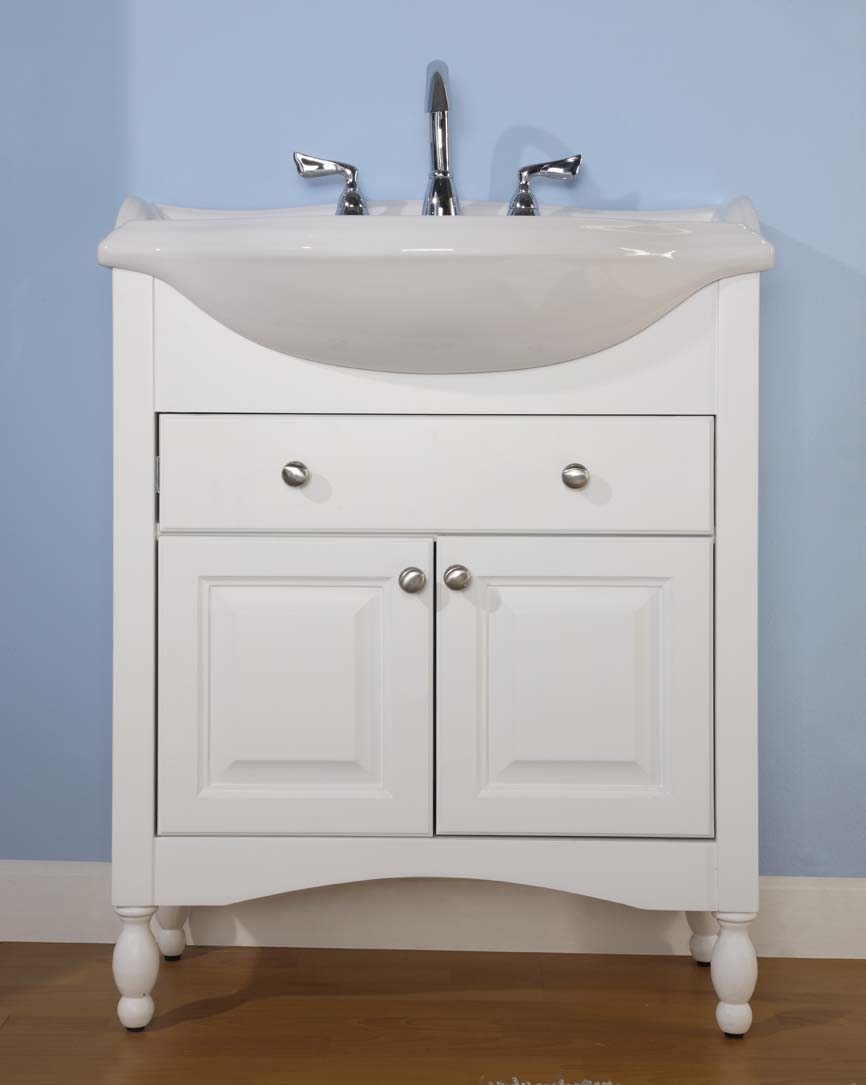
Choosing the Right Sink for Your Bathroom


If you encounter any issues during the installation process, here are some troubleshooting tips: Leaking connections: Make sure all connections are tight and use plumber's tape to prevent leaks. Uneven sink: Use a level to make sure the sink is straight and level before securing it to the countertop. Cracked sink: If the sink cracks during installation, you may need to replace it and start the process over.Troubleshooting Common Issues with Bathroom Sink Installation


Troubleshooting Common Issues with Bathroom Sink Installation

:max_bytes(150000):strip_icc()/what-is-under-the-bathroom-sink-3973574-03-c2c800c743054899aca9bdcc0535db34.jpg)


Deciding whether to hire a professional or tackle the installation yourself depends on your level of experience and comfort with DIY projects. If you have little to no experience with plumbing or home renovations, it may be best to hire a professional to ensure a successful and safe installation. However, if you're comfortable with DIY projects and have the necessary tools and knowledge, setting a bathroom sink can be a fun and rewarding project to take on yourself.Professional vs. DIY Bathroom Sink Installation: Which is Right for You?


Professional vs. DIY Bathroom Sink Installation: Which is Right for You?


How to Set Up a Bathroom Sink: A Step-by-Step Guide

Introduction
 When it comes to designing a house, the bathroom is often one of the most overlooked areas. However, it is an essential space that deserves just as much attention as the rest of the house. A well-designed bathroom can add value to your home and create a relaxing and functional space for you and your family. And one crucial element of a bathroom is the sink. Installing a bathroom sink may seem like a daunting task, but with the right tools and knowledge, it can be a straightforward and rewarding DIY project. In this article, we will guide you through the steps to set up a bathroom sink, from choosing the right sink to completing the installation process.
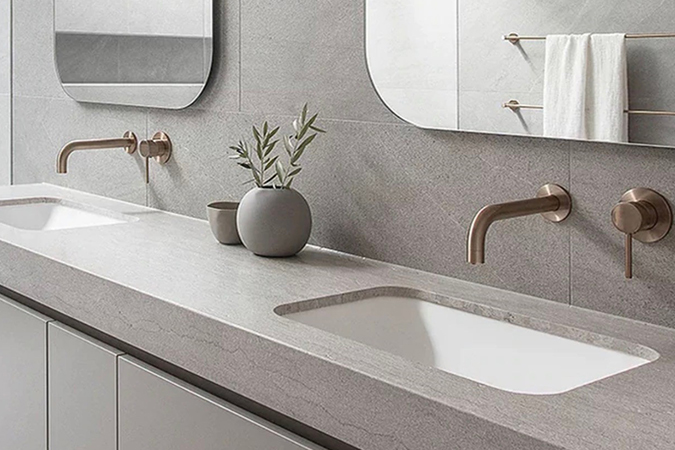
Choosing the Right Sink
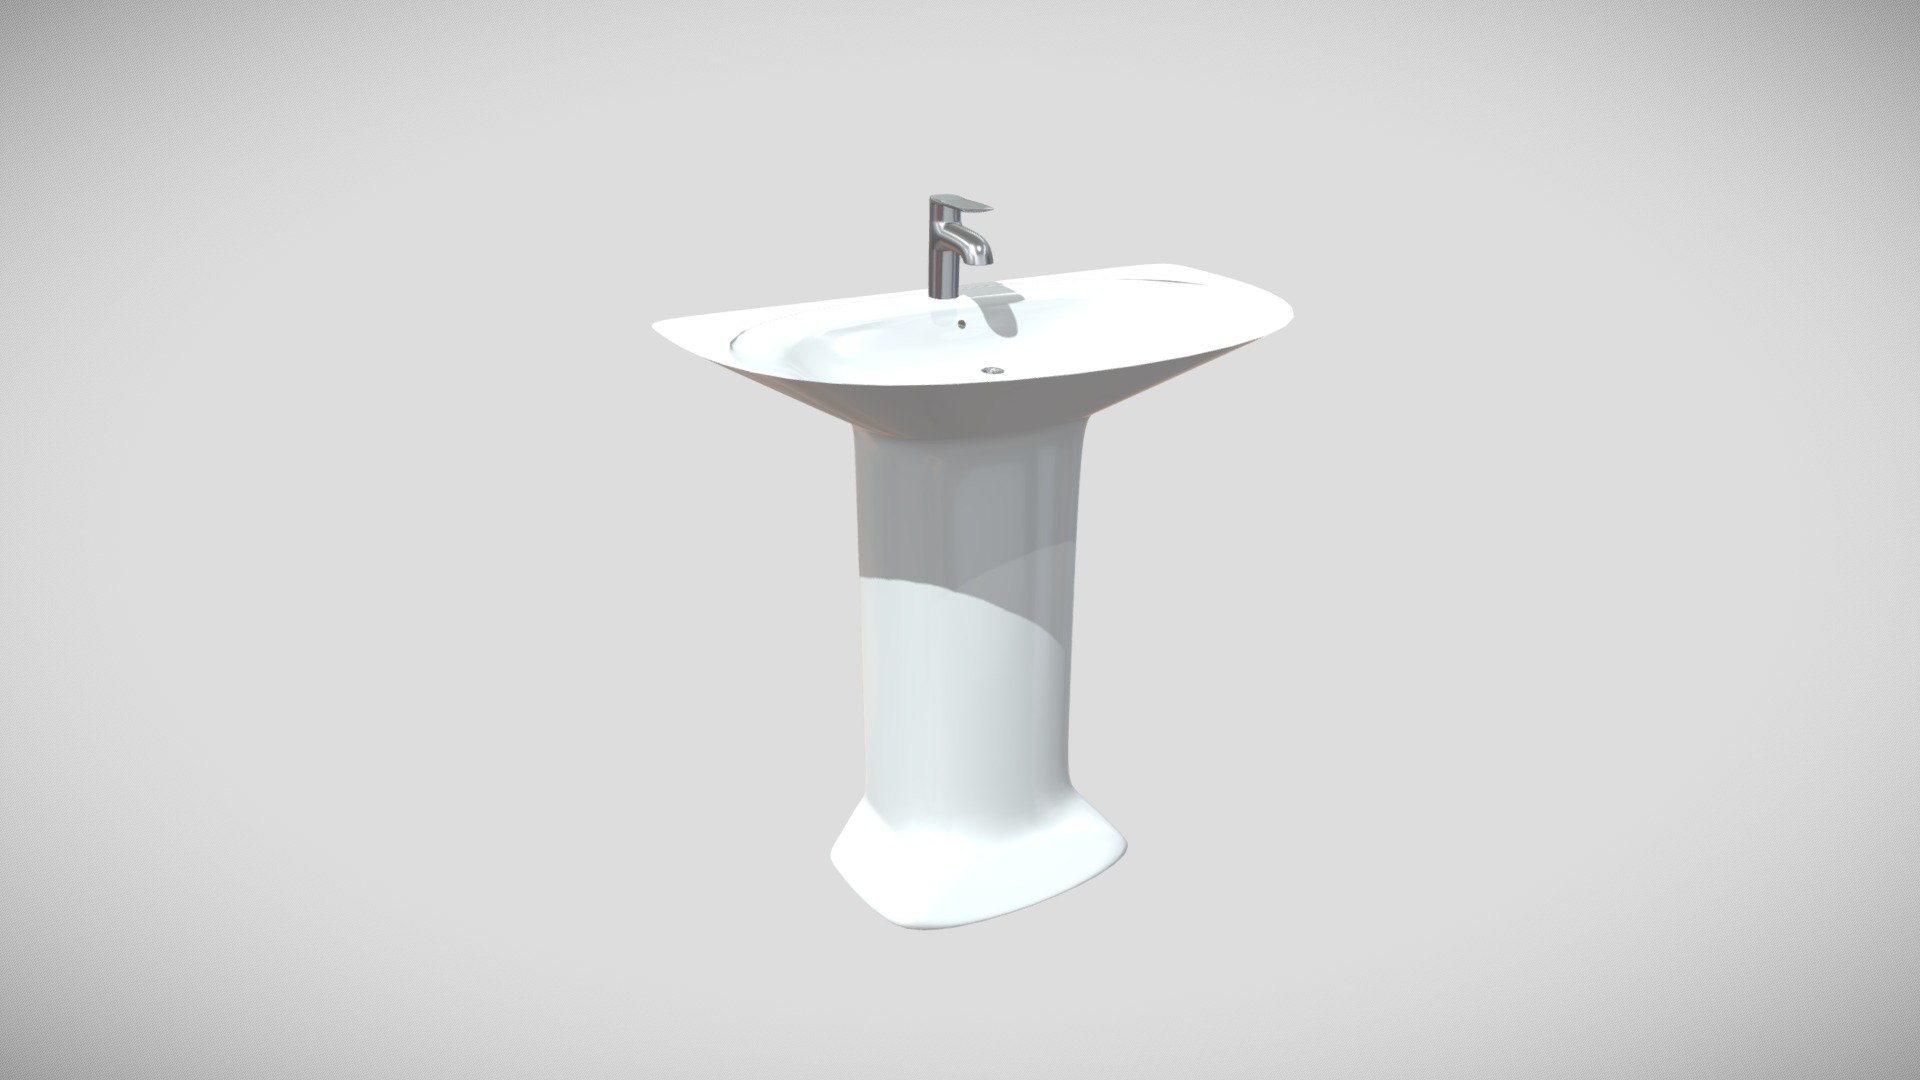
 Before you can begin the installation process, you need to choose the right sink for your bathroom. There are various types of sinks available in the market, including pedestal sinks, wall-mounted sinks, and vanity sinks. Consider the size and layout of your bathroom, as well as your personal style and budget, when selecting a sink. You also need to decide on the material of the sink, which can range from porcelain and ceramic to granite and marble. Keep in mind that the sink you choose should not only complement the overall design of your bathroom but also be functional and durable.
Gathering the Necessary Tools and Materials
 Once you have chosen the right sink, it's time to gather the necessary tools and materials for the installation process. You will need a sink installation kit, which typically includes mounting brackets, sink clips, and silicone caulk. Other tools you may need include a drill, a screwdriver, a level, a measuring tape, and a wrench. Make sure you have all the necessary tools and materials before starting the installation process to avoid any delays or interruptions.
Installing the Sink
 Now that you have everything you need, it's time to install the sink. Start by turning off the water supply and disconnecting the old sink and faucet, if there is one. Next, follow the manufacturer's instructions to install the mounting brackets and sink clips. Then, carefully place the sink onto the brackets and secure it in place with the clips. Use a level to ensure that the sink is straight and adjust as needed. Finally, install the faucet and connect the water supply, and seal the edges of the sink with silicone caulk. Turn the water supply back on and check for any leaks.
In Conclusion
 Setting up a bathroom sink may seem intimidating, but with the right steps and tools, it can be a simple and satisfying DIY project. Remember to choose the right sink for your bathroom, gather all the necessary tools and materials, and follow the installation instructions carefully. A well-installed bathroom sink can not only add value to your home but also enhance the functionality and aesthetics of your bathroom. Use this step-by-step guide to set up your bathroom sink and create a beautiful and functional bathroom space.