1. How to Seal a Kitchen Sink in a Countertop Using Silicone Gasket
Sealing a kitchen sink in a countertop is an essential step in any kitchen renovation or installation project. It not only provides a secure and watertight connection between the sink and countertop but also prevents any water damage or leaks. One of the most popular methods for sealing a kitchen sink in a countertop is by using a silicone gasket. In this guide, we will walk you through the steps of how to properly seal a kitchen sink in a countertop using a silicone gasket.
2. Step-by-Step Guide for Sealing a Kitchen Sink with Silicone Gasket
Before you begin the sealing process, make sure you have all the necessary tools and materials. This includes a silicone gasket, silicone caulk, a caulk gun, a putty knife, and a damp cloth. Once you have everything ready, follow these steps:
Step 1: Clean the area around the sink and countertop thoroughly using a damp cloth. Make sure to remove any debris, dirt, or old caulk from the surface.
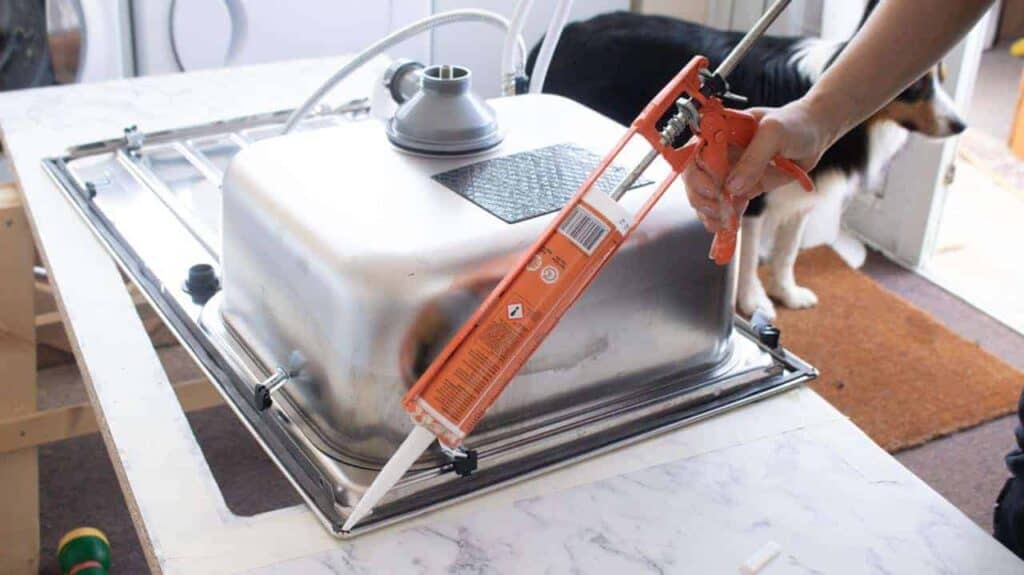
Step 2: Apply a thin layer of silicone caulk around the edge of the sink where it will come into contact with the countertop.
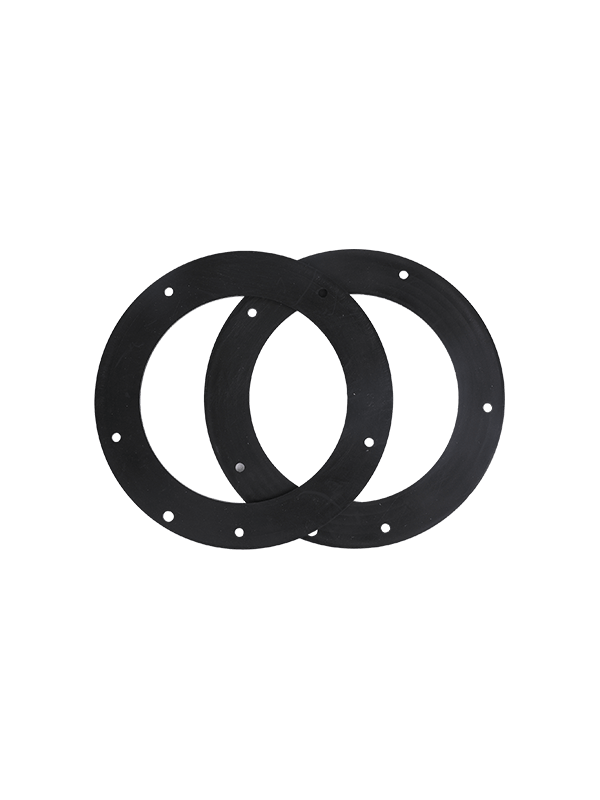
Step 3: Place the silicone gasket on top of the caulk, ensuring it is centered and aligned with the sink's edge.
Step 4: Carefully lower the sink onto the countertop, pressing down firmly to create a strong bond between the sink, caulk, and gasket.
Step 5: Wipe off any excess caulk that may have squeezed out from the edges using a putty knife or damp cloth.
Step 6: Allow the caulk to dry completely before using the sink.
3. Best Practices for Sealing a Kitchen Sink in a Countertop
While the above steps provide a general guide for sealing a kitchen sink with silicone gasket, there are some best practices you should follow to ensure a successful and long-lasting seal:
Tip 1: Use a good quality silicone caulk specifically designed for kitchen and bathroom use. This will provide better adhesion and resistance to water and mold.
Tip 2: Make sure to clean the area thoroughly before applying the caulk and gasket. Any debris or dirt can compromise the seal.
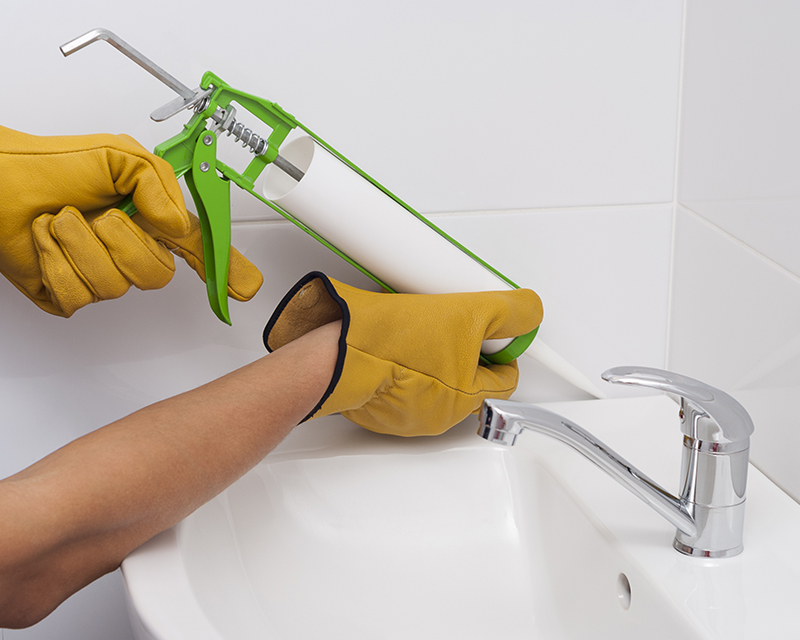
Tip 3: Use a caulk gun to apply the caulk in a smooth and controlled manner. This will give a clean and professional finish.
Tip 4: When pressing the sink onto the countertop, apply even pressure to ensure the gasket and caulk create a strong bond.
4. Tips for Using Silicone Gasket to Seal a Kitchen Sink in a Countertop
Here are a few additional tips to keep in mind when using silicone gasket to seal a kitchen sink in a countertop:
Tip 1: Make sure the sink is the right size and shape for the countertop. This will ensure a proper fit and reduce the risk of any gaps in the seal.
Tip 2: If you are using an undermount sink, apply caulk around the edge of the sink's rim before placing it on the countertop. This will create a stronger seal between the sink and countertop.
Tip 3: If you are not confident in your caulking skills, practice on a scrap piece of wood or cardboard before attempting to seal the sink.
5. Common Mistakes to Avoid When Sealing a Kitchen Sink with Silicone Gasket
While silicone gasket is a popular and effective method for sealing a kitchen sink in a countertop, there are some common mistakes that can compromise the seal. These include:
Mistake 1: Not cleaning the area thoroughly before applying the caulk and gasket. This can prevent the seal from adhering properly.
Mistake 2: Applying too much caulk, which can make it difficult to create a tight seal and cause the caulk to spread out from the edges.
Mistake 3: Not allowing the caulk to dry completely before using the sink. This can cause the caulk to crack or peel, leading to leaks and water damage.
6. Benefits of Using Silicone Gasket for Sealing a Kitchen Sink in a Countertop
Silicone gasket offers several benefits when it comes to sealing a kitchen sink in a countertop:
Benefit 1: It provides a strong and watertight seal that can withstand regular use and exposure to water.
Benefit 2: It is flexible and can adjust to any movement or shifting in the sink or countertop, preventing the seal from breaking.
Benefit 3: It is resistant to mold and mildew, making it a hygienic option for kitchen and bathroom use.
7. How to Choose the Right Silicone Gasket for Sealing a Kitchen Sink in a Countertop
When choosing a silicone gasket for sealing your kitchen sink in a countertop, there are a few key factors to consider:
Factor 1: Make sure the gasket is made from high-quality silicone that is specifically designed for use in kitchens and bathrooms.
Factor 2: Check the dimensions of the gasket to ensure it is the right size for your sink and countertop.
Factor 3: Consider the color of the gasket and choose one that matches or complements the color of your sink and countertop.
8. Tools and Materials Needed for Sealing a Kitchen Sink with Silicone Gasket
Here is a list of the tools and materials you will need when sealing a kitchen sink in a countertop with silicone gasket:
Tool 1: Silicone caulk gun
Tool 2: Putty knife
Tool 3: Damp cloth
Material 1: Silicone caulk
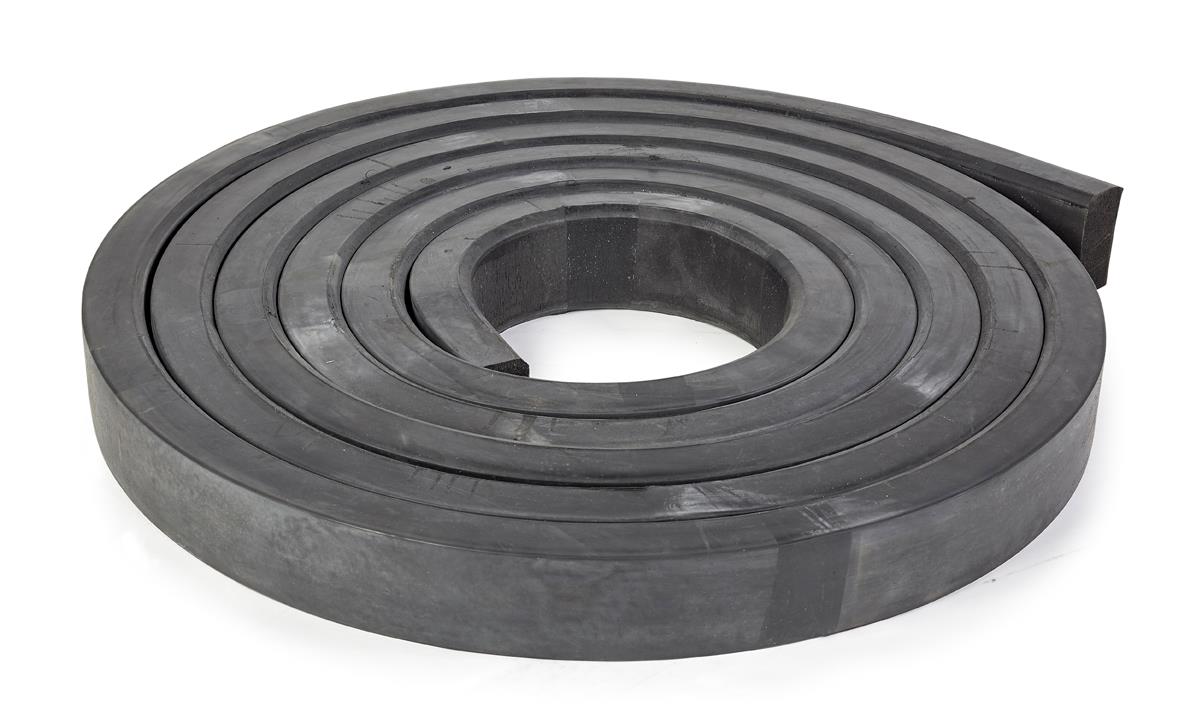
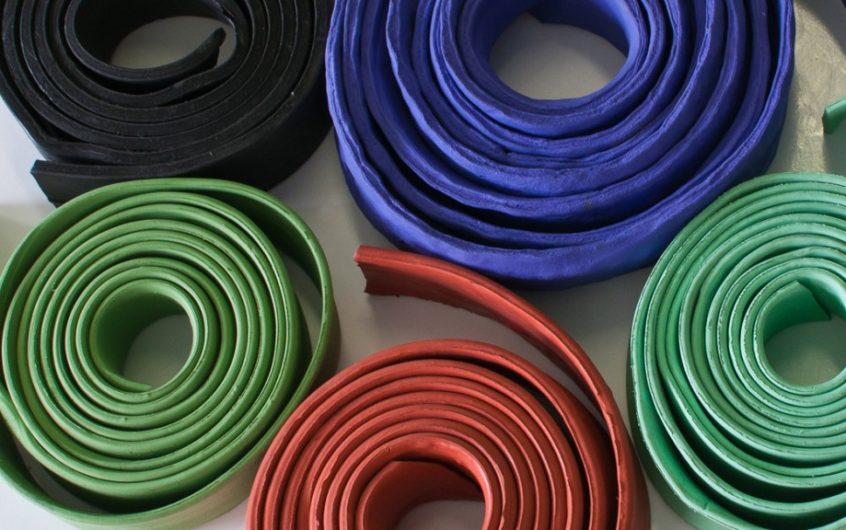
Material 2: Silicone gasket
9. Alternative Methods for Sealing a Kitchen Sink in a Countertop Without Silicone Gasket
If you do not have access to a silicone gasket or prefer not to use one, there are alternative methods for sealing a kitchen sink in a countertop:
Method 1: Use plumber's putty instead of silicone gasket. This is a soft, pliable material that can be molded to create a tight seal between the sink and countertop.
Method 2: Use adhesive foam tape, which can be placed between the sink and countertop to create a seal.
10. Troubleshooting Common Issues When Sealing a Kitchen Sink with Silicone Gasket
Even with proper preparation and execution, there may be some issues that arise when sealing a kitchen sink with silicone gasket. Here are some common problems and how to troubleshoot them:
Issue 1: The caulk is not adhering properly to the sink or countertop.
Solution: Make sure to clean the area thoroughly and apply a thin layer of caulk for better adhesion. You can also use a caulk primer to improve the seal's strength.
Issue 2: The caulk is cracking or peeling after drying.
Solution: This can happen if the caulk is applied too thickly or if it is not allowed to dry completely before using the sink. Scrape off the old caulk and reapply a thin layer, making sure to let it dry completely.
Issue 3: There is a gap between the sink and countertop after sealing.
Solution: This can occur if the sink is not the right size or shape for the countertop. You may need to adjust or replace the sink for a proper fit.
Why Properly Sealing Your Kitchen Sink in Countertop Matters

The Importance of a Good Seal
How to Seal Your Kitchen Sink
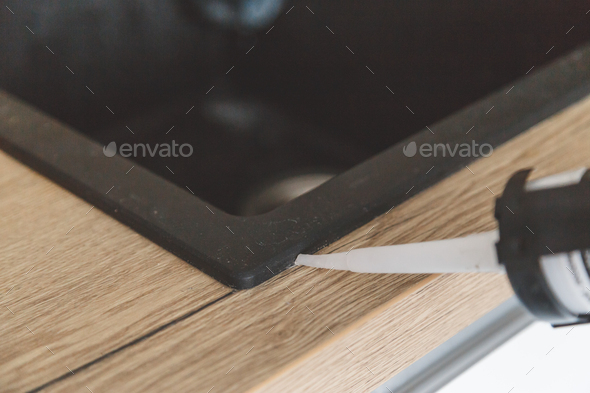 The process of sealing a kitchen sink in a countertop using a silicone gasket is relatively simple, but it requires attention to detail and precision.
The first step is to thoroughly clean and dry the area where the sink and countertop meet.
This will ensure that the silicone adheres properly and creates a strong seal.
Next, apply a thin layer of silicone sealant to the edge of the sink. Make sure to
use a high-quality, waterproof sealant specifically designed for kitchen and bathroom use.
Then, carefully place the sink into the cutout in the countertop, pressing down firmly. Wipe away any excess sealant that may have squeezed out.
Once the sink is in place,
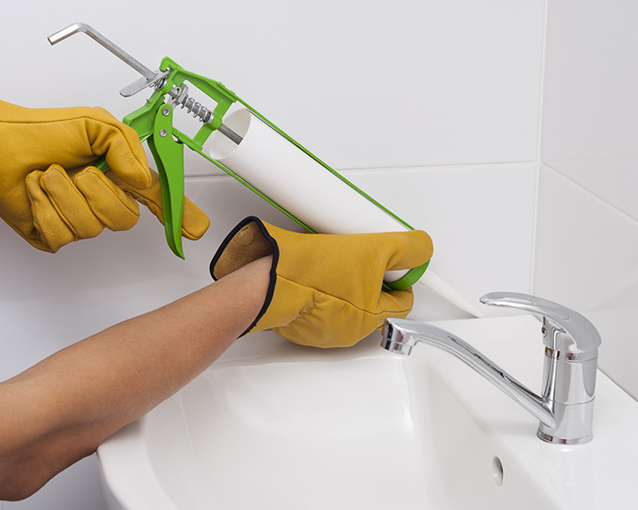
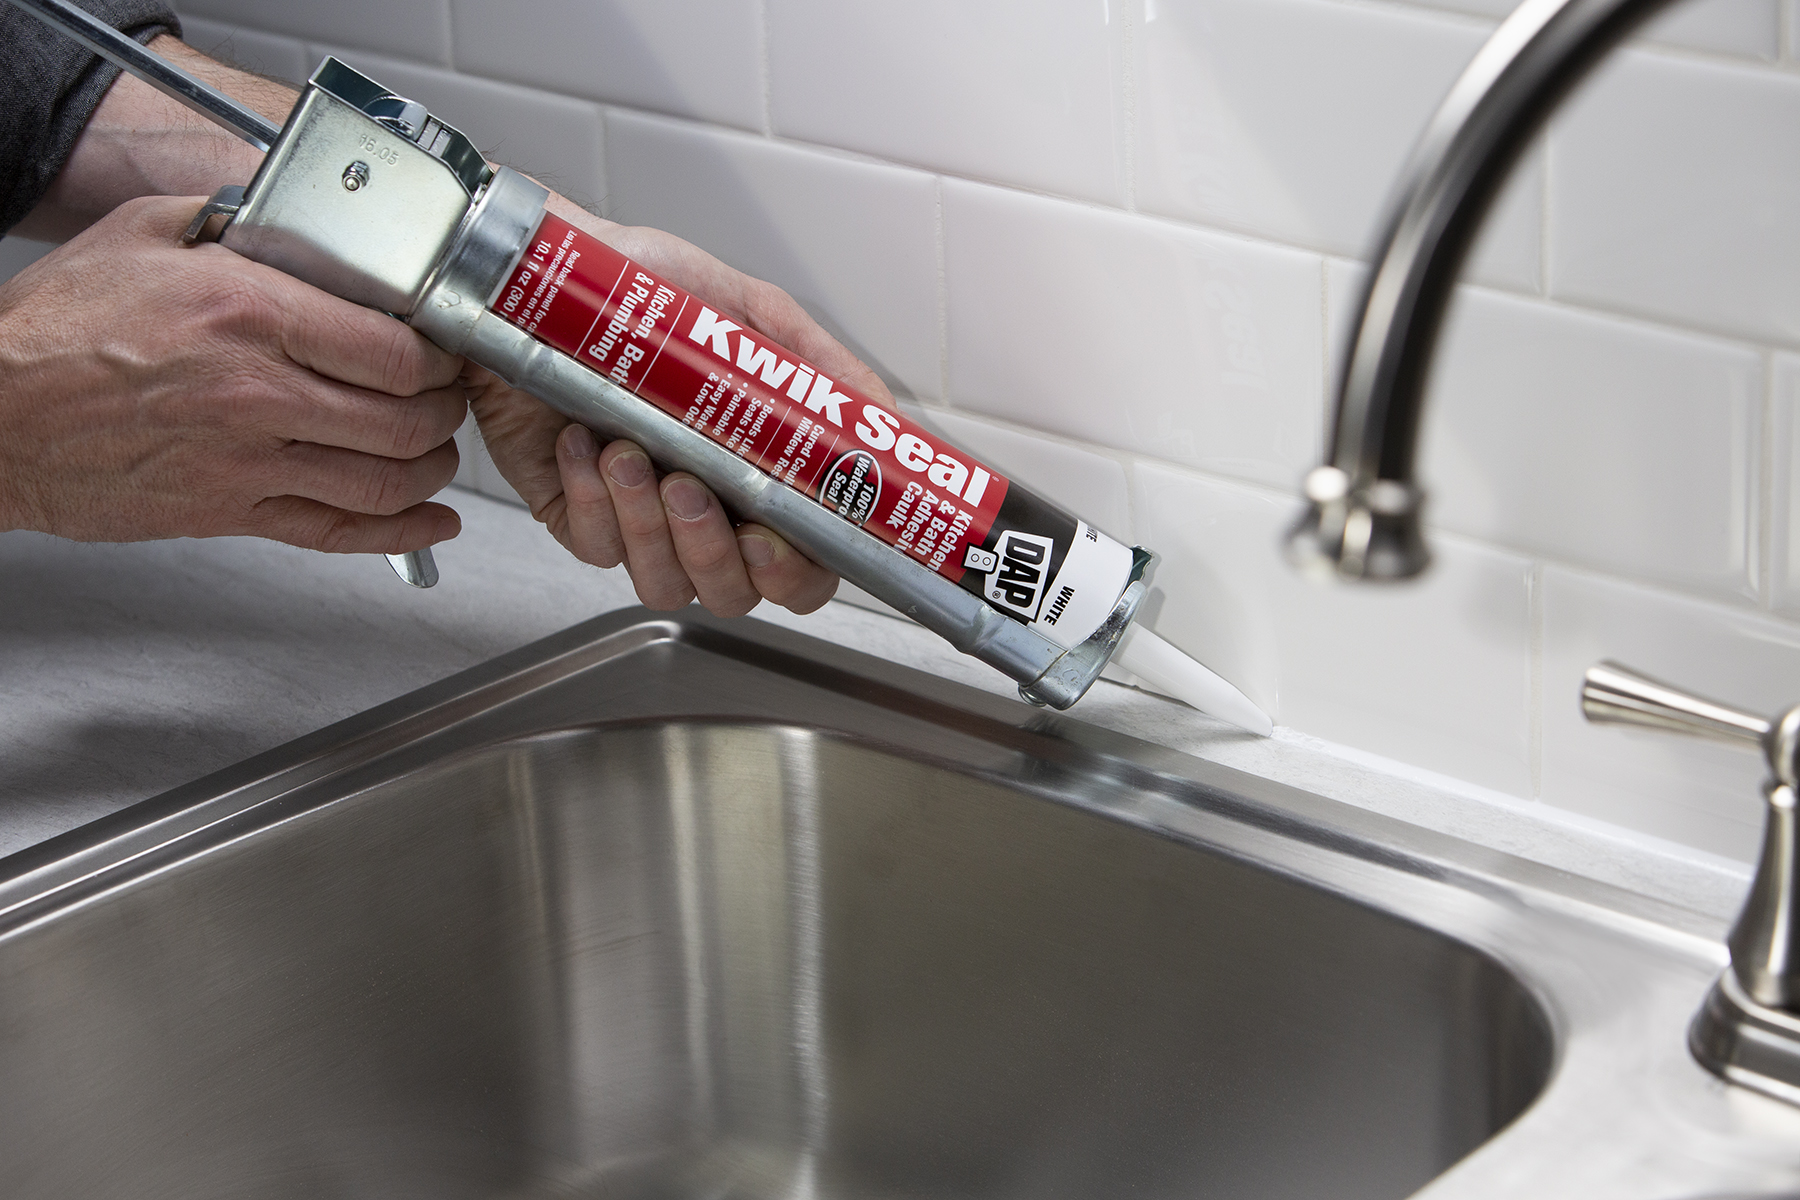
use a caulking gun to apply a thin bead of sealant around the edges of the sink
, filling in any gaps between the sink and countertop. Use a damp cloth to smooth out the sealant and create a clean, even line. Let the sealant dry completely before using the sink.
The Benefits of a Well-Sealed Sink
 Not only does a properly sealed kitchen sink prevent leaks and water damage, but it also has aesthetic benefits.
A well-sealed sink creates a seamless and clean look in your kitchen.
This is especially important if you have a countertop made of materials like granite or marble, which are prone to staining and damage from water.
In addition,
properly sealing your kitchen sink can also increase the lifespan of your countertop and cabinets
by protecting them from water damage and mold growth. This can save you time and money in the long run by avoiding costly repairs or replacements.
In conclusion,
properly sealing your kitchen sink in the countertop is a crucial step in creating a functional and visually appealing kitchen.
By following the steps outlined above and using high-quality sealant, you can protect your kitchen from water damage and ensure its longevity. Don't overlook this important detail in your house design process.


