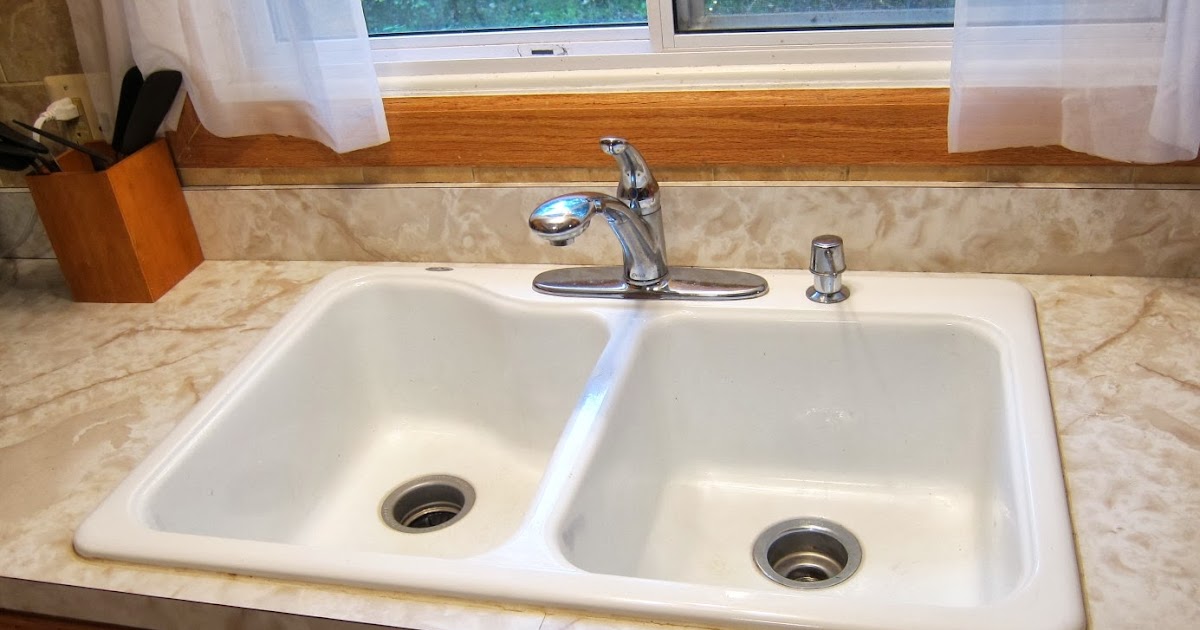
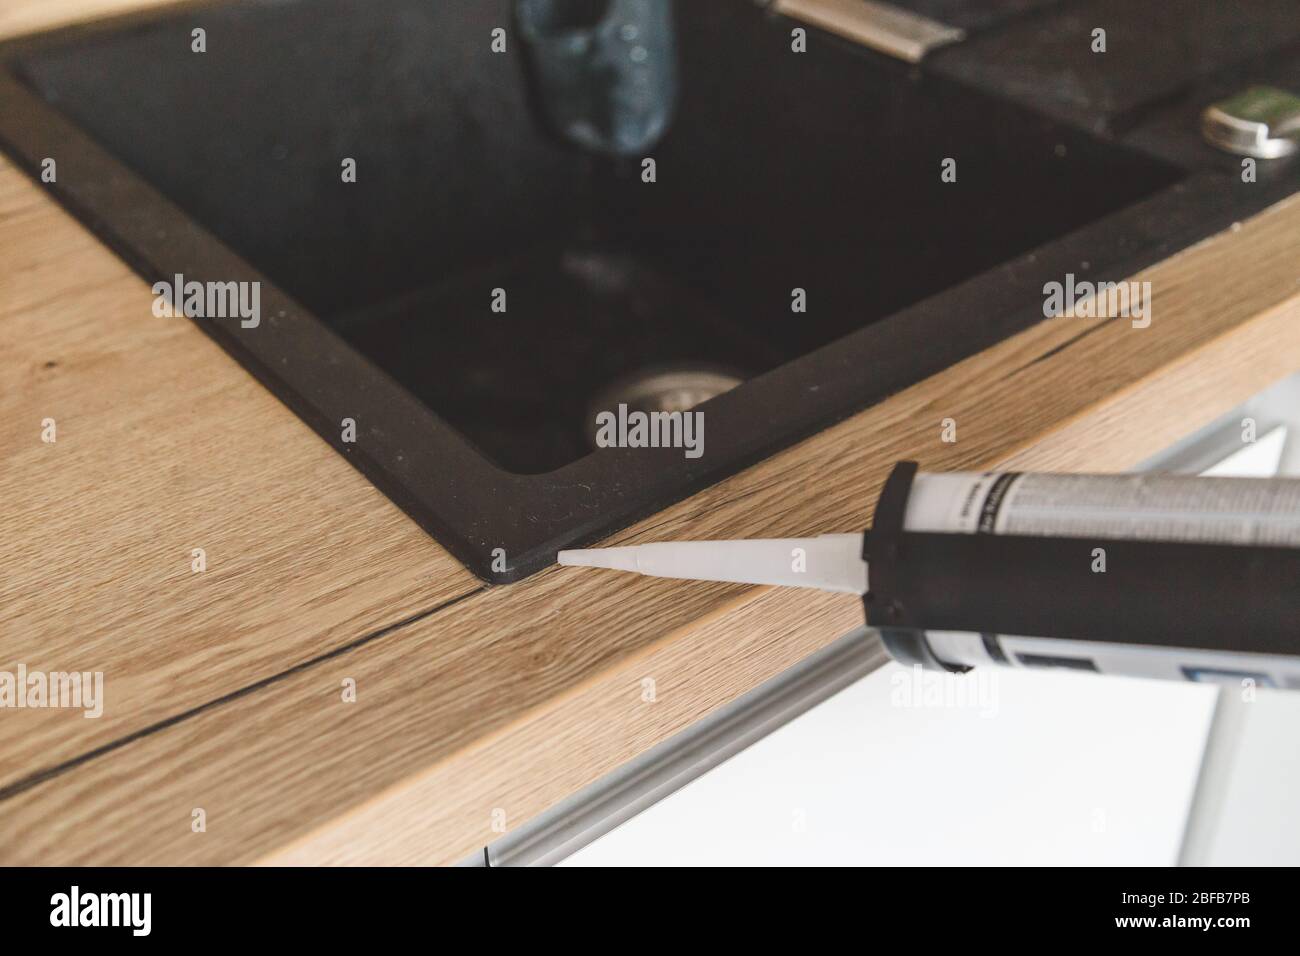
How to Seal Around a Kitchen Sink
One of the most important steps in installing a new kitchen sink is properly sealing it. Not only does this prevent water and dirt from getting under the sink, but it also helps to keep the sink securely in place. In this article, we will discuss the top 10 ways to seal around a kitchen sink to ensure a long-lasting and secure installation.


How to Seal Around a Kitchen Sink


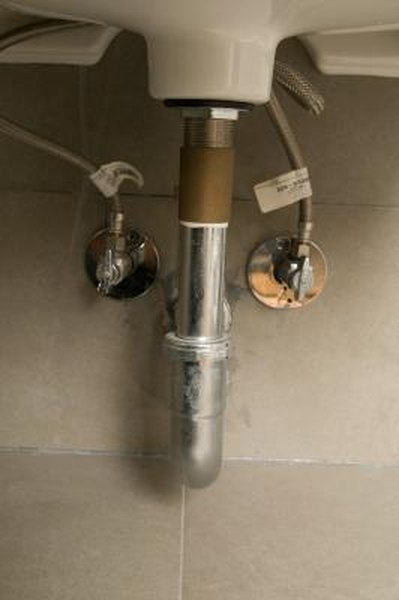
How to Seal a Kitchen Sink Drain
One of the most common areas for water to leak under a kitchen sink is around the drain. To properly seal a kitchen sink drain, you will need to use a waterproof caulk or silicone sealant. Before applying the sealant, make sure to thoroughly clean and dry the area around the drain. Apply the sealant in a continuous bead, making sure to fill any gaps or holes. Smooth out the sealant with your finger or a caulk smoothing tool to create a watertight seal.


How to Seal a Kitchen Sink Drain


Best Caulk for Kitchen Sink
When it comes to sealing around a kitchen sink, using the right caulk is crucial. Look for a caulk that is specifically designed for use in kitchens and bathrooms, as these areas are more prone to moisture. Silicone caulk is a popular choice for sealing around sinks as it is waterproof and flexible, allowing for easy application and a secure seal.


Best Caulk for Kitchen Sink


.jpg)


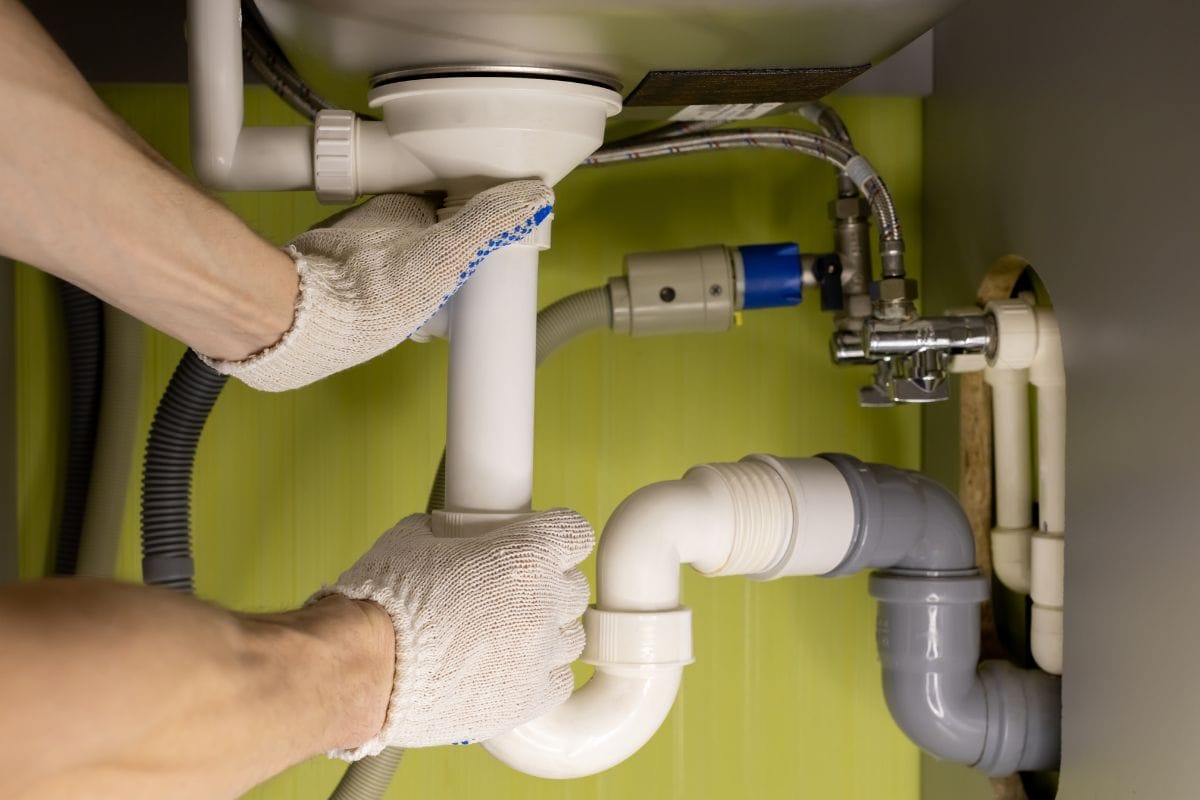
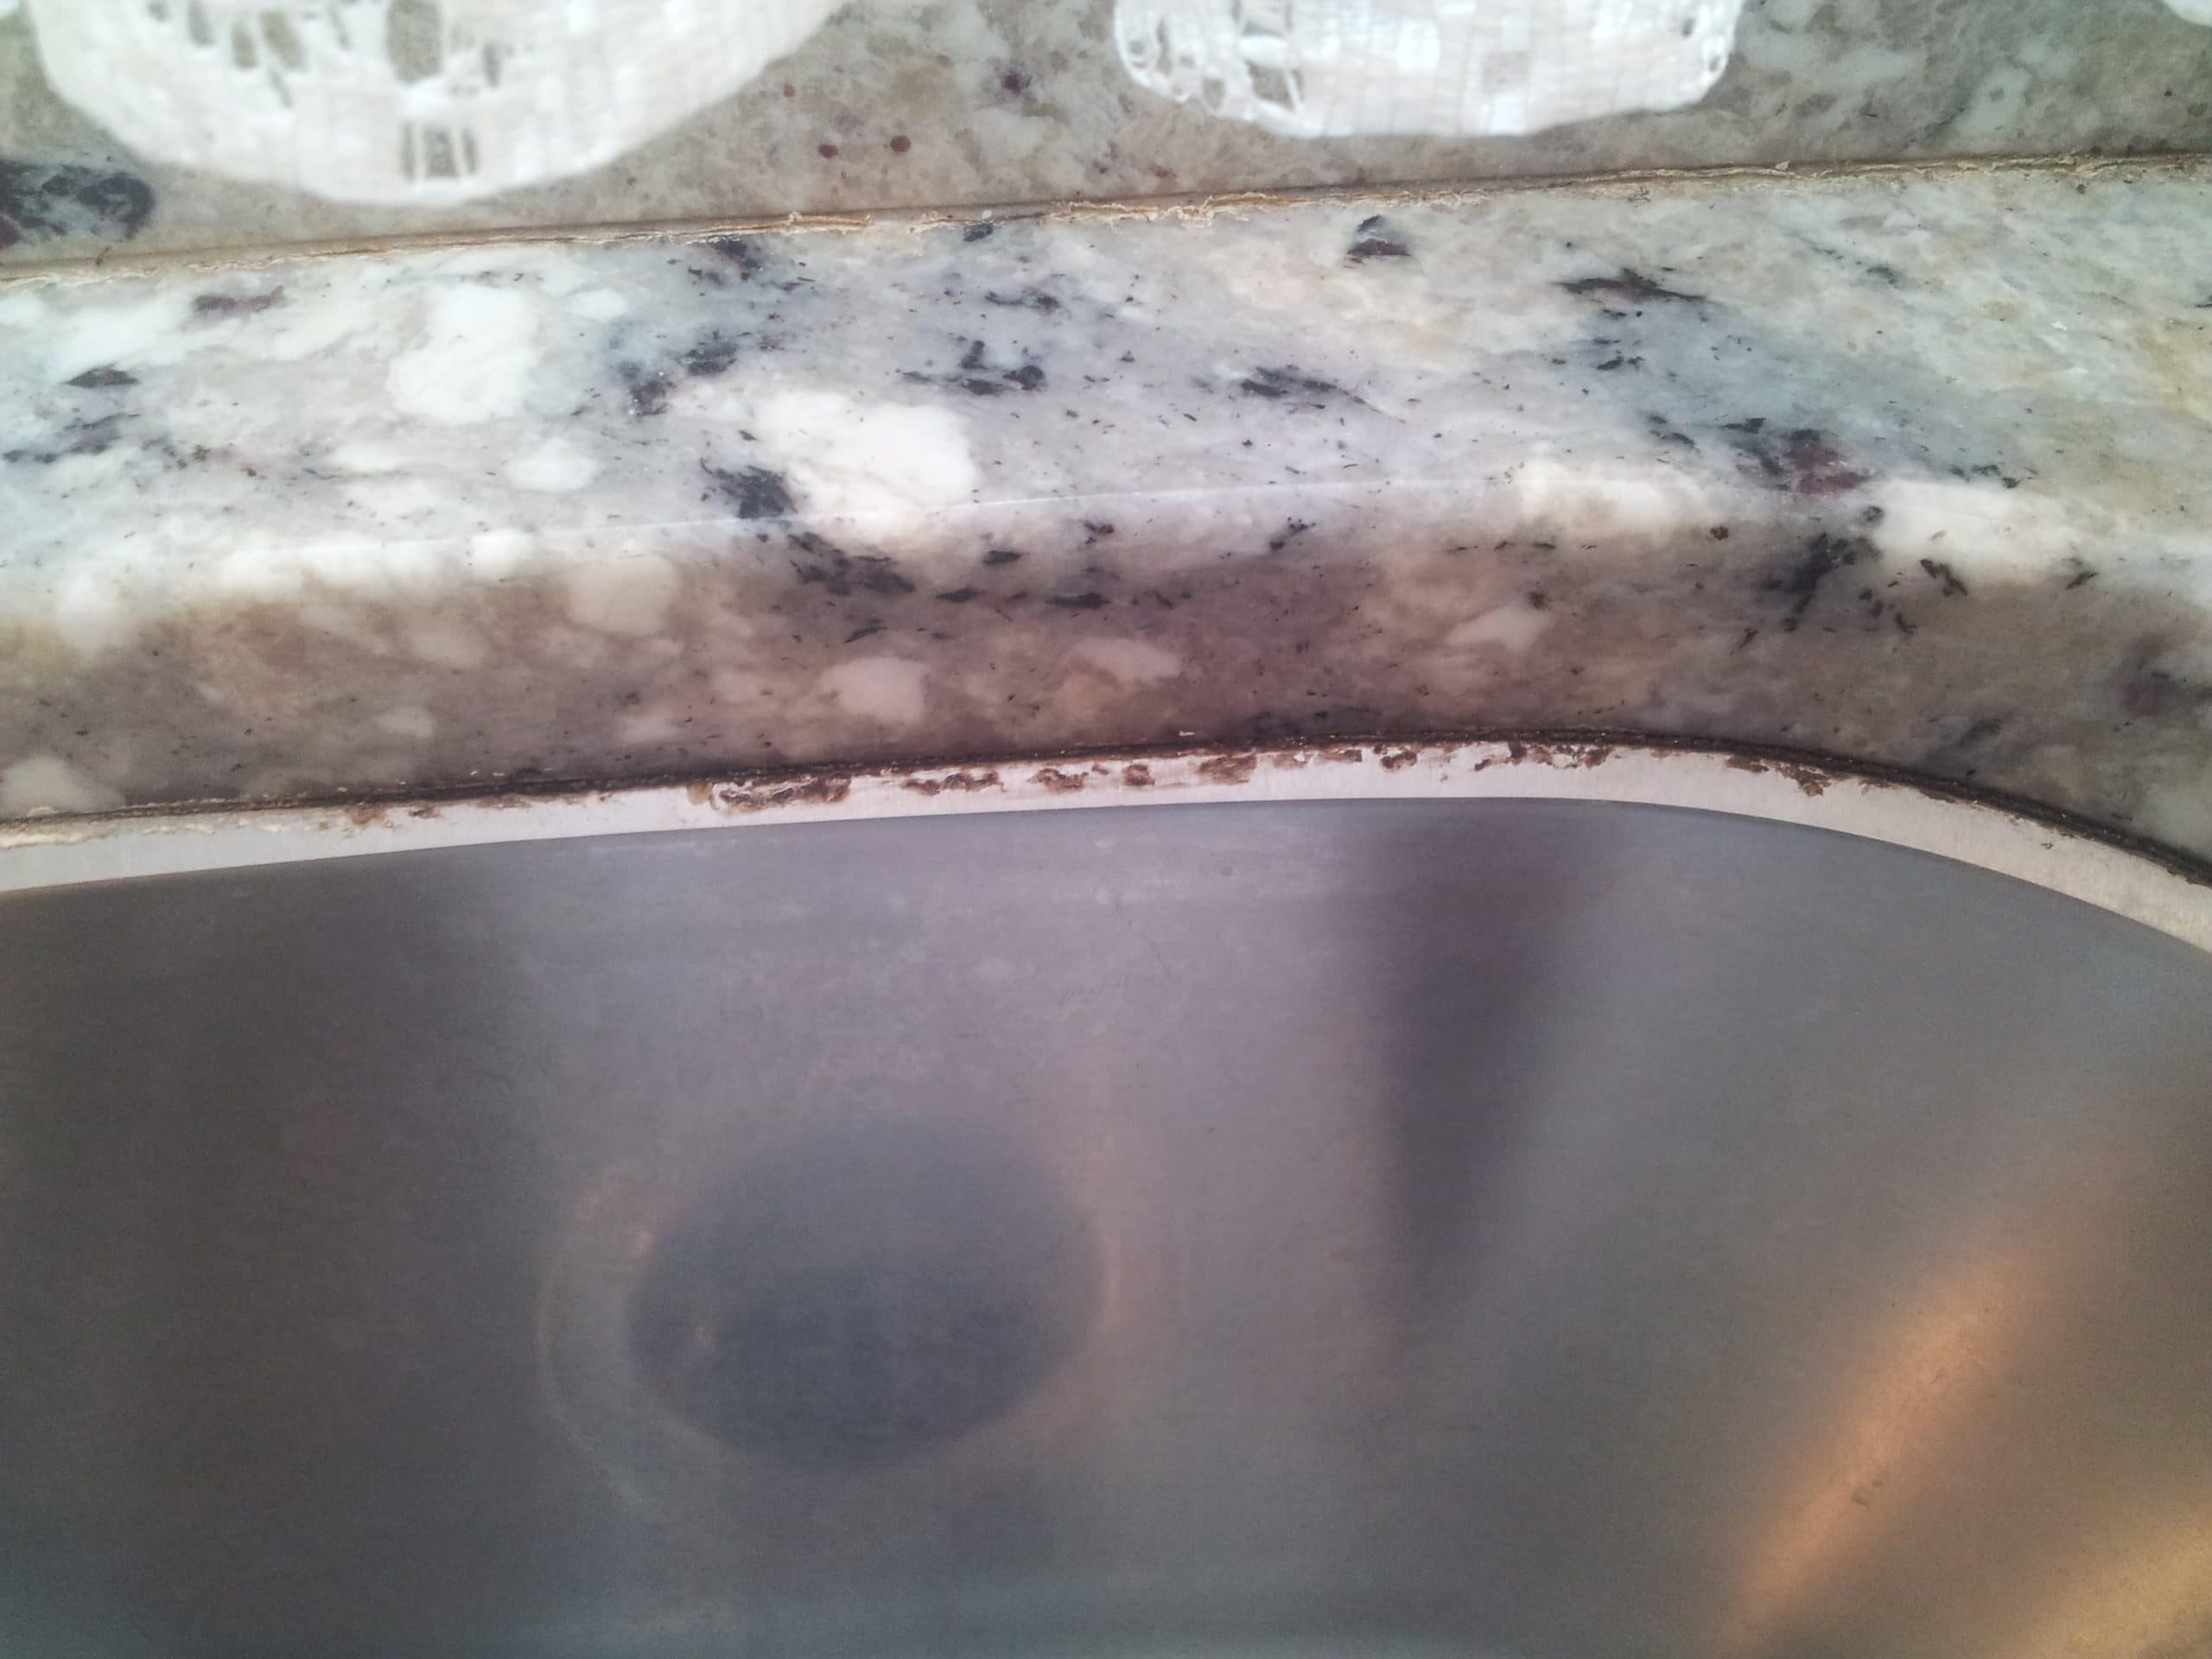
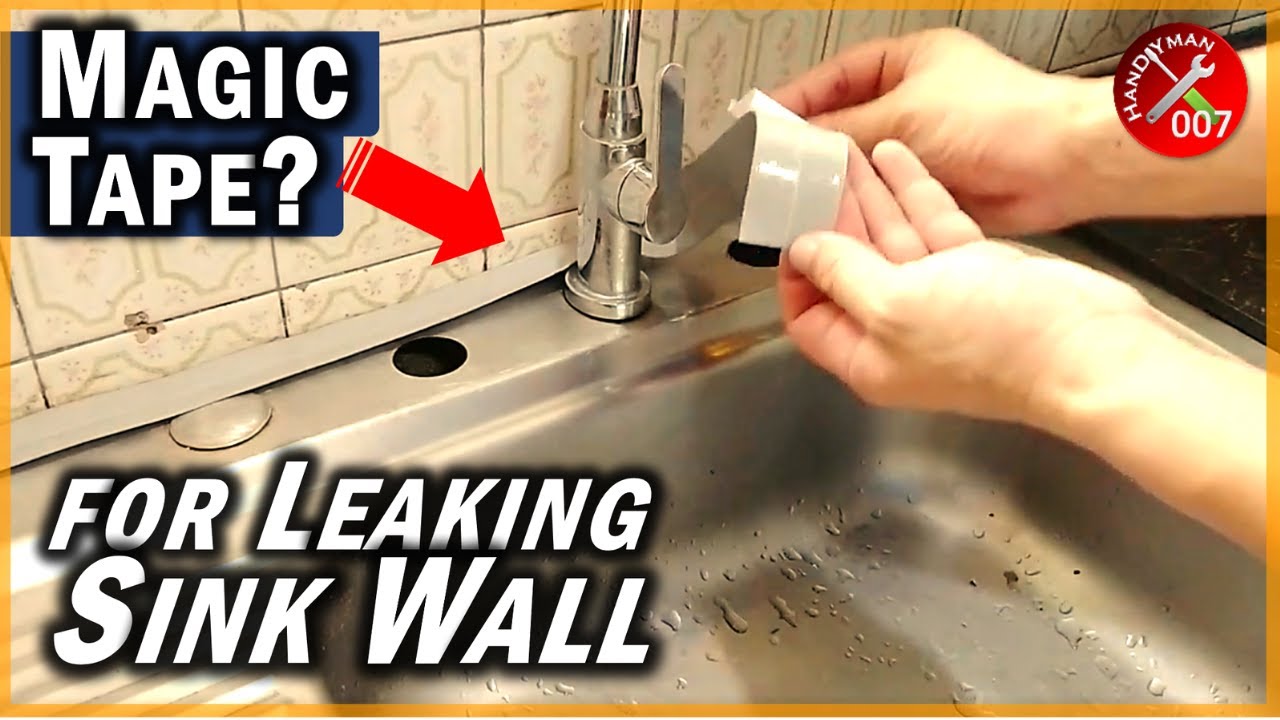
How to Re-caulk a Kitchen Sink
If your kitchen sink is already installed but the caulk around it has become cracked or moldy, it may be time to re-caulk. The first step is to remove all the old caulk using a caulk remover tool or a razor blade. Once the area is clean and dry, follow the same steps as sealing a new sink, making sure to fill any gaps or holes. This will not only improve the appearance of your sink but also prevent any potential leaks.

How to Re-caulk a Kitchen Sink

.jpg)


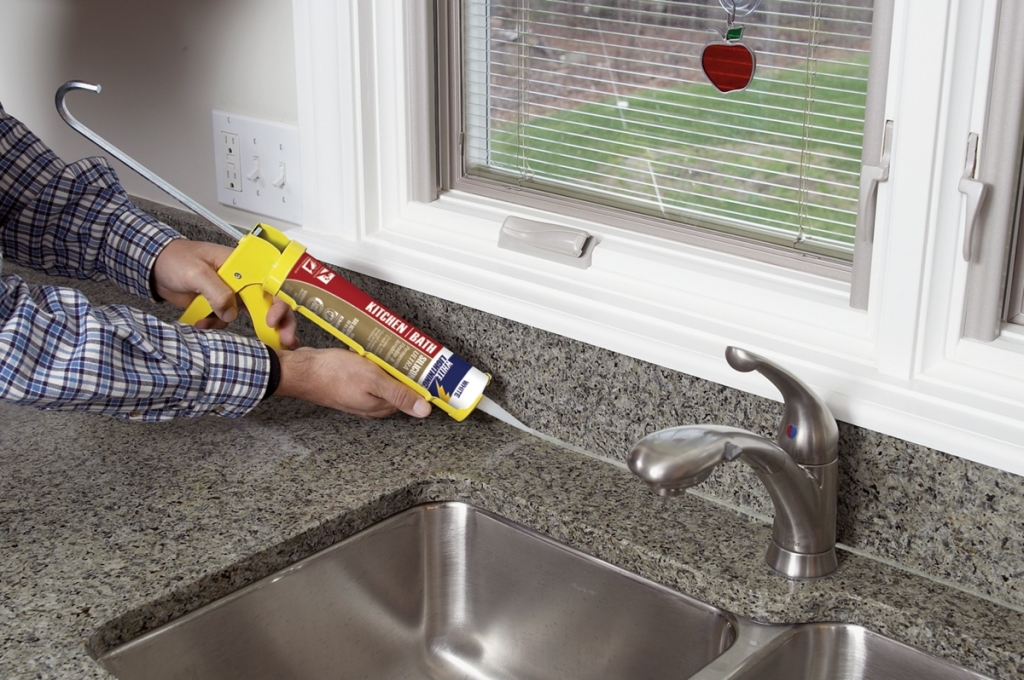
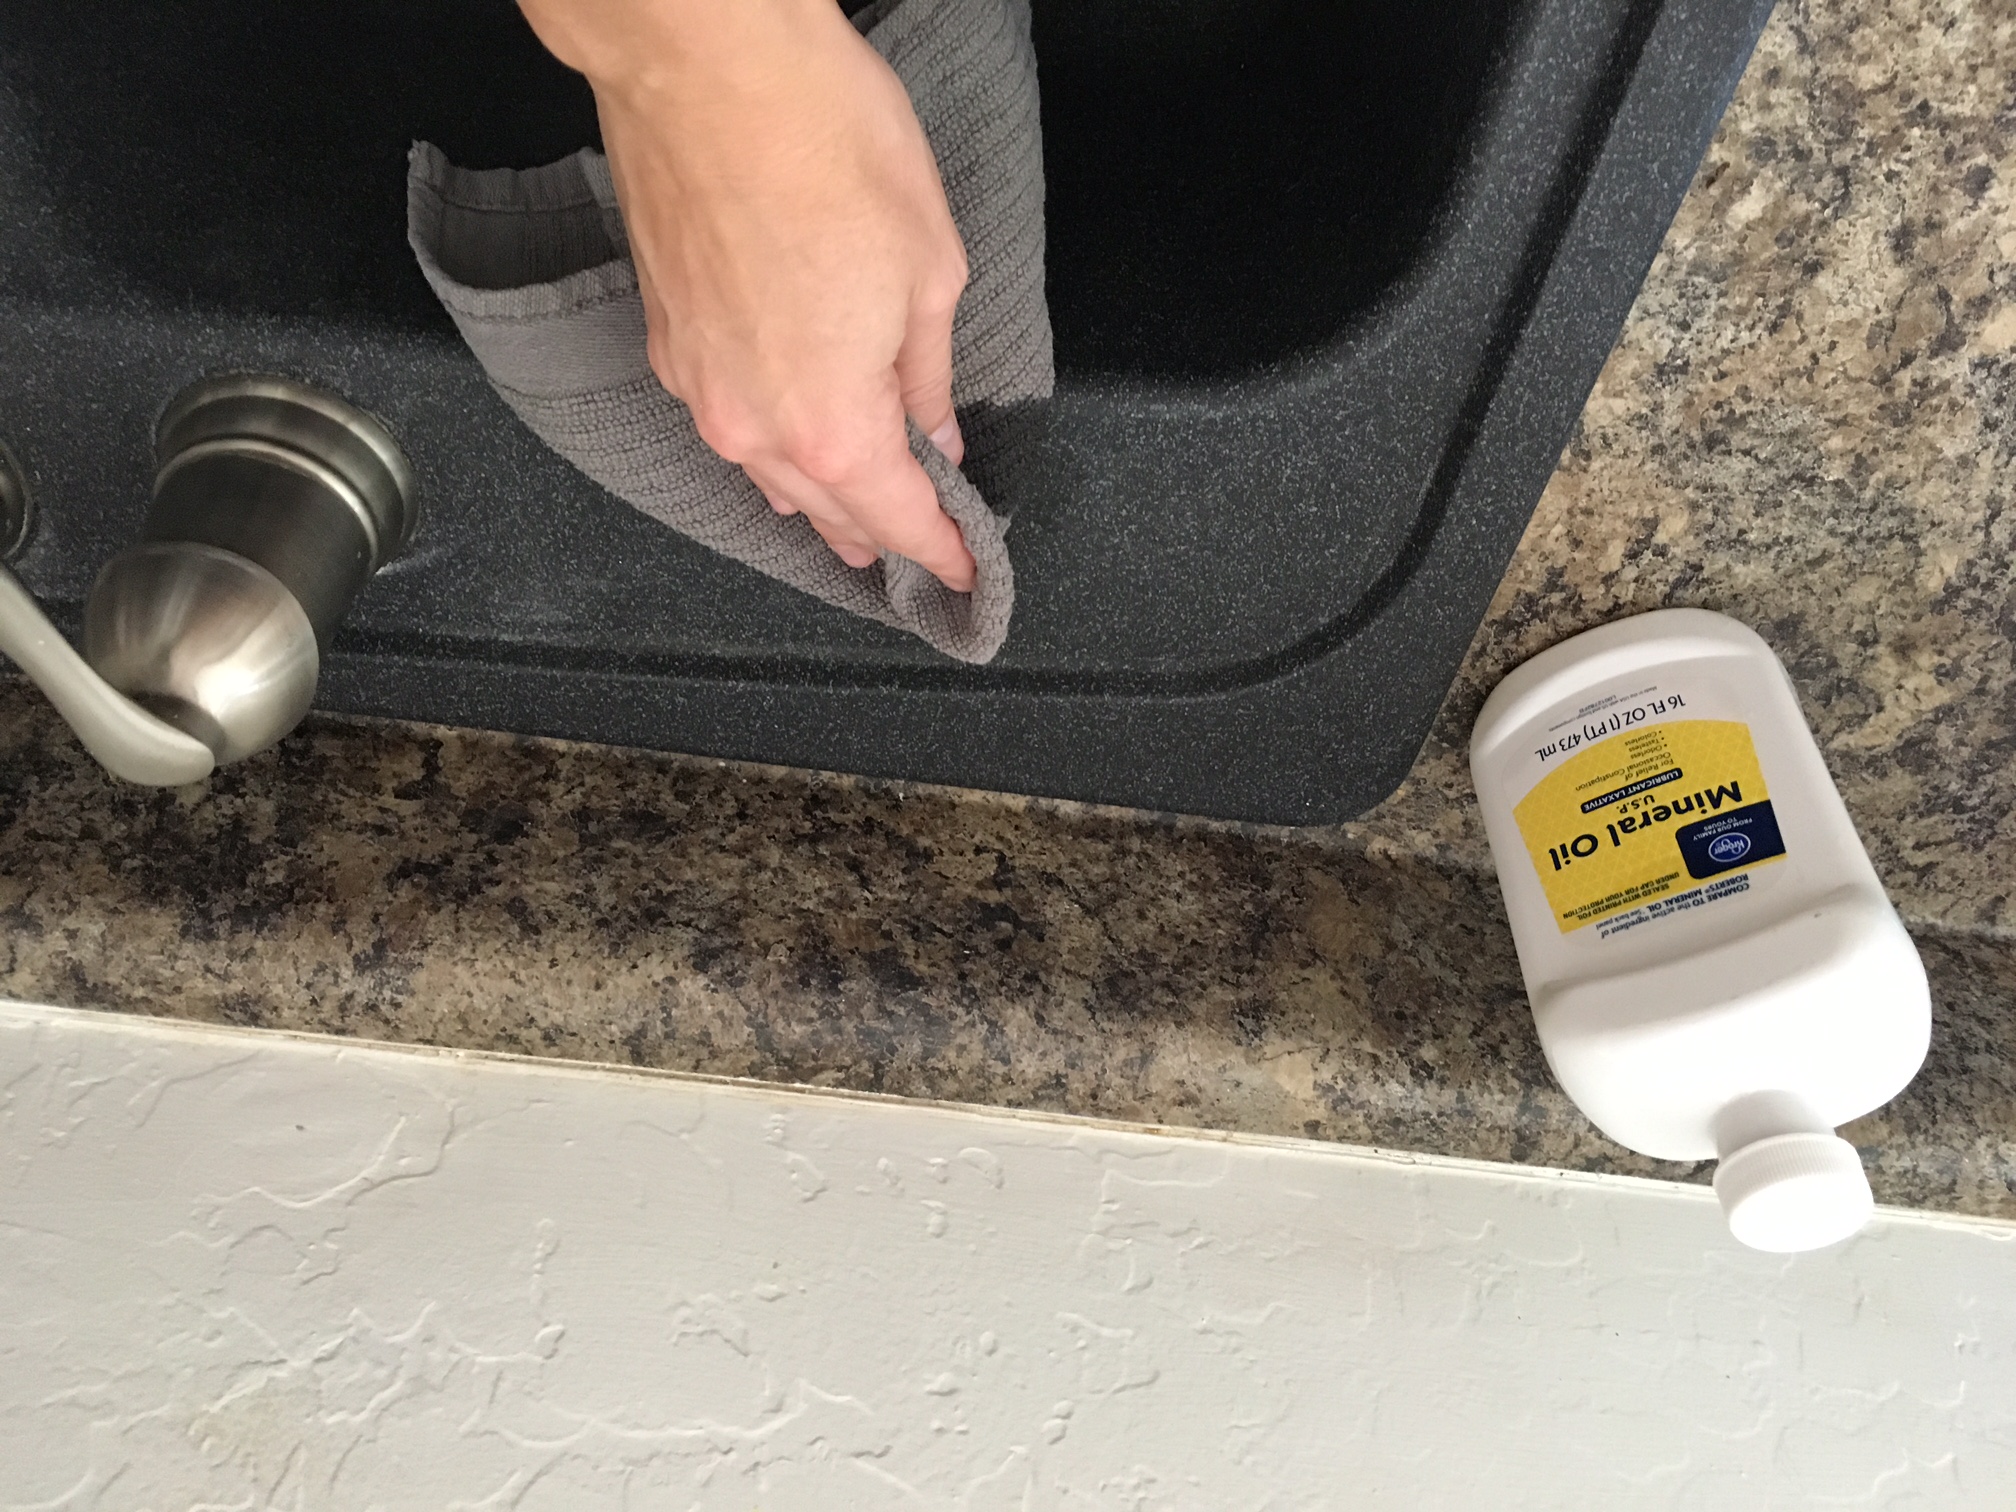
Sealing Kitchen Sink with Silicone
As mentioned earlier, silicone is a popular choice for sealing around kitchen sinks due to its waterproof and flexible properties. When using silicone, make sure to choose a high-quality, 100% silicone caulk. Follow the same steps as mentioned above for sealing the sink drain, making sure to create a continuous and smooth bead of sealant.


Sealing Kitchen Sink with Silicone


:max_bytes(150000):strip_icc()/caulk-gun-applying-silicone-to-granite-sink-backsplash-184836078-5a767e453de4230037d26779.jpg)
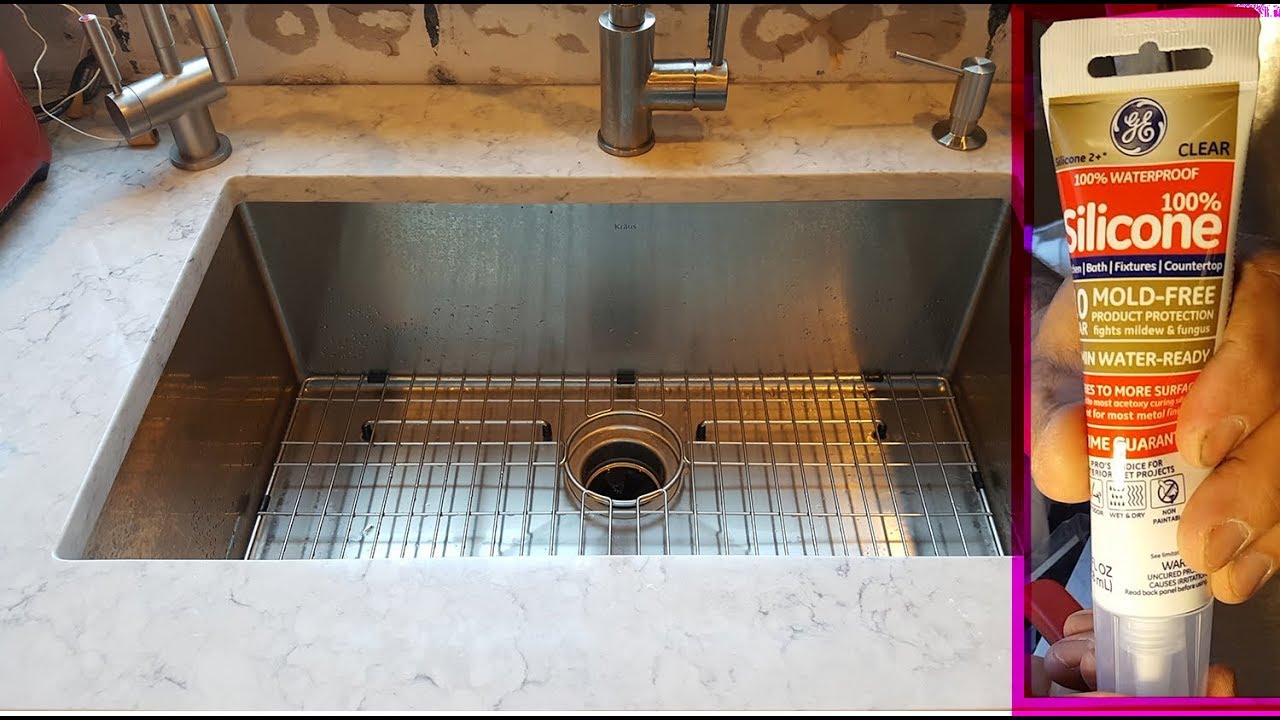
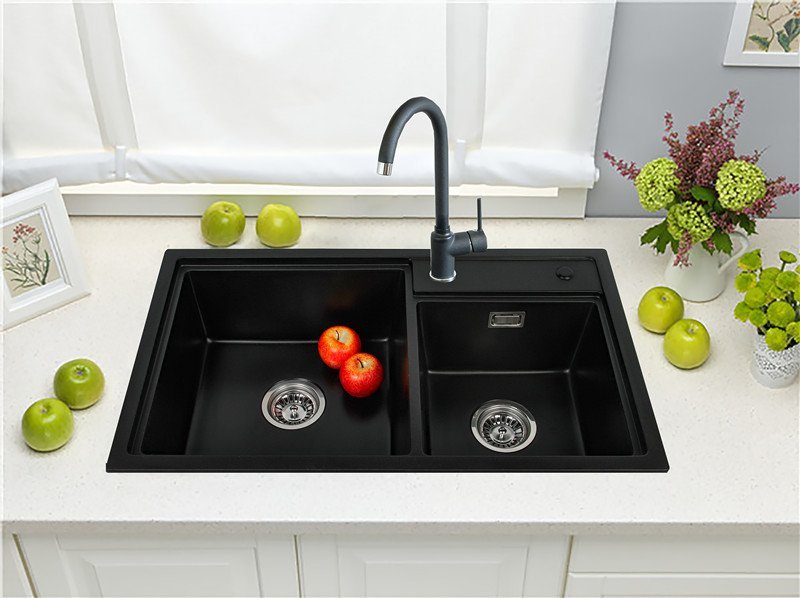
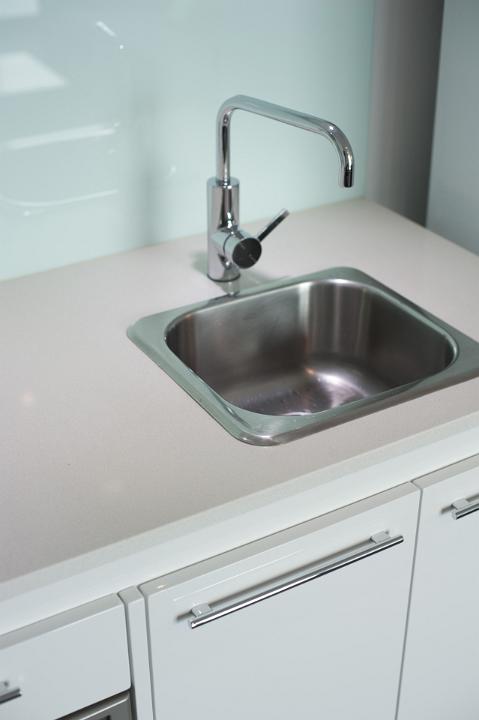
How to Seal a Stainless Steel Kitchen Sink
Stainless steel sinks are a popular choice for their durability and sleek appearance. To properly seal a stainless steel kitchen sink, use a clear silicone caulk specifically designed for use with stainless steel. Make sure to thoroughly clean and dry the area before applying the caulk, and use a caulk smoothing tool for a professional and watertight seal.


How to Seal a Stainless Steel Kitchen Sink


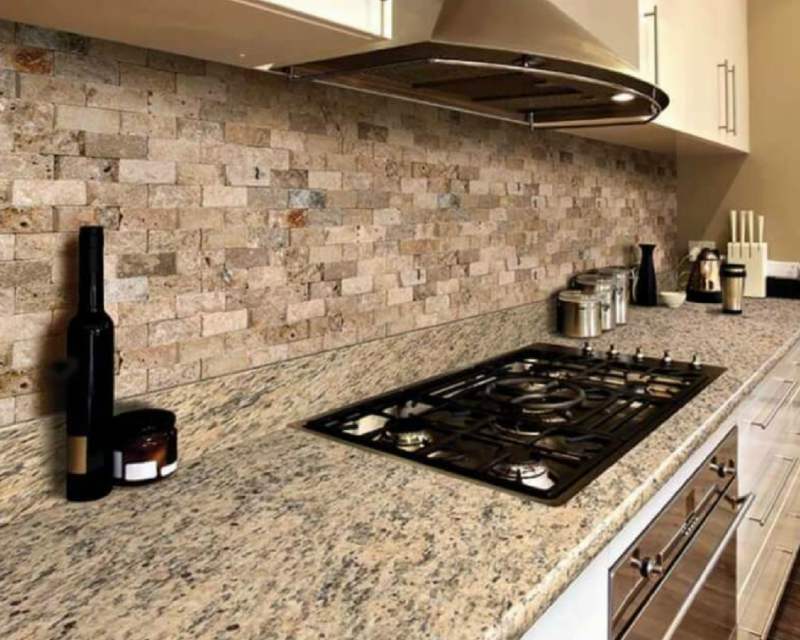
How to Seal a Granite Kitchen Sink
Granite sinks are a luxurious and durable option for any kitchen. When sealing around a granite sink, it is important to use a caulk or sealant that is safe for use on natural stone. Look for a clear, waterproof sealant that is specifically designed for use with granite. Apply the sealant in a continuous bead, making sure to fill any gaps or holes, and smooth it out for a seamless finish.

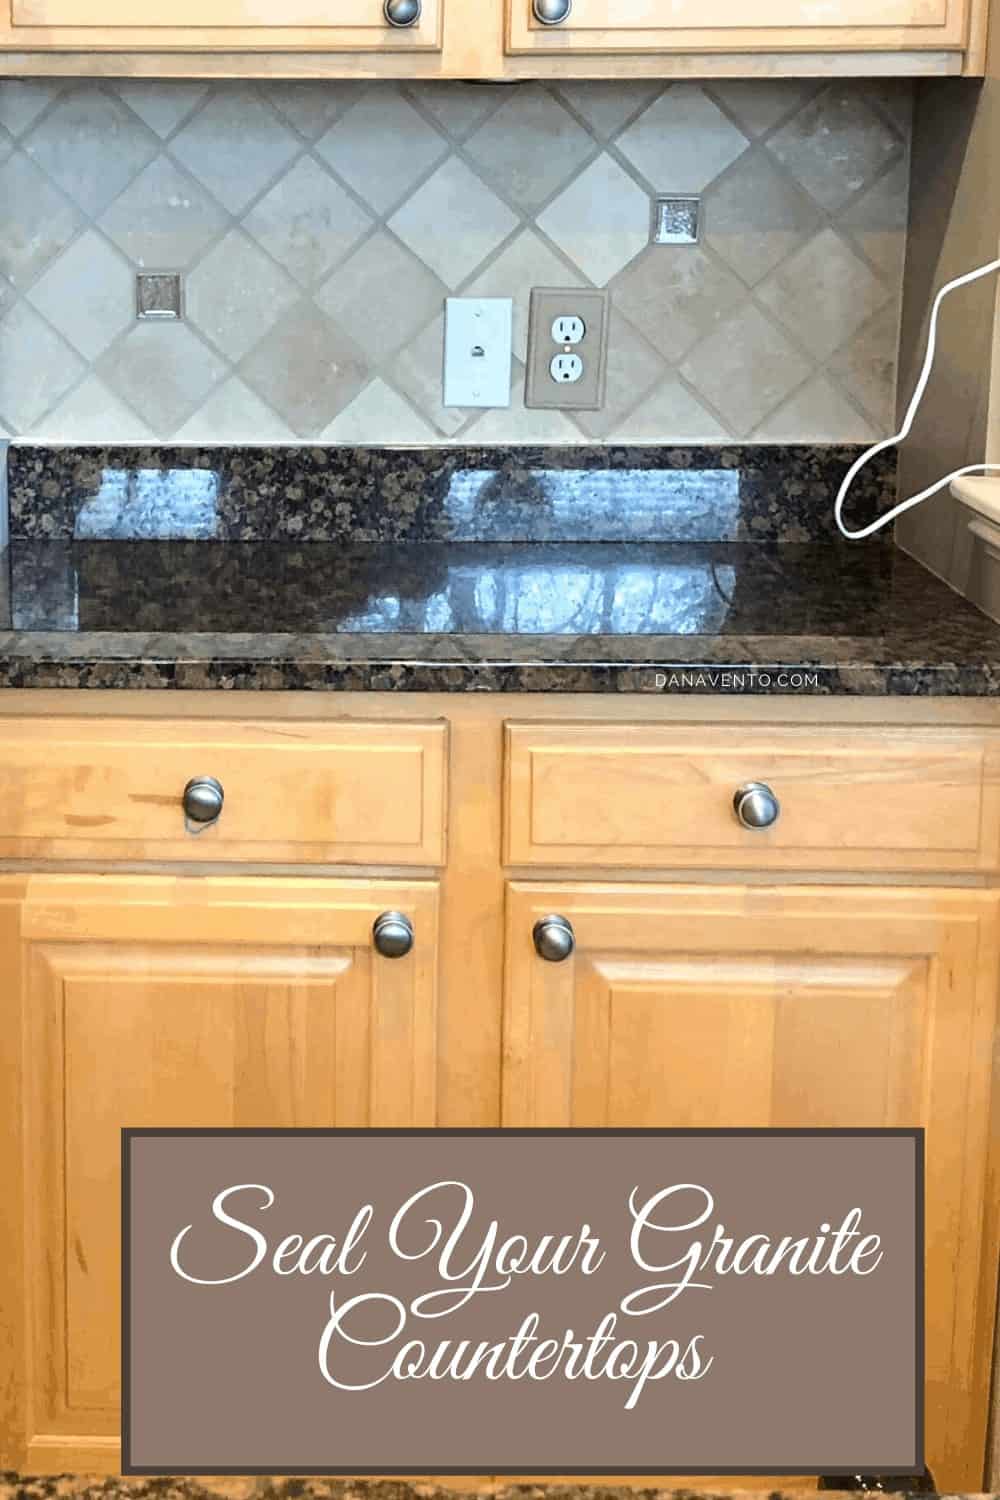
How to Seal a Granite Kitchen Sink


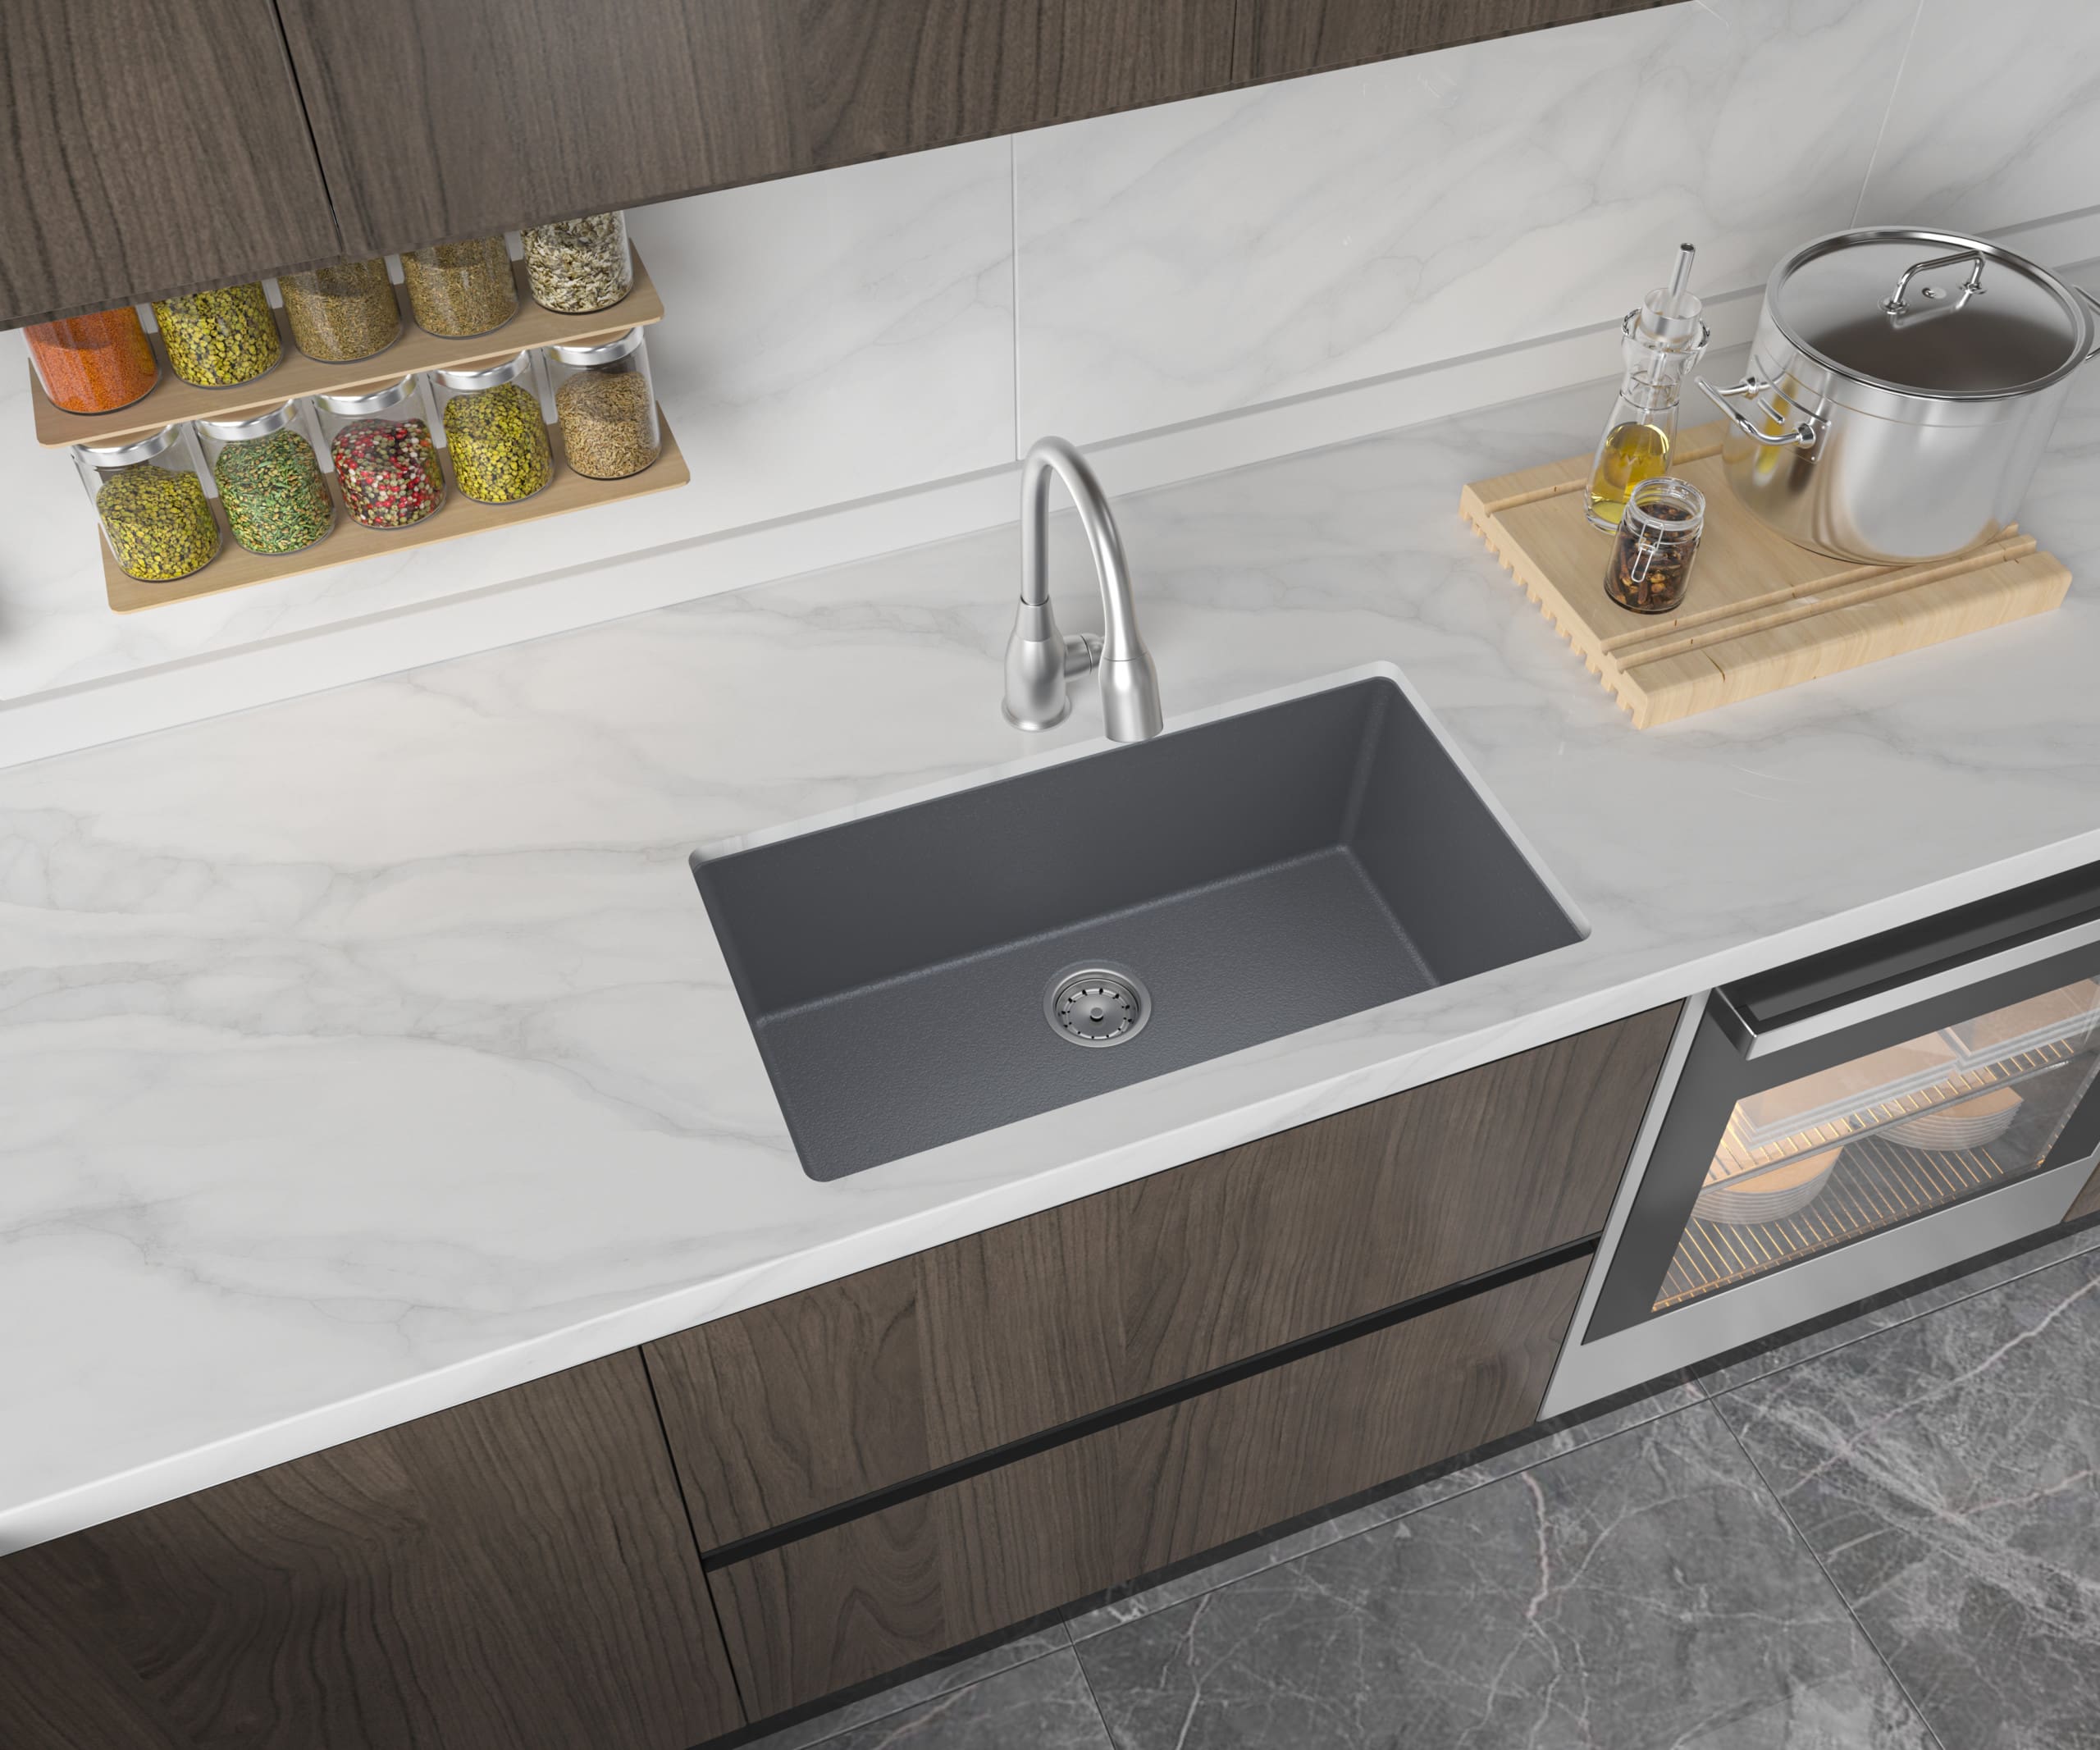
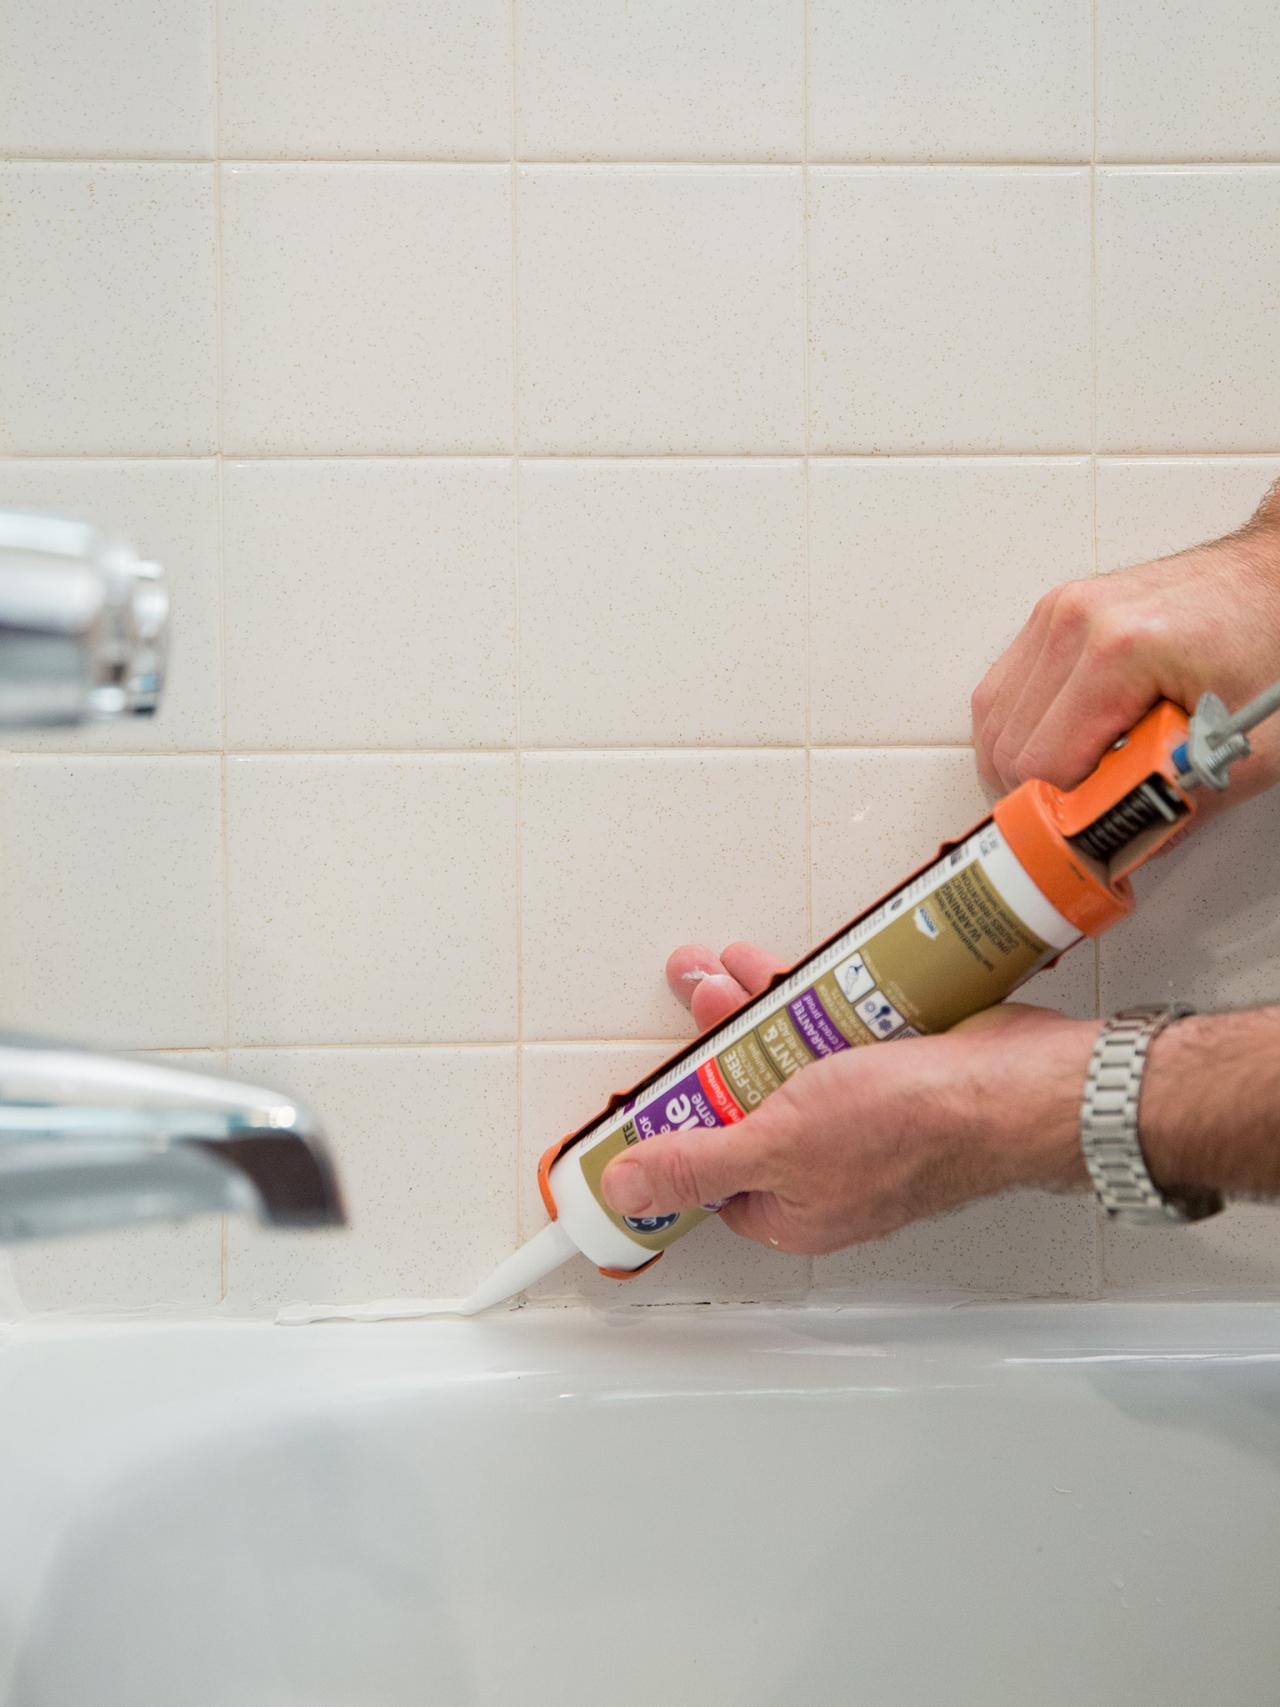
Sealing Kitchen Sink to Countertop
To prevent water and dirt from seeping under the sink and damaging your countertop, it is important to properly seal the sink to the countertop. Before installing the sink, make sure to clean and dry the area thoroughly. Apply a bead of silicone caulk around the edges of the sink where it will come in contact with the countertop. Carefully press the sink into place and wipe away any excess caulk.

Sealing Kitchen Sink to Countertop

How to Seal a Farmhouse Kitchen Sink
Farmhouse sinks are a beautiful and functional addition to any kitchen. Properly sealing a farmhouse sink is similar to sealing any other type of sink, but it is important to make sure the sealant is compatible with the materials of the sink, such as porcelain or fireclay. Follow the same steps as mentioned above, making sure to use a caulk or sealant that is safe for use with your specific farmhouse sink.


How to Seal a Farmhouse Kitchen Sink


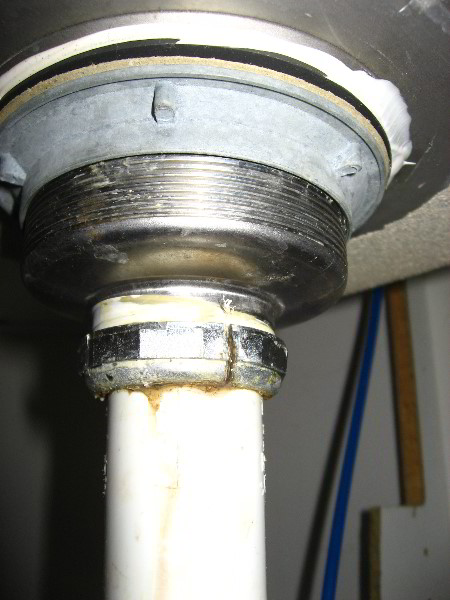
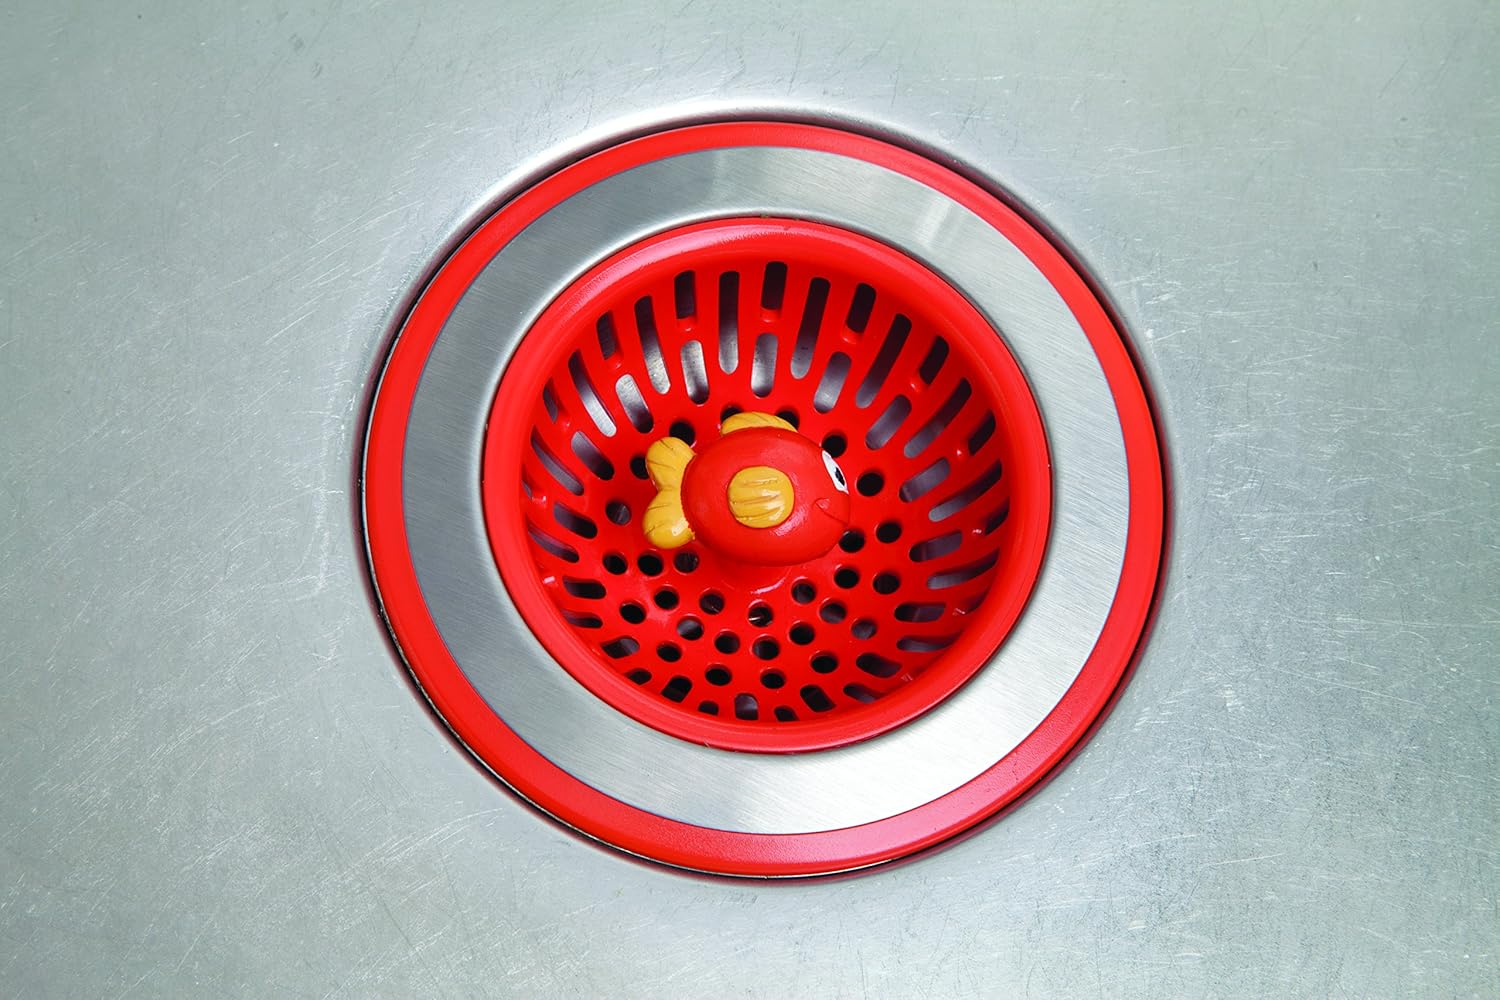
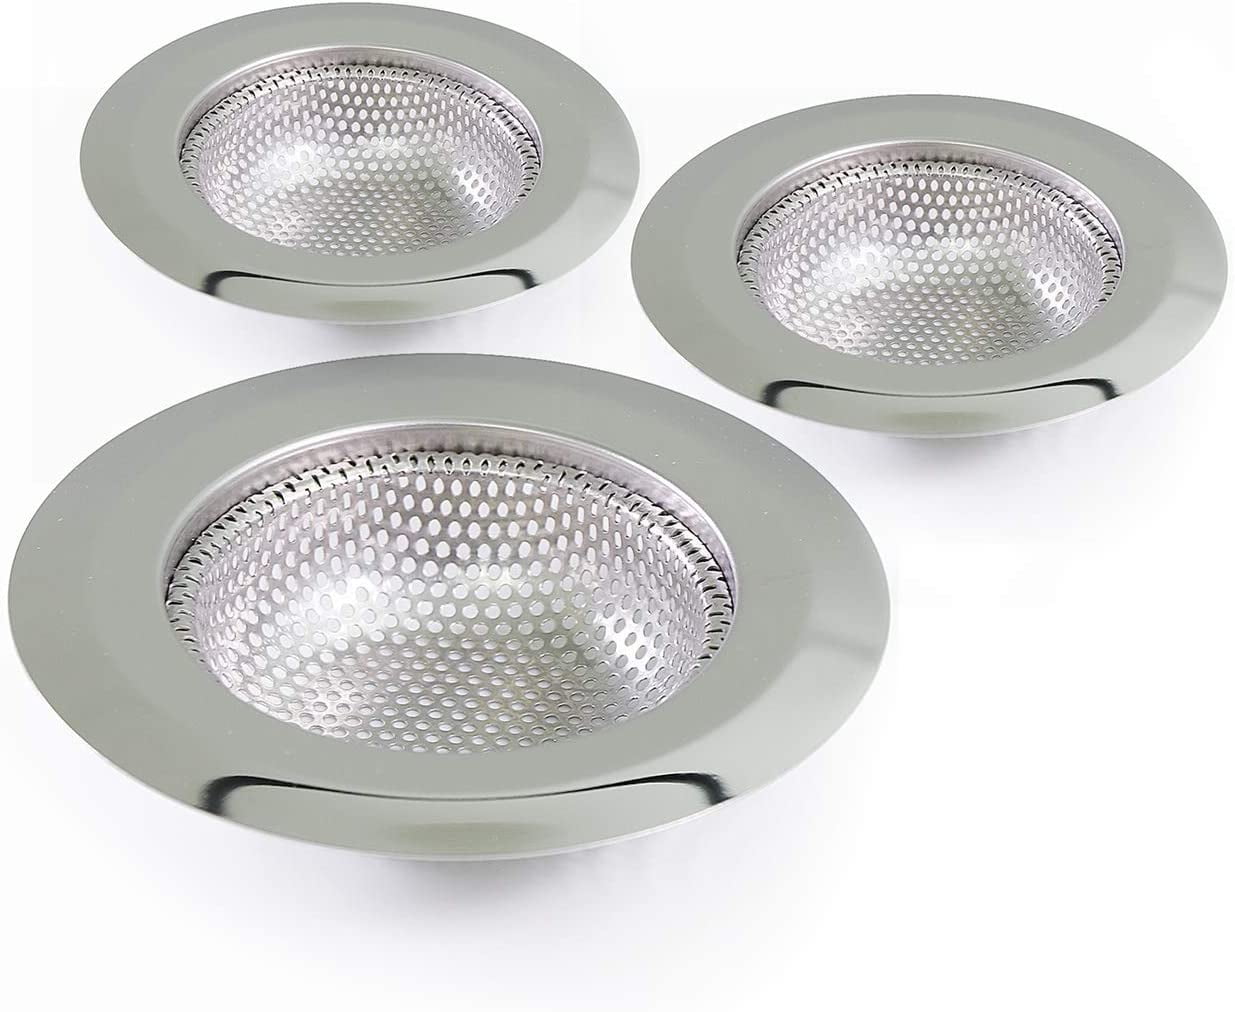
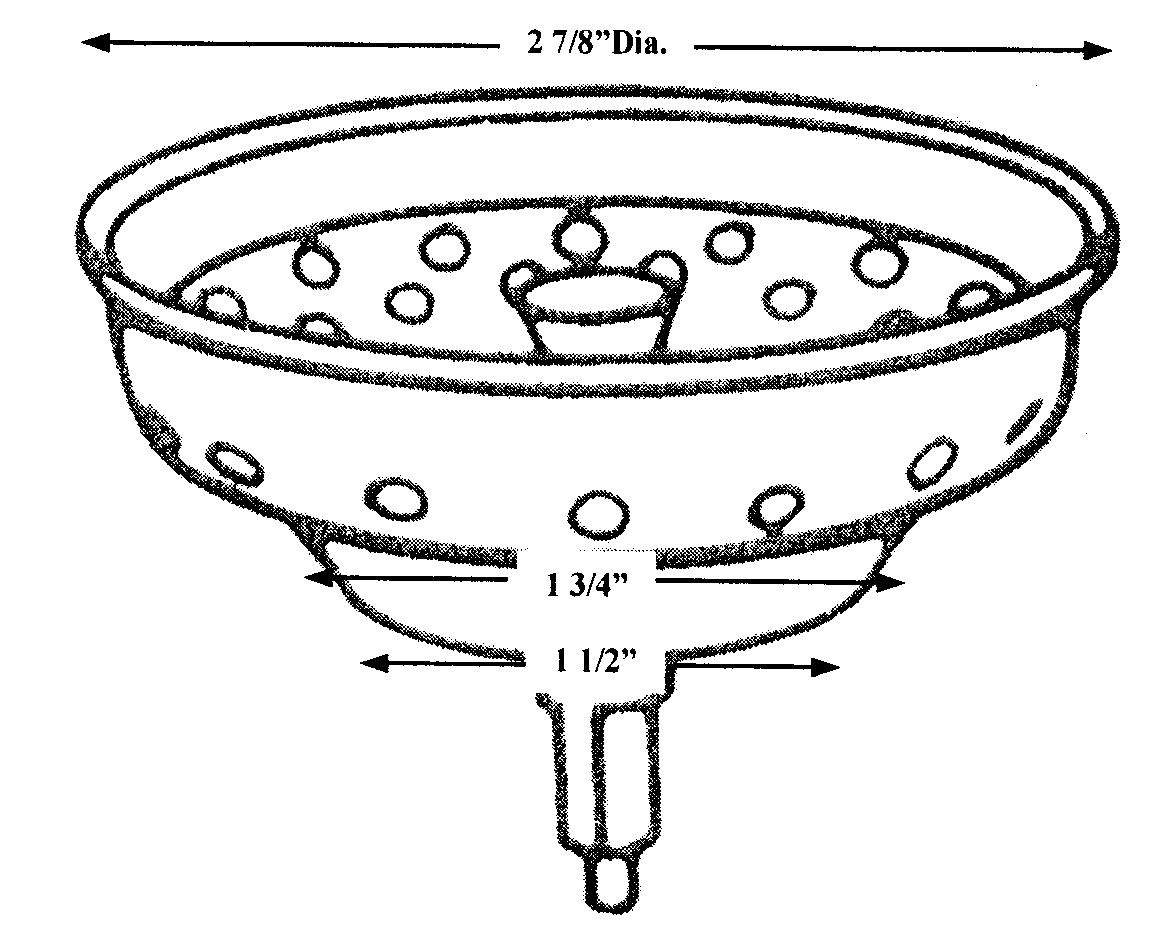
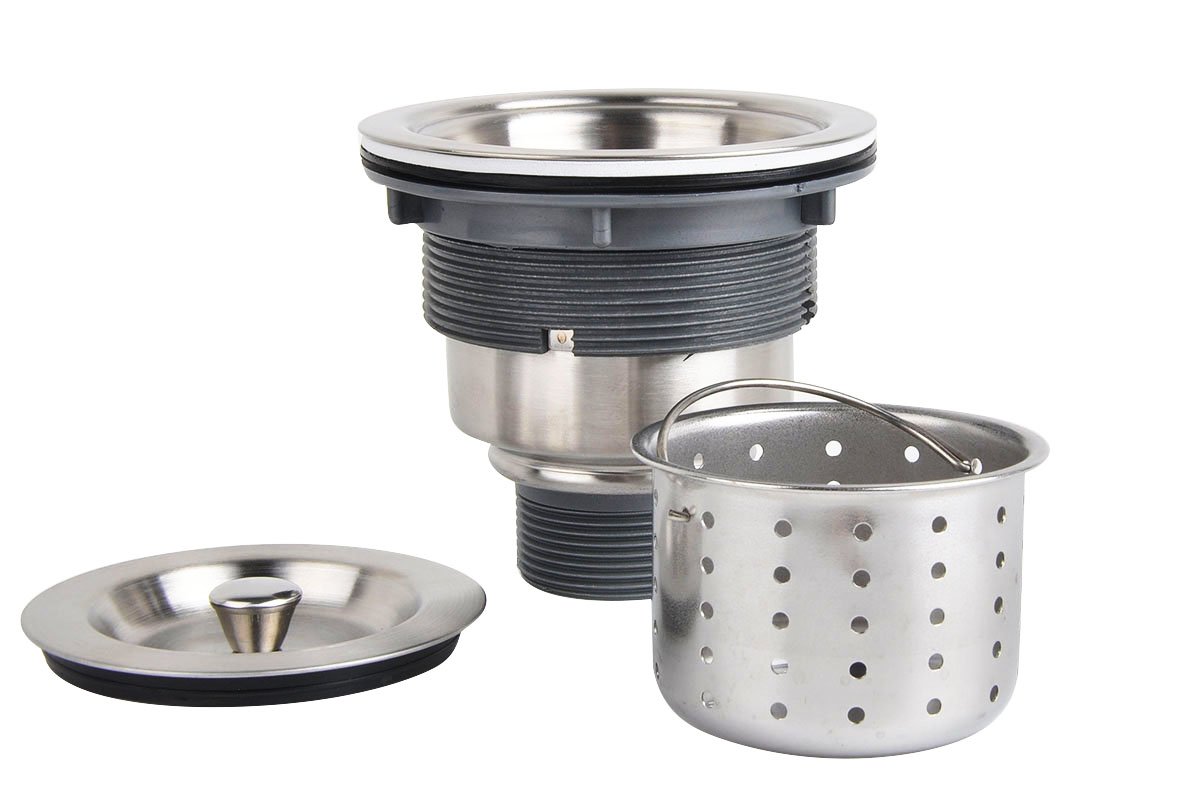
Sealing Kitchen Sink Strainer Basket
The strainer basket in a kitchen sink is an important component to prevent food and debris from clogging the drain. To properly seal the strainer basket, apply a thin layer of plumber's putty around the edges before installing it into the sink. This will create a watertight seal and prevent any potential leaks.


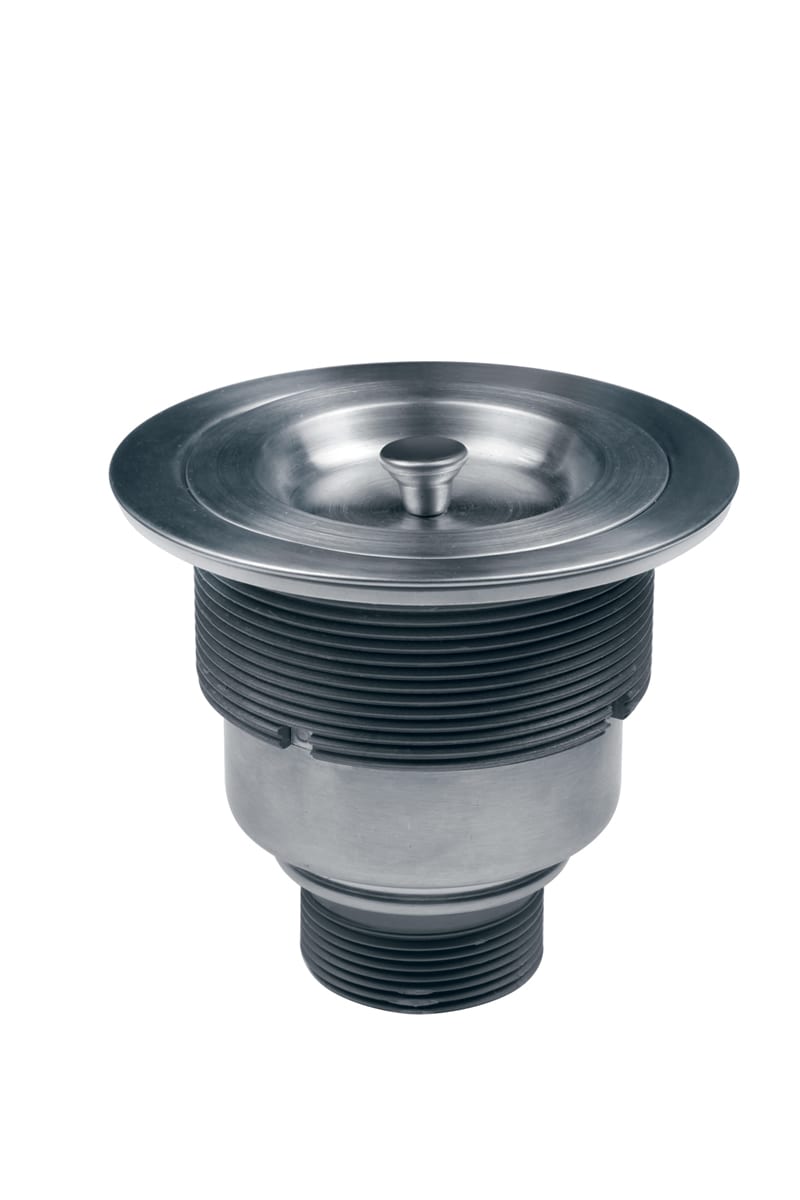
Sealing Kitchen Sink Strainer Basket


Why Proper Sealing Around Kitchen Sink is Essential for a Functional and Beautiful Kitchen

The Importance of a Well-Sealed Kitchen Sink
 Proper sealing around a kitchen sink is crucial for both functional and aesthetic reasons. A well-sealed sink prevents water and food particles from seeping into the surrounding area, which can lead to costly water damage and mold growth. It also helps to keep the kitchen clean and hygienic, as any spills or splashes can easily be wiped away without worrying about it seeping into the cabinets or countertops. Additionally, a well-sealed sink adds to the overall aesthetic of the kitchen, creating a neat and polished look.
Choosing the Right Sealing Material
 When it comes to sealing around a kitchen sink, it's important to choose the right material.
Silicone caulk
is a popular choice as it is waterproof and flexible, making it easy to apply and mold to the shape of the sink. It also comes in a variety of colors to match your kitchen's design. Another option is
plumber's putty
, which is a clay-like substance that is also waterproof and durable. However, it can stain porous surfaces and should not be used on marble or granite countertops.
When it comes to sealing around a kitchen sink, it's important to choose the right material.
Silicone caulk
is a popular choice as it is waterproof and flexible, making it easy to apply and mold to the shape of the sink. It also comes in a variety of colors to match your kitchen's design. Another option is
plumber's putty
, which is a clay-like substance that is also waterproof and durable. However, it can stain porous surfaces and should not be used on marble or granite countertops.
The Sealing Process
 To ensure a proper seal, it's important to
clean and dry
the area around the sink before applying any sealing material. Any debris or moisture can compromise the seal and lead to future problems. Next, apply the chosen sealing material along the
edges of the sink
, using a caulk gun or putty knife. Make sure to fill any gaps or cracks completely, and smooth out the material for a neat finish. Finally,
let the sealant dry
according to the manufacturer's instructions before using the sink.
To ensure a proper seal, it's important to
clean and dry
the area around the sink before applying any sealing material. Any debris or moisture can compromise the seal and lead to future problems. Next, apply the chosen sealing material along the
edges of the sink
, using a caulk gun or putty knife. Make sure to fill any gaps or cracks completely, and smooth out the material for a neat finish. Finally,
let the sealant dry
according to the manufacturer's instructions before using the sink.
Maintaining the Seal
 To keep the seal around your kitchen sink in good condition, it's important to
regularly clean and inspect
it. Wipe down the sealant with a mild cleaner and a soft cloth, and look for any signs of wear or damage. If you notice any cracks or gaps,
reapply the sealing material
to maintain its effectiveness. It's also important to
avoid using harsh chemicals
such as bleach or ammonia, as they can deteriorate the sealant over time.
To keep the seal around your kitchen sink in good condition, it's important to
regularly clean and inspect
it. Wipe down the sealant with a mild cleaner and a soft cloth, and look for any signs of wear or damage. If you notice any cracks or gaps,
reapply the sealing material
to maintain its effectiveness. It's also important to
avoid using harsh chemicals
such as bleach or ammonia, as they can deteriorate the sealant over time.
In Conclusion
 Properly sealing a kitchen sink is a vital step in creating a functional and beautiful kitchen. Not only does it protect against water damage and keep the kitchen clean, but it also adds to the overall design aesthetic. By choosing the right sealing material, following the proper sealing process, and regularly maintaining the seal, you can ensure a long-lasting and effective seal around your kitchen sink.