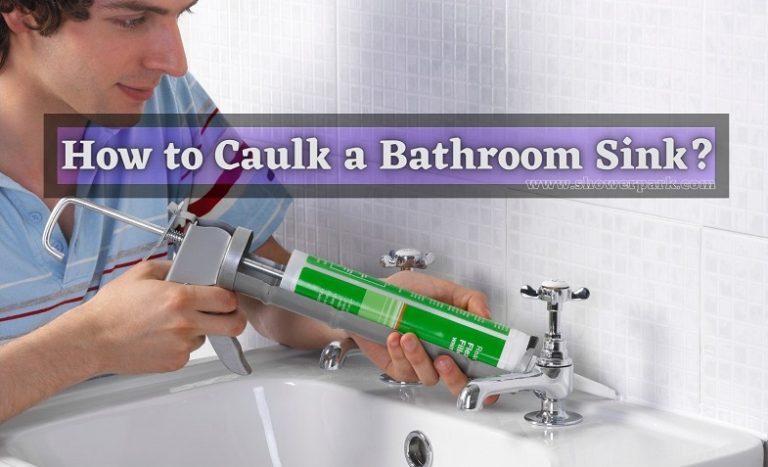
Sealant for bathroom sinks is an essential product for keeping your sink and countertop in good condition. With daily use, water and other liquids can seep into the cracks and crevices around your sink, leading to mold, mildew, and even structural damage. That's why it's important to choose the right sealant for your bathroom sink. In this article, we'll discuss the different types of sealants available and how to choose the best one for your needs.1. Sealant for Bathroom Sink: Choosing the Right One for Your Needs


Sealant for Bathroom Sink


A waterproof seal is crucial for bathroom sink areas, as this is where the most water exposure occurs in a bathroom. Without proper sealing, water can seep into the edges and cause damage to the sink, countertop, and even the surrounding walls. Look for a sealant that specifically states it is waterproof and can withstand constant exposure to water.2. Waterproof Seal for Bathroom Sink: Protecting Against Water Damage


Waterproof Seal for Bathroom Sink
:max_bytes(150000):strip_icc()/caulk-gun-applying-silicone-to-granite-sink-backsplash-184836078-5a767e453de4230037d26779.jpg)


If you're looking for a budget-friendly option for sealing your bathroom sink, caulk is a great choice. It's easy to apply, dries quickly, and is resistant to water and mold. However, keep in mind that caulk may need to be reapplied every few years, as it can shrink and crack over time.3. Bathroom Sink Caulk: An Affordable and Effective Option


Bathroom Sink Caulk


.jpg)


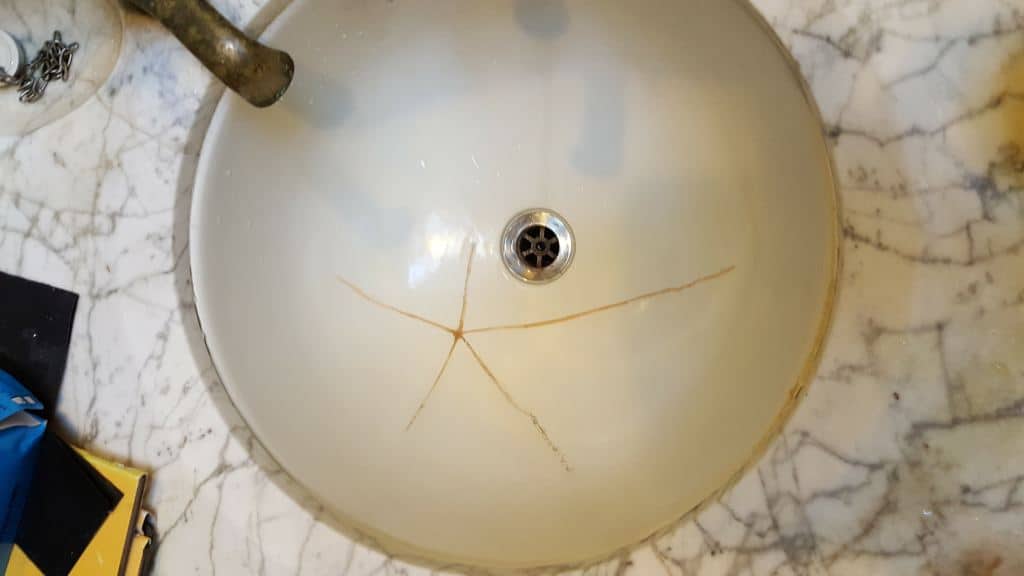
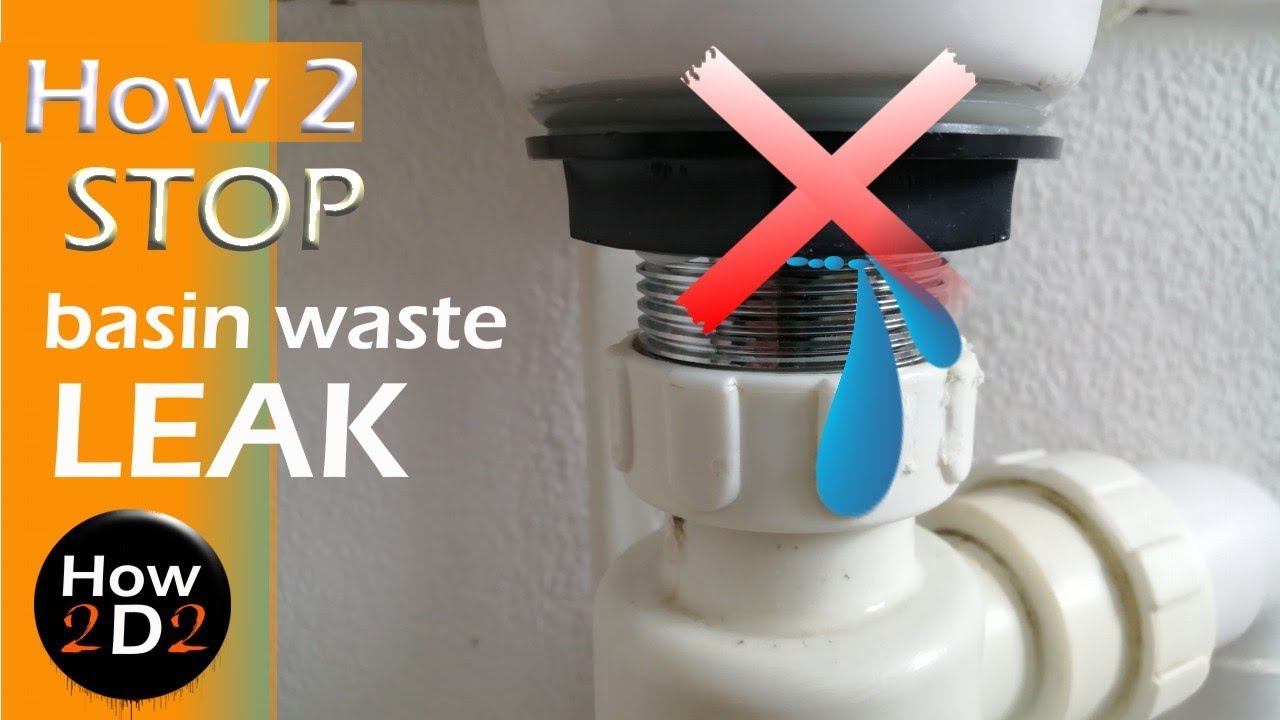
If you've noticed that your bathroom sink seal has become damaged or is no longer doing its job effectively, it's important to repair it as soon as possible. This will not only prevent further damage but also keep your bathroom looking clean and well-maintained. Look for seal repair products that are specifically designed for bathroom sinks and follow the instructions carefully for the best results.4. Bathroom Sink Seal Repair: Fixing Existing Damage


Bathroom Sink Seal Repair


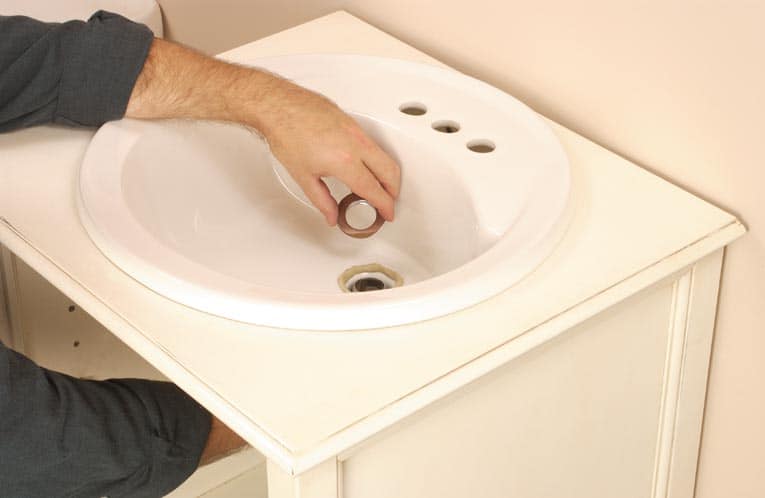


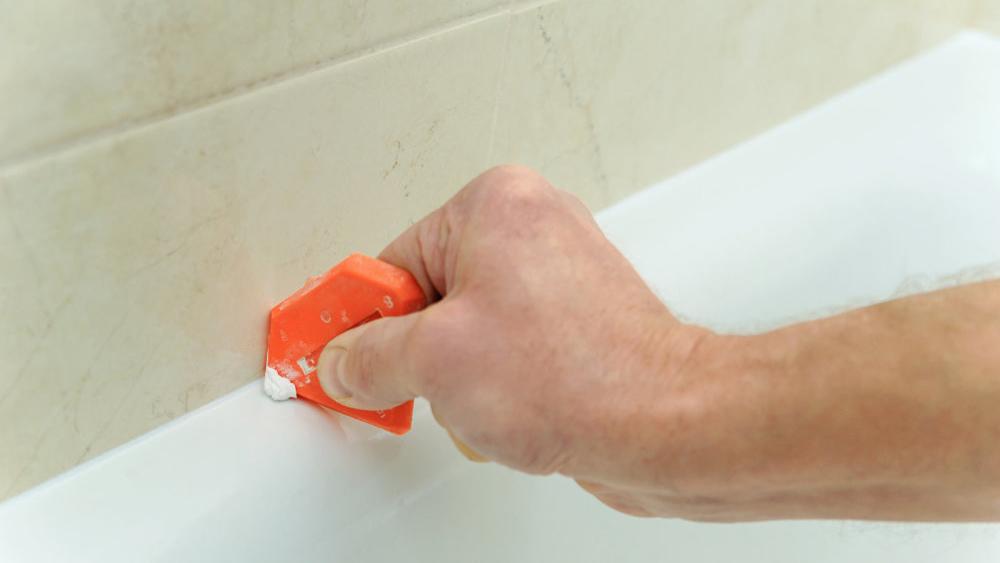
If you're a DIY enthusiast, you may want to tackle the task of sealing your bathroom sink yourself. While it may seem intimidating, it's actually a fairly simple process. Start by cleaning the area thoroughly and removing any old sealant. Then, apply the new sealant using a caulking gun and smooth it out with a putty knife. Allow it to dry completely before using the sink again.5. How to Seal a Bathroom Sink: A Step-by-Step Guide


How to Seal a Bathroom Sink


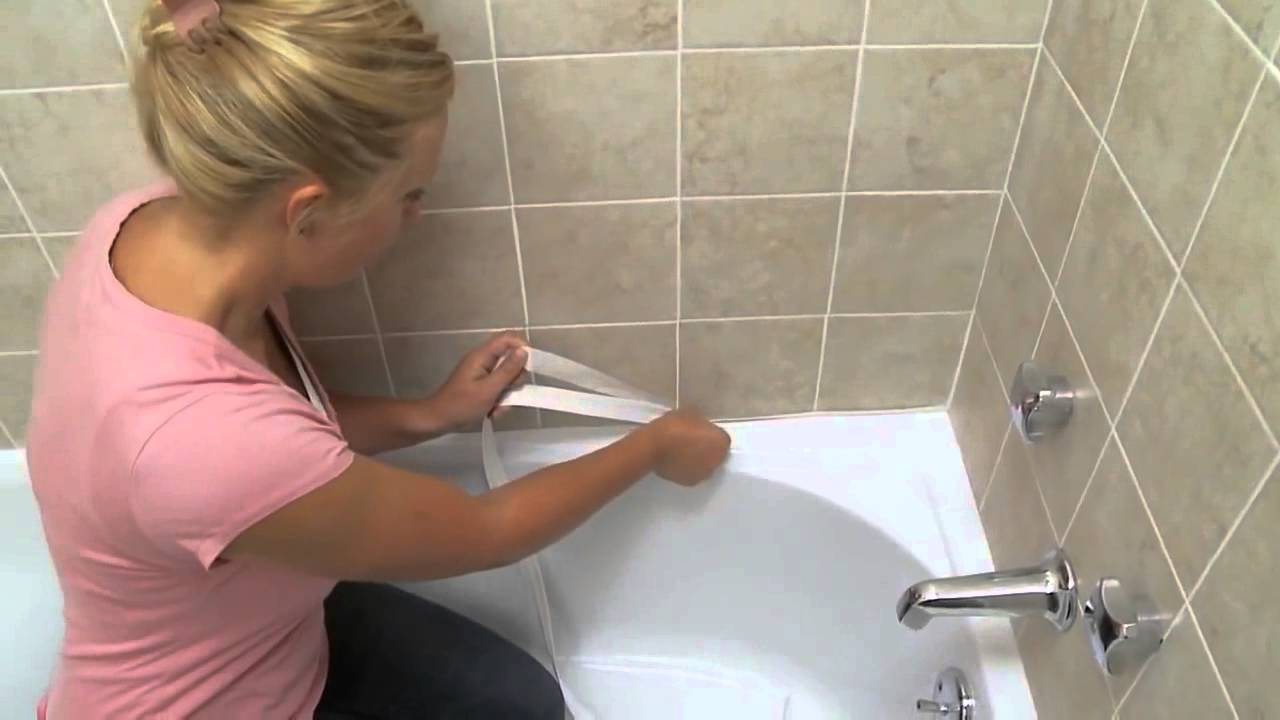
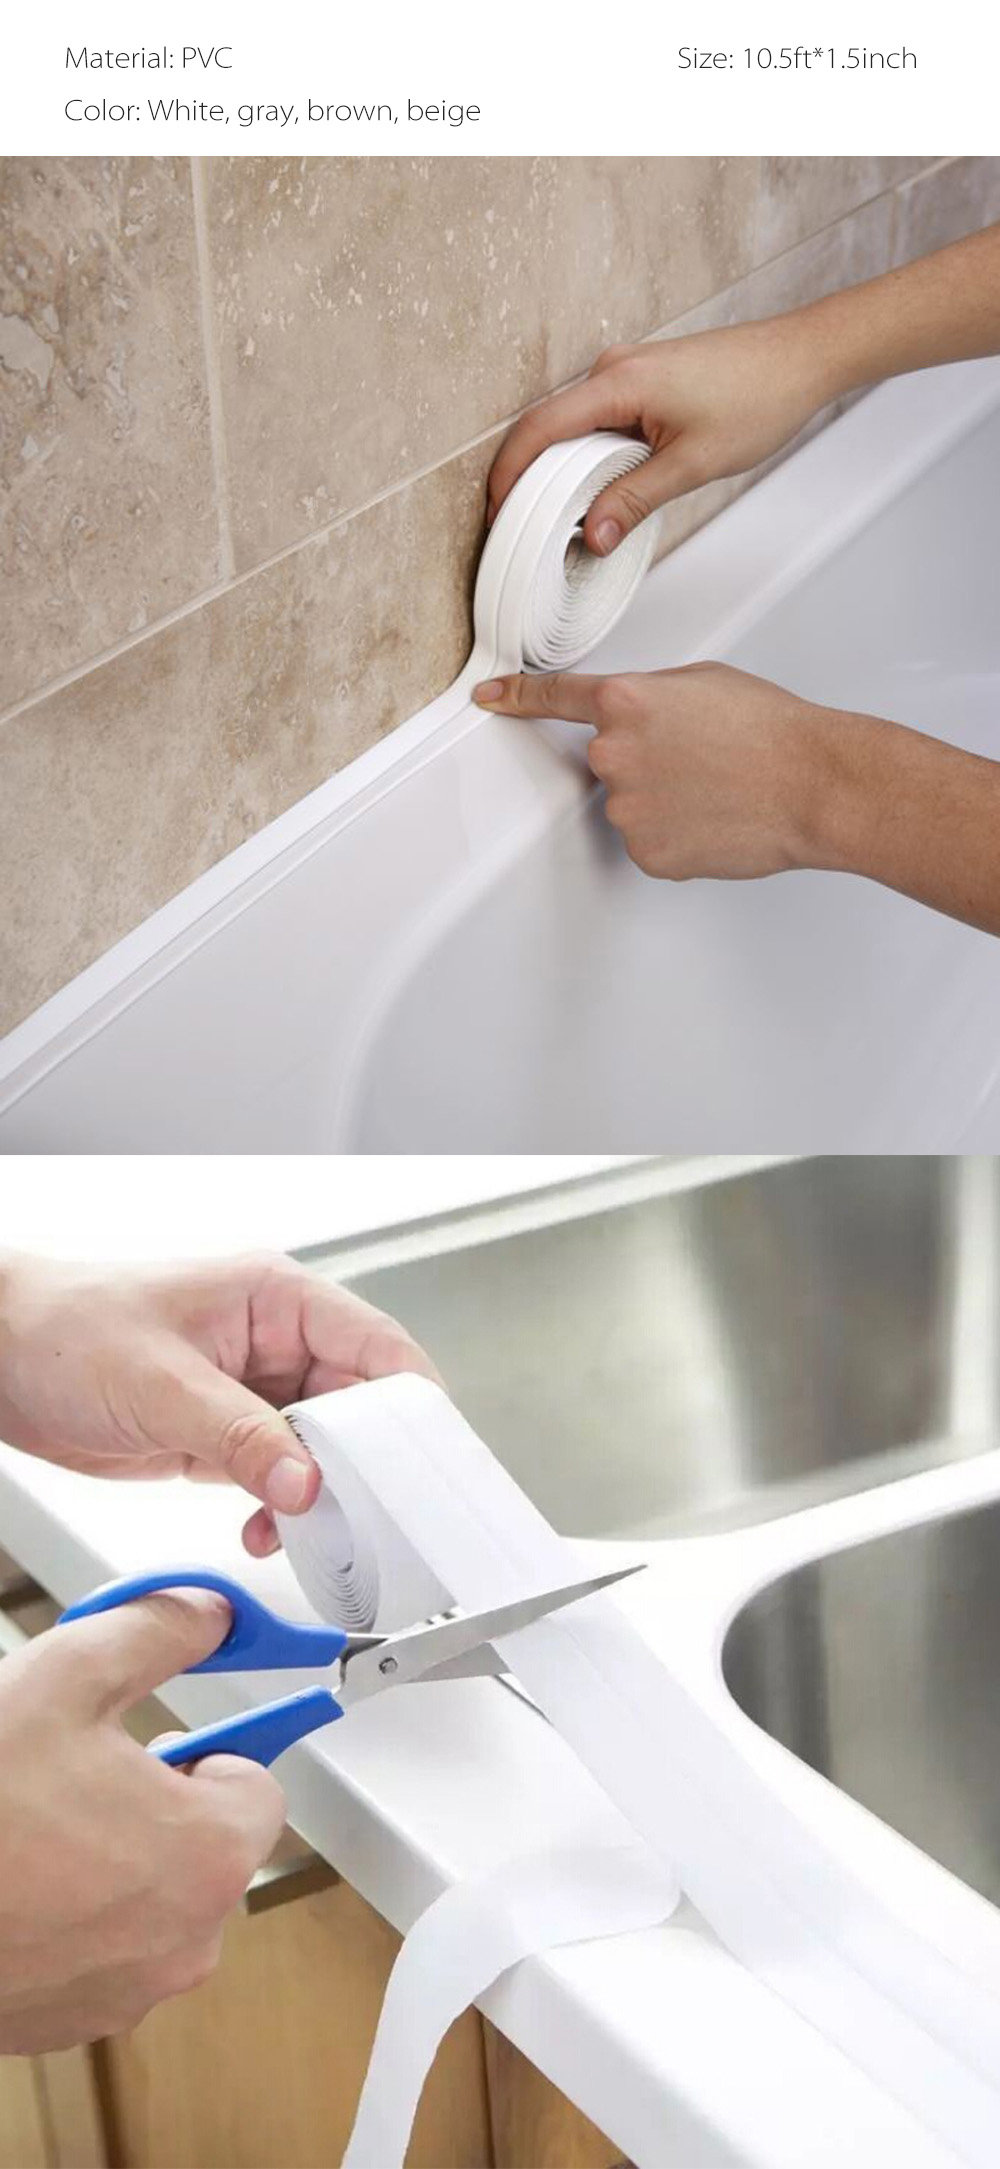
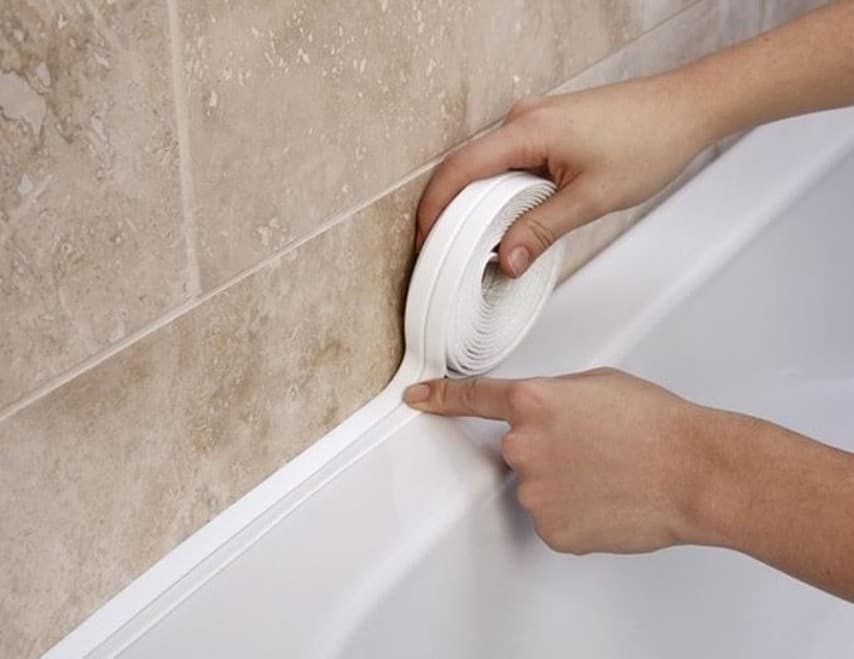
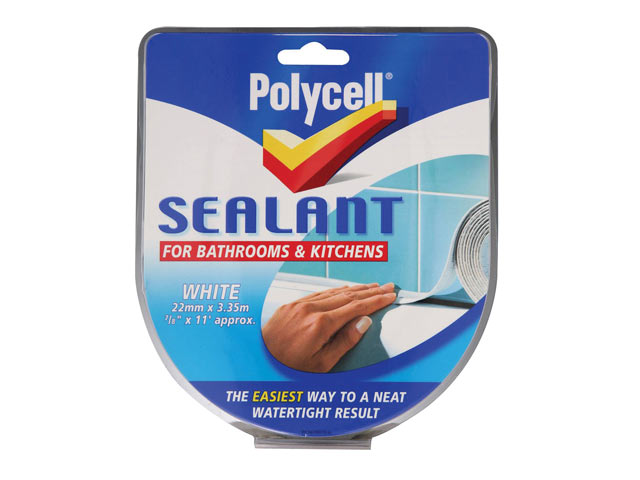
If you're looking for a mess-free and convenient option for sealing your bathroom sink, consider using sealant tape. This self-adhesive tape is easy to apply and can be cut to fit the specific shape of your sink. It's also waterproof and mold-resistant, making it a great choice for high-moisture areas.6. Bathroom Sink Sealant Tape: A Convenient Alternative

Bathroom Sink Sealant Tape


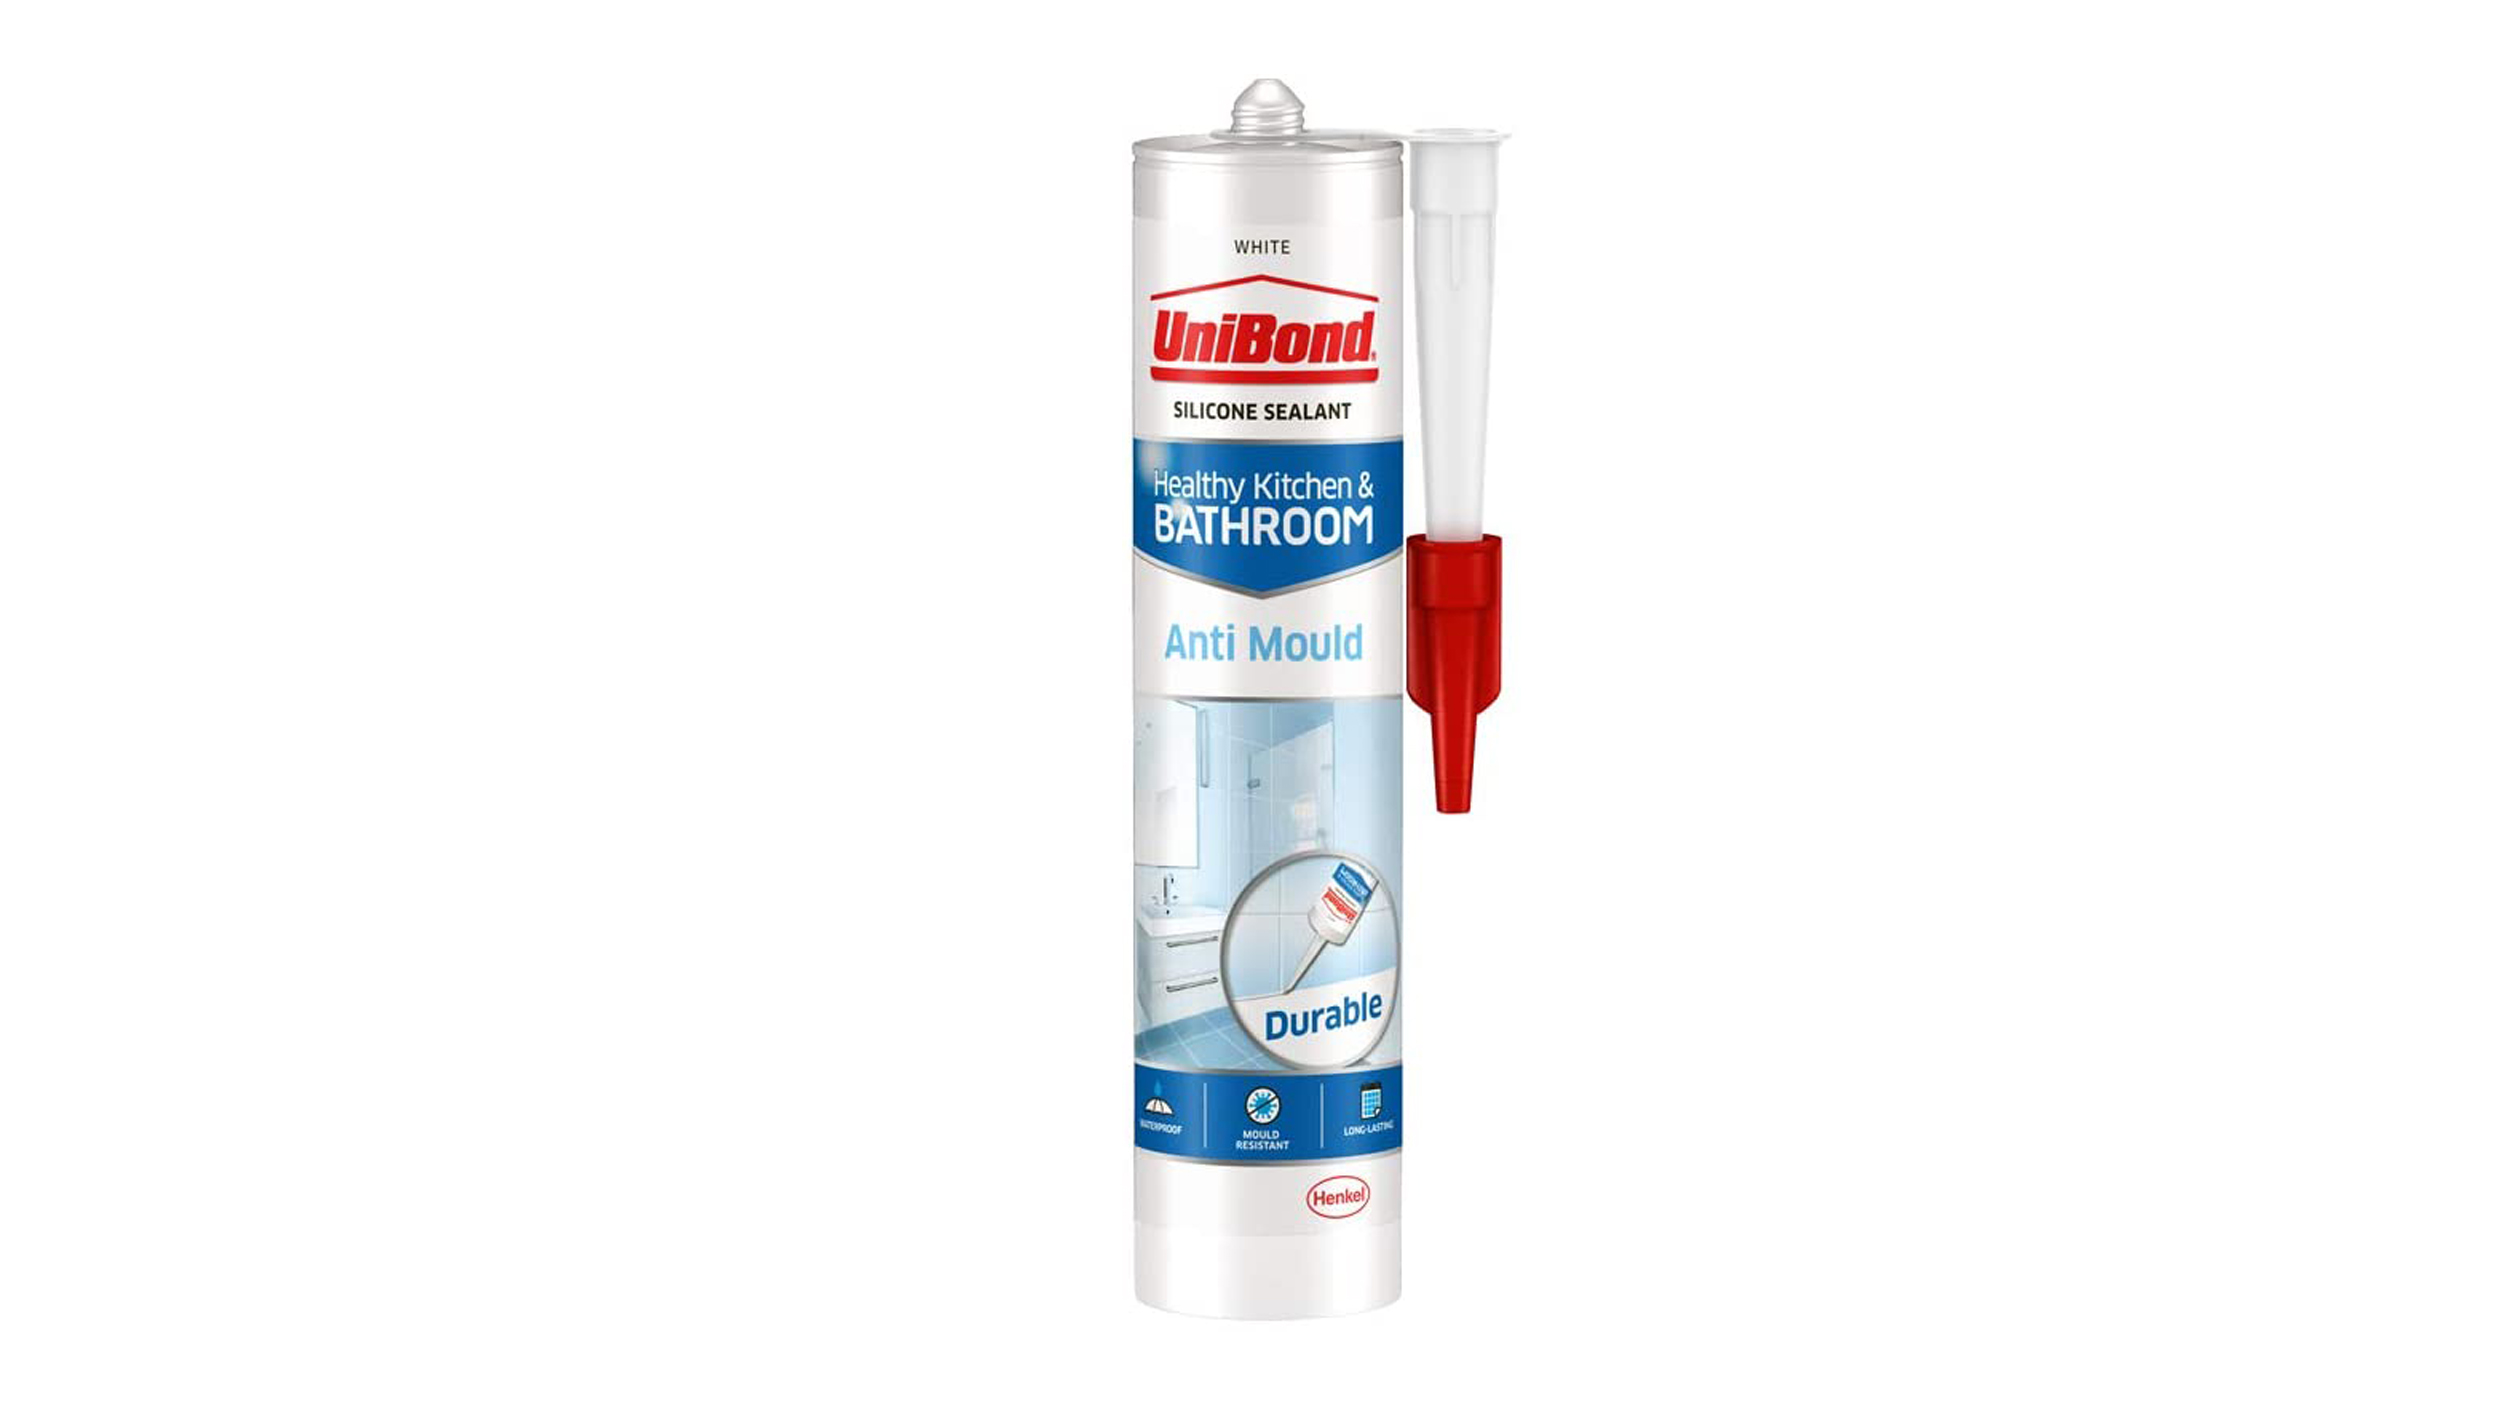
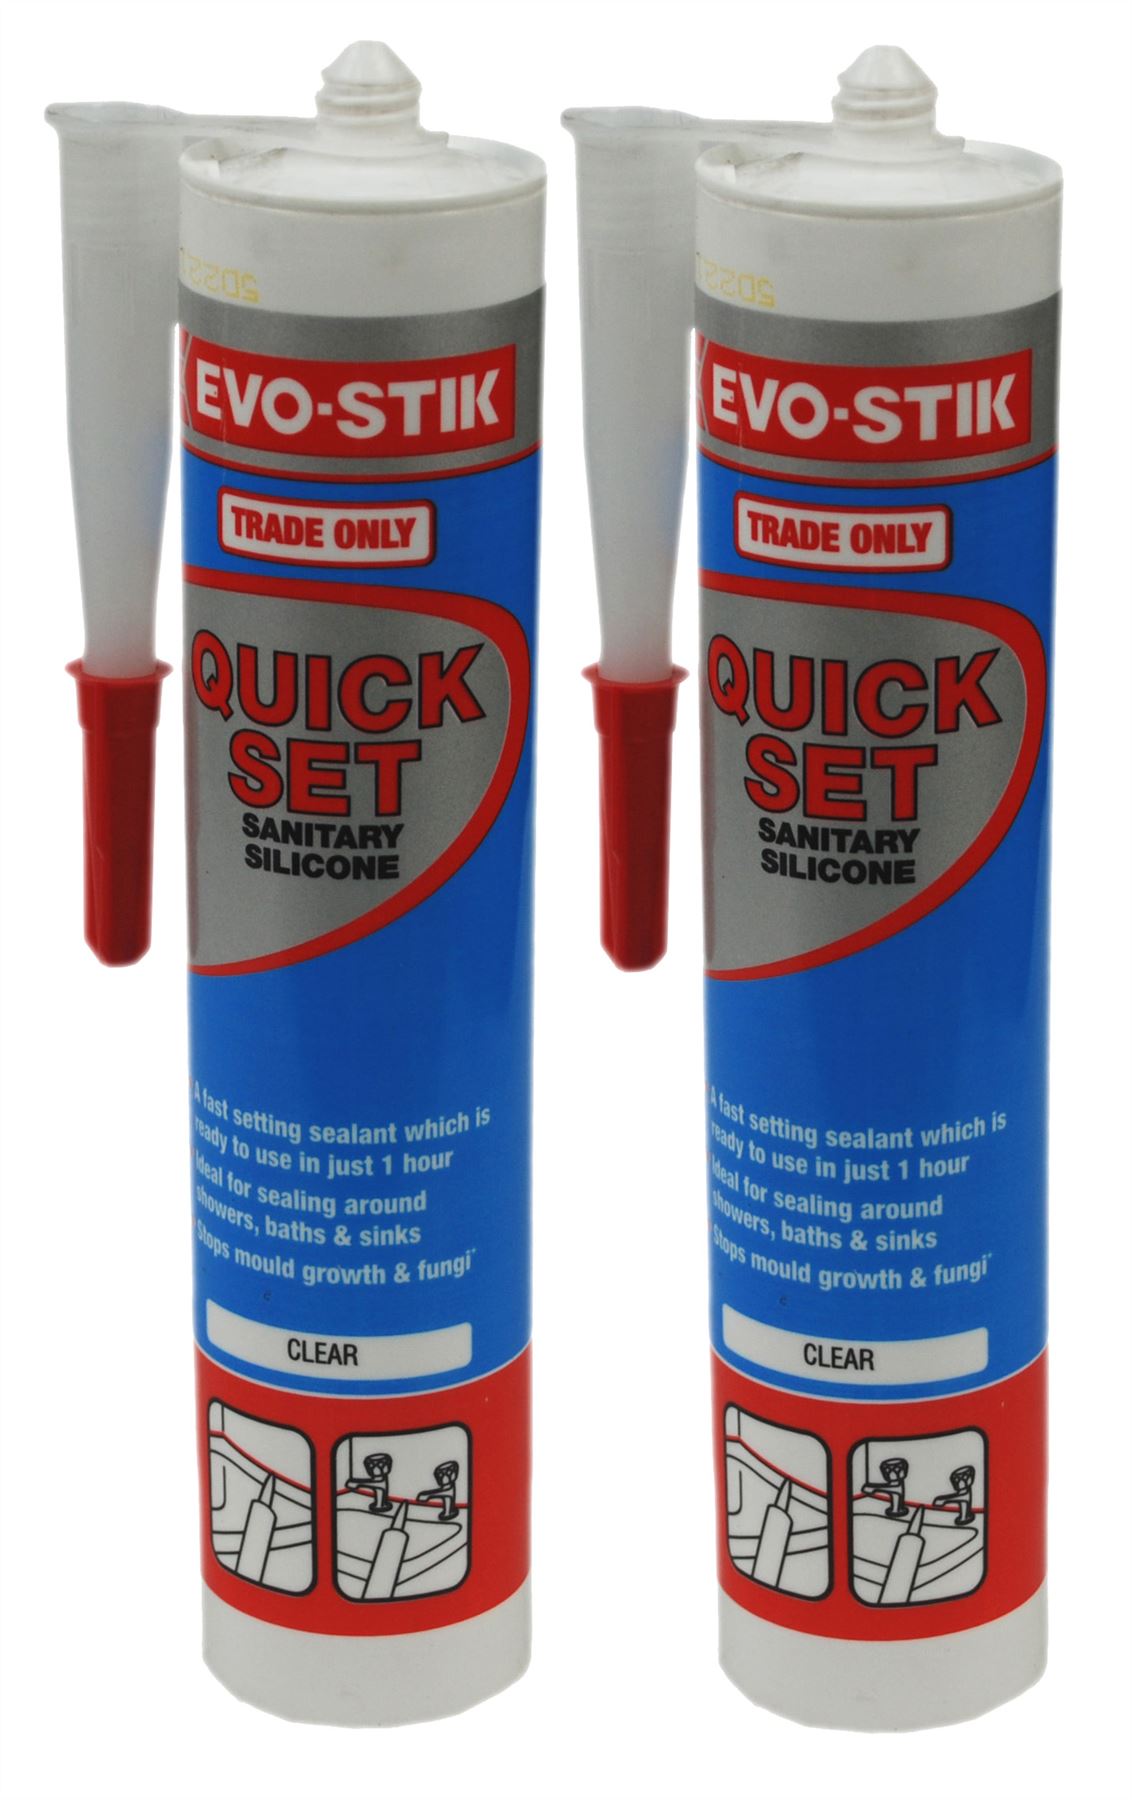
With so many options on the market, it can be overwhelming to choose the best sealant for your bathroom sink. To help you out, we've compiled a list of our top picks based on effectiveness, durability, and ease of use. Some popular options include silicone sealants, silicone caulk, and polyurethane sealants.7. Best Sealant for Bathroom Sink: Our Top Picks


Best Sealant for Bathroom Sink


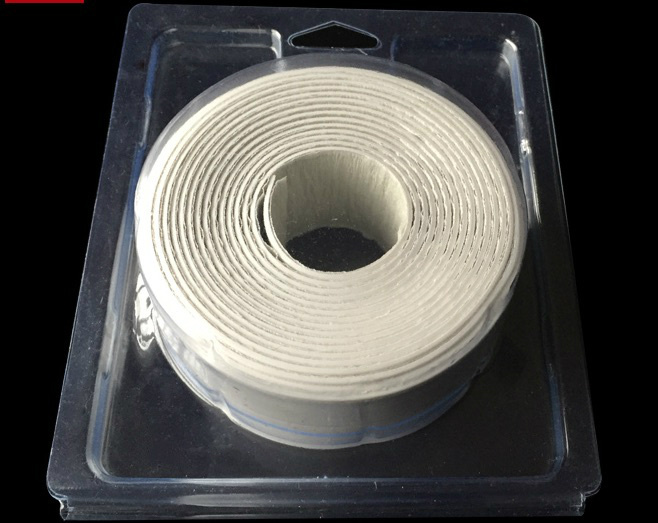
If you've noticed small cracks or gaps around your bathroom sink, sealant strips can be a quick and easy solution. These pre-cut strips can be applied directly to the affected area, providing a watertight seal and preventing further damage. However, keep in mind that they may not be as effective for larger cracks or gaps.8. Bathroom Sink Sealant Strips: A Quick Fix for Small Cracks

Bathroom Sink Sealant Strips


Before applying a new sealant to your bathroom sink, it's important to remove any old sealant residue. This will ensure that the new sealant adheres properly and provides a tight seal. Look for a sealant remover that is specifically designed for use in bathrooms and follow the instructions carefully.9. Bathroom Sink Sealant Remover: Getting Rid of Old Sealant


Bathroom Sink Sealant Remover

:max_bytes(150000):strip_icc()/how-to-remove-old-caulk-1824827-01-3d0370c59e124dbbaa6560c68bab111c.jpg)


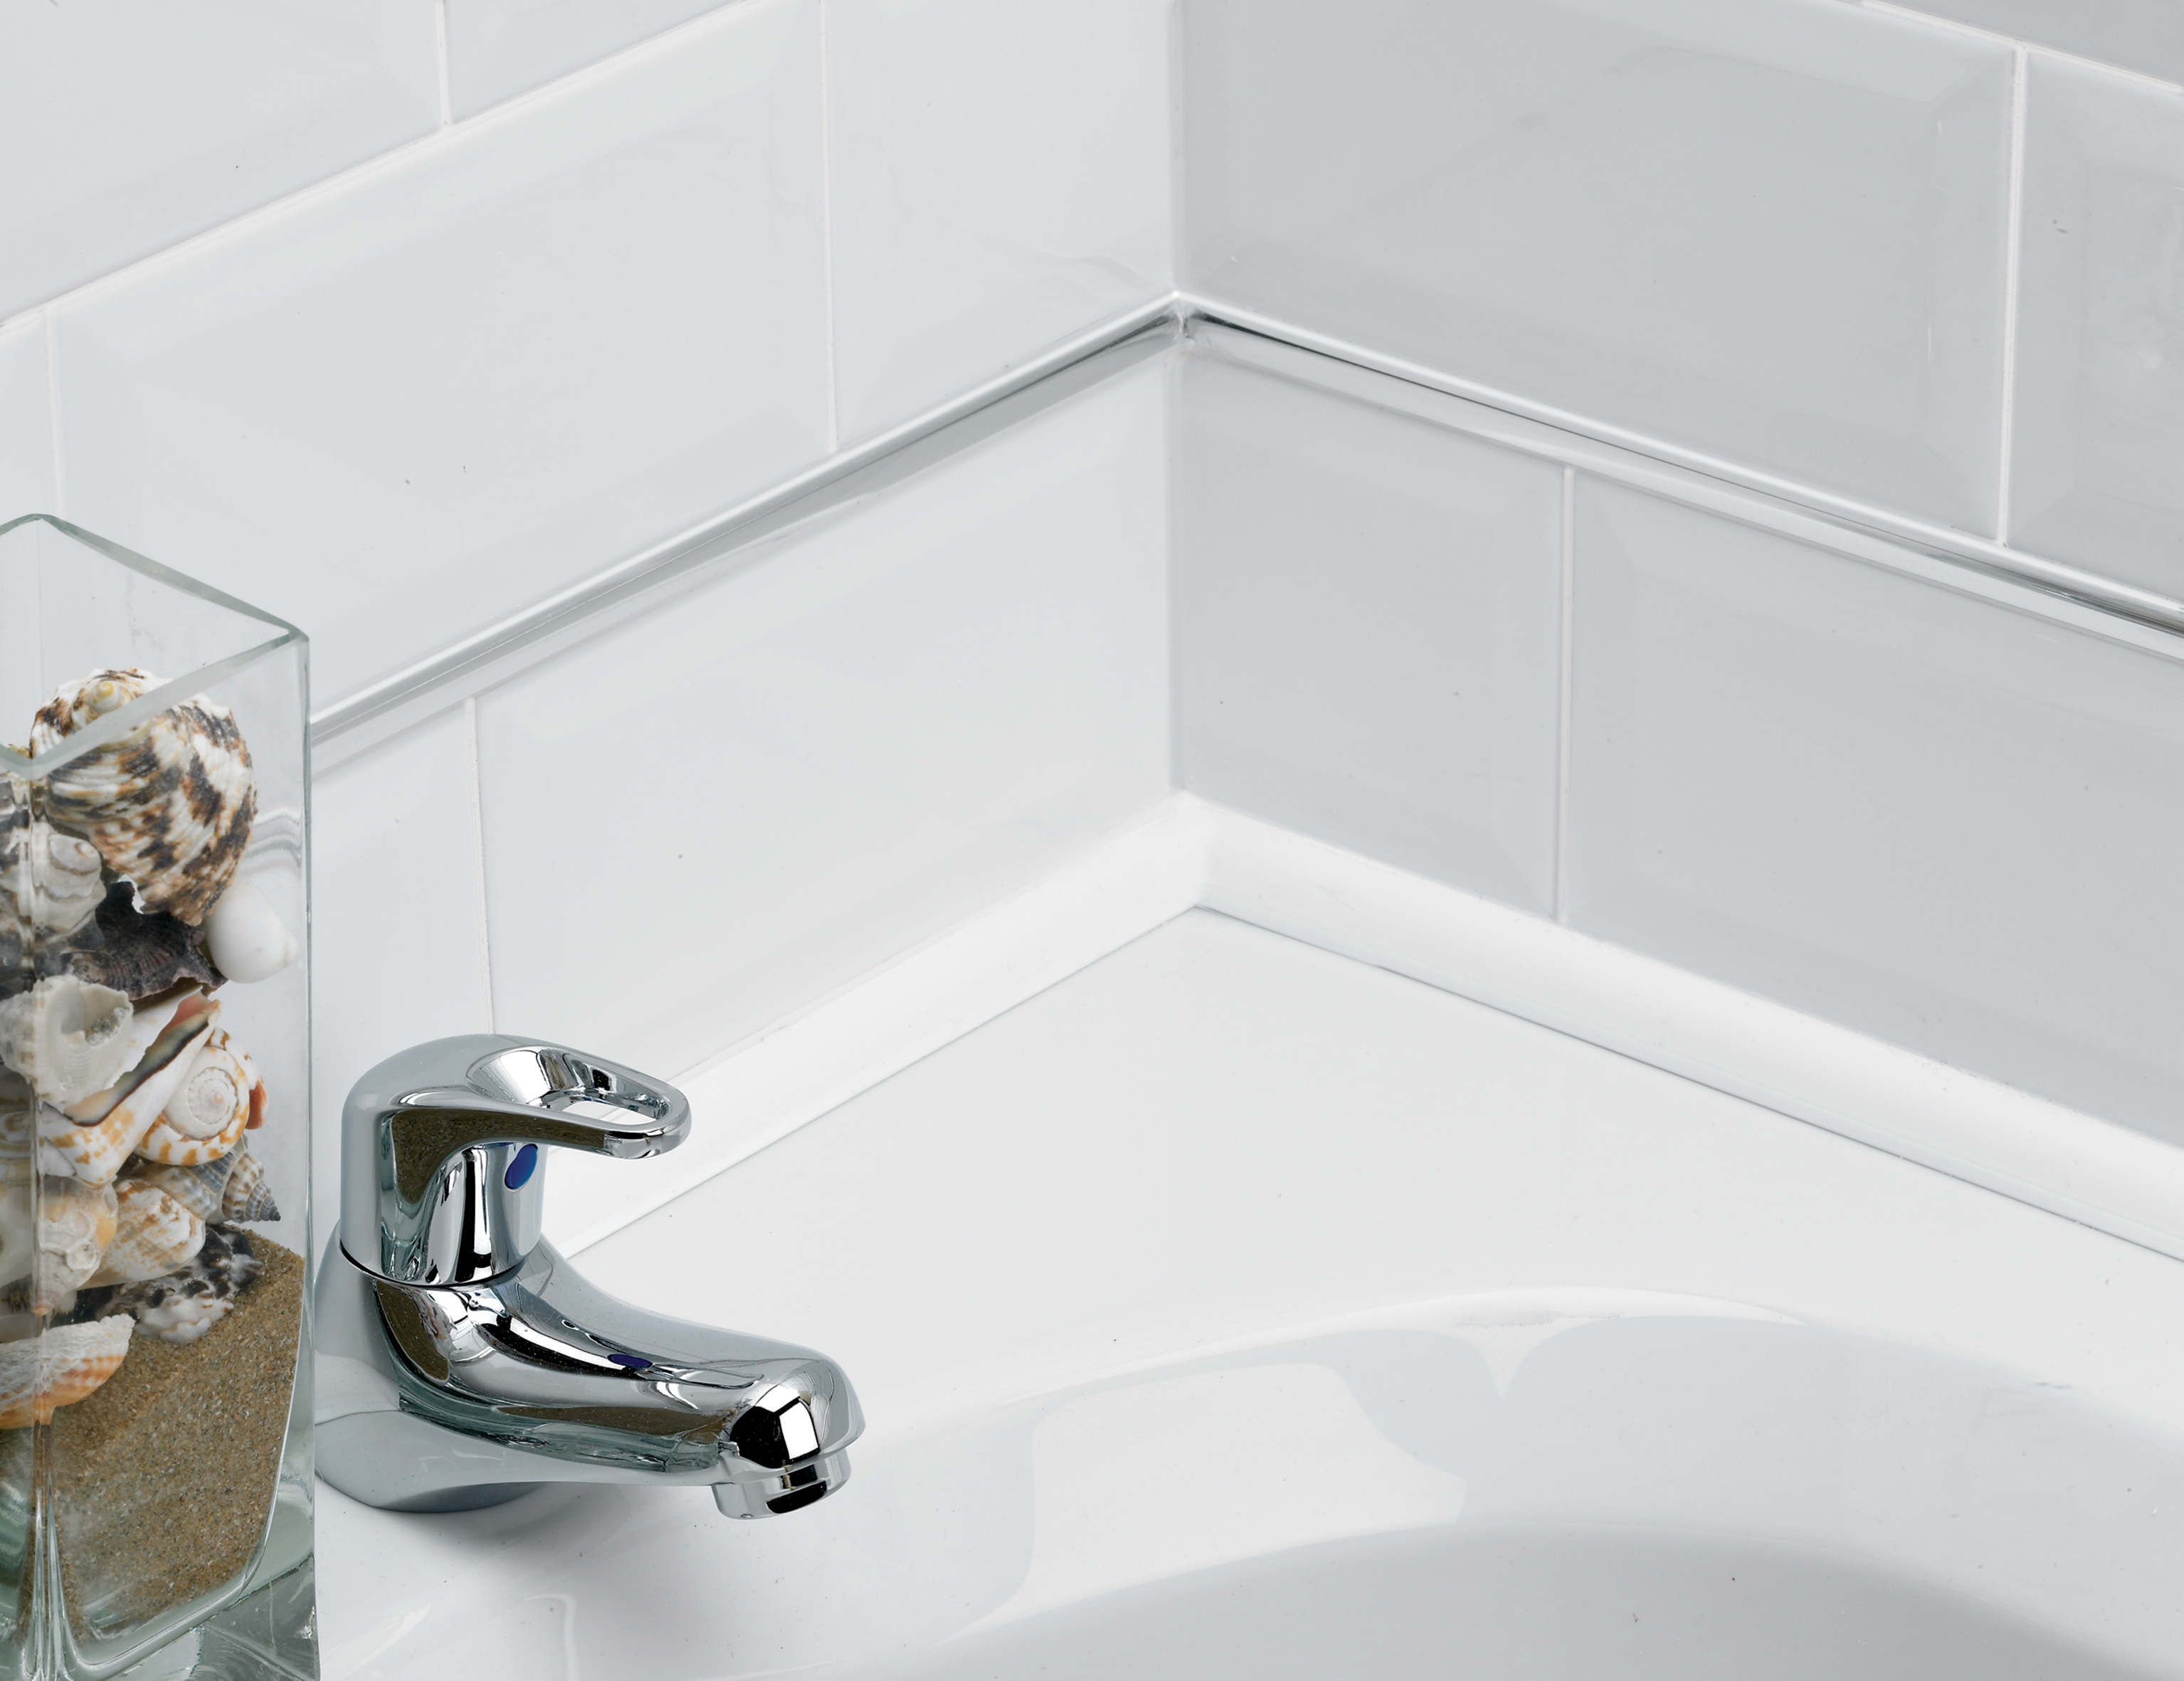
Aside from its practical purposes, sealant for bathroom sinks can also add to the overall aesthetics of your bathroom. With a variety of colors and finishes available, you can choose a sealant that complements your sink and countertop, enhancing the overall look of your bathroom. Just remember to choose a sealant that is also functional and can withstand water exposure.10. Bathroom Sink Sealant Molding: Enhancing the Aesthetics


Bathroom Sink Sealant Molding


Creating a Tight Seal around Your Bathroom Sink
Why a Proper Seal is Important
 When designing your house, the bathroom is one room that should not be overlooked. It is a space that should not only be functional but also visually appealing. One of the key elements in a well-designed bathroom is the sink. However, a common problem that can arise with bathroom sinks is the formation of mold and mildew due to water leakage. This not only damages the sink and surrounding area, but can also lead to health concerns. Therefore, it is important to ensure that your bathroom sink has a
tight seal
to prevent any water leakage and maintain a clean and healthy environment.
When designing your house, the bathroom is one room that should not be overlooked. It is a space that should not only be functional but also visually appealing. One of the key elements in a well-designed bathroom is the sink. However, a common problem that can arise with bathroom sinks is the formation of mold and mildew due to water leakage. This not only damages the sink and surrounding area, but can also lead to health concerns. Therefore, it is important to ensure that your bathroom sink has a
tight seal
to prevent any water leakage and maintain a clean and healthy environment.
Steps to Create a Proper Seal
 The first step in creating a
tight seal
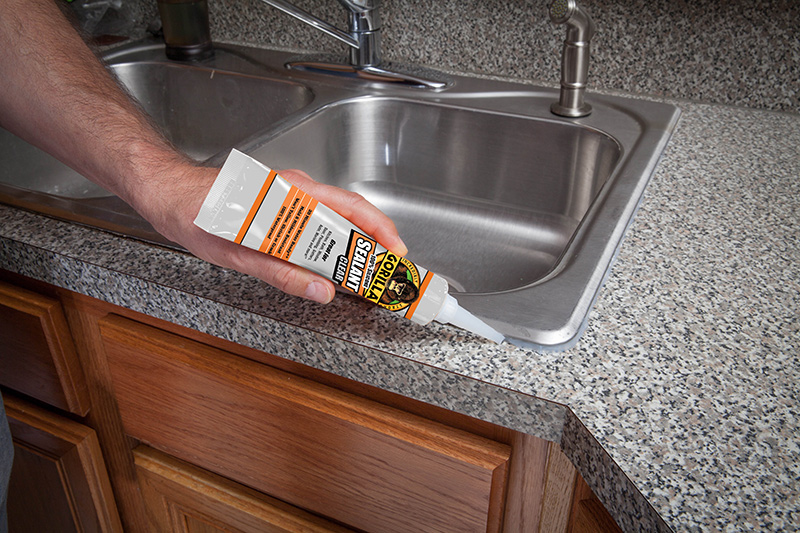
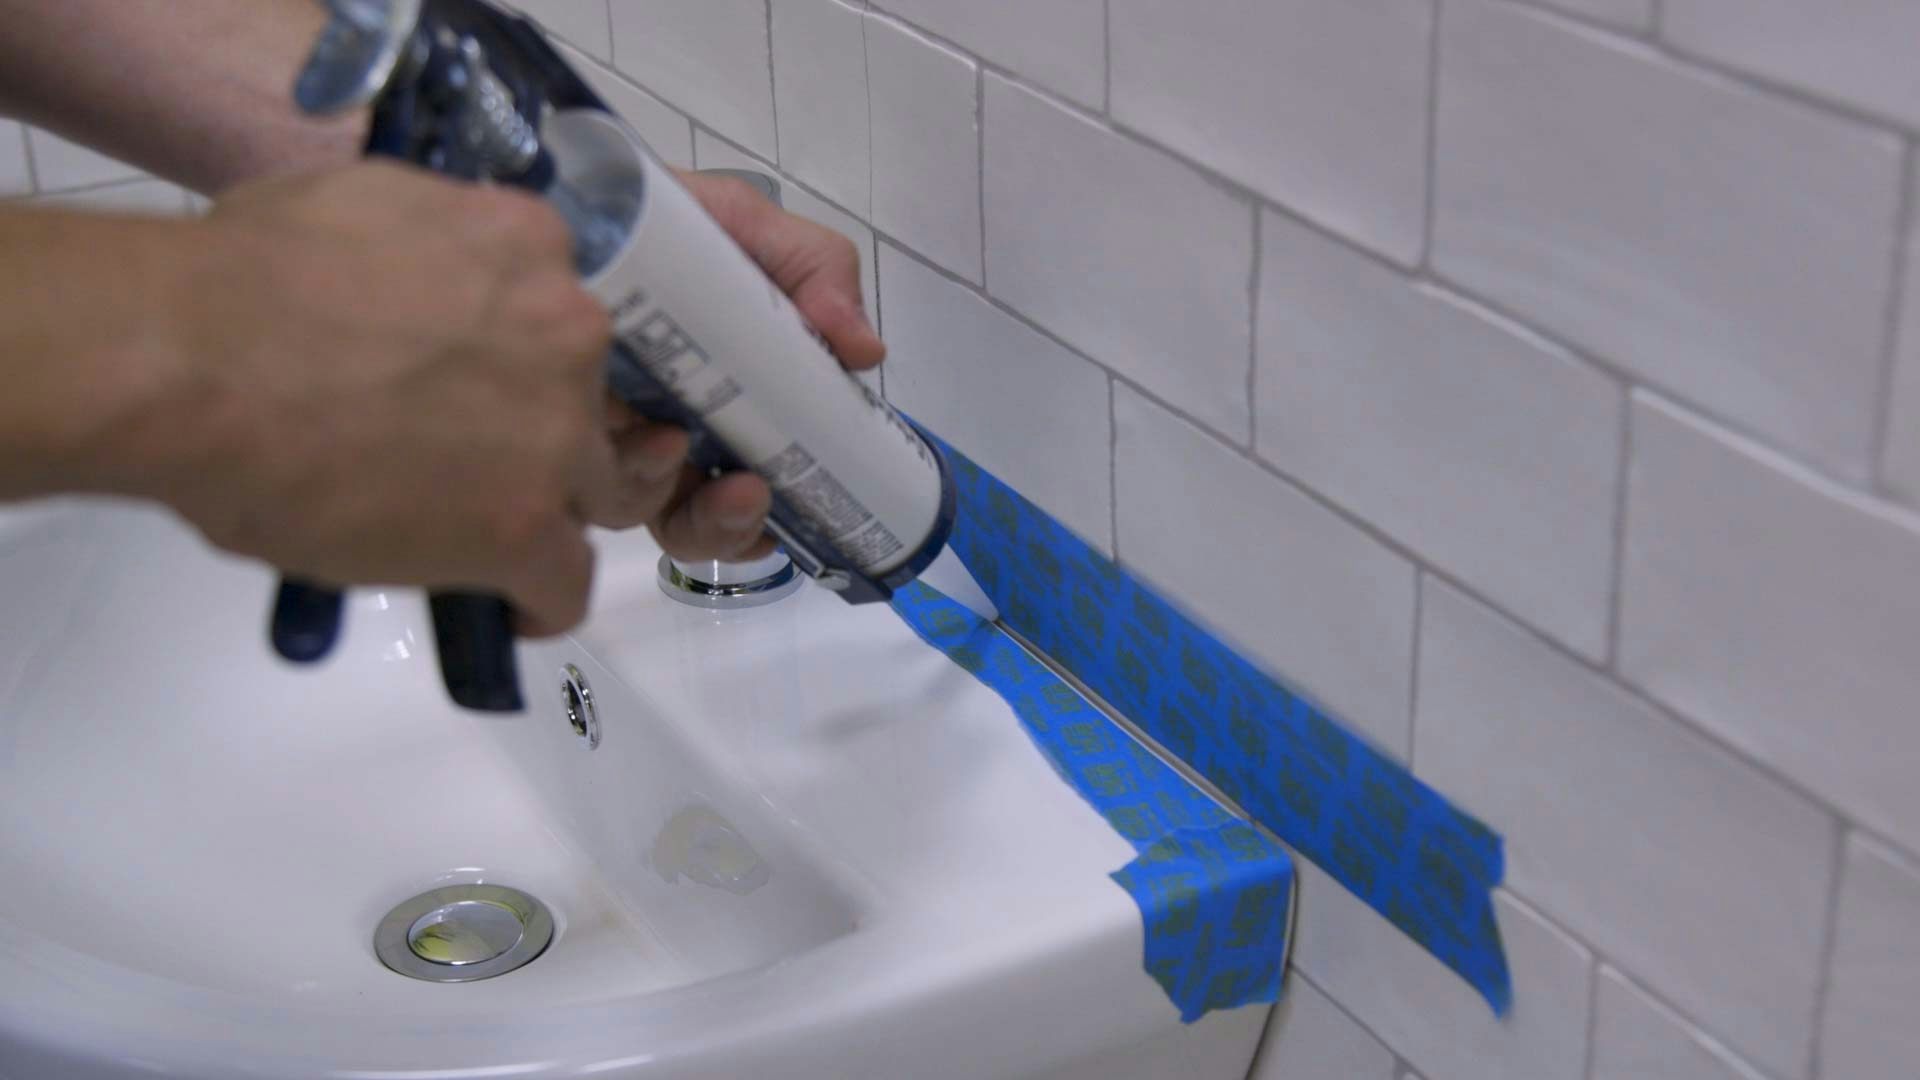
around your bathroom sink is to choose the right type of sealant. Silicone caulk is the most commonly used sealant for sinks as it is waterproof and flexible. Next, make sure the surface around the sink is clean and dry before applying the sealant. Any dirt or moisture can prevent the sealant from adhering properly. Use a mild cleaner and a cloth to thoroughly clean the area.
After cleaning, apply the sealant in a continuous bead along the edge of the sink, making sure to cover any gaps or cracks. Use a caulking gun for a precise application and smooth out the sealant with a damp finger or a caulk smoothing tool. This will help to create a neat and seamless finish.
Keywords such as "sealant", "clean", "caulking gun", and "smooth"
are important to keep in mind during this step.
The first step in creating a
tight seal
around your bathroom sink is to choose the right type of sealant. Silicone caulk is the most commonly used sealant for sinks as it is waterproof and flexible. Next, make sure the surface around the sink is clean and dry before applying the sealant. Any dirt or moisture can prevent the sealant from adhering properly. Use a mild cleaner and a cloth to thoroughly clean the area.
After cleaning, apply the sealant in a continuous bead along the edge of the sink, making sure to cover any gaps or cracks. Use a caulking gun for a precise application and smooth out the sealant with a damp finger or a caulk smoothing tool. This will help to create a neat and seamless finish.
Keywords such as "sealant", "clean", "caulking gun", and "smooth"
are important to keep in mind during this step.
Additional Tips for a Long-Lasting Seal
 To ensure the seal around your bathroom sink lasts for a long time, there are a few things to keep in mind. Avoid using the sink for at least 24 hours after applying the sealant to allow it to fully cure. This will prevent any movement or disturbance that can break the seal.
Properly maintaining the sealant
is also important. Regularly check for any cracks or gaps and reapply the sealant if necessary. Additionally, wiping the sink dry after each use can prevent the accumulation of water and moisture, which can break down the seal over time.
To ensure the seal around your bathroom sink lasts for a long time, there are a few things to keep in mind. Avoid using the sink for at least 24 hours after applying the sealant to allow it to fully cure. This will prevent any movement or disturbance that can break the seal.
Properly maintaining the sealant
is also important. Regularly check for any cracks or gaps and reapply the sealant if necessary. Additionally, wiping the sink dry after each use can prevent the accumulation of water and moisture, which can break down the seal over time.
With these simple steps, you can create a tight seal around your bathroom sink and avoid any water leakage or damage. Remember to choose the right sealant, clean the area thoroughly, and maintain the seal regularly for a beautiful and functional bathroom.