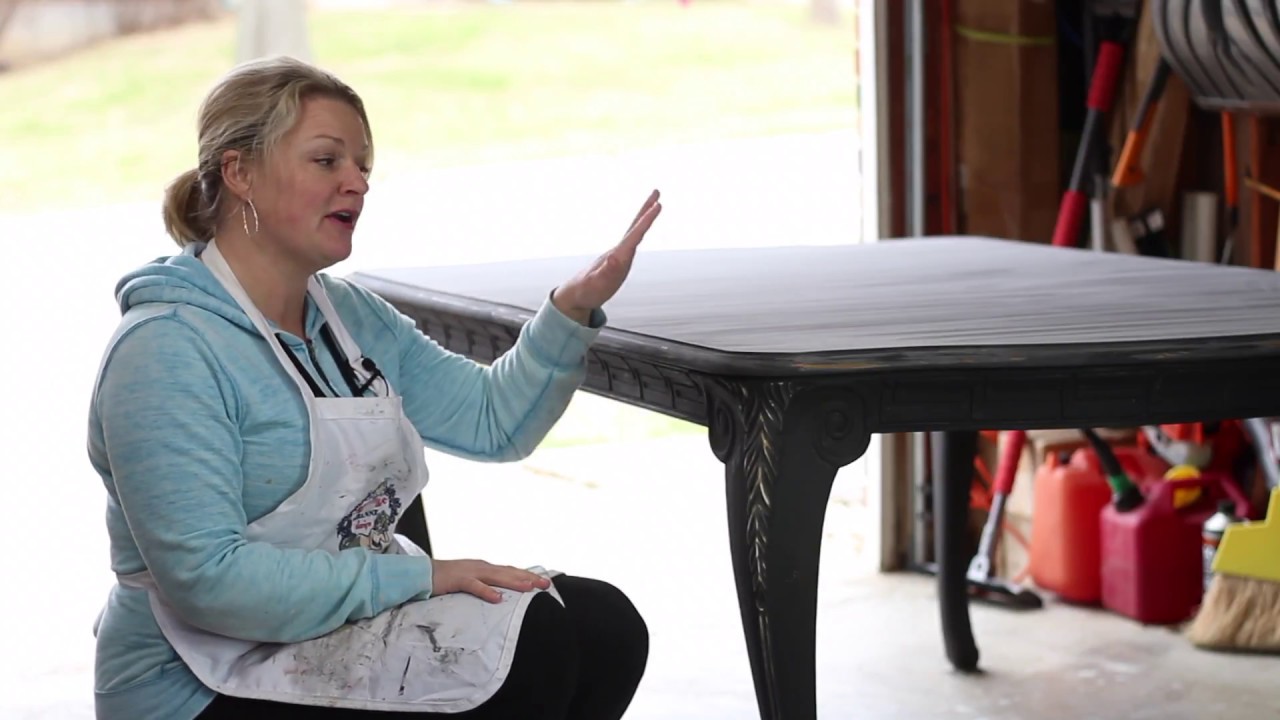
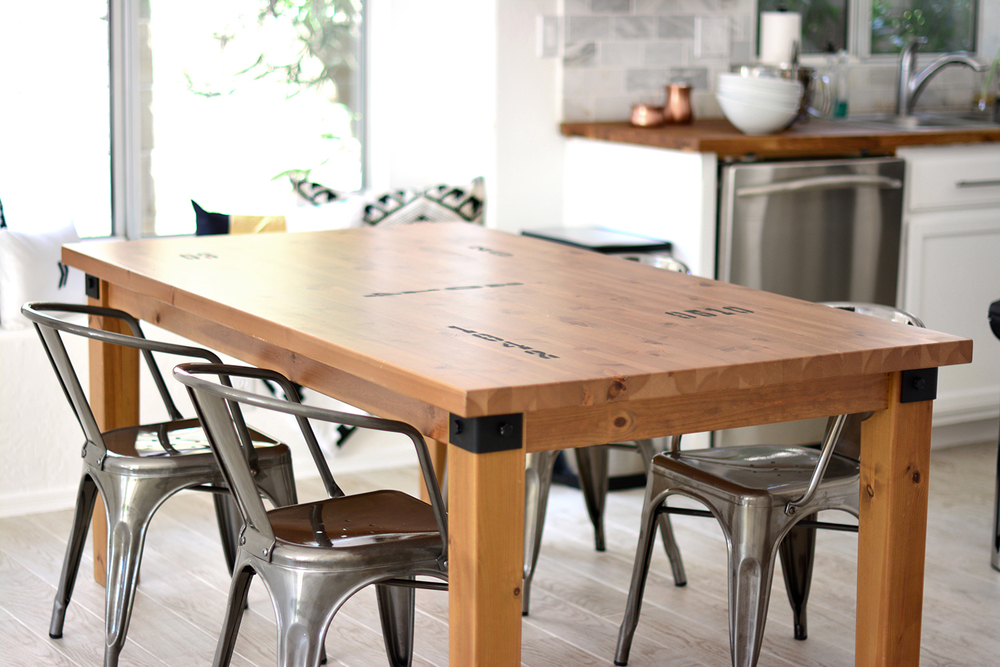
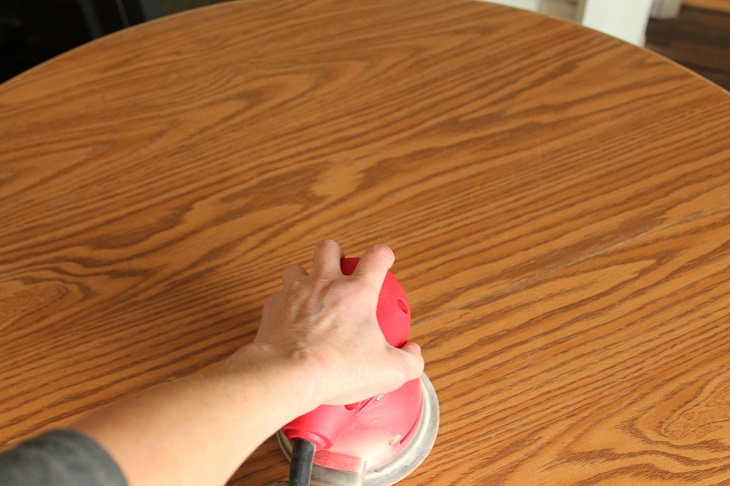
Are you tired of looking at your old and worn-out kitchen table? Do you want to give it a fresh new look without breaking the bank? Sanding and refinishing your kitchen table top is a cost-effective and easy way to transform your dining space. With the right tools and techniques, you can turn your dull and damaged table into a beautiful centerpiece in your home. Let's dive into the process of sanding and refinishing a kitchen table top.1. Sanding and Refinishing a Kitchen Table Top


1. Sanding and Refinishing a Kitchen Table Top


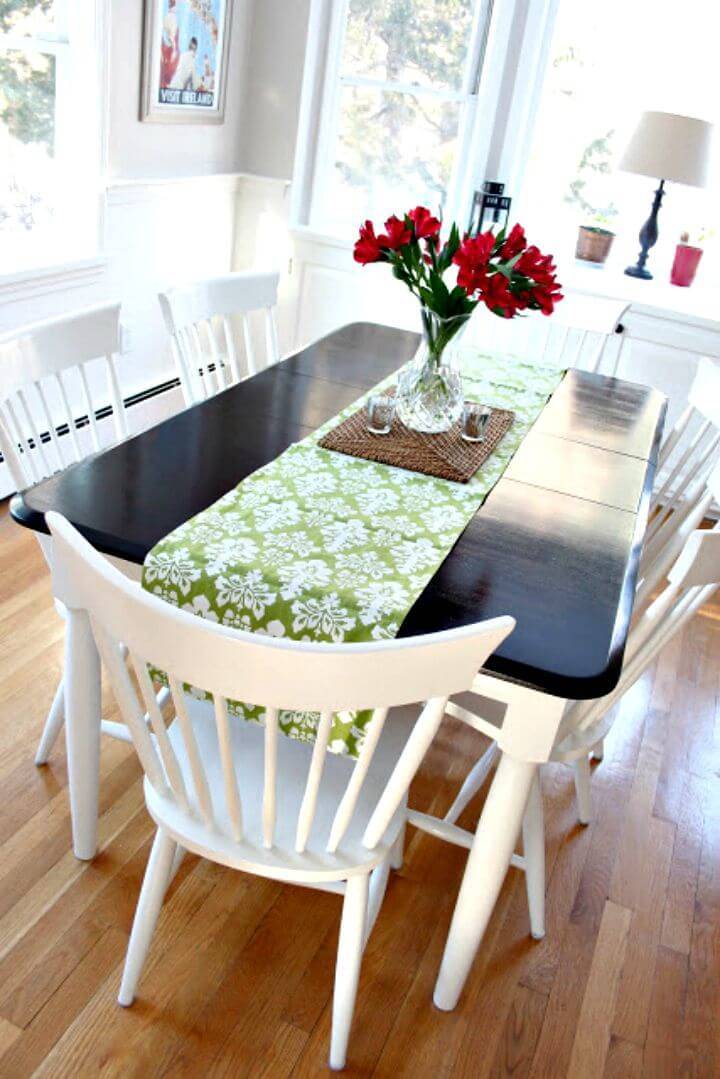
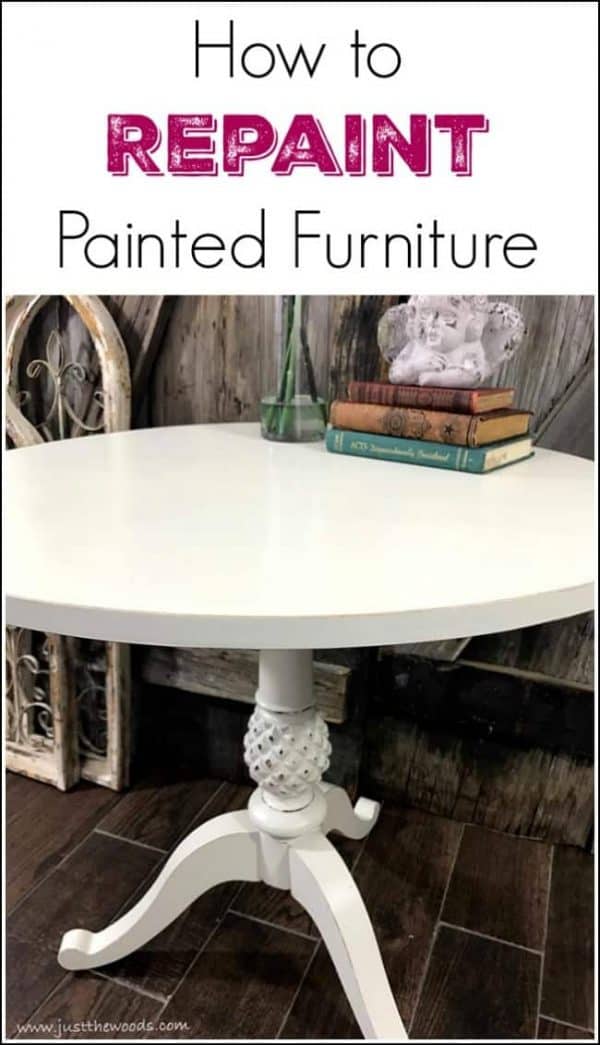
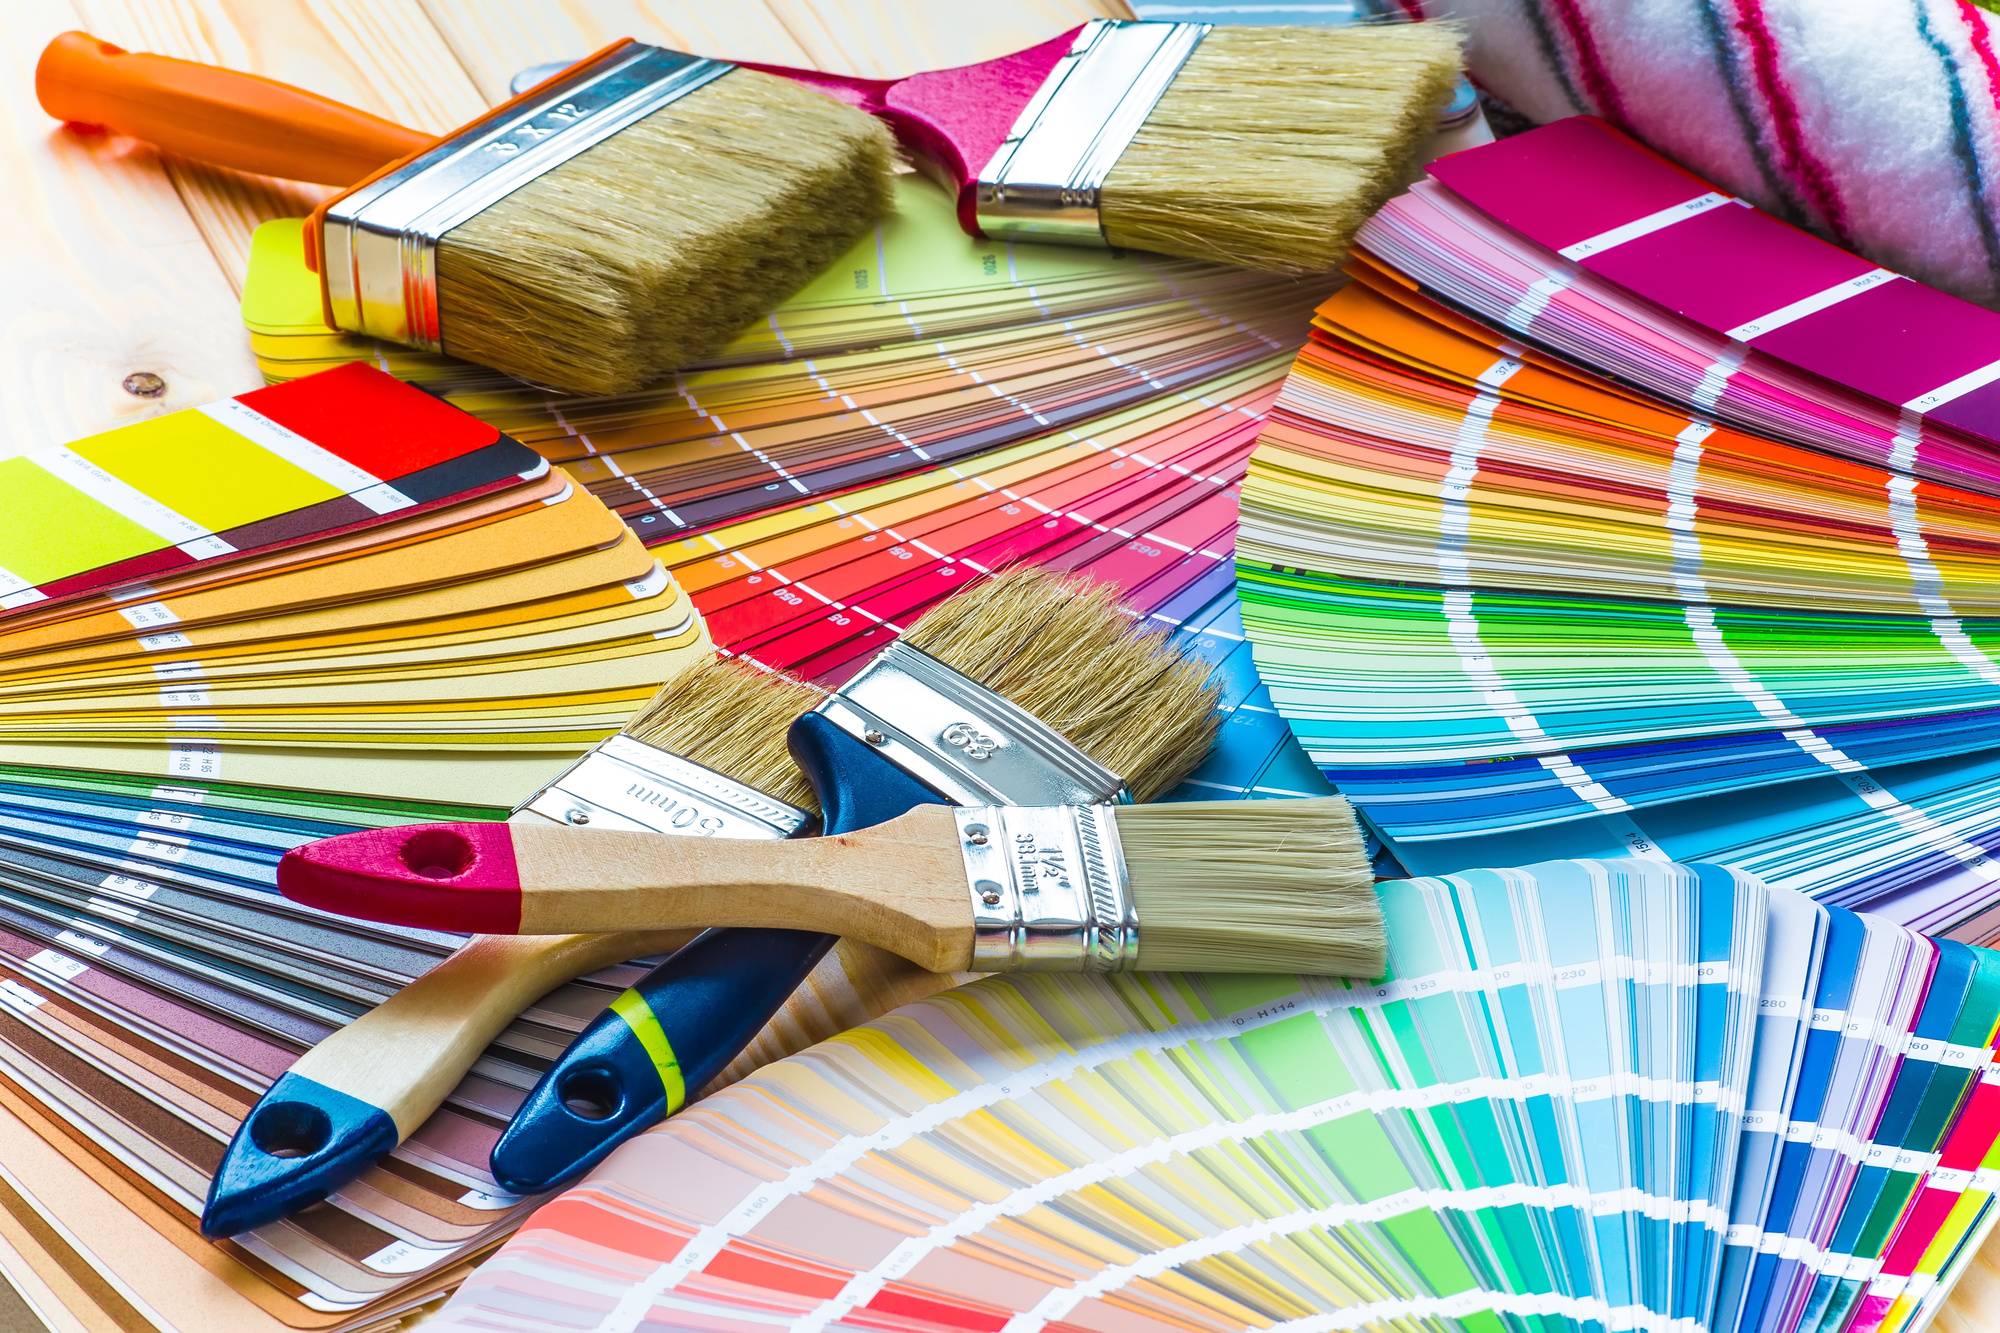
Painting your kitchen table is a great way to add a pop of color and personality to your space. Whether you want to completely change the look of your table or just touch up some scratches and chips, painting is the way to go. But before you grab a paintbrush, make sure to follow these steps for a successful and long-lasting paint job.2. How to Paint a Kitchen Table

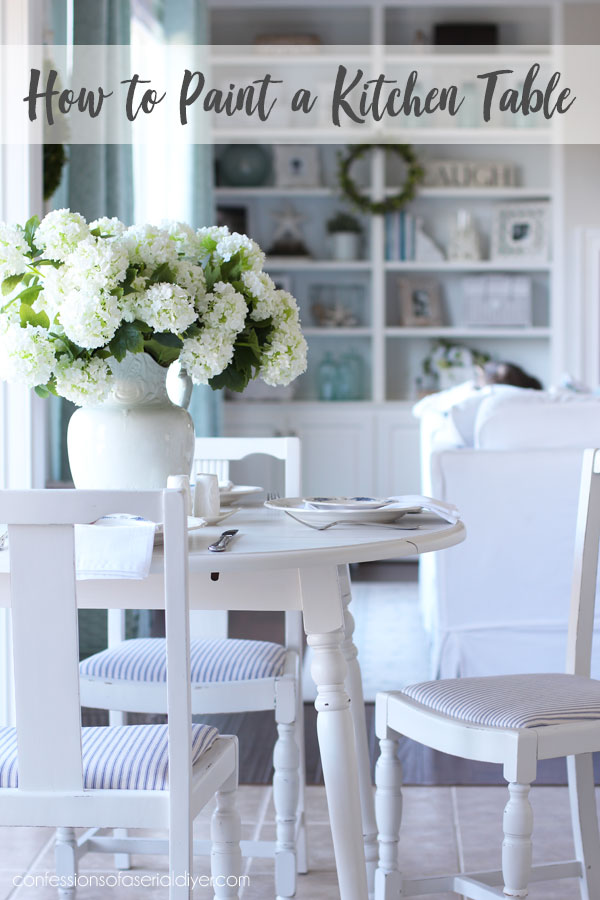

2. How to Paint a Kitchen Table


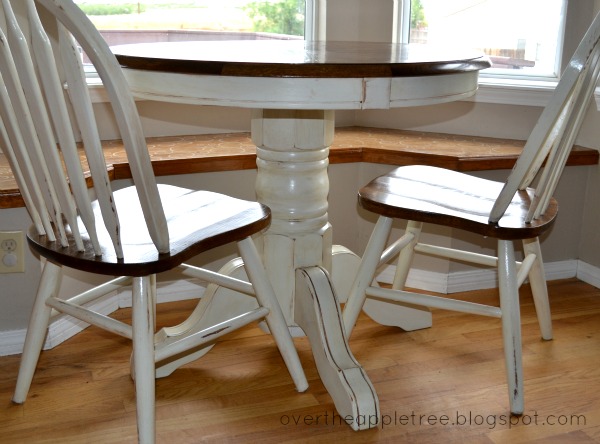
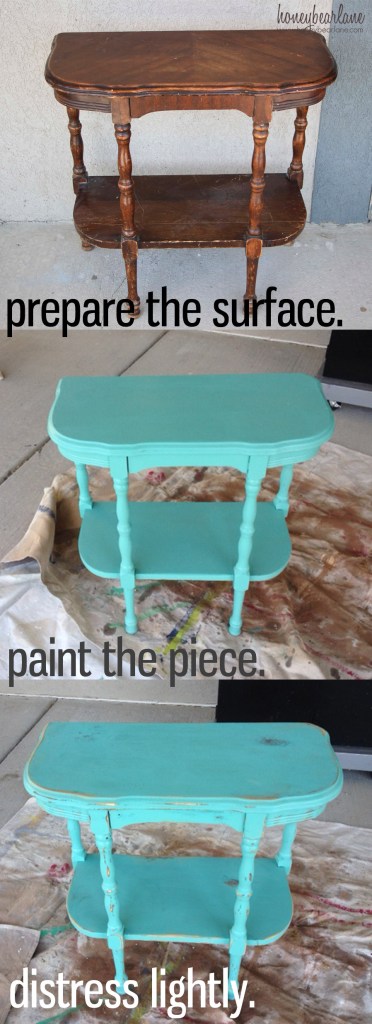
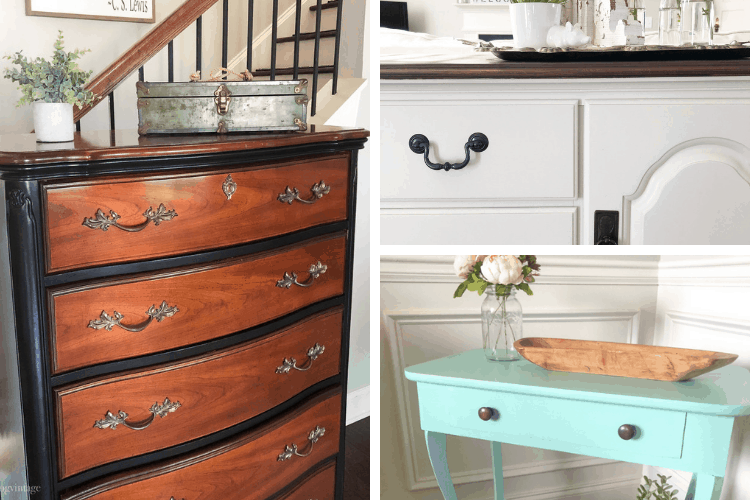
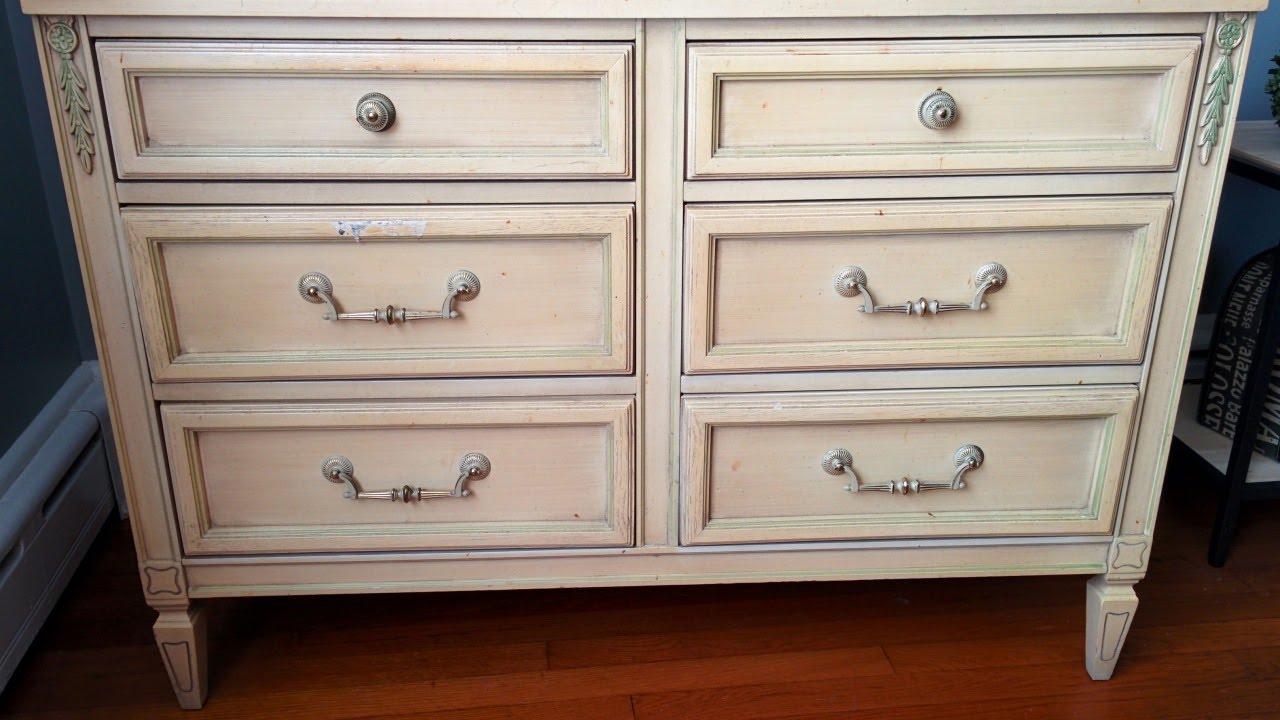
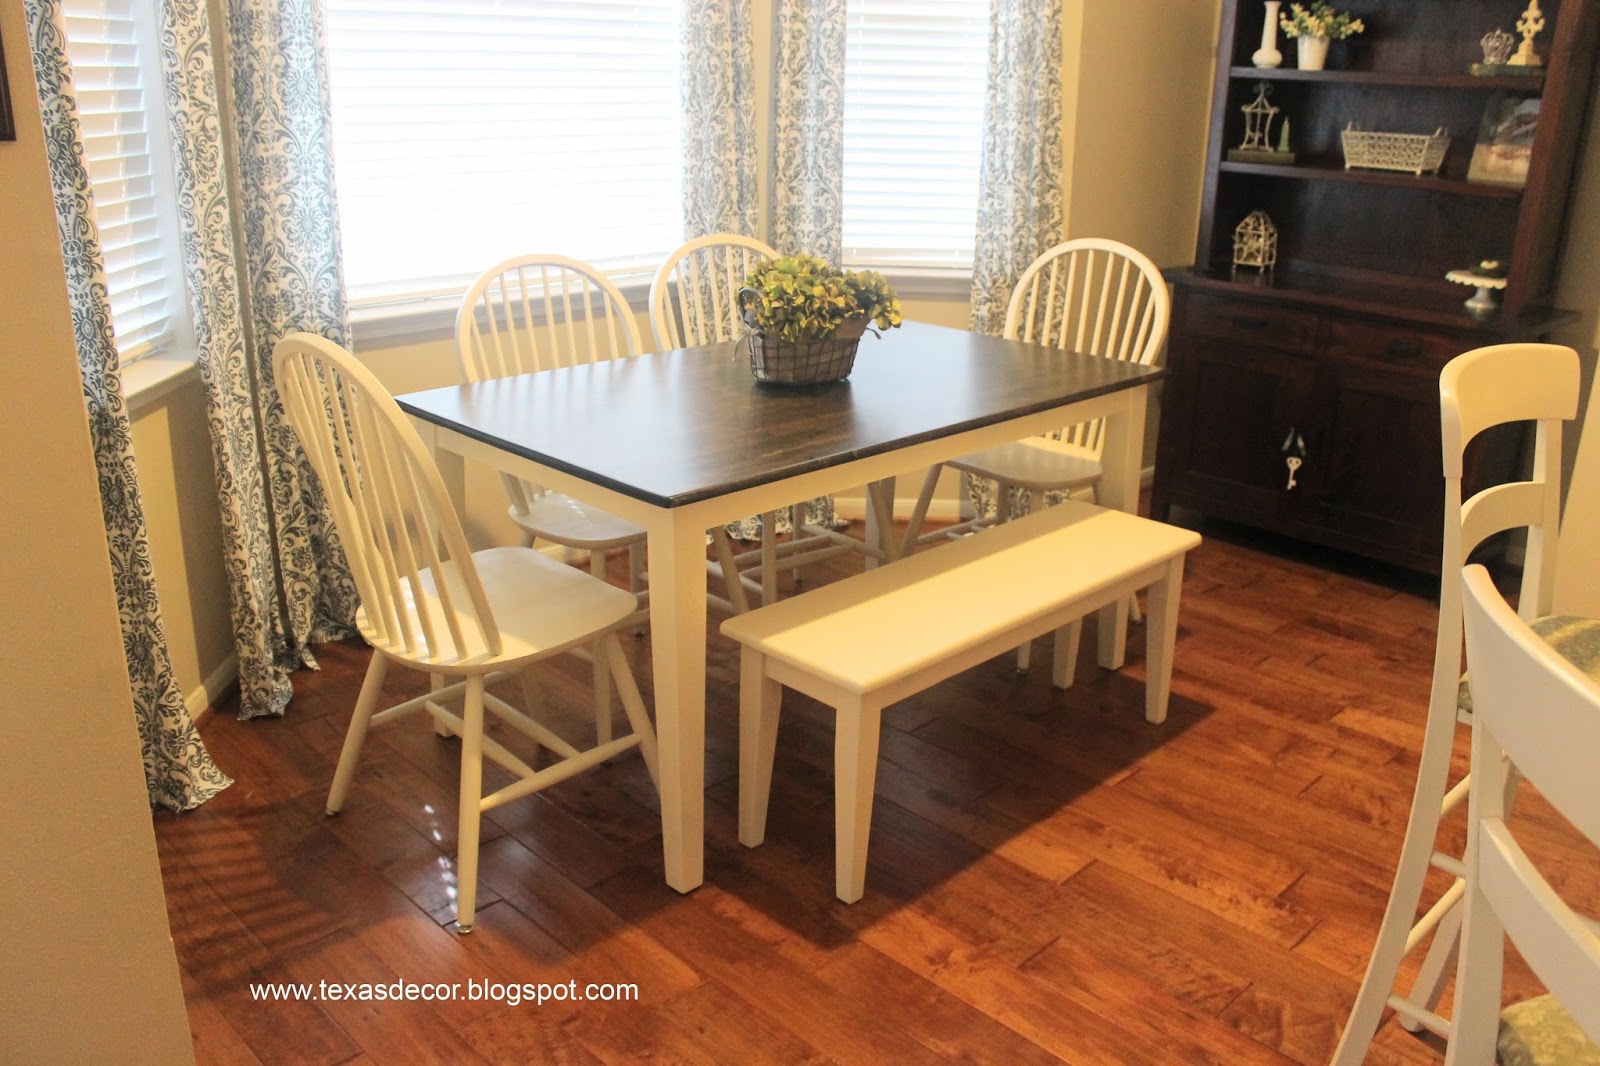
If you're on a tight budget but still want to give your kitchen table a new look, a DIY makeover is the perfect solution. With some sandpaper, paint, and a little creativity, you can transform your table into a unique and stylish piece of furniture. This is a fun project that anyone can do, and the end result will be a one-of-a-kind table that you can proudly display in your home. Let's get started!3. DIY Kitchen Table Makeover
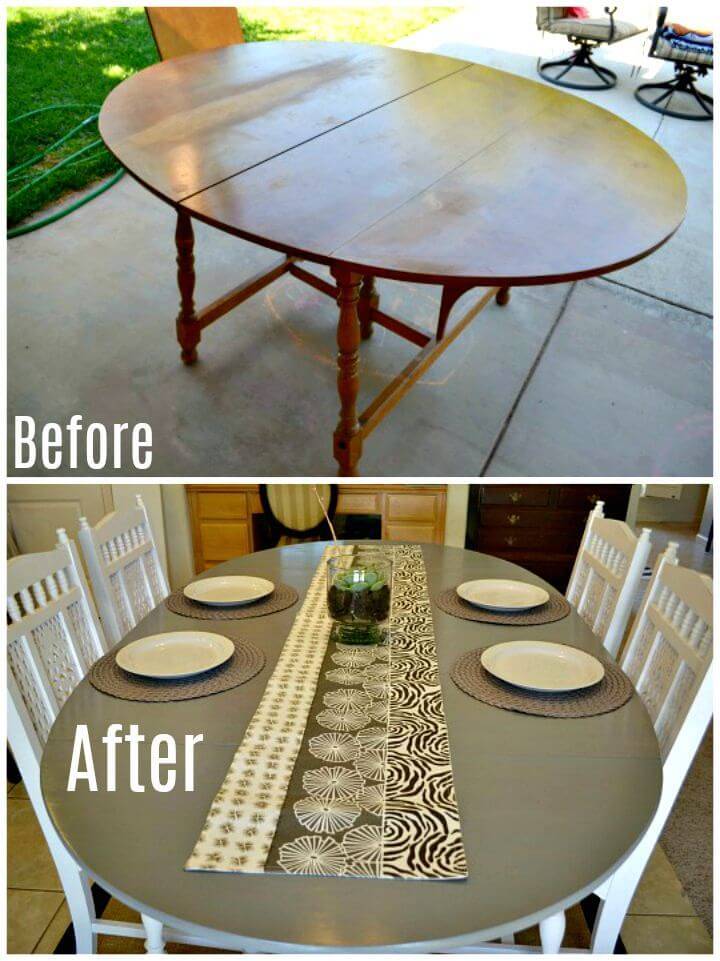

3. DIY Kitchen Table Makeover


.jpg)

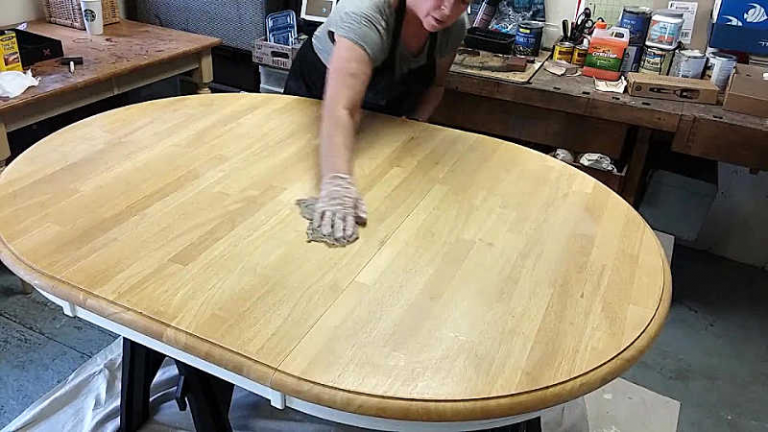
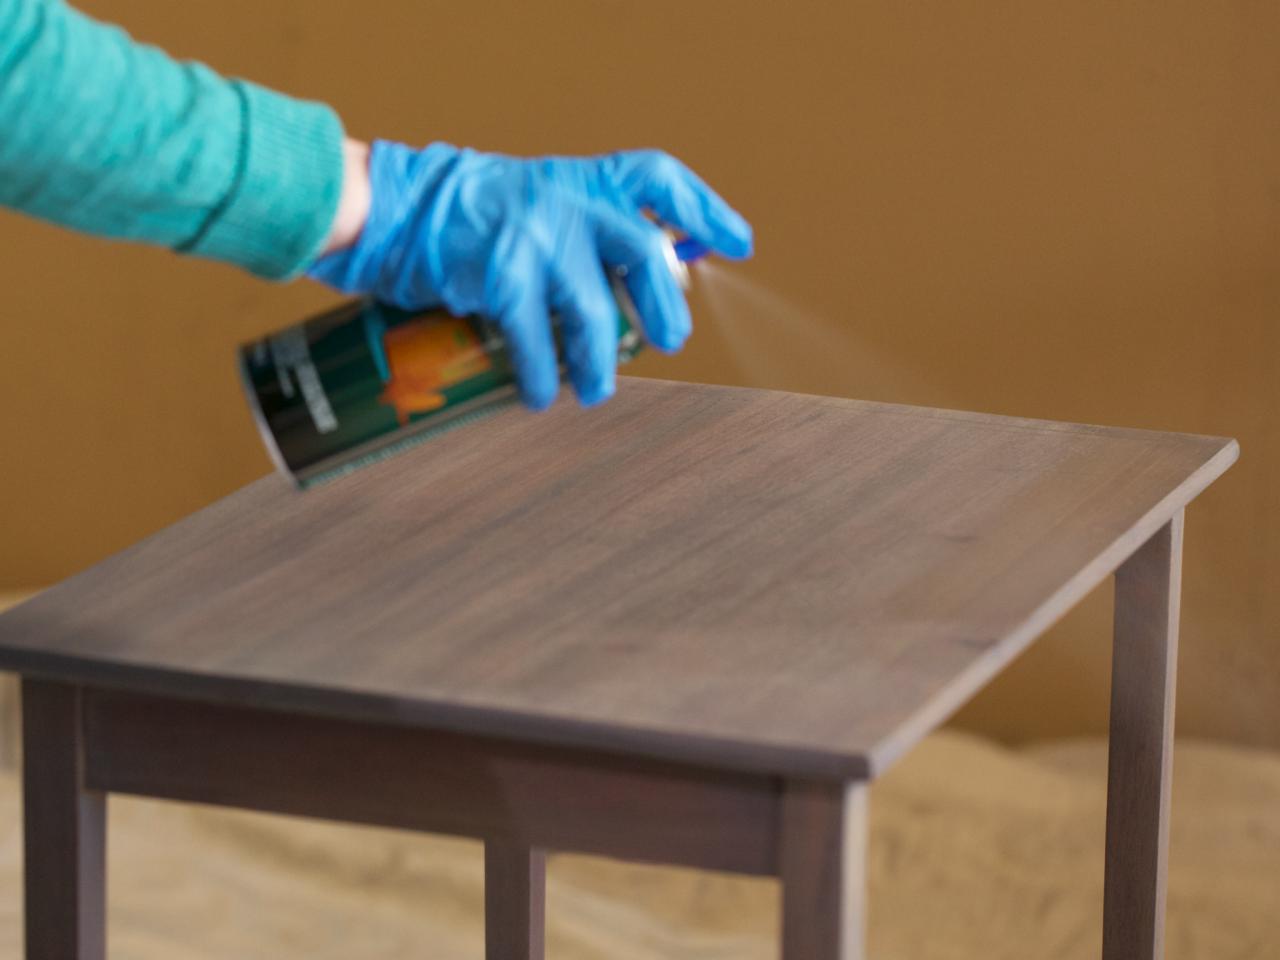
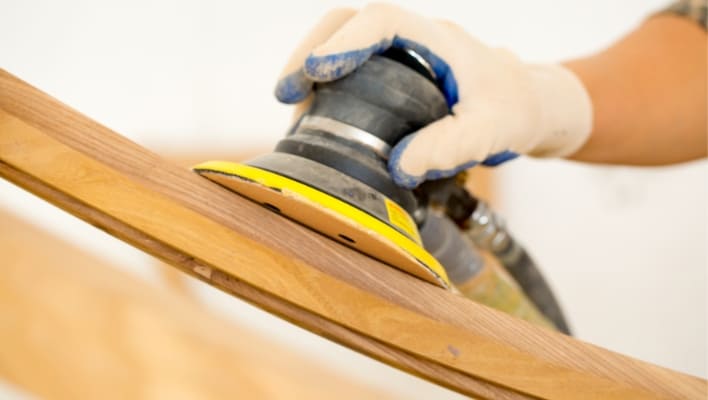
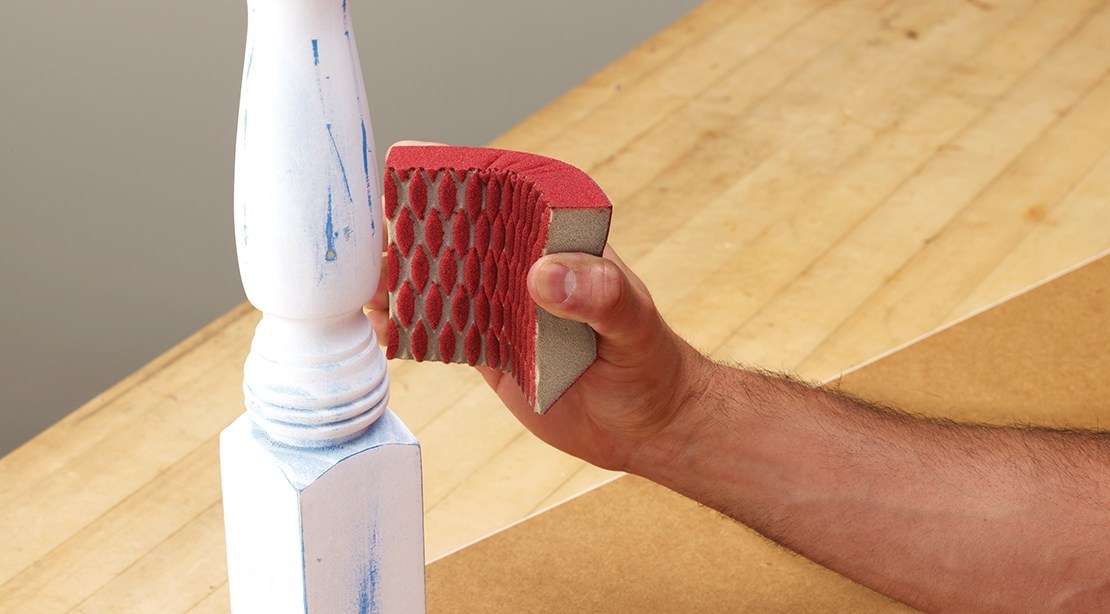
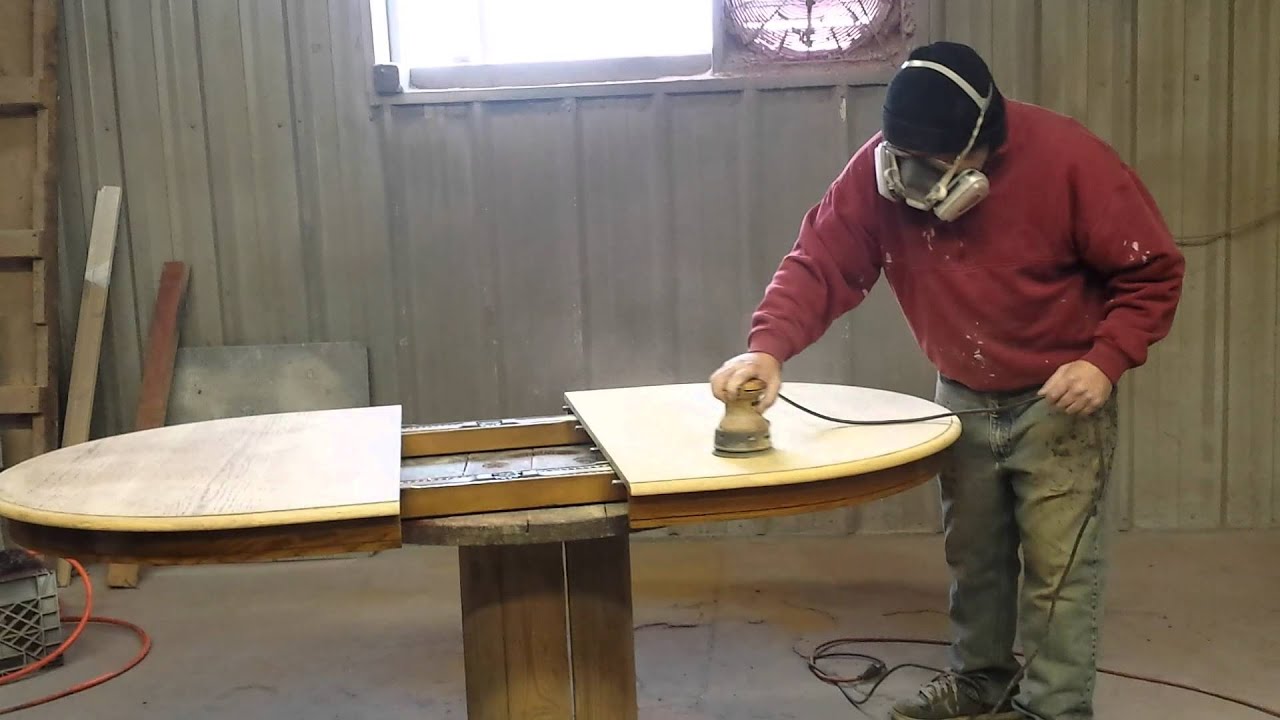
Sanding is an essential step in refinishing and painting furniture. It helps remove old paint, stains, and imperfections, creating a smooth and even surface for the new finish. But sanding can be a tedious and time-consuming process if you don't know the right techniques. Here are some tips to make sanding your kitchen table top a breeze.4. Sanding Techniques for Furniture

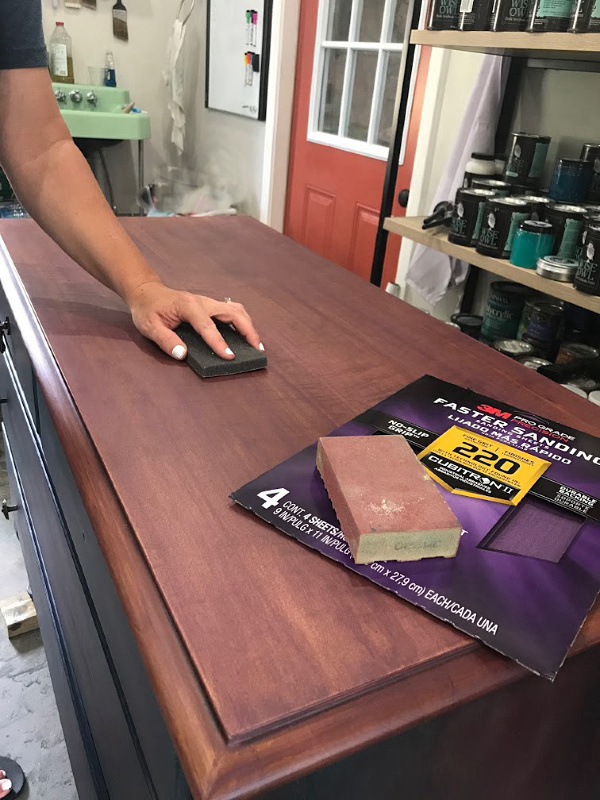

4. Sanding Techniques for Furniture


/sanding2-58b3f06e5f9b5860469ada0e.jpg)

If you're new to painting furniture, it may seem like a daunting task. But with the right knowledge and tools, you can achieve professional-looking results. The key to a successful paint job is preparation, and this applies to furniture as well. Here are some tips for painting your kitchen table like a pro.5. Painting Furniture 101

5. Painting Furniture 101


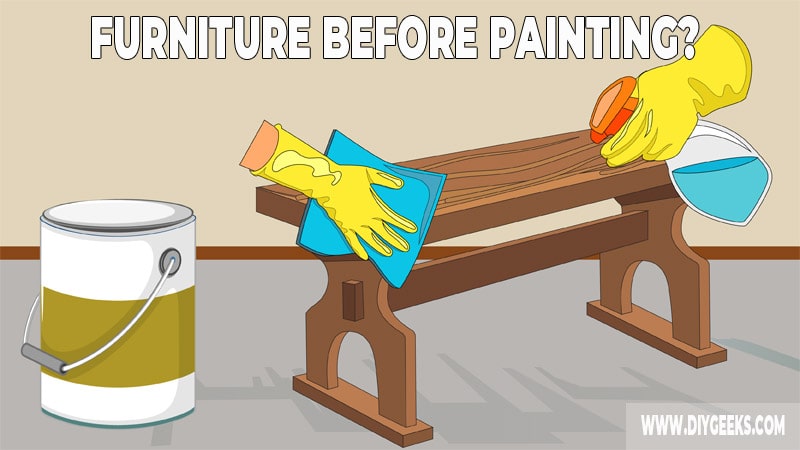
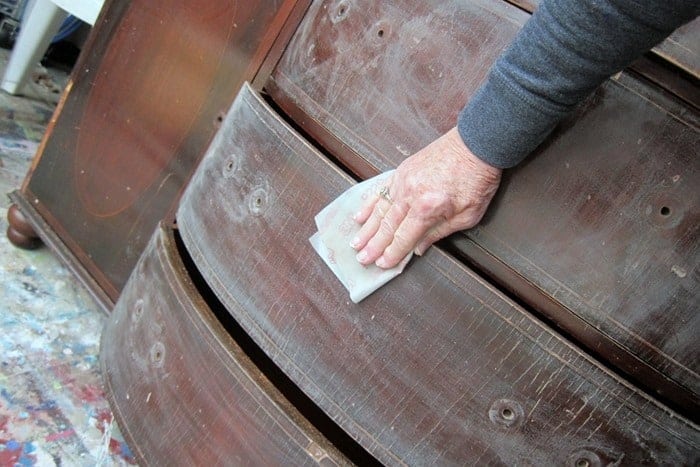
Preparation is the key to a flawless paint job on any surface, including furniture. Before you start painting your kitchen table, you need to prep it properly to ensure the paint adheres well and lasts for a long time. Here are some steps to follow to prepare your table for a fresh coat of paint.6. How to Prep Furniture for Painting


6. How to Prep Furniture for Painting


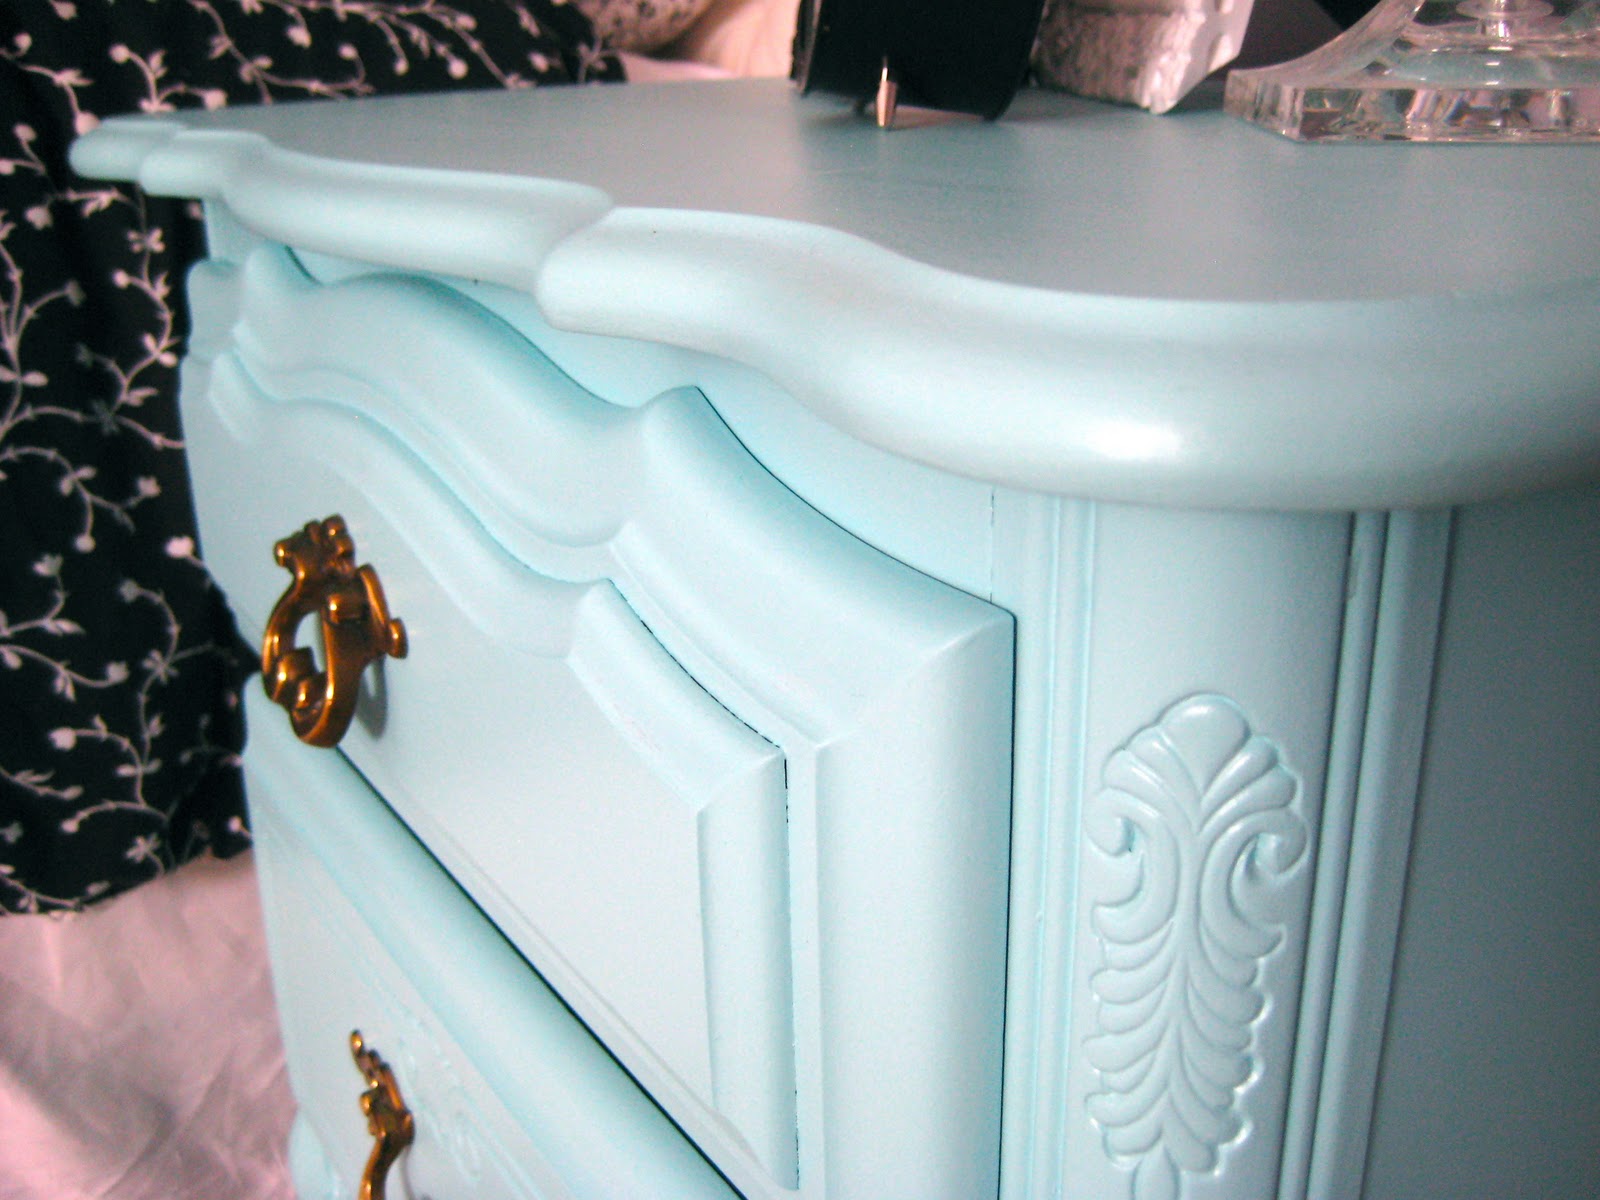
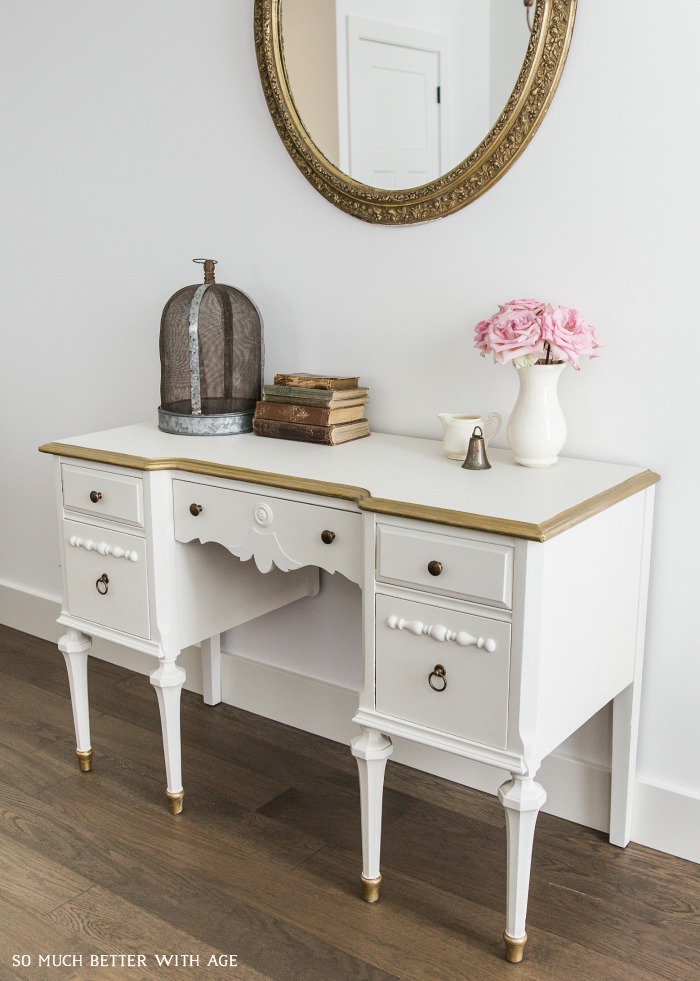
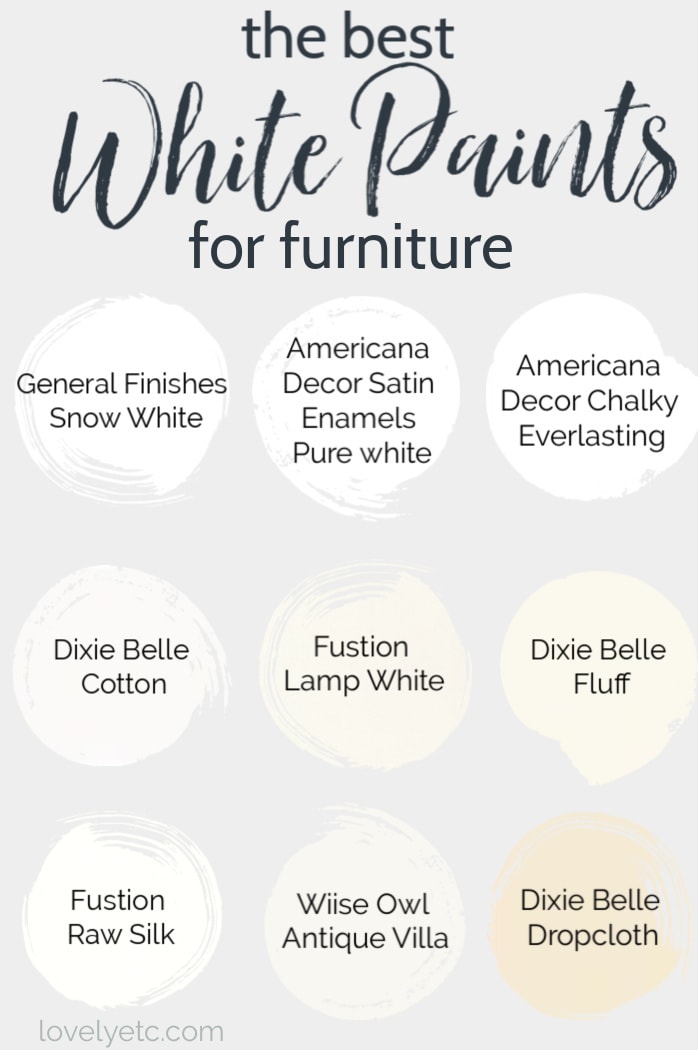
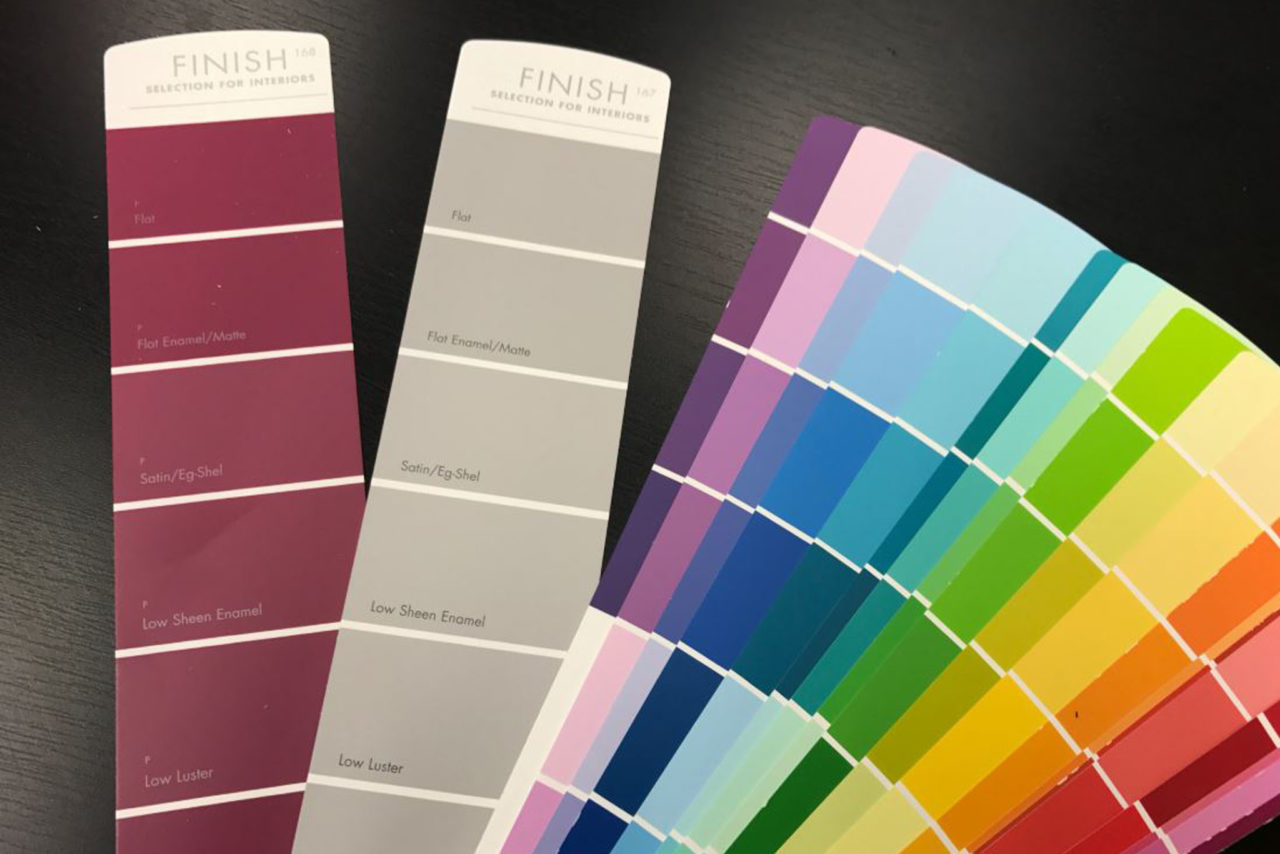
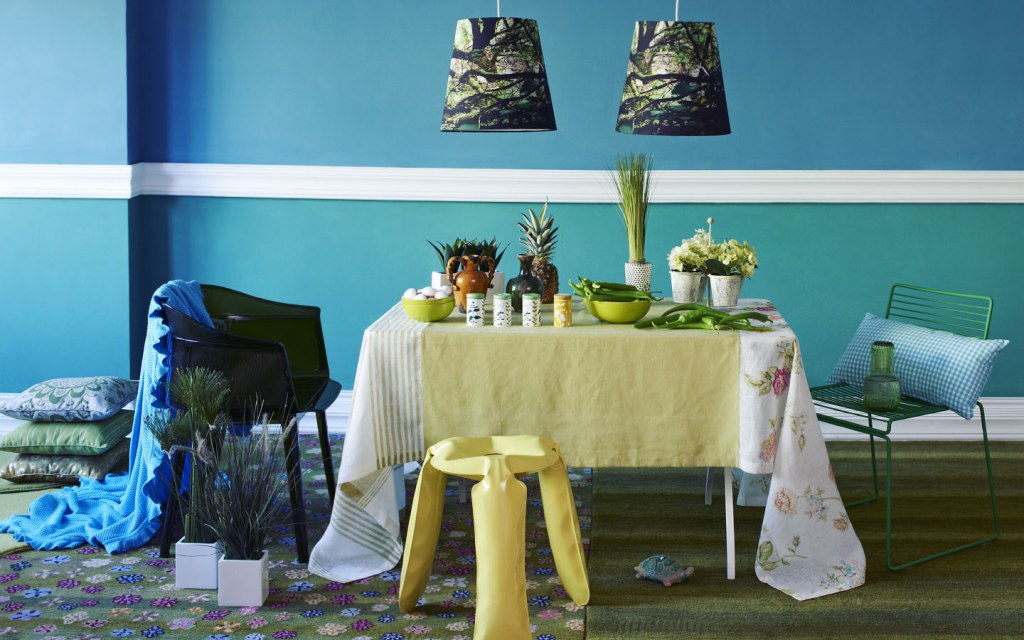
When it comes to painting furniture, not all paints are created equal. Choosing the right type of paint is crucial for achieving the desired look and ensuring the paint job lasts. There are various options available, such as latex, chalk, and spray paints, each with its own advantages and disadvantages. Here's a breakdown of the different types of paint and which one is best for your kitchen table.7. Choosing the Right Paint for Furniture

/shadesoflightlivingroom-56f247005f9b5867a1c7e757.jpg)
7. Choosing the Right Paint for Furniture

:max_bytes(150000):strip_icc()/GettyImages-513043721-5accc488c67335003747aeed.jpg)

Now that you know the basics of sanding and painting furniture, here are some additional tips to help you achieve a professional-looking finish on your kitchen table. These tips can make a huge difference in the final result, so make sure to keep them in mind during the refinishing process.8. Tips for Sanding and Painting Furniture

8. Tips for Sanding and Painting Furniture


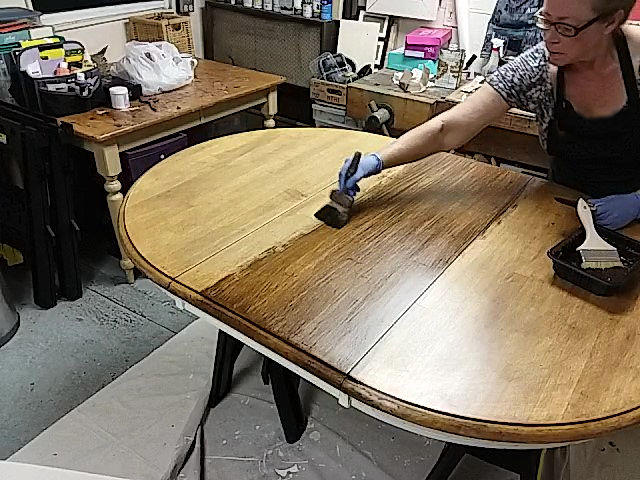
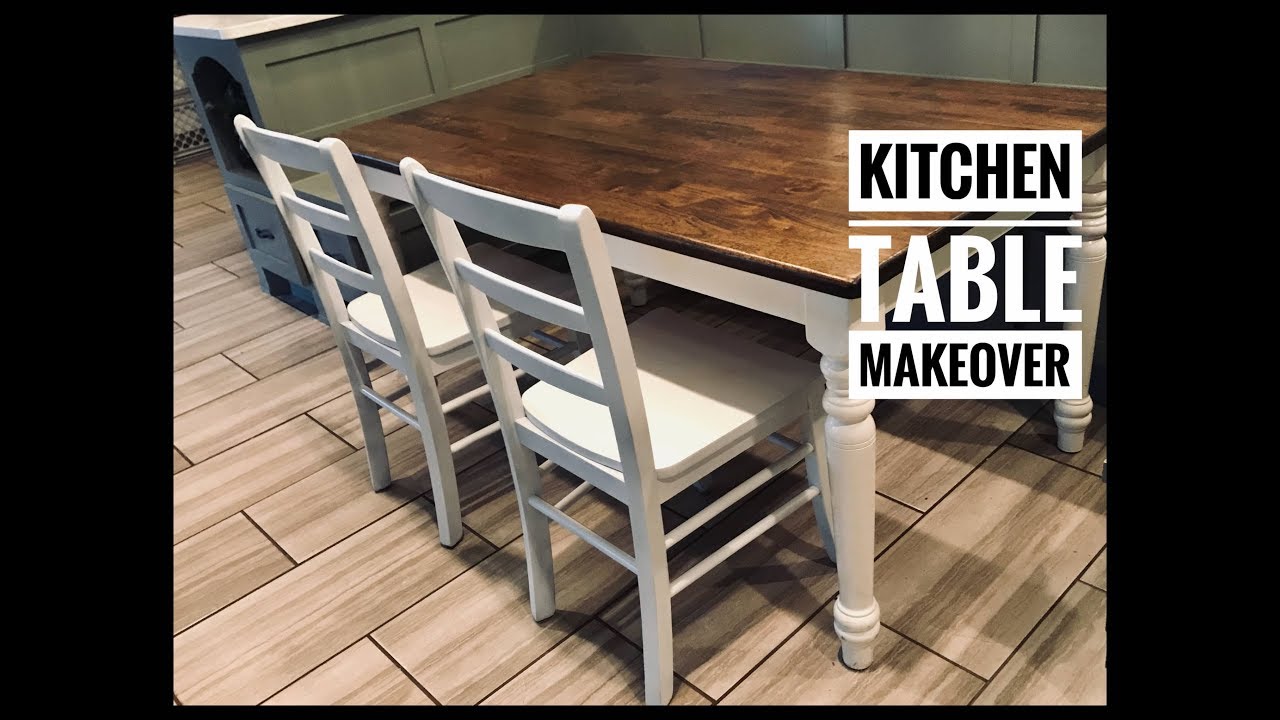
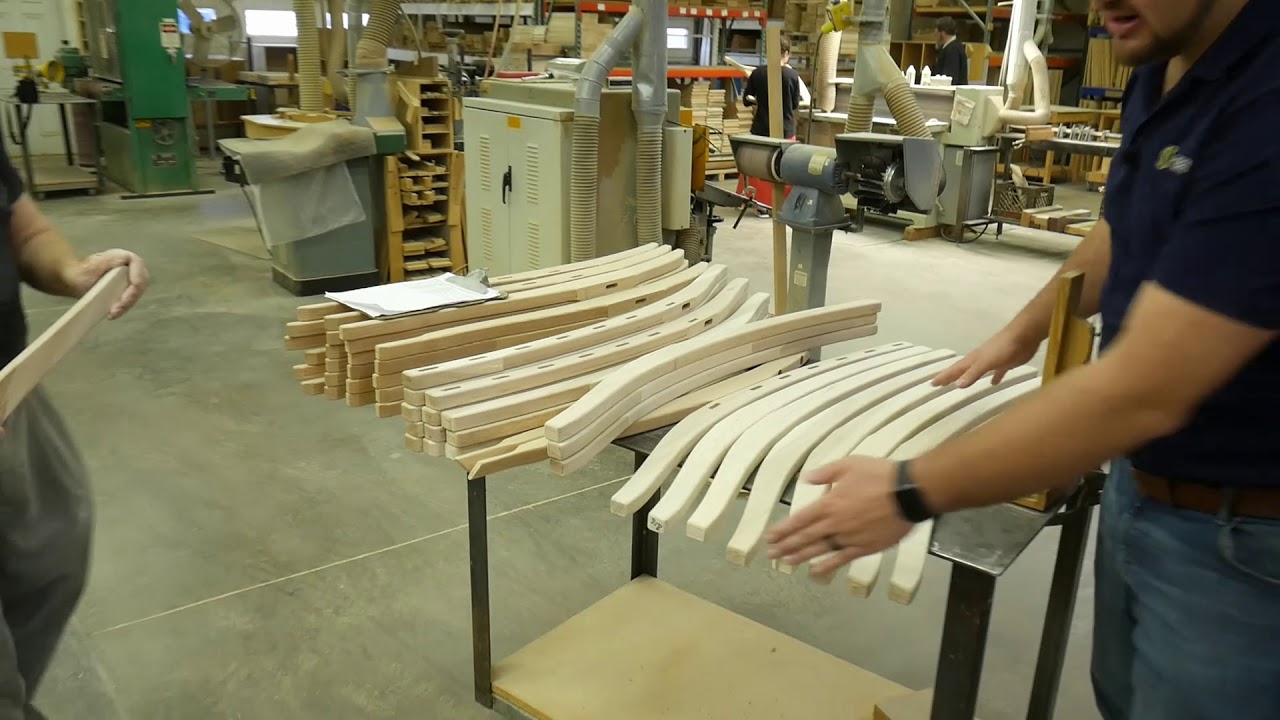
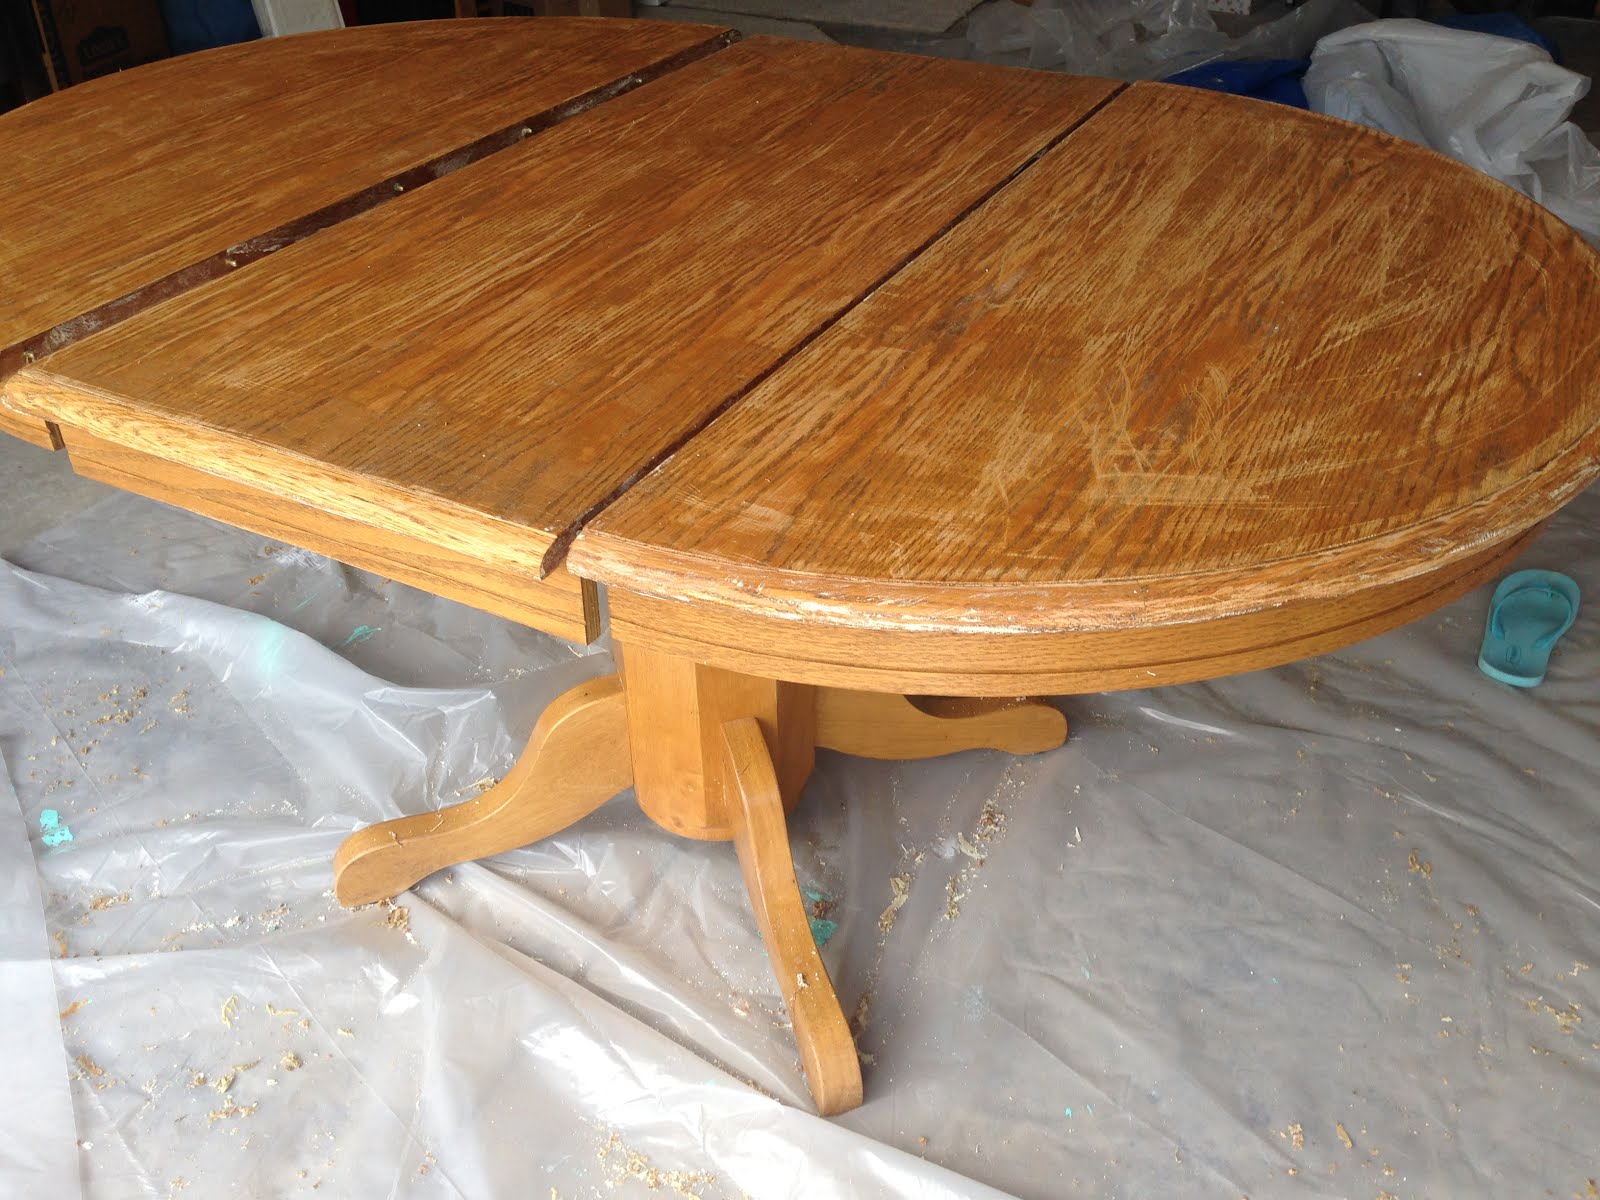
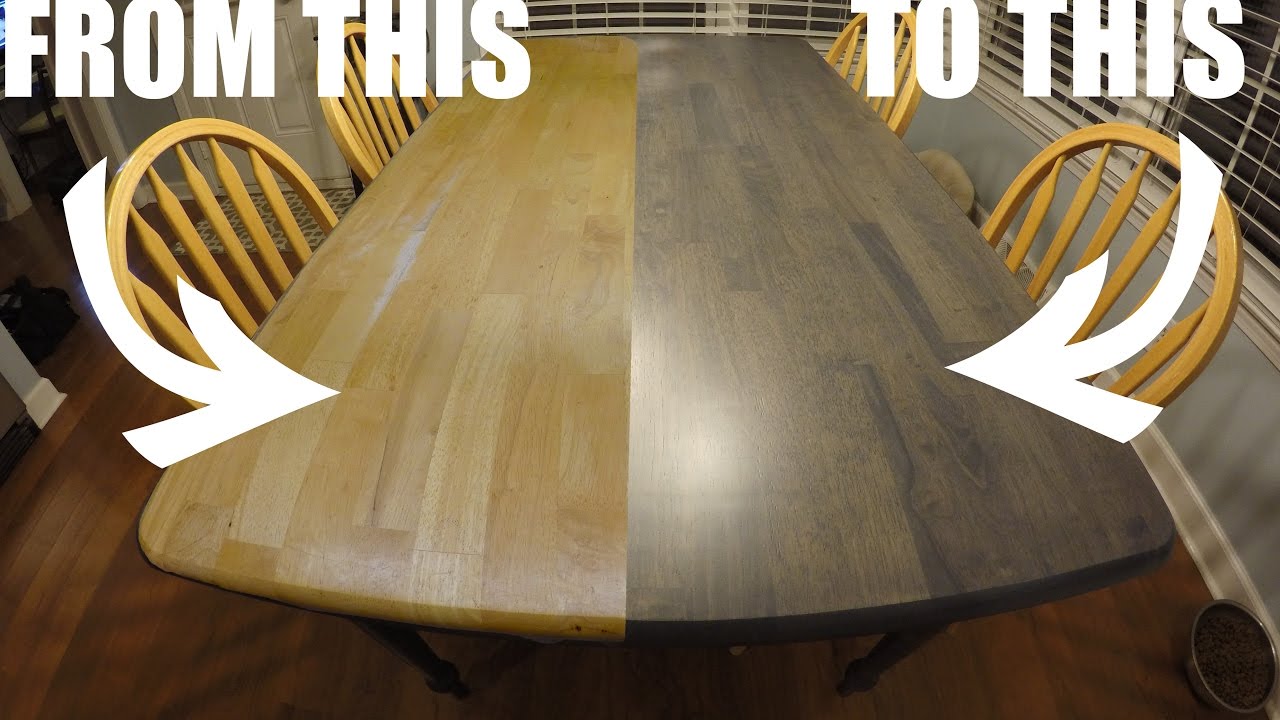
If you have a wooden kitchen table, refinishing it can bring out the natural beauty of the wood and make it look brand new. The process of refinishing a wooden table involves sanding, staining, and sealing, and it requires some patience and attention to detail. Here's a step-by-step guide to refinishing your wooden kitchen table.9. Refinishing a Wooden Table


9. Refinishing a Wooden Table


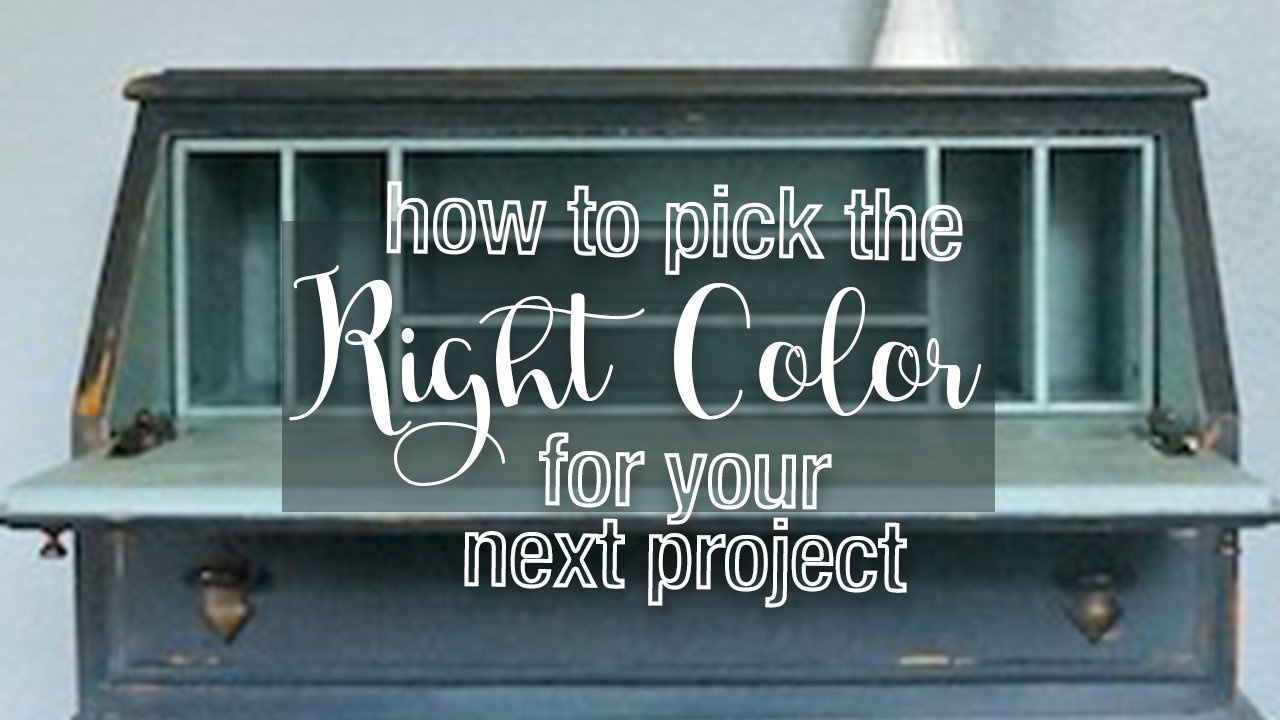
If you can't decide between painting or staining your kitchen table, why not do both? A combination of paint and stain can create a unique and beautiful finish that will make your table stand out. This is a more advanced technique, but with some practice and the right instructions, you can achieve a stunning transformation on your kitchen table.10. Transforming a Kitchen Table with Paint and Stain


10. Transforming a Kitchen Table with Paint and Stain


Sanding Kitchen Table Top to Painting: A Step-by-Step Guide

Why Sanding is Important
 Before painting your kitchen table top, it is essential to properly prepare the surface. Sanding is an essential step that helps to remove any imperfections, create a smooth base, and allow the paint to adhere better. Skipping this step can result in a less-than-desirable finish and cause the paint to peel or chip over time. Therefore, it is crucial to sand the kitchen table top before painting to ensure a professional-looking and long-lasting result.
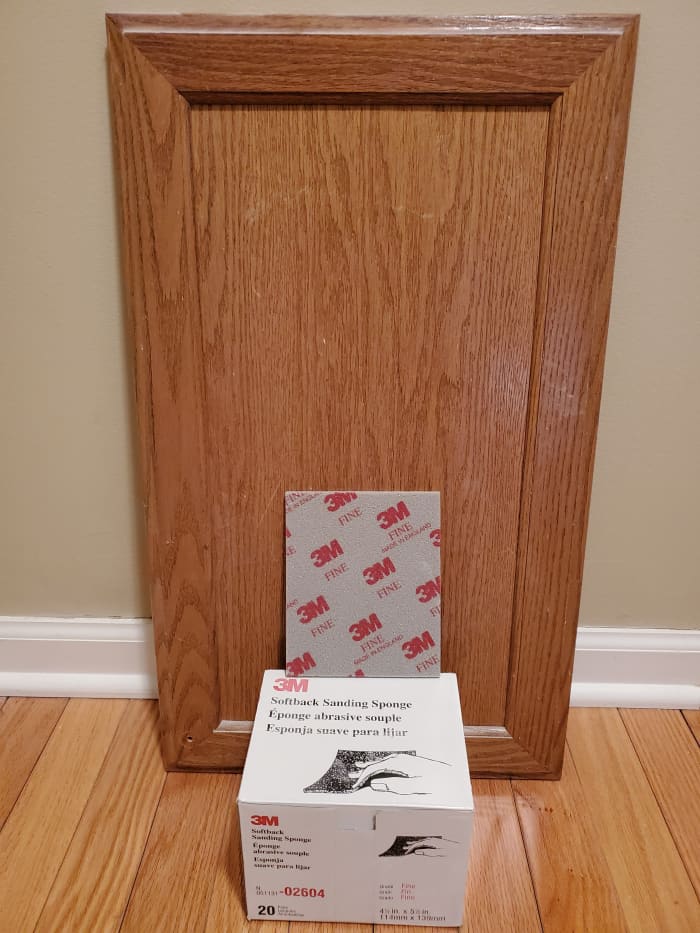
Step 1: Gather Supplies
 To start, gather all the necessary supplies for the sanding process. This includes sandpaper with different grits (coarse, medium, and fine), a sanding block or electric sander, tack cloth, and a dust mask for protection.
Step 2: Prepare the Area
 Next, prepare the area where you will be sanding. Lay down a drop cloth or old sheets to protect the floor and surrounding furniture. If possible, work outside or in a well-ventilated area to avoid inhaling dust.
Step 3: Start Sanding
 Begin by using the coarse grit sandpaper to remove any rough spots, bumps, or old finish on the table top. Sand in the direction of the wood grain to prevent any scratches. Use a sanding block or electric sander to make the process more efficient. Once all imperfections are removed, switch to the medium grit sandpaper and repeat the process. Finish off with the fine grit sandpaper to smooth out the surface.
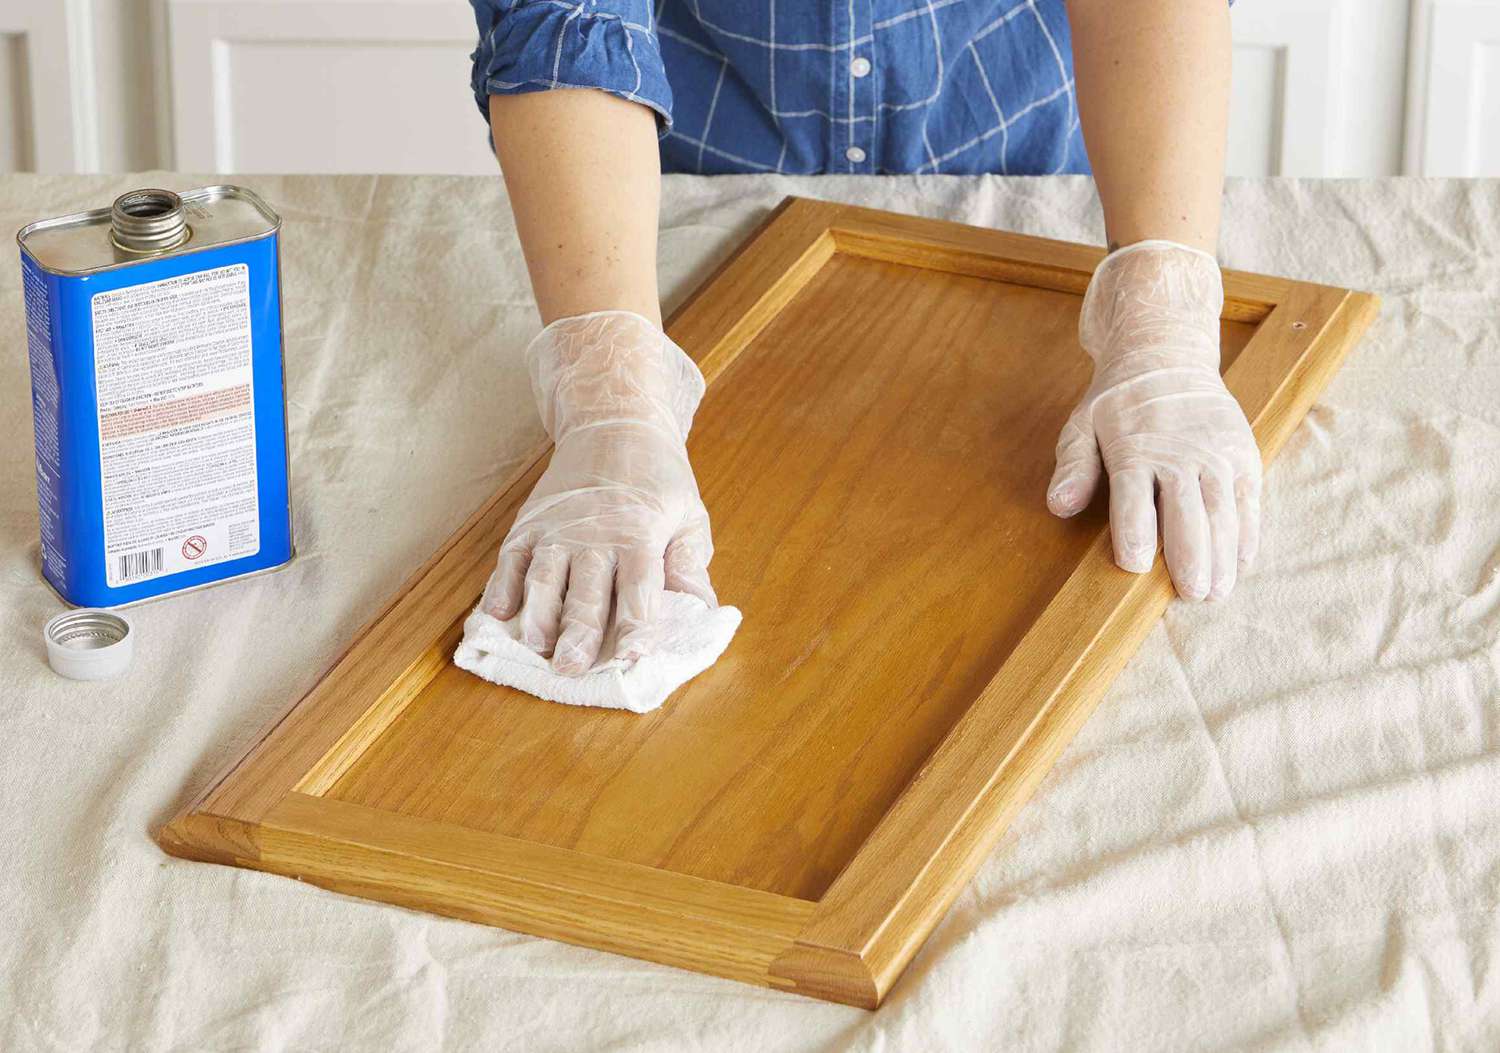
Step 4: Clean the Surface
 After sanding, use a tack cloth to remove any dust or debris from the table top. This step is crucial as any remaining particles can affect the finish of the paint.
Step 5: Prime and Paint
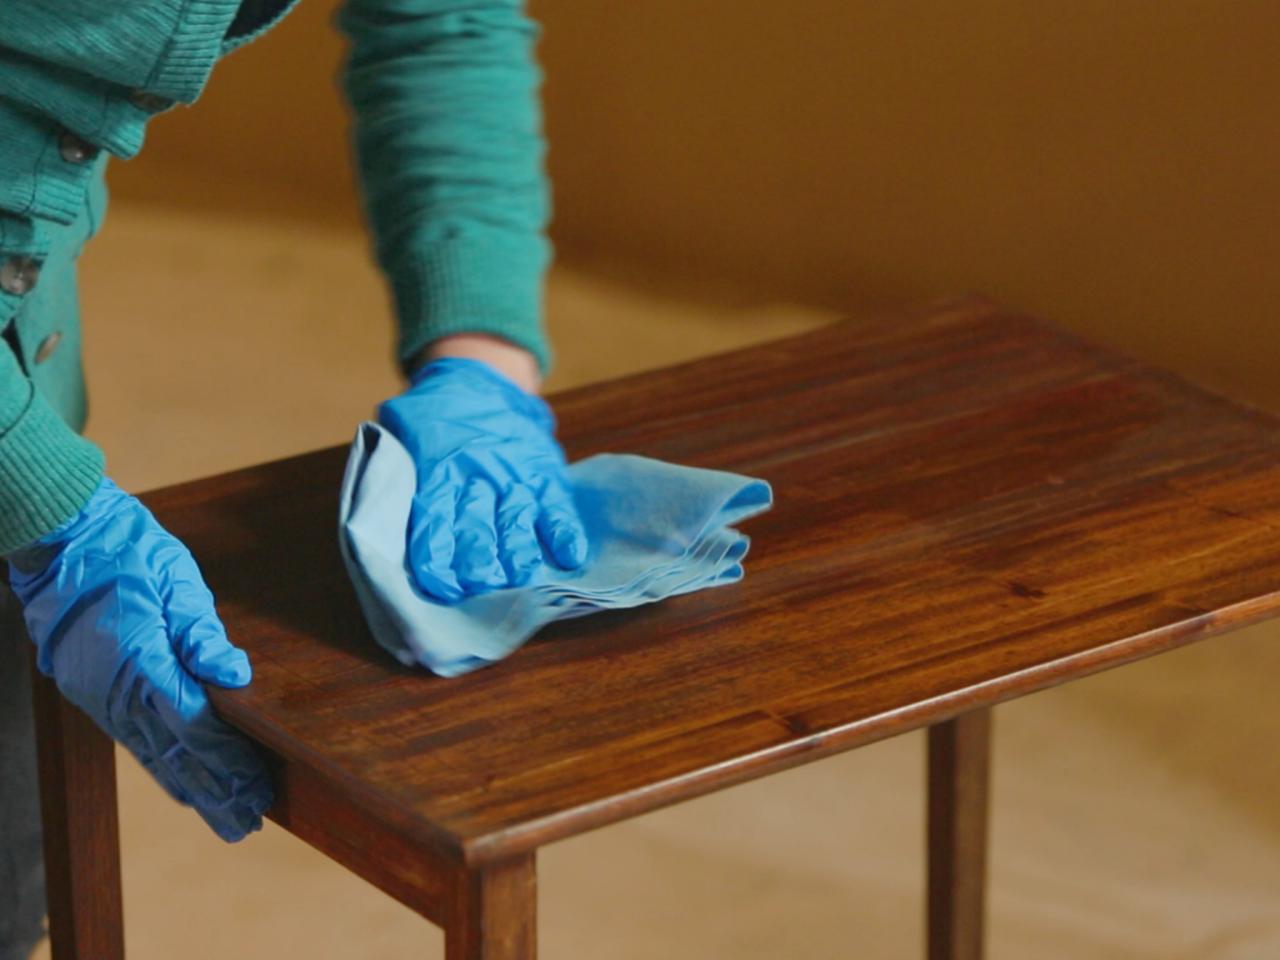
 Once the table top is clean and smooth, it is ready to be primed and painted. Use a high-quality primer specifically designed for wood surfaces. Apply the primer in thin, even coats, and allow it to dry completely before moving on to the painting stage. Choose a paint color that complements your kitchen decor and apply it using a paintbrush or roller. Apply multiple thin coats for a smooth and durable finish.
Step 6: Let it Cure
 After painting, allow the table top to cure for at least 24 hours before using it. This will ensure that the paint has fully dried and hardened, providing a long-lasting finish.
Conclusion
 Sanding the kitchen table top is a crucial step in the painting process that should not be overlooked. By following these steps and taking the time to properly sand the surface, you can achieve a professional-looking and durable finish that will enhance the overall design of your kitchen. Remember to take your time, and your hard work will pay off in the end.