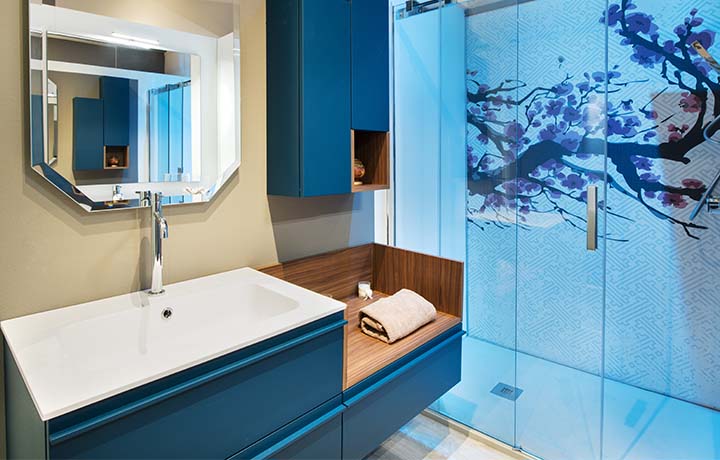
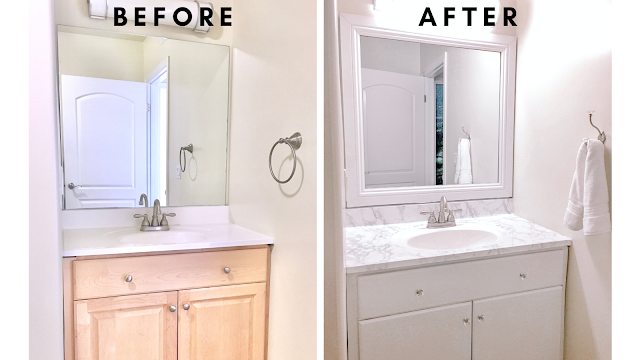
Do you feel like your bathroom is in need of a makeover? Look no further than your vanity! Sanding and painting your bathroom vanity is a budget-friendly and easy way to give your bathroom a fresh new look. With the right tools and techniques, you can transform your space in just a few simple steps. Follow our guide to learn how to sand and paint your bathroom vanity like a pro. Sanding and Painting Bathroom Vanity: Transform Your Space with These Simple Steps


Sanding and Painting Bathroom Vanity:


The key to a successful bathroom vanity makeover is in the preparation. Before you start sanding and painting, make sure you have all the necessary tools and materials on hand. You will need: How to Sand and Paint a Bathroom Vanity


How to Sand and Paint a Bathroom Vanity


After sanding, wipe down your vanity with a tack cloth or a lint-free cloth to remove any dust. Now it’s time to prime! Primer not only helps the paint stick, but it also helps to cover up any imperfections in the wood. Use a paintbrush to apply a thin, even layer of primer to your vanity. Let it dry completely before moving on to the next step. Choosing the right paint for your bathroom vanity is crucial for a long-lasting finish. Look for a paint with a semi-gloss or high-gloss finish for durability and moisture resistance. You can also opt for a specialty paint made specifically for cabinets and furniture. Whichever paint you choose, make sure it’s suitable for use in high humidity areas. DIY Bathroom Vanity Makeover: Tips for a Professional Finish


DIY Bathroom Vanity Makeover


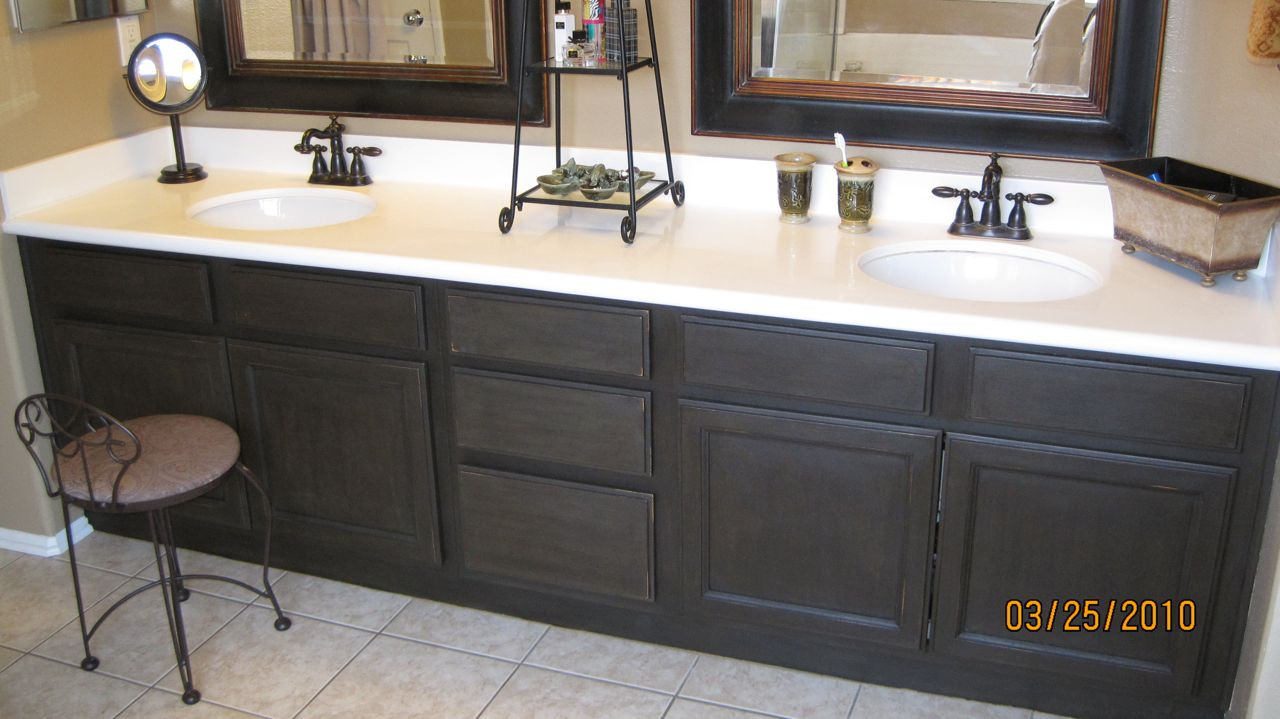
Now it’s time to paint! Use a paintbrush to cut in around the edges and corners of your vanity, then use a roller to paint the larger surfaces. Apply two thin coats of paint, letting each coat dry completely before adding the next. This will ensure a smooth and even finish. If you want to add a pop of color or a unique design to your bathroom vanity, now is the time to get creative. You can use stencils, tape, or even freehand your own design. Just make sure to let each layer of paint dry completely before moving on to the next step. Step-by-Step Guide to Refinishing a Bathroom Vanity


Tips for Painting Bathroom Cabinets


/Painting-Kitchen-Cabinets-153936981-572104943df78c56409d525c.jpg)
After the final coat of paint has dried, you can reattach the hardware or add new hardware for a fresh look. This is also a great time to add any finishing touches, such as decorative knobs or drawer liners. Now step back and admire your beautiful, newly painted bathroom vanity! One last tip: To keep your newly painted vanity looking fresh for years to come, avoid using harsh chemicals or abrasive cleaners when cleaning. Stick to gentle, non-abrasive cleaners and always wipe down with a soft cloth. With these simple steps, you can easily sand and paint your bathroom vanity for a stunning transformation. Whether you’re looking to update your space or just want a fun DIY project, this budget-friendly makeover will leave you with a beautifully painted bathroom vanity that you can enjoy for years to come. Choosing the Right Paint for Your Bathroom Vanity


Step-by-Step Guide to Refinishing a Bathroom Vanity


Sanding And Painting Bathroom Vanity: The Ultimate Guide

Why Sanding And Painting Your Bathroom Vanity Is Essential
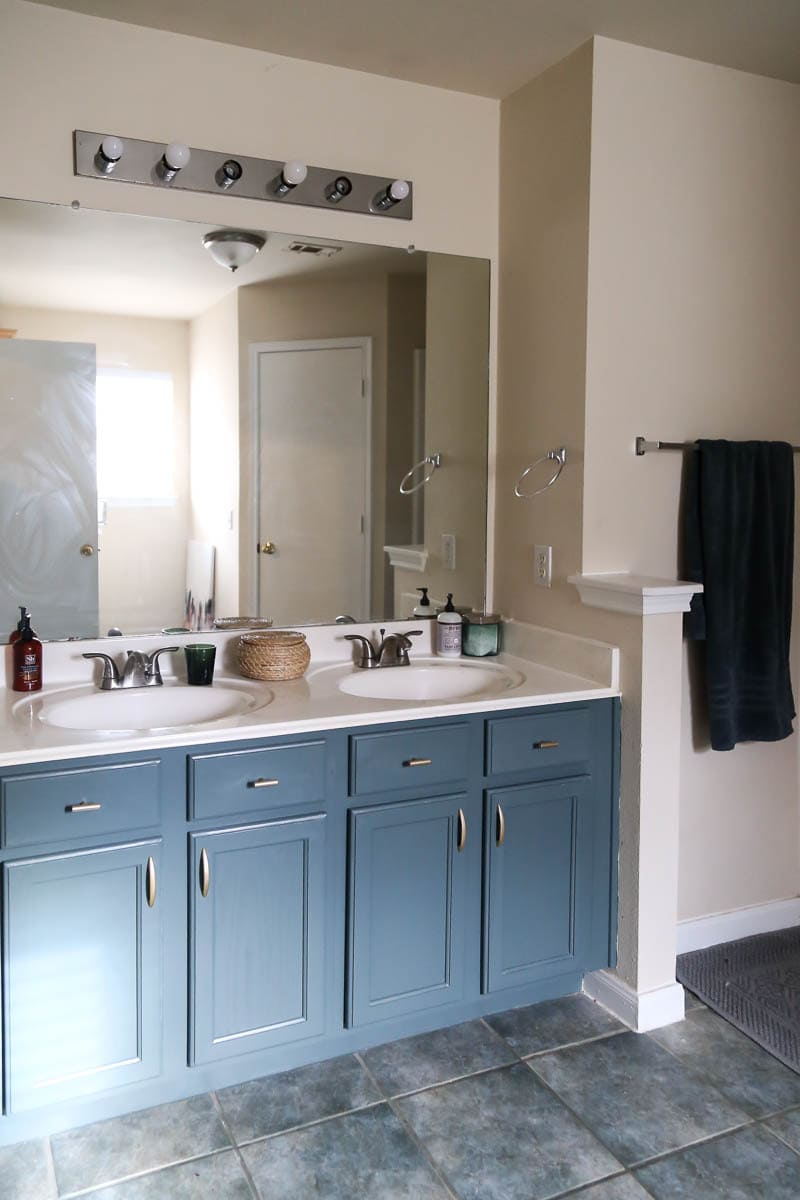
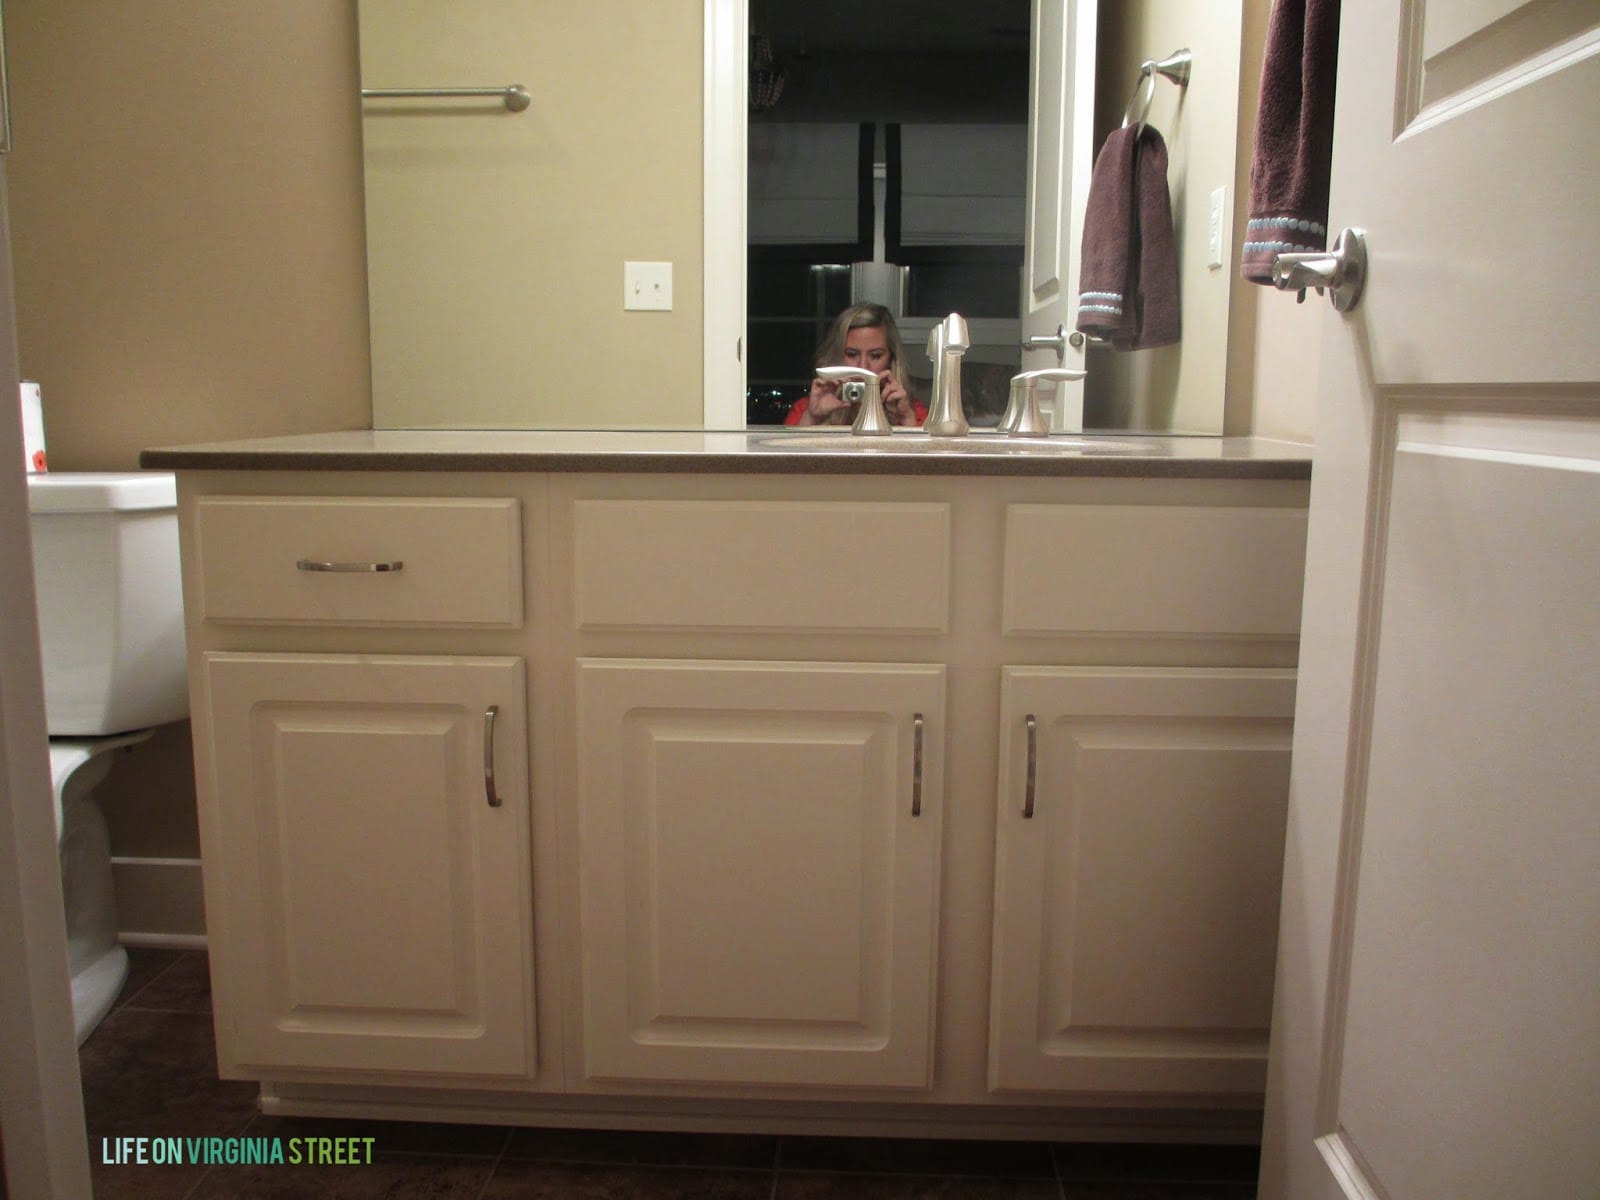
 When it comes to house design, the bathroom is often overlooked. However, a well-designed bathroom can greatly increase the value and aesthetics of your home. One of the key elements in a bathroom is the vanity, and giving it a fresh coat of paint can make a big impact. But before you start painting, there is one important step that should not be skipped – sanding.
Sanding
is the process of smoothing out the surface of the vanity by removing any imperfections, such as scratches, dents, or old paint. This step is crucial because it creates a clean and even surface for the paint to adhere to. Skipping this step can result in a bumpy and uneven finish, making the vanity look unprofessional and cheap.
When it comes to house design, the bathroom is often overlooked. However, a well-designed bathroom can greatly increase the value and aesthetics of your home. One of the key elements in a bathroom is the vanity, and giving it a fresh coat of paint can make a big impact. But before you start painting, there is one important step that should not be skipped – sanding.
Sanding
is the process of smoothing out the surface of the vanity by removing any imperfections, such as scratches, dents, or old paint. This step is crucial because it creates a clean and even surface for the paint to adhere to. Skipping this step can result in a bumpy and uneven finish, making the vanity look unprofessional and cheap.
The Importance of Choosing the Right Sandpaper
 There are various types of sandpaper available, and it's important to choose the right one for your bathroom vanity. The grit of the sandpaper refers to the coarseness of the particles on the paper. For sanding a bathroom vanity, it's recommended to start with a coarser grit, such as 80 or 100, to remove any old paint or imperfections. Then, move on to a finer grit, such as 220, for a smoother finish.
Sanding
can be done by hand or with a power sander. If you are new to sanding, it may be easier to start with a power sander as it requires less effort and can provide a more consistent finish. Whichever method you choose, make sure to sand in the direction of the wood grain to avoid any scratches or swirl marks.
There are various types of sandpaper available, and it's important to choose the right one for your bathroom vanity. The grit of the sandpaper refers to the coarseness of the particles on the paper. For sanding a bathroom vanity, it's recommended to start with a coarser grit, such as 80 or 100, to remove any old paint or imperfections. Then, move on to a finer grit, such as 220, for a smoother finish.
Sanding
can be done by hand or with a power sander. If you are new to sanding, it may be easier to start with a power sander as it requires less effort and can provide a more consistent finish. Whichever method you choose, make sure to sand in the direction of the wood grain to avoid any scratches or swirl marks.
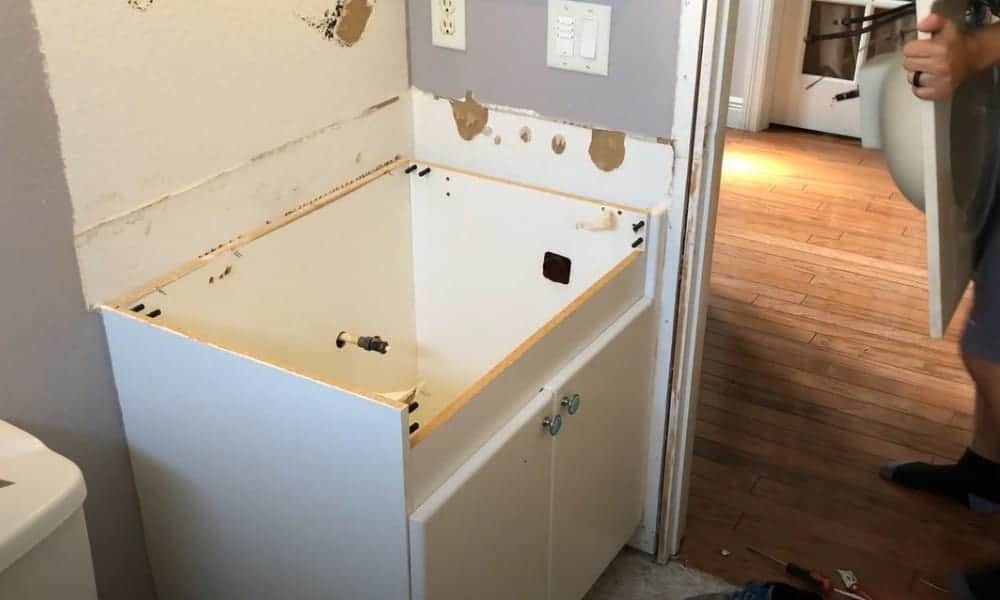
Preparing Your Vanity for Painting
 Once you have finished sanding, it's important to thoroughly clean the vanity to remove any dust or debris. Use a damp cloth to wipe down the surface and let it dry completely before moving on to painting. It's also a good idea to
prime
the vanity before painting to ensure proper adhesion and a longer-lasting finish.
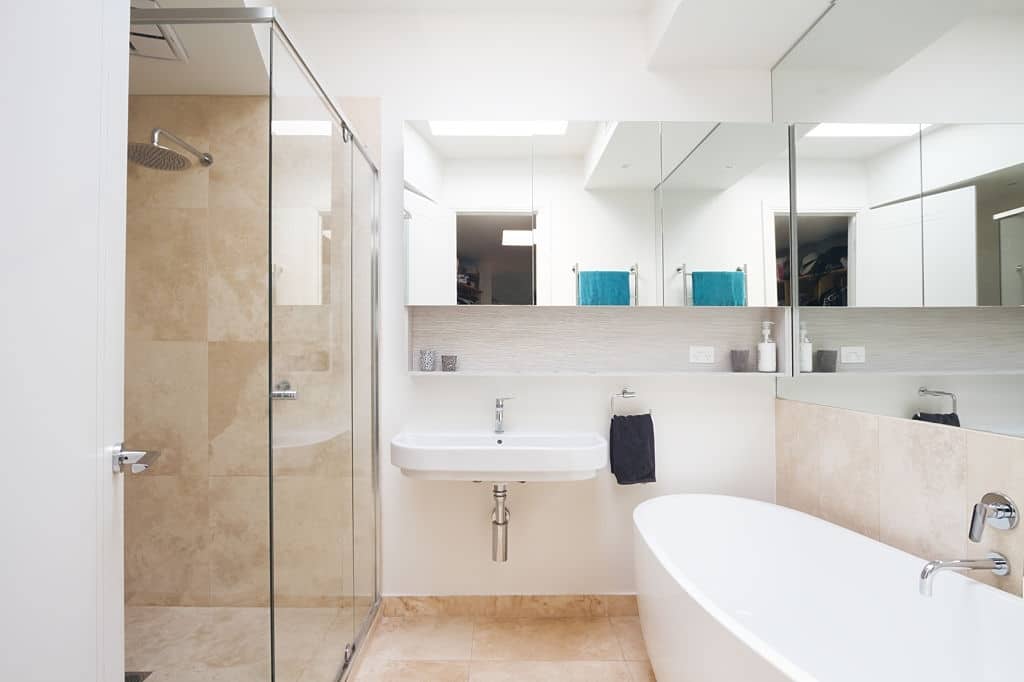
When it comes to choosing a
paint
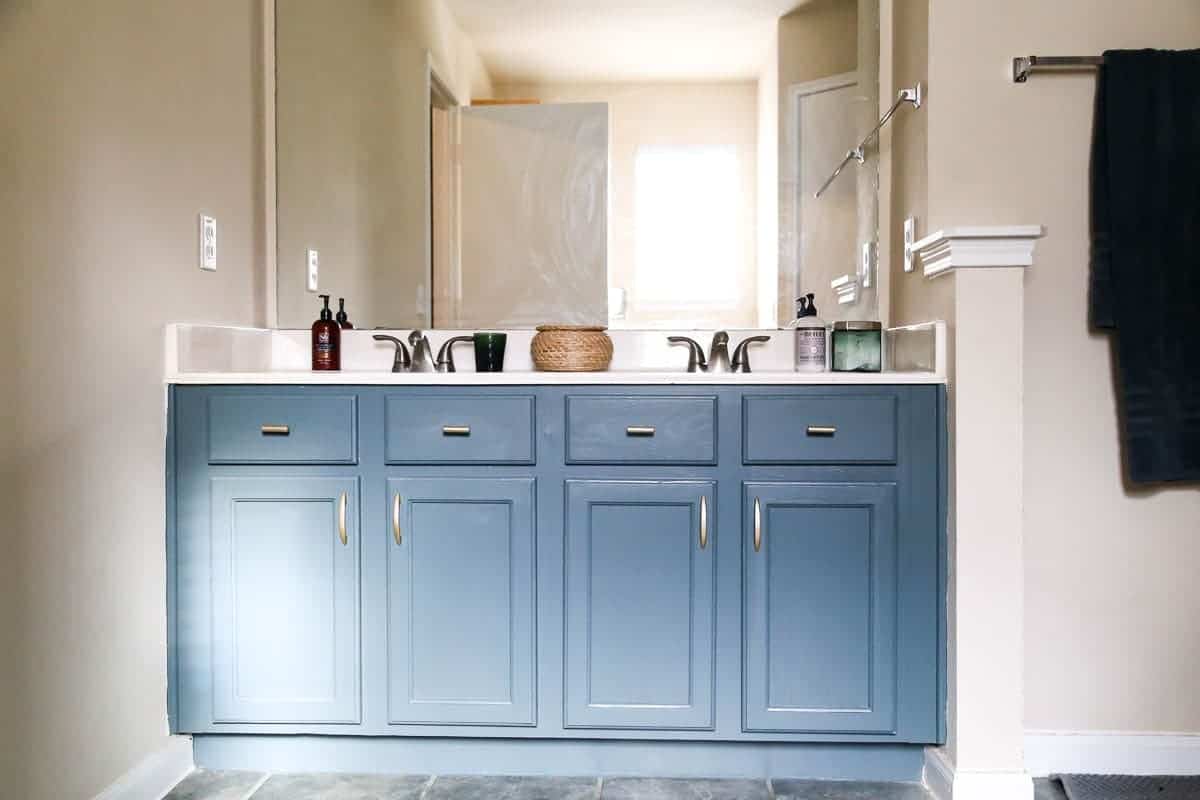
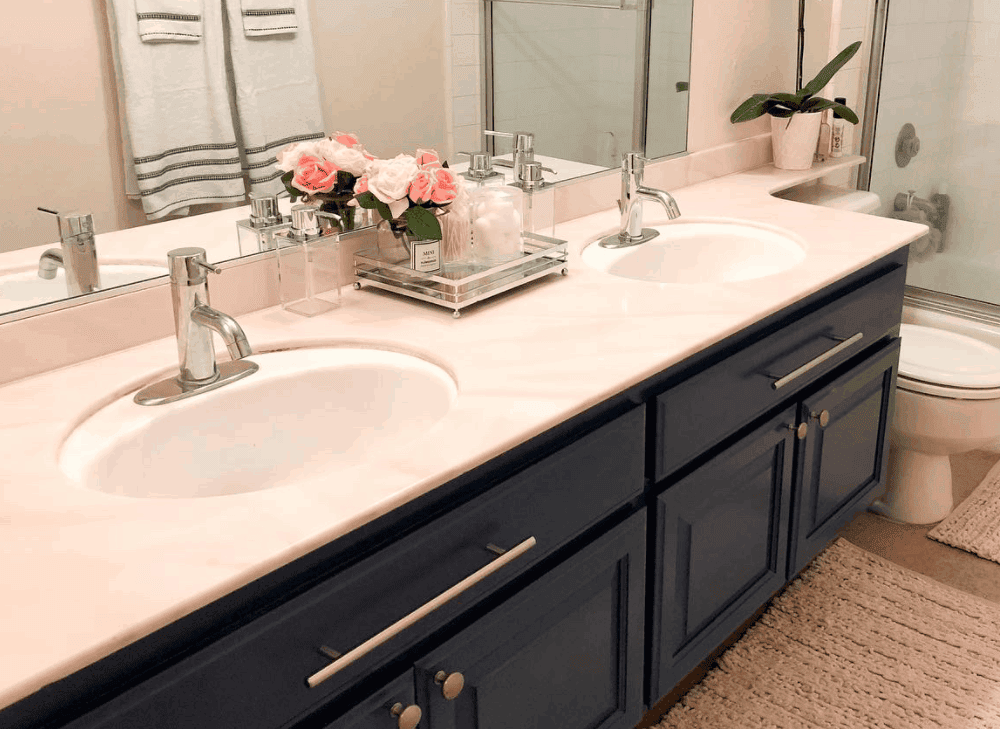
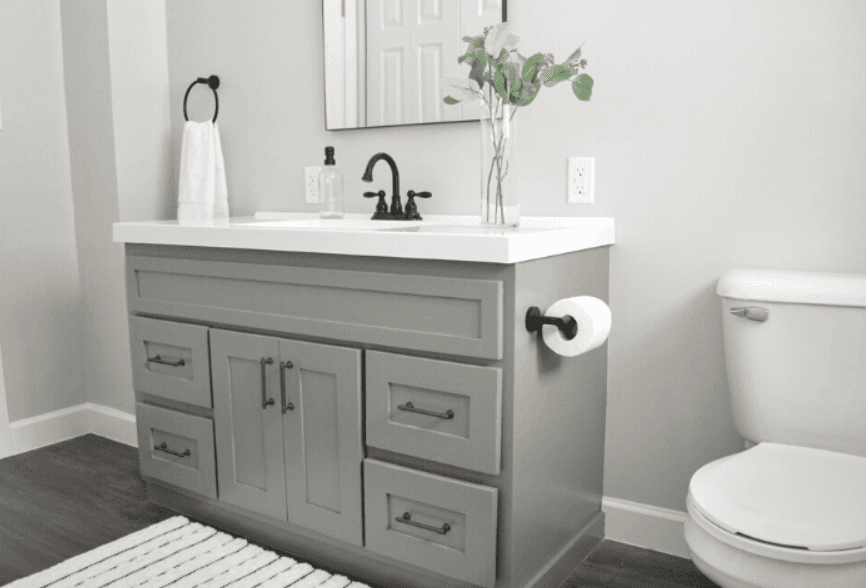
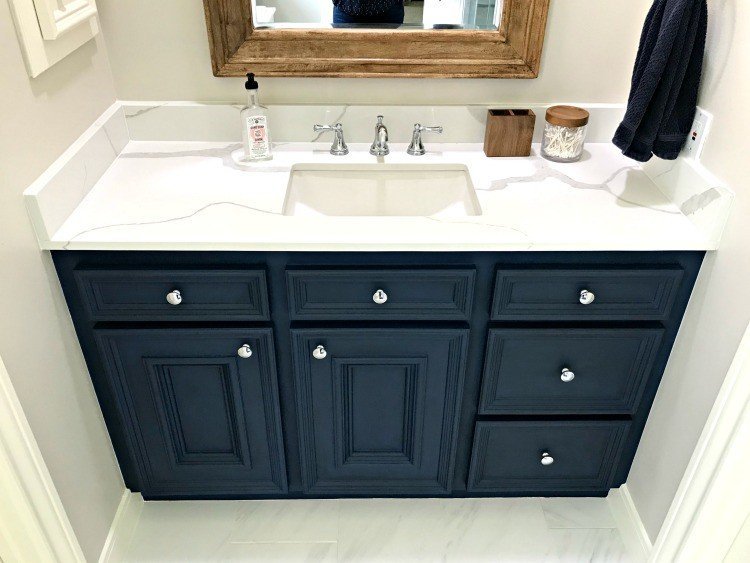
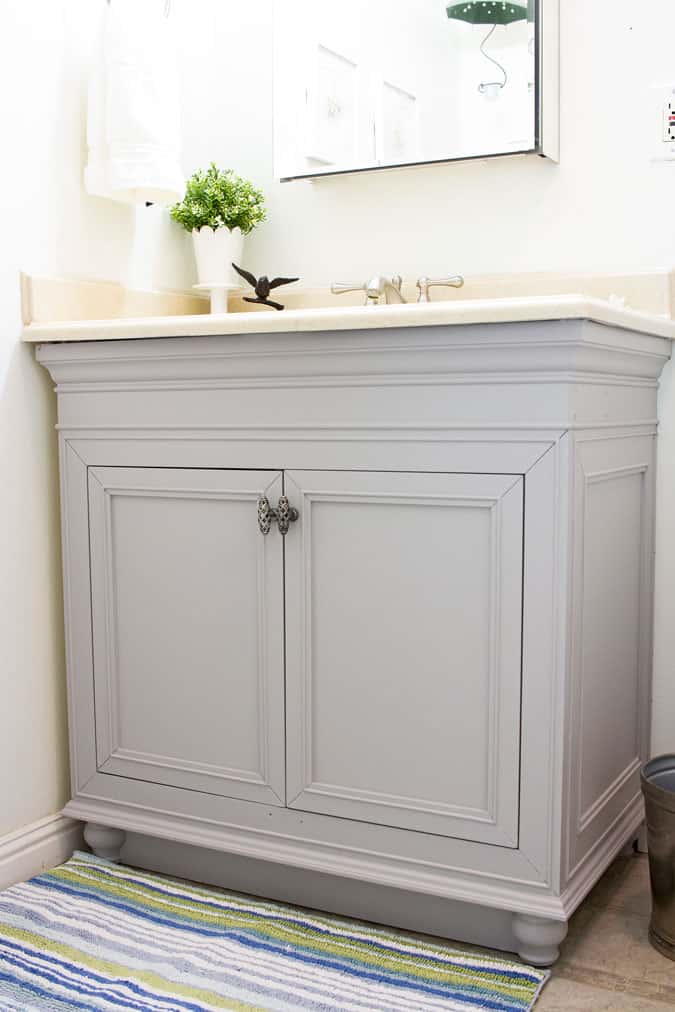
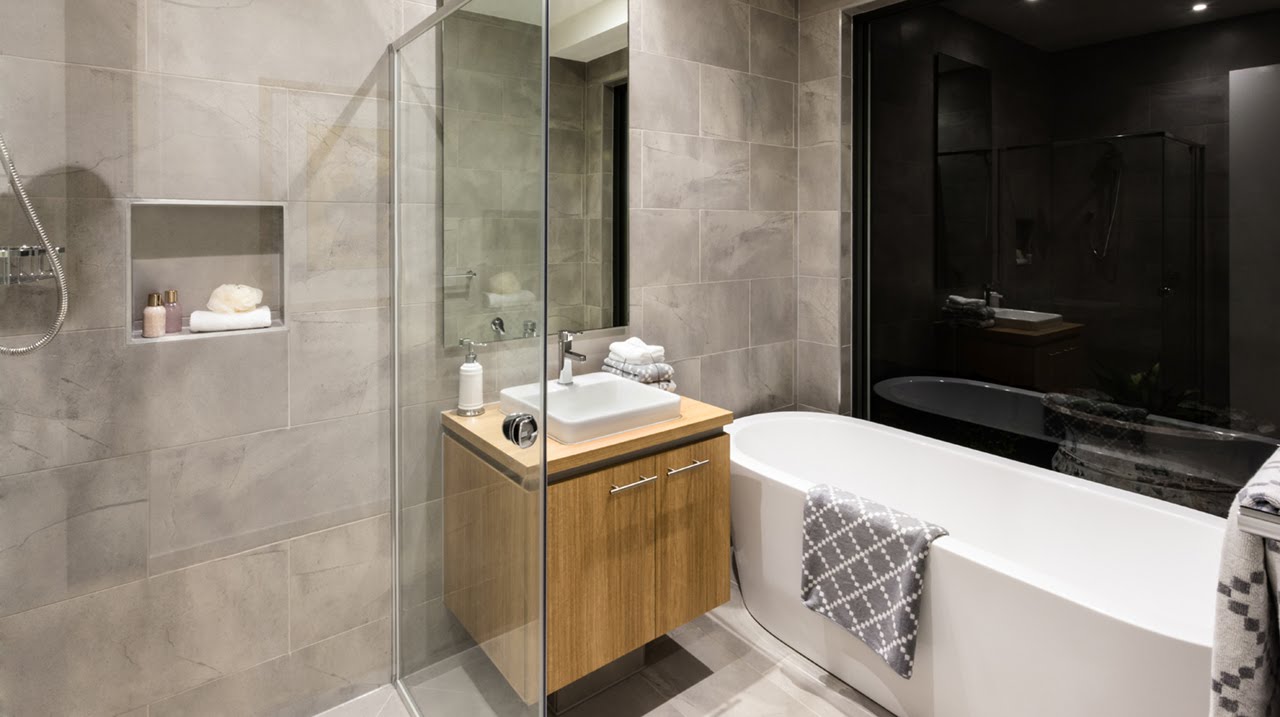
color for your bathroom vanity, consider the overall design and style of your bathroom. A neutral color, such as white or gray, can give a clean and modern look, while a bold color can add a pop of personality. It's also important to use a paint specifically designed for bathrooms, as it will be able to withstand moisture and humidity.
Once you have finished sanding, it's important to thoroughly clean the vanity to remove any dust or debris. Use a damp cloth to wipe down the surface and let it dry completely before moving on to painting. It's also a good idea to
prime
the vanity before painting to ensure proper adhesion and a longer-lasting finish.
When it comes to choosing a
paint
color for your bathroom vanity, consider the overall design and style of your bathroom. A neutral color, such as white or gray, can give a clean and modern look, while a bold color can add a pop of personality. It's also important to use a paint specifically designed for bathrooms, as it will be able to withstand moisture and humidity.
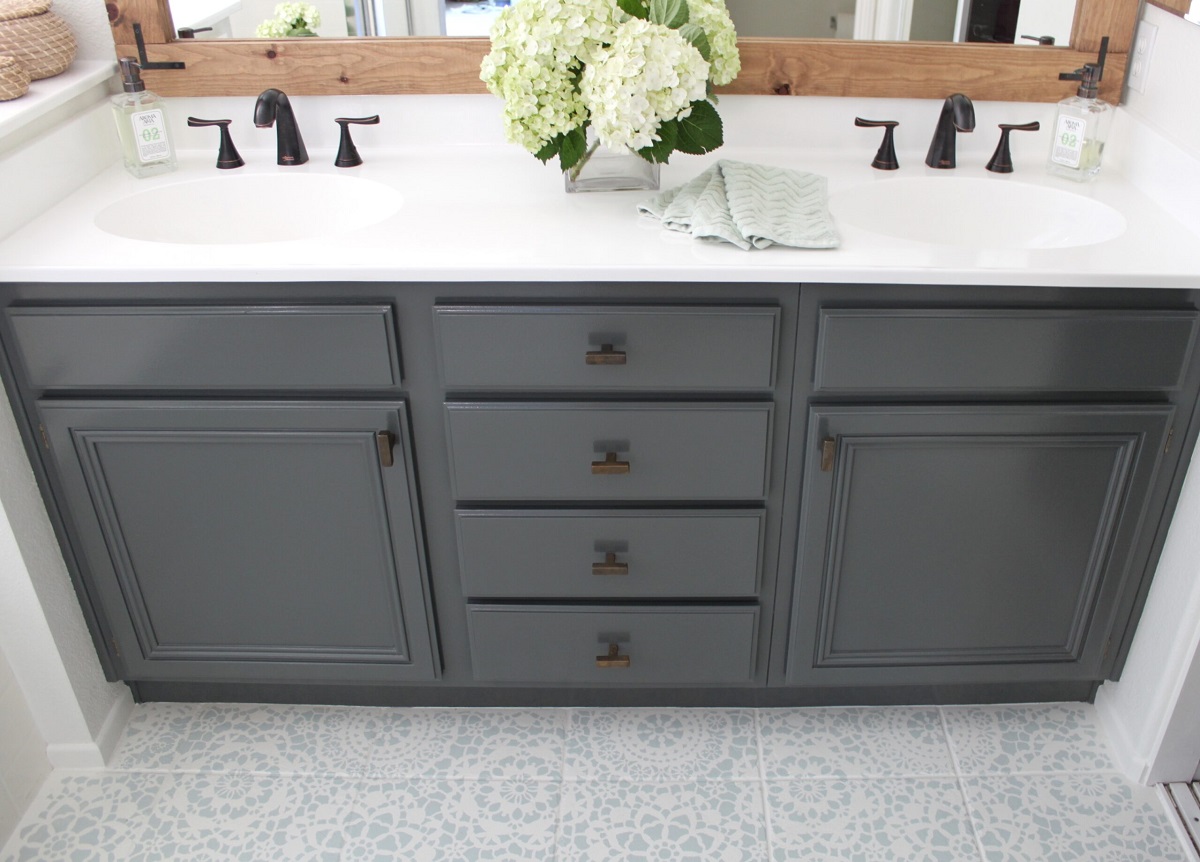
The Final Touch: Sealing and Finishing
 Once the paint has dried, it's important to seal and protect the vanity. A clear
sealant
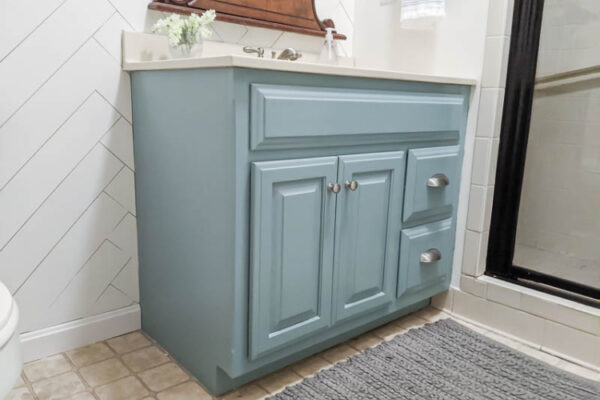
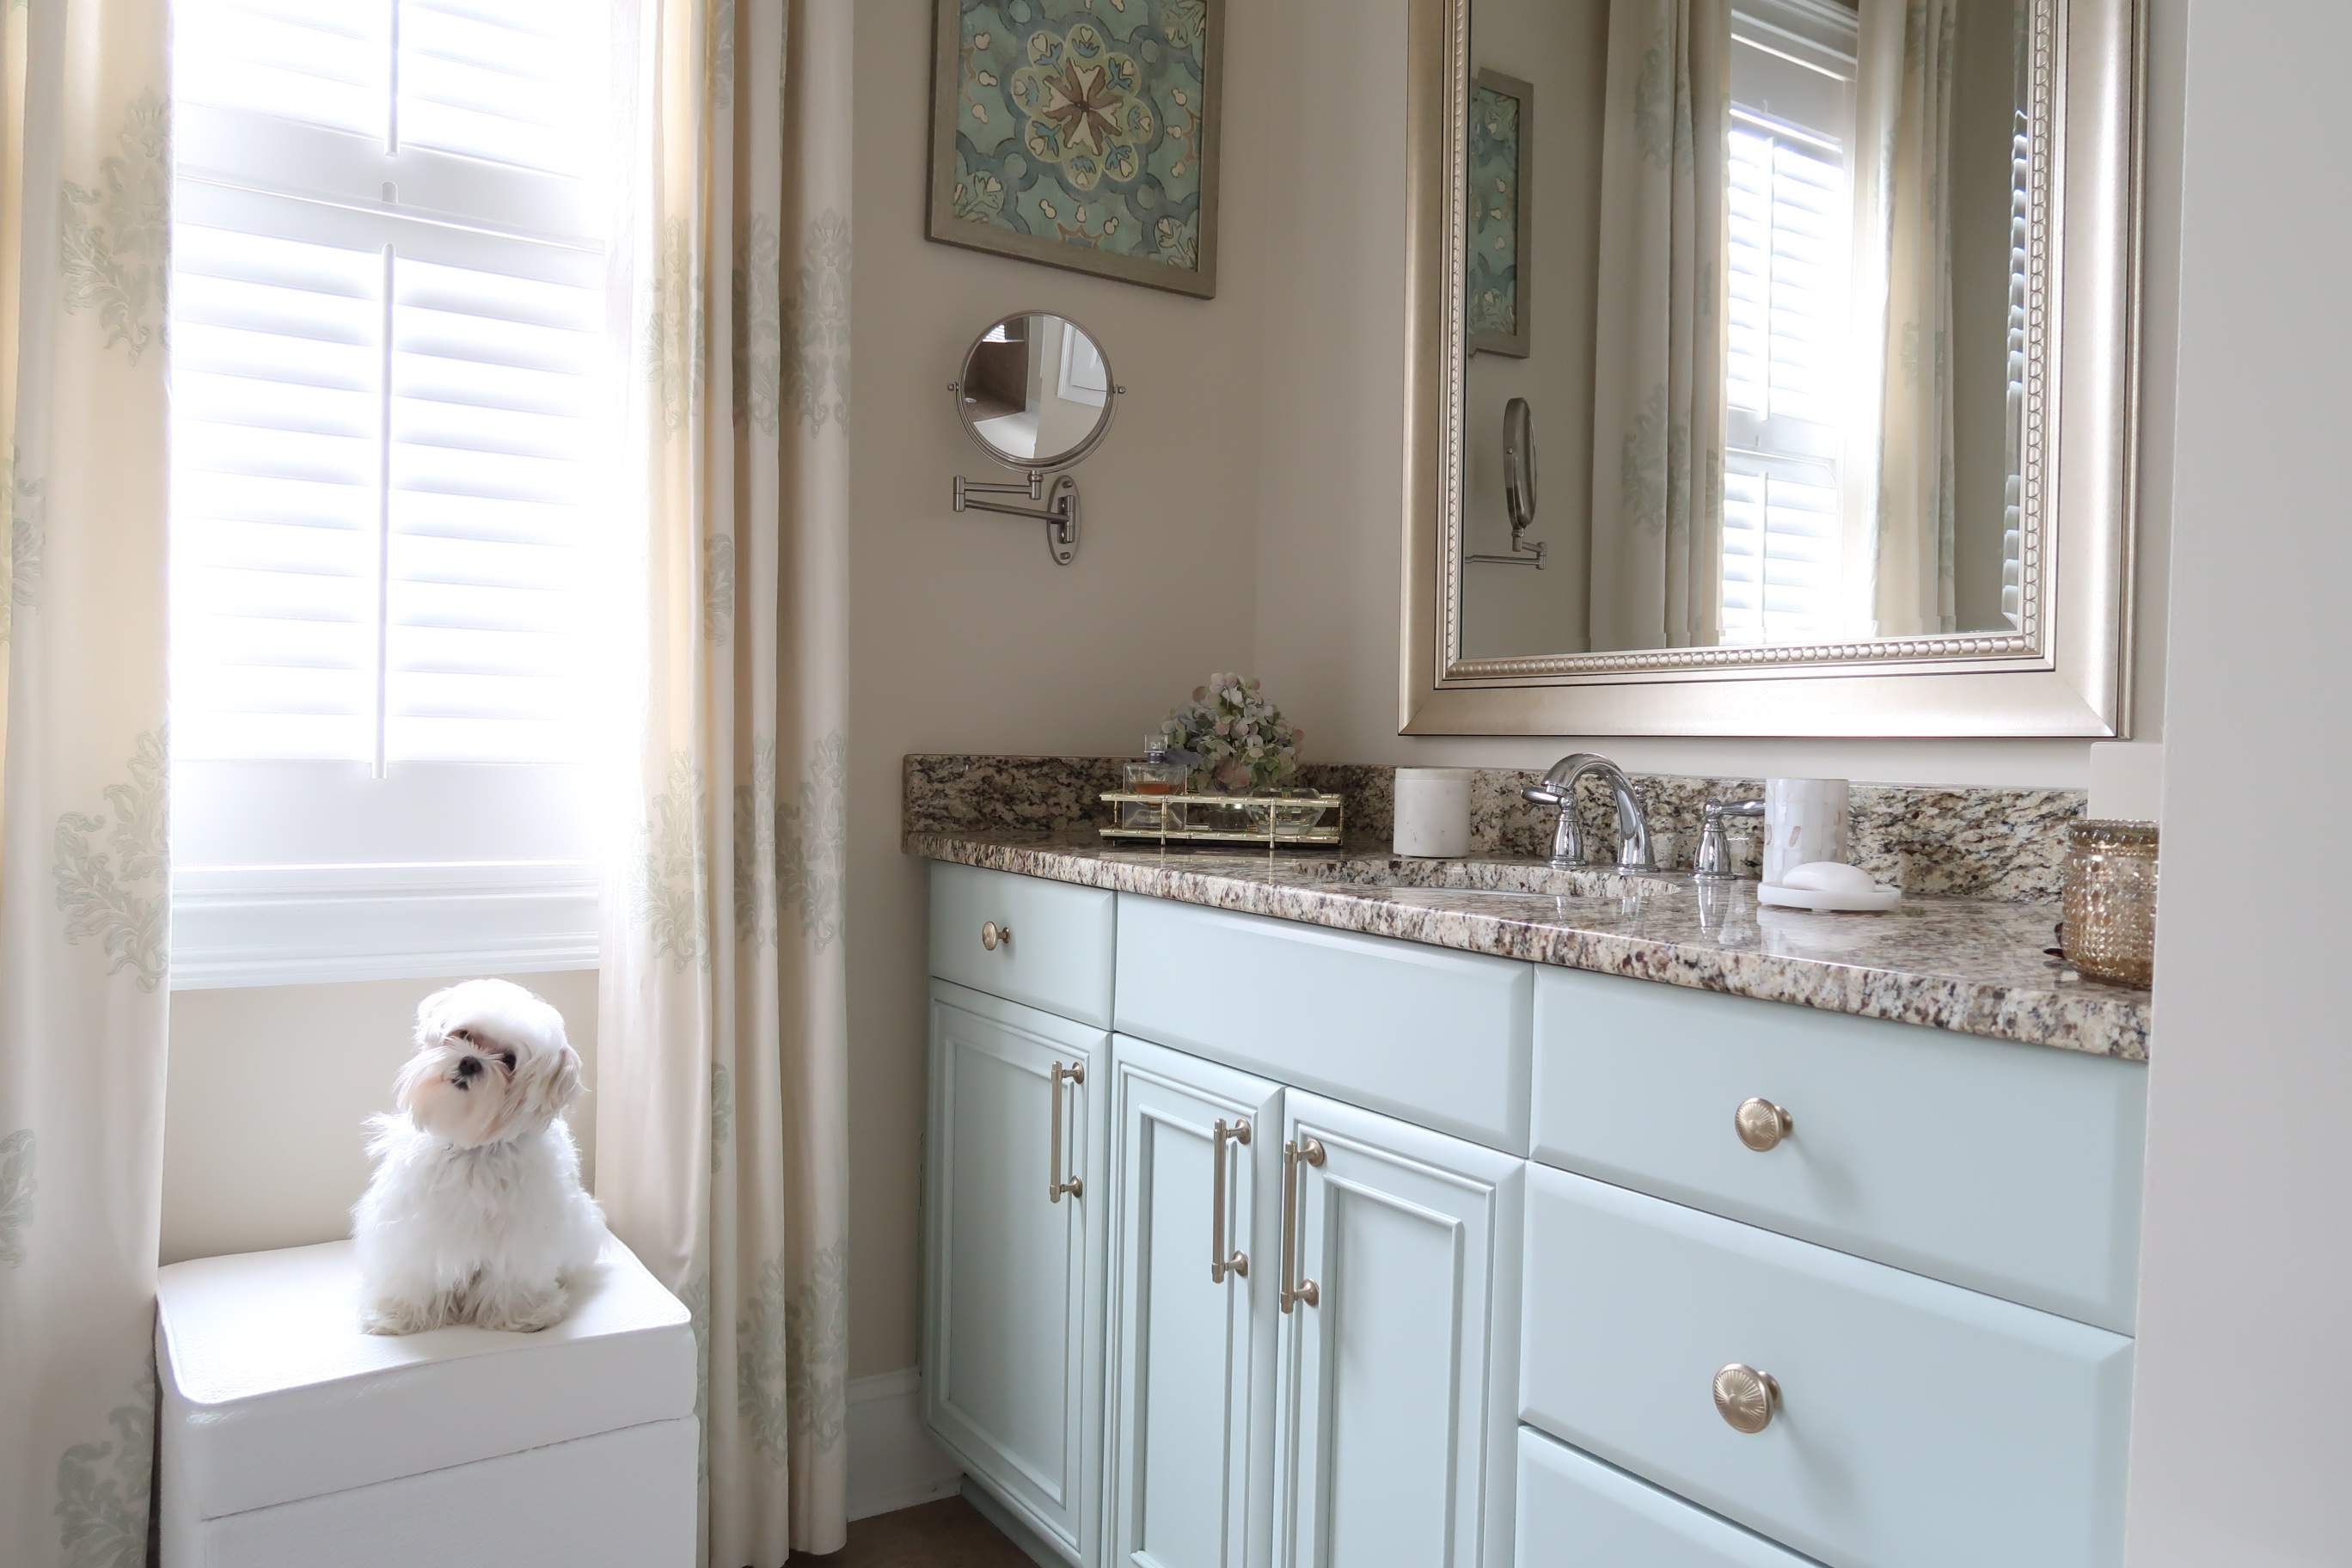
can be applied to prevent any water damage and make cleaning easier. For an extra touch, you can also add
hardware
such as knobs or handles to give your vanity a unique and customized look.
In conclusion, sanding and painting your bathroom vanity is a simple and cost-effective way to upgrade the look of your bathroom. It's important to take your time and follow the proper steps to ensure a professional and long-lasting finish. So next time you're considering a bathroom renovation, don't forget about your vanity and give it a fresh coat of paint.
Once the paint has dried, it's important to seal and protect the vanity. A clear
sealant
can be applied to prevent any water damage and make cleaning easier. For an extra touch, you can also add
hardware
such as knobs or handles to give your vanity a unique and customized look.
In conclusion, sanding and painting your bathroom vanity is a simple and cost-effective way to upgrade the look of your bathroom. It's important to take your time and follow the proper steps to ensure a professional and long-lasting finish. So next time you're considering a bathroom renovation, don't forget about your vanity and give it a fresh coat of paint.