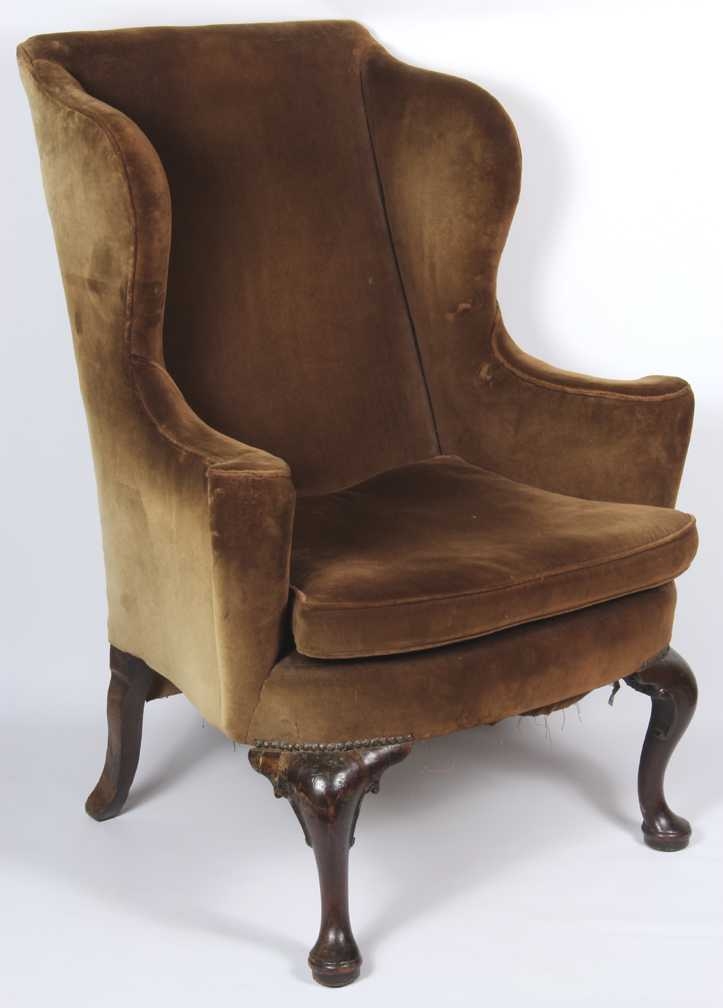
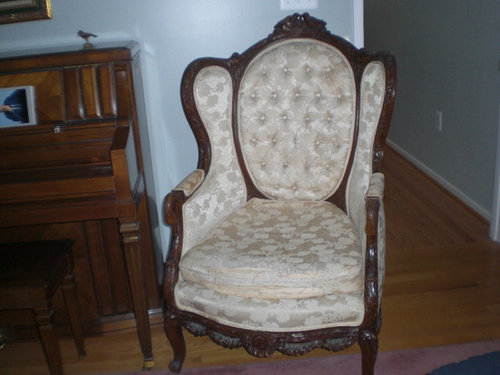
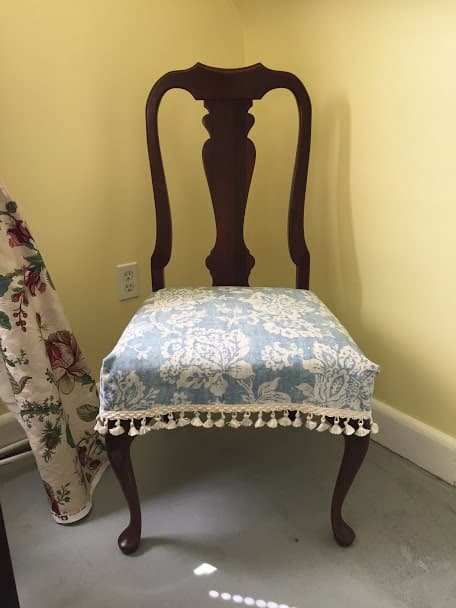
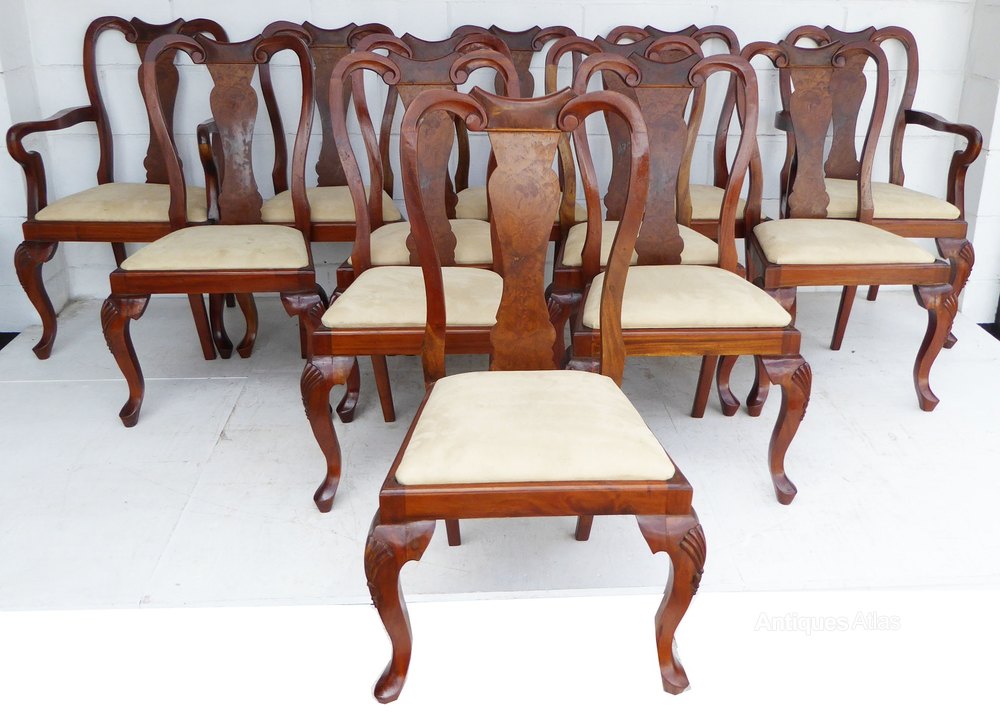
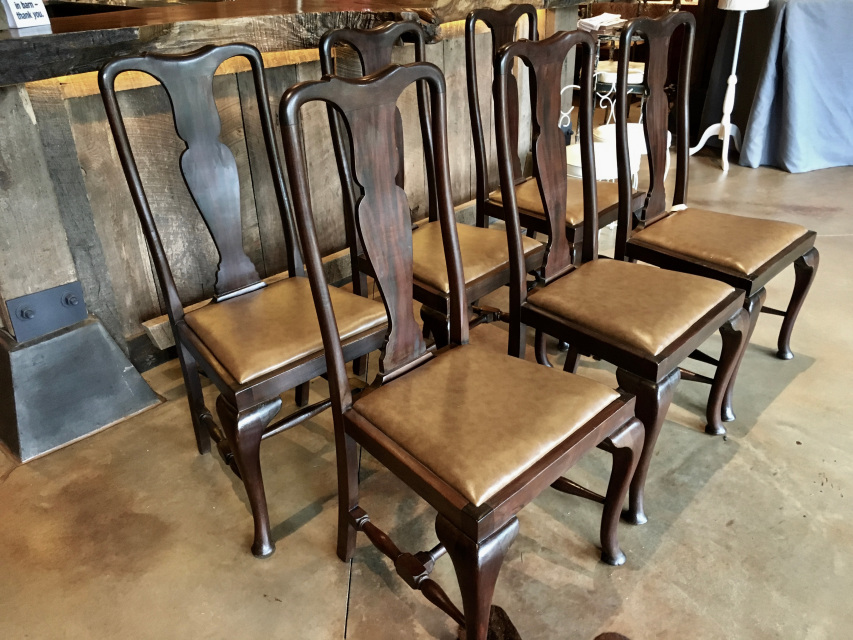
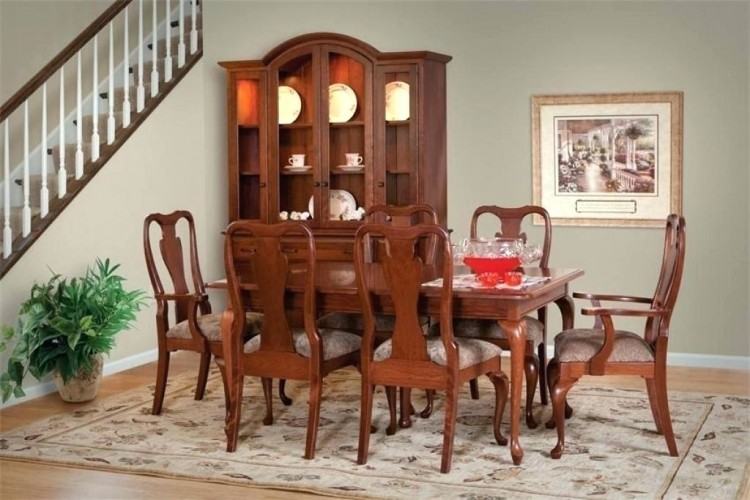
If you have inherited a beautiful Queen Anne dining room chair that has seen better days, don't throw it away. With a little bit of effort and some TLC, you can bring it back to its former glory. Reupholstering an antique Queen Anne dining room chair is not only a cost-effective way to revive old furniture, but it also allows you to preserve a piece of history and add a personal touch to your home decor.Reupholstering an Antique Queen Anne Dining Room Chair
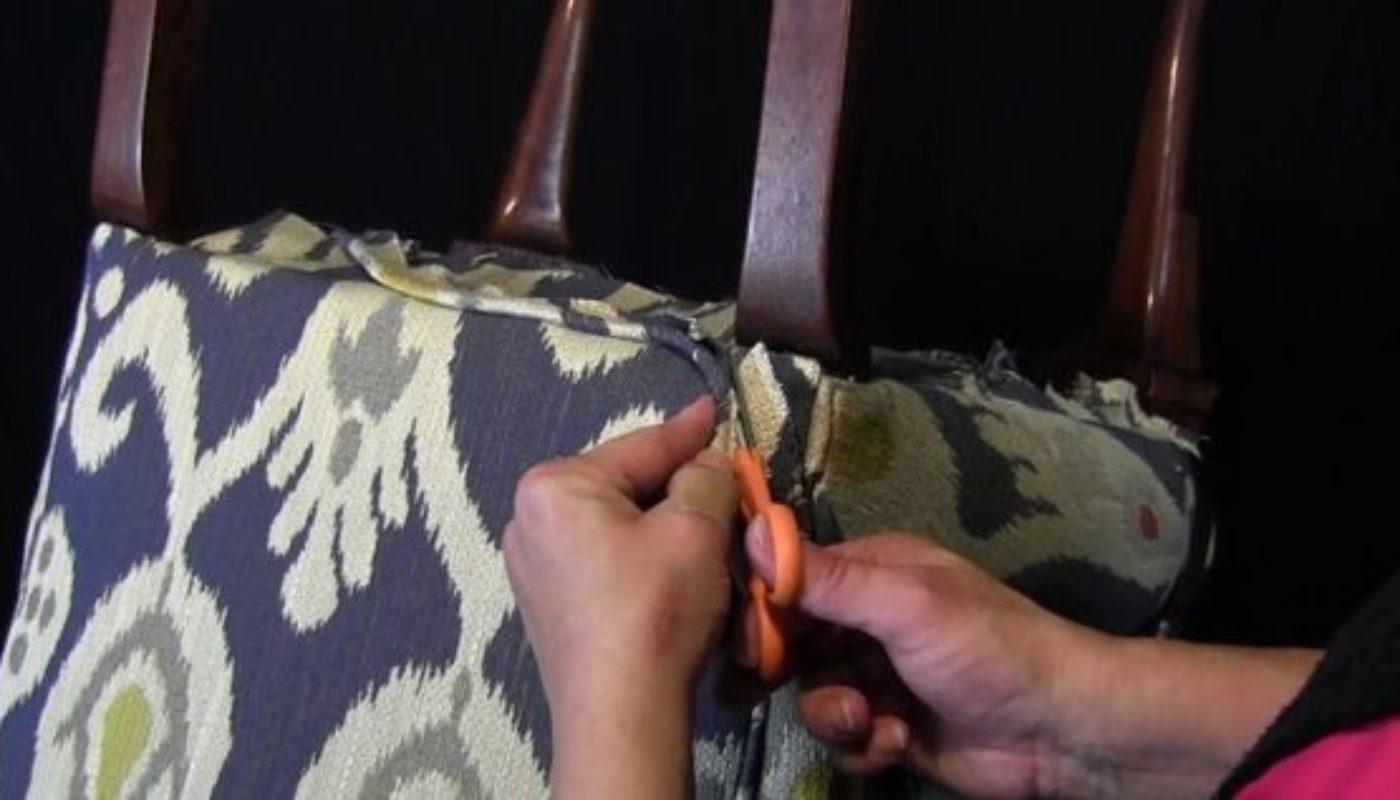
Reupholstering a Queen Anne dining room chair may seem like a daunting task, but with the right tools and materials, it can be a fun and rewarding DIY project. The process involves removing the old fabric, replacing the padding, and attaching new fabric. Here are the steps to follow to successfully reupholster your antique Queen Anne dining room chair: Step 1: Gather your materials Before you begin, make sure you have all the necessary materials on hand. This includes fabric, padding, scissors, a staple gun, and a screwdriver. You may also need some extra tools like pliers and a tack lifter to remove any stubborn staples or tacks. Step 2: Remove the old fabric Start by flipping the chair over and unscrewing the seat from the frame. Then, use pliers or a tack lifter to remove any staples or tacks holding the fabric in place. Be careful not to damage the frame or padding underneath. Once all the staples are removed, gently pull off the old fabric. Step 3: Replace the padding If the padding is worn or damaged, now is the perfect time to replace it. Cut a piece of foam or batting to fit the seat and secure it in place with a staple gun. Make sure the padding is smooth and even to avoid any lumps or bumps in the finished product. Step 4: Cut and attach the new fabric Using the old fabric as a template, cut a piece of new fabric that is slightly larger on all sides. This will ensure you have enough fabric to work with when attaching it to the seat. Start by stapling one side of the fabric to the bottom of the seat, pulling it taut as you go. Then, repeat on the opposite side. Continue stapling the fabric to the seat, making sure it is smooth and wrinkle-free. Step 5: Trim and finish Once the fabric is securely attached to the seat, use scissors to trim off any excess fabric. If needed, you can also add a layer of fabric or batting to the bottom of the seat for a more polished look. Finally, reattach the seat to the chair frame using the screws.How to Reupholster a Queen Anne Dining Room Chair
Making the decision to reupholster your antique Queen Anne dining room chairs yourself can save you money and give you a sense of accomplishment. However, it's important to do your research and follow the steps carefully to avoid any mistakes or mishaps. Here are a few tips to keep in mind when attempting a DIY reupholstering project: Choose the right fabric When it comes to reupholstering, the fabric you choose is just as important as the technique. Look for durable, high-quality fabrics that are appropriate for furniture use. You can also get creative and mix and match different patterns and textures to add a unique touch to your Queen Anne dining room chairs. Take your time Reupholstering a chair is not a task that can be rushed. Take your time and work carefully to ensure a professional-looking finish. If needed, you can always take a break and come back to it another day. Be patient Reupholstering can be a tedious process, especially for beginners. Don't get discouraged if things don't go perfectly the first time. Be patient and remember that practice makes perfect.DIY Reupholstering for Antique Queen Anne Dining Room Chairs
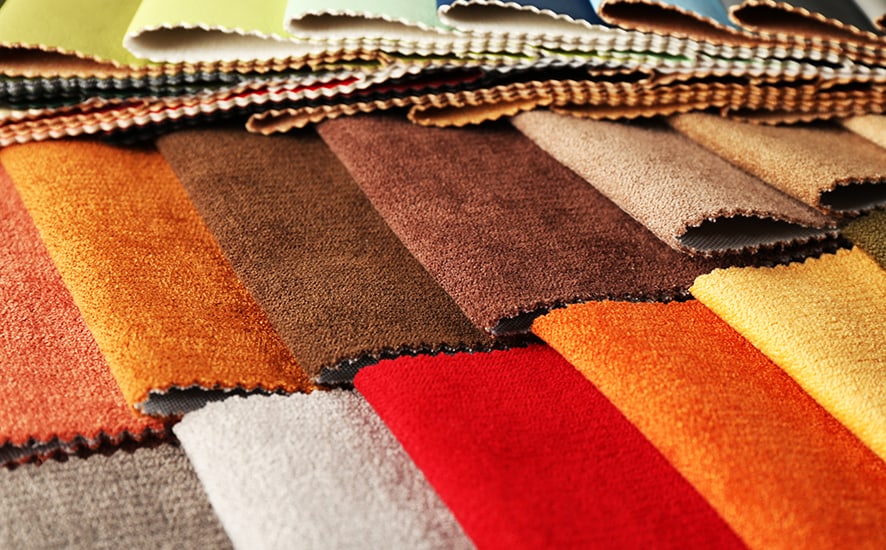
Choosing the right fabric for your Queen Anne dining room chairs is crucial for a successful reupholstering project. Here are some popular fabric options to consider: Velvet Velvet is a luxurious and elegant fabric that works well for traditional and formal dining rooms. It is soft to the touch and adds a touch of sophistication to any piece of furniture. Leather For a more rustic or masculine look, consider using leather to reupholster your Queen Anne dining room chairs. Leather is durable and easy to clean, making it a practical choice for busy households. Cotton Cotton is a versatile and budget-friendly option for reupholstering antique furniture. It comes in a wide variety of patterns and colors and is easy to work with, making it a popular choice for DIY projects.Best Fabrics for Reupholstering Antique Queen Anne Dining Room Chairs
When it comes to choosing the right upholstery for your Queen Anne dining room chair, there are a few factors to consider: Style The style of your chair will play a big role in determining the type of fabric you choose. For a more traditional look, consider using rich, luxurious fabrics like velvet or silk. For a more modern or casual look, opt for lighter, more durable fabrics like cotton or linen. Functionality Think about how your Queen Anne dining room chairs will be used. If you have young children or pets, you may want to choose a fabric that is easy to clean and more resistant to wear and tear. Color and pattern The color and pattern of your upholstery can have a big impact on the overall look and feel of your dining room. Consider the existing color scheme and decor in the room when choosing your fabric to ensure a cohesive and aesthetically pleasing result.Tips for Choosing the Right Upholstery for Your Queen Anne Dining Room Chair
If you're not confident in your DIY skills or simply don't have the time to reupholster your antique Queen Anne dining room chairs, consider hiring a professional. They have the expertise and tools to ensure a high-quality and long-lasting result. Note: Professional reupholstering can be more expensive than a DIY project, so make sure to compare prices and do your research before making a decision.Professional Reupholstering Services for Antique Queen Anne Dining Room Chairs
The transformation that comes with reupholstering an antique Queen Anne dining room chair can be truly remarkable. A chair that was once old and worn can be completely revived with a new fabric and a little bit of love and care. Here are some before and after examples to inspire you: Before: A faded and torn floral fabric on a Queen Anne dining room chair. After: A rich, deep red velvet fabric adds a touch of elegance and sophistication to the same chair. Before: A dark and outdated patterned fabric on a Queen Anne dining room chair. After: A fresh and modern geometric pattern breathes new life into the same chair.Before and After: Reupholstering an Antique Queen Anne Dining Room Chair
Reupholstering a chair may seem like a straightforward task, but there are some common mistakes that can easily be made. Here are a few to avoid: Not taking enough time to prepare Preparation is key to a successful reupholstering project. Rushing through the process or not properly removing the old fabric and padding can lead to a sloppy and unsatisfactory result. Choosing the wrong fabric Choosing a fabric that is not suitable for furniture use or doesn't match the style of your chair can result in a less-than-ideal finished product. Take your time and consider all factors before selecting your fabric. Not using enough staples or tacks Staples and tacks are what hold the fabric in place, so it's important to use enough of them. Not using enough can result in a loose and bumpy finish.Common Mistakes to Avoid When Reupholstering a Queen Anne Dining Room Chair
One of the biggest benefits of reupholstering an antique Queen Anne dining room chair is the cost savings compared to buying a new one. Here's a cost breakdown to give you an idea of how much you could save by reupholstering: Reupholstering: Fabric - $30, Padding - $10, Tools - $20, Labor (DIY) - $0, Total Cost: $60 Buying a new chair: Average cost - $300 As you can see, reupholstering can save you a significant amount of money, especially if you have multiple chairs to revamp.Cost Comparison: Reupholstering vs. Buying a New Queen Anne Dining Room Chair
Reupholstering an antique Queen Anne dining room chair is a worthwhile and rewarding project that can breathe new life into old furniture. With the right materials, tools, and techniques, you can transform your chairs and create a one-of-a-kind piece that adds character and charm to your home. Whether you choose to DIY or hire a professional, the result will be a beautiful and revived piece of history that you can enjoy for years to come.In Conclusion
Why Reupholstering an Antique Queen Anne Dining Room Chair is Worth the Investment

Preserving History and Charm
 Reupholstering an antique Queen Anne dining room chair is not just about giving it a new look, it's also about preserving its history and charm. This type of chair has been around since the early 18th century and is known for its elegant and intricate design. By reupholstering the chair, you are keeping its original design intact and maintaining its authenticity. This is especially important for those who value antiques and want to pass them down as family heirlooms.
Quality and Durability
 Antique furniture was built to last, unlike many modern pieces that are made with cheaper materials. By reupholstering your Queen Anne dining room chair, you are not only giving it a new look, but also reinforcing its structure and ensuring its longevity. The craftsmanship and materials used in antique furniture cannot be replicated in today's mass-produced pieces. By investing in reupholstering, you are ensuring that your chair will continue to stand the test of time.
Customization and Personalization
 Reupholstering your antique Queen Anne dining room chair also gives you the opportunity to customize and personalize it to your liking. You can choose from a variety of fabrics, colors, and patterns to match your personal style and the decor of your home. This allows you to create a one-of-a-kind piece that reflects your individual taste and adds character to your dining room.
Cost-Effective Option
 While purchasing a brand new dining room chair may seem like a more convenient option, it can also be more expensive. Reupholstering your antique Queen Anne chair is a cost-effective way to update its look without breaking the bank. With the right materials and a skilled professional, your antique chair can look as good as new at a fraction of the cost of buying a new one.
In conclusion, reupholstering an antique Queen Anne dining room chair is a worthwhile investment for those who appreciate history, quality, and customization. Not only does it preserve the charm and authenticity of the chair, but it also ensures its durability and allows for personalization. Plus, it is a cost-effective option compared to purchasing a new chair. With the right care, your reupholstered antique chair can continue to be a beautiful and functional piece in your home for generations to come.


