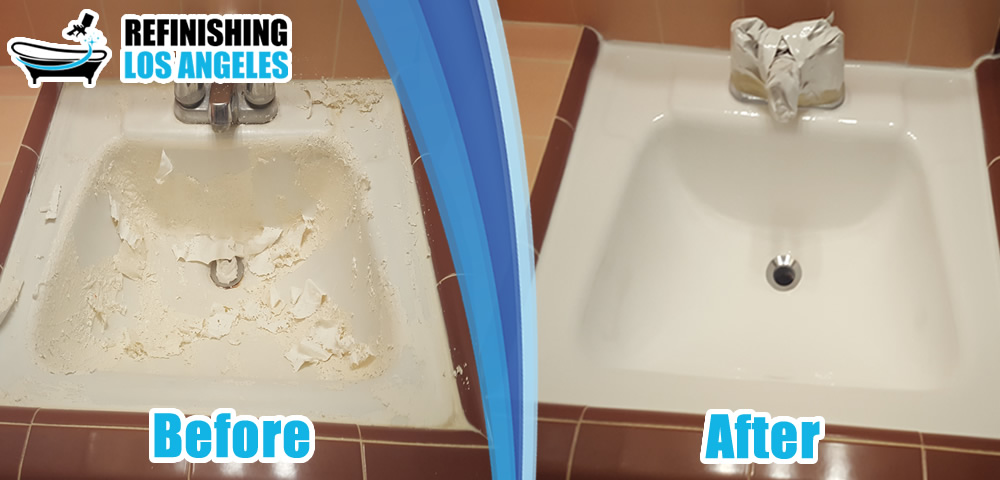
Are you tired of looking at your dull and stained white kitchen sink? Resurfacing it is a cost-effective solution that can give your kitchen a fresh, new look. Here’s a step-by-step guide to help you achieve a sparkling white sink. Step 1: Clean the sink thoroughly with a mild cleaner and water. Make sure to remove any mineral deposits or soap scum. Step 2: Sand the sink with a fine grit sandpaper to remove any scratches, stains, or discoloration. This will also create a rough surface for the new finish to adhere to. Step 3: Rinse the sink with water and let it dry completely. Step 4: Apply a coat of primer to the sink using a brush or a roller. This will help the new finish to adhere better and prevent any peeling or chipping in the future. Step 5: Let the primer dry completely before moving on to the next step. Step 6: Now it’s time to apply the new finish. There are various options available, such as epoxy paint, acrylic enamel, or a professional resurfacing kit. Follow the manufacturer’s instructions for the best results. Step 7: Apply multiple thin coats of the finish, allowing each coat to dry completely before applying the next one. This will ensure a smooth and even finish. Step 8: Once the final coat has dried, apply a sealant to protect the new finish and give your sink a glossy look. Step 9: Let the sealant dry completely before using the sink again. Step 10: Enjoy your newly resurfaced white kitchen sink!1. Resurfacing a White Kitchen Sink: A Step-by-Step Guide
Refinishing is a more intensive process than resurfacing, but it can completely transform your white kitchen sink. Here’s how to do it: Step 1: Clean the sink thoroughly with a degreaser and water. Make sure to remove any grease or grime. Step 2: Sand the sink with a medium grit sandpaper to remove any scratches, stains, or discoloration. Step 3: Rinse the sink with water and let it dry completely. Step 4: Apply a chemical stripper to remove the old finish. Follow the manufacturer’s instructions and use protective gear while working with chemicals. Step 5: Once the old finish has been removed, sand the sink again with a fine grit sandpaper to create a smooth surface. Step 6: Clean the sink again to remove any dust or debris. Step 7: Apply a coat of primer to the sink using a brush or a roller. Step 8: Let the primer dry completely before moving on to the next step. Step 9: Apply multiple thin coats of the new finish, allowing each coat to dry completely before applying the next one. Step 10: Once the final coat has dried, apply a sealant to protect the new finish and give your sink a glossy look.2. How to Refinish a White Kitchen Sink
Resurfacing your white kitchen sink can be a DIY project, but it requires some skill and patience. Here are some tips and tricks to help you achieve a professional-looking finish: Tip 1: Choose the right product for your sink. Epoxy paint is ideal for porcelain or enamel sinks, while acrylic enamel works best for acrylic or fiberglass sinks. Tip 2: Use a high-quality brush or roller to apply the finish. This will ensure an even application and a smooth finish. Tip 3: Sand the sink in between coats for better adhesion and a smoother finish. Tip 4: Avoid using harsh chemicals or abrasive cleaners on your resurfaced sink. These can damage the finish and shorten its lifespan. Tip 5: Follow the manufacturer’s instructions carefully for the best results.3. DIY Kitchen Sink Resurfacing: Tips and Tricks
Resurfacing your white kitchen sink has several benefits that make it a popular choice among homeowners: 1. Cost-effective: Resurfacing is a more affordable option compared to replacing your entire sink. 2. Time-saving: Resurfacing can be done in a day or two, while replacing a sink can take several days or even weeks. 3. Customizable: With resurfacing, you have the option to choose from a variety of finishes and colors to match your kitchen’s style. 4. Eco-friendly: Resurfacing your sink is a more environmentally-friendly option compared to disposing of a perfectly usable sink and purchasing a new one. 5. Durable: A properly resurfaced sink can last for several years with proper maintenance.4. The Benefits of Resurfacing Your White Kitchen Sink
When it comes to resurfacing your white kitchen sink, there are several products available in the market. Here are some of the best ones to consider: 1. Rust-Oleum Specialty Tub & Tile Refinishing Kit: This kit is perfect for porcelain, ceramic, and fiberglass sinks. It provides a durable and glossy finish. 2. Giani White Diamond Countertop Paint Kit: This kit is ideal for acrylic or fiberglass sinks. It gives a granite-like finish and is available in various colors. 3. Krylon DIY Series Bathtub Refinishing Kit: This kit is suitable for porcelain or acrylic sinks. It provides a glossy, waterproof finish.5. Best Products for Resurfacing a White Kitchen Sink
The cost of resurfacing a white kitchen sink depends on the size of the sink, the products used, and whether you hire a professional or do it yourself. On average, it can cost anywhere from $100 to $500.6. How Much Does it Cost to Resurface a White Kitchen Sink?
Both professional and DIY resurfacing have their pros and cons. Hiring a professional can ensure a flawless finish, but it can be more expensive. DIY resurfacing requires some skill and patience, but it can save you money. It ultimately depends on your budget and your confidence in tackling the project yourself.7. Professional vs. DIY Kitchen Sink Resurfacing: Which is Better?
To keep your resurfaced white kitchen sink looking like new, follow these maintenance tips: 1. Clean regularly: Wipe down the sink after each use with a mild cleaner and water to prevent any buildup of dirt or grime. 2. Avoid harsh chemicals: Harsh chemicals can damage the finish of your sink. Stick to gentle cleaners and avoid using abrasive sponges or scrubbers. 3. Use a cutting board: To prevent scratches, always use a cutting board when chopping or slicing food in the sink. 4. Fix leaks immediately: Water can seep through the new finish and cause it to peel or chip. Make sure to fix any leaks in the sink or faucet as soon as possible.8. How to Maintain a Resurfaced White Kitchen Sink
To ensure a successful resurfacing project, avoid these common mistakes: 1. Skipping the cleaning and sanding process: A clean and smooth surface is crucial for the new finish to adhere properly. 2. Rushing the process: Applying thick coats or not allowing enough time for the finish to dry between coats can result in a bumpy or uneven finish. 3. Using the wrong product: Make sure to choose the right product for your sink to avoid any damage to the finish. 4. Not following instructions: Make sure to read and follow the manufacturer’s instructions carefully for the best results.9. Common Mistakes to Avoid When Resurfacing a White Kitchen Sink
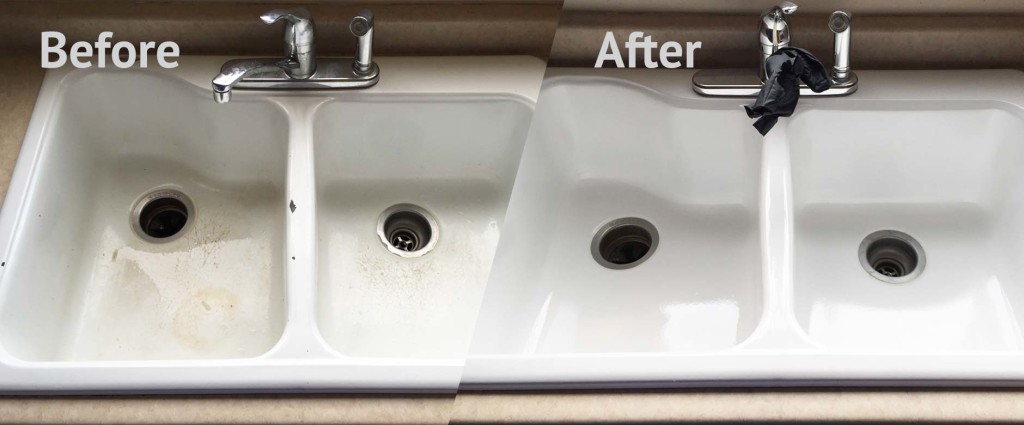
If you’re still not convinced of the wonders of resurfacing a white kitchen sink, take a look at these stunning before and after transformations: Featured keywords: resurface white kitchen sink, refinish white kitchen sink, DIY kitchen sink resurfacing, cost to resurface white kitchen sink, professional vs. DIY, maintain resurfaced sink, common mistakes, before and after transformations.10. Before and After: Stunning White Kitchen Sink Resurfacing Transformations
How to Give Your Kitchen Sink a Fresh Look: Resurfacing a White Kitchen Sink

When it comes to house design, the kitchen is often considered the heart of the home. And the focal point of any kitchen is the sink. A clean and well-maintained sink not only adds to the overall aesthetic of the kitchen, but it also serves as a functional space for daily tasks such as washing dishes, preparing food, and cleaning up. Over time, even the most pristine white kitchen sinks can become dull, stained, and scratched. But before you decide to replace your sink, consider resurfacing it for a cost-effective and efficient solution. In this article, we will guide you through the steps of resurfacing a white kitchen sink, giving it a fresh new look without breaking the bank.
Understanding Sink Resurfacing

The process of resurfacing a kitchen sink involves applying a new surface to the existing sink. This can be done by professionals or as a DIY project. The new surface helps to cover up any scratches, stains, or discoloration, giving your sink a brand new appearance. Resurfacing is a great option for those who are happy with the current design and layout of their kitchen, but simply want to refresh the look of their sink.
Preparing Your Sink for Resurfacing
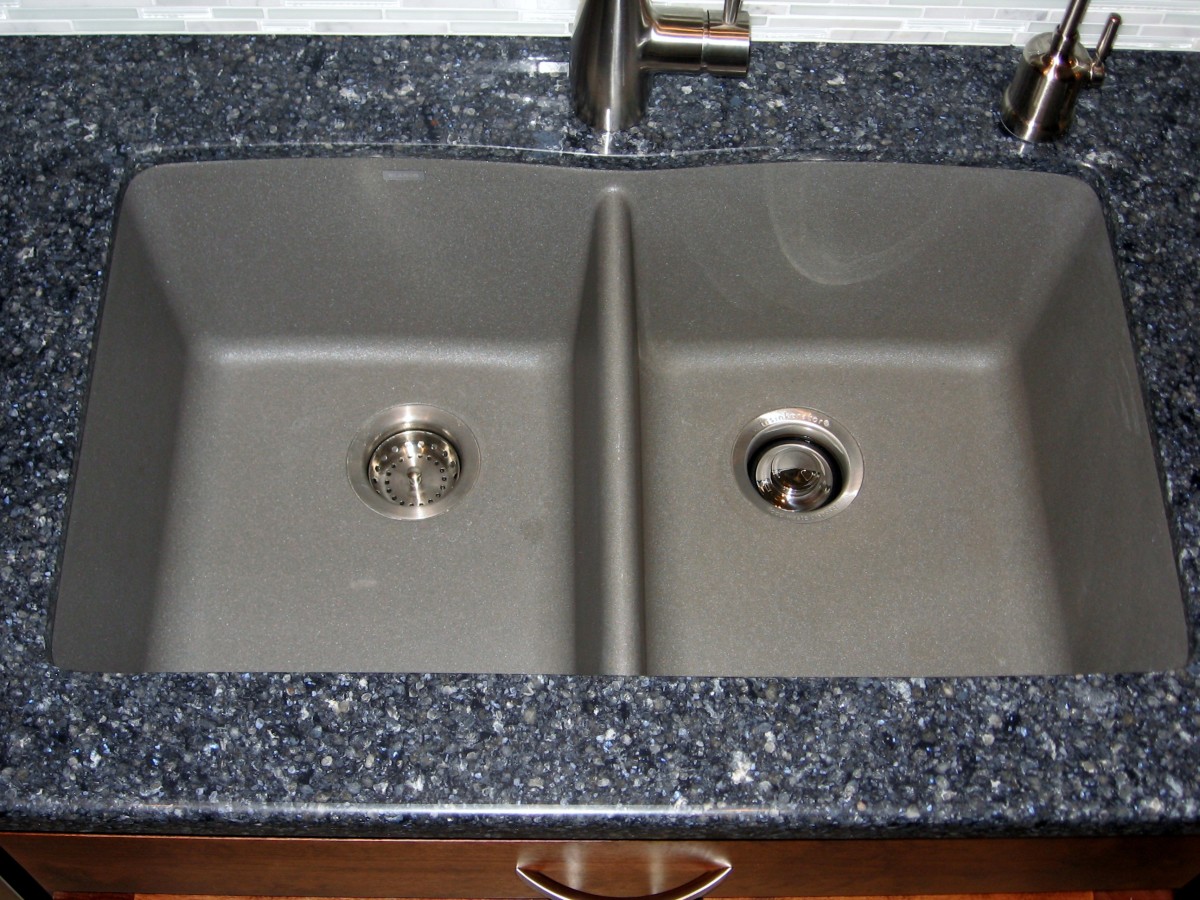
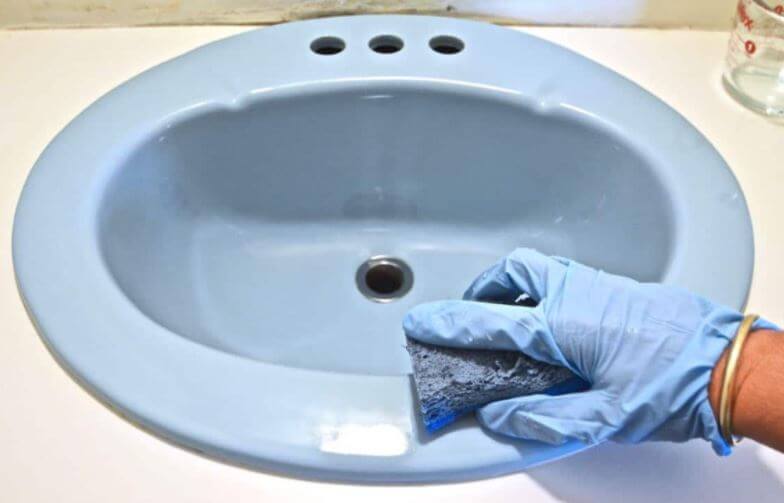
The first step in resurfacing your white kitchen sink is to thoroughly clean it. Use a mild cleaner and a non-abrasive sponge to remove any dirt, grime, or residue. Once the sink is clean, rinse it with water and dry it with a clean cloth. Next, lightly sand the surface of the sink using a fine-grit sandpaper. This will help the new surface adhere better to the sink.
Applying the New Surface

After the sink is prepped, it’s time to apply the new surface. There are various options available such as epoxy coatings, acrylic paints, or porcelain refinishing kits. Make sure to follow the instructions carefully and apply the new surface evenly. Allow the surface to dry completely before using the sink again.
Maintaining Your Resurfaced Sink

To keep your newly resurfaced white kitchen sink looking its best, it’s important to take proper care of it. Avoid using harsh chemicals or abrasive cleaners that can damage the surface. Instead, opt for mild, non-abrasive cleaners and a soft sponge. Also, be sure to wipe the sink dry after each use to prevent water spots and stains.
With these simple steps, you can give your white kitchen sink a fresh and updated look without the cost and hassle of replacing it. So why not try resurfacing your sink and see the difference it can make in your kitchen design?
Resurfacing a white kitchen sink is a great way to refresh the look of your kitchen without having to undergo a major renovation. With proper care and maintenance, your resurfaced sink can continue to shine for years to come.



:no_upscale()/cdn.vox-cdn.com/uploads/chorus_asset/file/19495086/drain_0.jpg)


