Replacing the caulking around a kitchen sink is an important maintenance task that should be done regularly to prevent water damage and keep your sink looking clean and fresh. Over time, caulk can deteriorate and become discolored, leading to gaps where water can seep in and cause damage. In this guide, we'll walk you through the steps of replacing caulking around your kitchen sink to ensure a professional and long-lasting result.How to Replace Caulking Around a Kitchen Sink
The first step in replacing caulking around a kitchen sink is to remove the old caulk. This can be done using a caulk-removing tool, a utility knife, or a putty knife. Carefully scrape away the old caulk, being careful not to damage the surrounding surfaces. Once all the old caulk has been removed, thoroughly clean the area with a mild detergent and warm water to remove any residue or debris.How to Remove and Replace Caulking Around a Kitchen Sink
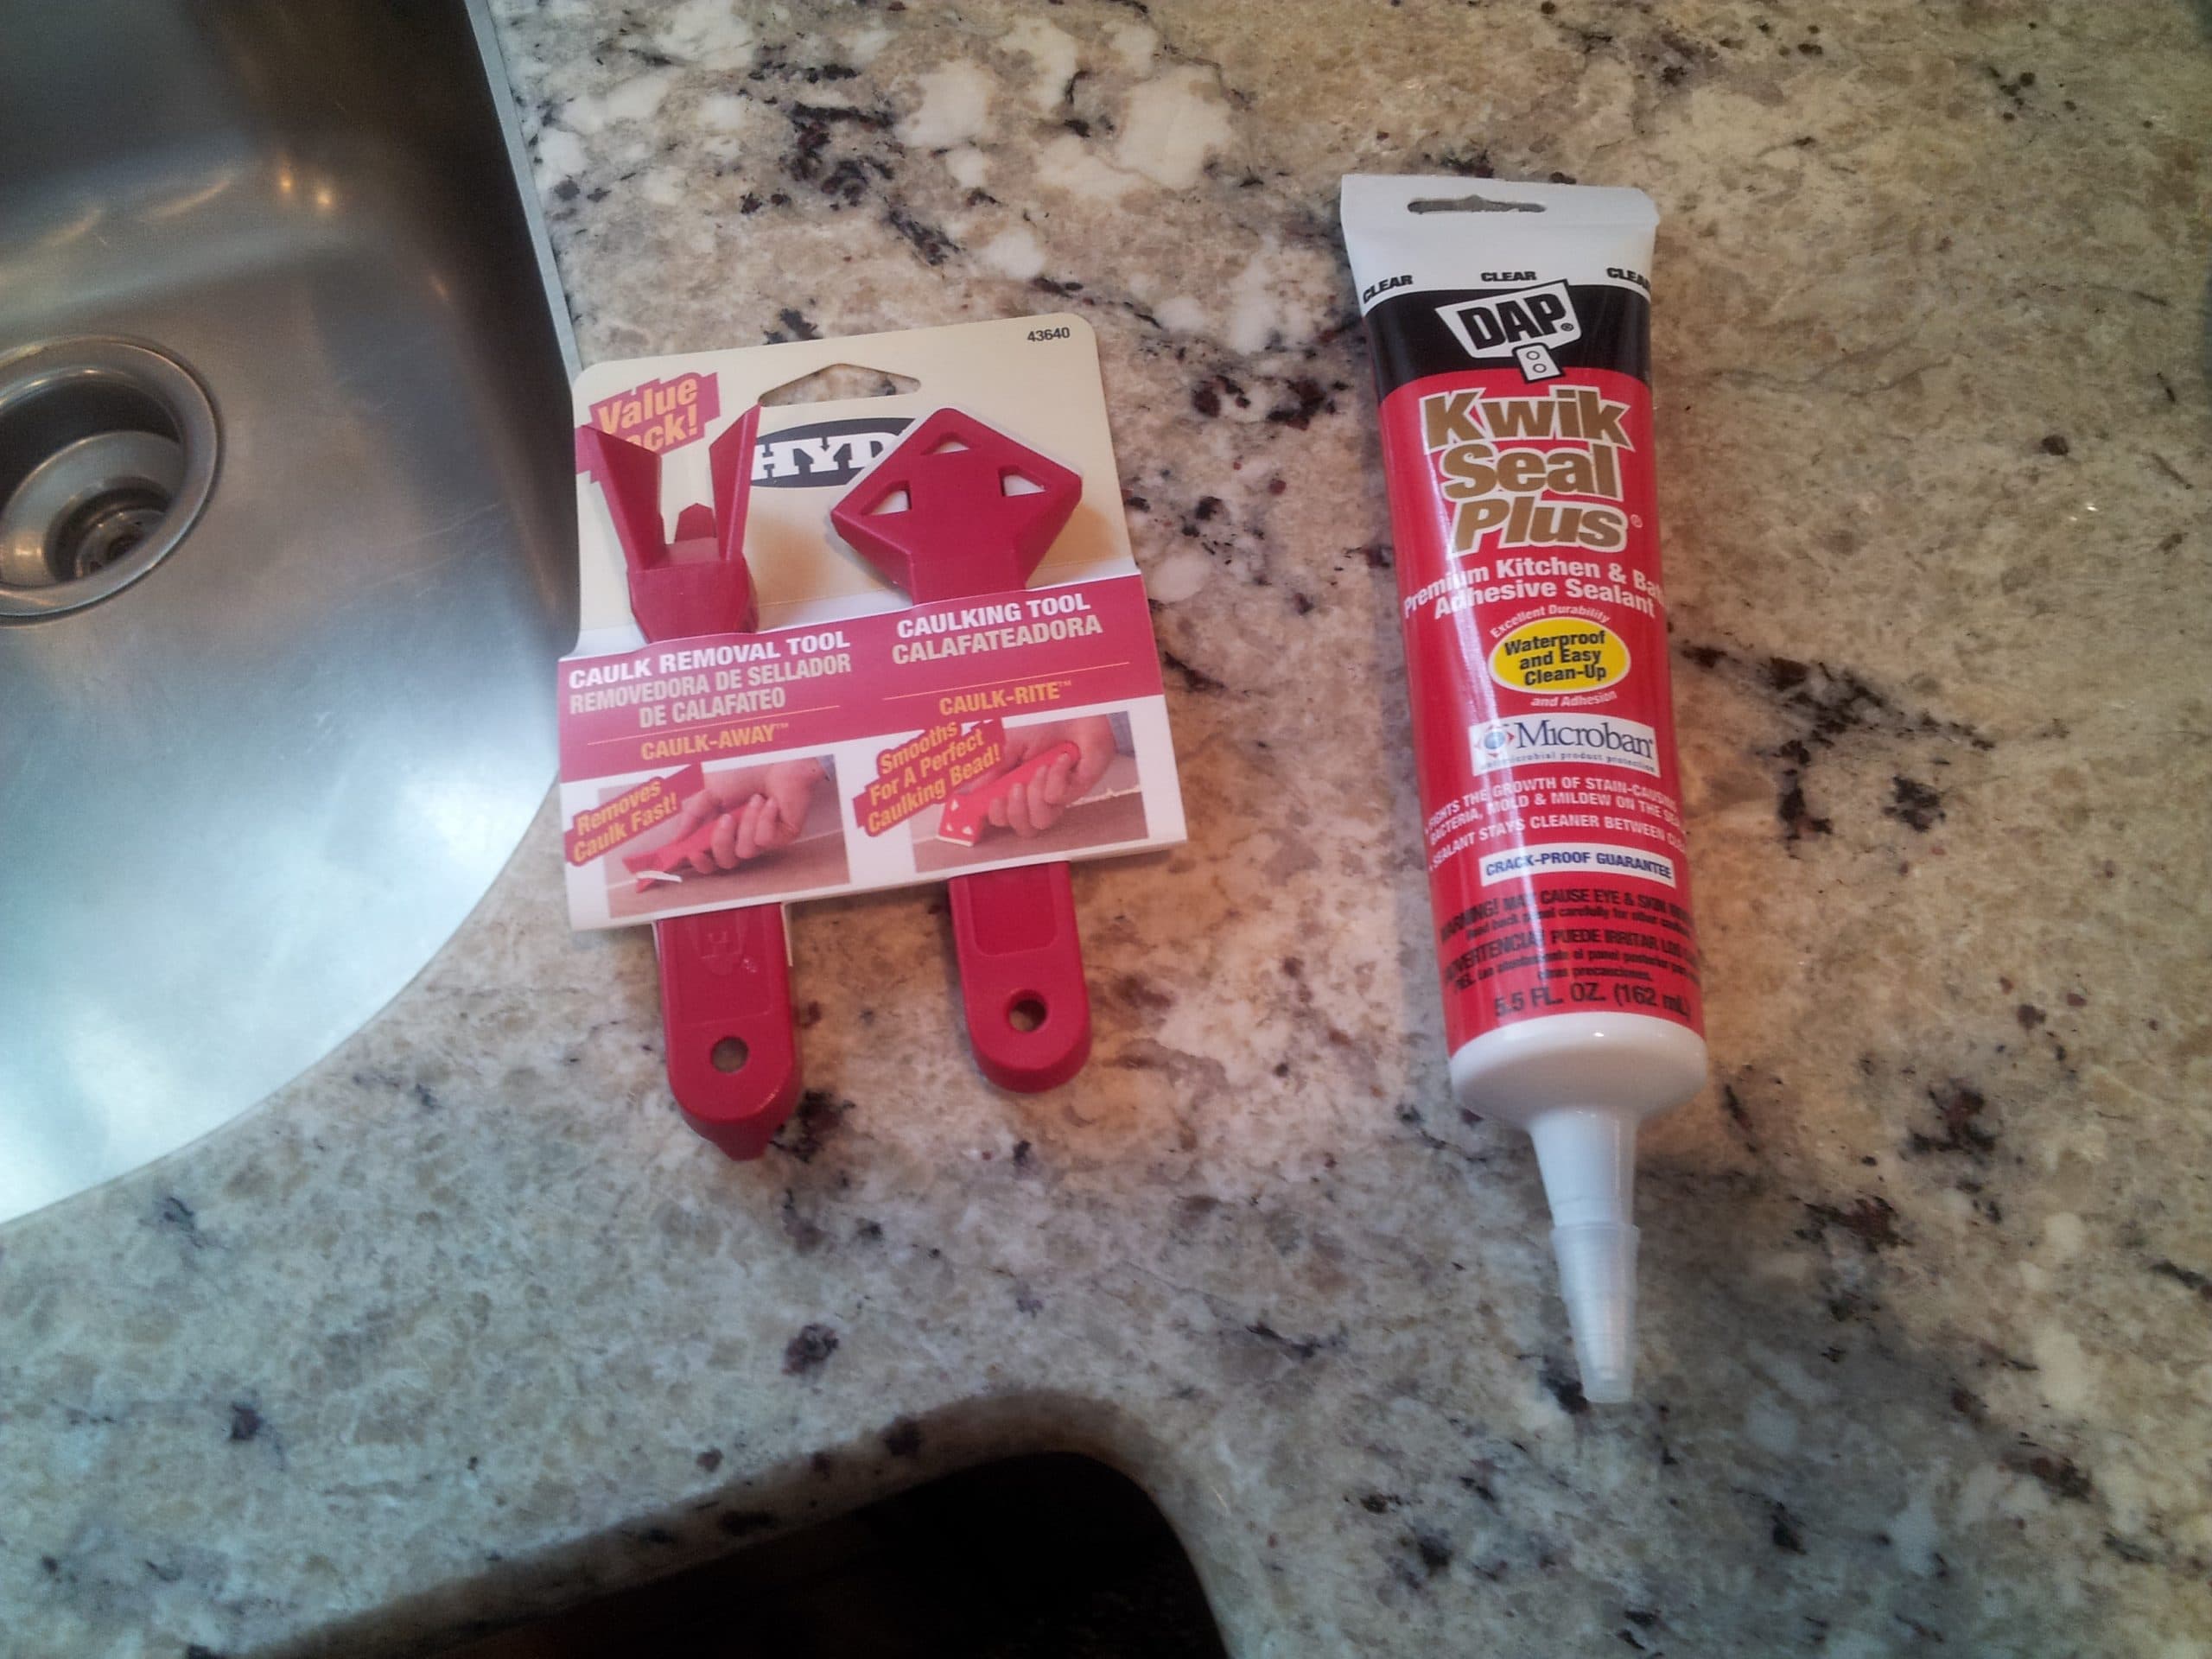
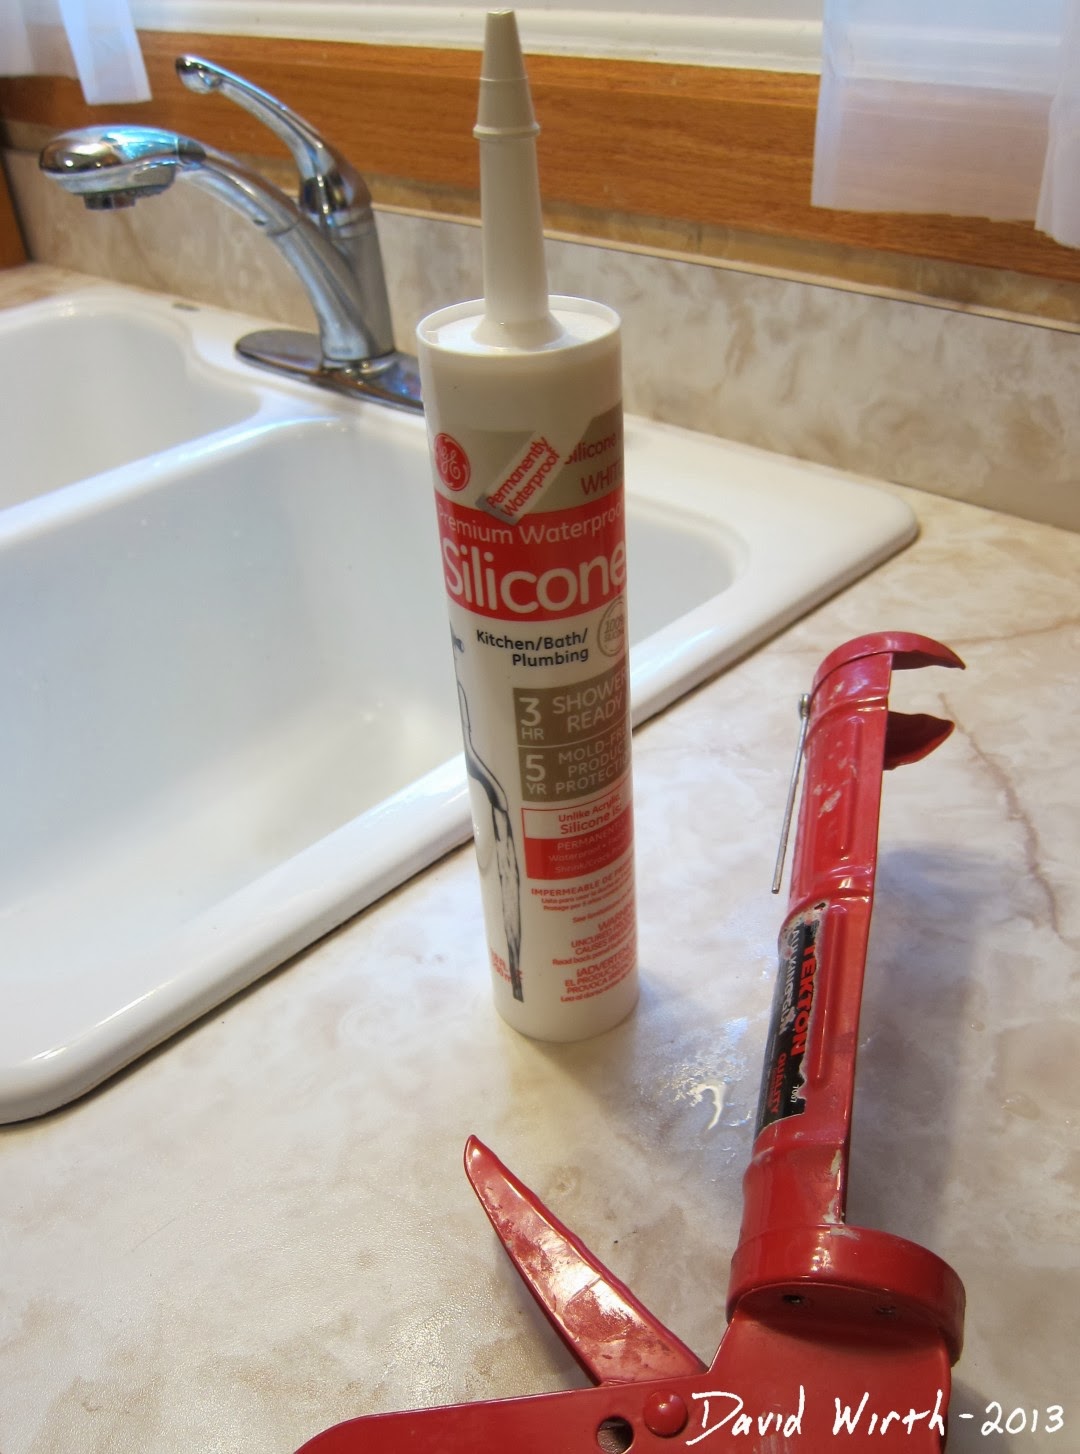
Replacing caulking around a kitchen sink is a project that can easily be done by a DIY enthusiast. With the right tools and materials, you can achieve professional-looking results at a fraction of the cost. Start by gathering all the necessary materials, including a caulk gun, caulk, caulk-removing tool, utility knife, putty knife, and a mild detergent. Follow the steps outlined in this guide for a successful DIY caulking replacement project.DIY: Replacing Caulking Around a Kitchen Sink
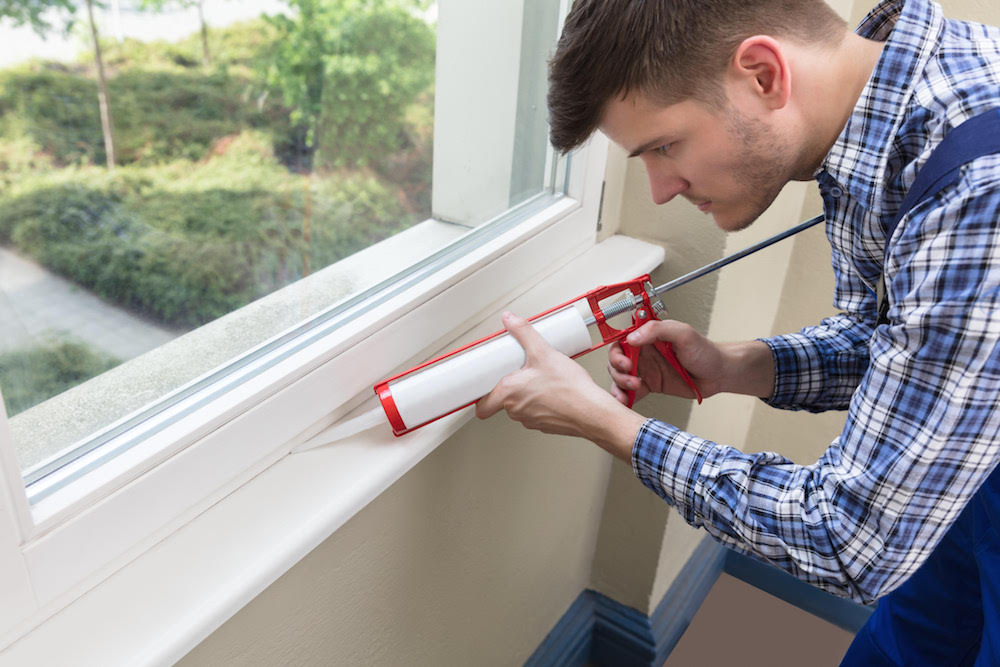
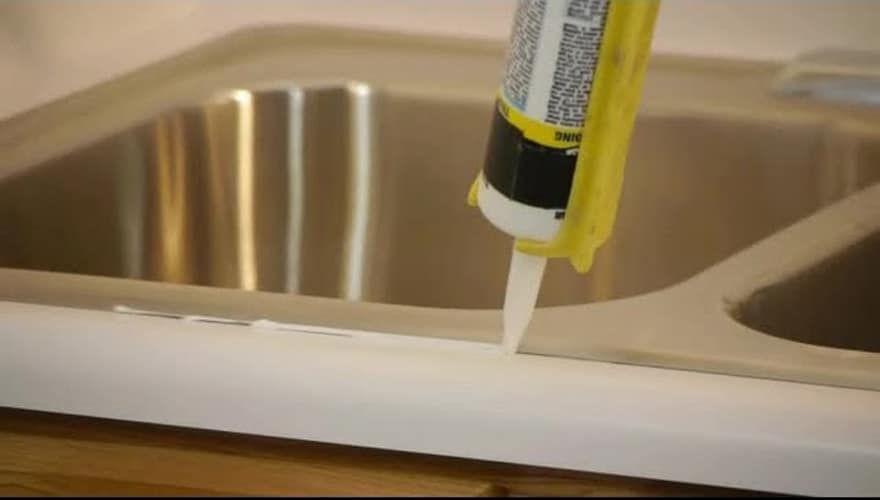
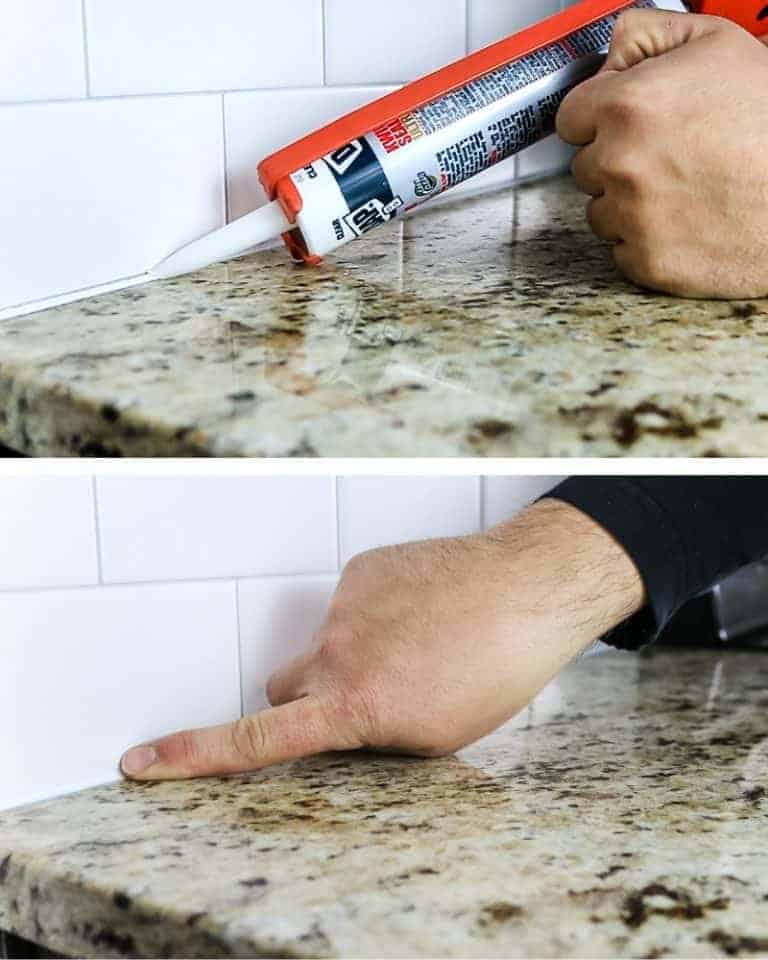
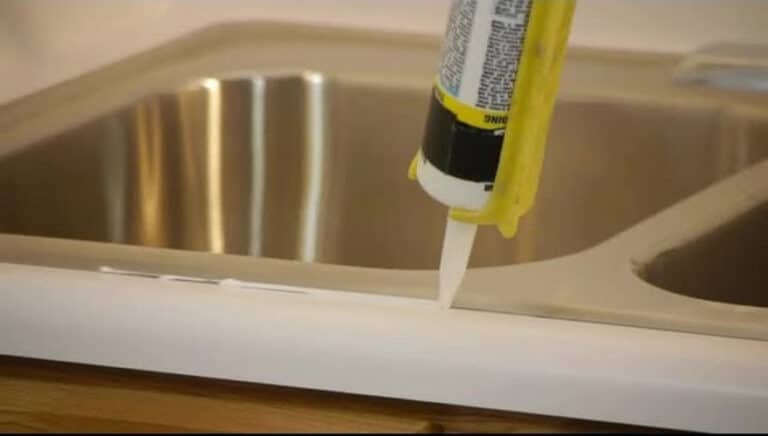
Step 1: Remove the old caulking using a caulk-removing tool, utility knife, or putty knife. Step 2: Thoroughly clean the area with a mild detergent and warm water. Step 3: Prepare the new caulk by cutting the tip of the caulk tube at a 45-degree angle. Step 4: Load the caulk tube into the caulk gun. Step 5: Apply a thin and even bead of caulk along the seam between the sink and the countertop. Step 6: Use a wet finger or a caulk smoothing tool to smooth out the caulk and remove any excess. Step 7: Let the caulk dry according to the manufacturer's instructions. Step 8: Once dry, clean up any remaining residue with a damp cloth.Step-by-Step Guide for Replacing Caulking Around a Kitchen Sink
To achieve the best results when replacing caulking around a kitchen sink, it's important to follow these best practices: - Use a high-quality caulk that is specifically designed for kitchen and bathroom use. - Make sure the area is clean and dry before applying the new caulk. - Use a caulk-removing tool or a utility knife to remove all of the old caulk. - Apply the new caulk in a continuous and even bead. - Smooth out the caulk with a wet finger or a caulk smoothing tool.Best Practices for Replacing Caulking Around a Kitchen Sink
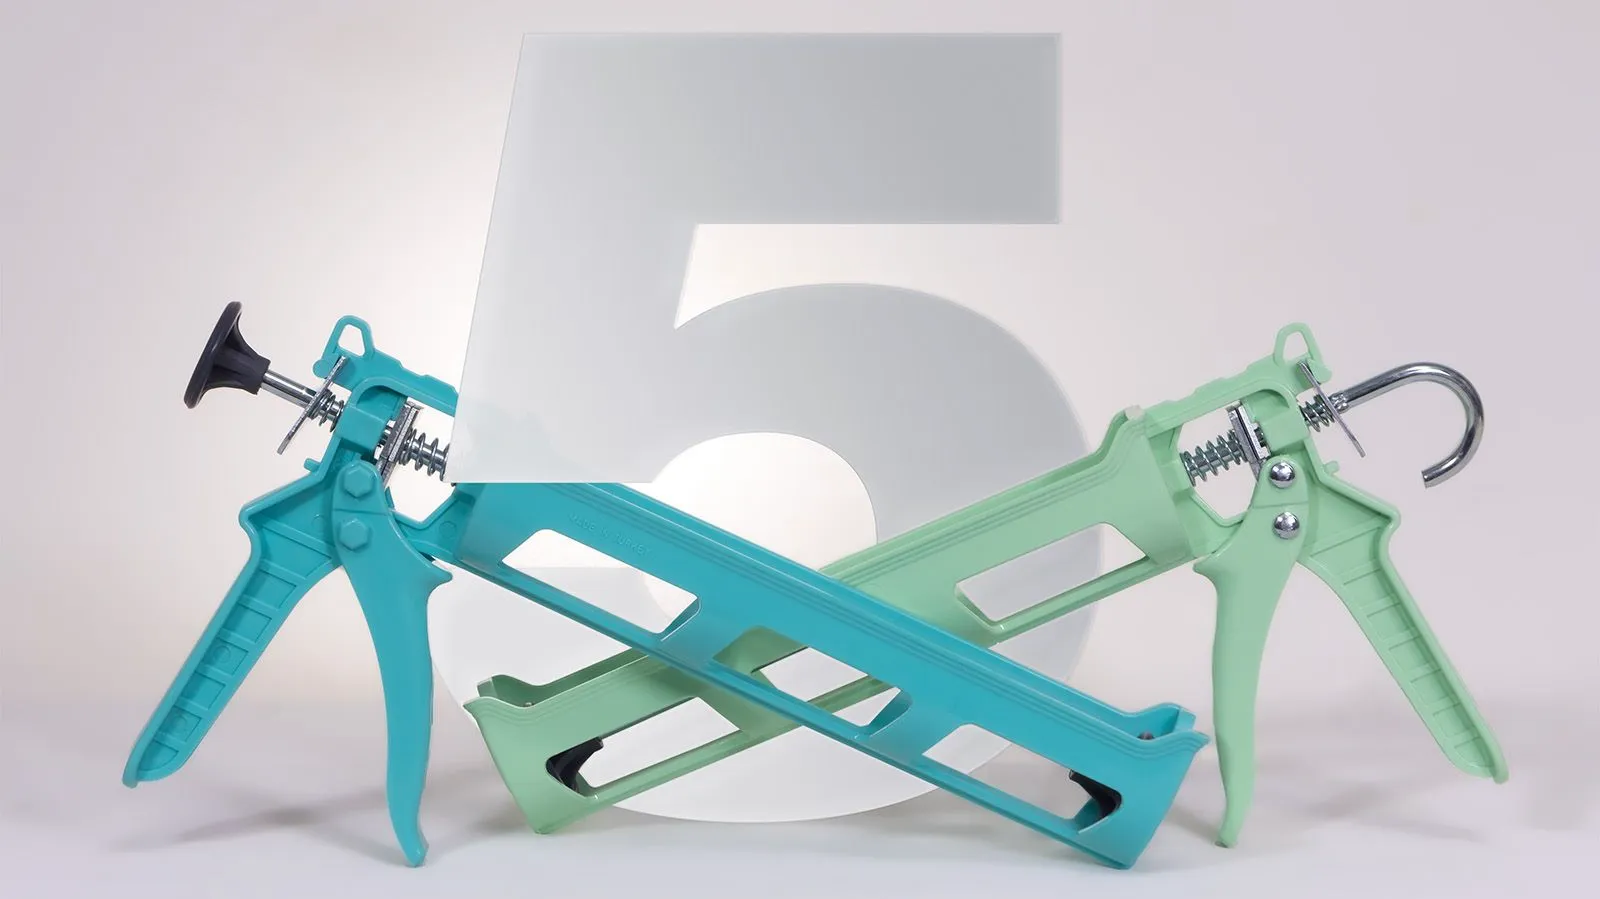
- Caulk gun - Caulk - Caulk-removing tool - Utility knife - Putty knife - Mild detergent - Warm water - Damp clothTools and Materials Needed for Replacing Caulking Around a Kitchen Sink
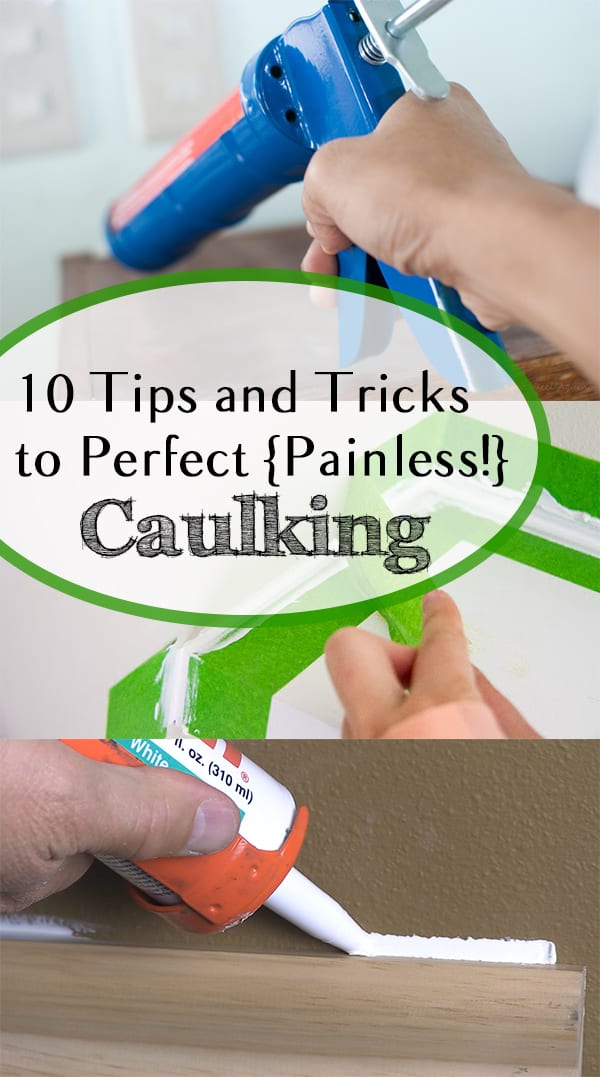
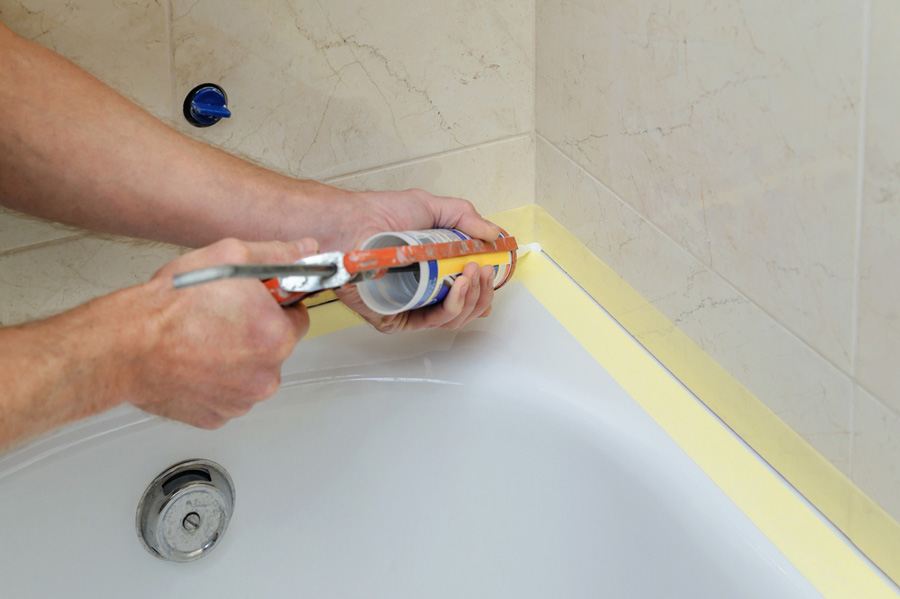
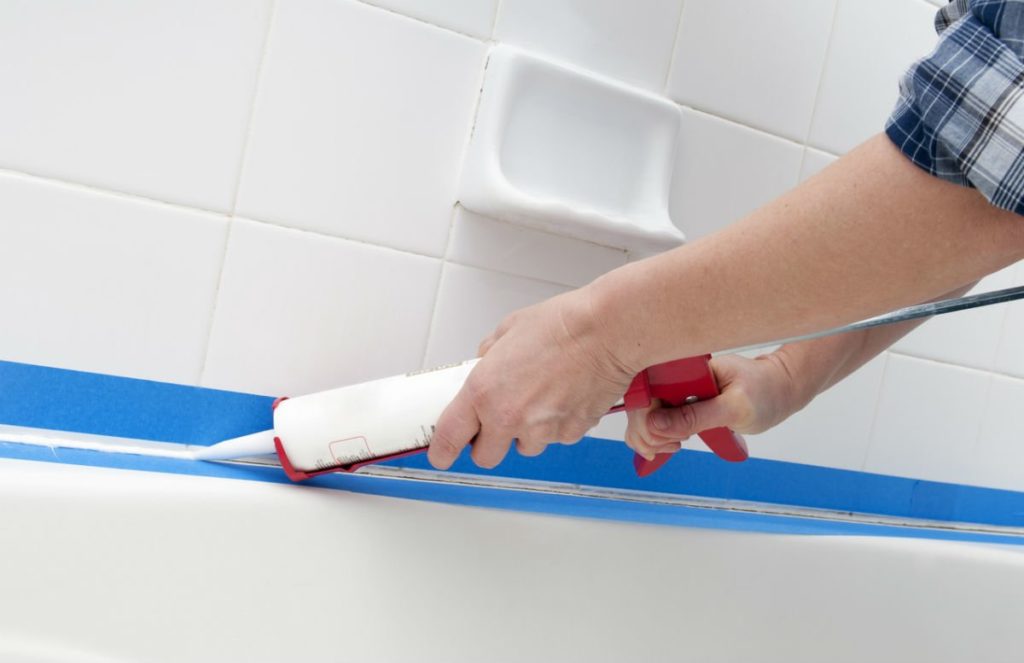
Here are some tips to help you achieve a successful caulking replacement around a kitchen sink: - Use painter's tape to create a straight line along the edge of the sink for a clean and professional finish. - Apply a thin and even bead of caulk to prevent excess from oozing out. - Use a wet finger or a caulk smoothing tool to smooth out the caulk and create a seamless finish. - Let the caulk dry completely before using the sink or getting it wet.Tips for a Successful Caulking Replacement Around a Kitchen Sink
Replacing caulking around a kitchen sink may seem like a simple task, but there are some common mistakes that can lead to a less-than-perfect result. Avoid these mistakes when replacing caulking around your kitchen sink: - Not properly preparing the surface before applying the new caulk. - Using the wrong type of caulk for the job. - Applying too much or too little caulk. - Not smoothing out the caulk properly, leading to an uneven and messy finish.Common Mistakes to Avoid When Replacing Caulking Around a Kitchen Sink
The frequency of replacing caulking around a kitchen sink depends on a few factors, such as the quality of the caulk, the amount of use the sink gets, and the level of maintenance. In general, it's recommended to replace caulking around a kitchen sink every 3-5 years to prevent water damage and maintain a clean and fresh appearance.How Often Should You Replace Caulking Around a Kitchen Sink?
While replacing caulking around a kitchen sink is a project that can easily be done by a DIY enthusiast, some may prefer to leave it to the professionals. Hiring a professional can save time and ensure a flawless finish, but it also comes at a higher cost. Ultimately, the decision between DIY and professional caulking replacement comes down to personal preference and budget. In conclusion, replacing caulking around a kitchen sink is an important task that should be done regularly to prevent water damage and maintain a clean and fresh appearance. With the right tools and materials, and by following the steps and tips outlined in this guide, you can achieve professional-looking results and save money by doing it yourself. Remember to regularly check and replace caulking around your kitchen sink to keep it in top condition. Professional vs. DIY: Replacing Caulking Around a Kitchen Sink
Why Replacing Caulking Around a Kitchen Sink is Important for Your House Design

Maintain a Clean and Polished Look
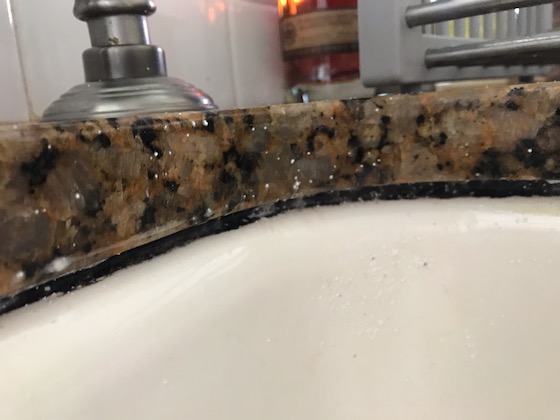
 When it comes to house design, every detail matters. From the color of your walls to the type of furniture you choose, each element plays a role in creating the overall aesthetic of your home. This includes the caulking around your kitchen sink. Over time, caulking can become discolored, cracked, or even moldy, which can detract from the clean and polished look of your kitchen. By
replacing caulking
around your kitchen sink, you can instantly give your kitchen a refreshed and well-maintained appearance.
Prevent Water Damage
 Aside from its visual impact, caulking also serves an important functional purpose. It acts as a sealant between your sink and the countertop, preventing water from seeping into crevices and causing damage. Over time, caulking can wear down and lose its effectiveness, leaving your kitchen vulnerable to water damage. This can lead to costly repairs and potentially compromise the structural integrity of your home. By
replacing caulking
around your kitchen sink, you can prevent water from causing any long-term damage to your house.
Improve Hygiene and Sanitation
 In a high-traffic area like the kitchen, cleanliness is key. The caulking around your sink can easily collect dirt, grime, and bacteria, making it a breeding ground for germs. This can be especially concerning if you regularly use your sink for food preparation. By
replacing caulking
, you can eliminate any potential health hazards and improve the overall hygiene and sanitation of your kitchen. This is especially important for families with young children or individuals with weakened immune systems.
Boost the Value of Your Home
 If you're planning on selling your home in the future, every little detail counts. A well-maintained kitchen can significantly increase the value of your house. By
replacing caulking
around your kitchen sink, you can demonstrate to potential buyers that your home has been well-cared for and is in top condition. It may seem like a small task, but it can make a big impact on the overall value and appeal of your home.
In conclusion,
replacing caulking
around your kitchen sink is a simple yet essential step in maintaining the overall design and functionality of your home. It not only improves the aesthetic appeal of your kitchen but also prevents potential damage and promotes hygiene and sanitation. So if you notice any signs of wear and tear on the caulking around your kitchen sink, it's time to take action and give your kitchen the upgrade it deserves.






.jpg)
