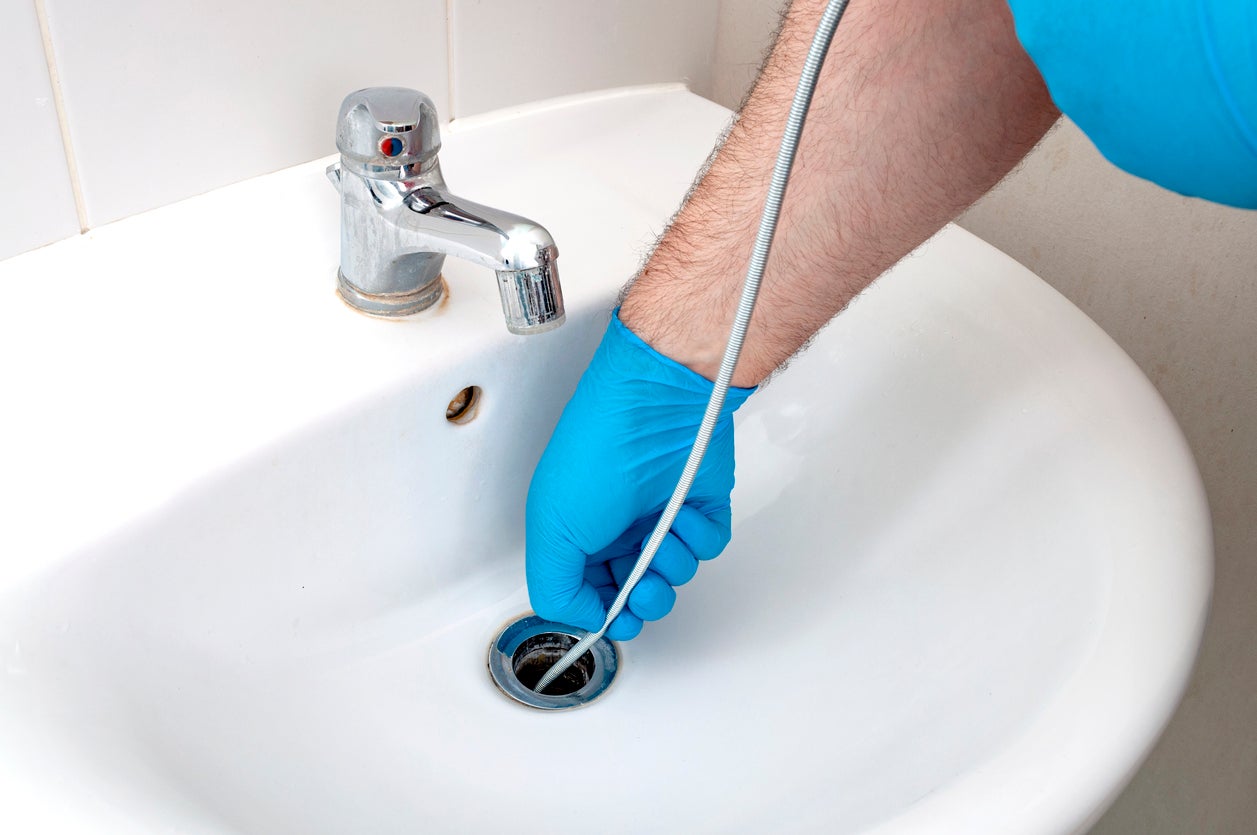
If you're experiencing a clogged sink in your bathroom, the first thing you might reach for is a plunger. But what happens when the plunger itself needs to be replaced? Don't worry, we've got you covered. In this guide, we'll walk you through the simple steps of replacing a sink plunger in a bathroom sink.How to Replace a Sink Plunger in a Bathroom Sink


How to Replace a Sink Plunger in a Bathroom Sink


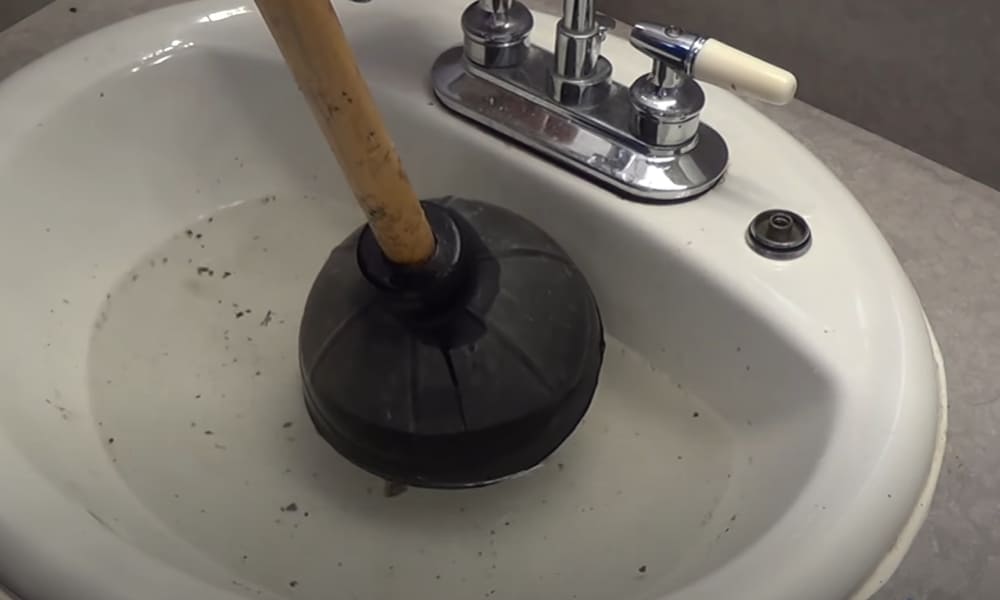
Before we dive into the steps, it's important to understand the purpose of a sink plunger. This tool is used to create suction and dislodge any clogs in your sink. Over time, the rubber on the plunger can wear down, making it less effective. That's when it's time to replace it.Replacing a Bathroom Sink Plunger


Replacing a Bathroom Sink Plunger


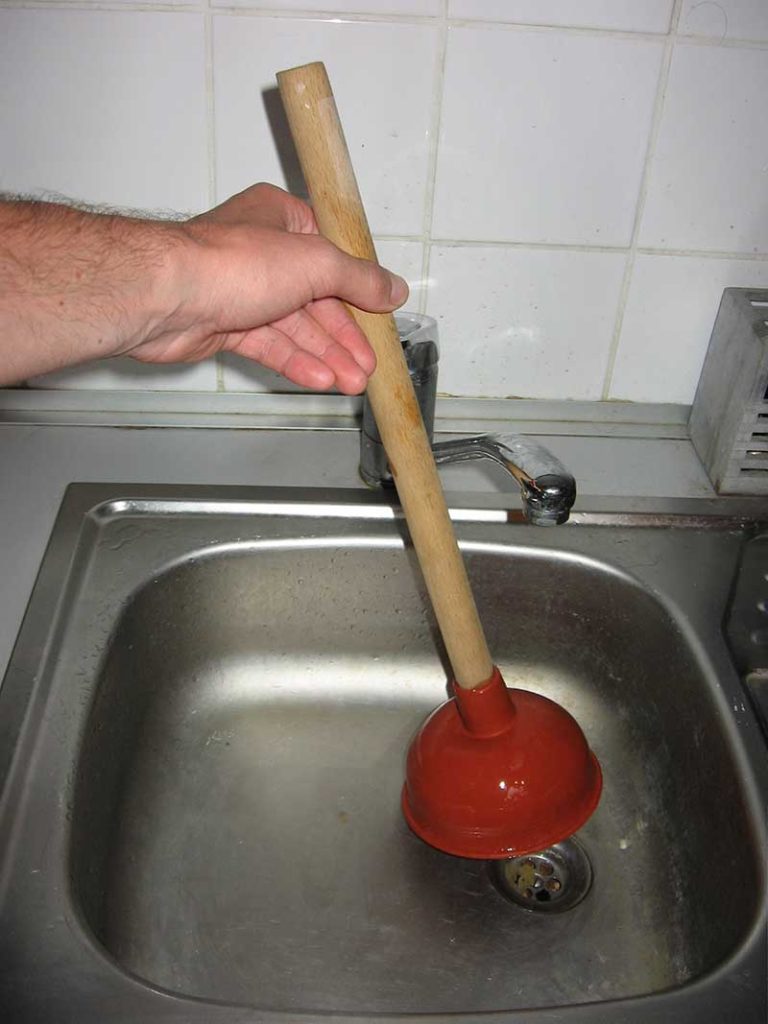
Step 1: Remove the old plunger. Start by removing the old plunger from the sink. Simply pull it out and discard it. Step 2: Measure the diameter. Use a measuring tape to determine the diameter of the drain in your sink. This will help you find the right size plunger for your sink. Step 3: Purchase a new plunger. Head to your local hardware store and find a new plunger that matches the diameter of your sink drain. You can also find a variety of plungers online. Step 4: Place the new plunger in the sink. Place the new plunger in the sink and make sure it covers the drain completely. Step 5: Create a seal. To create suction, you need to create a seal between the plunger and the sink. You can do this by running water over the plunger and pressing down to remove any air bubbles. Step 6: Plunge away. Once you have a good seal, start plunging up and down. This will create suction and dislodge any clogs in your sink. Step 7: Test the sink. Once you've plunged for a few minutes, remove the plunger and test the sink by running water. If the water drains properly, you've successfully replaced the plunger. If not, repeat the plunging process.Step-by-Step Guide for Replacing a Sink Plunger in a Bathroom Sink


Step-by-Step Guide for Replacing a Sink Plunger in a Bathroom Sink


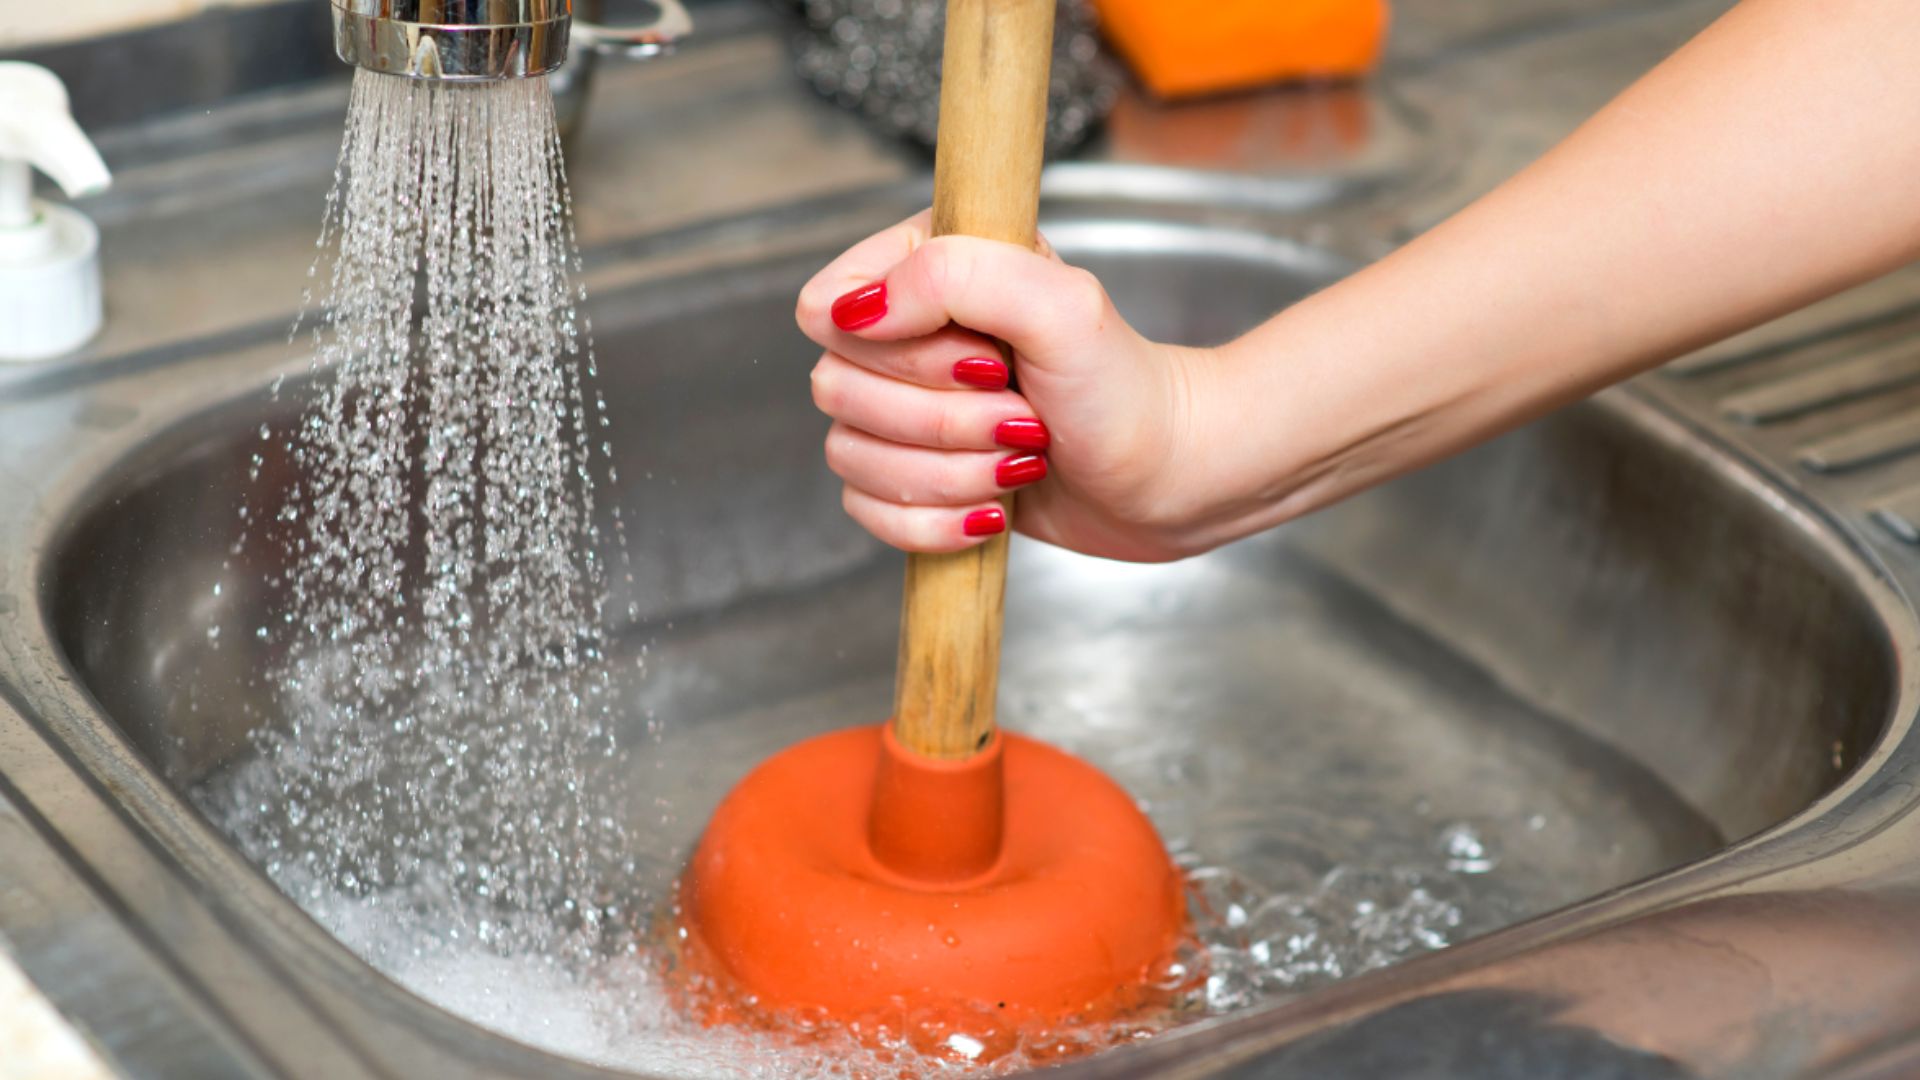
Replacing a sink plunger is a simple task that you can easily do yourself. By following these steps, you'll save money on hiring a plumber and have a functioning sink in no time.DIY: Replacing a Sink Plunger in a Bathroom Sink


DIY: Replacing a Sink Plunger in a Bathroom Sink


If you're not familiar with plumbing, the idea of replacing a sink plunger may seem daunting. But don't worry, it's a simple task that anyone can do with the right tools and knowledge. Just follow our step-by-step guide and you'll have a new plunger in no time.Replacing a Bathroom Sink Plunger: A Simple Guide


Replacing a Bathroom Sink Plunger: A Simple Guide

Replacing a sink plunger doesn't have to be a time-consuming or difficult task. By following these quick and easy steps, you can have a new plunger in your sink and a functioning drain in just a few minutes.Quick and Easy Steps for Replacing a Sink Plunger in a Bathroom Sink


Quick and Easy Steps for Replacing a Sink Plunger in a Bathroom Sink


Here are a few tips and tricks to keep in mind when replacing a sink plunger:Replacing a Bathroom Sink Plunger: Tips and Tricks
Replacing a Bathroom Sink Plunger: Tips and Tricks


By following these few simple steps, you can easily replace a sink plunger and have a functioning sink in no time. Don't let a clogged sink slow you down, follow our guide and get that plunger replaced today.How to Replace a Sink Plunger in a Few Simple Steps


How to Replace a Sink Plunger in a Few Simple Steps


When it comes to plumbing, it's always important to know what you're doing. By understanding the purpose of a sink plunger and the steps to replace it, you can confidently tackle this task and keep your sink running smoothly.Replacing a Bathroom Sink Plunger: What You Need to Know

Replacing a Bathroom Sink Plunger: What You Need to Know
:max_bytes(150000):strip_icc()/8_IMG_3767-56a4a2753df78cf772835b72.JPG)


If you're a visual learner, check out our step-by-step tutorial for replacing a sink plunger in a bathroom sink. This guide will walk you through the process and give you the confidence to tackle this task on your own.Step-by-Step Tutorial for Replacing a Sink Plunger in a Bathroom Sink

Step-by-Step Tutorial for Replacing a Sink Plunger in a Bathroom Sink


Why You Should Replace Your Sink Plunger

Efficient Water Flow
 Replacing your sink plunger in the bathroom sink is crucial for maintaining efficient water flow. Over time, old plungers can become clogged with debris and hair, causing water to drain slowly or not at all. This can be frustrating and time-consuming, especially when you are trying to get ready in the morning. By replacing your sink plunger, you can ensure that water flows smoothly and easily down the drain, saving you time and hassle.
Prevent Odor and Bacteria Buildup
 A faulty sink plunger can also lead to unpleasant odors and bacteria buildup in your bathroom sink. As water and debris get trapped in the plunger, it can create a breeding ground for bacteria, leading to unpleasant smells. Additionally, if the plunger is not functioning properly, it may not be able to fully remove all debris from the sink, causing further buildup and potential health hazards. By regularly replacing your sink plunger, you can prevent these issues and maintain a clean and hygienic bathroom.
Cost-Effective Solution
 Replacing your sink plunger is a cost-effective solution compared to calling a plumber to fix a clogged sink. While hiring a professional may seem like an easier option, it can be expensive and may not fully solve the problem. By regularly replacing your sink plunger, you can avoid costly plumbing bills and keep your sink in good working condition.
Improved Aesthetic
 A new sink plunger can also improve the overall aesthetic of your bathroom. Over time, old plungers can become discolored and worn, making them an eyesore in an otherwise well-designed bathroom. By replacing your sink plunger, you can maintain a clean and modern look in your bathroom, adding to the overall appeal and value of your home.
In conclusion, replacing your sink plunger in the bathroom sink is an essential part of maintaining a functional and visually appealing bathroom. By regularly replacing your sink plunger, you can ensure efficient water flow, prevent odors and bacteria buildup, save on costly plumbing bills, and improve the overall aesthetic of your bathroom. Don't wait until your plunger is completely worn out, make it a part of your regular home maintenance routine. Your sink and your sanity will thank you.
A new sink plunger can also improve the overall aesthetic of your bathroom. Over time, old plungers can become discolored and worn, making them an eyesore in an otherwise well-designed bathroom. By replacing your sink plunger, you can maintain a clean and modern look in your bathroom, adding to the overall appeal and value of your home.
In conclusion, replacing your sink plunger in the bathroom sink is an essential part of maintaining a functional and visually appealing bathroom. By regularly replacing your sink plunger, you can ensure efficient water flow, prevent odors and bacteria buildup, save on costly plumbing bills, and improve the overall aesthetic of your bathroom. Don't wait until your plunger is completely worn out, make it a part of your regular home maintenance routine. Your sink and your sanity will thank you.


:max_bytes(150000):strip_icc()/galley-kitchen-ideas-1822133-hero-3bda4fce74e544b8a251308e9079bf9b.jpg)
