How to Replace Silicone Around a Kitchen Sink
Replacing the silicone around your kitchen sink may seem like a daunting task, but with the right tools and techniques, it can be a simple DIY project. Over time, the silicone around your sink can become discolored, cracked, or moldy, making it not only unsightly but also a potential source of bacteria and water damage. In this guide, we will walk you through the step-by-step process of replacing the silicone around your kitchen sink, giving your kitchen a fresh and clean look.


How to Replace Silicone Around a Kitchen Sink


How to Remove and Replace Old Caulk Around Kitchen Sink
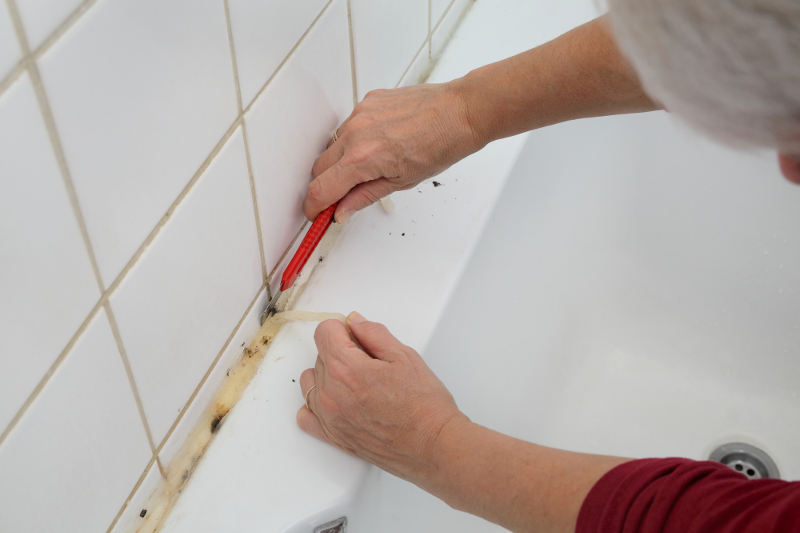
The first step in replacing silicone around your kitchen sink is to remove the old caulk. Using a sharp utility knife, carefully cut along the edges of the caulk to loosen it from the surface. Then, using a caulk-removing tool or a putty knife, gently scrape off the old caulk. Be sure to remove as much of the old caulk as possible to ensure a clean surface for the new caulk to adhere to.


How to Remove and Replace Old Caulk Around Kitchen Sink

:max_bytes(150000):strip_icc()/how-to-remove-old-caulk-1824827-01-3d0370c59e124dbbaa6560c68bab111c.jpg)


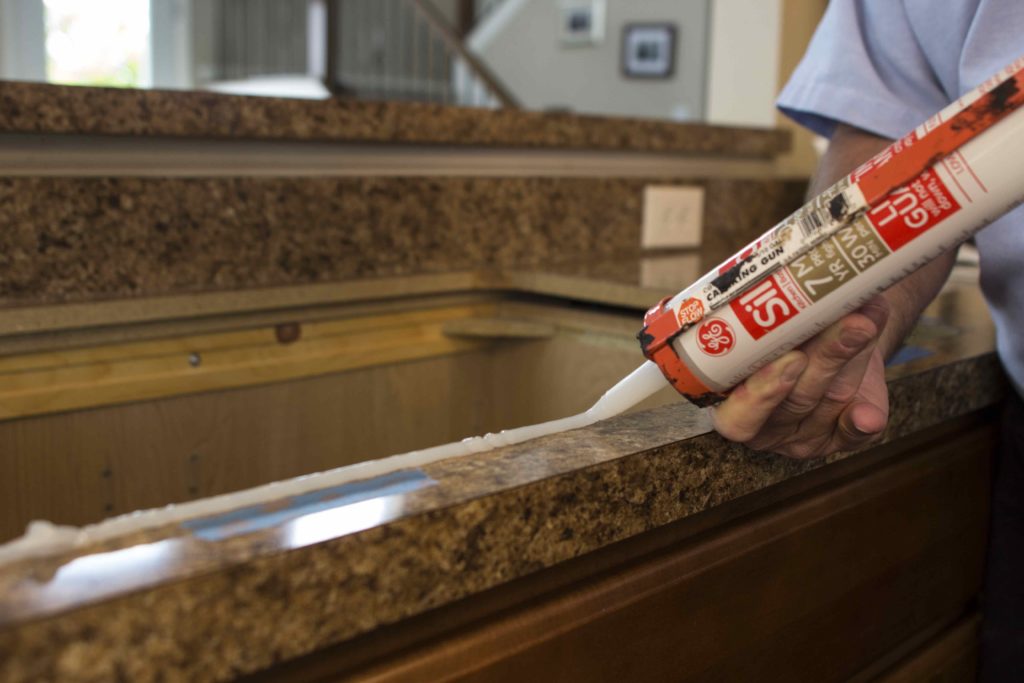
DIY: How to Replace Caulk Around a Kitchen Sink
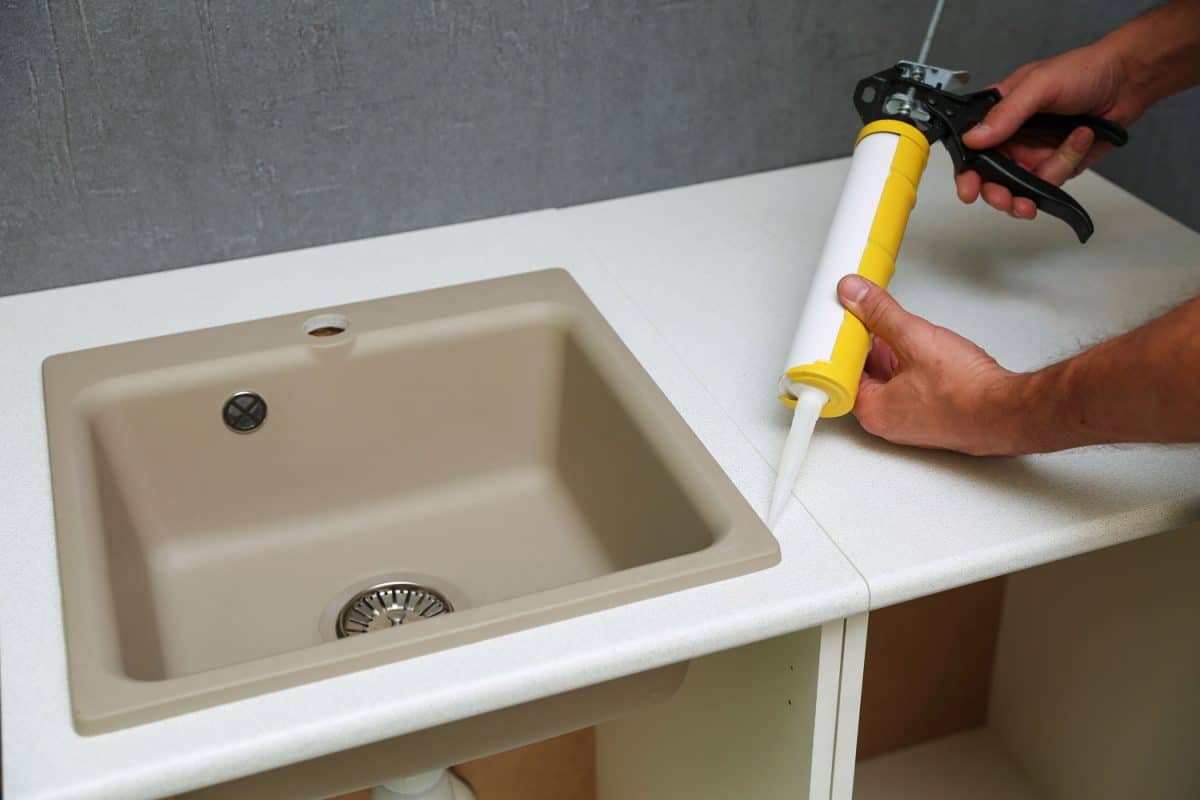
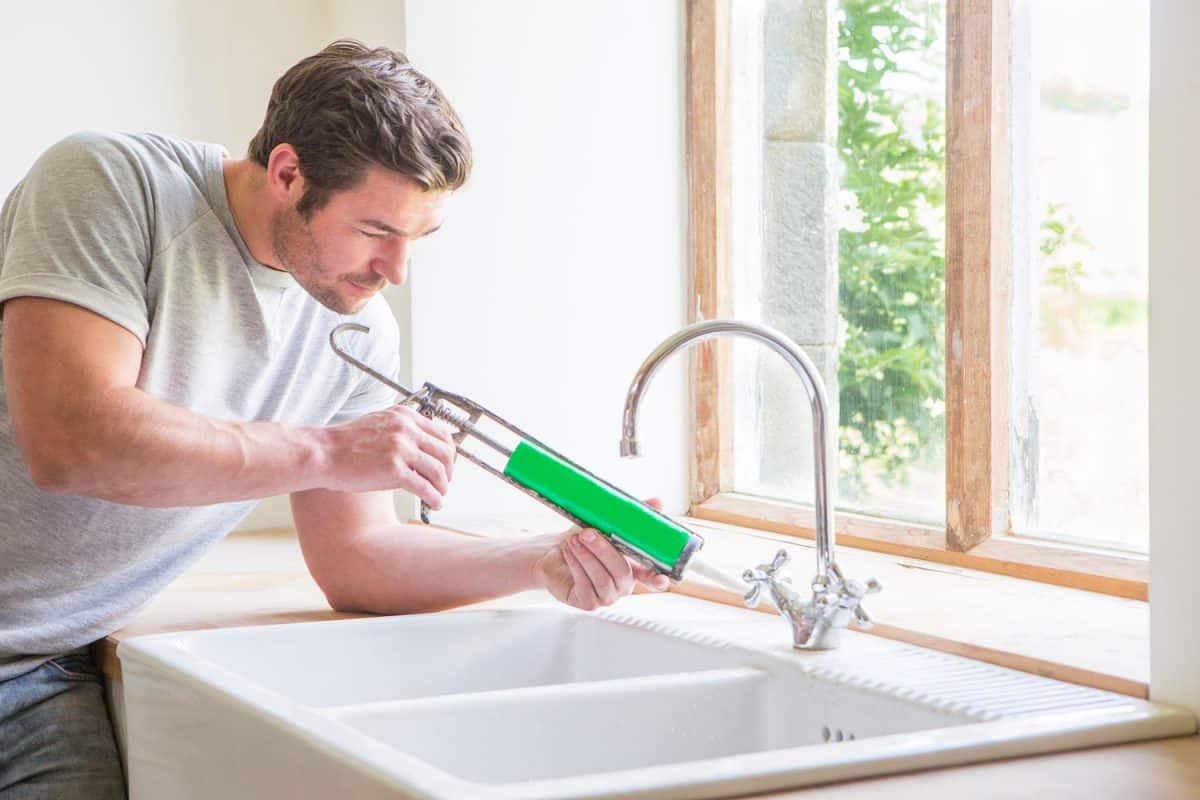
Once you have removed the old caulk, it's time to replace it with a fresh layer. Start by thoroughly cleaning the area around the sink with a mild detergent and warm water. Then, using a caulk gun, apply a thin, even layer of silicone caulk to the edges of the sink, pressing it firmly into the gap between the sink and the countertop. Use a damp finger or a caulk smoothing tool to smooth out the caulk and remove any excess. Let the caulk dry completely before using the sink.


DIY: How to Replace Caulk Around a Kitchen Sink


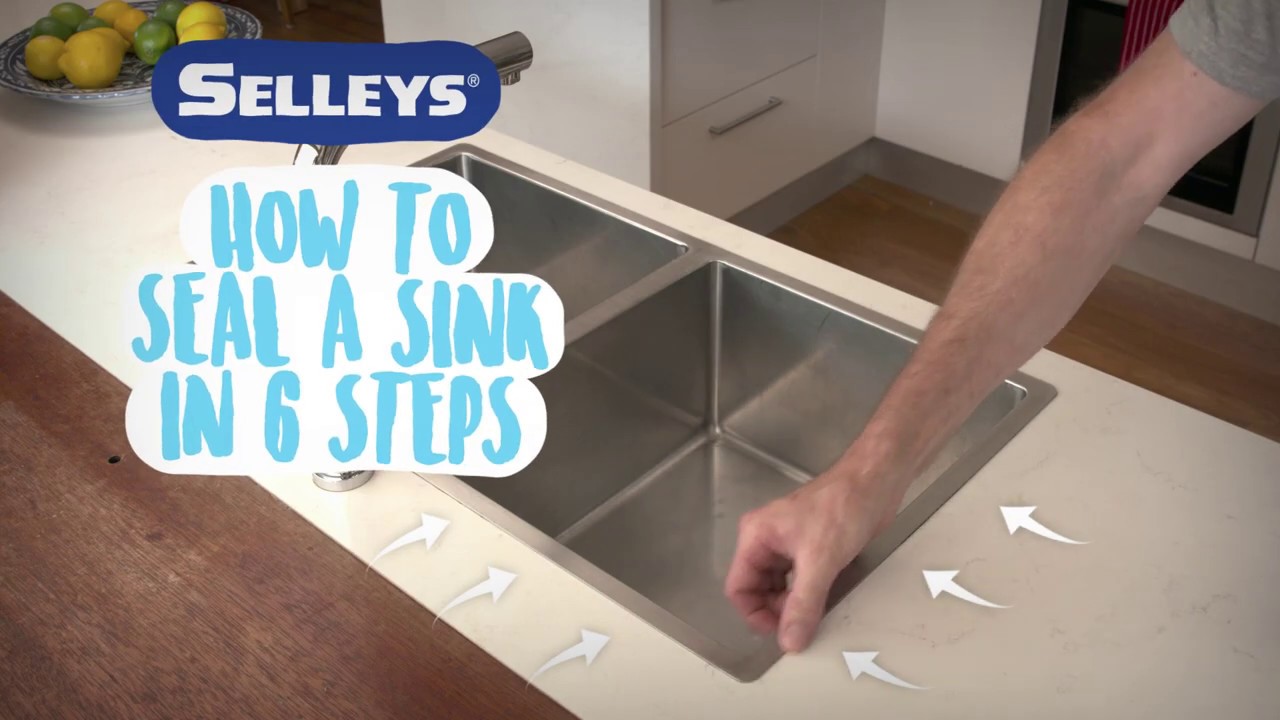
Step-by-Step Guide to Replacing Silicone Around Kitchen Sink
If you're new to DIY projects, here is a step-by-step guide to replacing silicone around your kitchen sink:

Step-by-Step Guide to Replacing Silicone Around Kitchen Sink


Replacing Silicone Caulk Around Kitchen Sink: Tips and Tricks
Replacing silicone caulk around your kitchen sink can be tricky, but here are some tips and tricks to make the process easier:


Replacing Silicone Caulk Around Kitchen Sink: Tips and Tricks


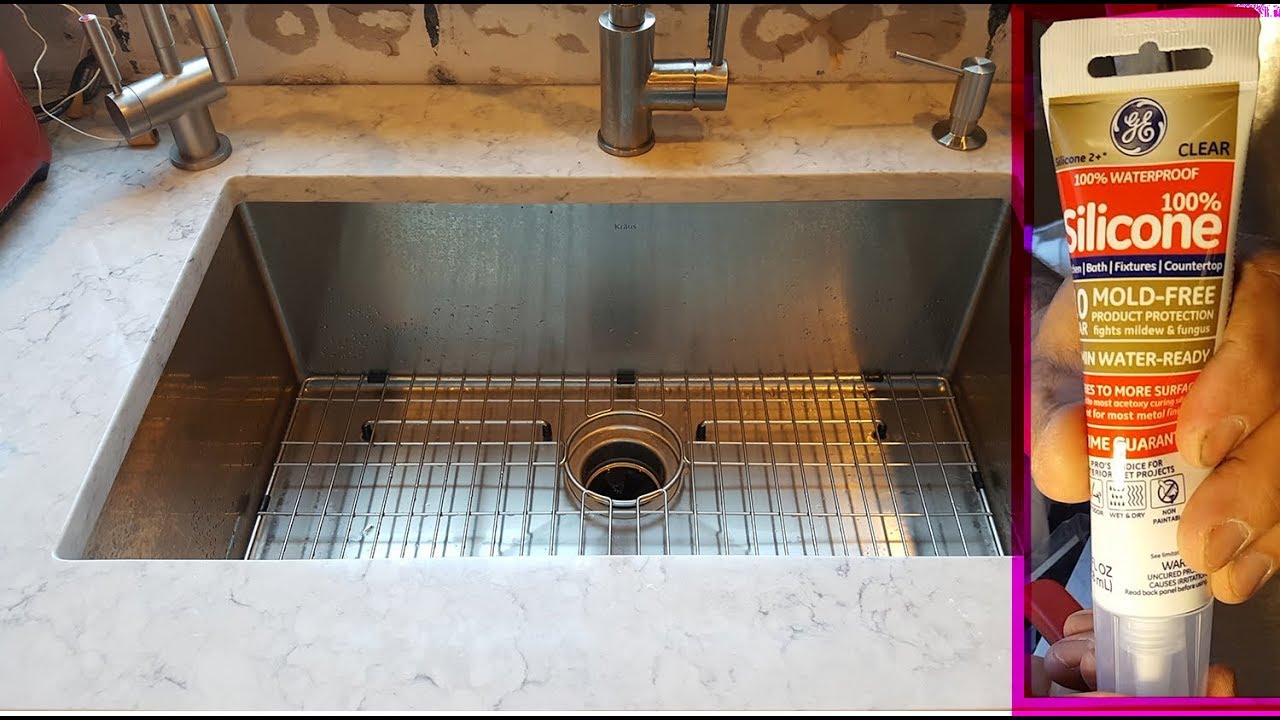
Best Products for Replacing Silicone Around Kitchen Sink
When it comes to choosing the right silicone caulk for your kitchen sink, it's important to choose a high-quality product that will provide a long-lasting seal. Look for caulk that is specifically designed for kitchen and bathroom use and is mold and mildew resistant. Some popular brands include GE Silicone II, DAP Kwik Seal, and Loctite Polyseamseal.


Best Products for Replacing Silicone Around Kitchen Sink


Common Mistakes to Avoid When Replacing Silicone Around Kitchen Sink
Replacing silicone around your kitchen sink may seem like a simple task, but there are some common mistakes that can lead to a less-than-perfect seal. Avoid these mistakes to ensure a successful and long-lasting caulk replacement:

Common Mistakes to Avoid When Replacing Silicone Around Kitchen Sink


How Often Should You Replace Silicone Around Kitchen Sink?
It's important to regularly check and replace the silicone around your kitchen sink to prevent water damage and maintain a clean and hygienic kitchen. The frequency of replacement will depend on the quality of the caulk and the amount of use the sink gets. Generally, it is recommended to replace the silicone every 1-2 years, or whenever you notice signs of wear and tear.


How Often Should You Replace Silicone Around Kitchen Sink?


Replacing Silicone Around Kitchen Sink: Professional vs. DIY
While replacing the silicone around your kitchen sink can be a DIY project, it may also be a job best left to professionals. If you do not have experience with DIY projects or do not feel confident in your skills, it may be worth hiring a professional to ensure a proper and long-lasting seal. Additionally, if the sink is in a high-traffic area or is used frequently, it may be worth investing in professional installation to avoid the hassle of frequent replacements.

Replacing Silicone Around Kitchen Sink: Professional vs. DIY


How to Properly Clean and Prepare Surface Before Replacing Silicone Around Kitchen Sink
Properly cleaning and preparing the surface before replacing silicone around your kitchen sink is crucial for a successful and long-lasting seal. Here are the steps to follow:

How to Properly Clean and Prepare Surface Before Replacing Silicone Around Kitchen Sink


Why Replacing Silicone Around Your Kitchen Sink is Essential for a Well-Designed Home

Revamp Your Kitchen with Fresh Silicone
 When it comes to kitchen design, even the smallest details can make a big impact. That's why it's crucial to pay attention to the state of your kitchen sink
silicone
. Over time,
silicone
can become worn, discolored, and even moldy, which not only affects the aesthetic of your kitchen but also compromises its functionality.
Replacing
the
silicone
around your kitchen sink is a simple and cost-effective way to give your kitchen a fresh and polished look. In this article, we'll discuss the importance of regularly
replacing
the
silicone
around your kitchen sink and how it can enhance the overall design of your home.
When it comes to kitchen design, even the smallest details can make a big impact. That's why it's crucial to pay attention to the state of your kitchen sink
silicone
. Over time,
silicone
can become worn, discolored, and even moldy, which not only affects the aesthetic of your kitchen but also compromises its functionality.
Replacing
the
silicone
around your kitchen sink is a simple and cost-effective way to give your kitchen a fresh and polished look. In this article, we'll discuss the importance of regularly
replacing
the
silicone
around your kitchen sink and how it can enhance the overall design of your home.
The Importance of Maintaining Your Kitchen Sink Silicone
 Aside from being unsightly, worn and moldy
silicone
can also lead to bigger problems such as water leaks and damage to your kitchen cabinets and countertops.
Replacing
the
silicone
around your kitchen sink can prevent these issues and save you from costly repairs in the future. Additionally,
fresh silicone
will create a watertight seal and prevent water from seeping into the cracks and crevices between your sink and countertop, ensuring a hygienic and clean kitchen environment.
Aside from being unsightly, worn and moldy
silicone
can also lead to bigger problems such as water leaks and damage to your kitchen cabinets and countertops.
Replacing
the
silicone
around your kitchen sink can prevent these issues and save you from costly repairs in the future. Additionally,
fresh silicone
will create a watertight seal and prevent water from seeping into the cracks and crevices between your sink and countertop, ensuring a hygienic and clean kitchen environment.
Enhance Your Kitchen Design with New Silicone
 Not only does
replacing
the
silicone
around your kitchen sink have practical benefits, it also has a significant impact on the overall design of your kitchen.
Fresh silicone
will give your sink a sleek and modern look, instantly refreshing the appearance of your kitchen. You can also use this opportunity to change the color of your
silicone
to match your kitchen's theme or add a pop of color for a fun and unique touch. With a well-maintained and stylish kitchen sink, your kitchen will become the focal point of your home.
Not only does
replacing
the
silicone
around your kitchen sink have practical benefits, it also has a significant impact on the overall design of your kitchen.
Fresh silicone
will give your sink a sleek and modern look, instantly refreshing the appearance of your kitchen. You can also use this opportunity to change the color of your
silicone
to match your kitchen's theme or add a pop of color for a fun and unique touch. With a well-maintained and stylish kitchen sink, your kitchen will become the focal point of your home.
Conclusion
 In conclusion,
replacing
the
silicone
around your kitchen sink is an essential task for maintaining a well-designed home. It not only prevents potential damage but also enhances the overall look of your kitchen. With fresh and properly sealed
silicone
, you can enjoy a functional, hygienic, and stylish kitchen for years to come. So don't neglect the state of your kitchen sink
silicone
and make it a part of your regular home maintenance routine.
In conclusion,
replacing
the
silicone
around your kitchen sink is an essential task for maintaining a well-designed home. It not only prevents potential damage but also enhances the overall look of your kitchen. With fresh and properly sealed
silicone
, you can enjoy a functional, hygienic, and stylish kitchen for years to come. So don't neglect the state of your kitchen sink
silicone
and make it a part of your regular home maintenance routine.