How to Replace a Fluorescent Light Fixture in a Kitchen
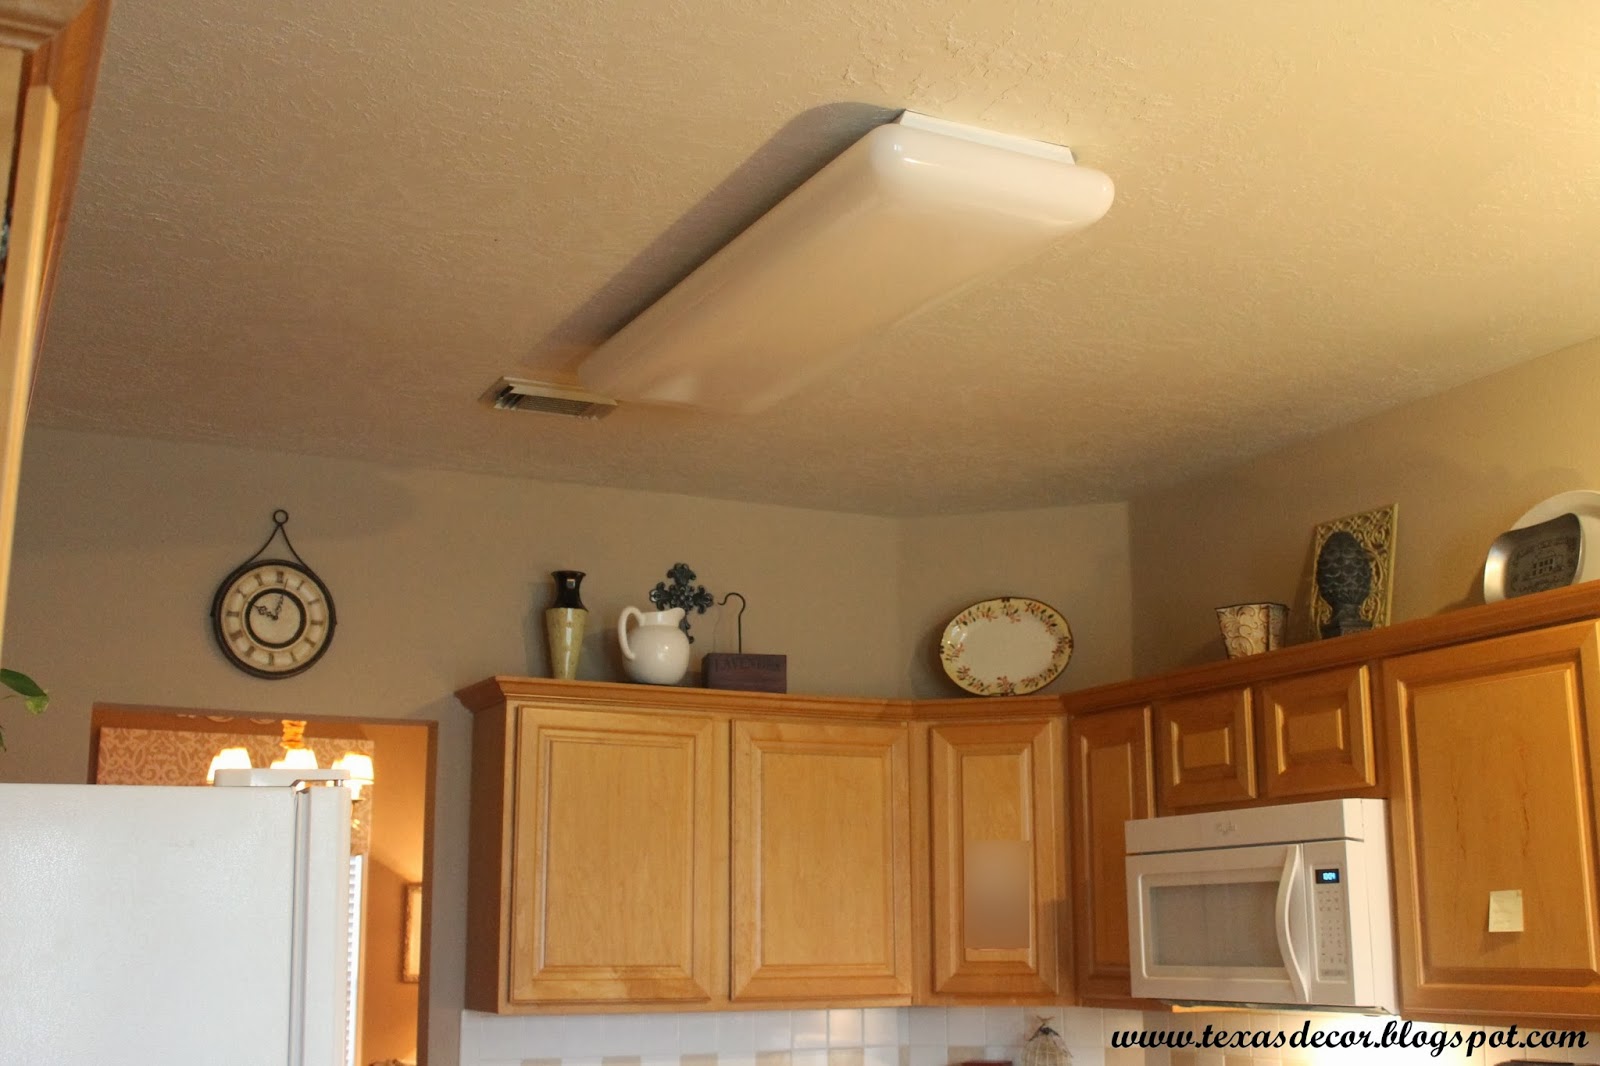
If you have an outdated fluorescent light fixture in your kitchen, you may be looking for a way to update and improve the lighting in your space. Replacing a fluorescent light fixture may seem like a daunting task, but with the right tools and knowledge, it can be a simple and rewarding DIY project. In this guide, we’ll take you through the step-by-step process of replacing a recessed fluorescent light fixture in your kitchen.
Step 1: Gather Your Materials
Before you begin, make sure you have all the necessary tools and materials. You will need a ladder, screwdriver, wire cutters, wire connectors, and a new light fixture. Make sure the new fixture is the right size and style for your kitchen, and if you are replacing the fluorescent bulbs with LED bulbs, make sure they are compatible with the fixture.
Step 2: Turn Off the Power
Before you start working on the light fixture, turn off the power supply to the kitchen. This can be done at the circuit breaker or by simply unplugging the light fixture. Use a voltage tester to ensure that the power is off before proceeding.
Step 3: Remove the Old Fixture
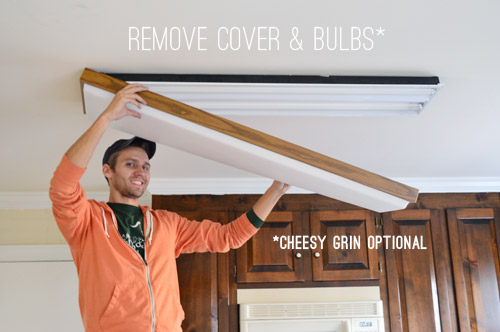
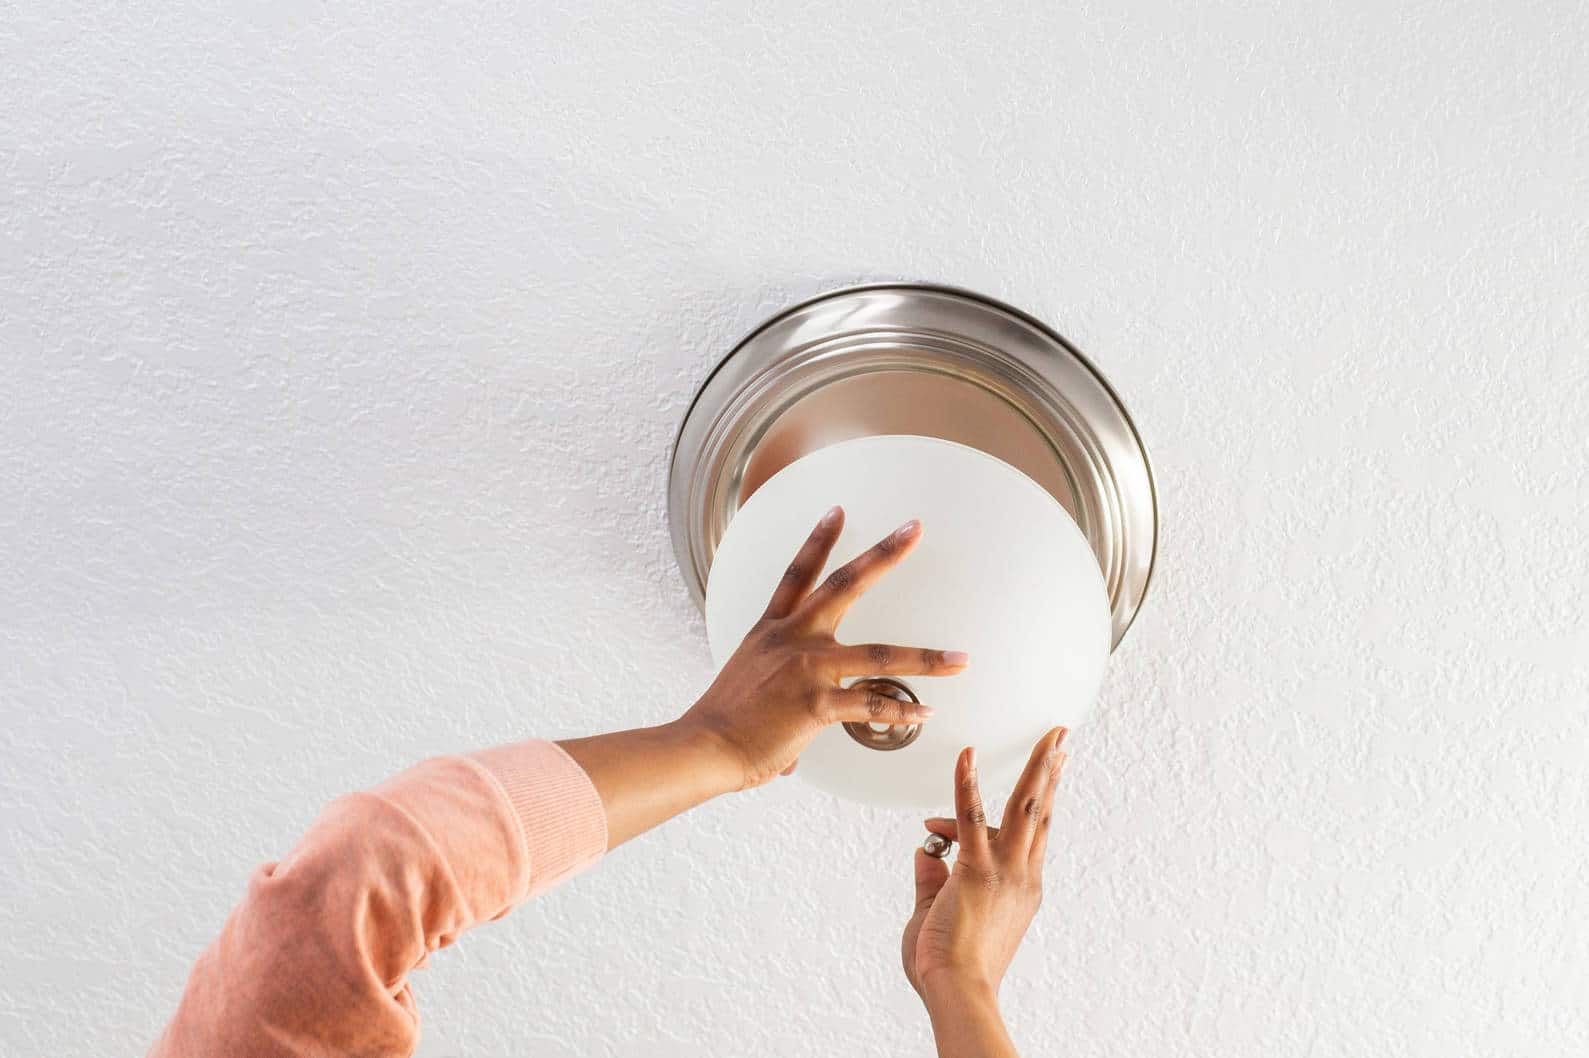
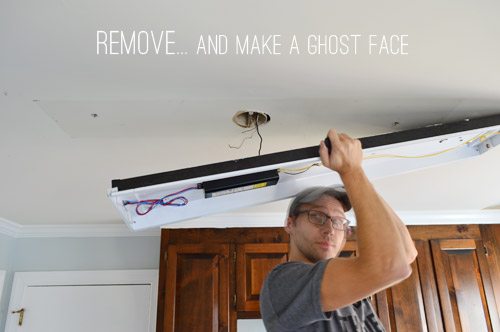
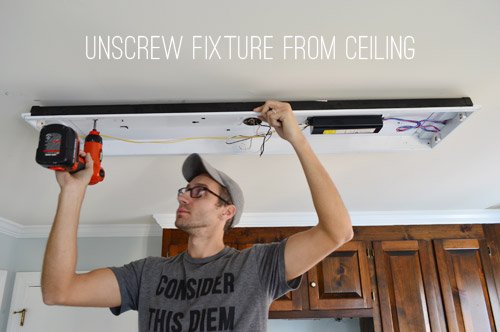
Using a screwdriver, remove the screws that hold the old light fixture in place. Carefully lower the fixture and disconnect the wires. If the wires are still connected to the electrical box, use wire cutters to detach them.
Step 4: Install the New Fixture
Follow the manufacturer’s instructions to install the new light fixture. Make sure the wires are connected securely and that the fixture is flush against the ceiling. Use the screws provided to attach the fixture to the electrical box.
Step 5: Connect the Wires
Using wire connectors, connect the wires from the new fixture to the wires in the electrical box. Make sure the black wires are connected to each other, the white wires are connected to each other, and the ground wires are connected to the green or copper wire in the electrical box.
Step 6: Test the Light Fixture
Turn the power back on and test the new light fixture. If it doesn’t turn on, turn off the power again and double-check the wire connections. Once the fixture is working properly, you can secure the cover plate and light bulbs.
Replacing an Old Fluorescent Light Fixture in Your Kitchen
If you have an old fluorescent light fixture in your kitchen, you may be wondering why you should bother replacing it. There are several reasons why upgrading your lighting can be beneficial. First, fluorescent lights are known for flickering and buzzing, which can be both annoying and distracting. Second, they can be expensive to operate, as they use a lot of energy. And third, they can make your kitchen look outdated and uninviting.
DIY: Replacing a Fluorescent Light Fixture in a Kitchen
Replacing a fluorescent light fixture in your kitchen is a great DIY project that can save you money and improve the look and functionality of your space. By following the steps outlined in this guide, you can easily update your kitchen lighting and create a more modern and inviting atmosphere.
Upgrading Your Kitchen Lighting: Replacing a Fluorescent Light Fixture
If you are looking to upgrade your kitchen lighting, replacing a fluorescent light fixture is a great place to start. By choosing a new fixture with LED bulbs, you can save on energy costs and enjoy a brighter and more even light in your kitchen. LED bulbs also have a longer lifespan, so you won’t have to worry about frequent replacements.
Why Upgrade to LED Lights When Replacing Recessed Fluorescent Light Fixtures in Your Kitchen?

The Benefits of LED Lights
 If you're considering replacing your old recessed fluorescent light fixture in your kitchen, you may want to consider upgrading to LED lights. LED lights offer many benefits over traditional fluorescent lights that make them a popular choice for modern homes.
Energy Efficiency:
LED lights are highly energy-efficient, using up to 80% less energy than traditional fluorescent lights. This means lower electricity bills and a reduced carbon footprint for your home.
Longer Lifespan:
LED lights have a longer lifespan compared to fluorescent lights, lasting up to 25 times longer. This means you won't have to replace them as often, saving you money in the long run.
Brighter and More Focused Light:
LED lights produce a brighter and more focused light than fluorescent lights, making them ideal for task lighting in the kitchen. This means you can better see what you're doing while cooking or preparing food.
Customizable Lighting:
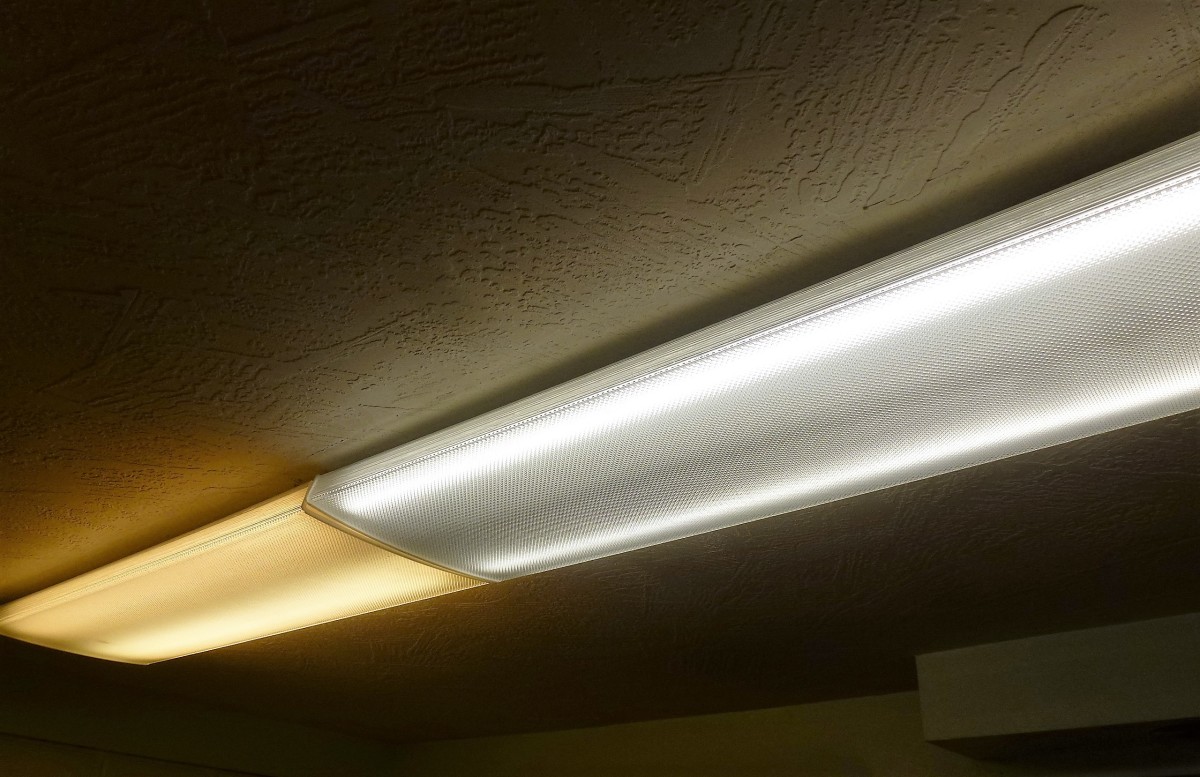
LED lights come in a variety of colors and can be dimmed, giving you more control over the ambiance and mood in your kitchen. You can also choose between warm white and cool white lighting, depending on your personal preference.
The Impact on Your Kitchen Design
 Aside from their practical benefits, LED lights can also have a significant impact on your kitchen's design. With their sleek and modern look, LED lights can add a touch of sophistication and elegance to your kitchen.
Space-Saving:
LED lights are much smaller in size compared to traditional fluorescent lights, making them perfect for small and compact kitchens. They can be easily recessed into your ceiling, freeing up more space for storage or other design elements.
Improved Aesthetics:
LED lights come in a variety of shapes and designs, allowing you to choose the perfect style to complement your kitchen's design. Whether you prefer a more minimalistic look or something more decorative, there's an LED light for every taste.
Easier Maintenance:
With their longer lifespan, LED lights require less frequent maintenance and replacement, saving you time and hassle in the long run. This makes them a practical and low-maintenance choice for busy homeowners.
In conclusion, when replacing recessed fluorescent light fixtures in your kitchen, consider upgrading to LED lights for their energy efficiency, longer lifespan, brighter light, and impact on your kitchen design. With their many benefits, LED lights are a smart and stylish choice for any modern kitchen.



















-700x500.jpg)
