If you've noticed black or discolored areas around your kitchen sink, it's likely that your caulking has become moldy. This not only looks unsightly, but it can also create a breeding ground for harmful bacteria. Fortunately, replacing moldy caulking around your kitchen sink is a relatively simple DIY task that can make a big difference in the appearance and cleanliness of your kitchen. In this guide, we'll take you through the process of replacing moldy caulking step-by-step.How to Replace Moldy Caulking Around a Kitchen Sink


How to Replace Moldy Caulking Around a Kitchen Sink


The first step in replacing moldy caulking is to remove the existing caulk. To do this, you'll need a utility knife or razor blade, a caulk remover tool, and a soft cloth. Be sure to wear protective gloves and work in a well-ventilated area to avoid inhaling any mold spores. Carefully cut away the old caulk, making sure to remove all of it. Then, use the caulk remover tool to scrape away any remaining residue. Wipe down the area with a damp cloth to remove any debris or mold particles.How to Remove Moldy Caulking Around a Kitchen Sink


How to Remove Moldy Caulking Around a Kitchen Sink

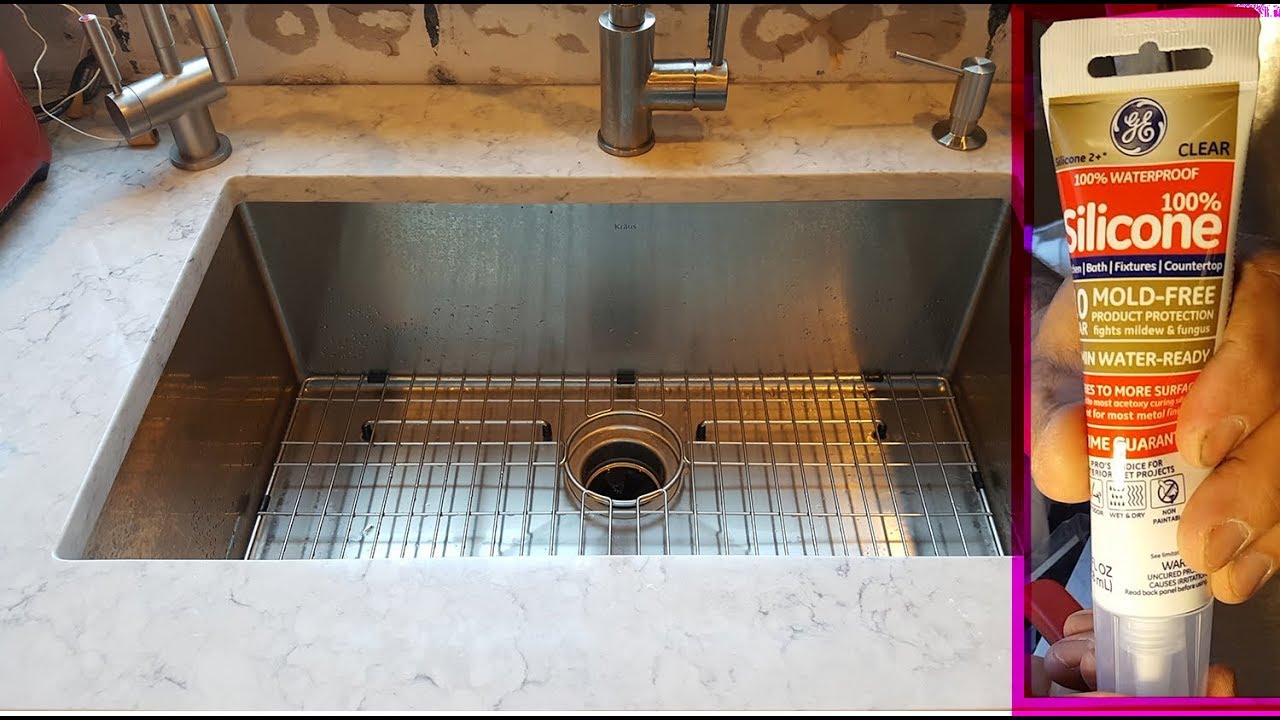


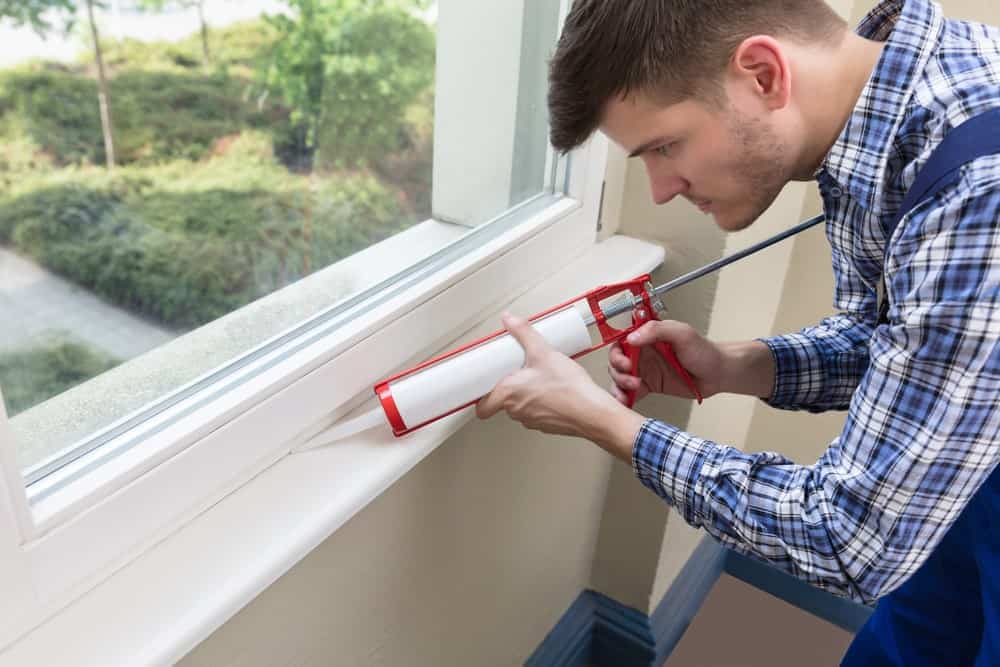
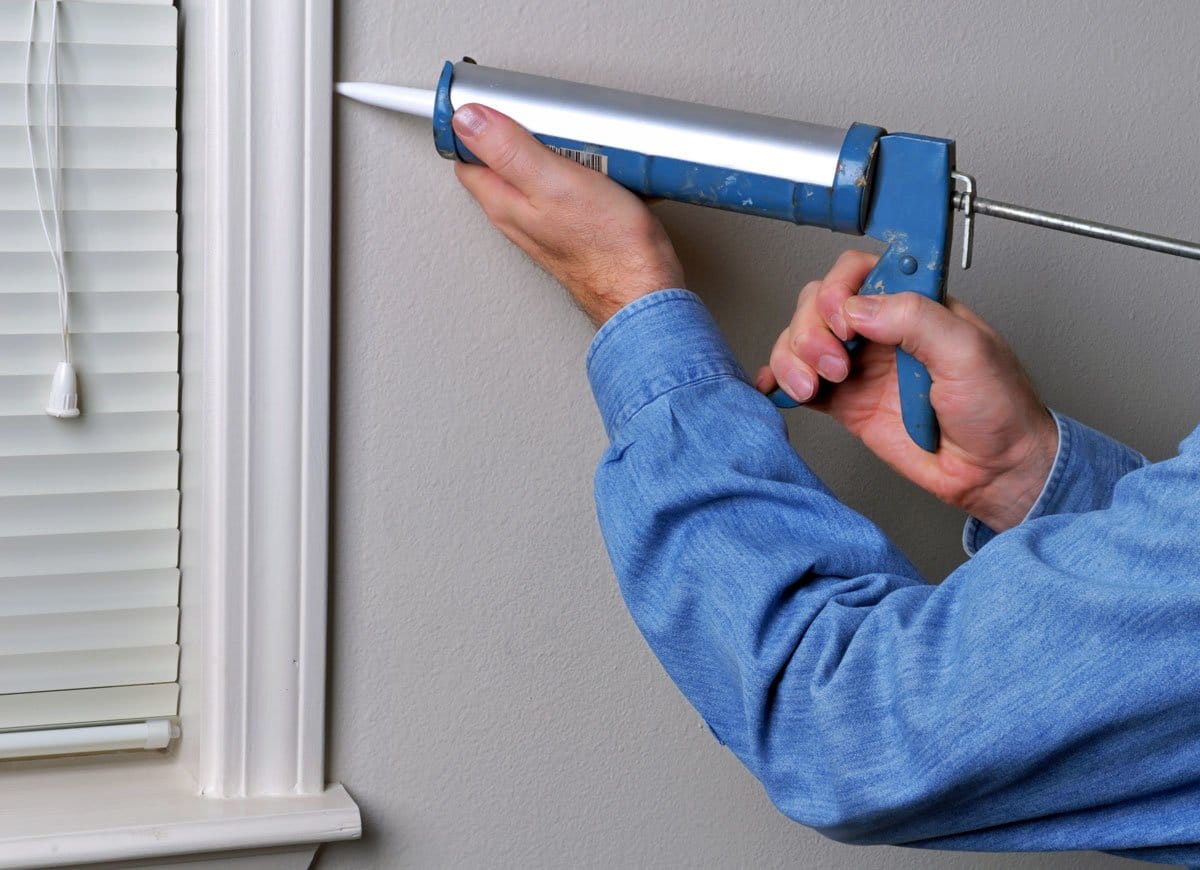
Once you have removed all of the old caulk, it's time to apply the new caulk. First, make sure to choose a caulk that is specifically designed for use in kitchens and bathrooms and is mold and mildew resistant. You'll also need a caulk gun, a putty knife or small spatula, and some painter's tape. Start by applying a thin, continuous bead of caulk along the joint between your sink and countertop, using the caulk gun. Then, use the putty knife or spatula to smooth out the caulk and create a neat, even line. Finally, remove the tape before the caulk dries to achieve a professional-looking finish.DIY Guide for Replacing Moldy Caulking Around a Kitchen Sink


DIY Guide for Replacing Moldy Caulking Around a Kitchen Sink


/182836729-56a49f253df78cf772834e2d.jpg)


If you're not familiar with caulking or have never done it before, it can be helpful to follow a step-by-step tutorial to ensure you're doing it correctly. First, gather all of the necessary tools and materials. Next, remove the old caulk as described above. Then, apply the new caulk using a caulk gun and smooth it out with a putty knife or spatula. Finally, remove the tape and let the caulk dry completely before using your sink again.Step-by-Step Tutorial for Replacing Moldy Caulking Around a Kitchen Sink


Step-by-Step Tutorial for Replacing Moldy Caulking Around a Kitchen Sink


To ensure the best results when replacing moldy caulking, there are a few best practices to keep in mind. Start by thoroughly cleaning and drying the area before applying the new caulk to ensure the best adhesion. Use painter's tape to create clean, straight lines and be sure to work in small sections to avoid the caulk drying too quickly. Finally, use a caulk smoothing tool or your finger to remove any excess caulk and create a smooth, even finish.Best Practices for Replacing Moldy Caulking Around a Kitchen Sink

Best Practices for Replacing Moldy Caulking Around a Kitchen Sink


As mentioned earlier, you'll need a few specific tools and materials to complete this task successfully. These include a utility knife or razor blade, a caulk remover tool, a caulk gun, a putty knife or spatula, painter's tape, and a mold and mildew resistant caulk. You may also want to have a damp cloth and some rubbing alcohol on hand to clean the area before and after applying the caulk.Tools and Materials Needed for Replacing Moldy Caulking Around a Kitchen Sink

Tools and Materials Needed for Replacing Moldy Caulking Around a Kitchen Sink
Now that you've gone through the process of replacing moldy caulking around your kitchen sink, you'll want to make sure it doesn't happen again. To prevent moldy caulk in the future, make sure to regularly clean and dry the area around your sink to prevent moisture buildup. You can also use a bathroom and kitchen cleaner with mold and mildew inhibitors to help keep the area clean and prevent mold growth.Tips for Preventing Moldy Caulking Around a Kitchen Sink


Tips for Preventing Moldy Caulking Around a Kitchen Sink


Replacing moldy caulking is a relatively simple task, but there are a few common mistakes that can be easily avoided. For example, make sure to use a caulk remover tool rather than a razor blade or knife to avoid damaging the surface of your sink or countertop. You should also avoid using too much caulk, as this can create a messy and uneven finish. Finally, be sure to let the caulk dry completely before using your sink again to avoid disrupting the seal.Common Mistakes to Avoid When Replacing Moldy Caulking Around a Kitchen Sink


Common Mistakes to Avoid When Replacing Moldy Caulking Around a Kitchen Sink


The frequency at which you'll need to replace moldy caulking around your kitchen sink will depend on several factors, including the humidity level in your home and how often you clean and dry the area. As a general rule, it's a good idea to check for moldy caulk every 6-12 months and replace it as needed. If you notice any signs of mold or discoloration, it's best to replace the caulk as soon as possible to prevent further damage.How Often Should You Replace Moldy Caulking Around a Kitchen Sink?

How Often Should You Replace Moldy Caulking Around a Kitchen Sink?


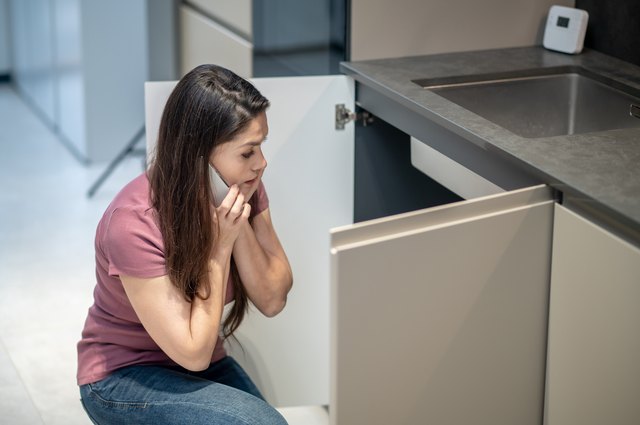
If you're not comfortable tackling this task on your own or are dealing with a more severe mold issue, consider hiring a professional to replace the moldy caulking around your kitchen sink. They will have the necessary tools and expertise to get the job done quickly and effectively, ensuring the integrity and cleanliness of your kitchen sink.Professional Services for Replacing Moldy Caulking Around a Kitchen Sink

Professional Services for Replacing Moldy Caulking Around a Kitchen Sink
Why Replacing Moldy Caulking Around Kitchen Sink is Essential for a Beautiful and Functional Kitchen

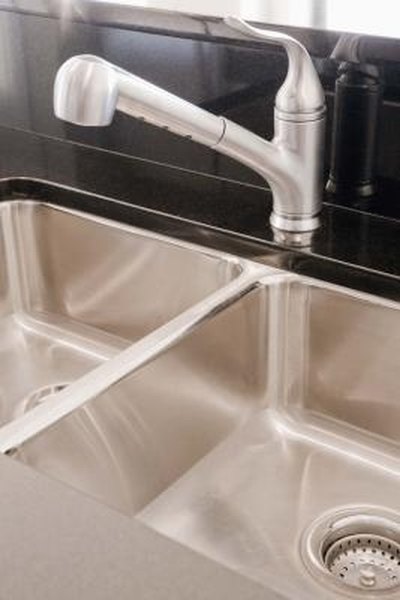
The Importance of Caulking in Kitchen Design
 Caulking may seem like a small and insignificant part of kitchen design, but it plays a crucial role in both the aesthetics and functionality of your kitchen. Caulking is the process of sealing gaps and joints between two surfaces, and it is commonly used in kitchens to seal the area around the sink and countertop. This not only creates a clean and polished look, but it also prevents water and moisture from seeping into those gaps and causing damage. Over time, caulk can become moldy and worn out, compromising its effectiveness and appearance. This is why it is essential to regularly
replace moldy caulking around the kitchen sink
to maintain a beautiful and functional kitchen.
Caulking may seem like a small and insignificant part of kitchen design, but it plays a crucial role in both the aesthetics and functionality of your kitchen. Caulking is the process of sealing gaps and joints between two surfaces, and it is commonly used in kitchens to seal the area around the sink and countertop. This not only creates a clean and polished look, but it also prevents water and moisture from seeping into those gaps and causing damage. Over time, caulk can become moldy and worn out, compromising its effectiveness and appearance. This is why it is essential to regularly
replace moldy caulking around the kitchen sink
to maintain a beautiful and functional kitchen.
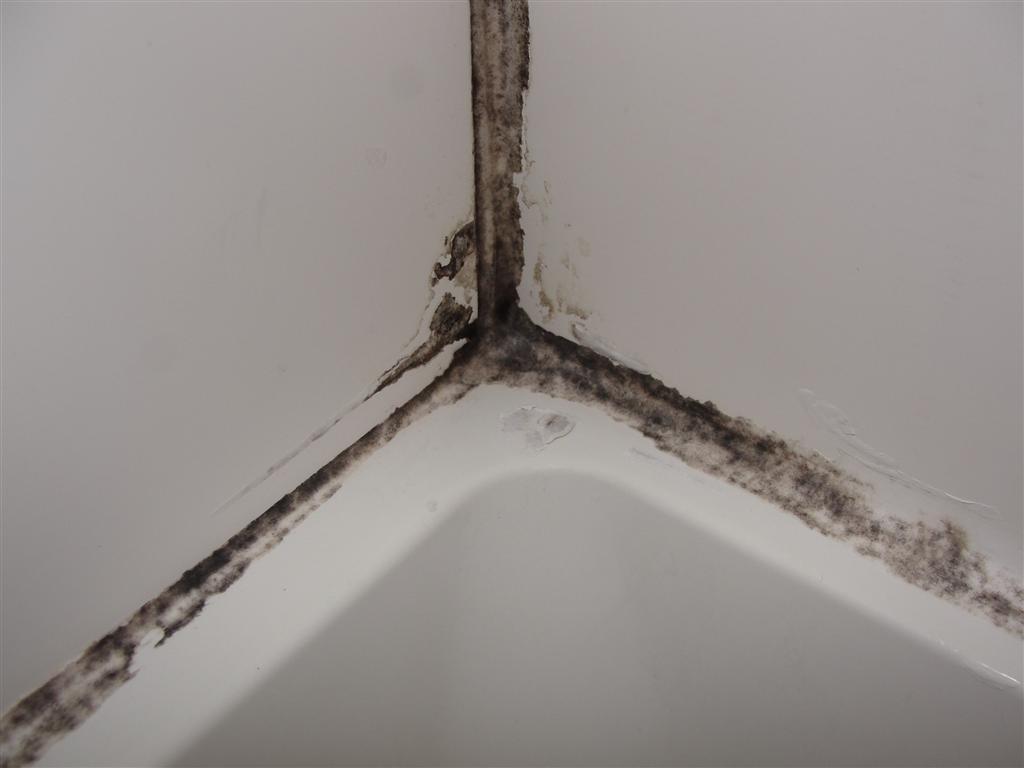
The Negative Impact of Moldy Caulking
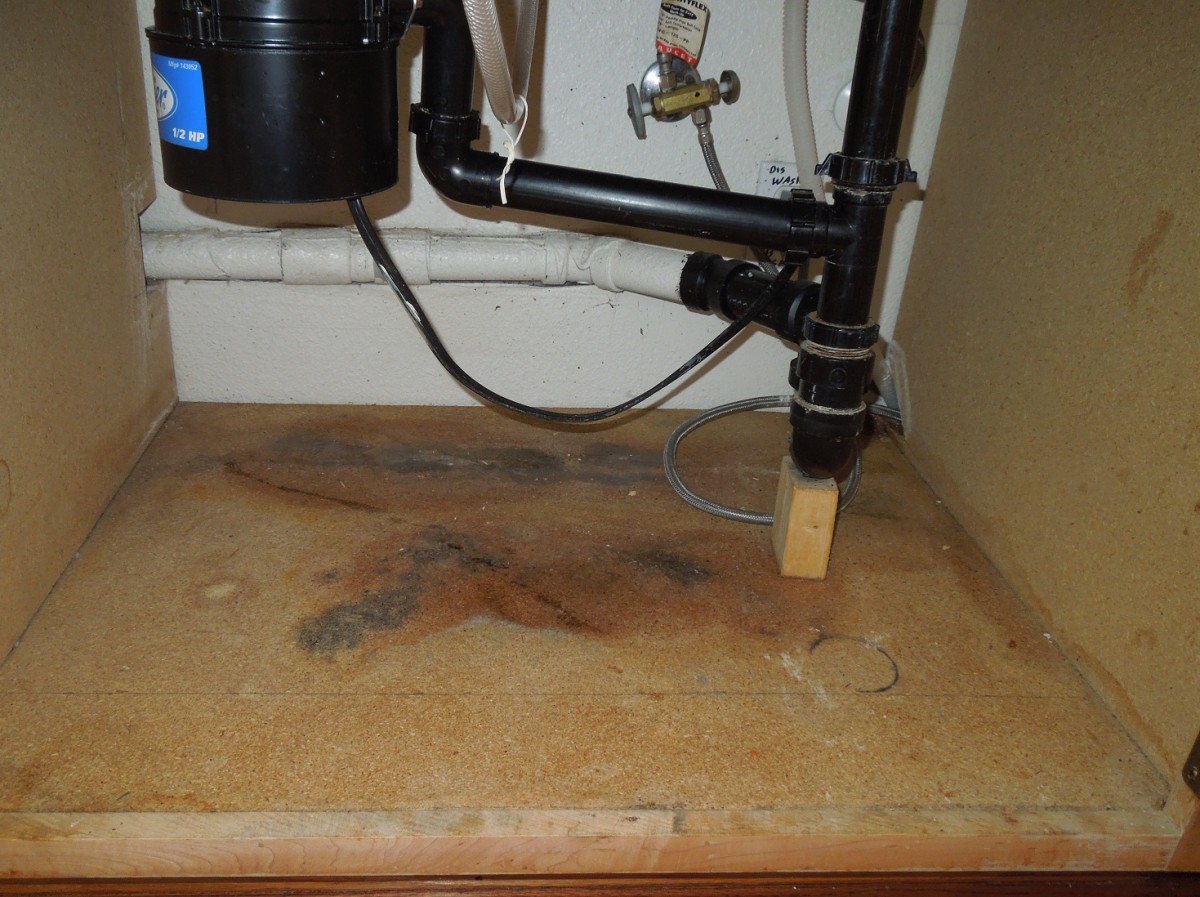
 Moldy caulking not only looks unsightly, but it also poses health risks. The constant exposure to moisture in the kitchen creates the perfect environment for mold and mildew to thrive. These can release spores into the air, which can aggravate allergies and respiratory issues, especially for those with compromised immune systems. In addition, moldy caulking can also lead to structural damage, as the moisture can seep into the walls and cause rot and deterioration. This could result in expensive repairs and renovations in the long run.
The Benefits of Replacing Moldy Caulking
 There are numerous benefits to
replacing moldy caulking around the kitchen sink
. Firstly, it improves the overall appearance of your kitchen. Moldy caulk can make a kitchen look dirty and unkempt, even if the rest of the space is clean. Replacing it with fresh, clean caulk can instantly give your kitchen a more polished and well-maintained look. Secondly, it helps to prevent further damage to your kitchen. By sealing gaps and preventing moisture from seeping in, you can avoid potential structural issues and costly repairs. Lastly, replacing moldy caulking promotes a healthier living environment by eliminating mold and mildew growth.
There are numerous benefits to
replacing moldy caulking around the kitchen sink
. Firstly, it improves the overall appearance of your kitchen. Moldy caulk can make a kitchen look dirty and unkempt, even if the rest of the space is clean. Replacing it with fresh, clean caulk can instantly give your kitchen a more polished and well-maintained look. Secondly, it helps to prevent further damage to your kitchen. By sealing gaps and preventing moisture from seeping in, you can avoid potential structural issues and costly repairs. Lastly, replacing moldy caulking promotes a healthier living environment by eliminating mold and mildew growth.
How to Replace Moldy Caulking
 Replacing moldy caulking around the kitchen sink is a simple process that can be done by homeowners with the right tools and materials. Firstly, remove the old caulk using a putty knife or caulk remover. Clean the area thoroughly with a multipurpose cleaner to remove any remaining residue. Next, apply a new layer of caulk using a caulk gun, ensuring that the seal is smooth and even. Allow the caulk to dry completely before using the sink again. It is recommended to
replace moldy caulking around the kitchen sink
every 1-2 years to maintain its effectiveness.
Replacing moldy caulking around the kitchen sink is a simple process that can be done by homeowners with the right tools and materials. Firstly, remove the old caulk using a putty knife or caulk remover. Clean the area thoroughly with a multipurpose cleaner to remove any remaining residue. Next, apply a new layer of caulk using a caulk gun, ensuring that the seal is smooth and even. Allow the caulk to dry completely before using the sink again. It is recommended to
replace moldy caulking around the kitchen sink
every 1-2 years to maintain its effectiveness.
In Conclusion
 In conclusion,
replacing moldy caulking around the kitchen sink
is an essential aspect of maintaining a beautiful and functional kitchen. It not only improves the appearance of your kitchen, but it also helps to prevent potential health risks and structural damage. With regular maintenance and proper installation, caulk can add a clean and polished finish to your kitchen design for years to come. Don't neglect this small but important task and keep your kitchen looking its best.
In conclusion,
replacing moldy caulking around the kitchen sink
is an essential aspect of maintaining a beautiful and functional kitchen. It not only improves the appearance of your kitchen, but it also helps to prevent potential health risks and structural damage. With regular maintenance and proper installation, caulk can add a clean and polished finish to your kitchen design for years to come. Don't neglect this small but important task and keep your kitchen looking its best.