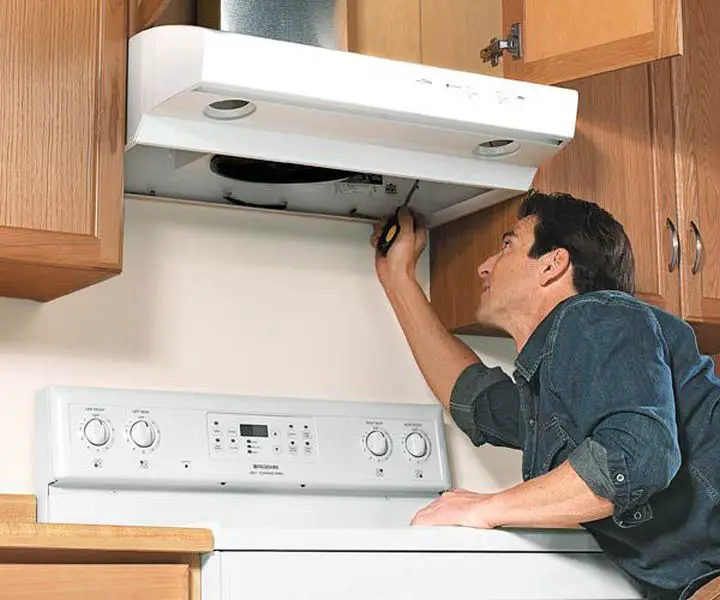
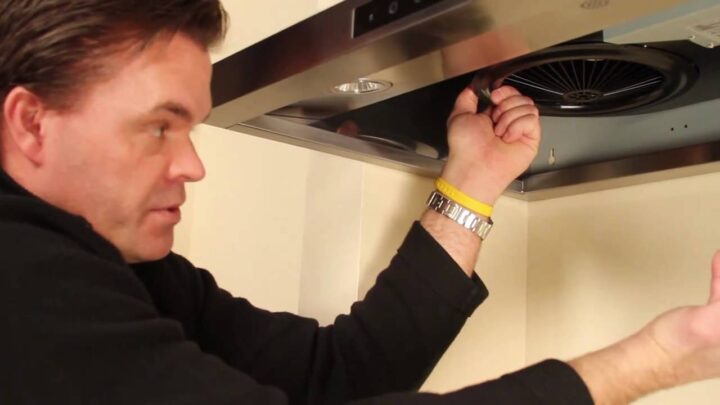
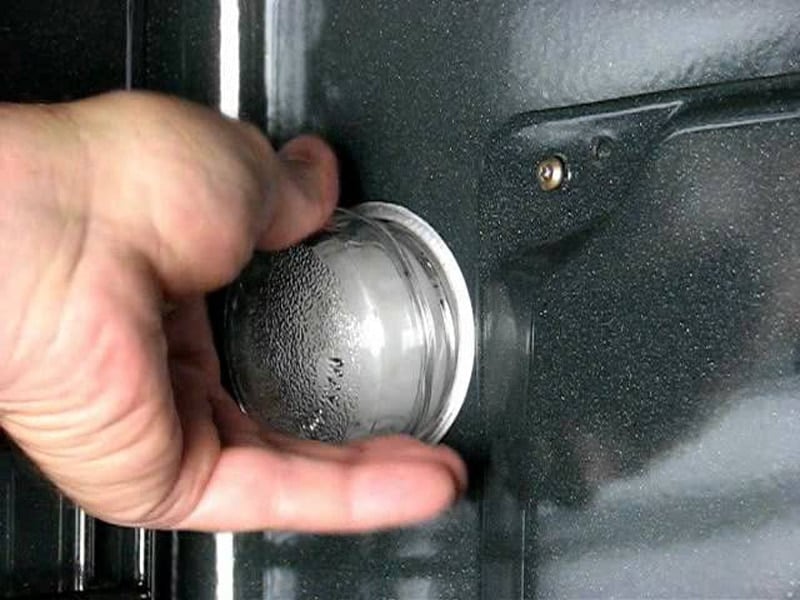
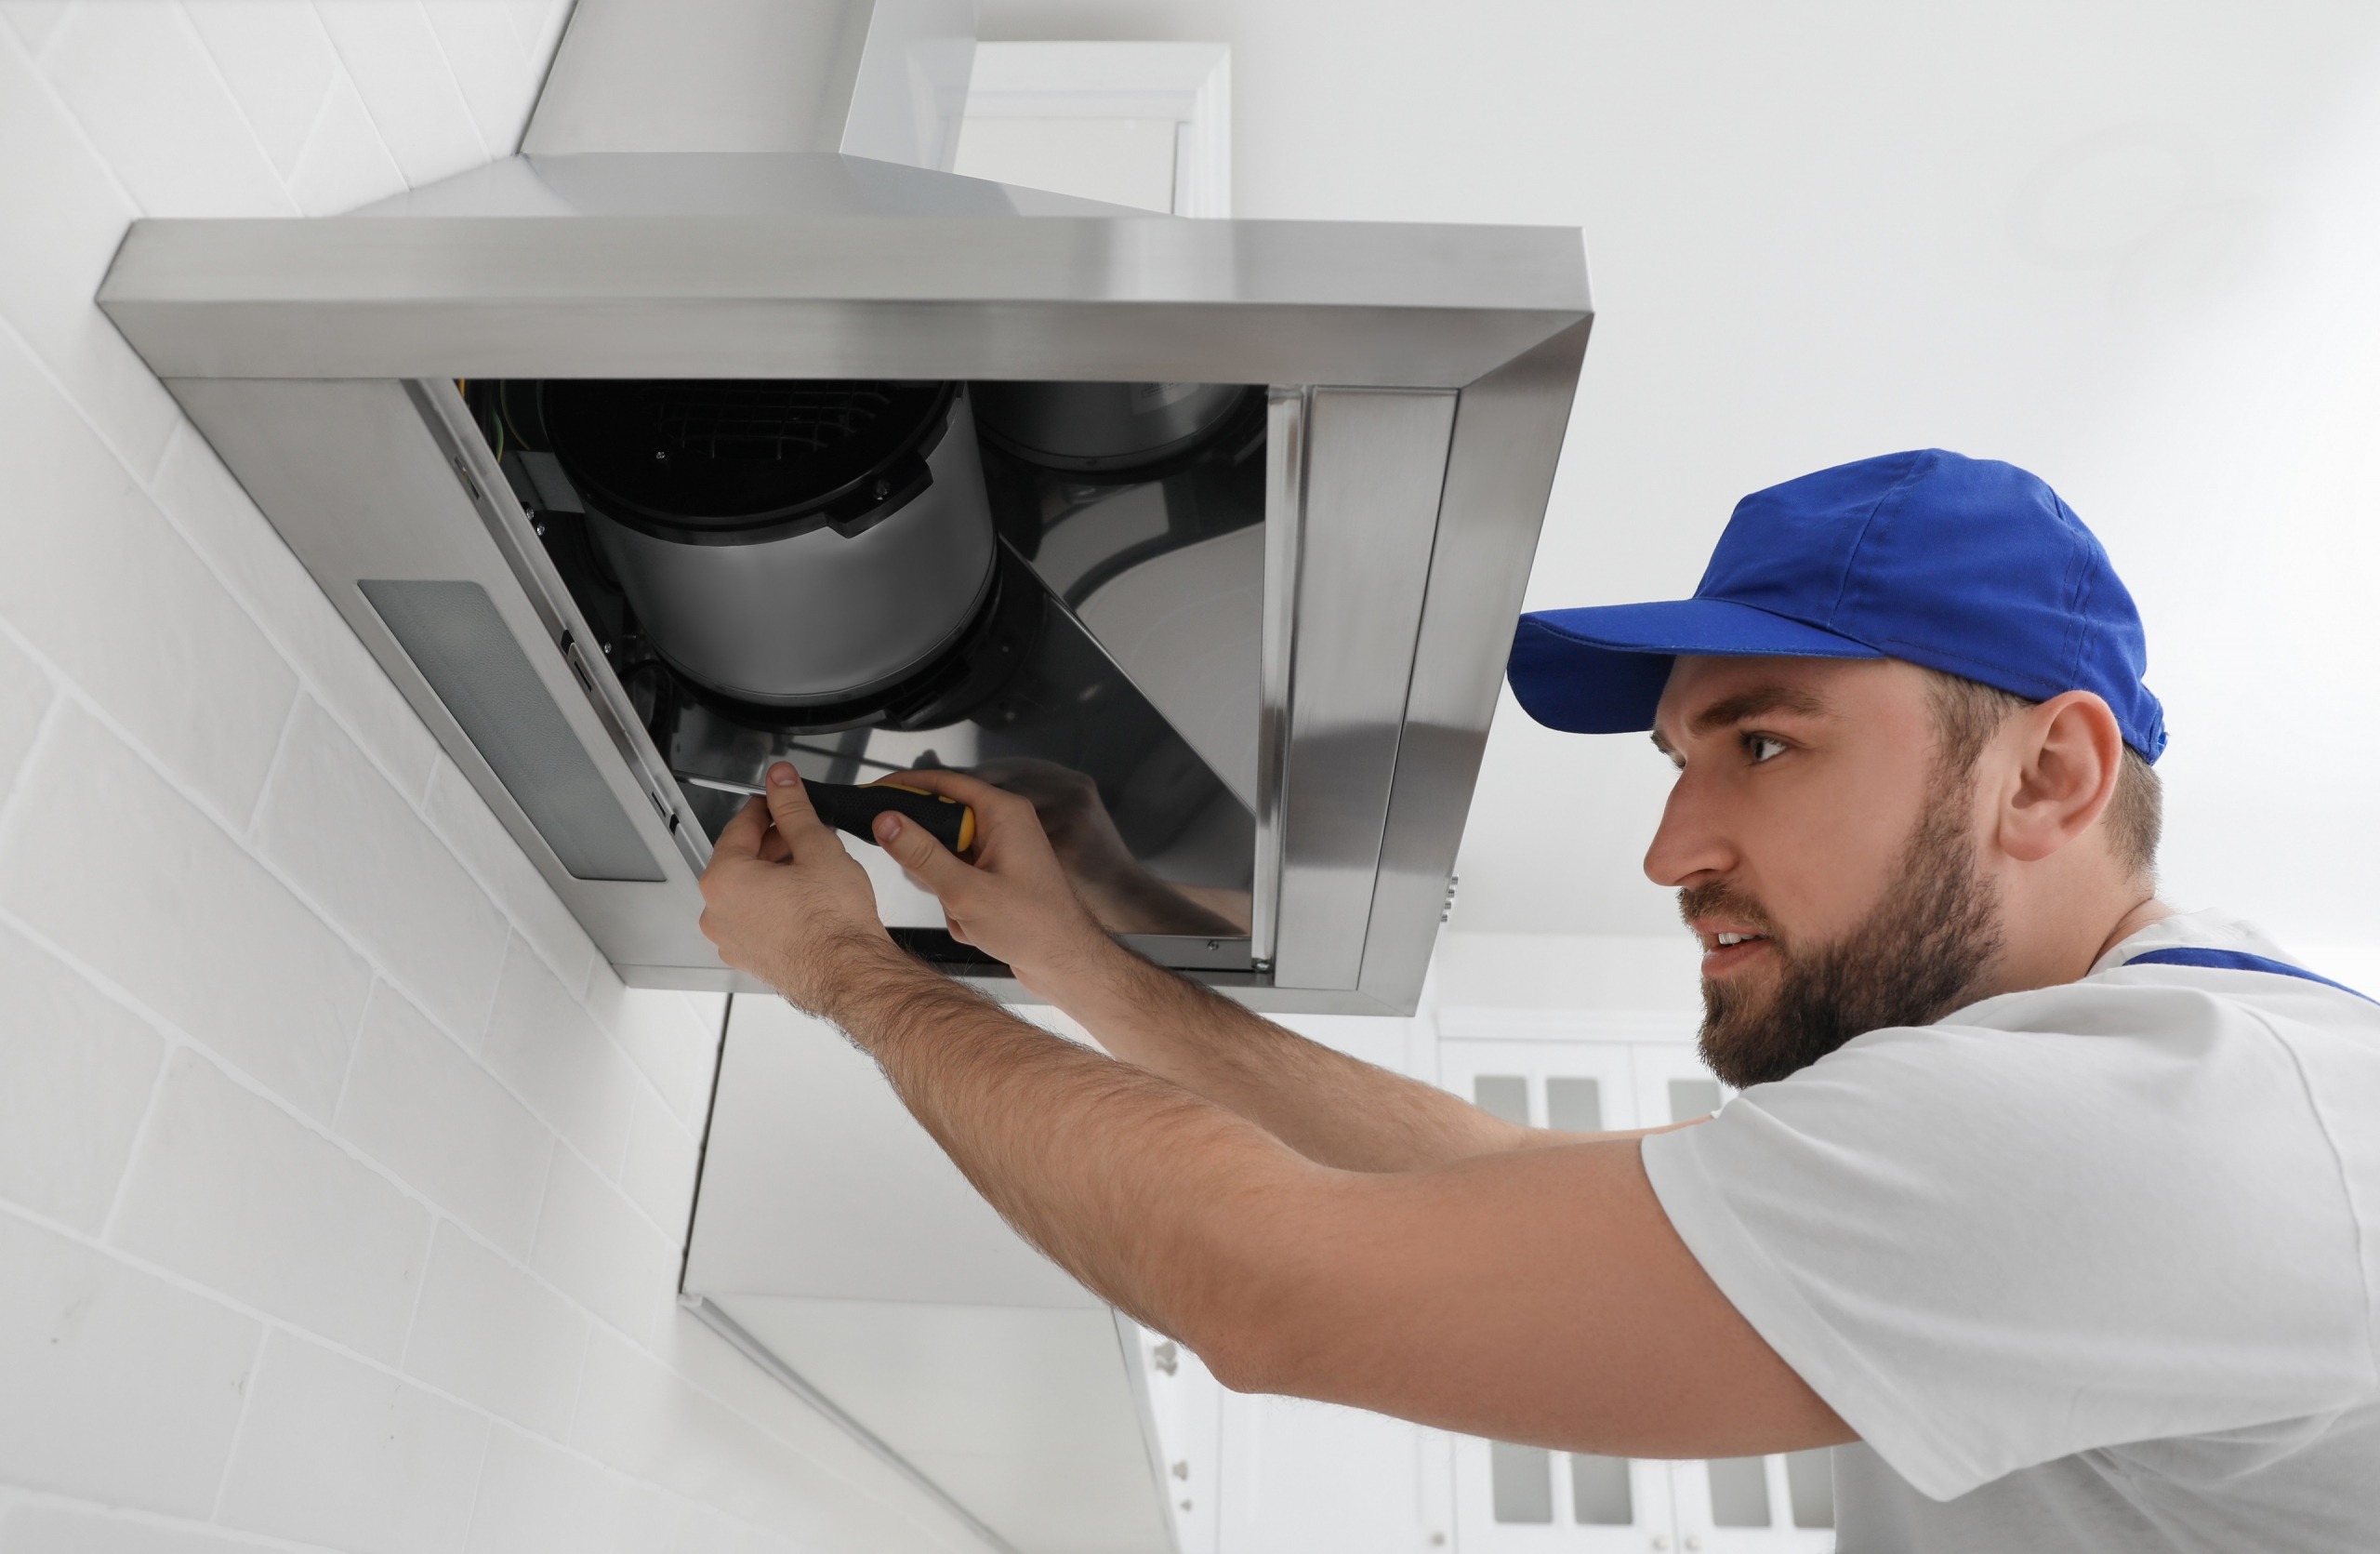
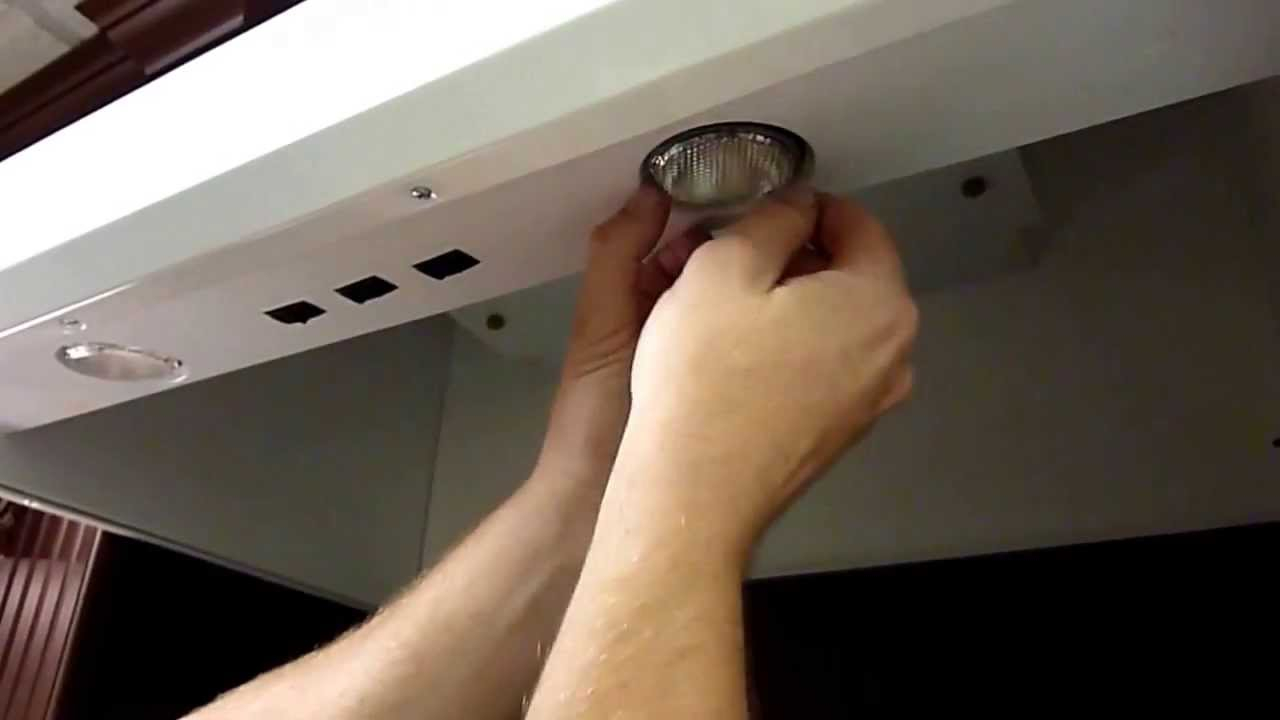
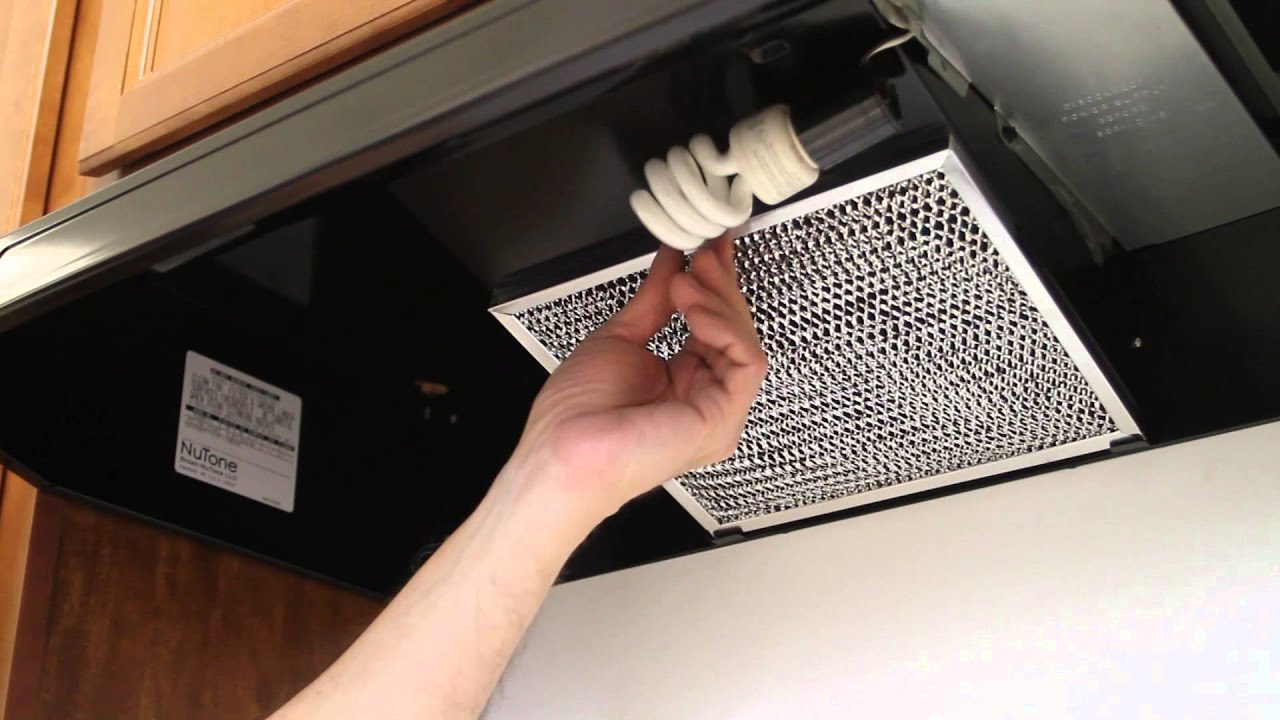
The first step in replacing a kitchen hood light is to identify the type of light fixture you have. Is it a screw-in or a snap-in fixture? This will determine the type of replacement light you need to purchase. Once you have the replacement light, follow these steps:How to Replace a Kitchen Hood Light


How to Replace a Kitchen Hood Light
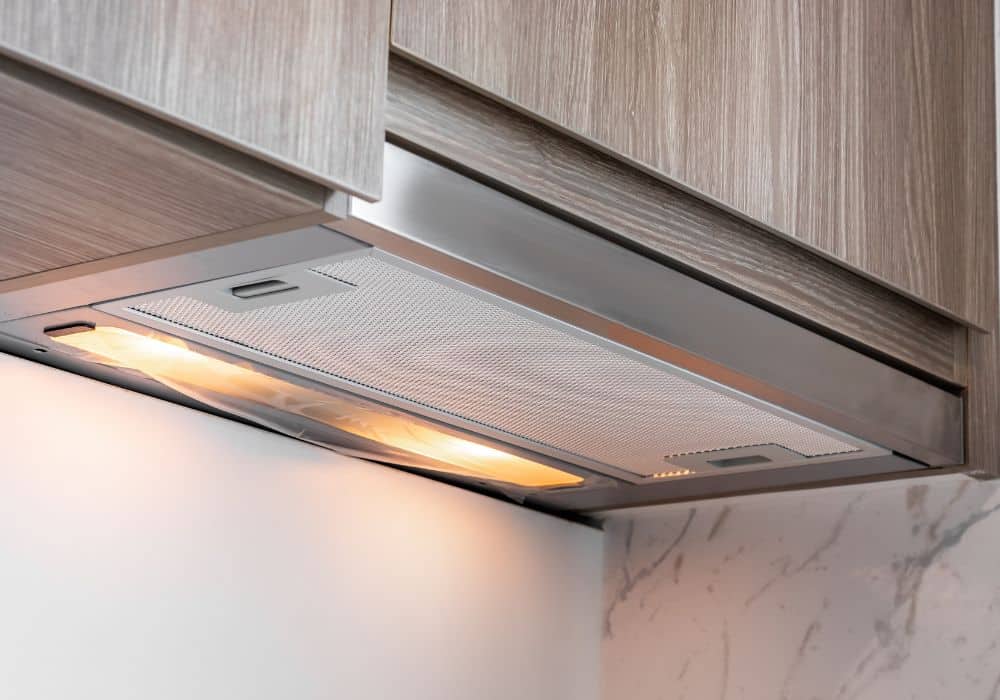
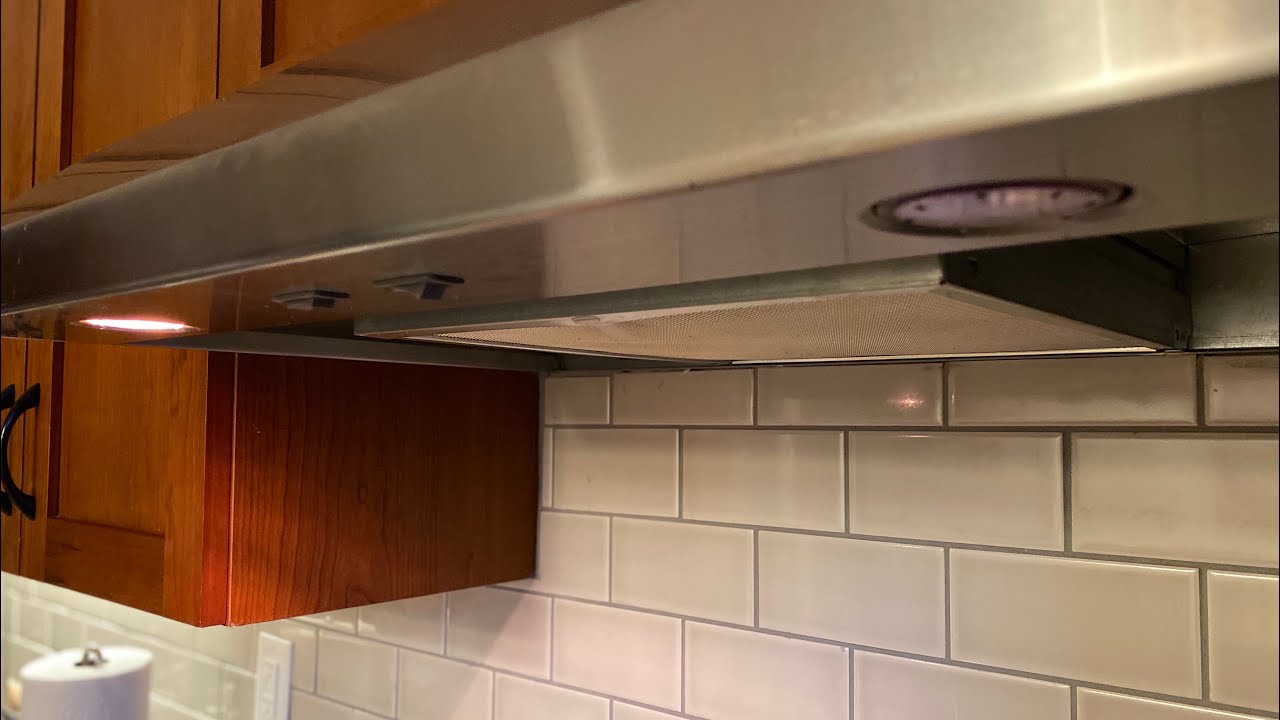
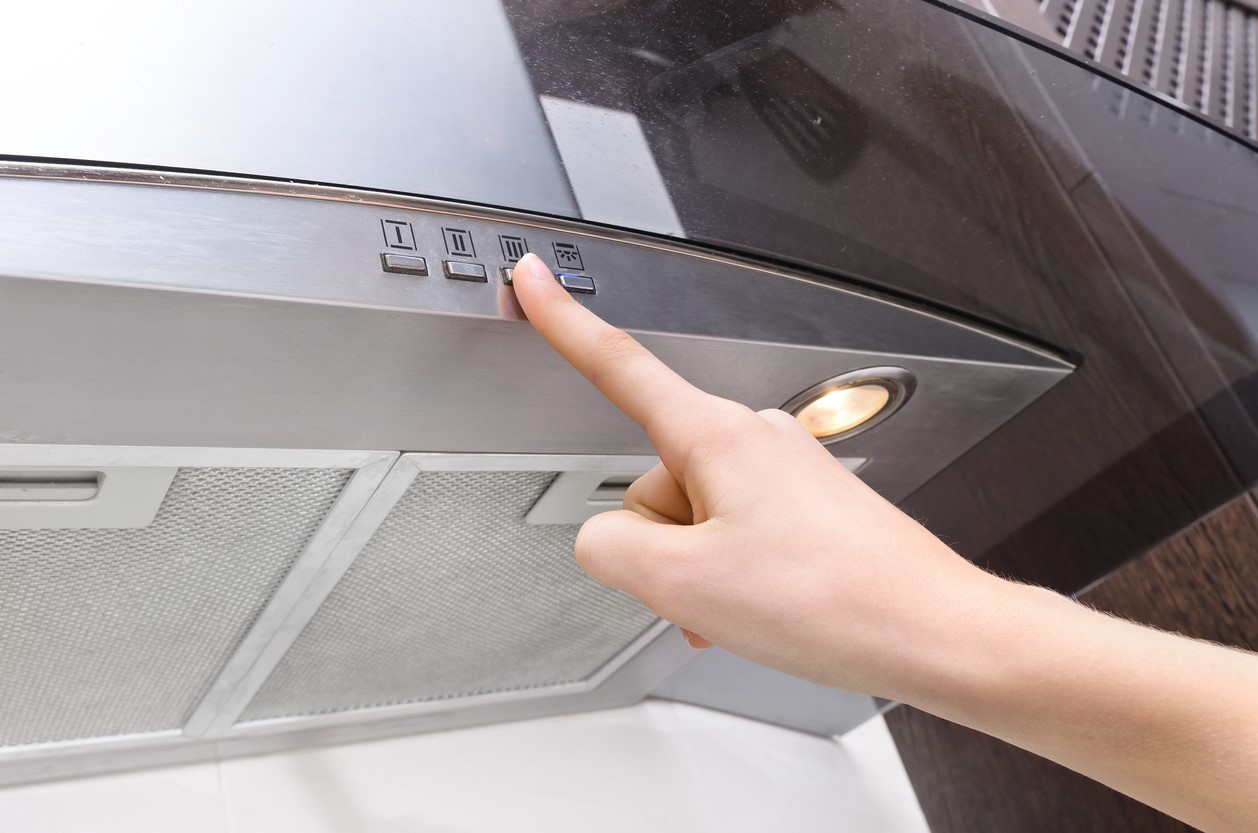


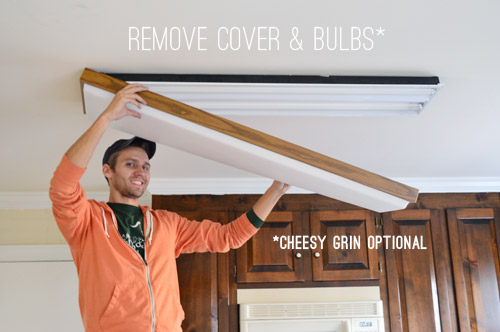
If you're more of a visual learner, here is a step-by-step guide on how to replace a kitchen hood light: Step 1: Turn off the power to the kitchen hood at the circuit breaker. Step 2: Remove the old light fixture. Step 3: Disconnect the wiring from the old light. Step 4: Install the new light fixture according to the manufacturer's instructions. Step 5: Reconnect the wiring to the new light. Step 6: Turn the power back on and test the light.Replacing a Kitchen Hood Light: A Step-by-Step Guide


Replacing a Kitchen Hood Light: A Step-by-Step Guide


Replacing a kitchen hood light is a simple DIY project that can save you time and money. Instead of hiring a professional, follow these steps to replace the light yourself: Step 1: Gather all necessary tools and materials, including a replacement light, screwdriver, wire nuts, and ladder. Step 2: Turn off the power to the kitchen hood at the circuit breaker. Step 3: Remove the old light fixture. Step 4: Disconnect the wiring from the old light. Step 5: Install the new light fixture according to the manufacturer's instructions. Step 6: Reconnect the wiring to the new light. Step 7: Turn the power back on and test the light.DIY: Replacing a Kitchen Hood Light


DIY: Replacing a Kitchen Hood Light


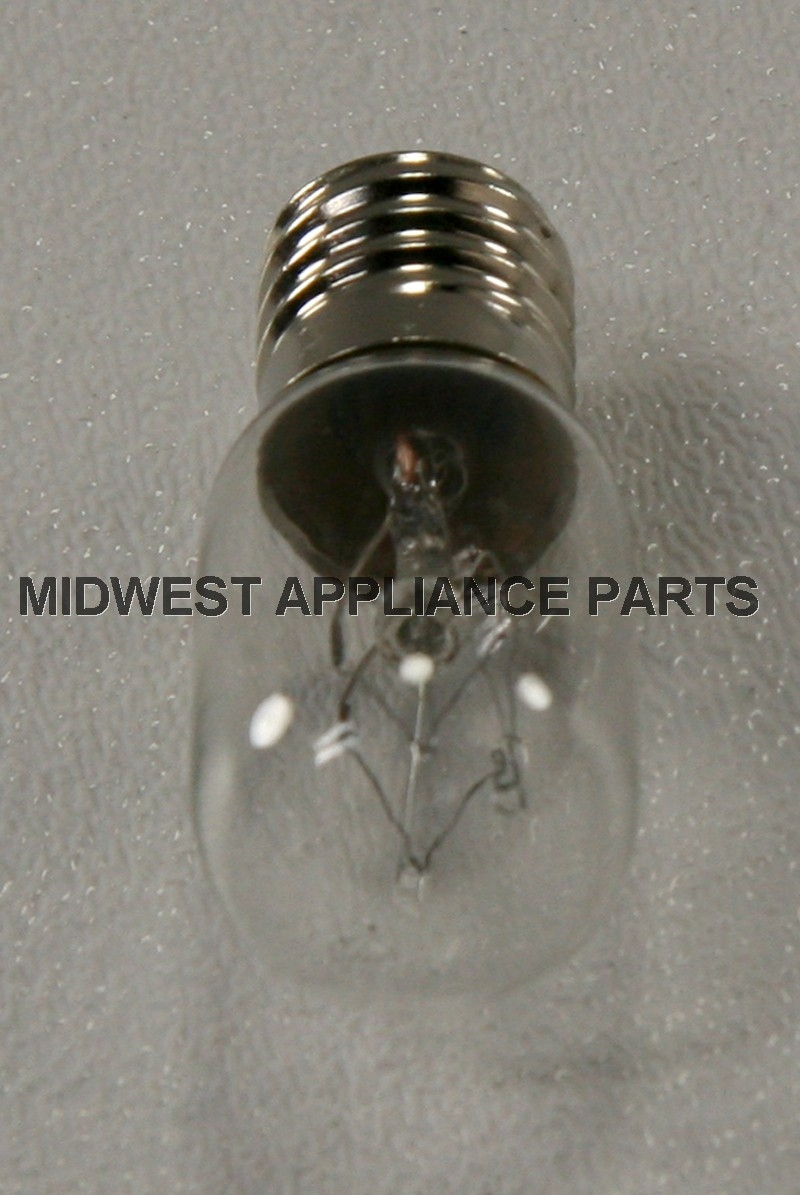
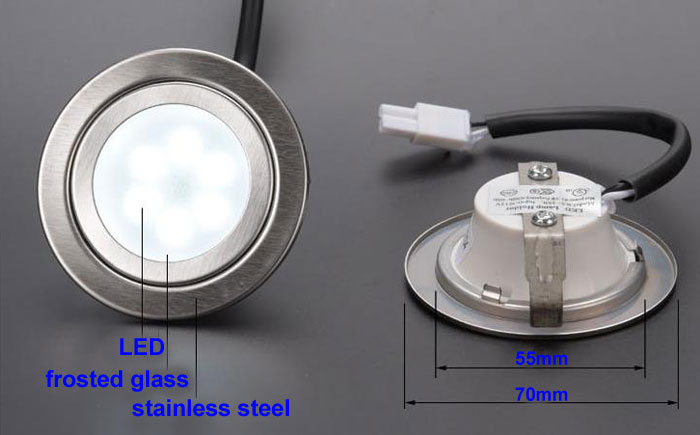
Before replacing your kitchen hood light, there are a few things you should know: Know the type of light fixture you have: As mentioned earlier, it is important to know whether your light fixture is a screw-in or snap-in type to ensure you purchase the correct replacement light. Choose the right replacement light: When purchasing a replacement light, make sure it is the appropriate size and wattage for your kitchen hood. This information can usually be found on the old light or in the hood's manual. Consider LED lights: LED lights are a popular choice for kitchen hood lights as they are energy-efficient and long-lasting. They may be a bit more expensive upfront, but they can save you money in the long run.Replacing a Kitchen Hood Light: What You Need to Know


Replacing a Kitchen Hood Light: What You Need to Know

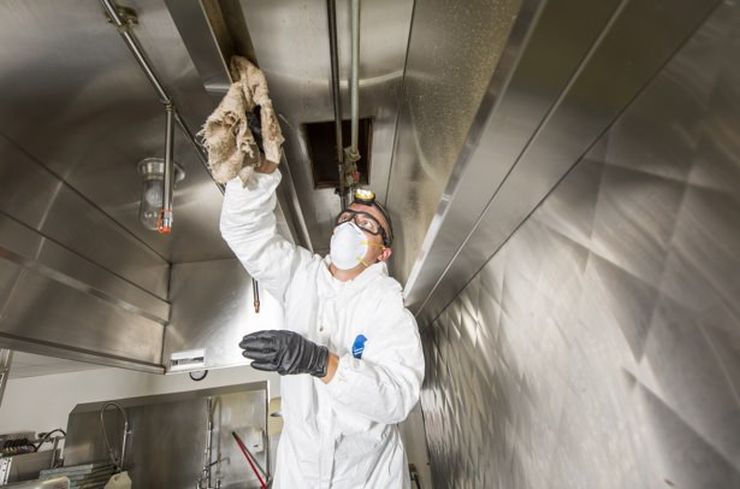
Here are a few tips and tricks to keep in mind when replacing your kitchen hood light: Use a ladder: It is important to have a stable and secure platform to stand on when working on your kitchen hood. Use a ladder to reach the light fixture safely. Have a helper: If possible, have someone hold the ladder steady or assist you with the replacement process. Turn off the power: Always make sure to turn off the power at the circuit breaker before starting any electrical work.Replacing a Kitchen Hood Light: Tips and Tricks


Replacing a Kitchen Hood Light: Tips and Tricks
Replacing a kitchen hood light may seem like a simple task, but there are a few common mistakes that can cause issues. Here are some mistakes to avoid: Not turning off the power: This cannot be stressed enough. Always turn off the power before working on any electrical fixture. Using the wrong replacement light: Make sure to check the size and wattage of your old light before purchasing a replacement to avoid any compatibility issues. Not securing the wiring: It is important to properly secure the wiring with wire nuts to prevent any electrical hazards.Replacing a Kitchen Hood Light: Common Mistakes to Avoid

Replacing a Kitchen Hood Light: Common Mistakes to Avoid
Here is a list of tools and materials you will need to replace a kitchen hood light: Tools: Screwdriver, ladder Materials: Replacement light, wire nutsReplacing a Kitchen Hood Light: Tools and Materials You'll Need


Replacing a Kitchen Hood Light: Tools and Materials You'll Need

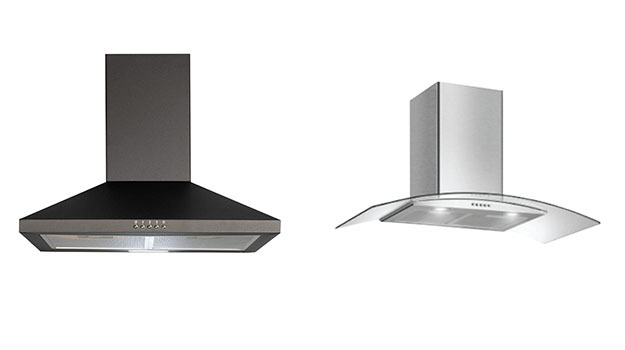
Choosing the right replacement light for your kitchen hood can be overwhelming with the variety of options available. Here are a few things to consider when making your decision: Type of light: Do you want a warm or cool light? Do you prefer LED or incandescent? Size and wattage: Make sure to check the size and wattage of your old light to ensure you purchase a compatible replacement. Budget: LED lights may be more expensive upfront, but they can save you money in the long run.How to Choose the Right Replacement Light for Your Kitchen Hood


How to Choose the Right Replacement Light for Your Kitchen Hood


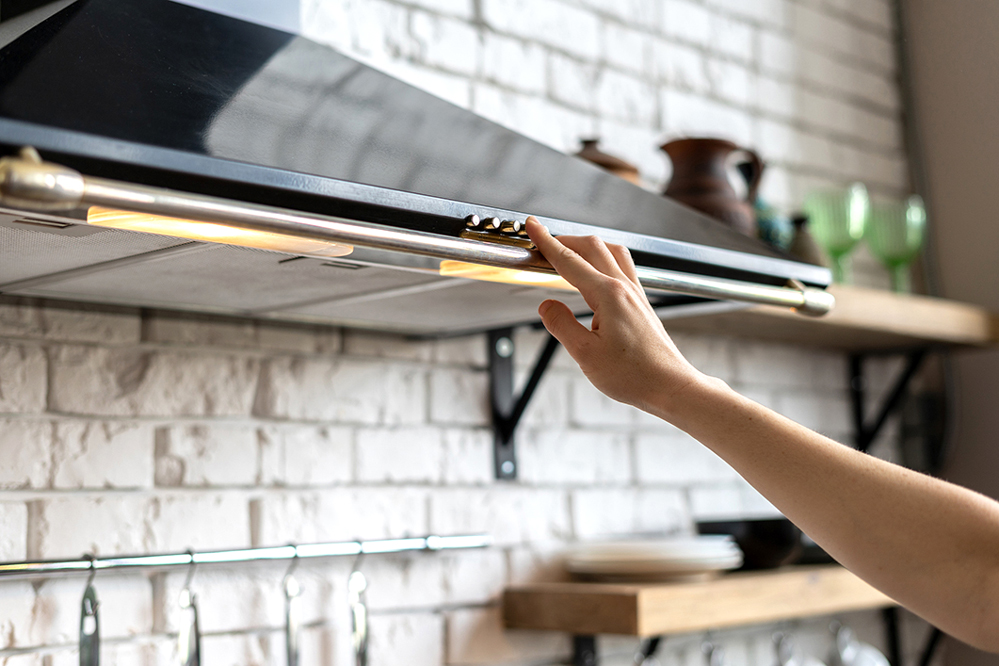
When working with electricity, it is important to take safety precautions. Here are some things to keep in mind when replacing a kitchen hood light: Turn off the power: Always turn off the power at the circuit breaker before starting any electrical work. Use a ladder: Have a stable and secure platform to stand on when working on the light fixture. Wear protective gear: It is always a good idea to wear gloves and safety glasses when working with electricity.Replacing a Kitchen Hood Light: Safety Precautions to Take


Replacing a Kitchen Hood Light: Safety Precautions to Take


If you encounter any issues while replacing your kitchen hood light, here are some common problems and solutions: Flickering light: This could be caused by loose wiring. Make sure to securely connect the wiring with wire nuts. Burnt out light: If your light keeps burning out, it may be due to using the wrong wattage. Check the manual for the correct wattage for your hood. Light not working: If the light is not working, make sure it is securely connected and the power is turned on. Replacing a kitchen hood light may seem like a daunting task, but with the right tools and knowledge, it can be a simple DIY project. Follow these steps and tips to successfully replace your kitchen hood light and brighten up your kitchen space!Replacing a Kitchen Hood Light: Troubleshooting Common Issues

Replacing a Kitchen Hood Light: Troubleshooting Common Issues


Why Replacing Your Kitchen Hood Light is Essential for a Well-Designed Home

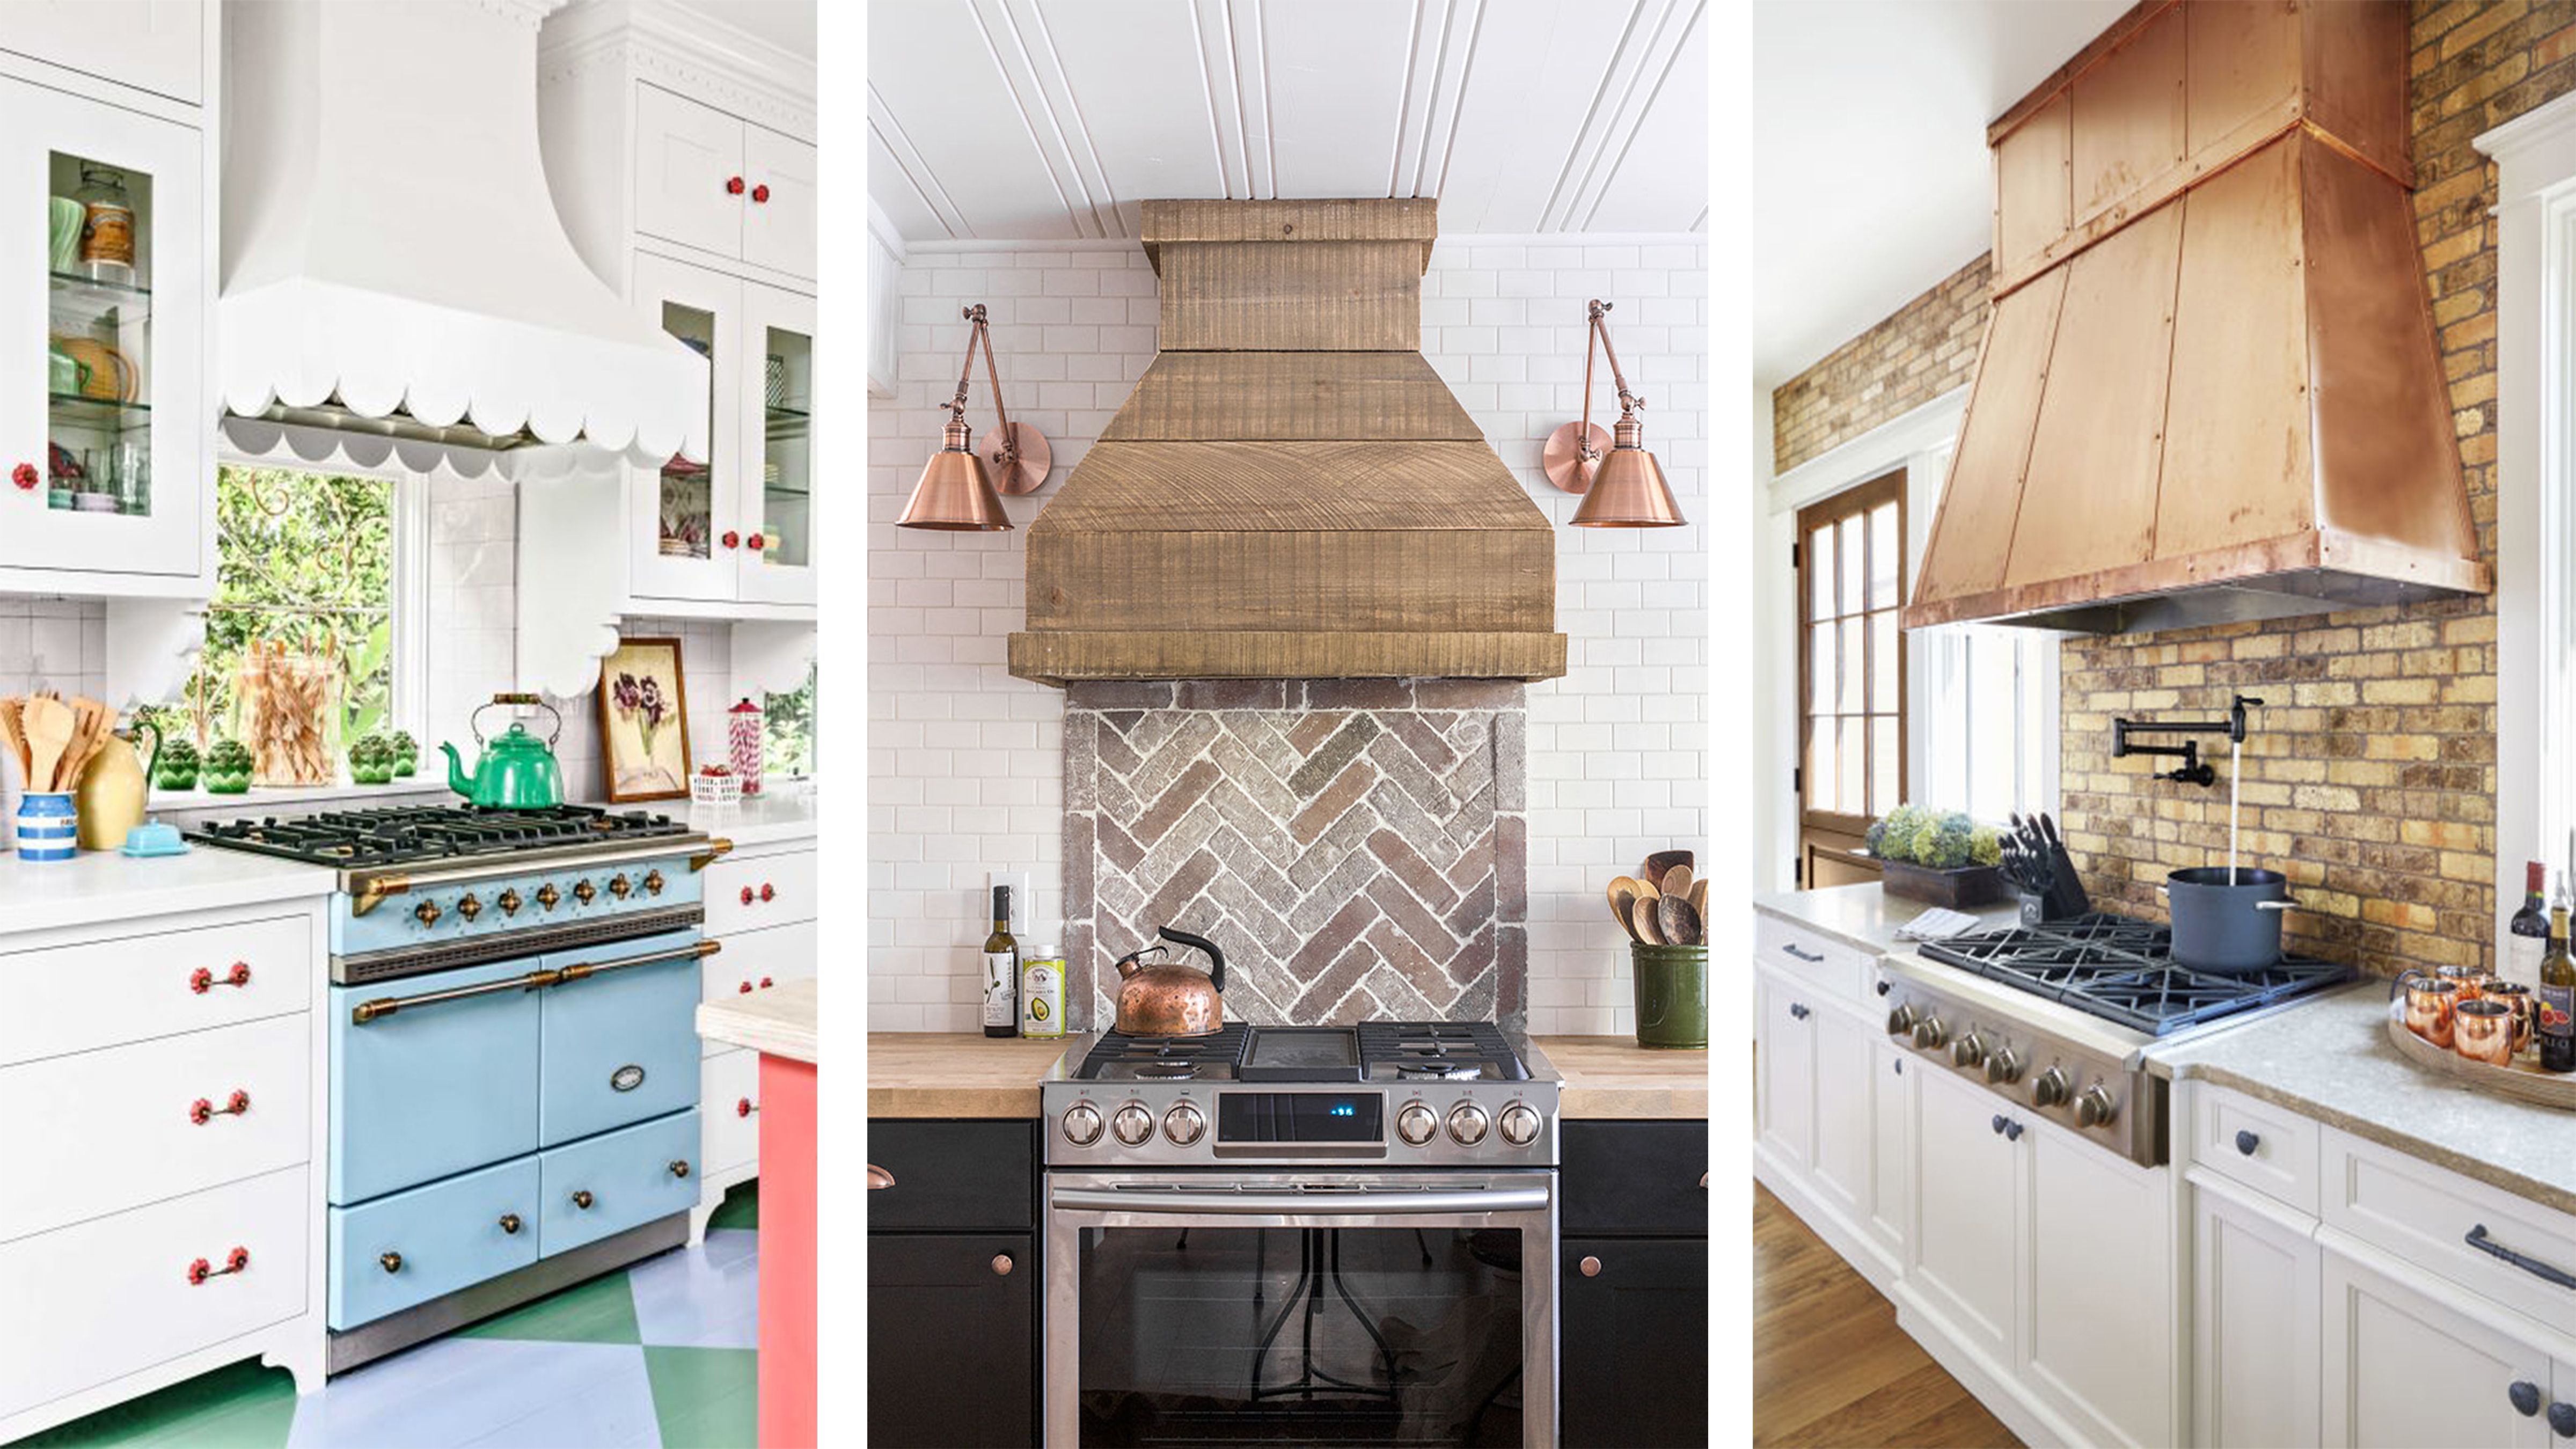
The Importance of Good Lighting in Your Kitchen
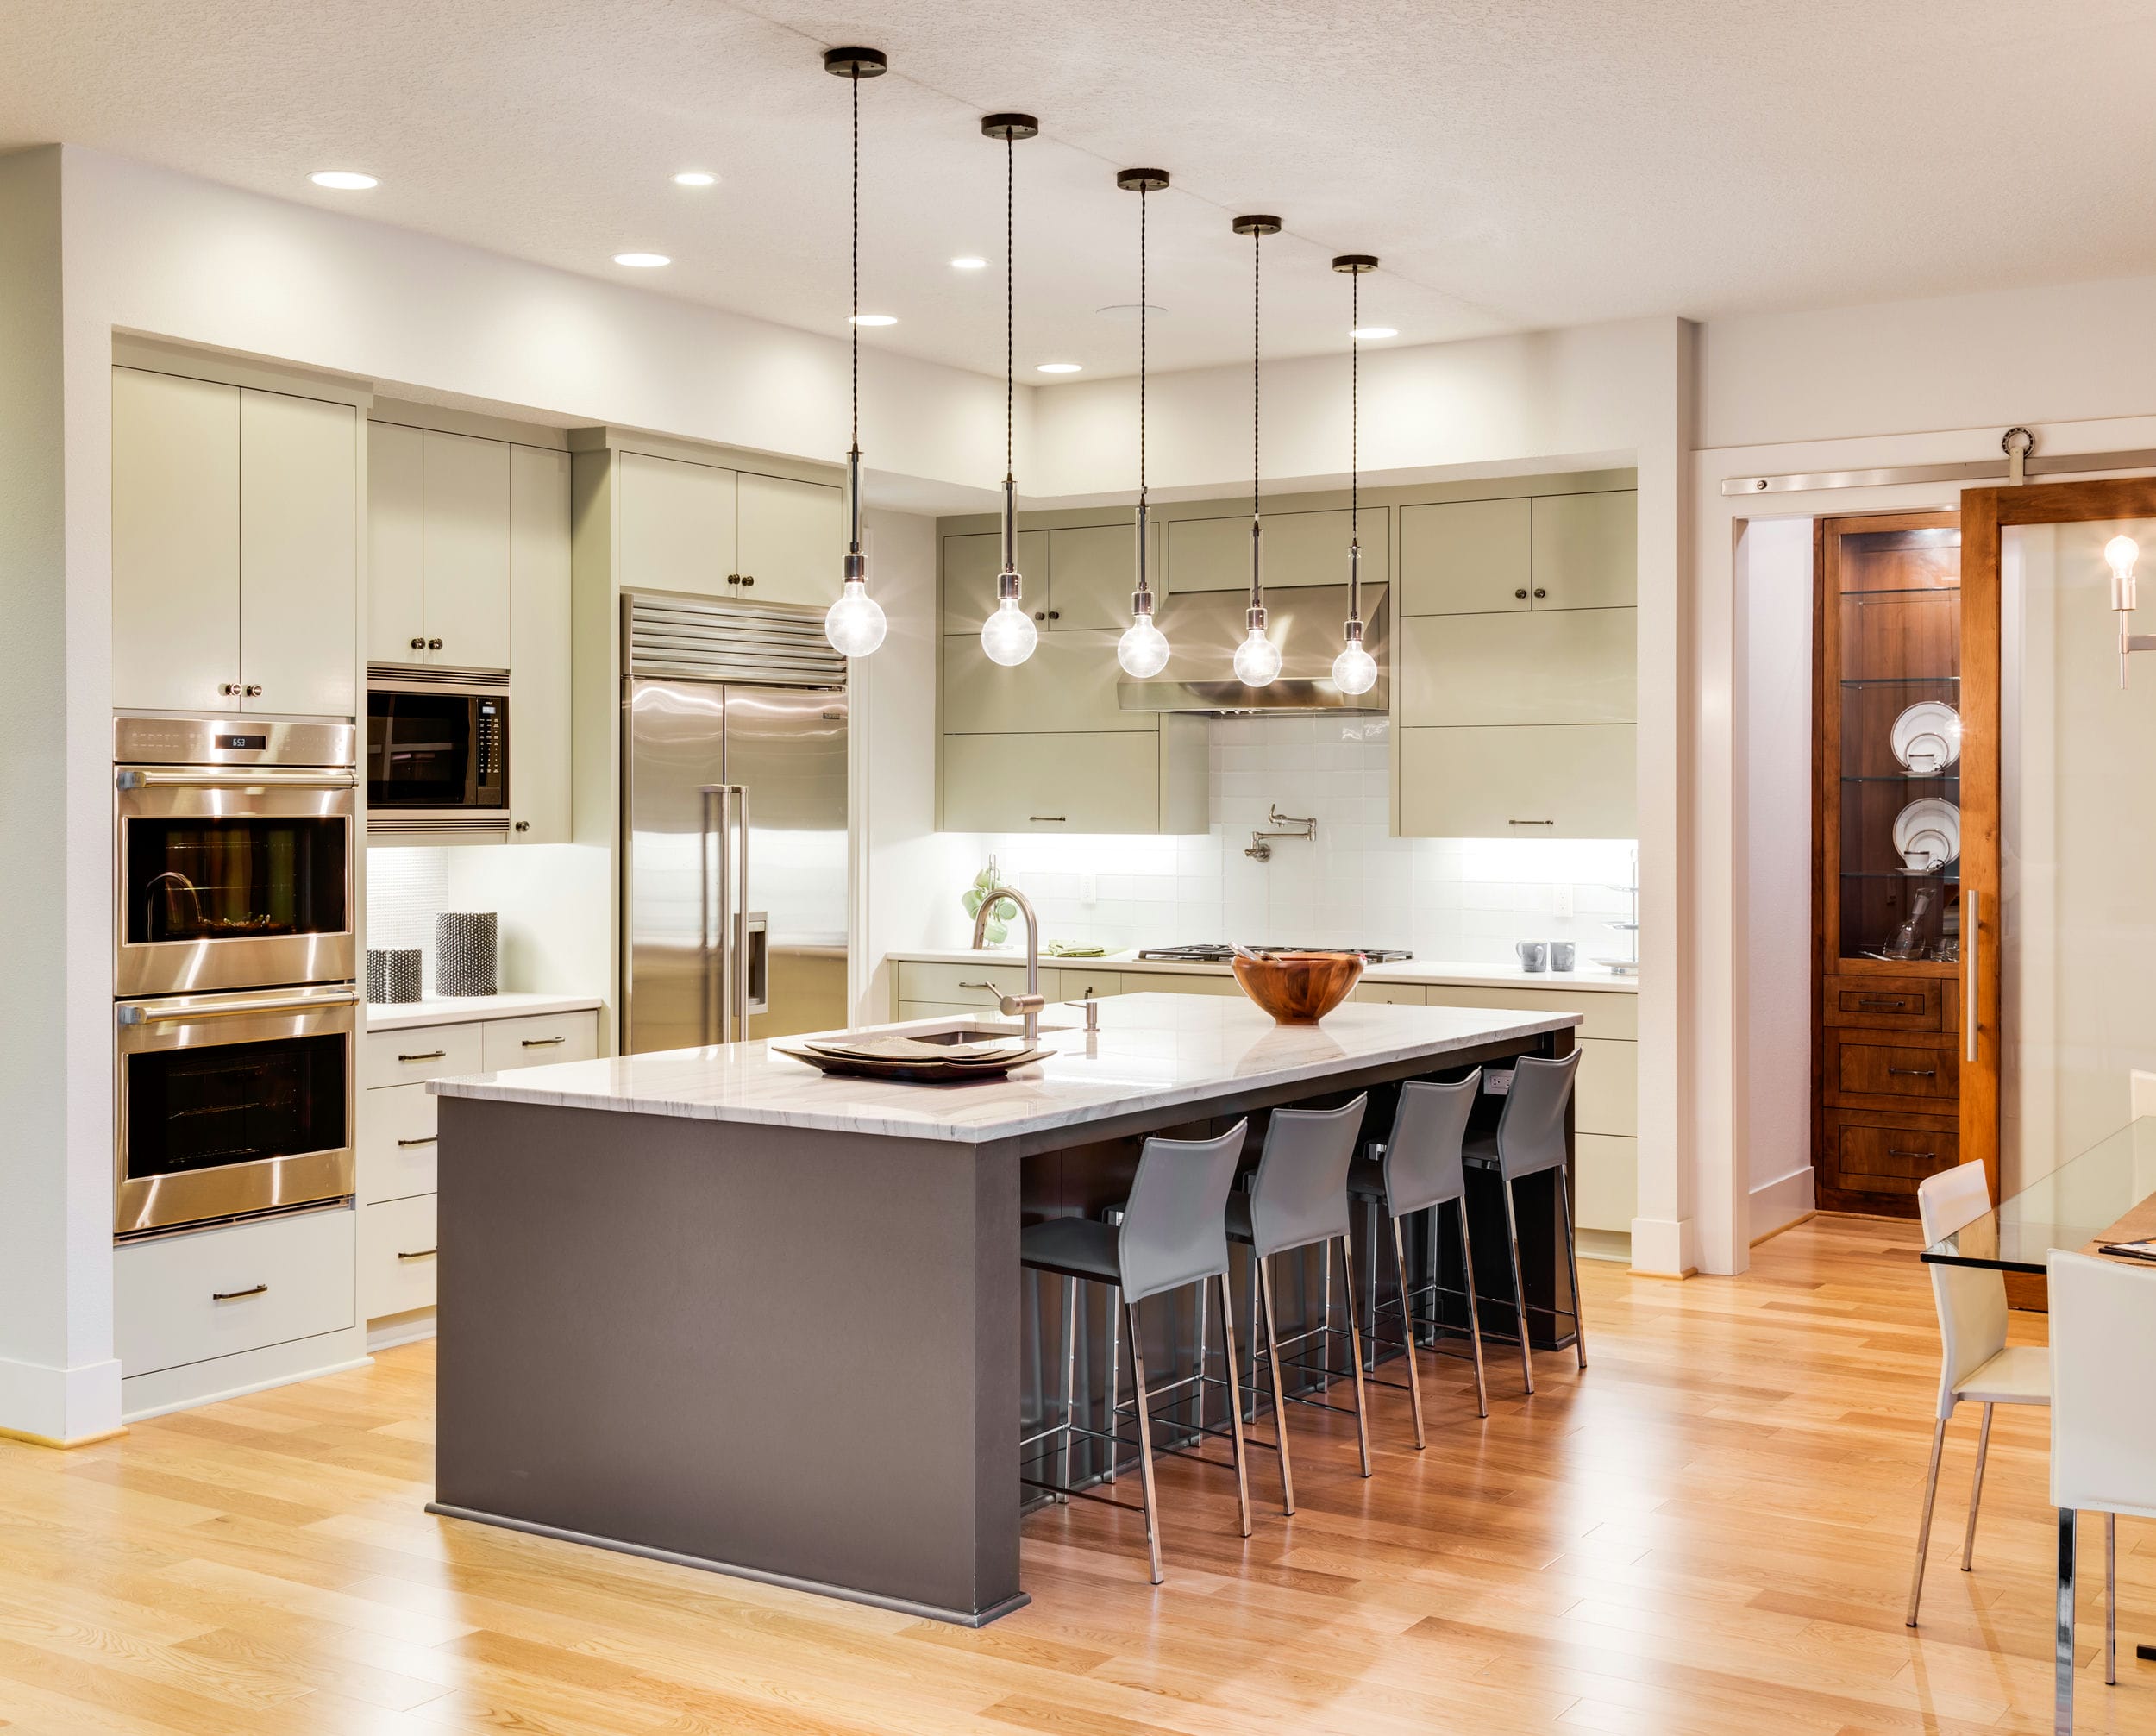
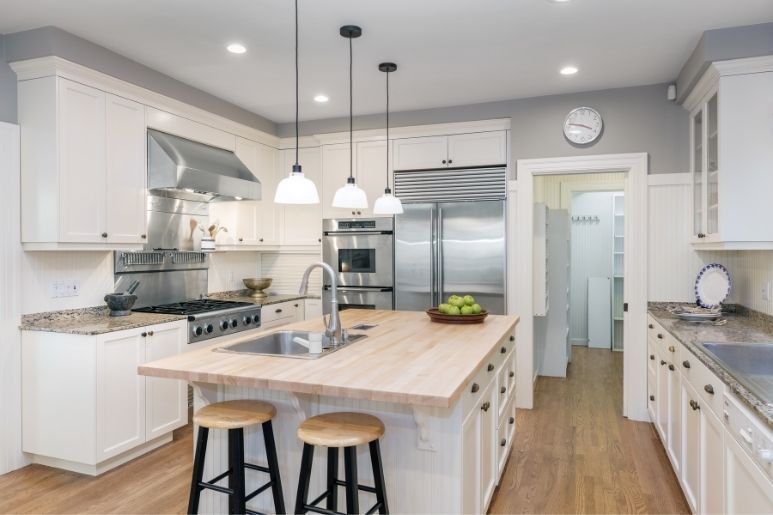
 Lighting is an essential aspect of any well-designed home, and the kitchen is no exception. Not only does proper lighting make it easier to see and work in the kitchen, but it also enhances the overall aesthetic of the space. A dimly lit kitchen can feel cramped and uninviting, while a well-lit kitchen can make the space feel open, bright, and welcoming.
The Role of the Kitchen Hood Light
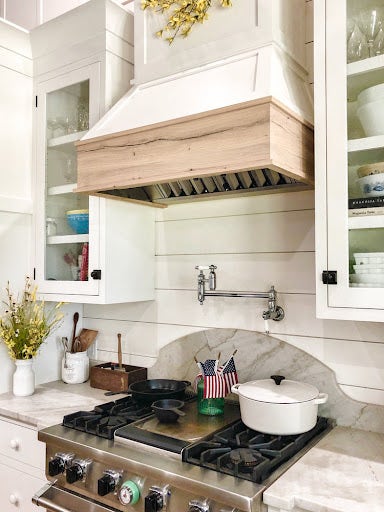
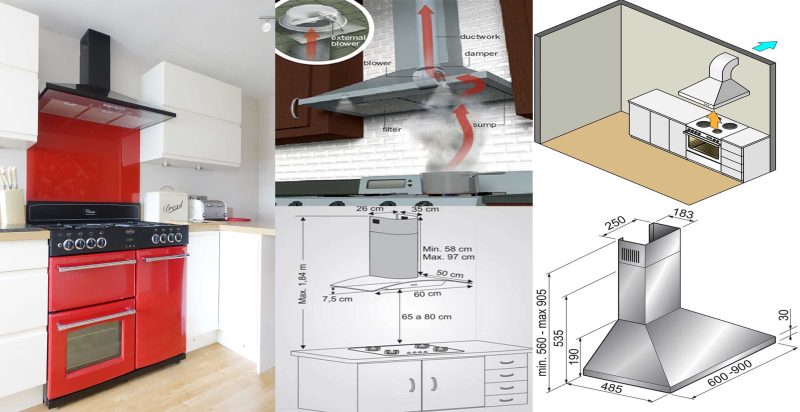
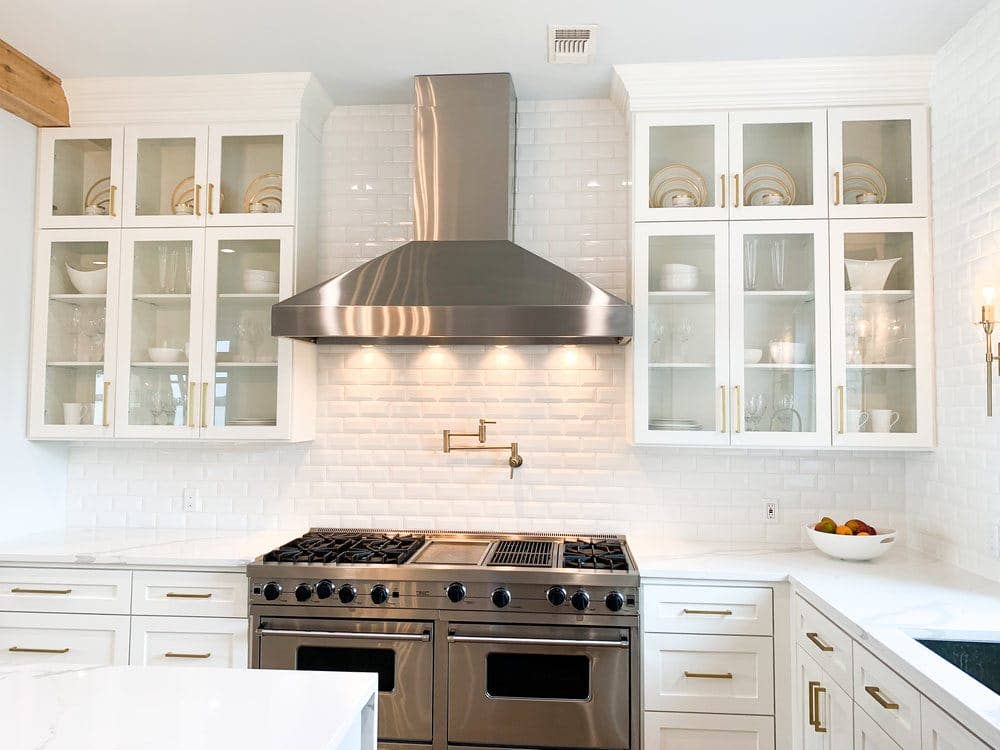
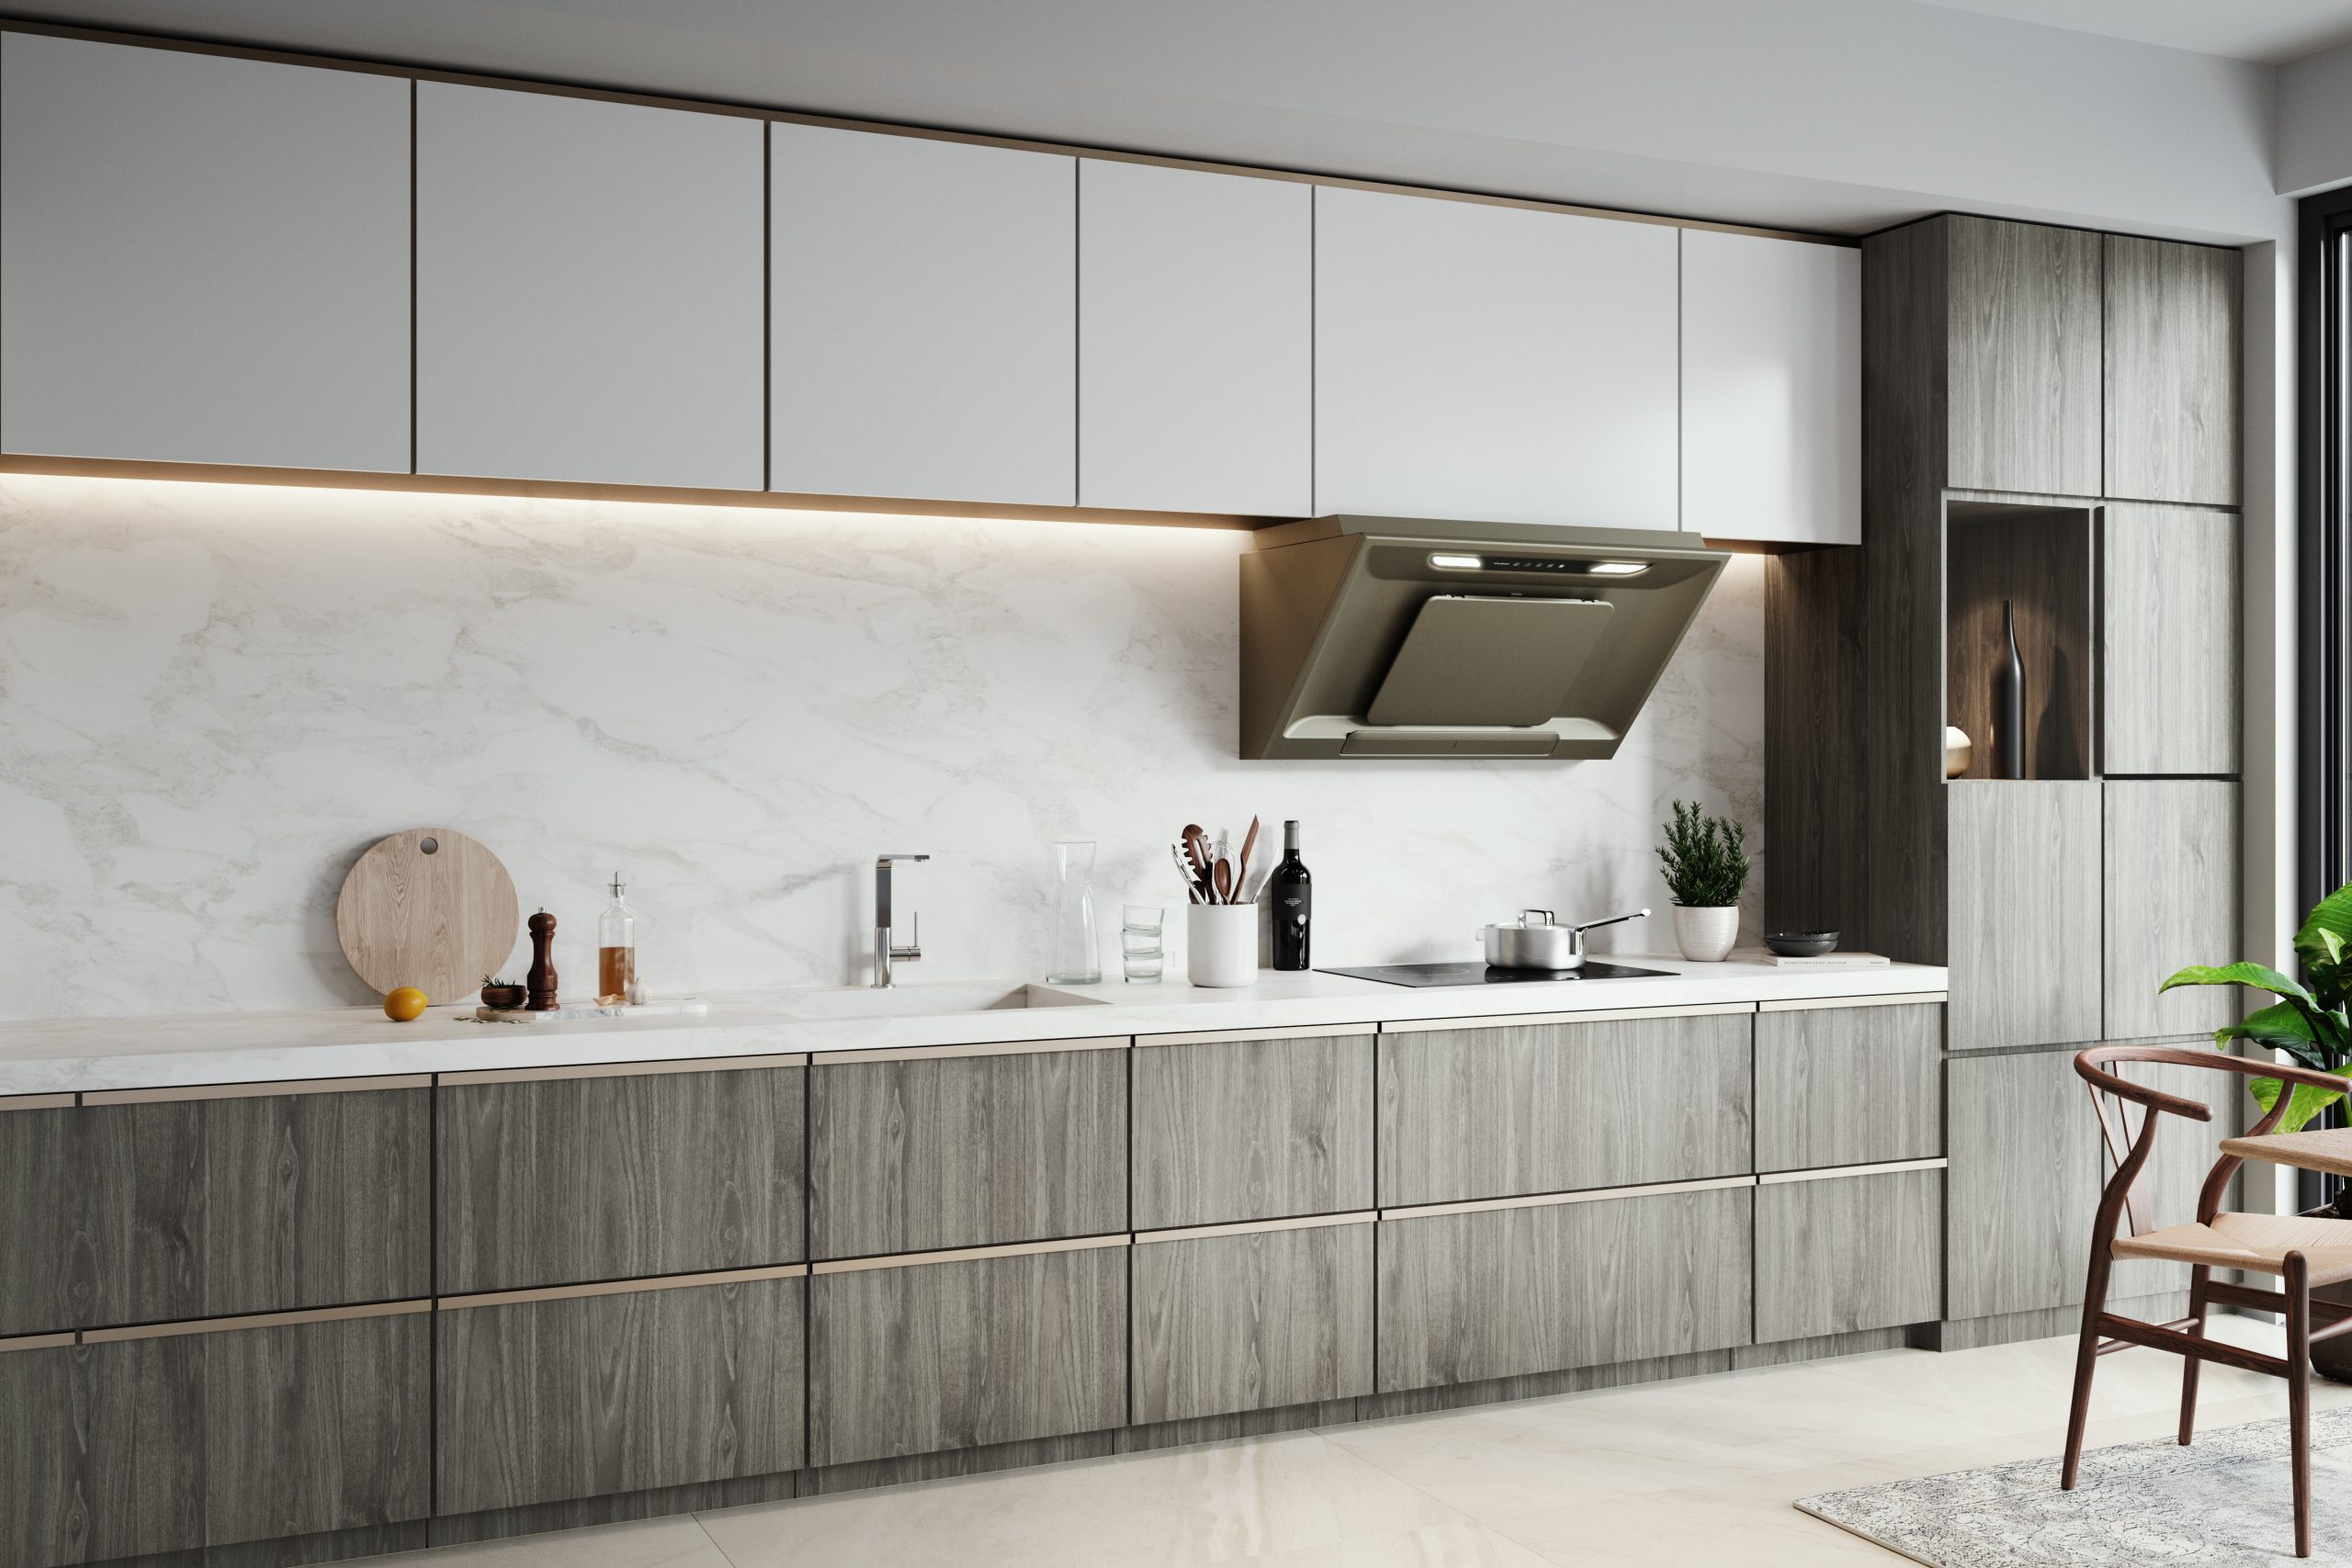
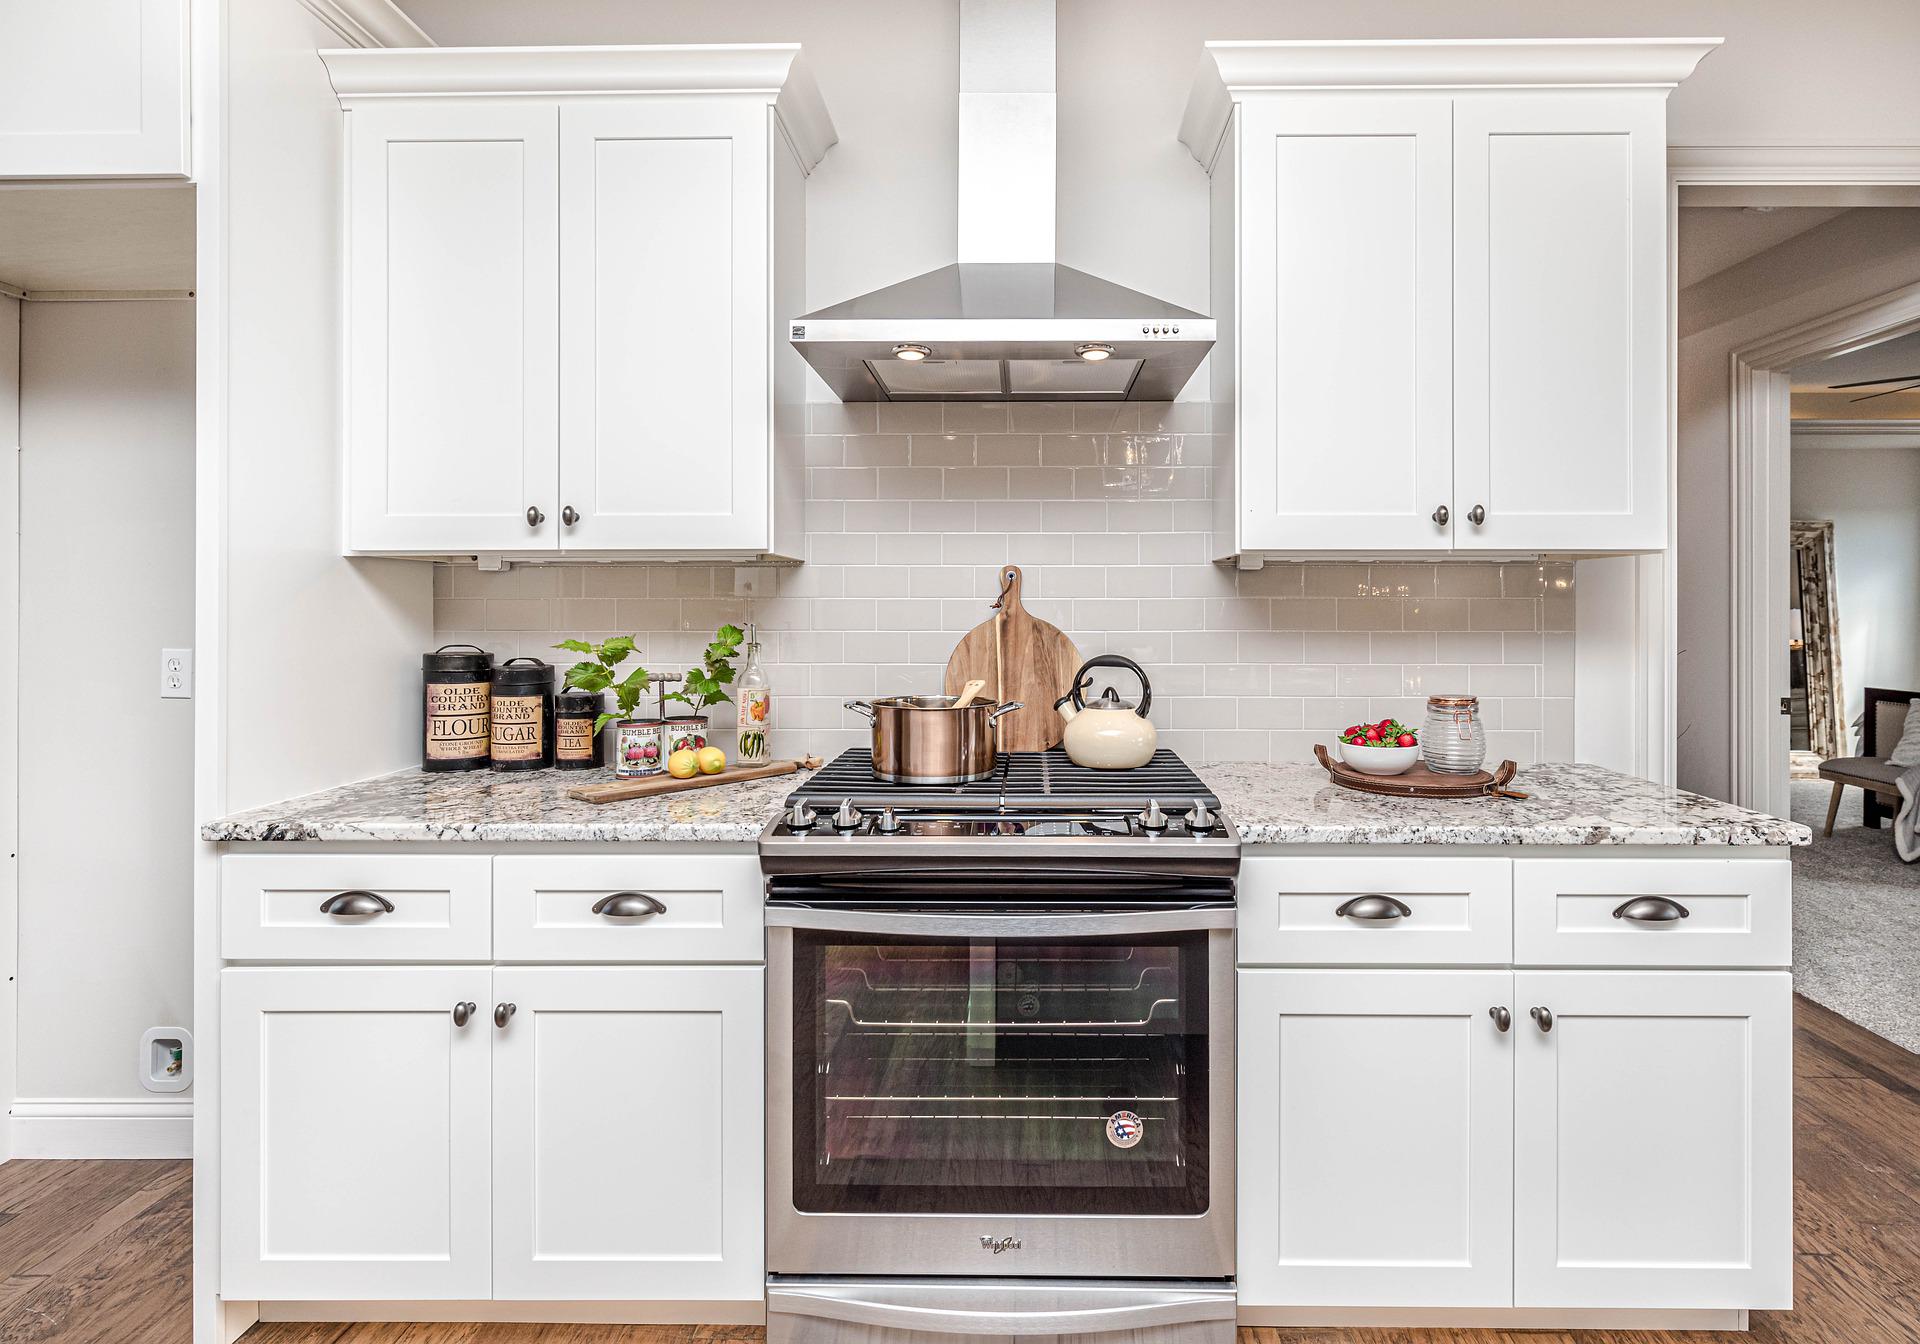
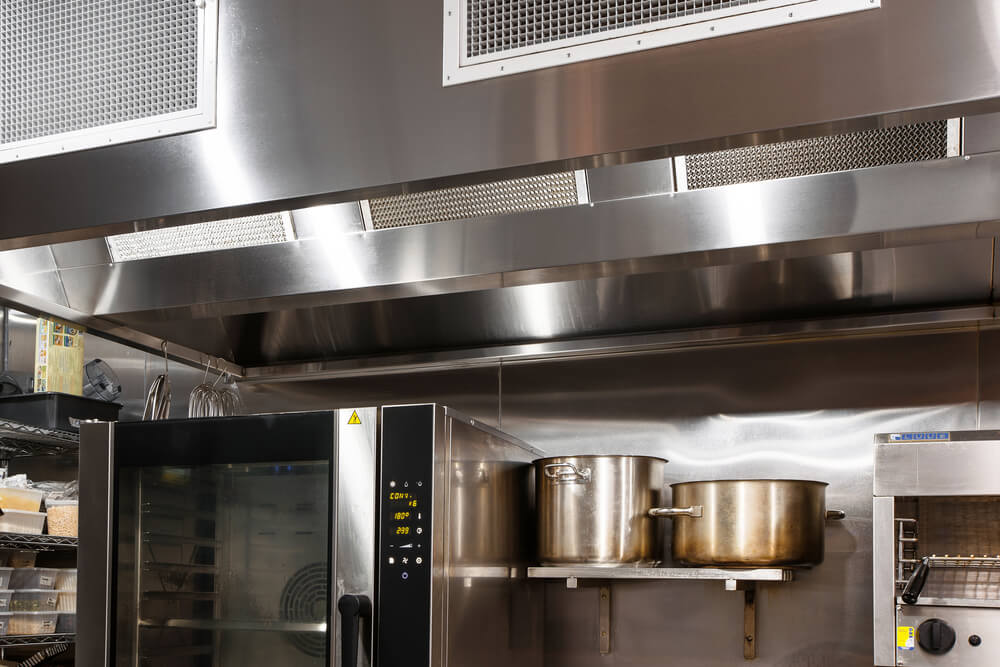
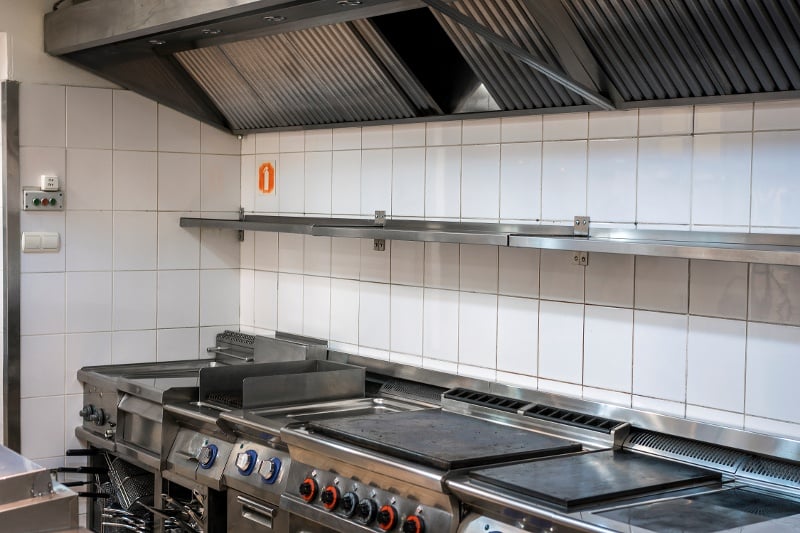
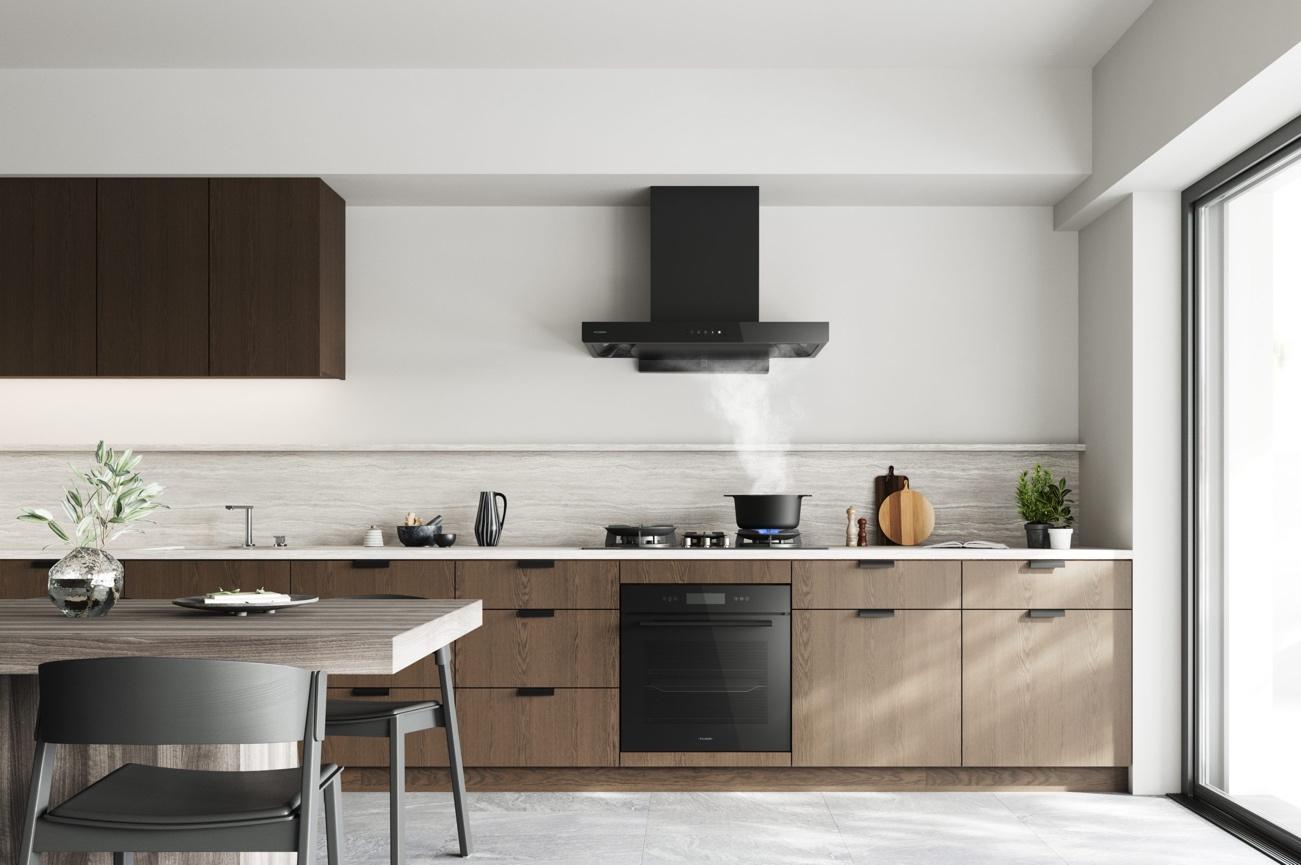
 The kitchen hood light plays a crucial role in providing adequate lighting for your cooking and food preparation. It is typically located above the cooktop or range and serves as both a light source and ventilation for cooking fumes and odors. Therefore, it is essential to have a functional and well-lit kitchen hood to ensure a safe and pleasant cooking experience.
Signs That Your Kitchen Hood Light Needs to be Replaced
 Over time, kitchen hood lights can become worn out or malfunction, which can impact their efficiency and effectiveness. Some signs that your kitchen hood light may need to be replaced include flickering or dimming light, excessive heat or buzzing noise when turned on, or an overall decrease in brightness. If you notice any of these issues, it may be time to replace your kitchen hood light.
The Benefits of Replacing Your Kitchen Hood Light
 Replacing your kitchen hood light can have several benefits for your home. First and foremost, it will improve the lighting in your kitchen, making it easier to see and work in the space. It can also help to reduce energy consumption, as newer and more efficient lights are available on the market. Additionally, a new kitchen hood light can enhance the overall design of your kitchen, providing a fresh and updated look.
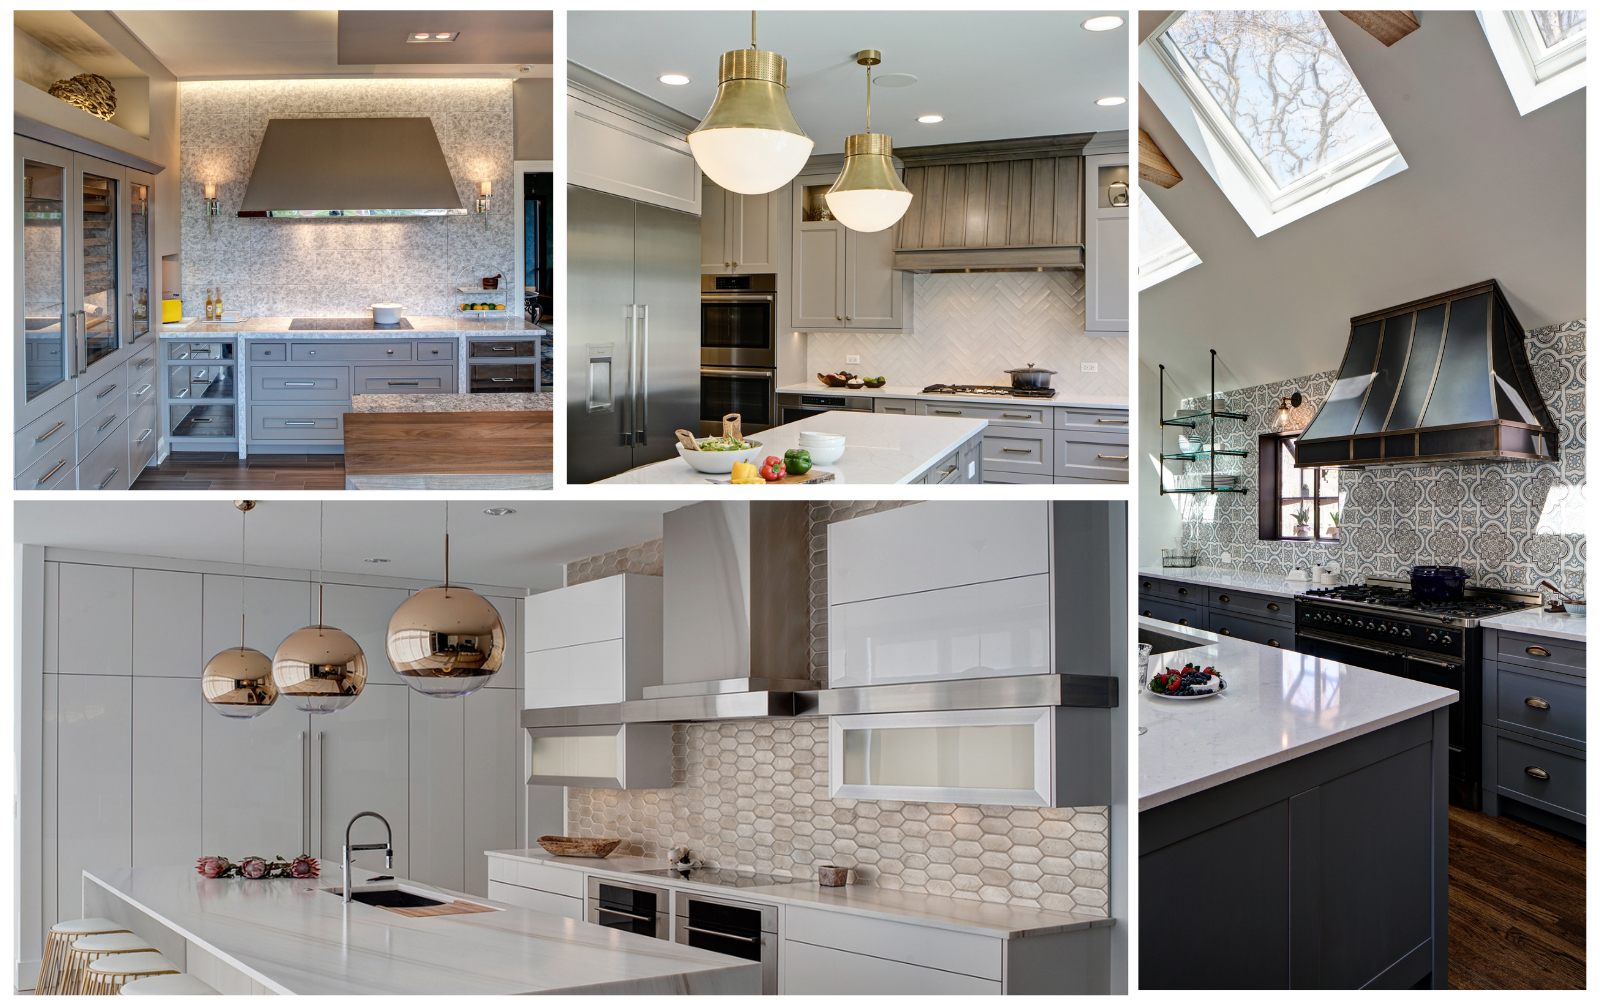
Choosing the Right Kitchen Hood Light
 When selecting a new kitchen hood light, it is essential to consider both functionality and design. Look for energy-efficient options that provide ample lighting for your cooking needs. You can also opt for a more decorative light that complements the style of your kitchen. Consider consulting with a professional to ensure you choose the right light for your space.
In conclusion, replacing your kitchen hood light is a simple yet effective way to improve the functionality and design of your kitchen. With the right light, you can create a well-lit and inviting space that is both practical and aesthetically pleasing. So, don't neglect this often overlooked aspect of kitchen design – invest in a new kitchen hood light today and see the difference it can make.
When selecting a new kitchen hood light, it is essential to consider both functionality and design. Look for energy-efficient options that provide ample lighting for your cooking needs. You can also opt for a more decorative light that complements the style of your kitchen. Consider consulting with a professional to ensure you choose the right light for your space.
In conclusion, replacing your kitchen hood light is a simple yet effective way to improve the functionality and design of your kitchen. With the right light, you can create a well-lit and inviting space that is both practical and aesthetically pleasing. So, don't neglect this often overlooked aspect of kitchen design – invest in a new kitchen hood light today and see the difference it can make.