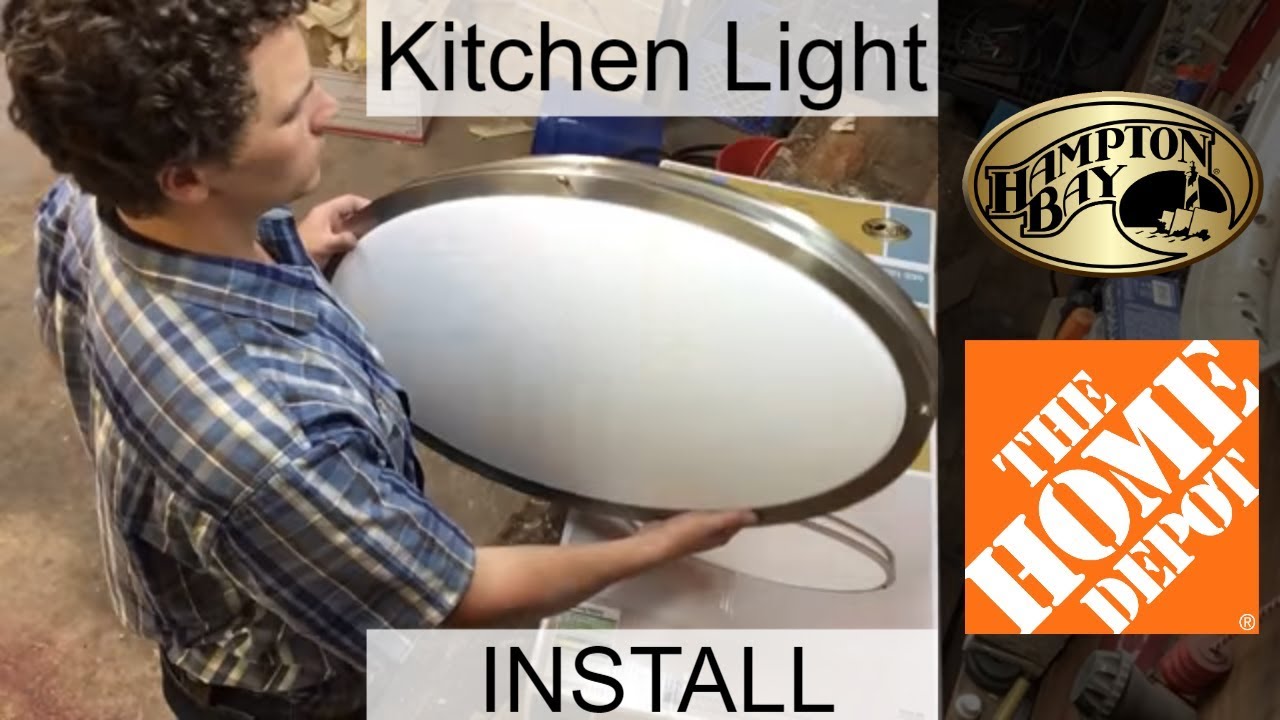
How to Replace a Builder Grade Kitchen Fluorescent Light
Are you tired of the outdated and dreary look of your kitchen? One simple way to upgrade the overall appearance and functionality of your kitchen is by replacing the builder grade fluorescent light. Not only will this improve the lighting in your kitchen, but it will also give your kitchen a modern and updated look. Here is a step-by-step guide on how to replace a builder grade kitchen fluorescent light.


How to Replace a Builder Grade Kitchen Fluorescent Light

Replacing a Builder Grade Kitchen Fluorescent Light: A Step-by-Step Guide
Step 1: Gather your tools and materials. Before you begin the project, make sure you have all the necessary tools and materials. This includes a screwdriver, wire cutter, wire nuts, and a new fluorescent light fixture.
Step 2: Turn off the power. Safety should always be the top priority when working with electricity. Make sure to turn off the power to the kitchen light circuit at the circuit breaker before starting the project.
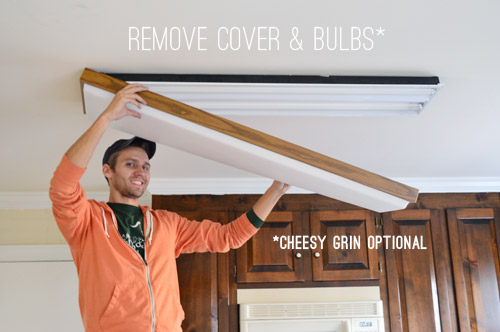
Step 3: Remove the old fixture. Use a screwdriver to remove the screws that hold the old fluorescent light in place. Carefully detach the wires and remove the old fixture from the ceiling.
Step 4: Prepare the new fixture. Follow the instructions provided with the new fluorescent light fixture to prepare it for installation. This may include attaching mounting brackets or adjusting the wiring.
Step 5: Connect the wires. Using wire nuts, connect the wires from the new fixture to the corresponding wires in the ceiling. Make sure all connections are secure.
Step 6: Install the new fixture. Carefully attach the new fixture to the ceiling, making sure it is level. Use the screws provided to secure the fixture in place.
Step 7: Turn on the power. Once the fixture is securely installed, turn the power back on at the circuit breaker. Test the light to make sure it is working properly.
Step 8: Dispose of the old fixture. Properly dispose of the old fluorescent light fixture according to your local regulations.


Replacing a Builder Grade Kitchen Fluorescent Light: A Step-by-Step Guide


Upgrade Your Kitchen Lighting: Replacing a Builder Grade Fluorescent Light
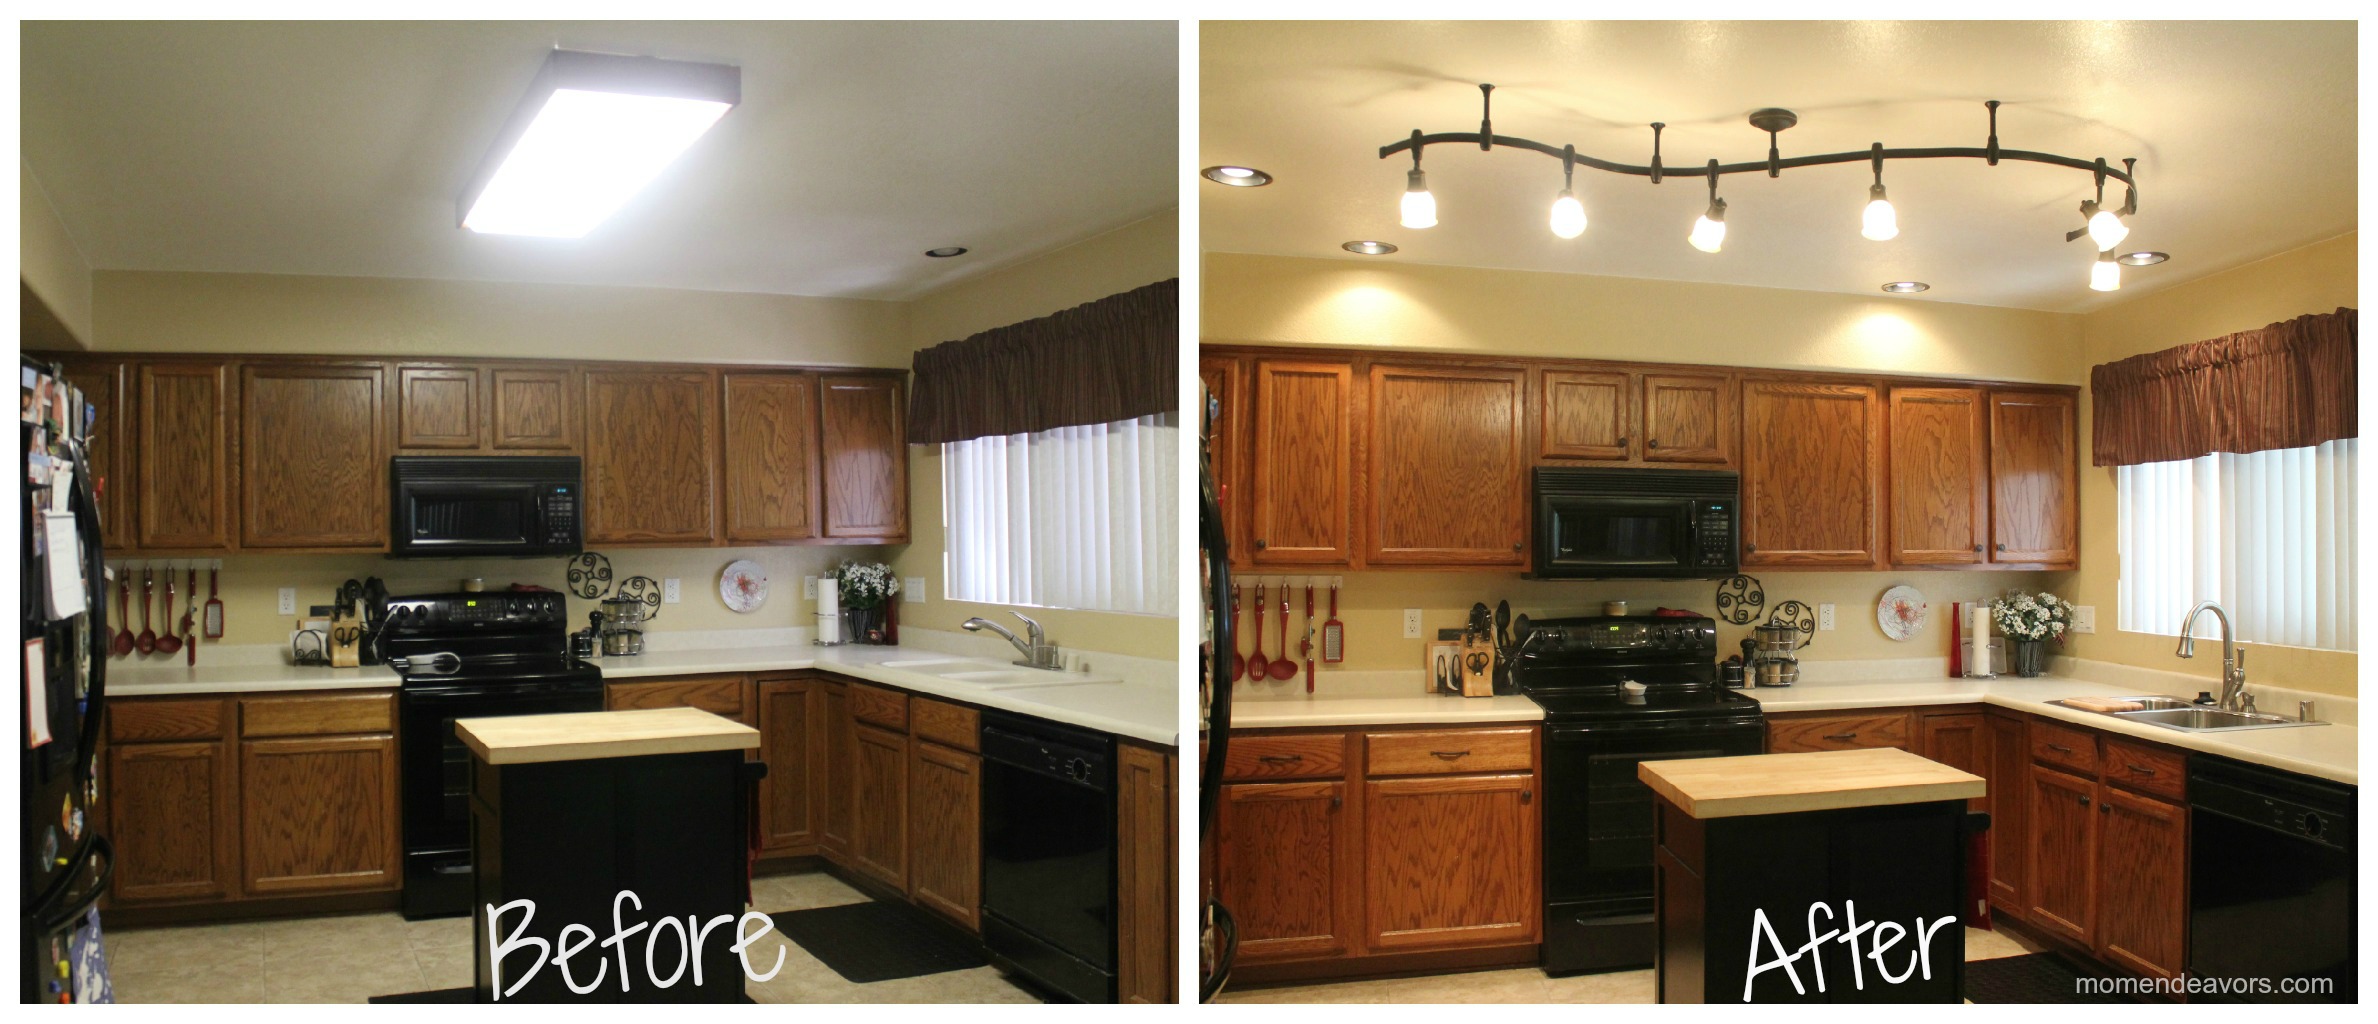
Replacing a builder grade kitchen fluorescent light can not only improve the look of your kitchen, but it can also upgrade the lighting. Builder grade fluorescent lights are often dim and yellow, making it difficult to see while cooking or preparing food. By replacing it with a newer, brighter fixture, you can create a more functional and inviting space in your kitchen.


Upgrade Your Kitchen Lighting: Replacing a Builder Grade Fluorescent Light


DIY Kitchen Lighting Upgrade: Replacing a Builder Grade Fluorescent Light
Replacing a builder grade fluorescent light is a simple and cost-effective DIY project. Not only will you save money on hiring a professional, but you will also have the satisfaction of completing the project yourself. With just a few tools and materials, you can transform your kitchen and give it a modern touch.


DIY Kitchen Lighting Upgrade: Replacing a Builder Grade Fluorescent Light


Replacing a Builder Grade Kitchen Fluorescent Light: Tips and Tricks
Here are some tips and tricks to keep in mind when replacing a builder grade kitchen fluorescent light:
Choose the right size: Make sure to measure the existing fixture before purchasing a new one to ensure a proper fit.
Upgrade to LED: Consider upgrading to an LED fixture for energy efficiency and longer lifespan.
Consider a different style: Fluorescent lights come in different styles, such as flush mount or pendant, so consider which style would work best in your kitchen.
Recruit a helper: While replacing the fixture, it may be helpful to have someone hold it in place while you make the connections.

Replacing a Builder Grade Kitchen Fluorescent Light: Tips and Tricks
Transform Your Kitchen with a New Fluorescent Light: Replacing a Builder Grade Fixture
Replacing a builder grade kitchen fluorescent light may seem like a small change, but it can have a big impact on the overall look and feel of your kitchen. A new, modern fixture can transform your kitchen and make it a more inviting and functional space.

Transform Your Kitchen with a New Fluorescent Light: Replacing a Builder Grade Fixture


How to Remove and Replace a Builder Grade Kitchen Fluorescent Light
If you have never replaced a light fixture before, the thought of removing and replacing a builder grade kitchen fluorescent light may seem daunting. However, with the right tools and instructions, it can be a simple and rewarding project. By following the steps outlined above, you can easily remove and replace your old fluorescent light with a new one.

How to Remove and Replace a Builder Grade Kitchen Fluorescent Light


Upgrade Your Kitchen with a Modern Look: Replacing a Builder Grade Fluorescent Light
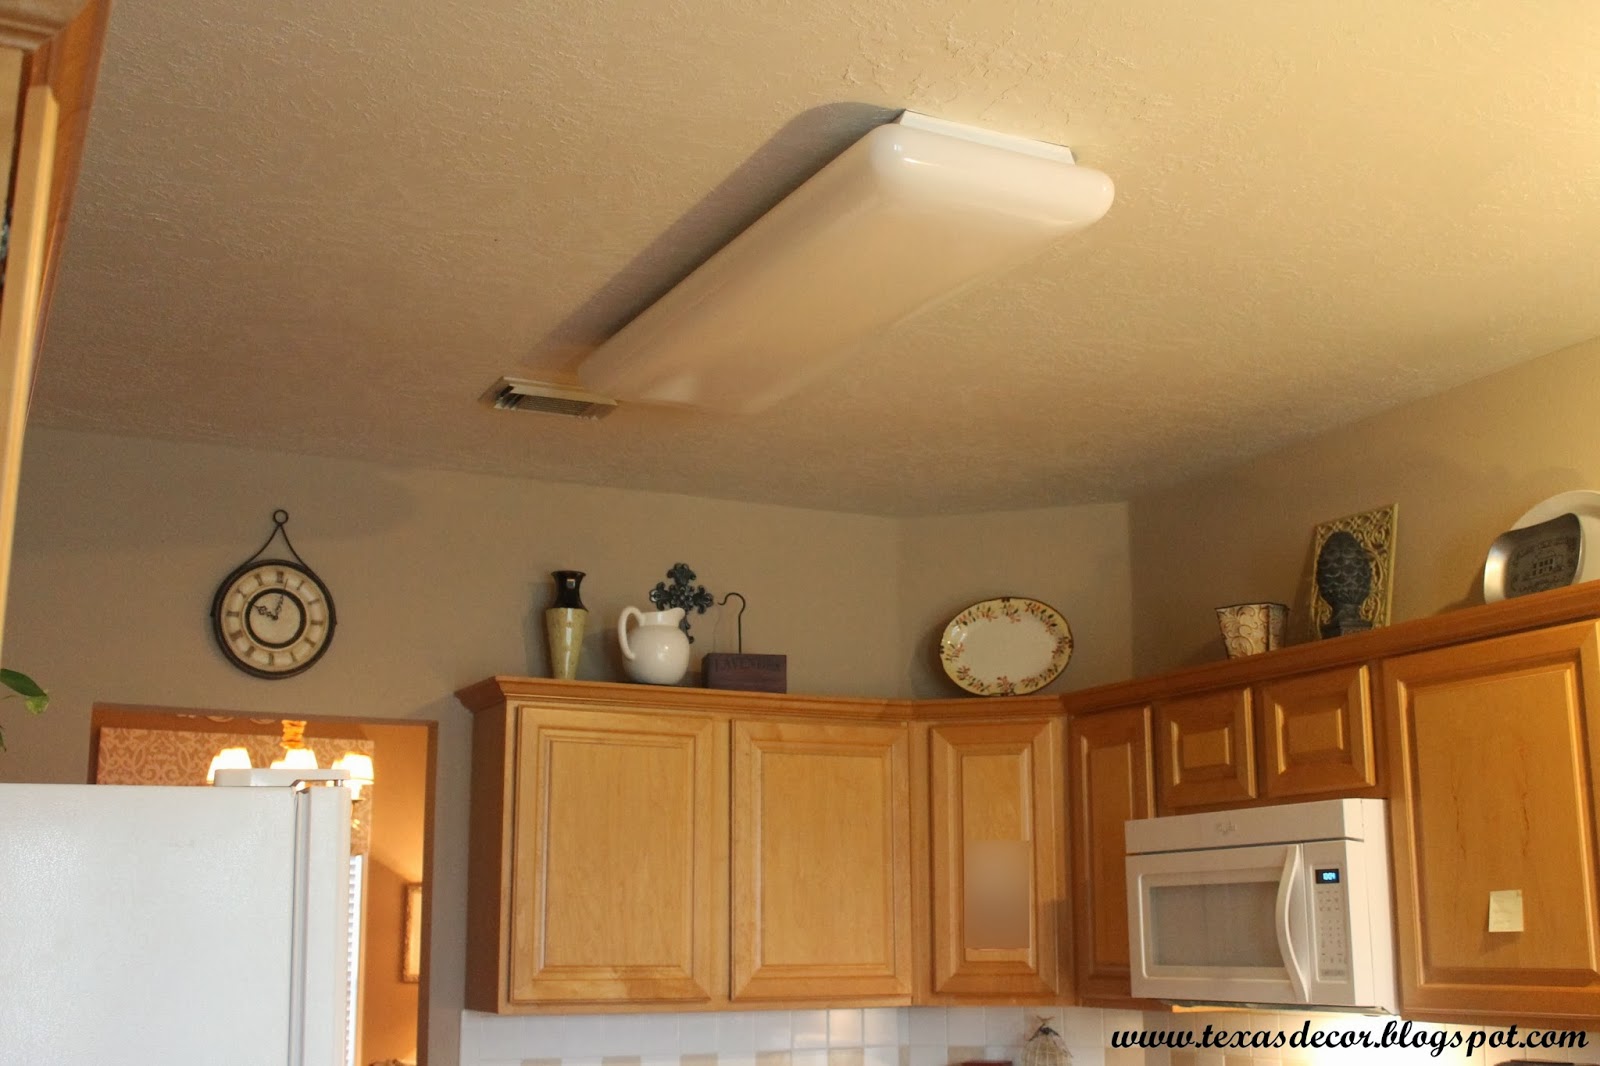
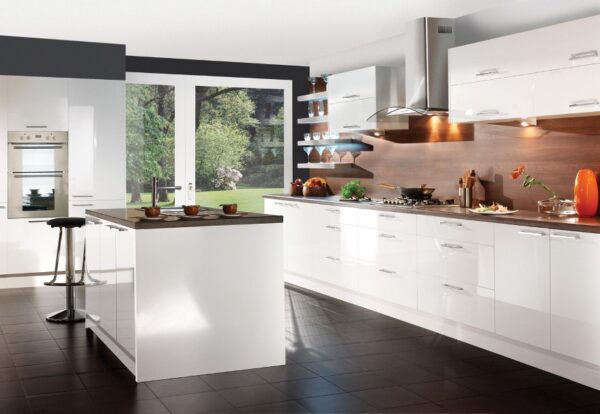
A builder grade fluorescent light can make your kitchen look dated and uninviting. By replacing it with a modern light fixture, you can instantly give your kitchen a fresh and updated look. Choose a fixture that complements the style and design of your kitchen to create a cohesive and visually appealing space.


Upgrade Your Kitchen with a Modern Look: Replacing a Builder Grade Fluorescent Light

Replacing a Builder Grade Kitchen Fluorescent Light: What You Need to Know
Before starting the project, it is important to be aware of any potential hazards and safety precautions when working with electricity. If you are unsure, it is always best to consult a professional. It is also important to follow the instructions provided with your new fluorescent light fixture to ensure proper installation and functionality.

Replacing a Builder Grade Kitchen Fluorescent Light: What You Need to Know

Step-by-Step Guide to Replacing a Builder Grade Kitchen Fluorescent Light
Here is a summary of the steps to follow when replacing a builder grade kitchen fluorescent light:
Step 1: Gather tools and materials.
Step 2: Turn off power at the circuit breaker.
Step 3: Remove the old fixture.
Step 4: Prepare the new fixture.
Step 5: Connect the wires.
Step 6: Install the new fixture.
Step 7: Turn on the power and test the light.
Step 8: Dispose of the old fixture properly.
By following these steps and tips, you can easily replace a builder grade kitchen fluorescent light and upgrade the look and functionality of your kitchen. Enjoy your newly transformed space with bright and modern lighting.


Step-by-Step Guide to Replacing a Builder Grade Kitchen Fluorescent Light


Why Replace Your Builder-Grade Kitchen Fluorescent Light?
The Importance of Lighting in House Design
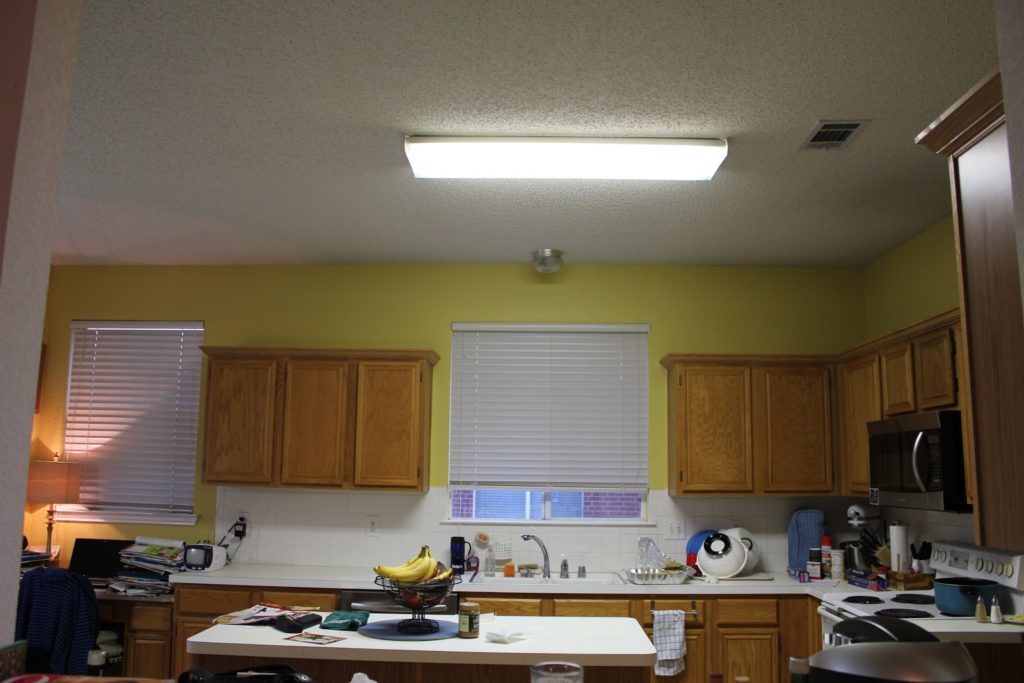
 Lighting is a crucial element in any house design. Not only does it provide illumination and functionality, but it also sets the mood and ambiance of a space. A well-lit kitchen can make a world of difference in the overall look and feel of your home. However, many builder-grade homes come with outdated and unappealing fluorescent lighting in the kitchen. These fluorescent lights not only lack aesthetic appeal but also have several drawbacks.
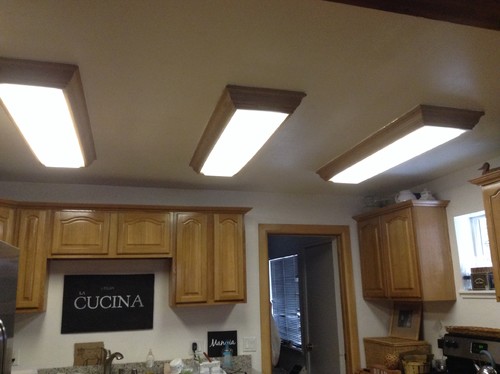
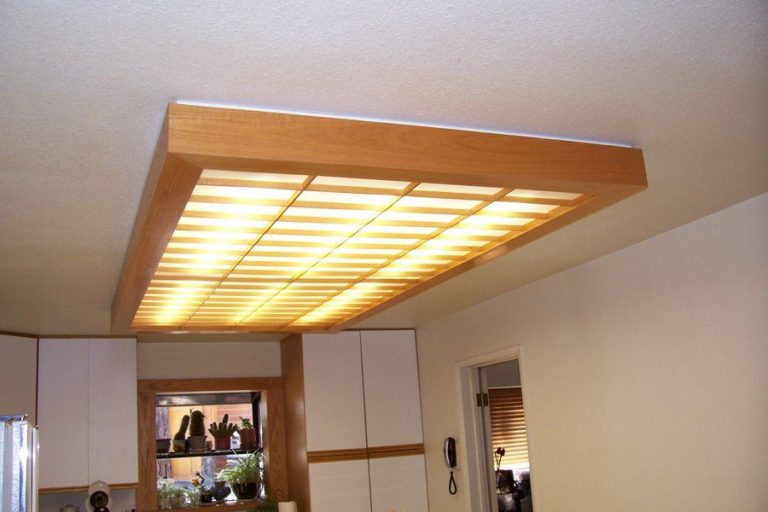
The Disadvantages of Builder-Grade Kitchen Fluorescent Lights
 One of the main issues with builder-grade fluorescent lights is their harsh and unflattering light. These lights emit a cool, blue-toned light that can make your kitchen feel sterile and unwelcoming. The flickering of the bulbs can also cause eyestrain and headaches for some people, making it unpleasant to spend time in the kitchen. Additionally, these lights are not energy-efficient and can significantly increase your electricity bills.
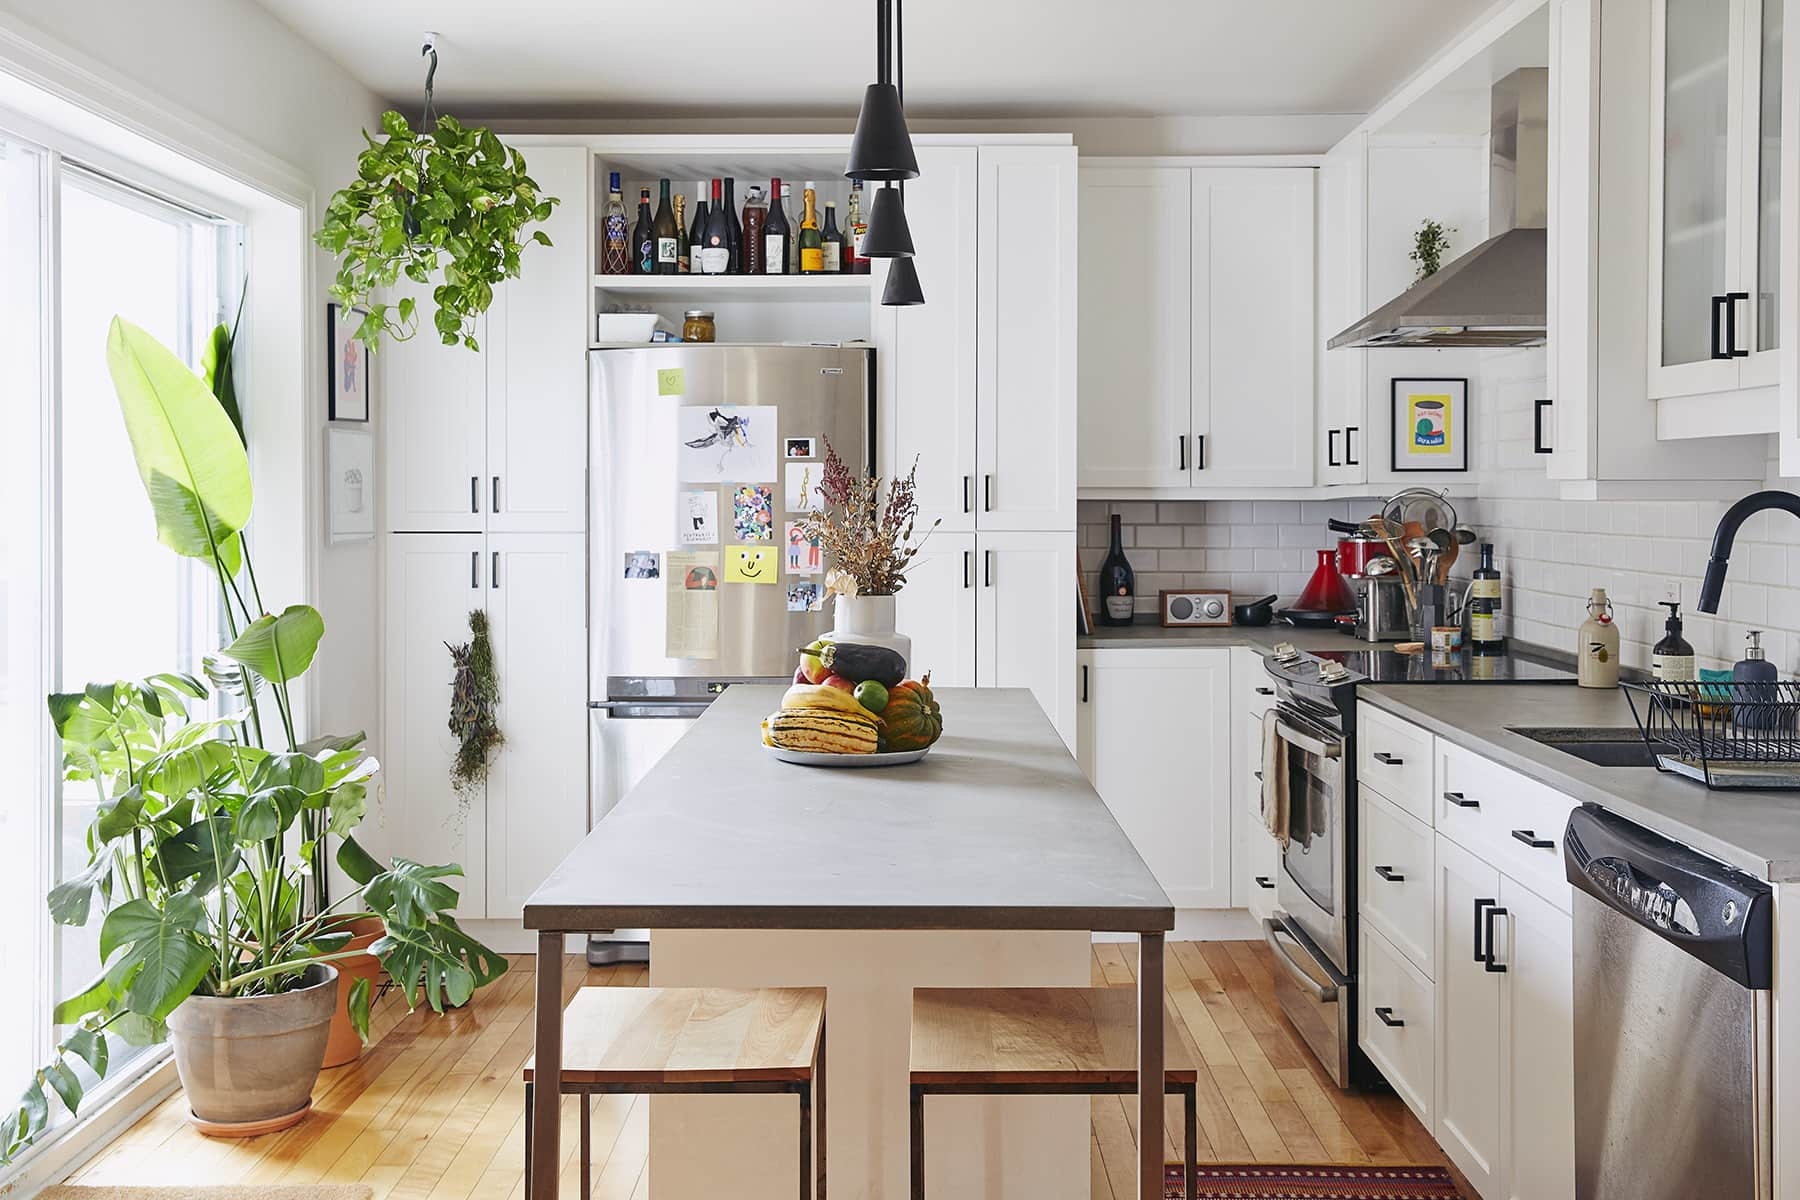
The Benefits of Upgrading to Modern Kitchen Lighting
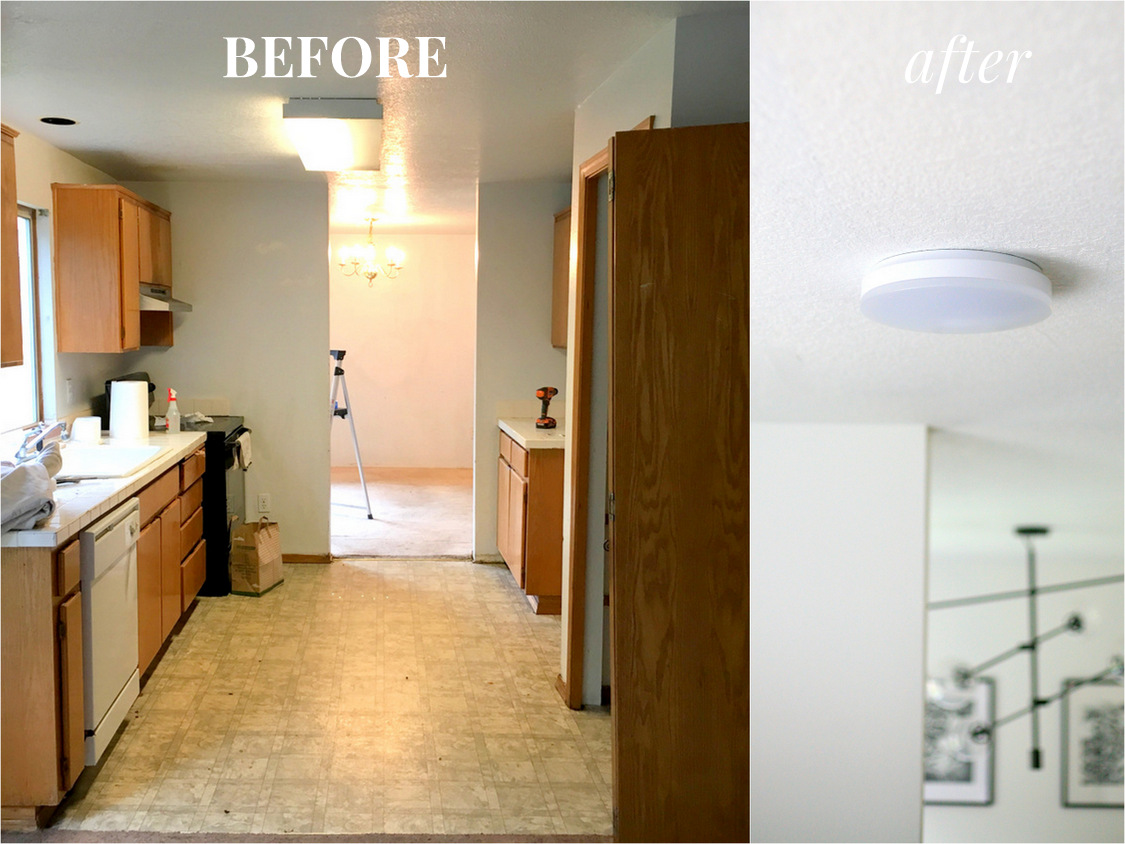
 Replacing your builder-grade fluorescent lights with modern kitchen lighting can make a significant impact on your home's overall design. LED lights, for example, provide a warm and inviting light that mimics natural sunlight. They are also energy-efficient, saving you money on your electricity bills in the long run. Furthermore, modern kitchen lighting comes in a variety of styles, allowing you to customize the look and feel of your kitchen to suit your personal taste and design aesthetic.
How to Replace Your Builder-Grade Kitchen Fluorescent Light
 Replacing your builder-grade kitchen fluorescent light may seem like a daunting task, but it is relatively simple and can be done with basic tools. The first step is to turn off the power to the kitchen at the circuit breaker. Next, remove the old light fixture and disconnect any wiring. Then, install a mounting bracket for the new light fixture and connect the wiring. Finally, attach the new light fixture to the mounting bracket and turn the power back on. If you are not comfortable with DIY projects, it is best to hire a professional electrician to ensure a safe and proper installation.
Upgrade Your Kitchen Lighting for a More Inviting Space
In conclusion, replacing your builder-grade kitchen fluorescent light with modern, energy-efficient lighting can make a significant impact on the overall design and functionality of your home. With the variety of styles and options available, you can find the perfect lighting to suit your personal taste and enhance the ambiance of your kitchen. Don't settle for dull and unappealing lighting – make the switch and enjoy a more inviting and well-lit kitchen.
Replacing your builder-grade kitchen fluorescent light may seem like a daunting task, but it is relatively simple and can be done with basic tools. The first step is to turn off the power to the kitchen at the circuit breaker. Next, remove the old light fixture and disconnect any wiring. Then, install a mounting bracket for the new light fixture and connect the wiring. Finally, attach the new light fixture to the mounting bracket and turn the power back on. If you are not comfortable with DIY projects, it is best to hire a professional electrician to ensure a safe and proper installation.
Upgrade Your Kitchen Lighting for a More Inviting Space
In conclusion, replacing your builder-grade kitchen fluorescent light with modern, energy-efficient lighting can make a significant impact on the overall design and functionality of your home. With the variety of styles and options available, you can find the perfect lighting to suit your personal taste and enhance the ambiance of your kitchen. Don't settle for dull and unappealing lighting – make the switch and enjoy a more inviting and well-lit kitchen.