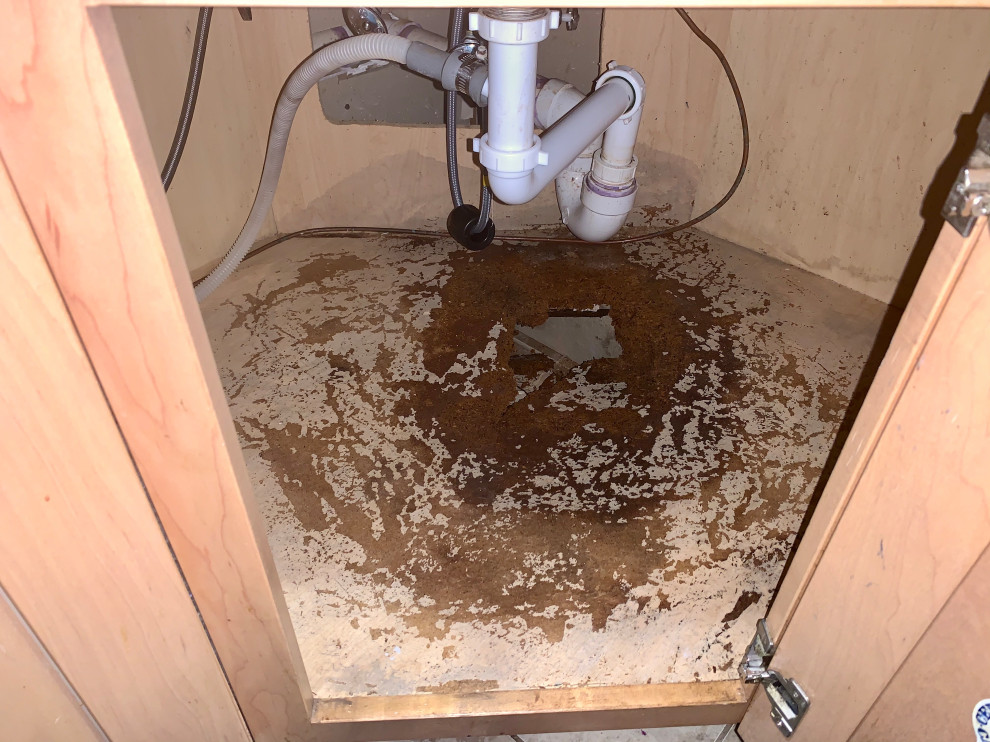
If you've noticed a musty smell coming from under your kitchen sink or a leak in your cabinet, it's possible that the board under your sink has become damaged or rotten. This can happen due to water damage or even pests. But don't worry, replacing a board under your kitchen sink is a relatively simple DIY project that can save you time and money in the long run. Here's a step-by-step guide on how to replace a board under your kitchen sink.How to Replace a Board Under a Kitchen Sink


How to Replace a Board Under a Kitchen Sink
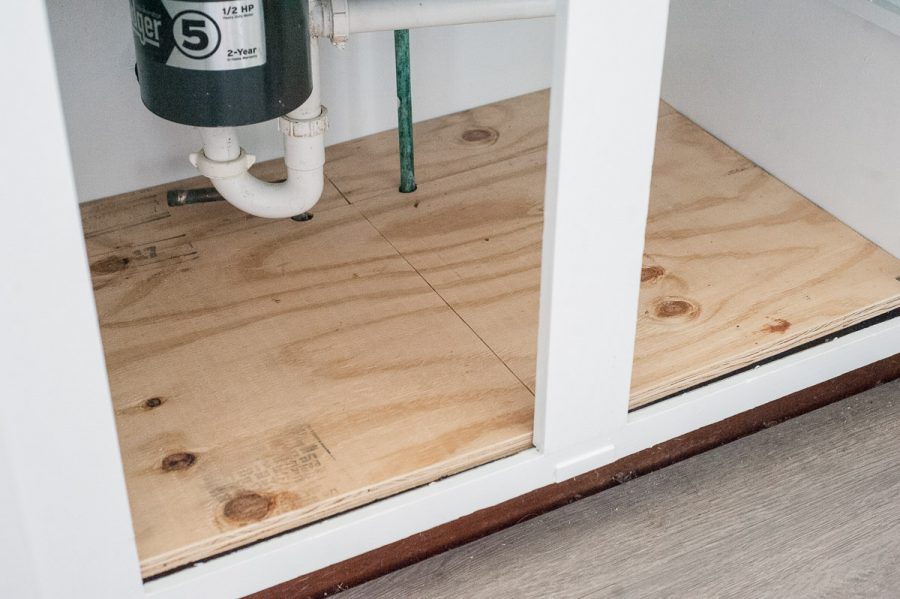


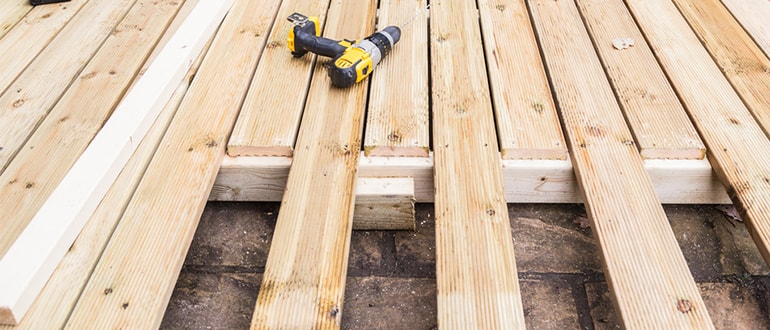
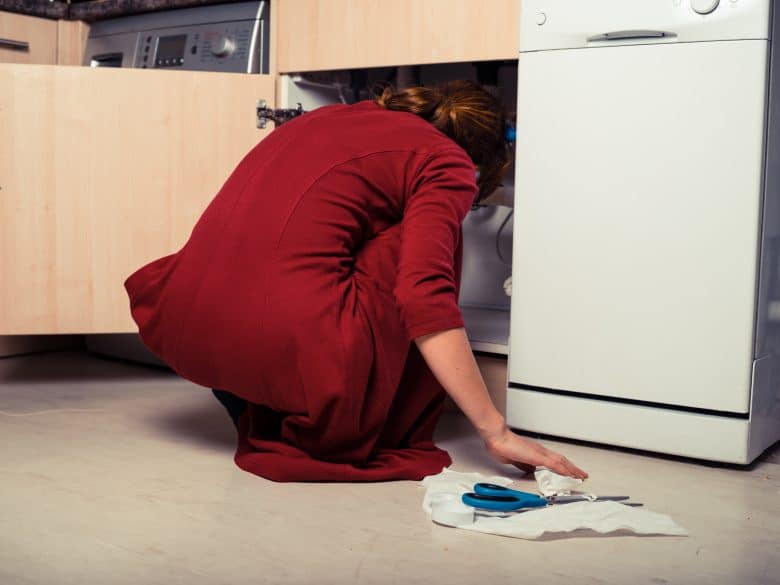
Before you begin, gather all the necessary tools and materials. You'll need a hammer, screwdriver, drill, saw, measuring tape, and replacement board. It's also a good idea to wear gloves and safety goggles to protect yourself. Once you have everything you need, follow these steps: Step 1: Clear out the cabinet under the sink The first step is to remove all items from the cabinet under your kitchen sink. This will give you enough space to work and prevent any of your belongings from getting damaged. Step 2: Inspect the damage Take a close look at the board under your sink and assess the damage. If it's only a small area, you may be able to patch it up rather than replacing the entire board. However, if the damage is extensive, it's best to replace the entire board for a longer-lasting solution. Step 3: Remove the old board Using a hammer and screwdriver, remove any nails or screws holding the old board in place. Then, carefully lift the board out of the cabinet. Be sure to wear gloves as the edges may be sharp. Step 4: Measure and cut the replacement board Measure the dimensions of the old board and use a saw to cut the replacement board to the same size. It's always better to cut the board slightly larger than needed, as you can always trim it down later. Step 5: Install the new board Place the new board into the cabinet and use a drill to secure it in place with screws. If your cabinet has any plumbing fixtures, be sure to cut holes in the board to accommodate them. Step 6: Reconnect the sink If you had to disconnect the sink to remove the old board, now is the time to reconnect it. Follow the instructions in your sink's manual to ensure it's properly connected and sealed. Step 7: Clean up Once the new board is in place, clean up any debris and put back all the items you removed from the cabinet.Replacing a Kitchen Sink Board: A Step-by-Step Guide


Replacing a Kitchen Sink Board: A Step-by-Step Guide


Replacing a rotten board under your kitchen sink may seem daunting, but with these tips and tricks, you'll have it done in no time: Tip 1: Use treated or moisture-resistant wood To prevent future damage, consider using treated or moisture-resistant wood for the replacement board. This will help to prevent rot and prolong the lifespan of your cabinet. Tip 2: Check for pests If your board has become damaged due to pests, be sure to thoroughly check and treat the area before installing the new board. Otherwise, you may end up having to replace it again in the near future. Tip 3: Seal the board Before installing the new board, seal it with a waterproof sealant to further protect it from any potential water damage.Replacing a Rotten Board Under Your Kitchen Sink: Tips and Tricks


DIY: Replacing a Damaged Board Under Your Kitchen Sink


Here's a quick recap of the steps to follow when replacing a board under your kitchen sink: Step 1: Clear out the cabinet under the sink Step 2: Inspect the damage Step 3: Remove the old board Step 4: Measure and cut the replacement board Step 5: Install the new board Step 6: Reconnect the sink Step 7: Clean upStep-by-Step Guide for Replacing a Board Under Your Kitchen Sink


Replacing a Rotten Board Under Your Kitchen Sink: Tips and Tricks
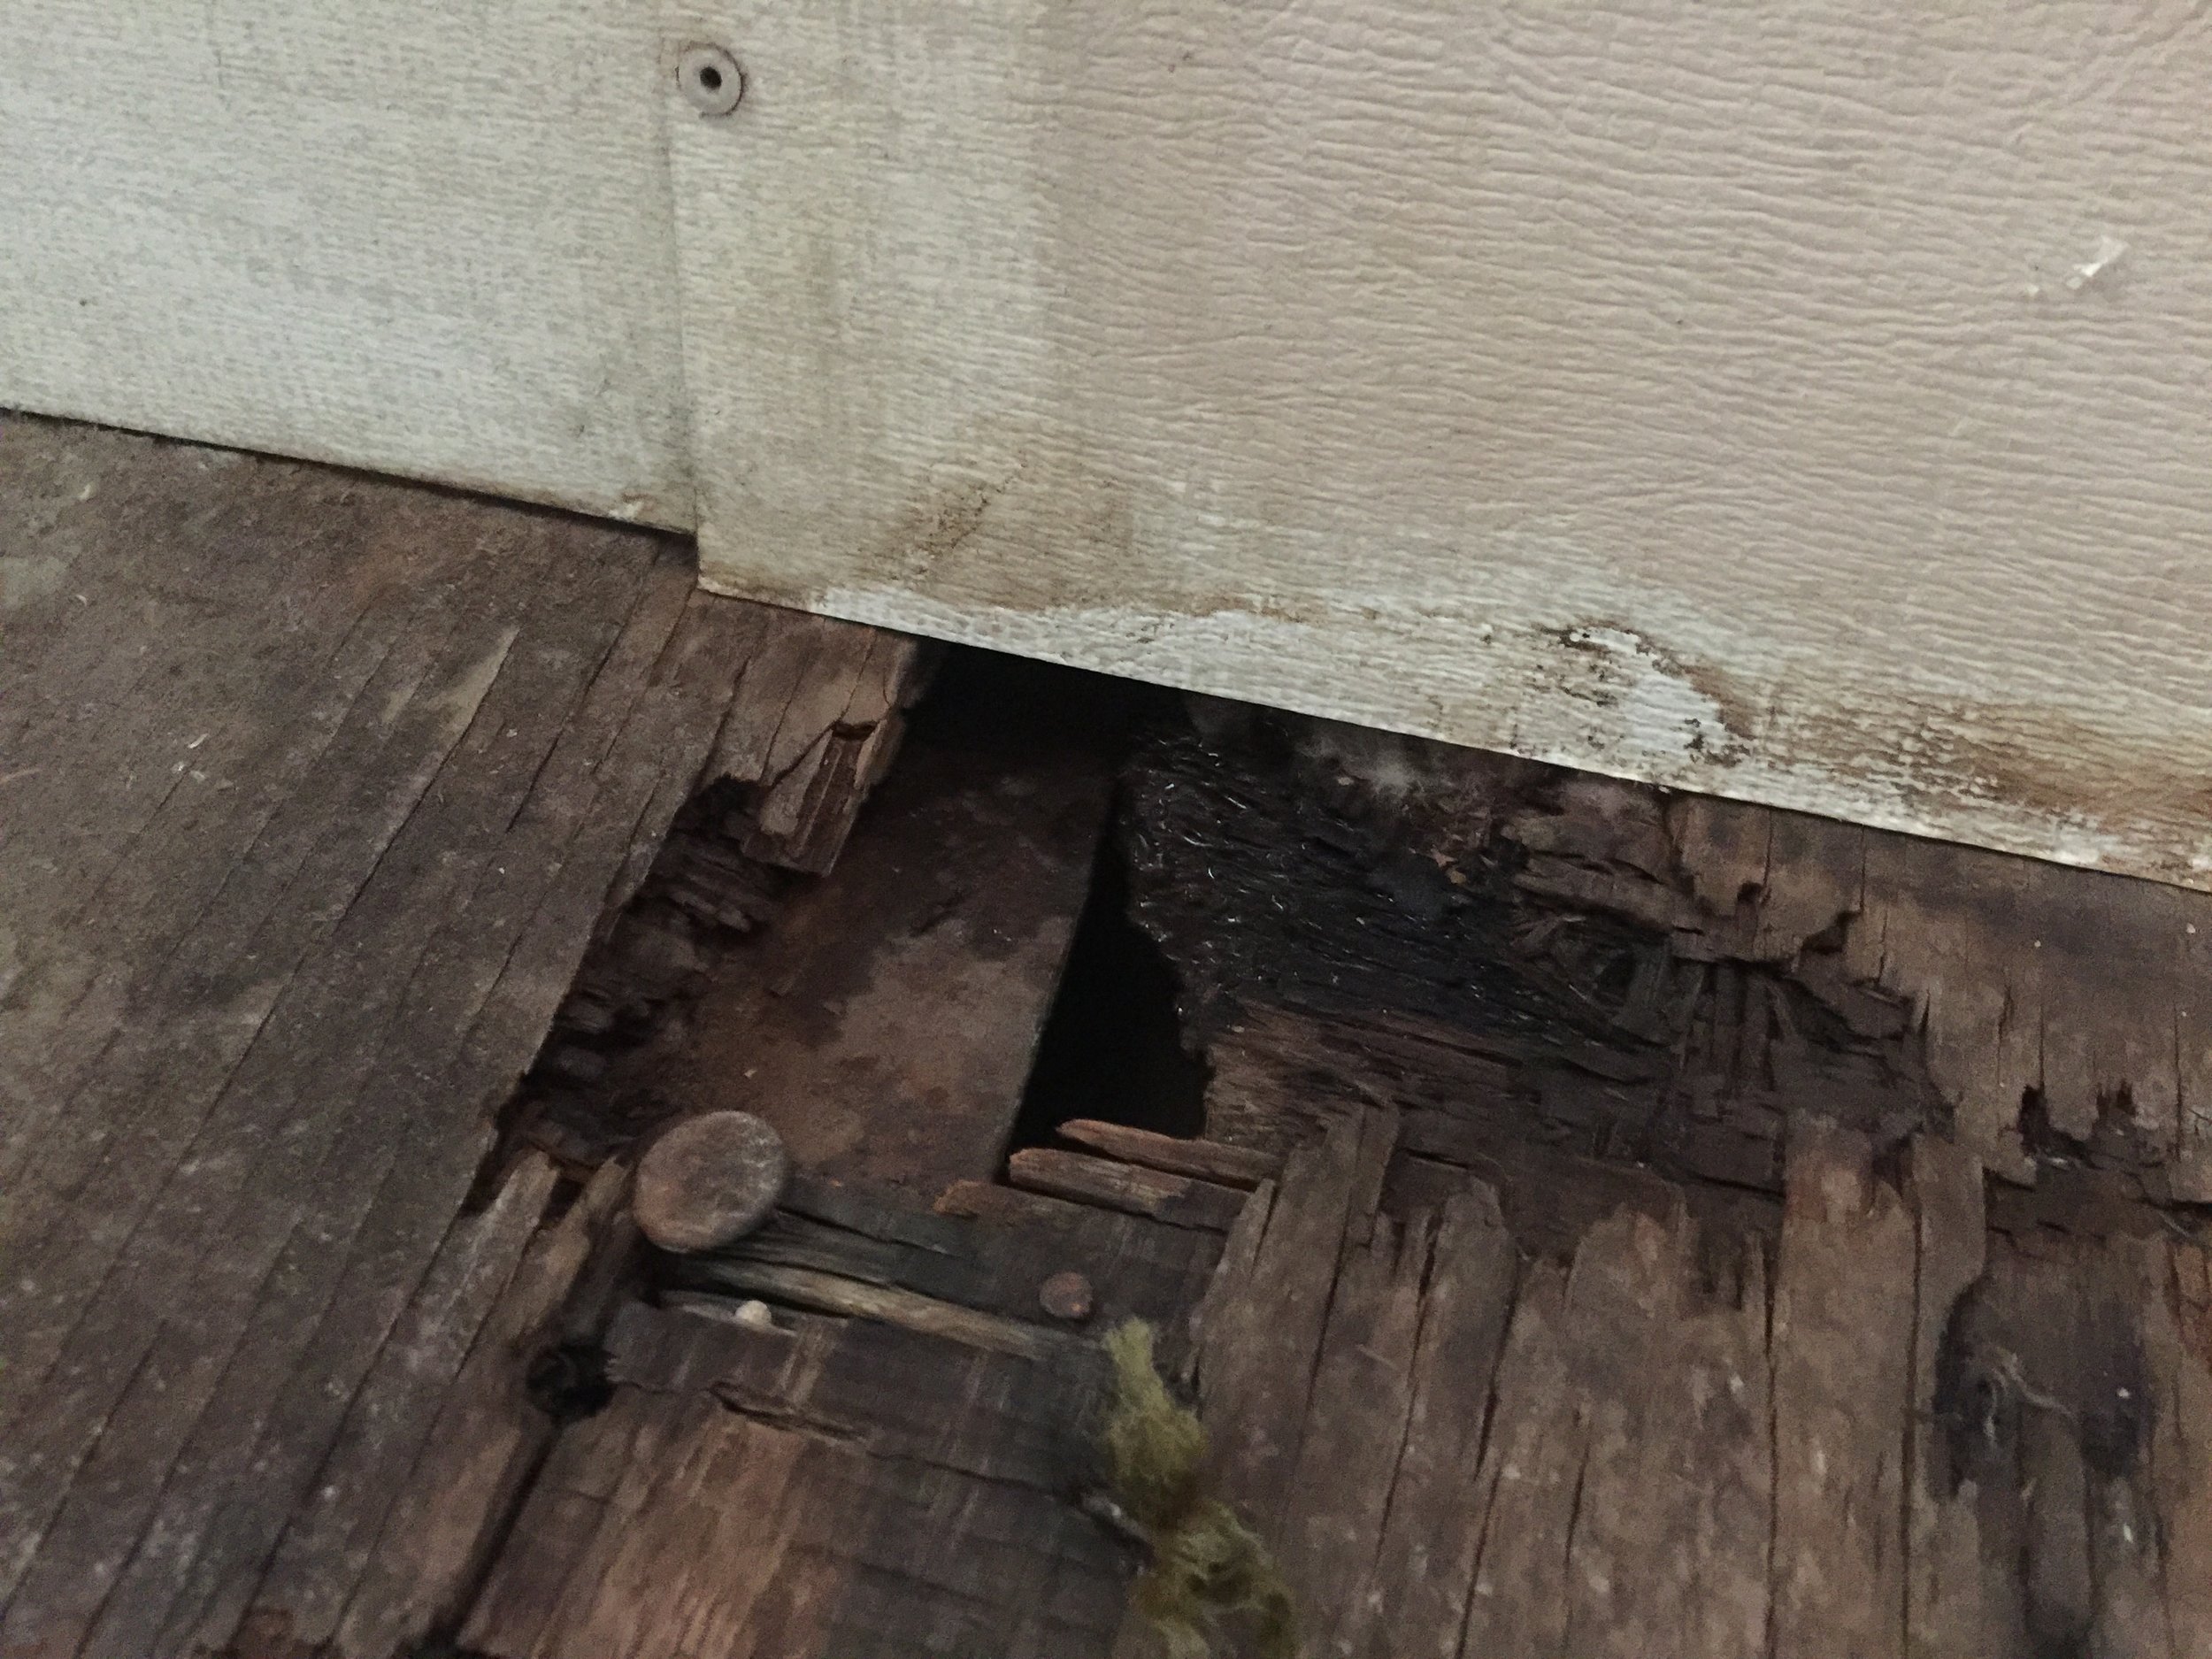


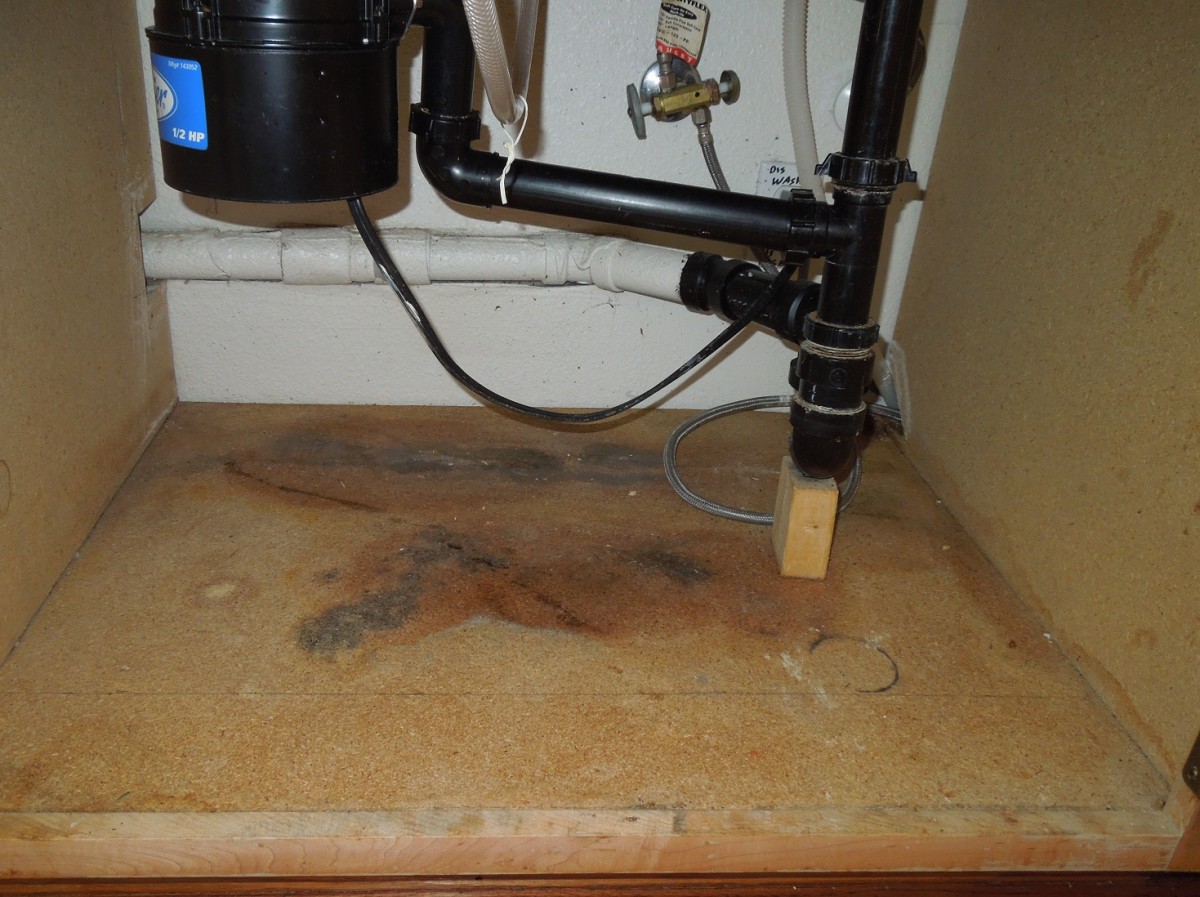
If you're unsure whether you need to replace the board under your kitchen sink, here are a few signs to look out for: • Musty or moldy smell coming from the cabinet • Visible water damage or rot on the board • Pests or insects in the cabinet If you notice any of these signs, it's best to take action and replace the board before the damage worsens.Replacing a Damaged Board Under Your Kitchen Sink: What You Need to Know


Step-by-Step Guide for Replacing a Board Under Your Kitchen Sink


Replacing a board under your kitchen sink may seem like a daunting task, but with the right tools and this guide, it's actually a relatively easy DIY project. Plus, by doing it yourself, you can save money on hiring a professional.Easy DIY: Replacing a Board Under Your Kitchen Sink

Replacing a Damaged Board Under Your Kitchen Sink: What You Need to Know


While replacing a board under your kitchen sink may be a simple task, there are a few common mistakes that people often make. Here are some to avoid: • Not wearing protective gear • Using the wrong type of wood • Not properly securing the new board Be sure to follow the steps and tips outlined in this guide to avoid making these mistakes.Replacing a Board Under Your Kitchen Sink: Common Mistakes to Avoid


Easy DIY: Replacing a Board Under Your Kitchen Sink


As long as you have the necessary tools and follow the steps outlined in this guide, you should be able to replace a board under your kitchen sink without needing to hire a professional. However, if you encounter any difficulties or are unsure about something, it's always best to seek professional help.How to Replace a Board Under Your Kitchen Sink Without Hiring a Professional


Replacing a Board Under Your Kitchen Sink: Common Mistakes to Avoid


To recap, here's a list of the tools and materials you'll need to replace a board under your kitchen sink: • Hammer and screwdriver • Drill • Saw • Measuring tape • Replacement board • Gloves and safety goggles With these items on hand, you'll be well-equipped to tackle this DIY project.Replacing a Board Under Your Kitchen Sink: Tools and Materials You'll Need

How to Replace a Board Under Your Kitchen Sink Without Hiring a Professional


The Importance of Replacing the Board Under Your Kitchen Sink

Protecting Your Kitchen from Water Damage
 When it comes to house design, the kitchen is often seen as the heart of the home. It's where we cook, gather with family and friends, and create memories. However, with all the cooking, dishwashing, and general wear and tear, our kitchens can also be a hotspot for potential water damage. This is especially true when it comes to the cabinet under your kitchen sink. That's why it's important to regularly check and replace the board under your kitchen sink to prevent any potential damage and maintain the overall design and functionality of your kitchen.
Water damage is a common and serious issue
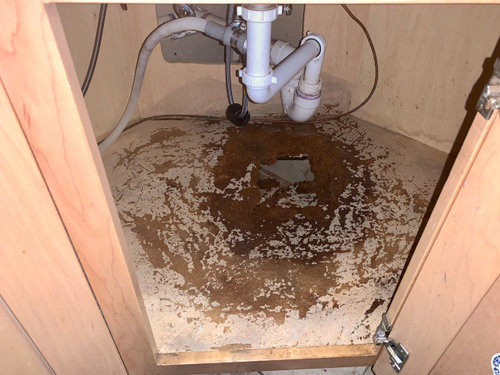
that can occur in any home. When the board under your kitchen sink starts to rot or warp, it can create the perfect environment for mold and mildew to grow. This not only affects the structural integrity of your kitchen cabinets, but it can also be hazardous to your health. Mold and mildew can cause respiratory problems and allergies, making it crucial to
address any potential water damage in your kitchen immediately
.
When it comes to house design, the kitchen is often seen as the heart of the home. It's where we cook, gather with family and friends, and create memories. However, with all the cooking, dishwashing, and general wear and tear, our kitchens can also be a hotspot for potential water damage. This is especially true when it comes to the cabinet under your kitchen sink. That's why it's important to regularly check and replace the board under your kitchen sink to prevent any potential damage and maintain the overall design and functionality of your kitchen.
Water damage is a common and serious issue
that can occur in any home. When the board under your kitchen sink starts to rot or warp, it can create the perfect environment for mold and mildew to grow. This not only affects the structural integrity of your kitchen cabinets, but it can also be hazardous to your health. Mold and mildew can cause respiratory problems and allergies, making it crucial to
address any potential water damage in your kitchen immediately
.
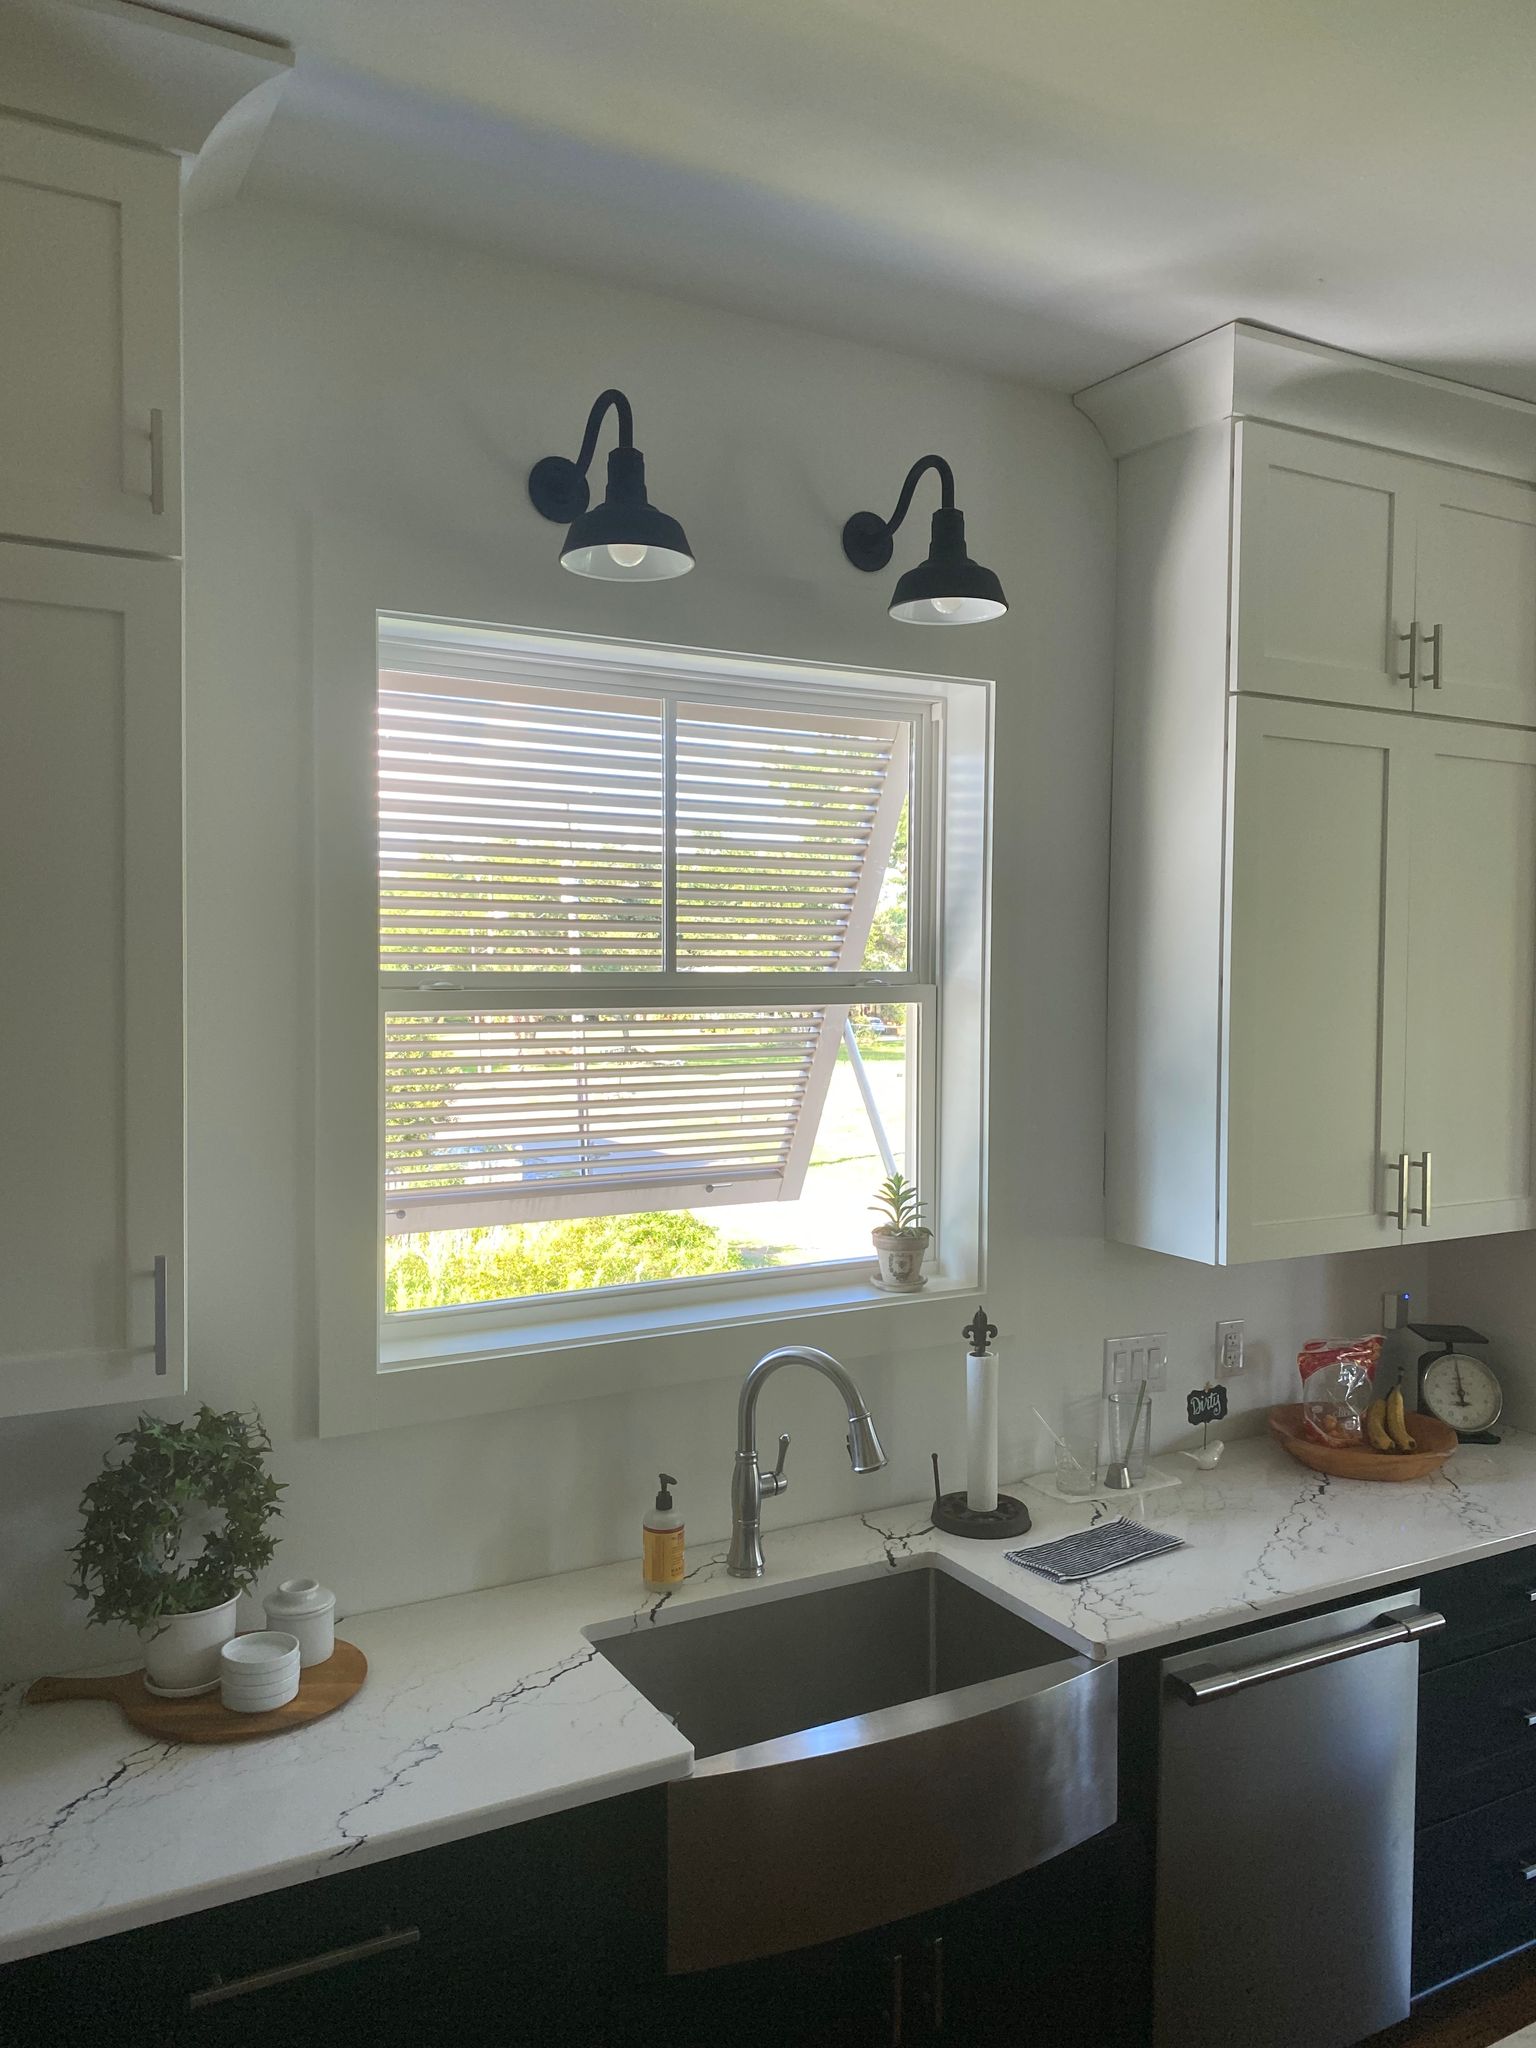
Preserving the Aesthetics of Your Kitchen
 Not only is water damage a health and safety concern, but it can also
affect the overall design and aesthetics of your kitchen
. The board under your kitchen sink is often hidden, but it's still an important part of your kitchen's structure. As it starts to deteriorate, it can affect the stability of your sink and the surrounding cabinets, leading to an unappealing and potentially dangerous sink area.
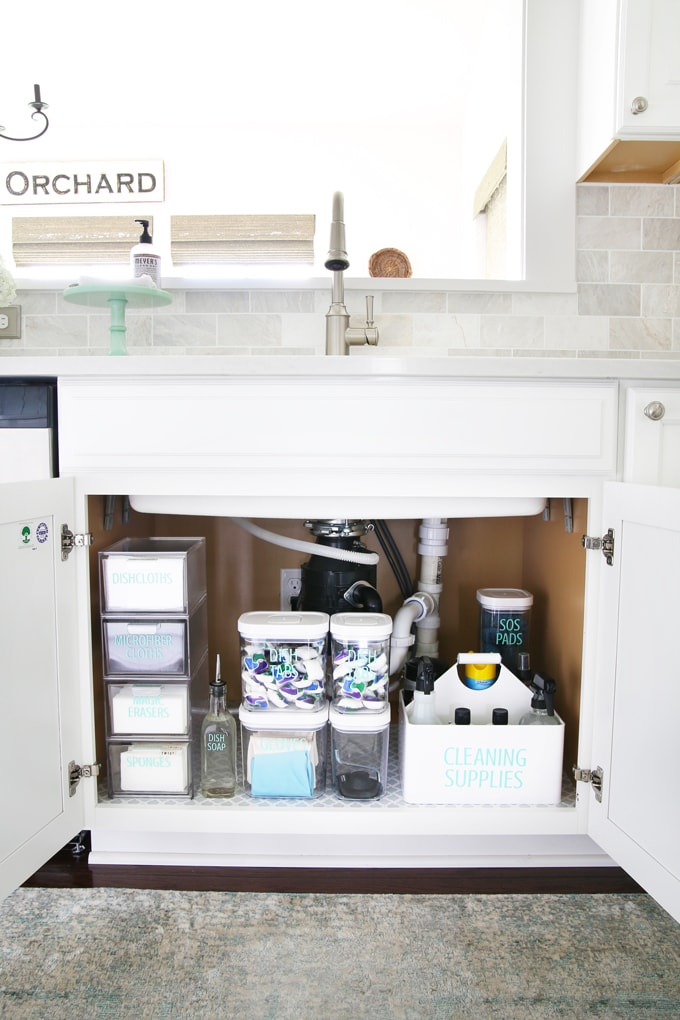
Replacing the board under your kitchen sink can help maintain the visual appeal of your kitchen
and prevent any potential hazards.
Not only is water damage a health and safety concern, but it can also
affect the overall design and aesthetics of your kitchen
. The board under your kitchen sink is often hidden, but it's still an important part of your kitchen's structure. As it starts to deteriorate, it can affect the stability of your sink and the surrounding cabinets, leading to an unappealing and potentially dangerous sink area.
Replacing the board under your kitchen sink can help maintain the visual appeal of your kitchen
and prevent any potential hazards.
Ensuring Proper Functionality
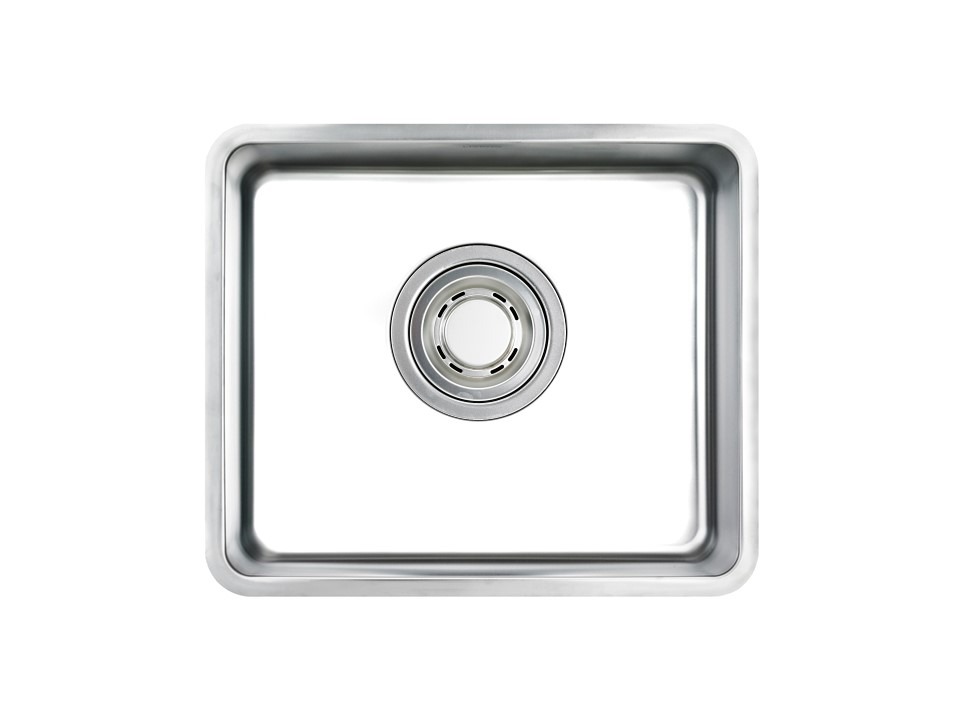
 In addition to protecting your kitchen from water damage and preserving its design, replacing the board under your kitchen sink also
ensures proper functionality
. As the board deteriorates, it can affect the stability of your sink, making it difficult to use and potentially causing leaks. This can also lead to damage in other areas of your kitchen, such as your flooring and walls. By regularly checking and replacing the board under your kitchen sink, you can
avoid costly repairs and maintain the functionality of your kitchen
for years to come.
In conclusion, the board under your kitchen sink plays a crucial role in maintaining the overall design and functionality of your kitchen. Regularly checking and replacing it can prevent potential water damage, preserve the aesthetics of your kitchen, and ensure proper functionality. Don't overlook this important aspect of house design and make sure to address any issues with the board under your kitchen sink to keep your kitchen in top shape.
In addition to protecting your kitchen from water damage and preserving its design, replacing the board under your kitchen sink also
ensures proper functionality
. As the board deteriorates, it can affect the stability of your sink, making it difficult to use and potentially causing leaks. This can also lead to damage in other areas of your kitchen, such as your flooring and walls. By regularly checking and replacing the board under your kitchen sink, you can
avoid costly repairs and maintain the functionality of your kitchen
for years to come.
In conclusion, the board under your kitchen sink plays a crucial role in maintaining the overall design and functionality of your kitchen. Regularly checking and replacing it can prevent potential water damage, preserve the aesthetics of your kitchen, and ensure proper functionality. Don't overlook this important aspect of house design and make sure to address any issues with the board under your kitchen sink to keep your kitchen in top shape.