Replacing a drop-in kitchen sink may seem like a daunting task, but with the right tools and knowledge, it can be a simple and satisfying DIY project. Whether you're looking to update the look of your kitchen or your current sink is damaged, replacing a drop-in kitchen sink can give your space a fresh and functional upgrade. In this guide, we'll walk you through the step-by-step process of replacing a drop-in kitchen sink.How to Replace a Drop-In Kitchen Sink


How to Replace a Drop-In Kitchen Sink


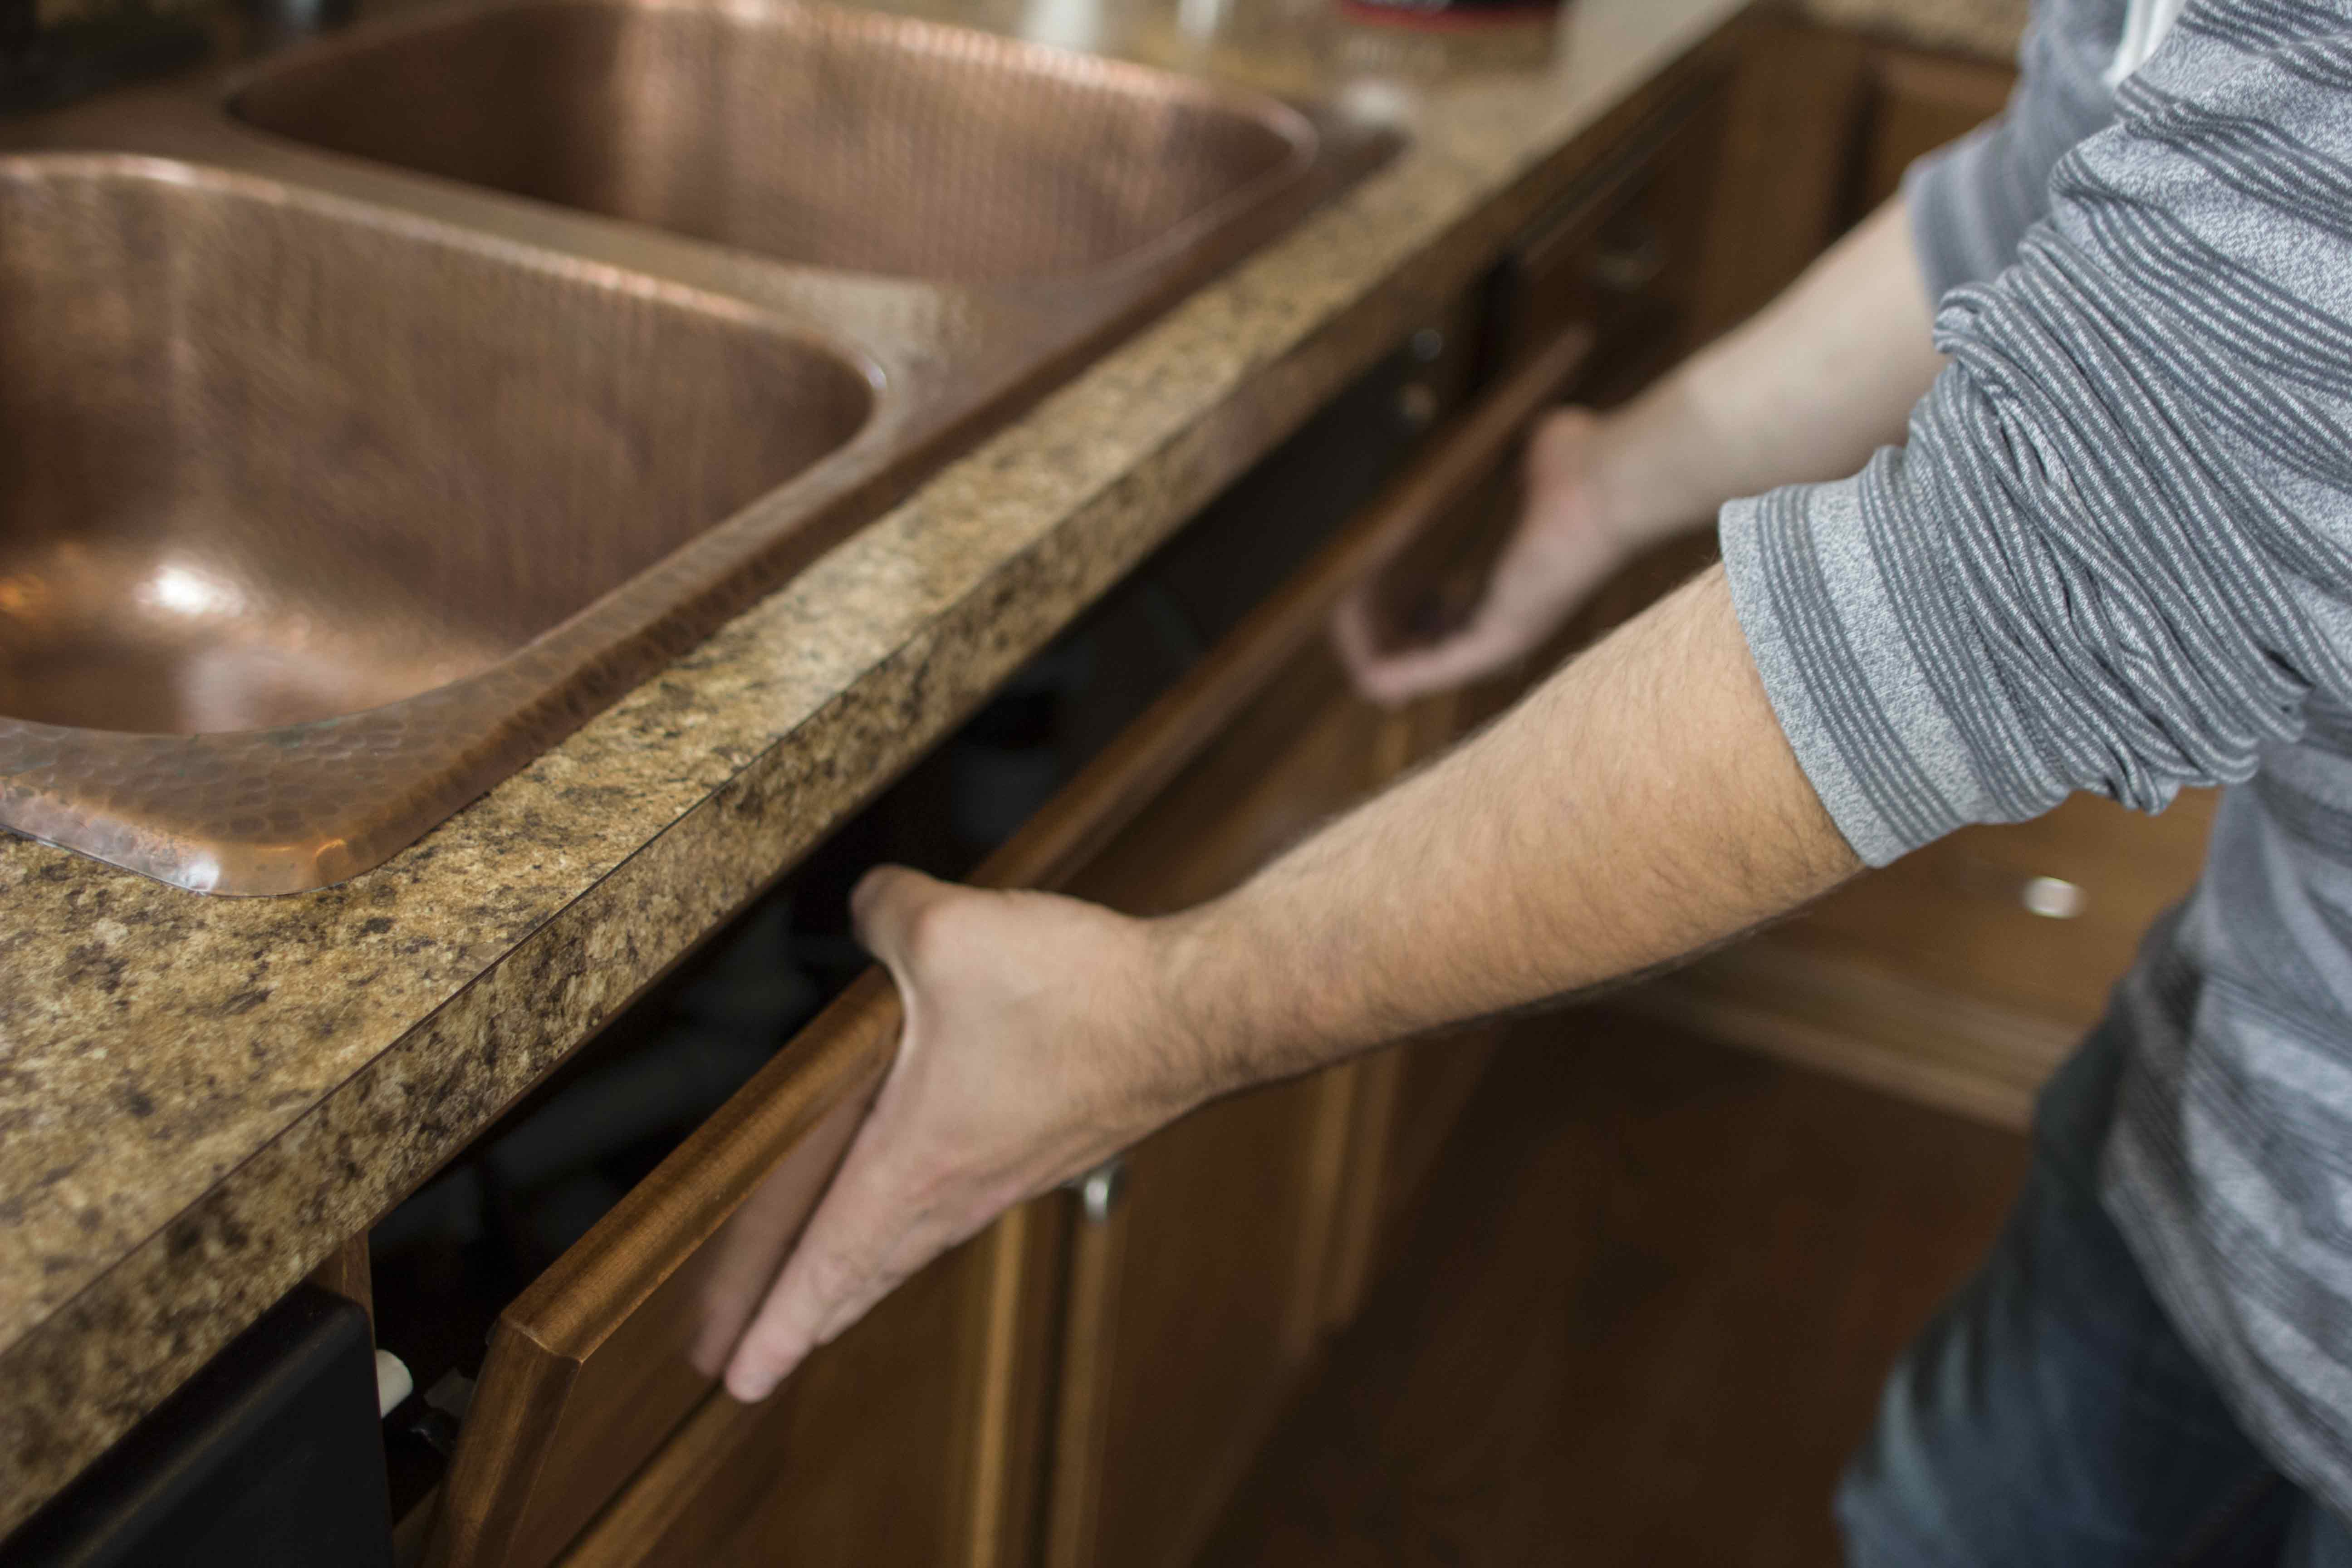
Step 1: Gather your tools and materials. Before starting the replacement process, make sure you have all the necessary tools and materials on hand. These include a wrench, pliers, screwdriver, plumber's putty, silicone caulk, and a new drop-in kitchen sink. Step 2: Turn off the water supply. Locate the shut-off valves under the sink and turn them off to stop the water flow. If your sink doesn't have shut-off valves, you'll need to turn off the main water supply. Step 3: Disconnect the plumbing connections. Use a wrench or pliers to loosen and remove the nuts and bolts connecting the drain and water supply lines to the sink. Step 4: Remove the old sink. Once the plumbing connections are disconnected, use a screwdriver to loosen the clips or brackets holding the sink in place. Carefully lift the sink out of the countertop and set it aside. Step 5: Clean the area. Before installing the new sink, make sure the area is clean and free of any debris or old sealant. Step 6: Install the new sink. Place the new sink into the countertop cutout and press down firmly to create a seal. If necessary, use clips or brackets to secure the sink in place. Step 7: Reconnect the plumbing. Use a wrench or pliers to reconnect the drain and water supply lines to the new sink. Step 8: Apply plumber's putty. Roll out a thin rope of plumber's putty and place it around the edge of the sink. This will help create a tight seal between the sink and countertop. Step 9: Secure the sink with silicone caulk. Apply a thin bead of silicone caulk around the edge of the sink to create a waterproof seal. Smooth out any excess caulk with your finger or a damp cloth. Step 10: Turn the water supply back on. Once the caulk is dry, turn the water supply back on and check for any leaks. If there are any leaks, tighten the connections as needed.Replacing a Drop-In Kitchen Sink: A Step-by-Step Guide


Replacing a Drop-In Kitchen Sink: A Step-by-Step Guide


Replacing a drop-in kitchen sink can be a DIY project, but it's important to know your limitations. If you're not comfortable with plumbing or have limited experience with home improvement projects, it may be best to hire a professional. However, if you're confident in your abilities, replacing a drop-in kitchen sink can save you money and give you a sense of accomplishment.DIY: Replacing a Drop-In Kitchen Sink


DIY: Replacing a Drop-In Kitchen Sink


Here are a few tips and tricks to keep in mind when replacing a drop-in kitchen sink:Replacing a Drop-In Kitchen Sink: Tips and Tricks


Replacing a Drop-In Kitchen Sink: Tips and Tricks


When it comes to replacing a drop-in kitchen sink, the best way may vary depending on your experience and skill level. However, the key to a successful replacement is preparation and attention to detail. Make sure you have all the necessary tools and materials, carefully follow the steps, and take your time to ensure a secure and proper installation.The Best Way to Replace a Drop-In Kitchen Sink


The Best Way to Replace a Drop-In Kitchen Sink


When replacing a drop-in kitchen sink, there are a few common mistakes that can be easily avoided:Replacing a Drop-In Kitchen Sink: Common Mistakes to Avoid


Replacing a Drop-In Kitchen Sink: Common Mistakes to Avoid


If you prefer a more visual guide, here is a step-by-step guide for replacing a drop-in kitchen sink:Step-by-Step Guide for Replacing a Drop-In Kitchen Sink

Step-by-Step Guide for Replacing a Drop-In Kitchen Sink


Here is a list of the tools and materials you'll need to replace a drop-in kitchen sink:Replacing a Drop-In Kitchen Sink: Tools and Materials You'll Need


Replacing a Drop-In Kitchen Sink: Tools and Materials You'll Need


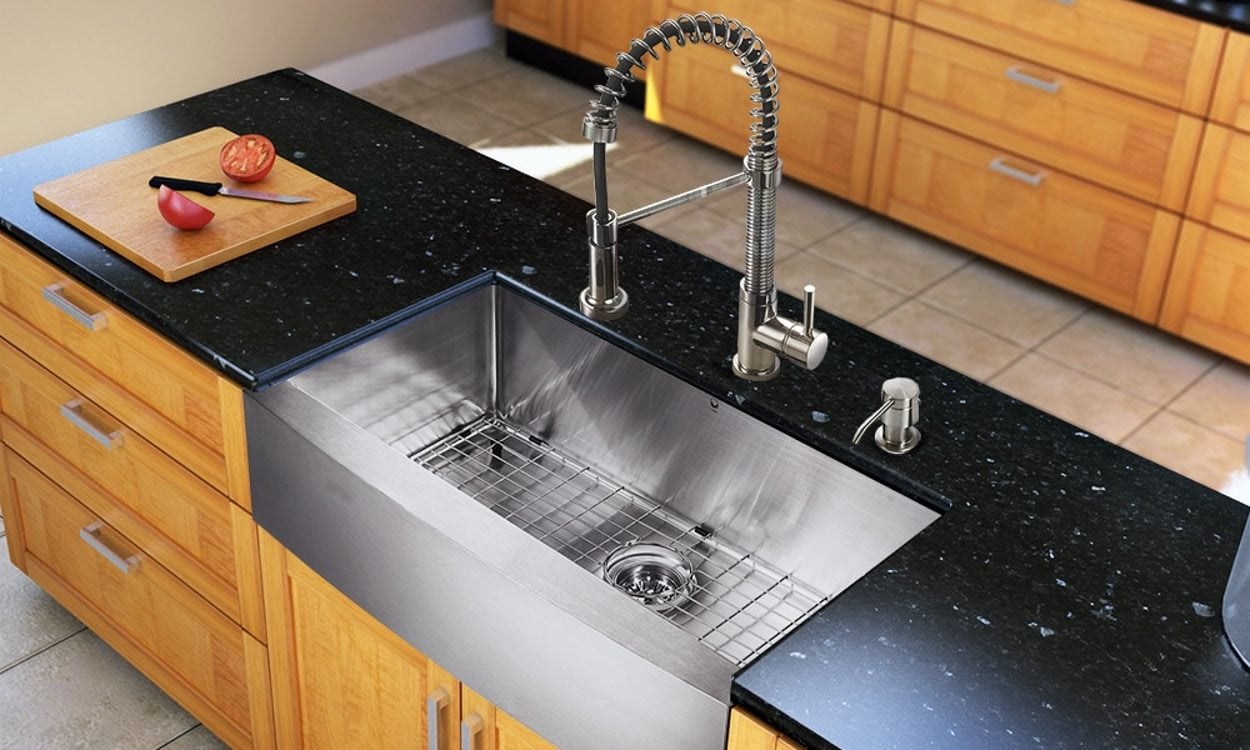
When choosing a new drop-in kitchen sink, there are a few factors to consider:Replacing a Drop-In Kitchen Sink: How to Choose the Right Sink

Replacing a Drop-In Kitchen Sink: How to Choose the Right Sink
:max_bytes(150000):strip_icc()/replacing-existing-surface-mounted-sink-1824896-hero-eaf961e8b7174e589e12fcac6541eb89.jpg)


Deciding whether to hire a professional or do the installation yourself ultimately depends on your experience and comfort level. While hiring a professional may cost more, it can ensure a proper and efficient installation. However, if you have some DIY skills and want to save money, replacing a drop-in kitchen sink can be a rewarding project to take on yourself. With this step-by-step guide, you now have the knowledge and confidence to replace a drop-in kitchen sink on your own. Remember to take your time and follow the instructions carefully to achieve a beautiful and functional result. Happy remodeling!Replacing a Drop-In Kitchen Sink: Professional vs. DIY Installation


Replacing a Drop-In Kitchen Sink: Professional vs. DIY Installation


Tips for Replacing a Drop-In Kitchen Sink

Step 3: Prepare for Installation
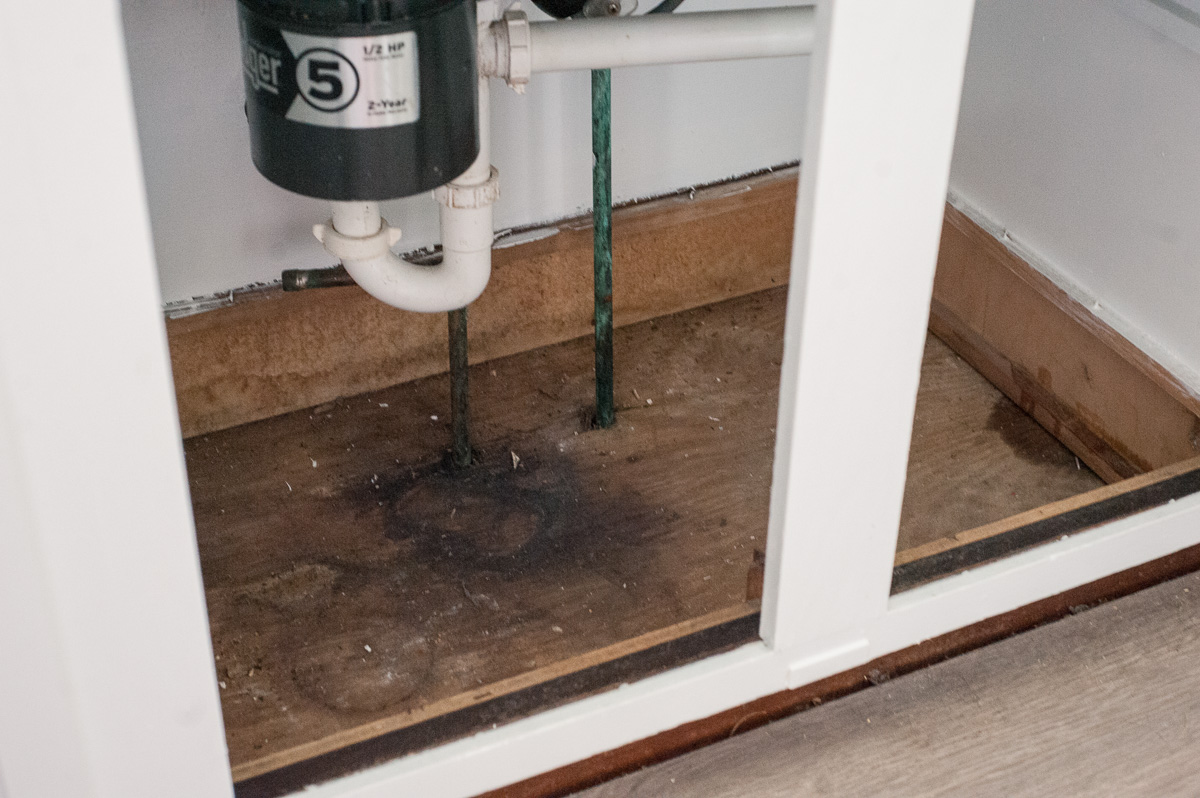
 Once you have removed your old drop-in kitchen sink, you are ready to prepare for the installation of your new one. First, you will need to clean the area where the sink will be placed. Use a mild cleaner and warm water to wipe down the countertop. Make sure to dry the area thoroughly before proceeding.
Next, carefully measure the size of your new sink and compare it to the cutout in your countertop. If the cutout is too small, you will need to make adjustments. You can use a jigsaw to widen the cutout, but be sure to follow the manufacturer's instructions for your specific sink model.
Additionally, if your sink requires any plumbing or electrical connections, now is the time to make them. It is recommended to hire a professional plumber or electrician for this step to ensure that everything is properly installed and up to code.
Step 4: Install Your New Sink
 Now that your area is prepped and ready, it's time to install your new drop-in kitchen sink. Begin by applying a thin bead of caulk around the edge of the cutout in your countertop. This will create a seal to prevent water from leaking in between the sink and the countertop.
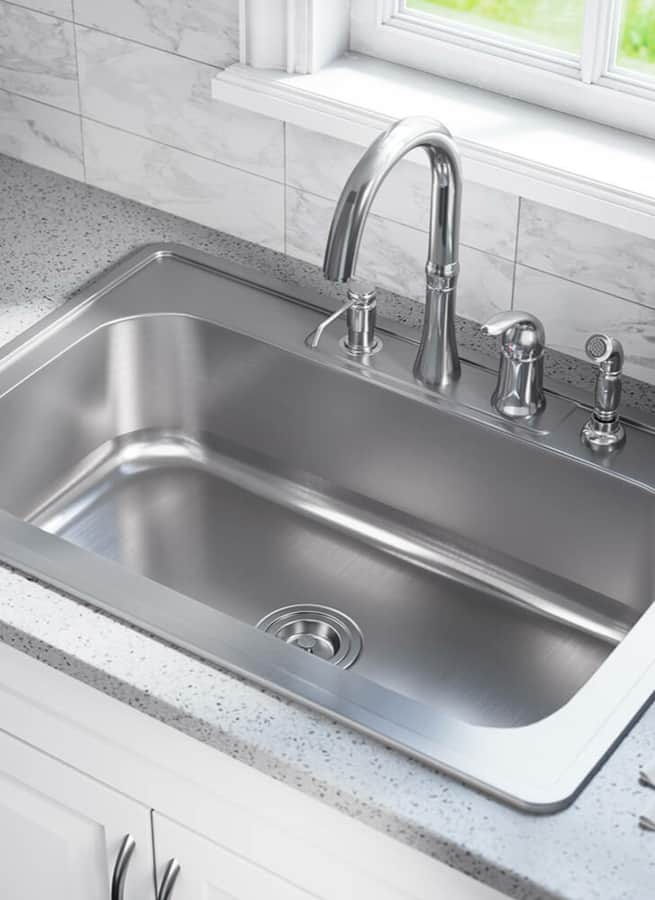
Carefully lower your sink into the cutout, making sure that it is centered and level. Press down gently to secure the sink in place. If your sink came with clips or brackets, use them to secure the sink to the countertop. This will help to prevent the sink from shifting or moving over time.
Finally, connect any necessary plumbing or electrical components. Turn on the water supply and check for any leaks. If everything looks good, you can then caulk around the edges of the sink to create a clean, finished look.
Replacing a drop-in kitchen sink may seem like a daunting task, but with the right tools and knowledge, it can be a straightforward and satisfying DIY project. Following these tips will help ensure that your new sink is installed properly and seamlessly integrates into your kitchen design.