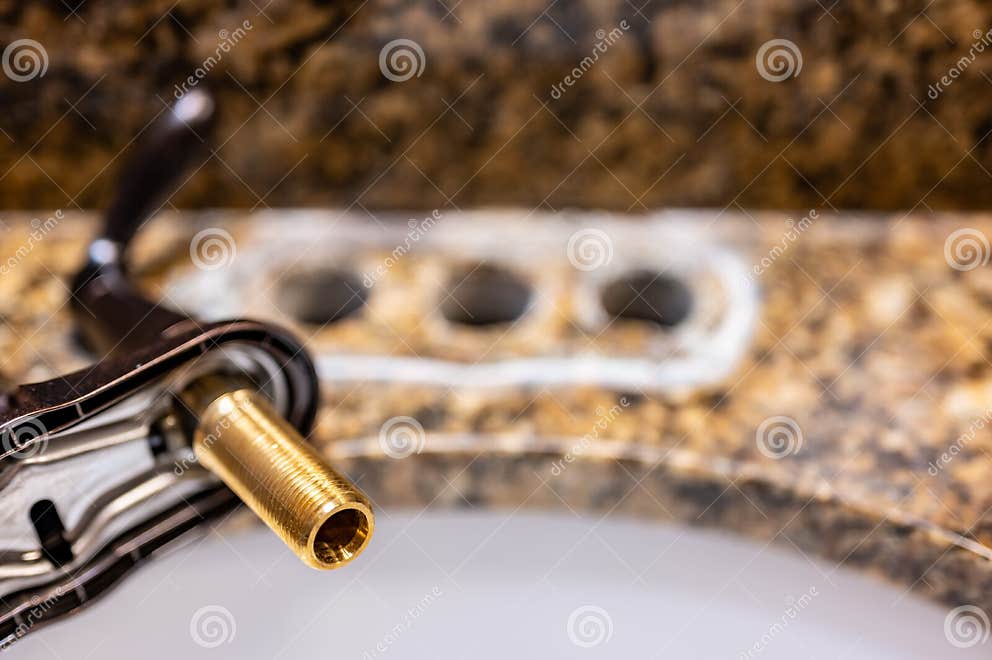
How to Replace a Bathroom Sink Valve Handle
Replacing a bathroom sink valve handle may seem like a daunting task, but with the right tools and knowledge, it can be done in no time. Before you begin, make sure to turn off the water supply to your sink. This can usually be done by turning the shut-off valves under the sink clockwise. Once the water is turned off, you're ready to start the process.


How to Replace a Bathroom Sink Valve Handle


Replacing a Bathroom Sink Valve Handle: A Step-by-Step Guide
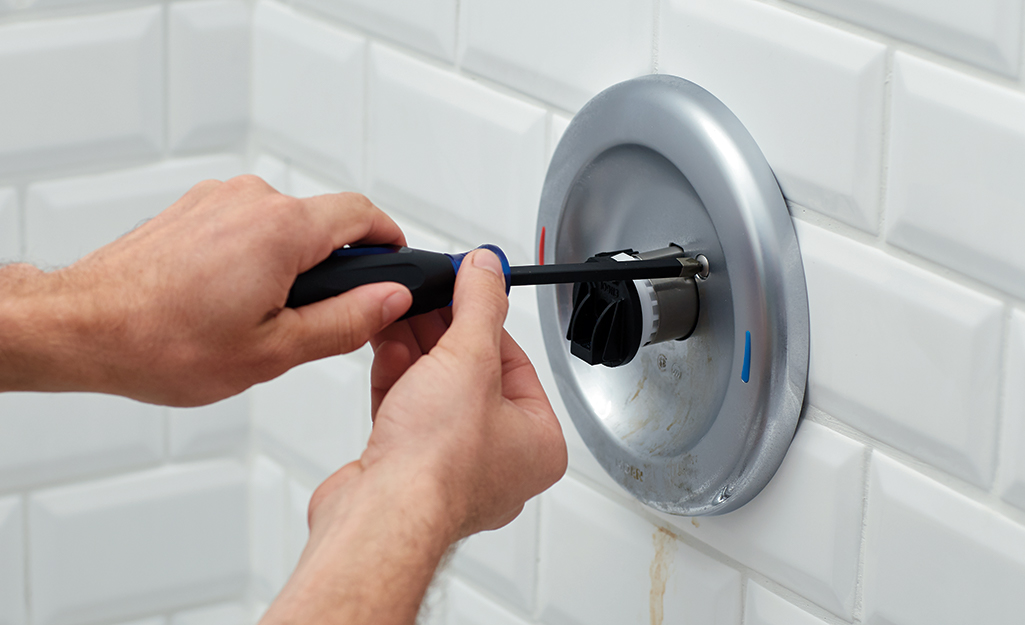
Step 1: Remove the old valve handle by unscrewing the set screw that holds it in place. This screw is usually located on the side of the handle and can be easily removed with an Allen wrench.
Step 2: Take off the decorative cap on top of the handle by prying it off with a flathead screwdriver. This will reveal the valve stem.
Step 3: Use a wrench to loosen the packing nut located around the valve stem. This will allow you to remove the valve stem from the faucet.
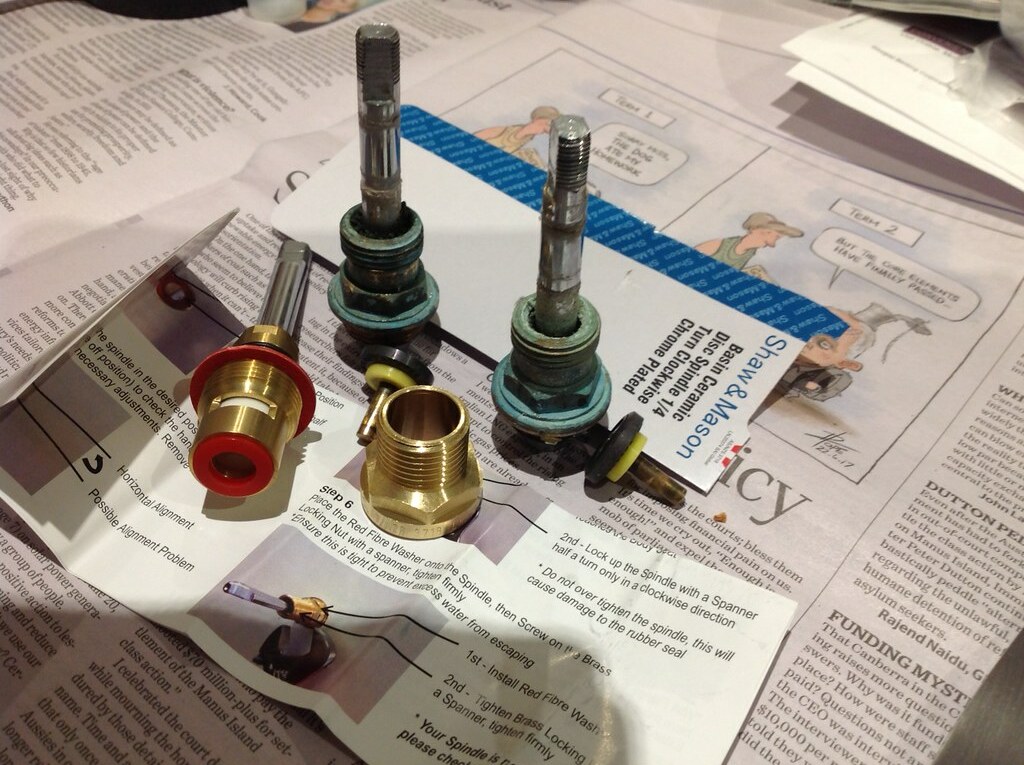
Step 4: Once the valve stem is removed, take it to your local hardware store to find an exact replacement. It's important to get the right size and type of valve stem for your faucet.
Step 5: Install the new valve stem by following the same steps in reverse. Make sure to tighten the packing nut securely.
Step 6: Place the new handle onto the valve stem and tighten the set screw to hold it in place. Replace the decorative cap on top of the handle.
Step 7: Turn the water supply back on and test the new valve handle. Make sure there are no leaks and that the handle turns smoothly.


Replacing a Bathroom Sink Valve Handle: A Step-by-Step Guide

DIY: Replacing a Bathroom Sink Valve Handle
If you're feeling confident and want to save even more money, you can try making your own valve handle. This is a great option if you want a unique or personalized handle for your sink. Here's how:
Step 1: Start by choosing a base for your handle. This can be an old drawer knob, a piece of wood, or anything that you feel comfortable using as a handle.
Step 2: Drill a hole in the center of your chosen base that is slightly smaller than the diameter of your valve stem.
Step 3: Using a file or sandpaper, widen the hole until the valve stem fits snugly into it.
Step 4: Decorate your handle however you like. Paint it, add designs or patterns, or even use a decoupage technique to add a unique touch.
Step 5: Once your handle is complete, follow the same steps as above for installing the new valve stem and handle onto your sink.


DIY: Replacing a Bathroom Sink Valve Handle


Replacing a Bathroom Sink Valve Handle: Tips and Tricks
Here are a few tips and tricks to keep in mind when replacing a bathroom sink valve handle:
Tip 1: Take a picture of the old valve handle and stem before removing it. This will help you remember how to put the new one back in place.
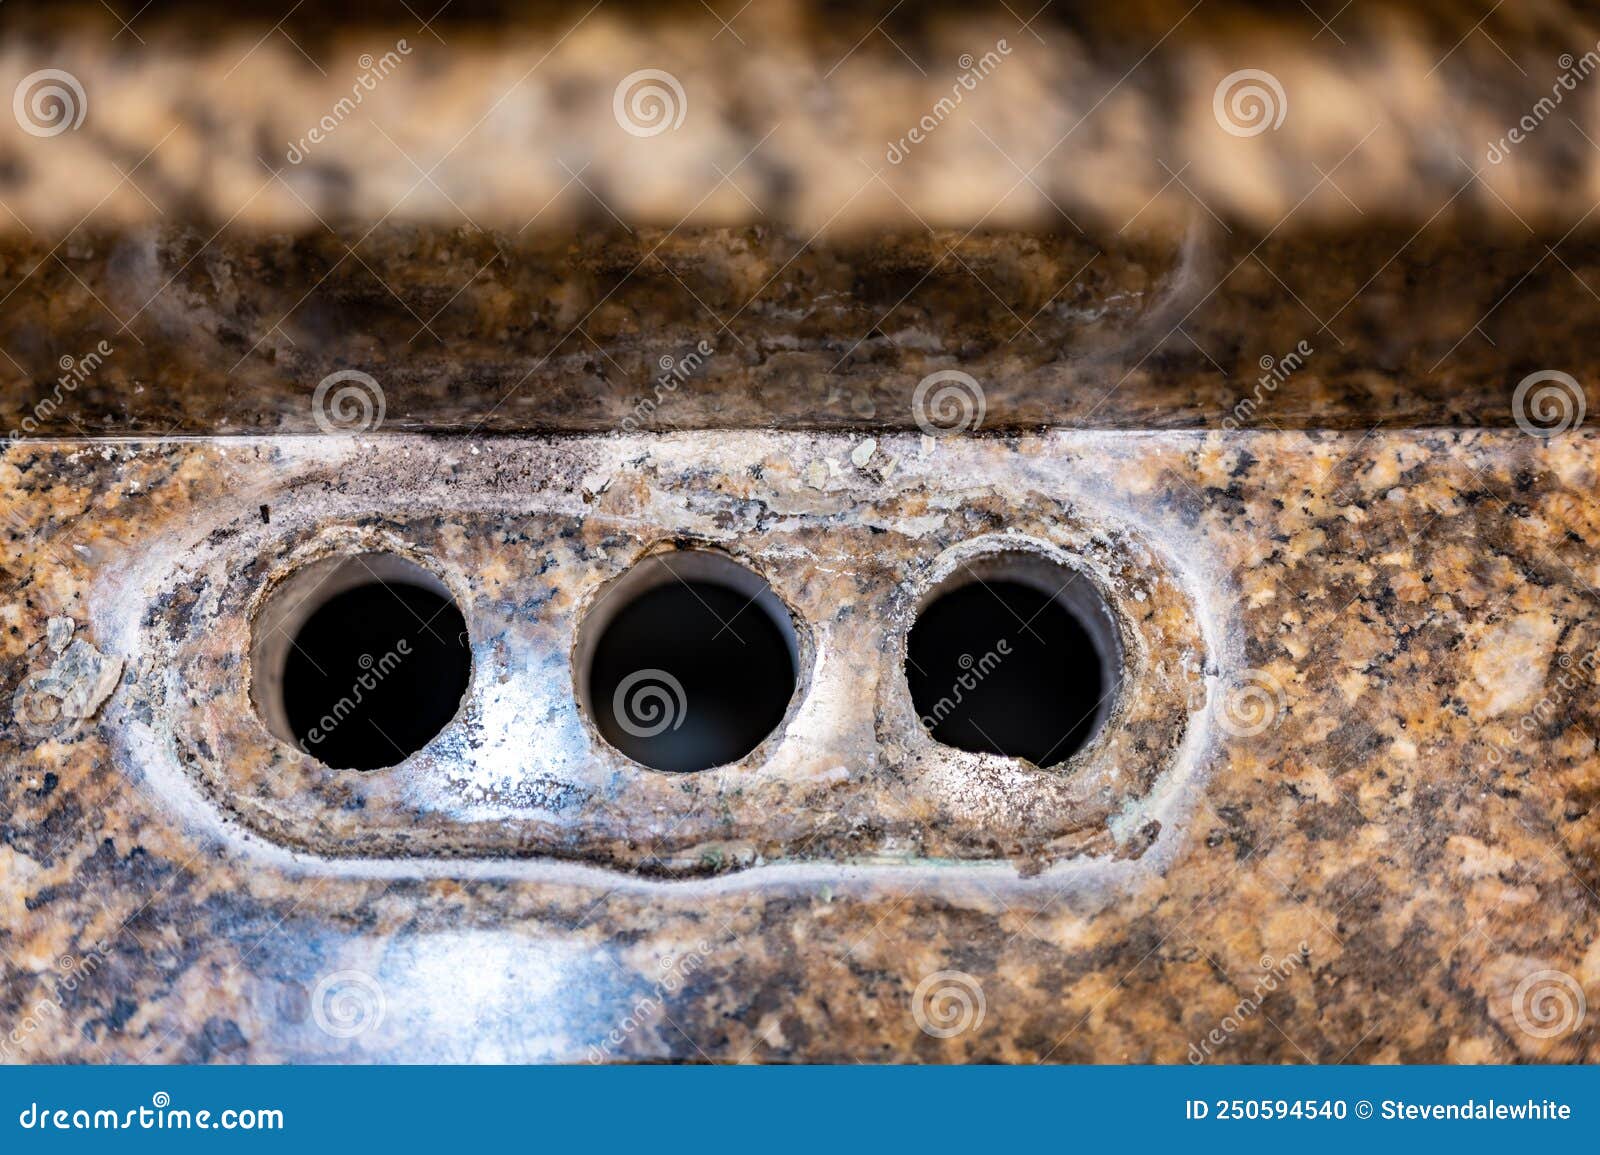
Tip 2: Clean the area around the valve stem before installing the new handle. This will prevent any debris from getting into the faucet and causing potential issues.
Tip 3: If the valve stem is difficult to remove, use a lubricant spray to help loosen it.


Replacing a Bathroom Sink Valve Handle: Tips and Tricks
The Easy Way to Replace a Bathroom Sink Valve Handle
Replacing a bathroom sink valve handle may seem like a complicated task, but with the right tools and knowledge, it can be done easily and efficiently. By following our step-by-step guide and taking advantage of our tips and tricks, you can have a new valve handle installed in no time.


The Easy Way to Replace a Bathroom Sink Valve Handle


Replacing a Bathroom Sink Valve Handle: What You Need to Know
Before starting the process of replacing a bathroom sink valve handle, it's important to know a few key things:
Know your faucet: Make sure to get the right size and type of valve stem for your specific faucet. If you're not sure, take the old one to your local hardware store for assistance.
Turn off the water supply: It's important to turn off the water supply before beginning any repairs on your sink. This will prevent any potential flooding or damage to your bathroom.
Be patient: Replacing a valve handle may take some time and patience, especially if it's your first time. Take your time and follow the steps carefully to ensure a successful replacement.


Replacing a Bathroom Sink Valve Handle: What You Need to Know
Step-by-Step Guide for Replacing a Bathroom Sink Valve Handle
Here's a quick recap of the steps for replacing a bathroom sink valve handle:
Step 1: Turn off the water supply.
Step 2: Remove the old valve handle.
Step 3: Take off the decorative cap.
Step 4: Loosen the packing nut.
Step 5: Install the new valve stem.
Step 6: Place the new handle onto the valve stem.
Step 7: Turn the water supply back on and test the new handle.

Step-by-Step Guide for Replacing a Bathroom Sink Valve Handle


Replacing a Bathroom Sink Valve Handle: Common Mistakes to Avoid
While replacing a bathroom sink valve handle is a relatively simple task, there are a few mistakes that are commonly made. Here's what to avoid:
Mistake 1: Using the wrong size or type of valve stem.
Mistake 2: Not turning off the water supply before beginning the replacement.
Mistake 3: Forgetting to tighten the packing nut securely.


Replacing a Bathroom Sink Valve Handle: Common Mistakes to Avoid

How to Choose the Right Replacement Valve Handle for Your Bathroom Sink
When it comes to choosing a replacement valve handle for your bathroom sink, there are a few things to consider:
Size: Make sure to get the right size for your specific faucet.
Type: There are different types of valve stems for different types of faucets, so make sure to get the right one for your sink.
Style: Consider the overall style of your bathroom and choose a handle that complements it.


How to Choose the Right Replacement Valve Handle for Your Bathroom Sink


Replacing a Bathroom Sink Valve Handle: Tools and Materials You'll Need
Here's a list of the tools and materials you'll need to successfully replace a bathroom sink valve handle:
Adjustable wrench
Flathead screwdriver
Allen wrench
Replacement valve stem
Decorative cap (optional)
Lubricant spray (optional)
Congratulations! You now have the knowledge and tools to confidently replace a bathroom sink valve handle on your own. Remember to always turn off the water supply before beginning any repairs and take your time to ensure a successful replacement. Happy DIY-ing!

Replacing a Bathroom Sink Valve Handle: Tools and Materials You'll Need
Replacing a Bathroom Sink Valve Handle: A Simple Guide

Introduction
 When it comes to house design, the bathroom is often one of the most overlooked areas. However, it is also one of the most frequently used rooms in a home and therefore, it is important to keep it well-maintained. One of the most common issues in a bathroom is a faulty sink valve handle. This can cause inconvenience and even lead to water wastage. In this article, we will guide you on how to replace your
bathroom sink valve handle
in a few simple steps.
When it comes to house design, the bathroom is often one of the most overlooked areas. However, it is also one of the most frequently used rooms in a home and therefore, it is important to keep it well-maintained. One of the most common issues in a bathroom is a faulty sink valve handle. This can cause inconvenience and even lead to water wastage. In this article, we will guide you on how to replace your
bathroom sink valve handle
in a few simple steps.
Gather the Necessary Tools
 Before you begin the process of
replacing a bathroom sink valve handle
, it is important to gather all the necessary tools. This will save you time and frustration in the long run. You will need a pair of pliers, a screwdriver, a new valve handle, and plumber's tape. It is also recommended to have a towel or rag nearby to clean up any spills.
Before you begin the process of
replacing a bathroom sink valve handle
, it is important to gather all the necessary tools. This will save you time and frustration in the long run. You will need a pair of pliers, a screwdriver, a new valve handle, and plumber's tape. It is also recommended to have a towel or rag nearby to clean up any spills.
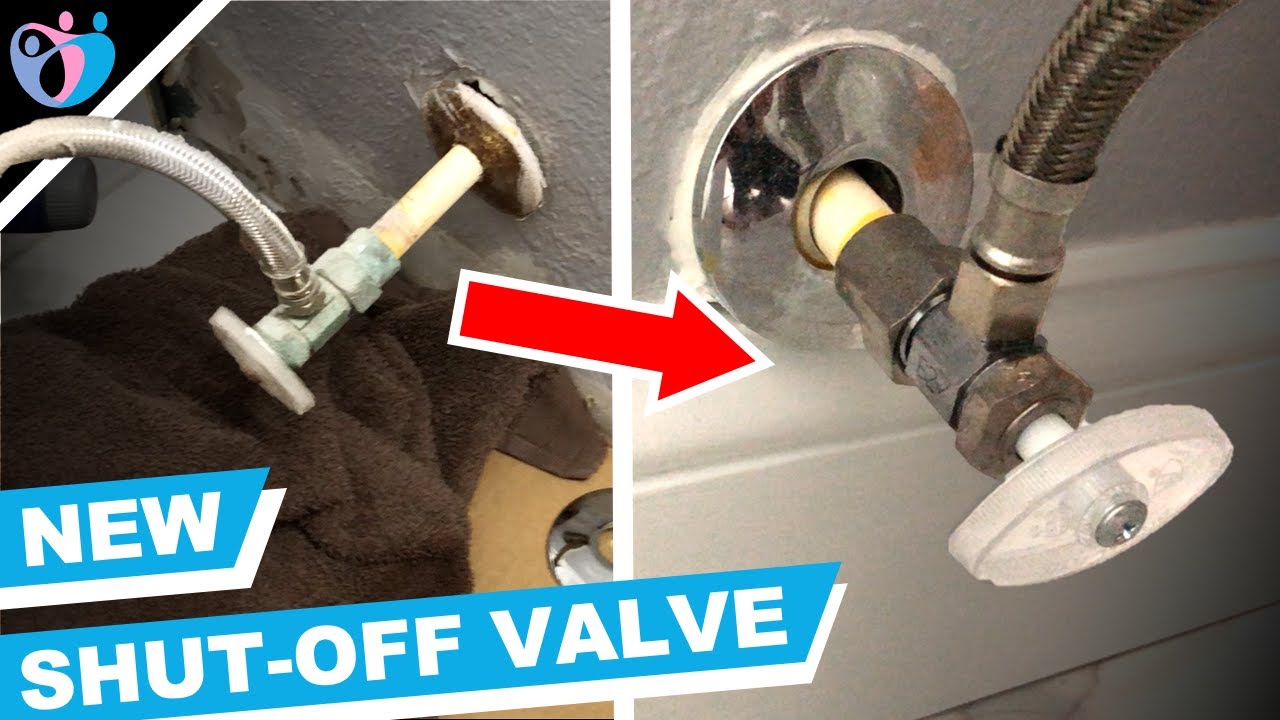
Turn Off the Water Supply
 The first step is to turn off the water supply. This can usually be done by turning off the main water valve for your house. If you are unsure of where the main valve is located, check the area near your water heater or in the basement. Once the water supply is turned off, turn on the faucet to release any remaining water in the pipes.
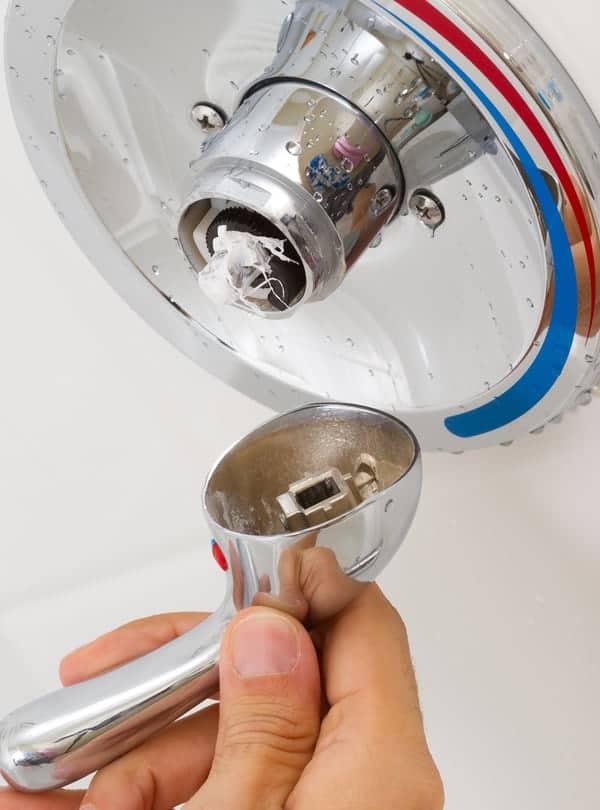
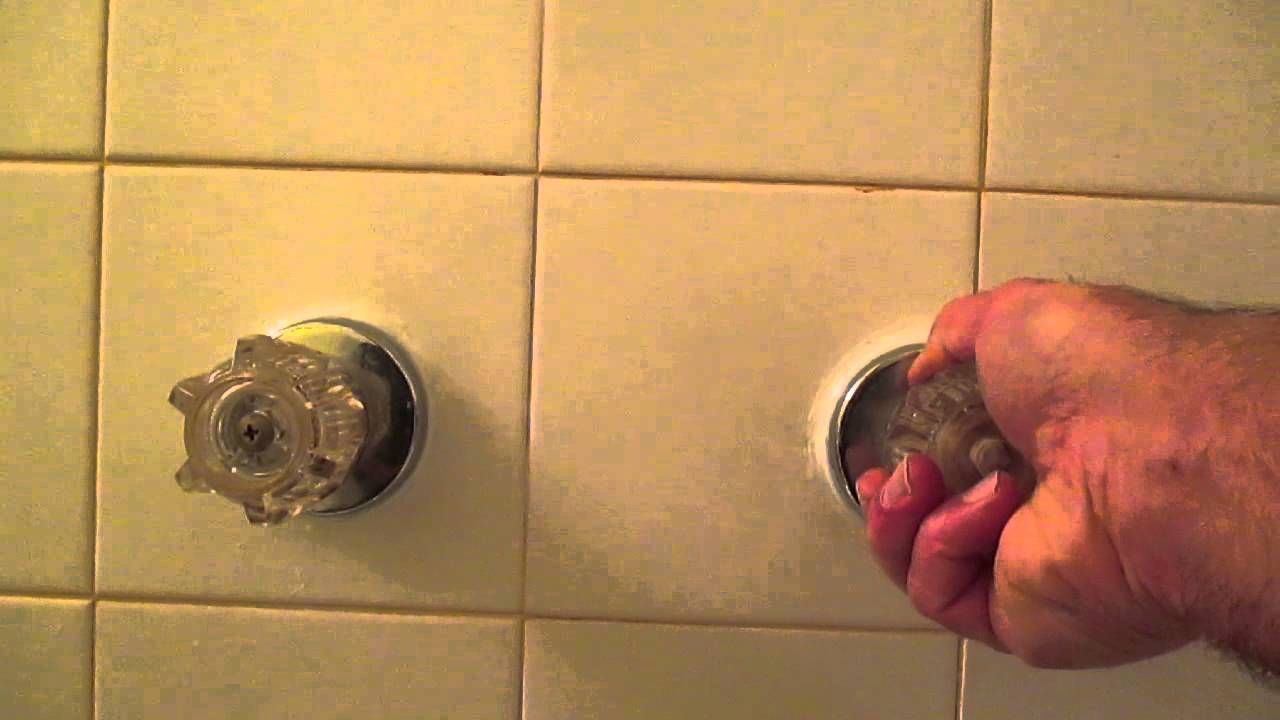
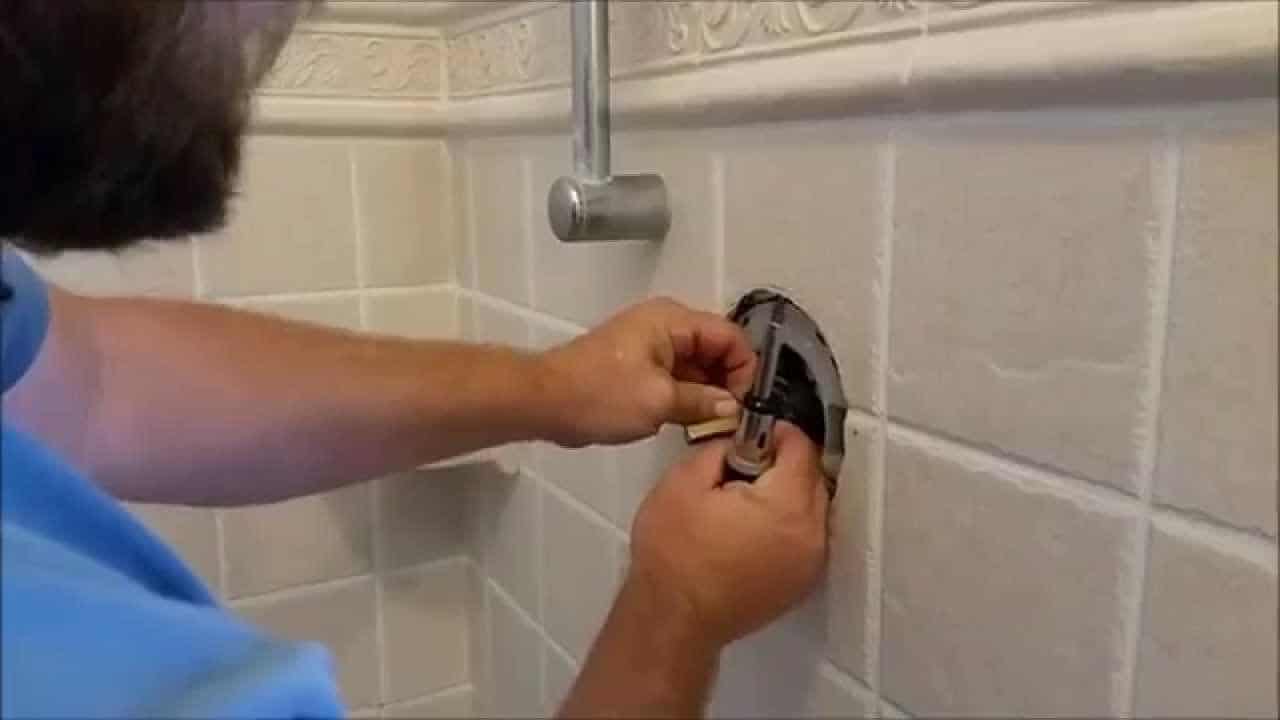
Remove the Old Handle
 Using your pliers, gently loosen and remove the nut that holds the old handle in place. Once the nut is removed, you should be able to pull off the old handle. If the handle is stuck, you may need to use a wrench to loosen it. Once the handle is removed, clean the area with a rag to remove any debris.
Install the New Handle
 Place the new handle onto the valve stem and secure it with the nut. Make sure it is tightened securely. Next, wrap the valve stem with plumber's tape to prevent any leaks. This is an important step to ensure the proper functioning of your new handle.
Turn On the Water Supply
 Now that the new handle is installed, it is time to turn the water supply back on. Slowly turn the main valve back on and check for any leaks. If there are no leaks, turn on the faucet and test the new handle to make sure it is working properly.
Conclusion
 Replacing a bathroom sink valve handle may seem like a daunting task, but with the right tools and a little bit of patience, it can be easily done. By following these simple steps, you can
replace your bathroom sink valve handle
and keep your bathroom functioning smoothly. Remember to always turn off the water supply and use plumber's tape to prevent any leaks. With a little bit of maintenance, your bathroom will not only look great, but it will also function efficiently for years to come.
Replacing a bathroom sink valve handle may seem like a daunting task, but with the right tools and a little bit of patience, it can be easily done. By following these simple steps, you can
replace your bathroom sink valve handle
and keep your bathroom functioning smoothly. Remember to always turn off the water supply and use plumber's tape to prevent any leaks. With a little bit of maintenance, your bathroom will not only look great, but it will also function efficiently for years to come.