How to Replace a Kitchen Sink Spray Nozzle
Is your kitchen sink spray nozzle not working properly? No need to panic – replacing it is easier than you think. Whether it's due to wear and tear or a malfunction, a faulty spray nozzle can be a frustrating inconvenience. But with a few simple steps, you can have your kitchen sink looking and functioning like new again. In this article, we'll guide you through the process of replacing a kitchen sink spray nozzle in just 5 easy steps. So grab your tools and let's get started!
Step 1: Gather Your Materials
Before you begin, make sure you have all the necessary tools and materials. You will need:
Step 2: Turn off the Water Supply
Before you start removing the old spray nozzle, you'll need to turn off the water supply. Look under your sink for the hot and cold water valves and turn them clockwise to shut off the water. Then, turn on the faucet to release any remaining water.
Step 3: Remove the Old Spray Nozzle
Using your adjustable wrench, loosen the connections at both ends of the spray nozzle. Once they are loose, you can carefully unscrew the old nozzle and remove it from the hose. Be sure to catch any water that may drip out.
Step 4: Install the New Spray Nozzle
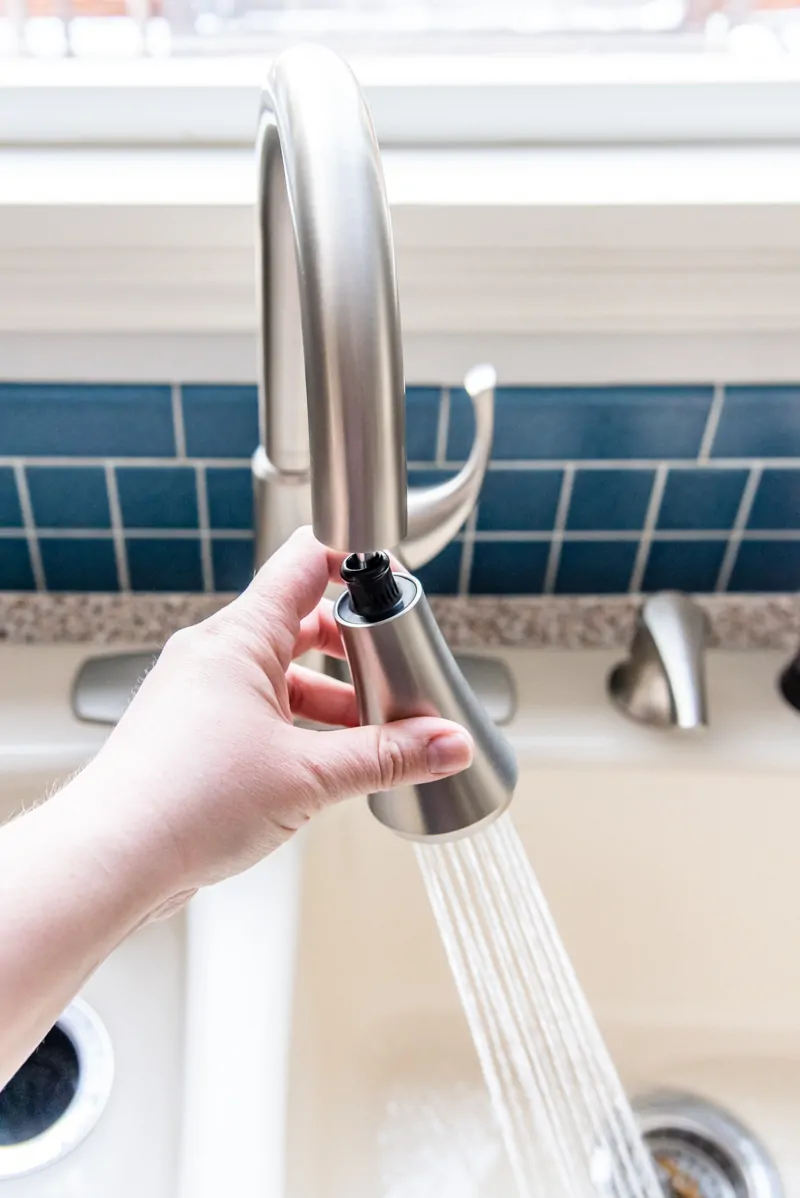
Now it's time to install the new spray nozzle. Start by wrapping the threads on the hose with pipe thread tape. This will help create a strong seal and prevent any leaks. Then, screw the new nozzle onto the end of the hose and tighten it with your adjustable wrench.
Next, connect the other end of the hose to the water supply line under your sink. Again, use pipe thread tape and tighten the connection with your adjustable wrench.
Step 5: Test the New Nozzle
Once everything is securely connected, turn the water supply back on and test out your new nozzle. If there are any leaks, tighten the connections a bit more. If everything looks good, congratulations – you have successfully replaced your kitchen sink spray nozzle!
Conclusion
Replacing a kitchen sink spray nozzle may seem daunting, but with the right tools and a little bit of know-how, it can be a simple and cost-effective DIY project. By following these 5 easy steps, you can have a fully functional and upgraded spray nozzle in no time. So next time you encounter a faulty spray nozzle, don't hesitate to tackle the replacement yourself – you'll save time and money while also improving the functionality of your kitchen sink.
Remember to choose a replacement spray nozzle that fits your needs and to always turn off the water supply before starting the installation process.
The Importance of Replacing Your Kitchen Sink's Spray Nozzle

Ensuring a Functional and Aesthetic Kitchen
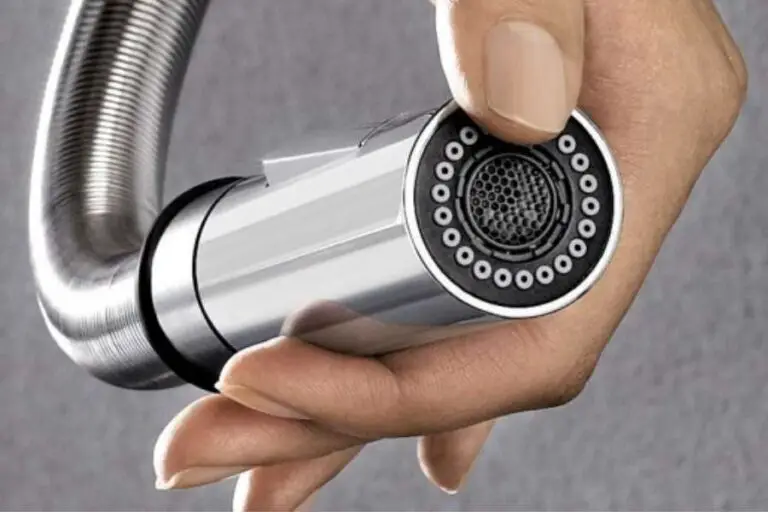 The kitchen is often considered the heart of a home, where meals are prepared and memories are made. As such, it is important to keep this space both functional and aesthetically pleasing. One often overlooked aspect of a kitchen is the
spray nozzle
on the
kitchen sink
. While it may seem like a small and insignificant part, the spray nozzle plays a crucial role in the overall functionality and design of your kitchen. In this article, we will discuss why it is important to
replace
the spray nozzle on your kitchen sink and how it can enhance your overall kitchen experience.
Improving Water Efficiency
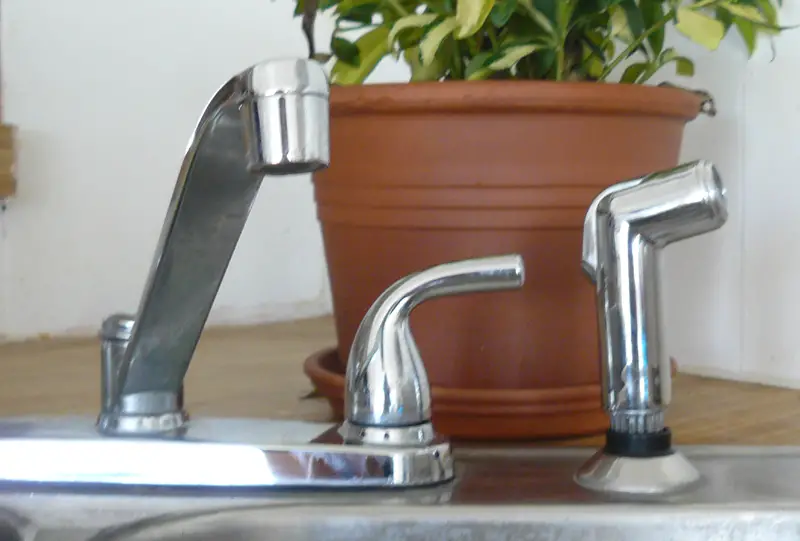 Over time, the spray nozzle on your kitchen sink can become clogged with mineral deposits, dirt, and grime. This can lead to reduced water flow and pressure, making it difficult to wash dishes or clean your sink effectively. By
replacing
the spray nozzle, you can ensure that water is flowing efficiently, allowing you to conserve water and save on your utility bills. Additionally, a new spray nozzle can provide a more powerful spray, making it easier to remove stubborn food particles from dishes.
Enhancing Kitchen Design
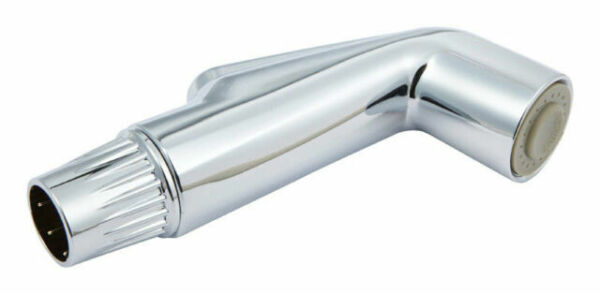 Aside from its functional benefits, a new spray nozzle can also enhance the design of your kitchen. With a variety of styles and finishes available, you can choose a spray nozzle that complements your existing kitchen fixtures and adds a touch of elegance to your sink area. Whether you prefer a modern and sleek design or a more traditional look, there is a spray nozzle that will fit your kitchen's aesthetic.
Ensuring Hygiene and Safety
 Old and worn spray nozzles can also harbor bacteria and germs, posing a potential health hazard in your kitchen. By regularly
replacing
the spray nozzle, you can ensure that your sink area remains clean and hygienic. This is especially important if you use your kitchen sink to wash fruits and vegetables or if you have young children who may come into contact with the nozzle.
In conclusion, the
spray nozzle
on your
kitchen sink
may seem like a small and insignificant part, but it plays a crucial role in the overall functionality and design of your kitchen. By regularly
replacing
it, you can improve water efficiency, enhance your kitchen's design, and ensure hygiene and safety in your home. So the next time you're doing some kitchen maintenance, don't forget to give your spray nozzle some attention. Your kitchen (and your wallet) will thank you.


/25089301983_c5145fe85d_o-58418ef15f9b5851e5f392b5.jpg)


