If you've noticed that your bathroom sink is draining slowly or not at all, it could be time to replace the pop-up drain. This is a common issue that can be easily fixed with some basic tools and a little bit of know-how. In this guide, we'll walk you through the process of replacing a pop-up drain in a bathroom sink so you can get your sink draining properly again.How to Replace a Pop-Up Drain in a Bathroom Sink


How to Replace a Pop-Up Drain in a Bathroom Sink


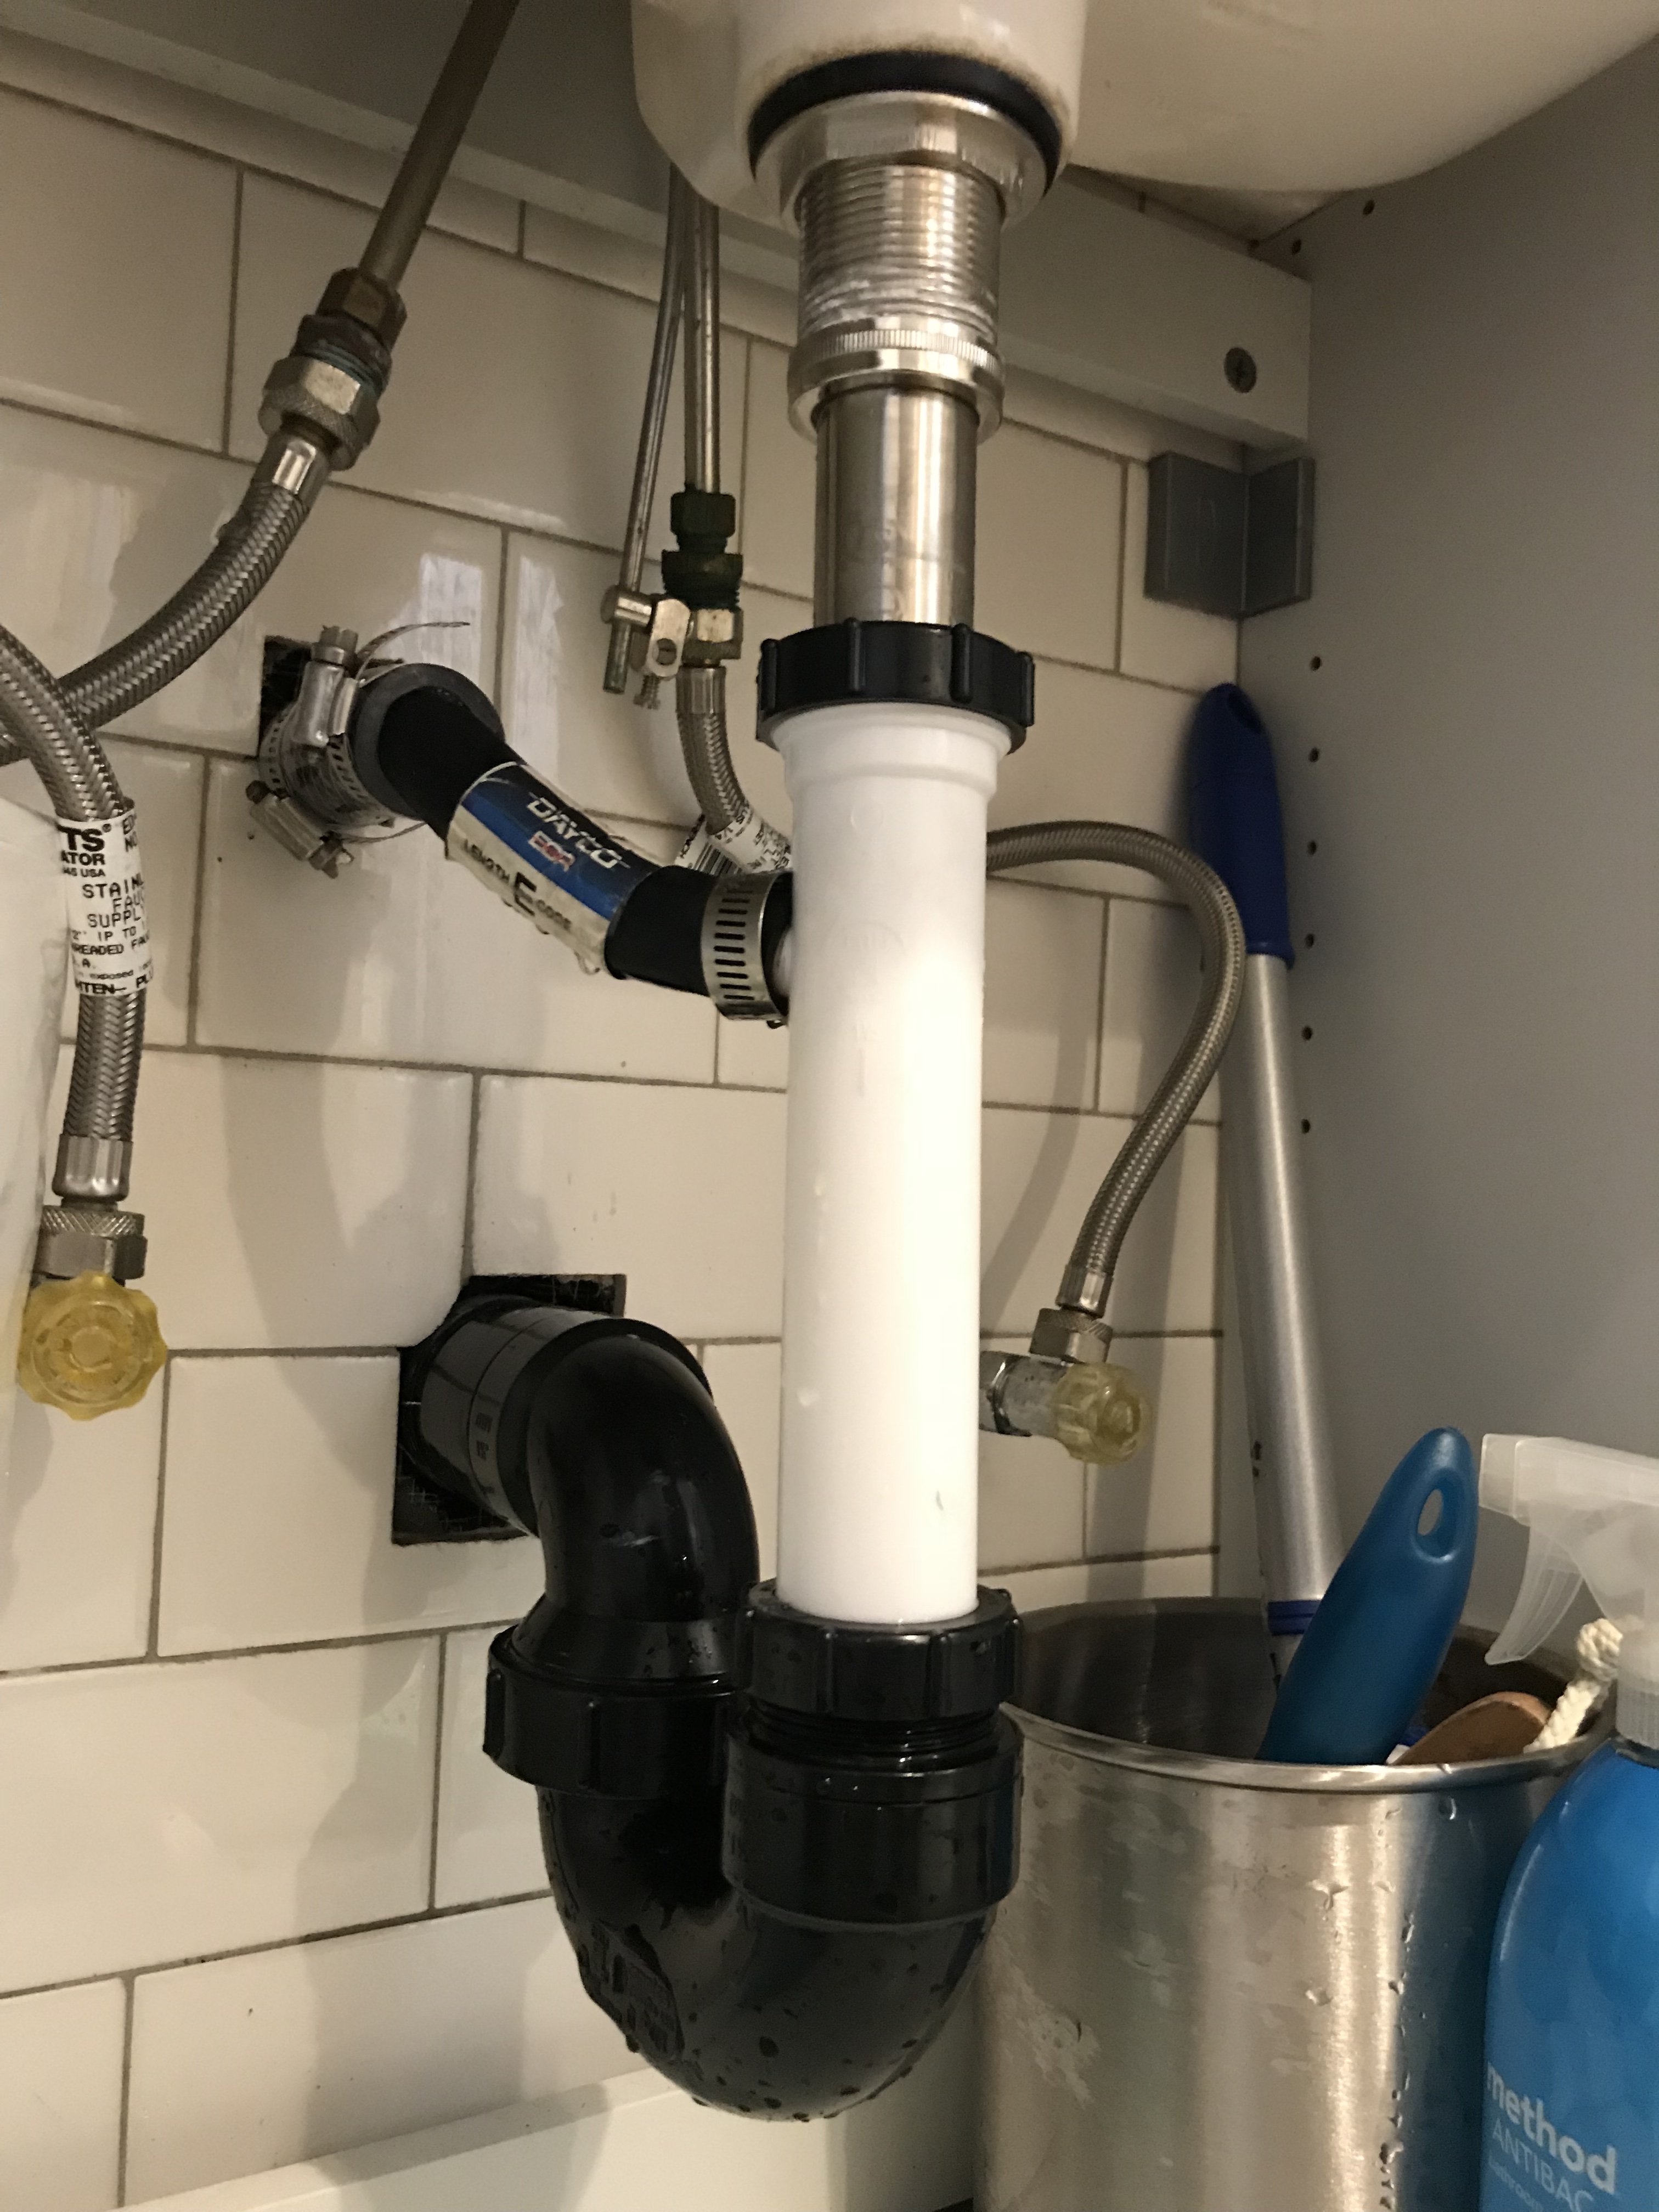
Before we dive into the steps, it's important to understand what a pop-up drain is and how it works. A pop-up drain is the mechanism in your sink that allows you to open and close the drain by pulling or pushing on a knob or lever. Over time, these drains can become clogged with hair, soap scum, and other debris, causing them to stop functioning properly.Replacing a Pop-Up Drain in a Bathroom Sink


Replacing a Pop-Up Drain in a Bathroom Sink


Now, let's get into the step-by-step process for replacing a pop-up drain in a bathroom sink. Don't worry, it's easier than you might think!Step-by-Step Guide for Replacing a Pop-Up Drain in a Bathroom Sink

Step-by-Step Guide for Replacing a Pop-Up Drain in a Bathroom Sink

Before you get started, make sure you have all the necessary tools and materials. You'll need a pair of pliers, an adjustable wrench, a screwdriver, a new pop-up drain assembly, and plumber's putty. It's also a good idea to have a bucket or towels on hand to catch any water that may spill out during the process.Step 1: Gather Your Tools and Materials

DIY: Replacing a Pop-Up Drain in a Bathroom Sink
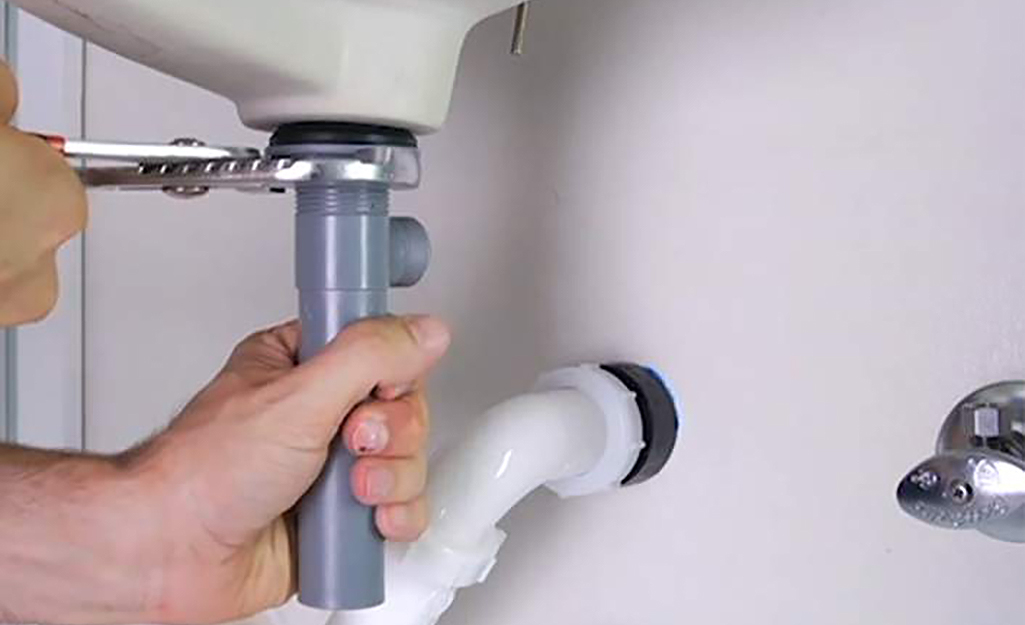
The first step is to remove the old pop-up drain from your sink. Start by finding the pivot rod, which is a long metal rod that connects the drain stopper to the back of the sink. Loosen the retaining nut on the back of the sink and pull out the pivot rod. Next, remove the drain stopper by unscrewing it from the top of the sink. Finally, unscrew the old drain flange from the bottom of the sink and remove it.Step 2: Remove the Old Pop-Up Drain


Replacing a Bathroom Sink Pop-Up Drain: A Comprehensive Guide


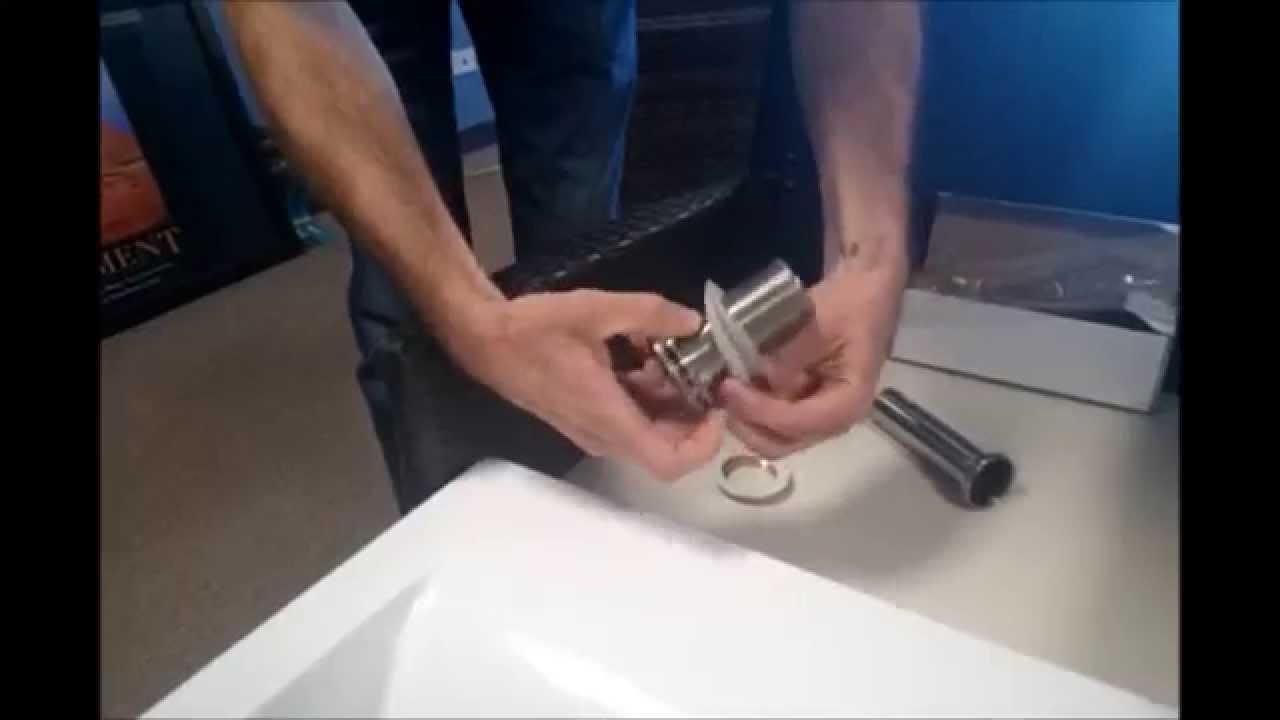
Now it's time to prepare the new pop-up drain for installation. Apply a thin layer of plumber's putty around the bottom of the new drain flange. This will create a waterproof seal between the flange and the sink.Step 3: Prepare the New Pop-Up Drain
Easy Steps for Replacing a Pop-Up Drain in a Bathroom Sink
Place the new drain flange in the sink and screw it into place. Make sure it's nice and tight so it won't leak. Next, insert the new drain stopper into the drain, ensuring that the hole in the stopper lines up with the pivot rod hole in the back of the sink. Screw the drain stopper into place.Step 4: Install the New Pop-Up Drain
Replacing a Pop-Up Drain in a Bathroom Sink: What You Need to Know


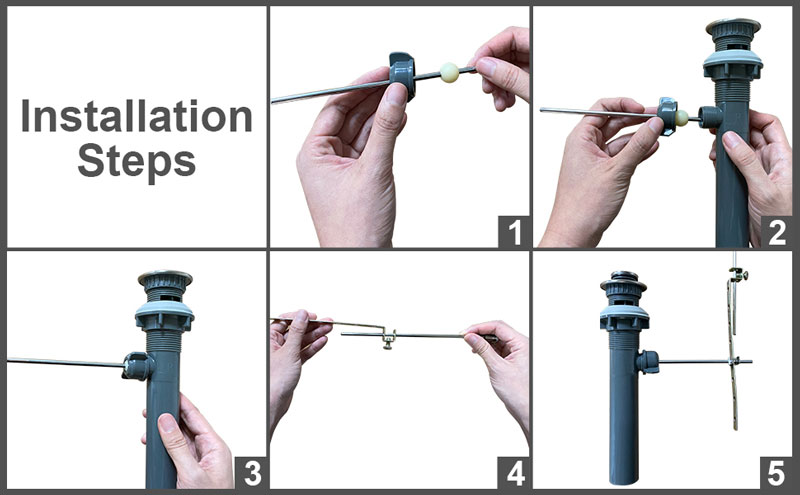
Take the pivot rod and insert it into the hole in the back of the sink. Then, attach the other end of the pivot rod to the bottom of the drain stopper. Adjust the rod as needed to make sure the stopper opens and closes smoothly.Step 5: Connect the Pivot Rod


The Ultimate Guide to Replacing a Pop-Up Drain in a Bathroom Sink
Before finishing up, it's important to test the new pop-up drain to make sure it's functioning properly. Fill the sink with some water and pull up on the stopper to see if it drains properly. If it does, you're good to go! If not, you may need to adjust the pivot rod or tighten the drain flange.Step 6: Test the Drain


Replacing a Pop-Up Drain in a Bathroom Sink: Tips and Tricks
Once you're happy with the new pop-up drain, clean up any excess plumber's putty and tighten any screws or nuts if needed. Wipe down the sink and you're all done!Step 7: Clean Up and Finish
Step-by-Step Tutorial for Replacing a Pop-Up Drain in a Bathroom Sink
Why You Should Consider Replacing Your Bathroom Sink's Pop-Up Drain

Enhance the Aesthetic Appeal of Your Bathroom
 If you're looking to give your bathroom a quick and affordable facelift, replacing your pop-up drain might just do the trick. This small but significant change can instantly elevate the overall look of your bathroom. With a wide range of styles and finishes available, you can choose a pop-up drain that complements your existing bathroom fixtures and adds a touch of sophistication. Whether you prefer a modern and sleek look or a more traditional and classic design, there's a pop-up drain out there that will perfectly suit your personal style.
Bathroom sink
replacement is also a great opportunity to update the overall design of your bathroom. You can opt for a more unique and eye-catching sink shape or a trendy color, such as matte black or brushed gold. By incorporating a new pop-up drain, you can completely transform the look and feel of your bathroom without breaking the bank.
If you're looking to give your bathroom a quick and affordable facelift, replacing your pop-up drain might just do the trick. This small but significant change can instantly elevate the overall look of your bathroom. With a wide range of styles and finishes available, you can choose a pop-up drain that complements your existing bathroom fixtures and adds a touch of sophistication. Whether you prefer a modern and sleek look or a more traditional and classic design, there's a pop-up drain out there that will perfectly suit your personal style.
Bathroom sink
replacement is also a great opportunity to update the overall design of your bathroom. You can opt for a more unique and eye-catching sink shape or a trendy color, such as matte black or brushed gold. By incorporating a new pop-up drain, you can completely transform the look and feel of your bathroom without breaking the bank.
Improve Functionality and Convenience
 Aside from aesthetics, replacing your pop-up drain can also improve the functionality and convenience of your bathroom sink. Old or faulty drains can become clogged easily, causing water to drain slowly or not at all. This can be frustrating and time-consuming, especially if you have multiple people using the same sink. A new pop-up drain will not only prevent clogs, but it will also allow for smoother and faster draining, making your daily bathroom routine more efficient.
Furthermore, some pop-up drains come with added features that can enhance your overall bathroom experience. For example, some have a built-in stopper that allows you to fill your sink with water for tasks like shaving or washing your face. This eliminates the need for a separate stopper, which can often get lost or misplaced. Additionally, some pop-up drains have a push-button mechanism for opening and closing, making it easier to operate with just one hand.
Replacing your bathroom sink's pop-up drain
is a simple and cost-effective way to give your bathroom a makeover while also improving its functionality. With the added convenience and style, it's definitely worth considering this upgrade for your bathroom. So the next time you're thinking about updating your bathroom design, don't forget to include a new pop-up drain in your plans.
Aside from aesthetics, replacing your pop-up drain can also improve the functionality and convenience of your bathroom sink. Old or faulty drains can become clogged easily, causing water to drain slowly or not at all. This can be frustrating and time-consuming, especially if you have multiple people using the same sink. A new pop-up drain will not only prevent clogs, but it will also allow for smoother and faster draining, making your daily bathroom routine more efficient.
Furthermore, some pop-up drains come with added features that can enhance your overall bathroom experience. For example, some have a built-in stopper that allows you to fill your sink with water for tasks like shaving or washing your face. This eliminates the need for a separate stopper, which can often get lost or misplaced. Additionally, some pop-up drains have a push-button mechanism for opening and closing, making it easier to operate with just one hand.
Replacing your bathroom sink's pop-up drain
is a simple and cost-effective way to give your bathroom a makeover while also improving its functionality. With the added convenience and style, it's definitely worth considering this upgrade for your bathroom. So the next time you're thinking about updating your bathroom design, don't forget to include a new pop-up drain in your plans.


