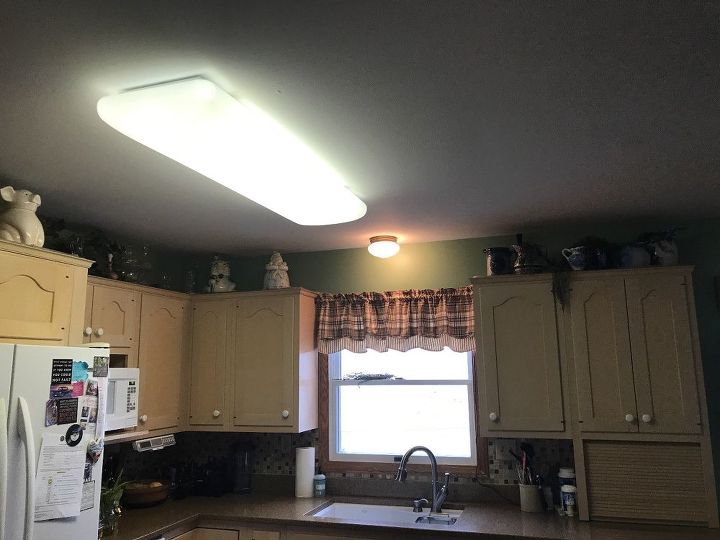
If you're tired of working in a dimly lit kitchen, it may be time to replace your overhead kitchen light. Whether you want to upgrade to a more modern fixture or simply need a brighter light, replacing an overhead kitchen light can make a big difference in your cooking and dining experience. Here's a step-by-step guide on how to replace your overhead kitchen light and achieve a well-lit and functional space.How to Replace an Overhead Kitchen Light
Replacing an overhead kitchen light may seem like a daunting task, but with the right tools and materials, it can be a relatively simple DIY project. Follow these steps to successfully replace your overhead kitchen light:Replacing an Overhead Kitchen Light: A Step-by-Step Guide
Before starting the project, make sure you have all the necessary materials on hand. This may include a new light fixture, wire nuts, electrical tape, wire cutters, a screwdriver, and a ladder. It's important to have all your materials ready to avoid any delays or interruptions during the installation process.Step 1: Gather Your Materials
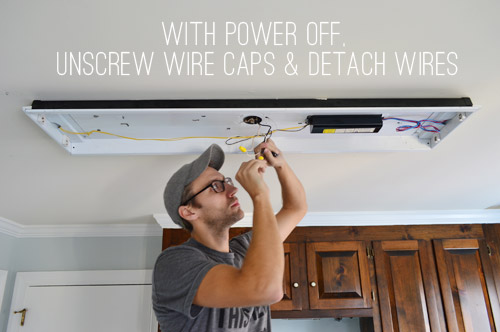
Safety should always be your top priority when working with electricity. Before starting any work on your overhead kitchen light, turn off the power to the light at the circuit breaker. This will ensure that there is no electricity running to the light while you are working on it.Step 2: Turn off the Power
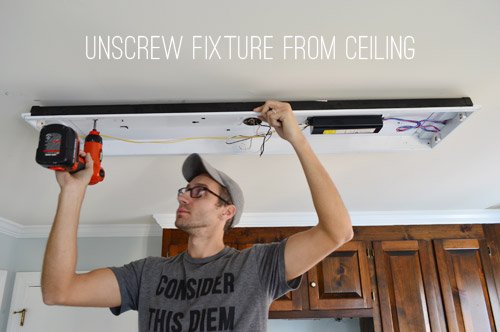
Using a screwdriver, remove the screws holding the old fixture in place. Once the screws have been removed, gently pull the fixture away from the ceiling. You may need to disconnect any wires connected to the fixture using wire cutters.Step 3: Remove the Old Fixture
Follow the manufacturer's instructions to install the new fixture. This may involve connecting wires, securing the fixture to the ceiling, and attaching any necessary parts. Make sure to use the wire nuts and electrical tape to securely connect the wires.Step 4: Install the New Fixture
Once the new fixture is installed, turn the power back on and test the light to ensure it is working properly. If everything looks good, you can proceed to mount any additional parts, such as light shades or covers.Step 5: Turn on the Power and Test the Light
Replacing an overhead kitchen light can be a straightforward process, but here are a few tips and tricks to keep in mind to ensure a successful installation: Tip #1: Before starting the project, make sure the new fixture is the correct size for your space. Measure the area where the old fixture was to ensure you purchase a new one that fits properly. Tip #2: It's always a good idea to have another person help you with the installation. They can hold the light fixture in place while you connect the wires and make the installation process smoother. Tip #3: If you're unsure about any of the steps or feel uncomfortable working with electricity, it's best to call a professional electrician for help.Replacing an Overhead Kitchen Light: Tips and Tricks
When replacing an overhead kitchen light, it's important to keep a few things in mind to ensure a successful installation: Know the Wiring: Before starting the project, familiarize yourself with the wiring in your kitchen. If you're unsure about any of the wires or how to connect them, consult an electrician for assistance. Choose the Right Bulbs: Make sure to choose the right type of bulbs for your new fixture. Consider the brightness, color, and energy efficiency of the bulbs before making a purchase. Consider the Style: Your overhead kitchen light is not only a functional fixture, but it can also add to the overall style of your kitchen. Consider the design, finish, and size of the new fixture to ensure it complements your space.Replacing an Overhead Kitchen Light: What You Need to Know
Replacing an overhead kitchen light may seem like a simple task, but there are a few common mistakes that can occur during the installation process. Here are some mistakes to avoid: Not Turning off the Power: This is a crucial step in the process, and not turning off the power can result in serious injury or damage. Forgetting to Use Wire Nuts and Electrical Tape: These tools are essential for safely connecting wires and should not be skipped or overlooked. Using Incorrect Bulbs: Using the wrong type of bulbs can result in flickering or dim lighting, so make sure to use the recommended bulbs for your fixture.Replacing an Overhead Kitchen Light: Common Mistakes to Avoid
Why Replace Your Overhead Kitchen Light:

Efficiency and Functionality
 One of the key reasons to replace your overhead kitchen light is for increased efficiency and functionality in your kitchen space. Traditional overhead lights can be harsh and create shadows, making it difficult to see while cooking or preparing food. By upgrading to
modern LED lights
, you can improve the overall lighting in your kitchen, making it easier to complete tasks and enhancing the functionality of the space.
Energy and Cost Savings
 Another important factor to consider when replacing your overhead kitchen light is the potential for energy and cost savings. Traditional incandescent lights can use a significant amount of electricity, resulting in higher energy bills. By switching to
energy-efficient LEDs
, you can reduce your energy consumption and save money in the long run. LED lights also have a longer lifespan compared to traditional lights, meaning you won't have to replace them as often, further reducing costs.
Enhanced Aesthetic Appeal
 Replacing your overhead kitchen light can also have a significant impact on the overall aesthetic appeal of your kitchen.
Modern LED lights
come in a variety of styles and designs, allowing you to choose a light fixture that complements your kitchen's design and adds a touch of personality to the space. Additionally, LED lights are available in different color temperatures, allowing you to create the perfect ambiance for your kitchen.
Improved Safety
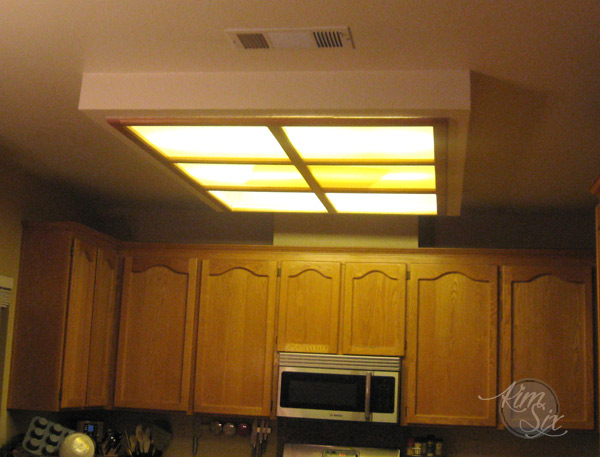 Proper lighting is crucial for ensuring a safe environment in your kitchen. With traditional overhead lights, there is a risk of overheating and potential fire hazards. By switching to
LED lights
, you can reduce this risk and create a safer space for cooking and other activities in your kitchen.
Conclusion
 In conclusion, replacing your overhead kitchen light is a simple but effective way to improve the overall functionality, energy efficiency, aesthetic appeal, and safety of your kitchen. With a variety of modern LED options available, it's easy to find the perfect light fixture that meets your needs and enhances your kitchen's design. Upgrade your kitchen lighting today and experience the many benefits it has to offer.


