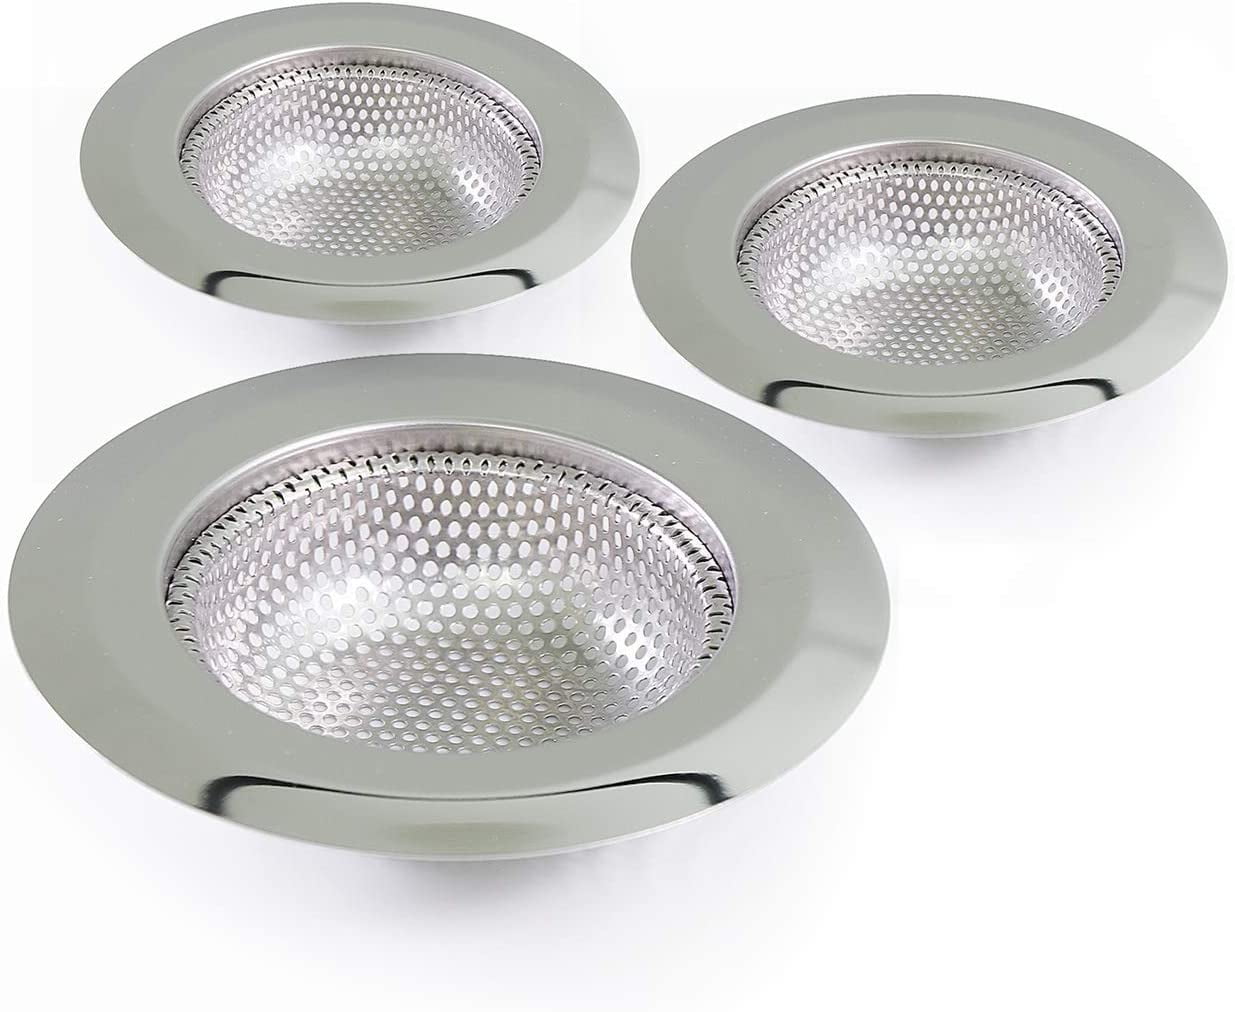
If your kitchen sink is constantly clogging and you've tried everything from using a plunger to pouring boiling water down the drain, it may be time to replace your kitchen sink strainer basket. Over time, these small but essential kitchen components can become damaged or worn out, leading to leaks and inefficient drainage. Fortunately, replacing a kitchen sink strainer basket is a relatively easy DIY project that can save you money on hiring a plumber. In this guide, we'll walk you through the steps of replacing a kitchen sink strainer basket and the accompanying gasket.How to Replace a Kitchen Sink Strainer Basket


How to Replace a Kitchen Sink Strainer Basket


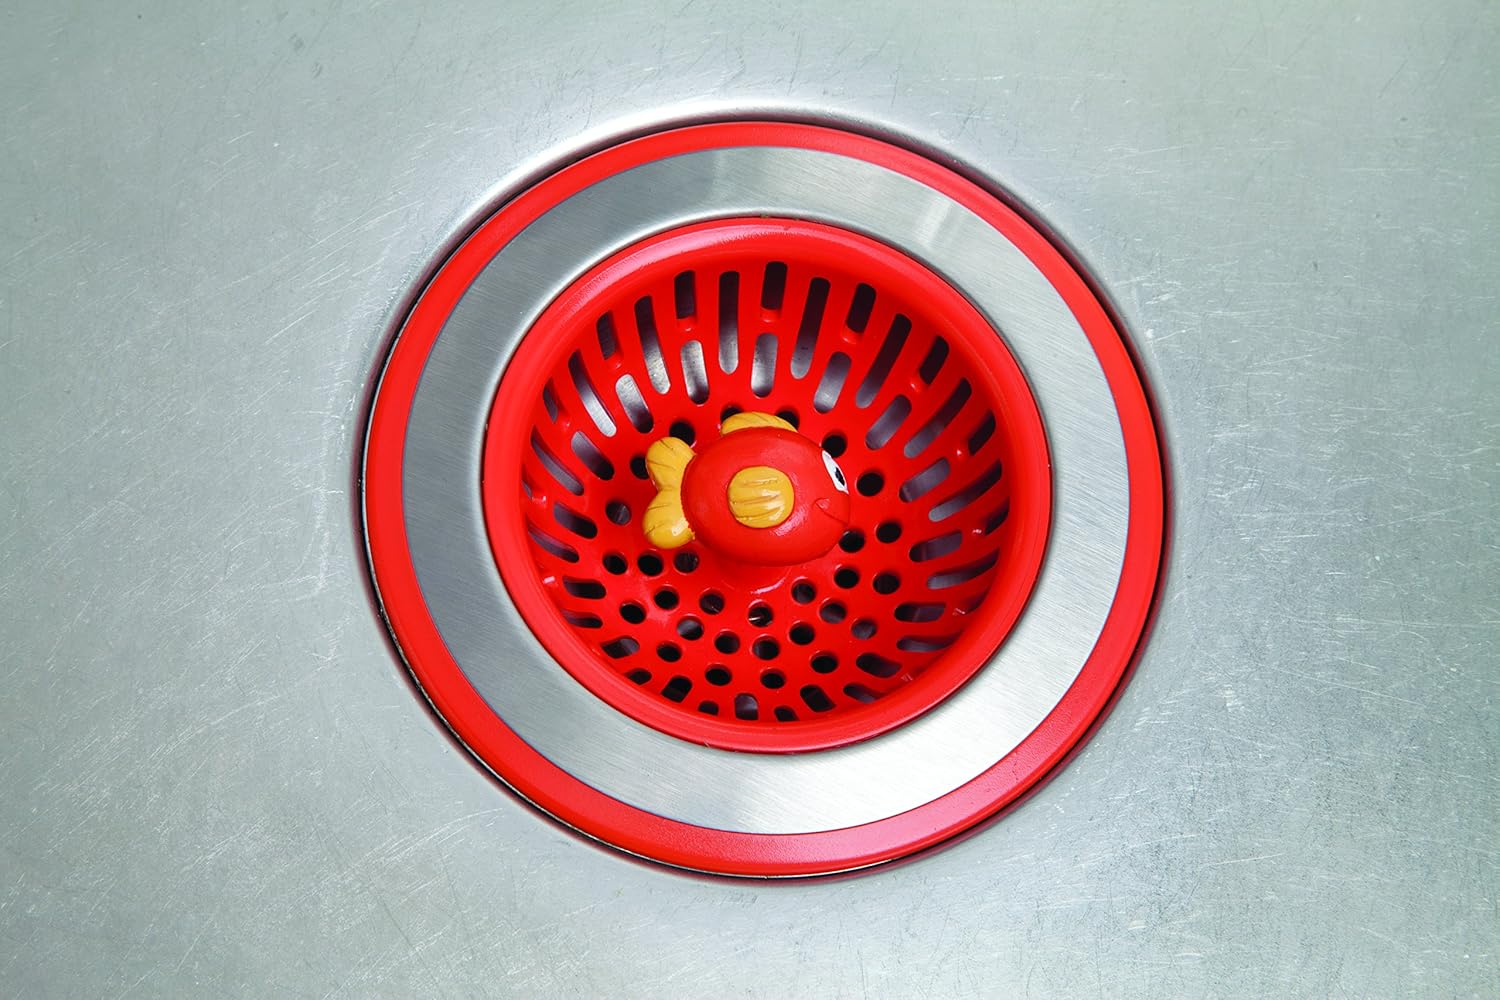
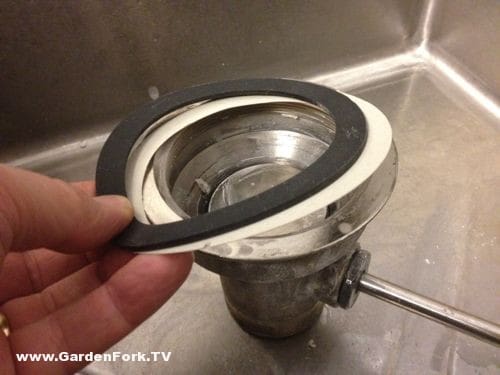
The gasket is the rubber ring that seals the connection between the sink and the strainer basket, preventing water from leaking out. If you notice water pooling around your sink or a musty smell coming from your drain, it's likely that your gasket needs to be replaced. Here's how to do it:How to Replace a Kitchen Sink Strainer Basket Gasket


How to Replace a Kitchen Sink Strainer Basket Gasket


If both your strainer basket and gasket need to be replaced, follow these steps to complete the entire replacement process:How to Replace a Kitchen Sink Strainer Basket and Gasket


How to Replace a Kitchen Sink Strainer Basket and Gasket
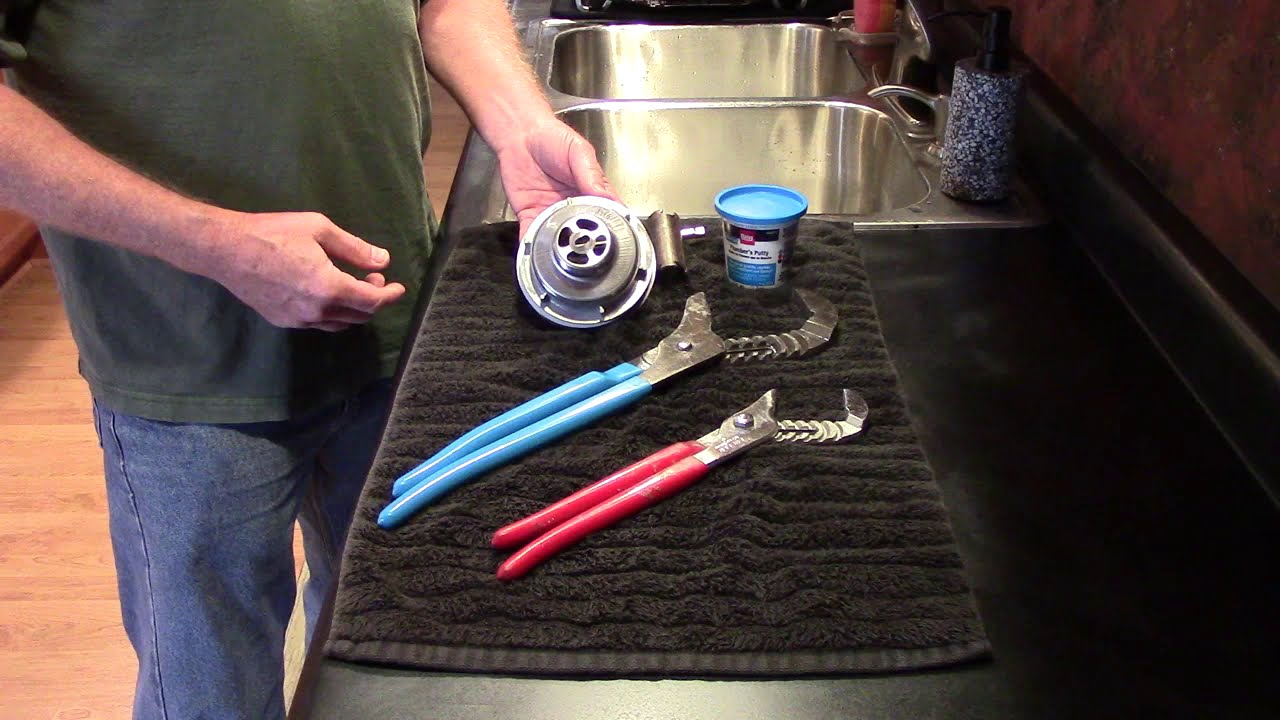
Replacing a kitchen sink strainer basket and gasket is a simple DIY project that can save you time and money. With just a few basic tools and some plumber's putty, you can have your kitchen sink running like new in no time. Follow the steps outlined above to easily replace a damaged or worn out strainer basket and gasket yourself.DIY Kitchen Sink Strainer Basket Replacement

DIY Kitchen Sink Strainer Basket Replacement


If you're a visual learner, here's a step-by-step guide for replacing a kitchen sink strainer basket and gasket:Step-by-Step Guide for Replacing a Kitchen Sink Strainer Basket


Step-by-Step Guide for Replacing a Kitchen Sink Strainer Basket


While replacing a kitchen sink strainer basket and gasket may seem like a daunting task, it's actually a simple and straightforward process. By following the steps outlined above and using the right tools and materials, you can easily replace these essential components and keep your kitchen sink functioning properly.Replacing a Kitchen Sink Strainer Basket and Gasket: A Comprehensive Guide


Replacing a Kitchen Sink Strainer Basket and Gasket: A Comprehensive Guide


Don't let a damaged or worn out kitchen sink strainer basket and gasket slow you down. With our quick and easy guide, you can replace these components in no time and get back to using your sink without any leaks or clogs. Remember to always use plumber's putty to ensure a watertight seal and test for leaks before considering the job complete.Quick and Easy Kitchen Sink Strainer Basket and Gasket Replacement


Quick and Easy Kitchen Sink Strainer Basket and Gasket Replacement

Here are some additional tips and tricks to keep in mind when replacing a kitchen sink strainer basket and gasket:Replacing a Kitchen Sink Strainer Basket and Gasket: Tips and Tricks

Replacing a Kitchen Sink Strainer Basket and Gasket: Tips and Tricks
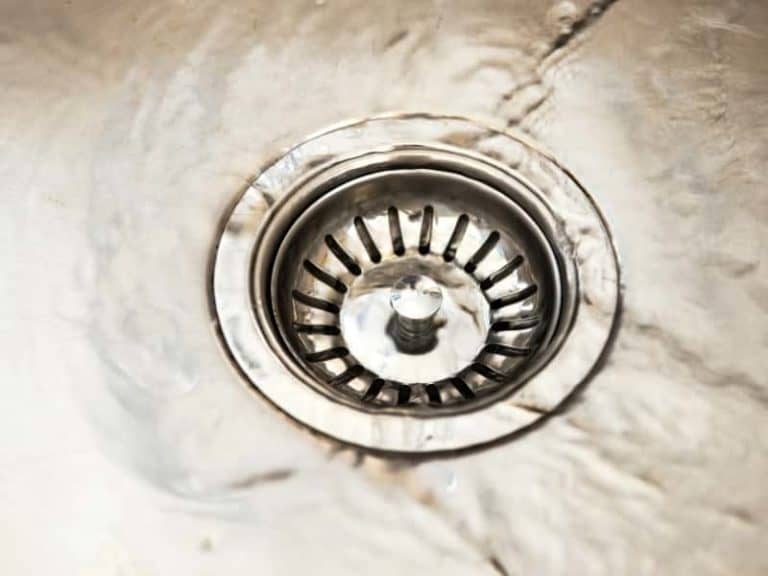
Replacing a kitchen sink strainer basket and gasket is important for maintaining the proper functioning of your sink. A damaged or worn out strainer basket can lead to clogs and slow drainage, while a faulty gasket can cause leaks and potential water damage. By replacing these components when necessary, you can prevent these issues and keep your sink running smoothly.The Importance of Replacing a Kitchen Sink Strainer Basket and Gasket


The Importance of Replacing a Kitchen Sink Strainer Basket and Gasket

When replacing a kitchen sink strainer basket and gasket, there are a few common mistakes to avoid:Common Mistakes to Avoid When Replacing a Kitchen Sink Strainer Basket and Gasket

Common Mistakes to Avoid When Replacing a Kitchen Sink Strainer Basket and Gasket


Why You Should Replace Your Kitchen Sink Strainer Basket Gasket

What is a Kitchen Sink Strainer Basket Gasket?
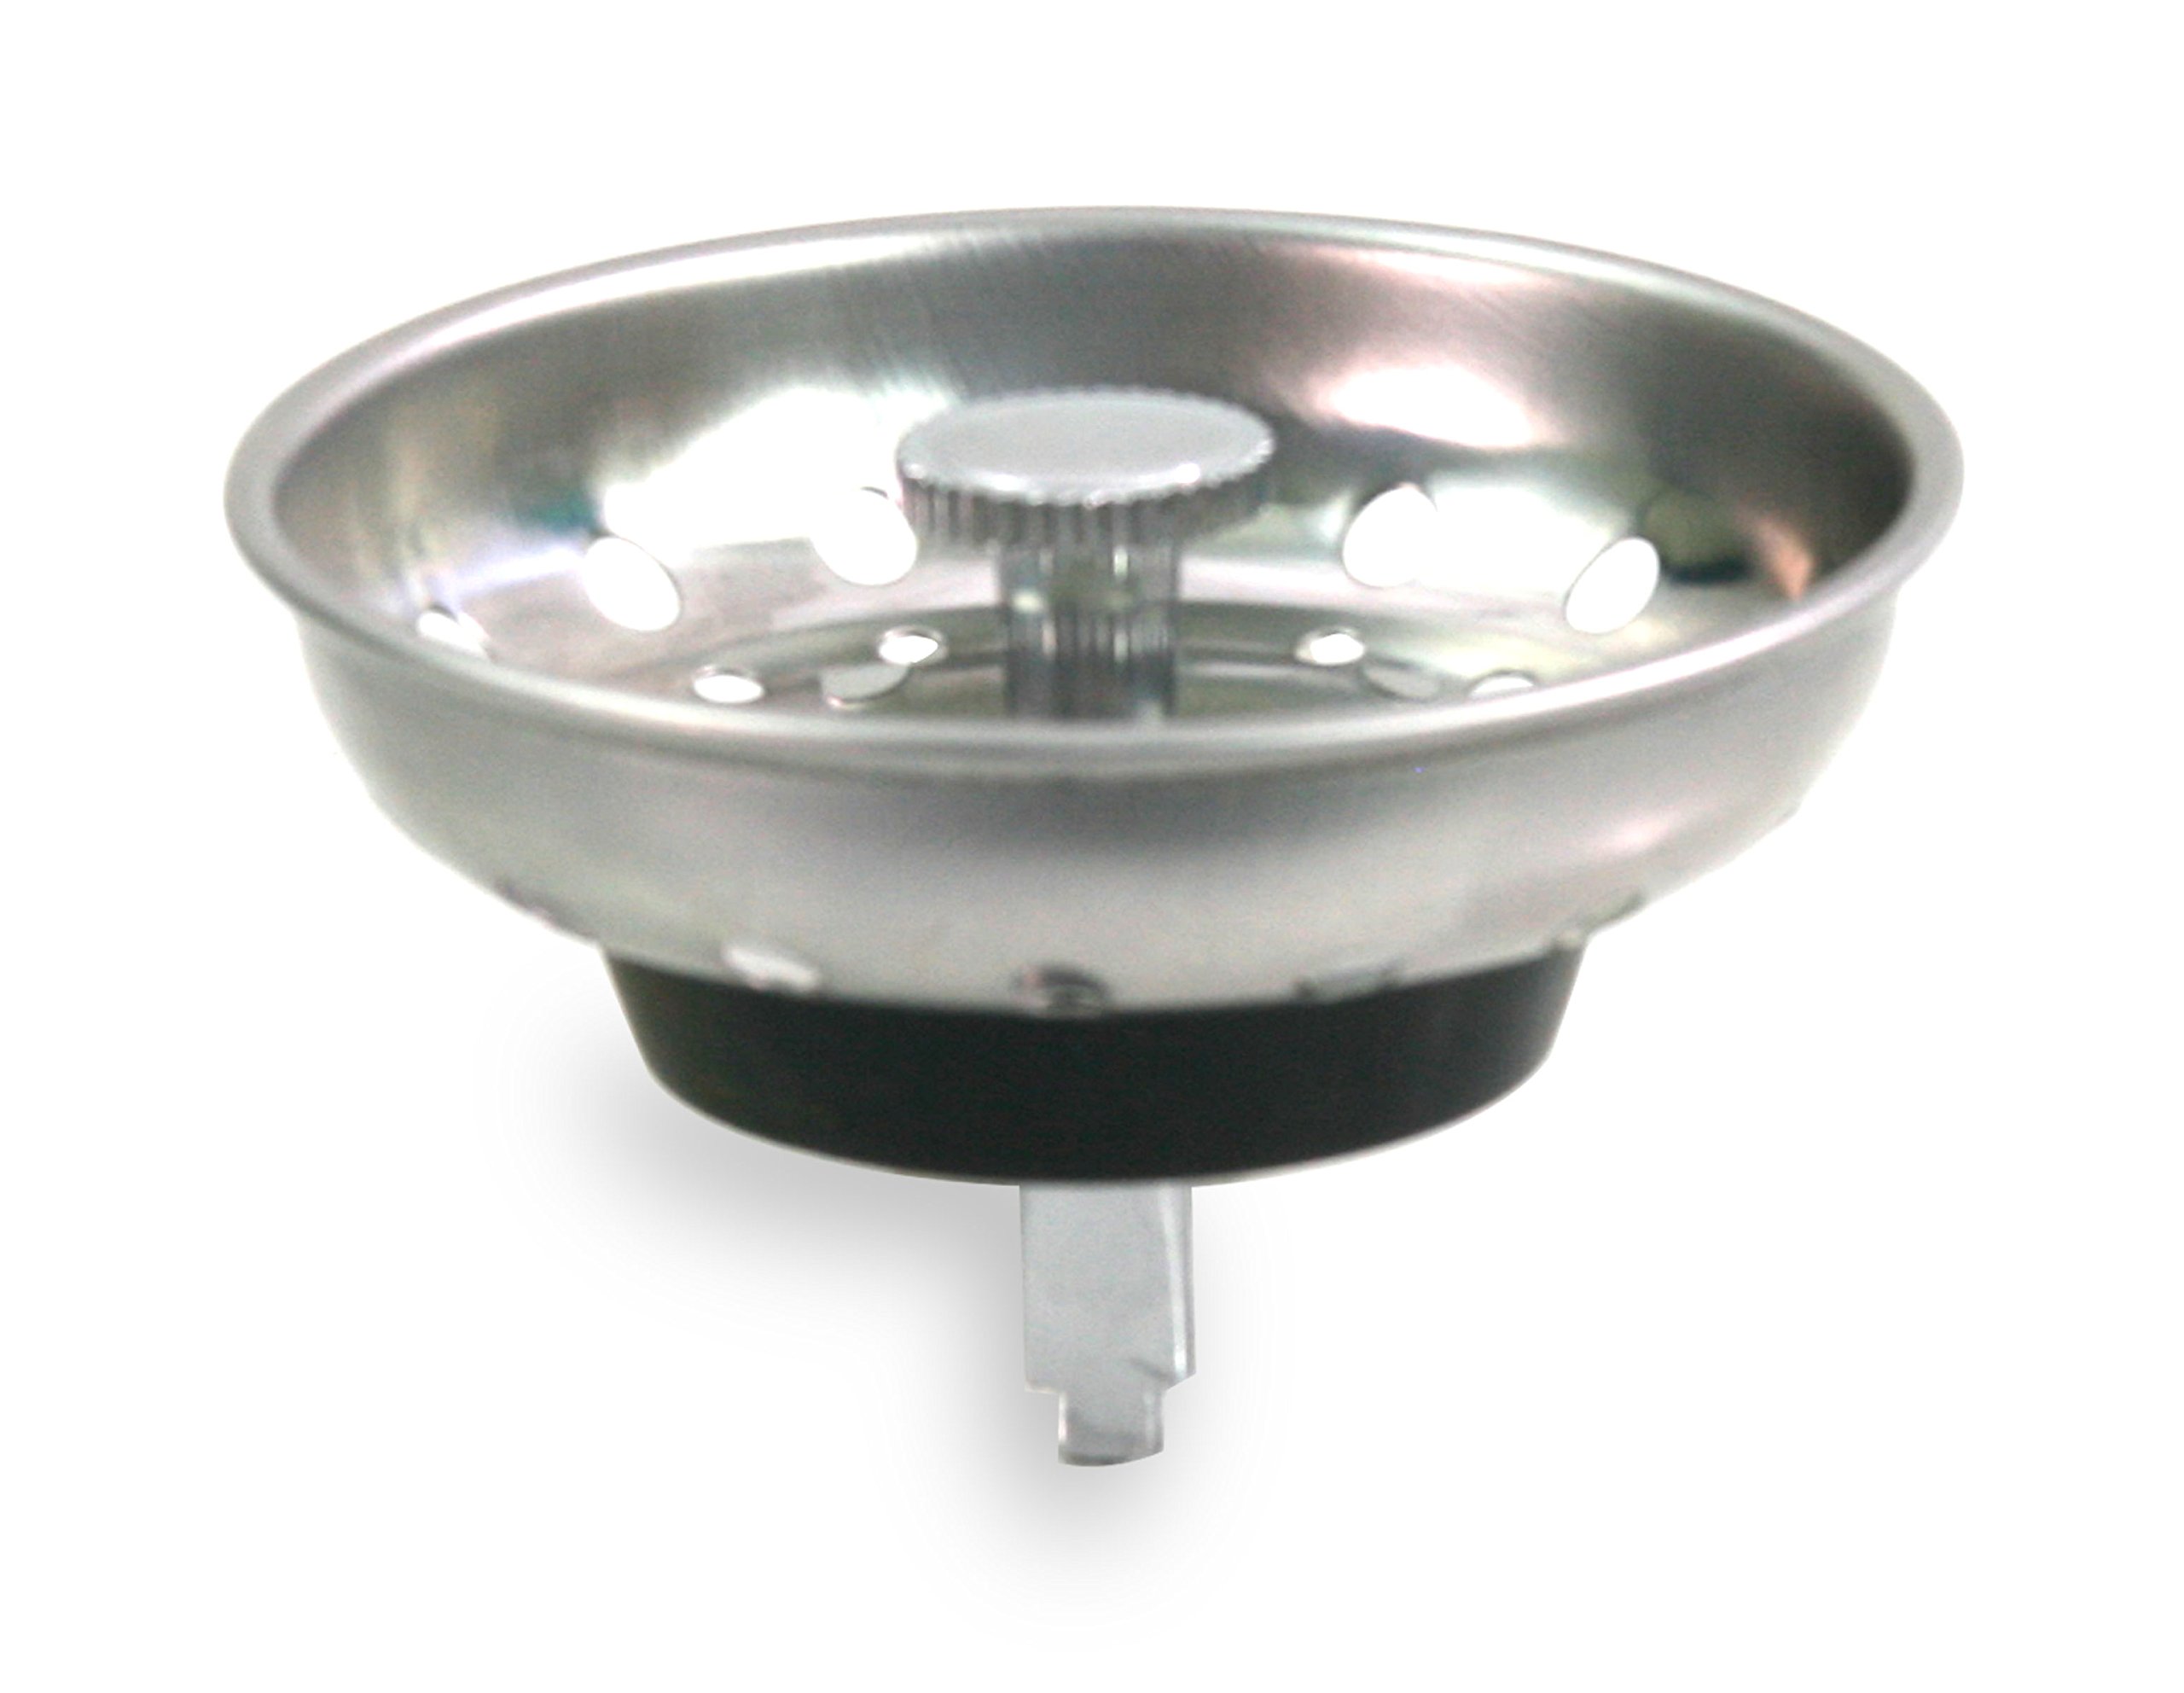
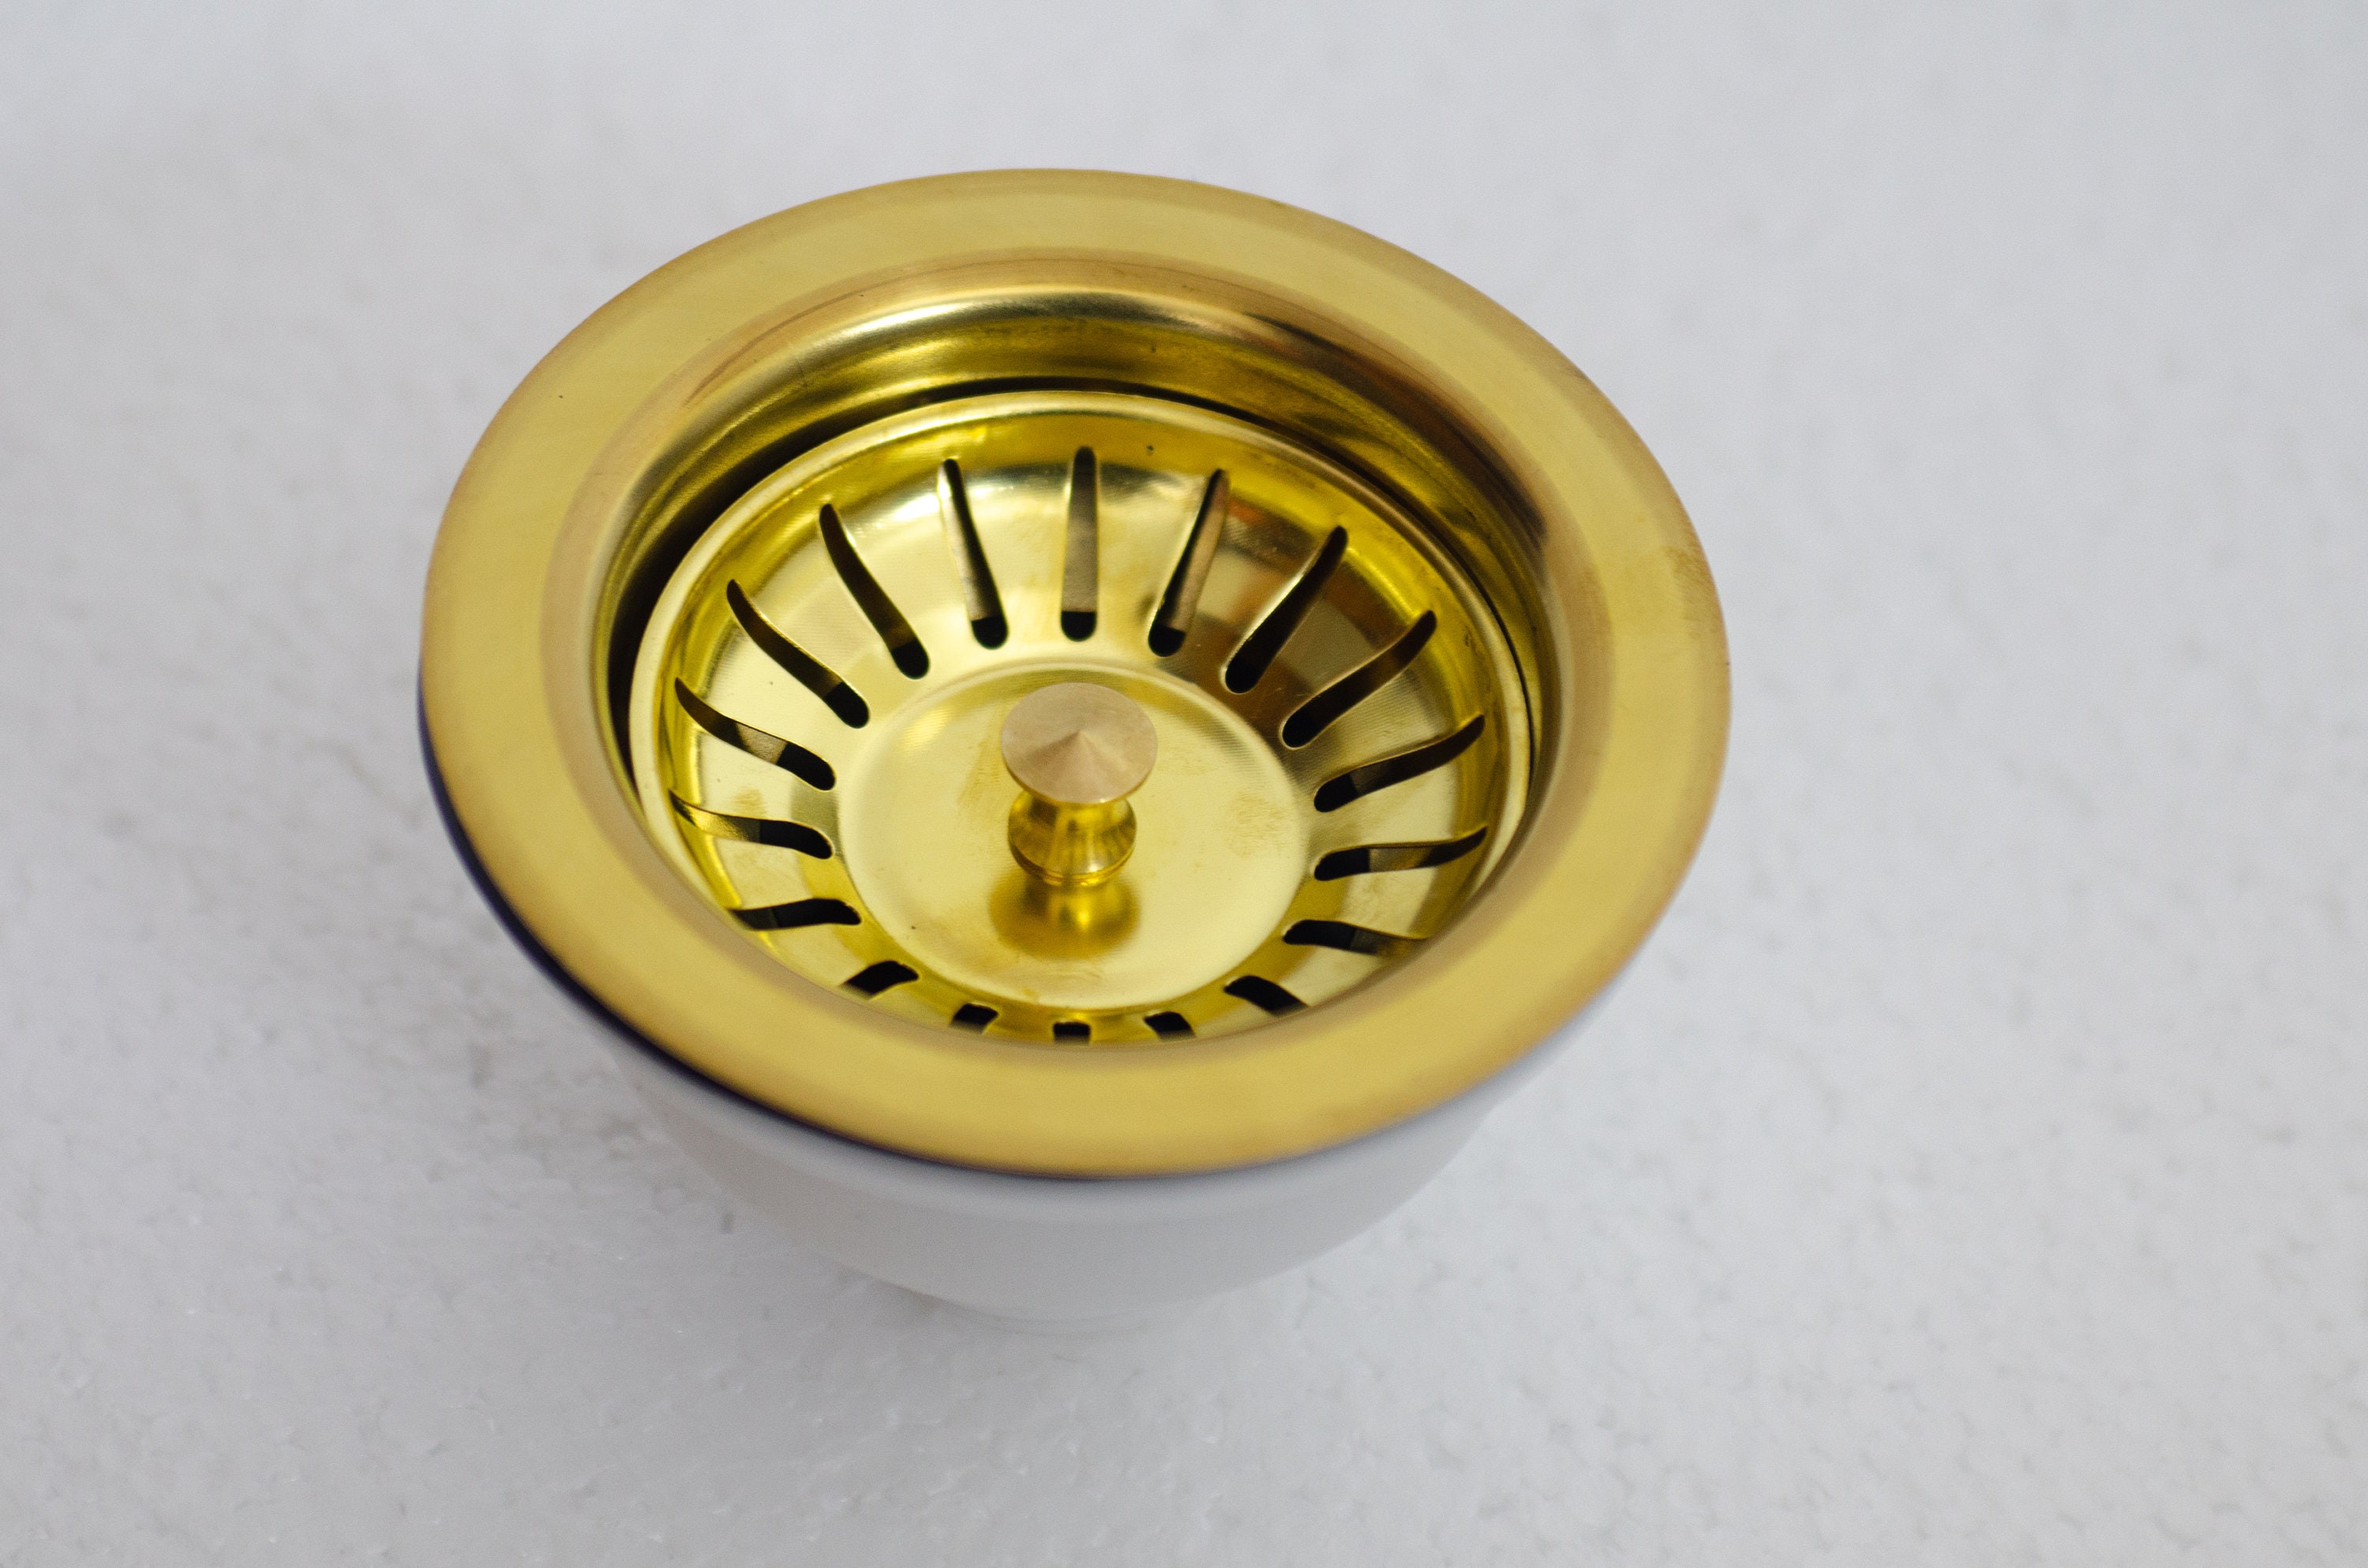
 If you're not familiar with the term, a kitchen sink strainer basket gasket is a small rubber or silicone ring that fits tightly around the base of your sink strainer basket. Its purpose is to create a watertight seal between the basket and the sink, preventing any leaks or dripping water. Over time, these gaskets can wear out or become damaged, leading to potential water damage and higher water bills. That's why it's important to replace them when needed.
The Importance of Replacing a Damaged Gasket
 You may be wondering why replacing a small gasket is such a big deal. The truth is, even the smallest leaks in your kitchen sink can cause major issues. Not only can they lead to water damage and mold growth, but they can also contribute to a higher water bill. The constant dripping may seem like a minor annoyance, but it can add up over time. By replacing your kitchen sink strainer basket gasket, you'll not only prevent potential damage and save money, but you'll also ensure that your sink is functioning properly.
How to Replace a Kitchen Sink Strainer Basket Gasket
 Fortunately, replacing a kitchen sink strainer basket gasket is a relatively simple task that can be done in just a few steps. First, you'll need to gather the necessary tools, including a new gasket, a screwdriver, and plumber's putty. Then, follow these steps:
1. Remove the old gasket: Use a screwdriver to loosen and remove the screws holding the strainer basket in place. Then, carefully lift out the old gasket and clean any residue from the sink and basket.
2. Apply plumber's putty: Roll a small amount of plumber's putty between your hands to create a thin rope. Then, wrap it around the underside of the strainer basket before placing it back into the sink.
3. Secure the strainer basket: Once the strainer basket is back in place, use the screws to secure it tightly to the sink.
4. Install the new gasket: Place the new gasket on top of the strainer basket, making sure it fits snugly around the base.
5. Test for leaks: Turn on the water and check for any leaks. If everything looks good, you're all set!
When to Replace Your Gasket
 It's recommended to replace your kitchen sink strainer basket gasket every 1-2 years, or sooner if you notice any signs of damage or wear. Over time, the gasket can become brittle and less effective, so it's important to keep an eye on its condition.
In conclusion, replacing your kitchen sink strainer basket gasket is a simple and important task to maintain the functionality and integrity of your sink. By following these steps and keeping an eye on the condition of your gasket, you'll ensure that your sink remains leak-free and functioning properly for years to come. Don't overlook this small but crucial maintenance task for your kitchen.
It's recommended to replace your kitchen sink strainer basket gasket every 1-2 years, or sooner if you notice any signs of damage or wear. Over time, the gasket can become brittle and less effective, so it's important to keep an eye on its condition.
In conclusion, replacing your kitchen sink strainer basket gasket is a simple and important task to maintain the functionality and integrity of your sink. By following these steps and keeping an eye on the condition of your gasket, you'll ensure that your sink remains leak-free and functioning properly for years to come. Don't overlook this small but crucial maintenance task for your kitchen.