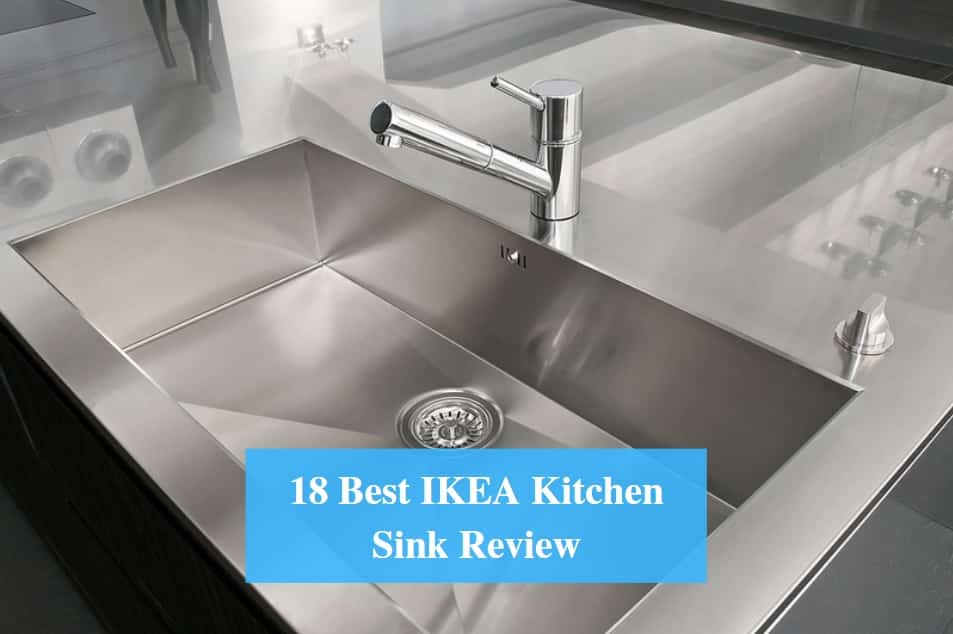
Replacing a kitchen sink can seem like a daunting task, but with the right tools and knowledge, it can be a simple and straightforward process. If you have an IKEA kitchen sink that needs to be replaced, you're in luck. IKEA offers a variety of high-quality, affordable kitchen sinks that are easy to install. In this guide, we'll walk you through the steps of replacing your kitchen sink with a new one from IKEA.1. IKEA Kitchen Sink Replacement Guide


1. IKEA Kitchen Sink Replacement Guide


The first step in replacing your kitchen sink is to choose the right replacement sink from IKEA. Consider the size, material, and style that will best suit your kitchen. Once you have your new sink, you can begin the process of removing the old one. Start by turning off the water supply and disconnecting the plumbing. Then, remove any caulk or adhesive that may be holding the sink in place.2. How to Replace a Kitchen Sink from IKEA


2. How to Replace a Kitchen Sink from IKEA


Now that your old sink is removed, it's time to install the new one. Follow these steps for a smooth installation process: Step 1: Place the new sink in the desired location and secure it with clamps. Step 2: Connect the water supply lines and drain pipes to the new sink. Step 3: Apply a bead of caulk around the edges of the sink to create a watertight seal. Step 4: Reconnect the garbage disposal, if you have one. Step 5: Turn on the water supply and check for any leaks. Step 6: Once everything is secure and in place, remove the clamps and clean up any excess caulk.3. Step-by-Step Guide for Replacing an IKEA Kitchen Sink


3. Step-by-Step Guide for Replacing an IKEA Kitchen Sink


Replacing a kitchen sink can be a messy and time-consuming project, but with these tips, you can make the process go much more smoothly: Tip 1: Before removing your old sink, take pictures of the plumbing and connections to use as a reference when installing the new sink. Tip 2: Use a silicone-based caulk for a strong and long-lasting seal around the edges of the sink. Tip 3: Have a bucket or towels on hand to catch any excess water that may spill out when disconnecting the plumbing.4. Tips for Replacing Your Kitchen Sink with an IKEA Model


4. Tips for Replacing Your Kitchen Sink with an IKEA Model


While replacing a kitchen sink may seem like a simple task, there are some common mistakes that can lead to a lot of frustration and potential damage. Here are a few mistakes to avoid when replacing an IKEA kitchen sink: Mistake 1: Not turning off the water supply before starting the removal process. Mistake 2: Not properly aligning the new sink, resulting in leaks or an uneven installation. Mistake 3: Using the wrong type of caulk, which can lead to a weak seal and potential water damage.5. Common Mistakes to Avoid When Replacing an IKEA Kitchen Sink


5. Common Mistakes to Avoid When Replacing an IKEA Kitchen Sink


To successfully replace your kitchen sink with an IKEA model, you'll need the following tools and materials: Tools: Adjustable wrench, screwdriver, pliers, putty knife, bucket or towels, and a caulk gun. Materials: New IKEA kitchen sink, silicone-based caulk, plumber's tape, and any additional plumbing parts needed for your specific setup.6. Tools and Materials Needed for Replacing an IKEA Kitchen Sink


6. Tools and Materials Needed for Replacing an IKEA Kitchen Sink

Before purchasing a new kitchen sink from IKEA, it's important to measure your current sink and cabinet to ensure a proper fit. Follow these steps to measure for your replacement sink: Step 1: Measure the width and depth of your current sink, from the outer edges. Step 2: Measure the width and depth of your cabinet, from the inside walls. Step 3: Compare these measurements to the dimensions of the IKEA sink you are considering to ensure a proper fit.7. How to Measure for a Replacement Kitchen Sink from IKEA
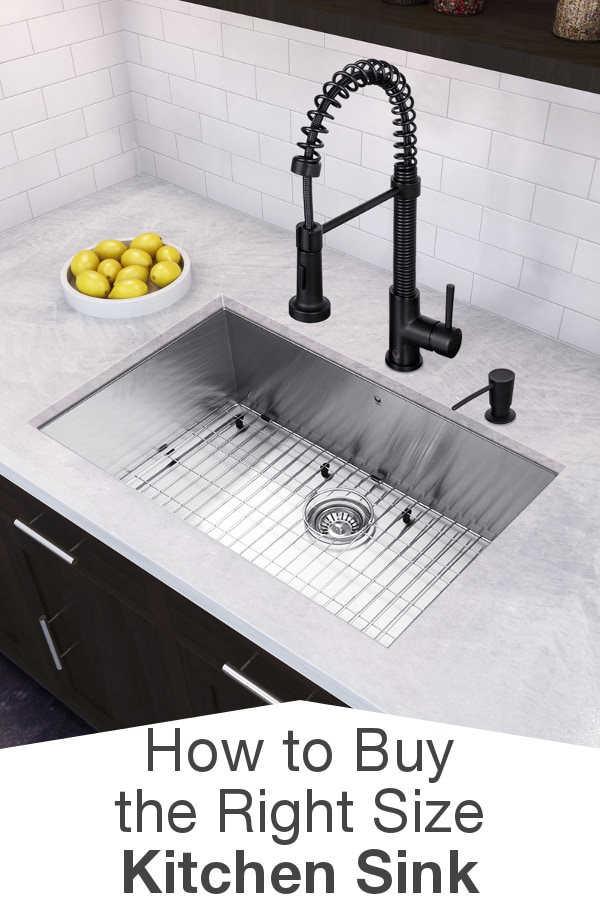


7. How to Measure for a Replacement Kitchen Sink from IKEA


If you're new to DIY projects, replacing a kitchen sink may seem intimidating. However, with the right tools and guidance, it can be a manageable task. Here are a few tips to keep in mind if you're a beginner: Tip 1: Take your time and follow the instructions carefully. Tip 2: Have a helper on hand to assist with lifting and securing the sink. Tip 3: Don't be afraid to ask for help or consult a professional if you run into any issues.8. Installing a New Kitchen Sink from IKEA: A Beginner's Guide


8. Installing a New Kitchen Sink from IKEA: A Beginner's Guide


Even with the best preparation and planning, you may run into some issues when replacing your kitchen sink. Here are a few common problems and how to troubleshoot them: Issue 1: Leaks around the edges of the sink. Solution: Check that the sink is properly aligned and tighten any loose connections or caulk as needed. Issue 2: Difficulty removing the old sink. Solution: Use a putty knife to gently loosen any caulk or adhesive holding the sink in place. Issue 3: Incompatible plumbing connections. Solution: Consult a professional plumber to ensure proper connections and make any necessary adjustments.9. Troubleshooting Common Issues When Replacing an IKEA Kitchen Sink


9. Troubleshooting Common Issues When Replacing an IKEA Kitchen Sink


Replacing your kitchen sink with an IKEA model offers numerous benefits, including: Benefit 1: Affordable and high-quality options. Benefit 2: A wide variety of sizes, materials, and styles to choose from. Benefit 3: Easy installation process. Benefit 4: Durable and long-lasting sinks that can withstand heavy daily use. With this guide, you now have all the information and resources you need to successfully replace your kitchen sink with a new one from IKEA. Follow these steps and tips for a smooth and stress-free installation process. Happy renovating!10. Benefits of Replacing Your Kitchen Sink with an IKEA Model


10. Benefits of Replacing Your Kitchen Sink with an IKEA Model


:max_bytes(150000):strip_icc()/Basic-kitchen-sink-types-1821207_color_rev-0b539306b9ef4236a136624ad2a89a4c.jpg)

Why You Should Consider Replacing Your Kitchen Sink With IKEA

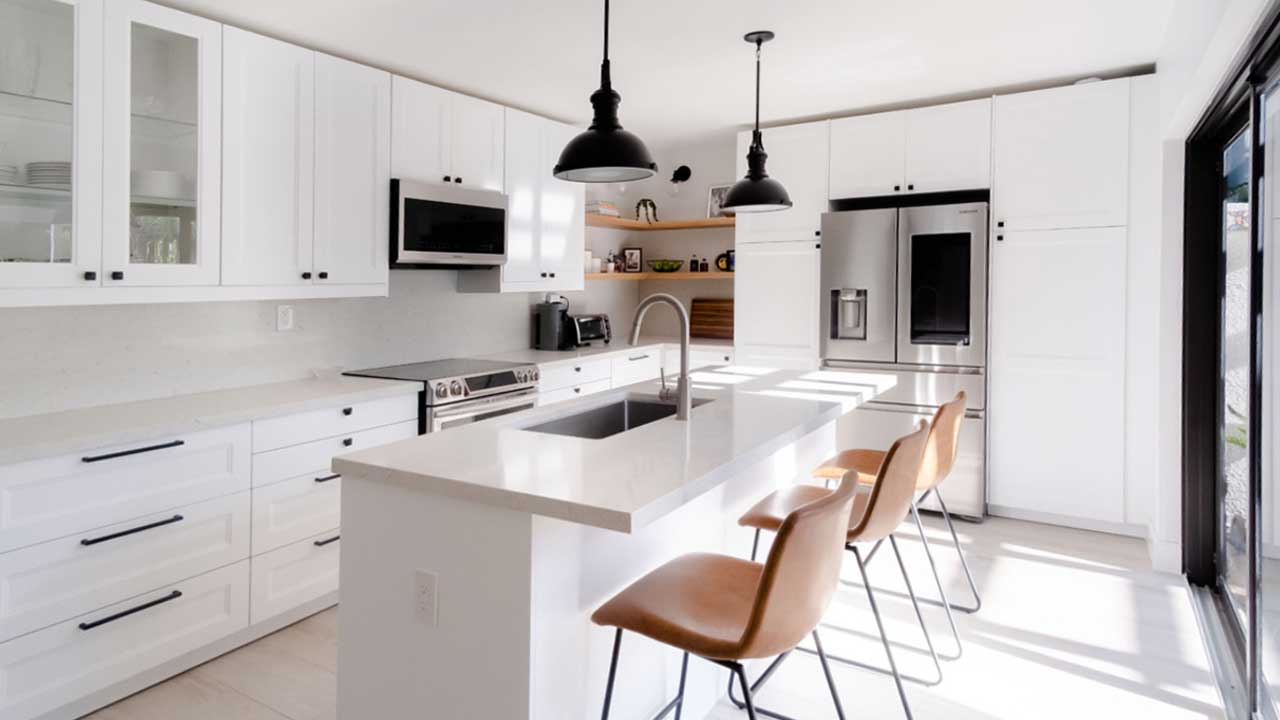
Upgrade Your Kitchen Sink for a More Functional and Stylish Space
 When it comes to designing your dream kitchen, every detail matters. From the cabinets to the countertops, each element contributes to the overall functionality and style of your space. One often overlooked but essential aspect of a kitchen is the
sink
. A
kitchen sink
is not only used for washing dishes, but it also serves as a focal point of the room. If your current sink is outdated or damaged, it may be time to consider replacing it with an
IKEA
sink. Not only will this upgrade enhance the aesthetics of your kitchen, but it will also provide numerous functional benefits.
When it comes to designing your dream kitchen, every detail matters. From the cabinets to the countertops, each element contributes to the overall functionality and style of your space. One often overlooked but essential aspect of a kitchen is the
sink
. A
kitchen sink
is not only used for washing dishes, but it also serves as a focal point of the room. If your current sink is outdated or damaged, it may be time to consider replacing it with an
IKEA
sink. Not only will this upgrade enhance the aesthetics of your kitchen, but it will also provide numerous functional benefits.
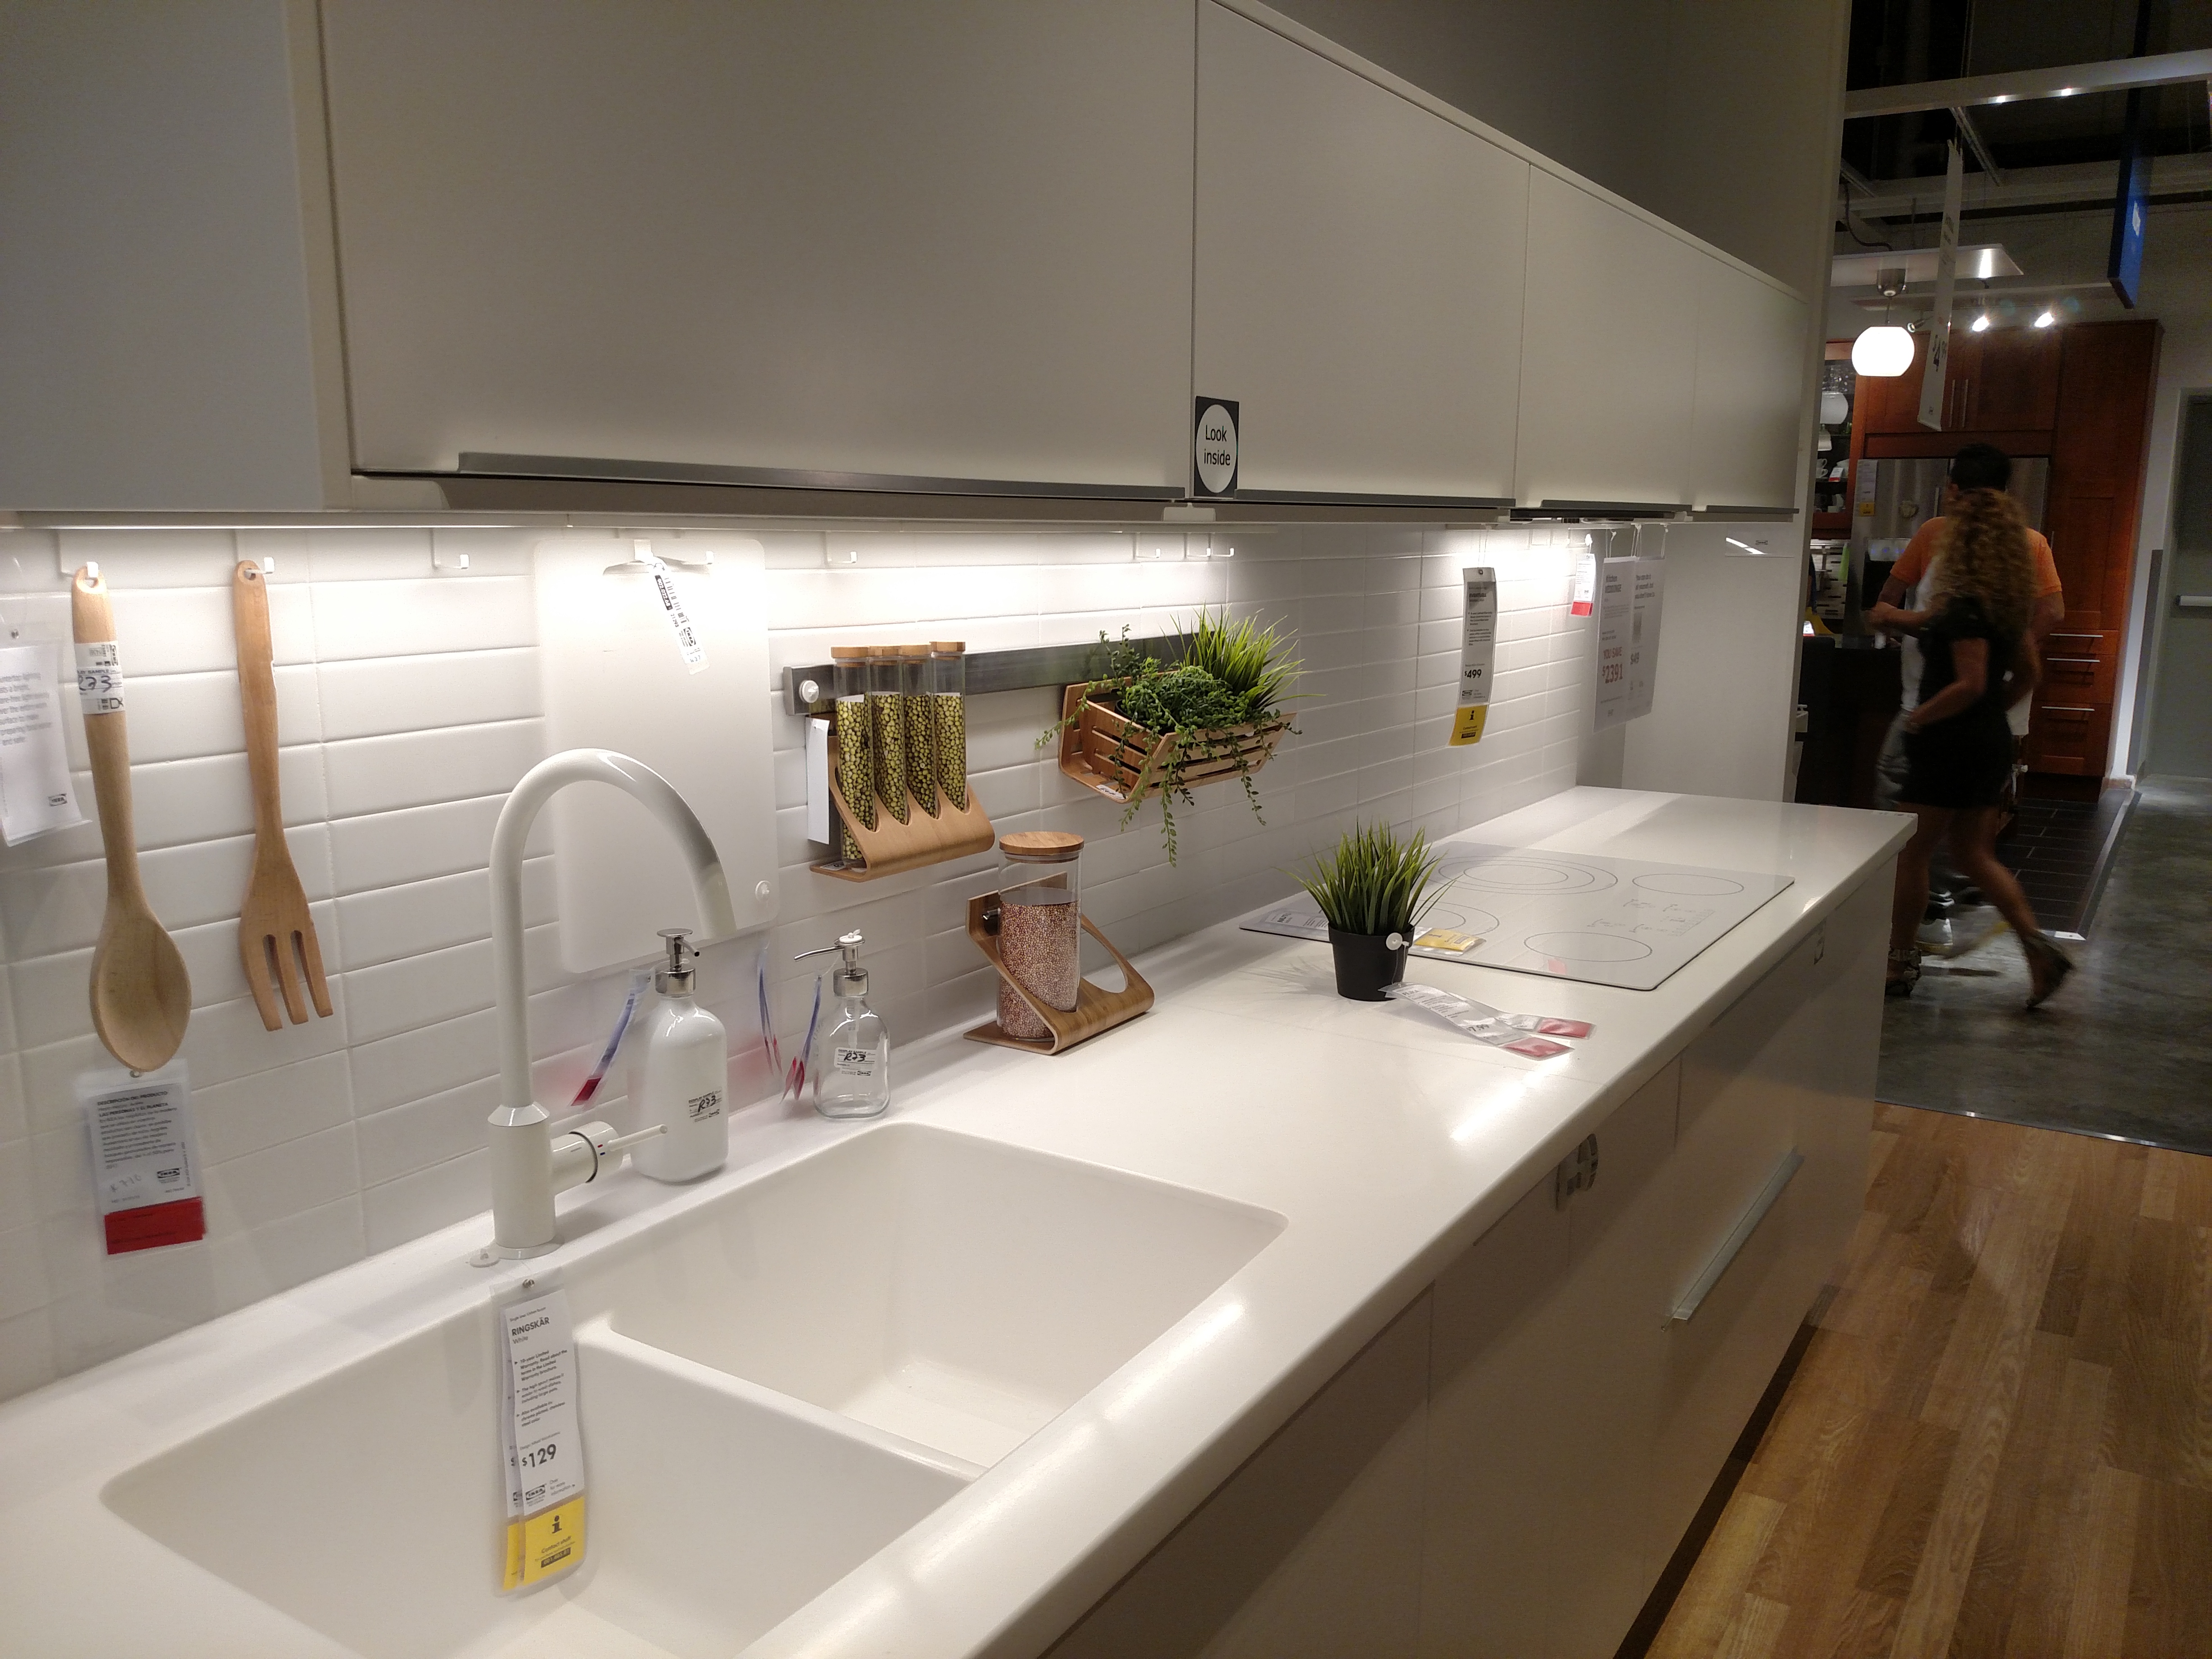
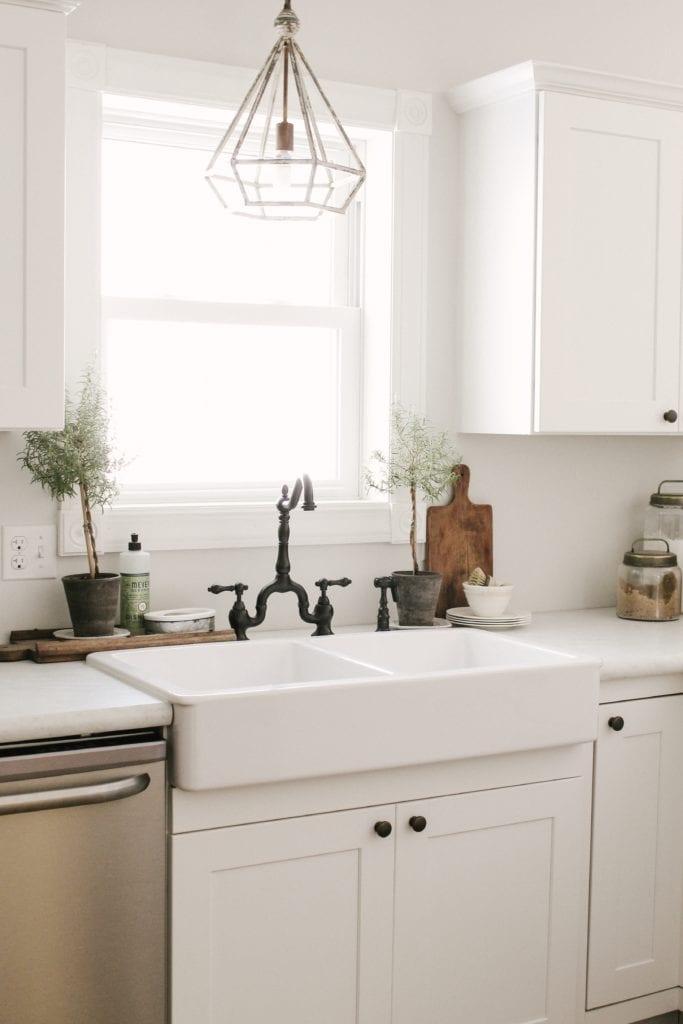
Why Choose IKEA for Your Kitchen Sink?
 As a leader in home design and furnishings,
IKEA
offers a wide range of
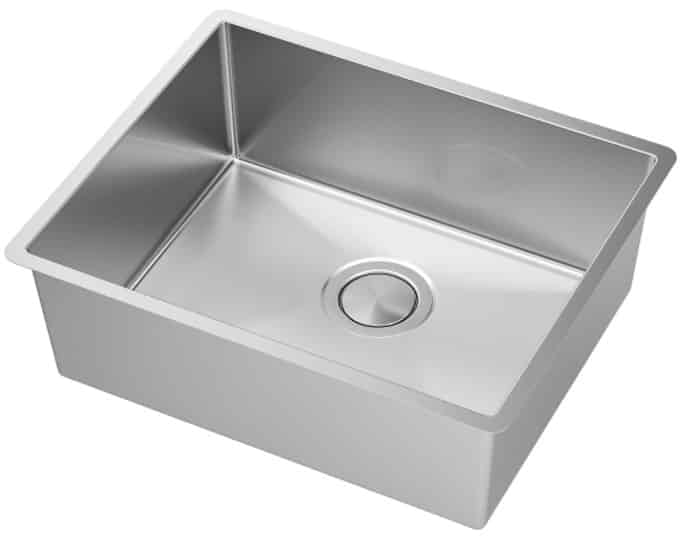
kitchen sinks
to suit every style and need. Whether you prefer a traditional farmhouse sink or a sleek modern design,
IKEA
has options to fit your personal taste. Their sinks also come in a variety of sizes, materials, and configurations, making it easy to find the perfect fit for your kitchen.
As a leader in home design and furnishings,
IKEA
offers a wide range of
kitchen sinks
to suit every style and need. Whether you prefer a traditional farmhouse sink or a sleek modern design,
IKEA
has options to fit your personal taste. Their sinks also come in a variety of sizes, materials, and configurations, making it easy to find the perfect fit for your kitchen.
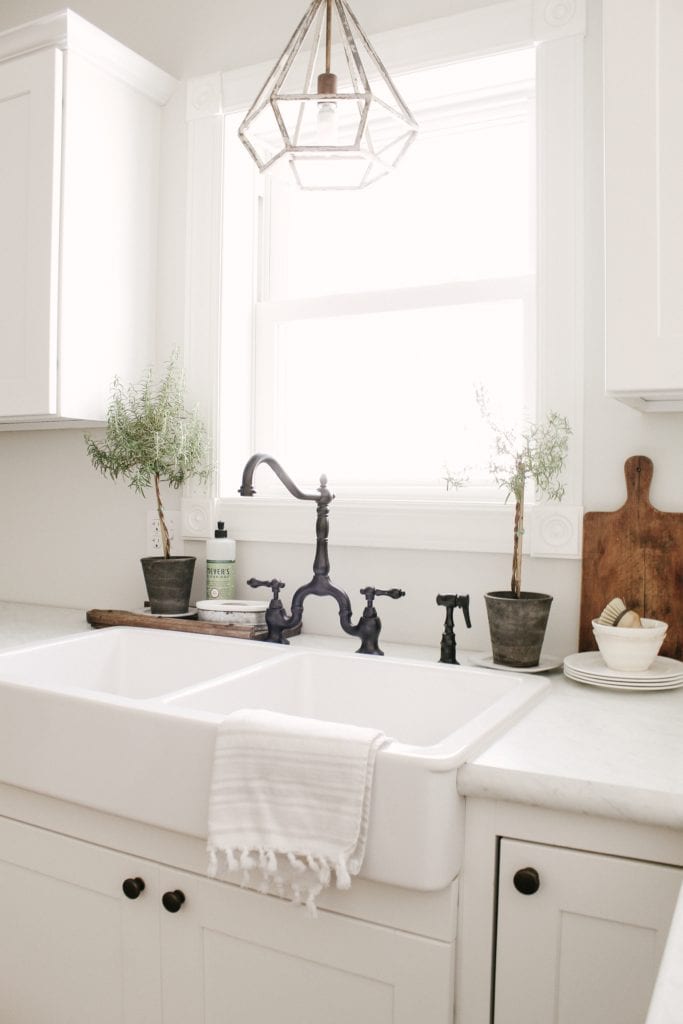
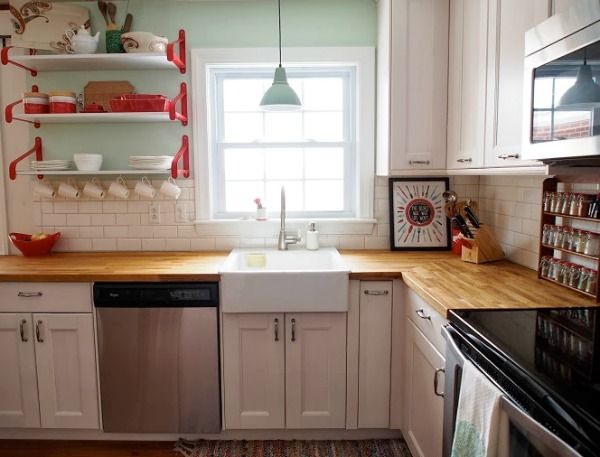
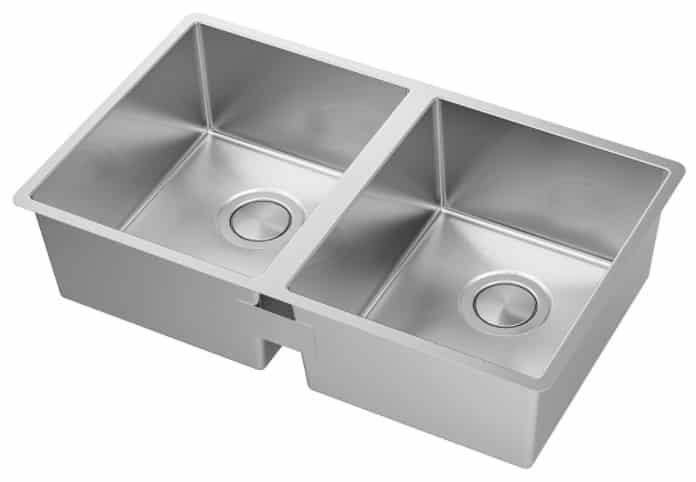
Functionality and Practicality at Its Finest
 Replacing your kitchen sink with an
IKEA
sink not only adds style to your kitchen, but it also offers practicality and functionality. Their sinks are designed with features such as deep basins, multiple compartments, and integrated draining boards, making it easier to wash and dry dishes. They also offer options with sound-absorbing materials, minimizing noise while washing dishes.
Replacing your kitchen sink with an
IKEA
sink not only adds style to your kitchen, but it also offers practicality and functionality. Their sinks are designed with features such as deep basins, multiple compartments, and integrated draining boards, making it easier to wash and dry dishes. They also offer options with sound-absorbing materials, minimizing noise while washing dishes.
Budget-Friendly and Easy to Install
 One of the biggest advantages of choosing an
IKEA
sink is its affordability. Unlike other high-end sink brands,
IKEA
offers budget-friendly options without compromising on quality. Plus, their sinks are designed for easy installation, making it a hassle-free process for homeowners.
One of the biggest advantages of choosing an
IKEA
sink is its affordability. Unlike other high-end sink brands,
IKEA
offers budget-friendly options without compromising on quality. Plus, their sinks are designed for easy installation, making it a hassle-free process for homeowners.
Enhance Your Kitchen's Aesthetics
 Replacing your kitchen sink with an
IKEA
sink can instantly transform the look and feel of your kitchen. With a wide range of designs, you can choose a sink that complements your existing decor or serves as a statement piece. Whether you want a classic white ceramic sink or a bold and modern stainless steel one,
IKEA
has you covered.
In conclusion, upgrading your kitchen sink with an
IKEA
sink is a simple and cost-effective way to enhance the overall look and functionality of your kitchen. With a variety of styles, practical features, and budget-friendly options, it's no wonder why
IKEA
is a top choice for homeowners looking to replace their kitchen sinks. So, if you're in the market for a new sink, consider the numerous benefits of choosing an
IKEA
sink for your kitchen.
Replacing your kitchen sink with an
IKEA
sink can instantly transform the look and feel of your kitchen. With a wide range of designs, you can choose a sink that complements your existing decor or serves as a statement piece. Whether you want a classic white ceramic sink or a bold and modern stainless steel one,
IKEA
has you covered.
In conclusion, upgrading your kitchen sink with an
IKEA
sink is a simple and cost-effective way to enhance the overall look and functionality of your kitchen. With a variety of styles, practical features, and budget-friendly options, it's no wonder why
IKEA
is a top choice for homeowners looking to replace their kitchen sinks. So, if you're in the market for a new sink, consider the numerous benefits of choosing an
IKEA
sink for your kitchen.