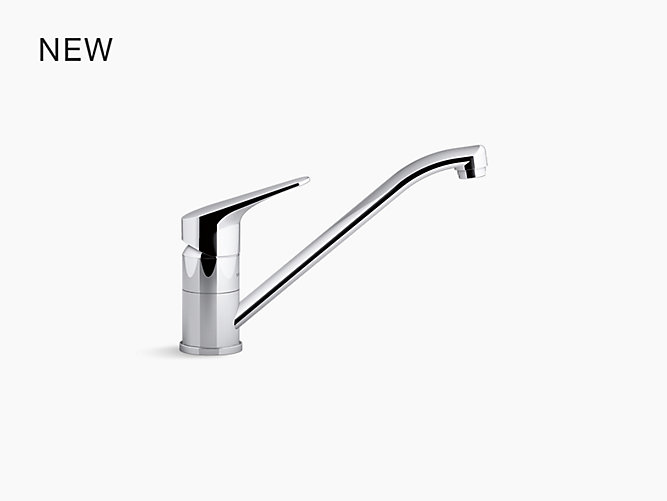
Replacing a kitchen sink faucet with handle may seem like a daunting task, but it's actually a simple DIY project that can give your kitchen a fresh new look. Whether you're tired of your old faucet or just want to upgrade to a more functional and stylish option, this step-by-step guide will walk you through the process.How to Replace a Kitchen Sink Faucet with Handle


How to Replace a Kitchen Sink Faucet with Handle


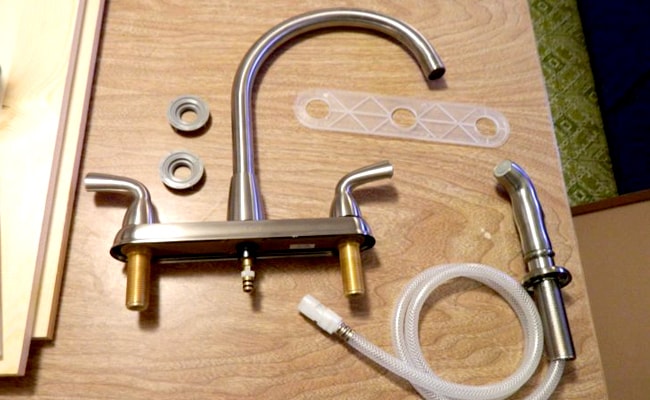
Before you begin, make sure you have all the necessary tools and materials. This includes a new faucet with handle, adjustable wrench, pliers, plumber's putty, and Teflon tape. You may also need a basin wrench if your sink is hard to reach.Step 1: Gather Your Tools and Materials


Replacing a Kitchen Sink Faucet with Handle: A Step-by-Step Guide


Locate the water shut-off valves under the sink and turn them off. If you can't find the valves, you may need to shut off the main water supply to your house. Then, turn on the faucet to release any remaining water pressure.Step 2: Turn Off the Water Supply


DIY: How to Replace a Kitchen Sink Faucet with Handle


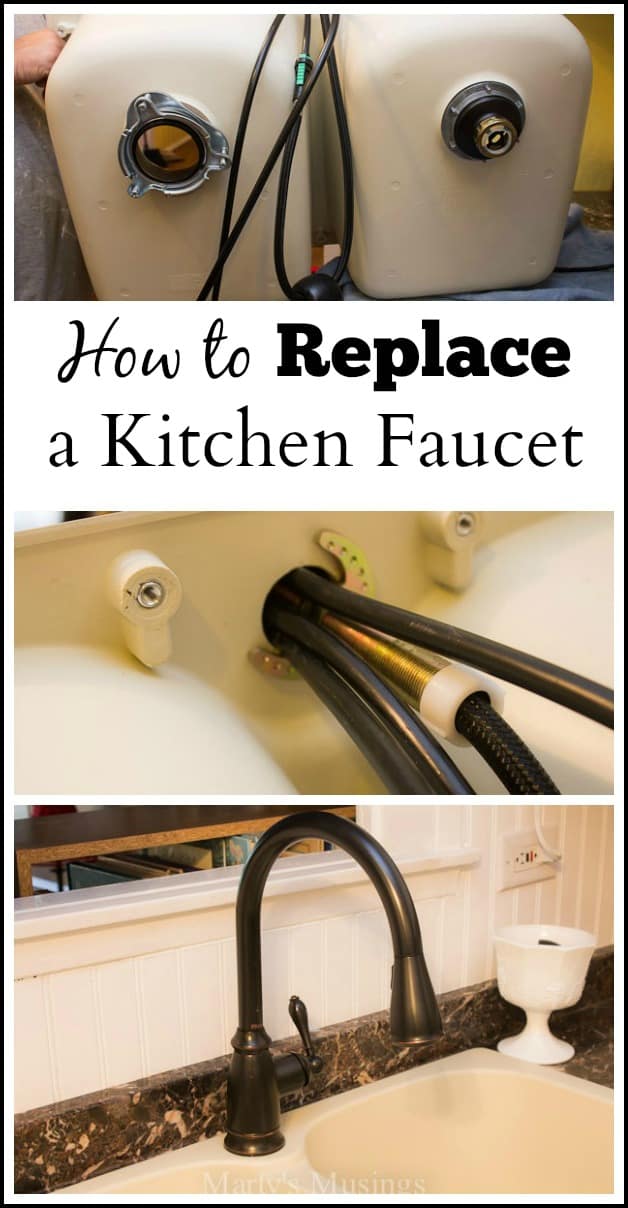
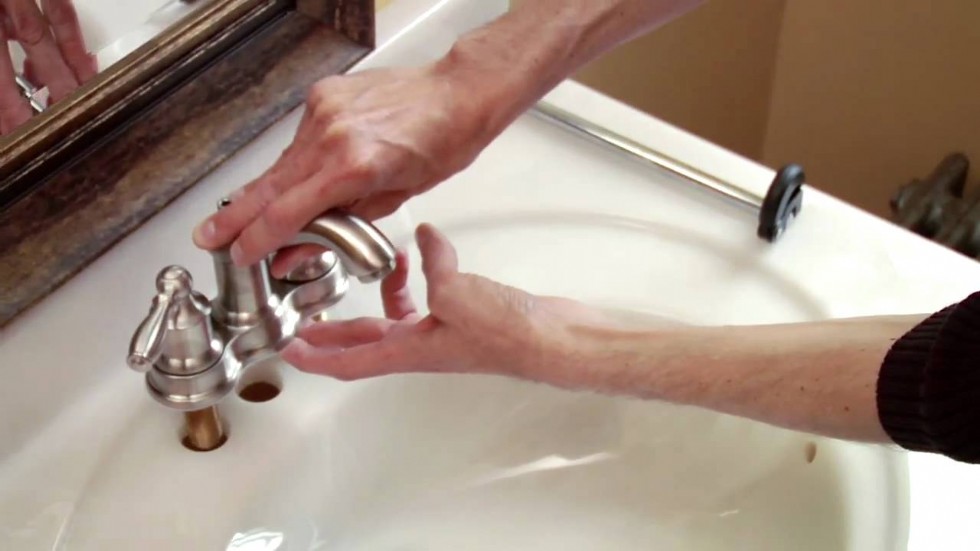
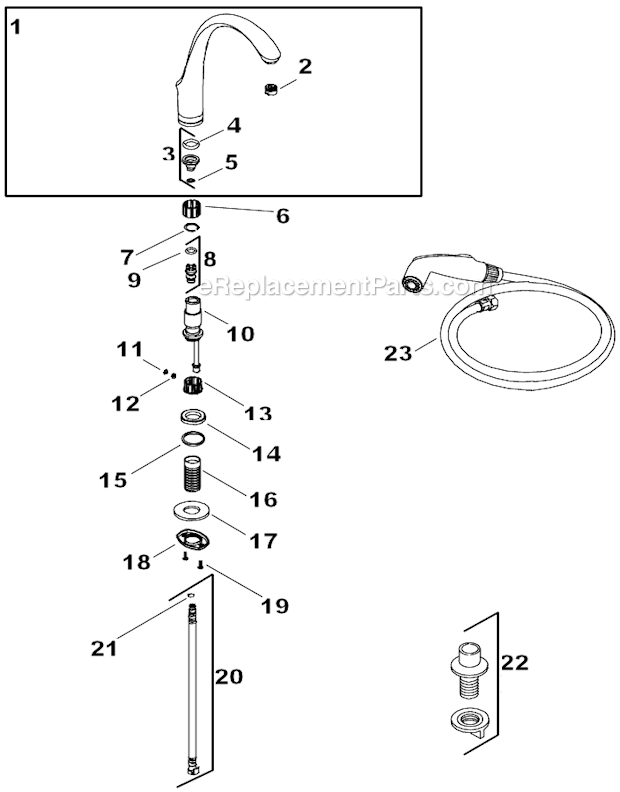
Using your adjustable wrench, loosen and remove the nuts and bolts that hold the old faucet in place. You may need to use pliers to disconnect any stubborn connections. Once everything is disconnected, carefully lift the old faucet out of the sink.Step 3: Remove the Old Faucet


Replacing a Kitchen Sink Faucet with Handle: Tips and Tricks


Before installing the new faucet, clean the sink area thoroughly. Use a mild cleaner and a scrub brush to remove any dirt and grime. Then, dry the area with a towel.Step 4: Clean the Sink Area


Step-by-Step Guide for Replacing a Kitchen Sink Faucet with Handle


Roll a small amount of plumber's putty into a rope and apply it around the base of the new faucet. This will create a watertight seal and prevent any leaks.Step 5: Apply Plumber's Putty


Replacing a Kitchen Sink Faucet with Handle: What You Need to Know

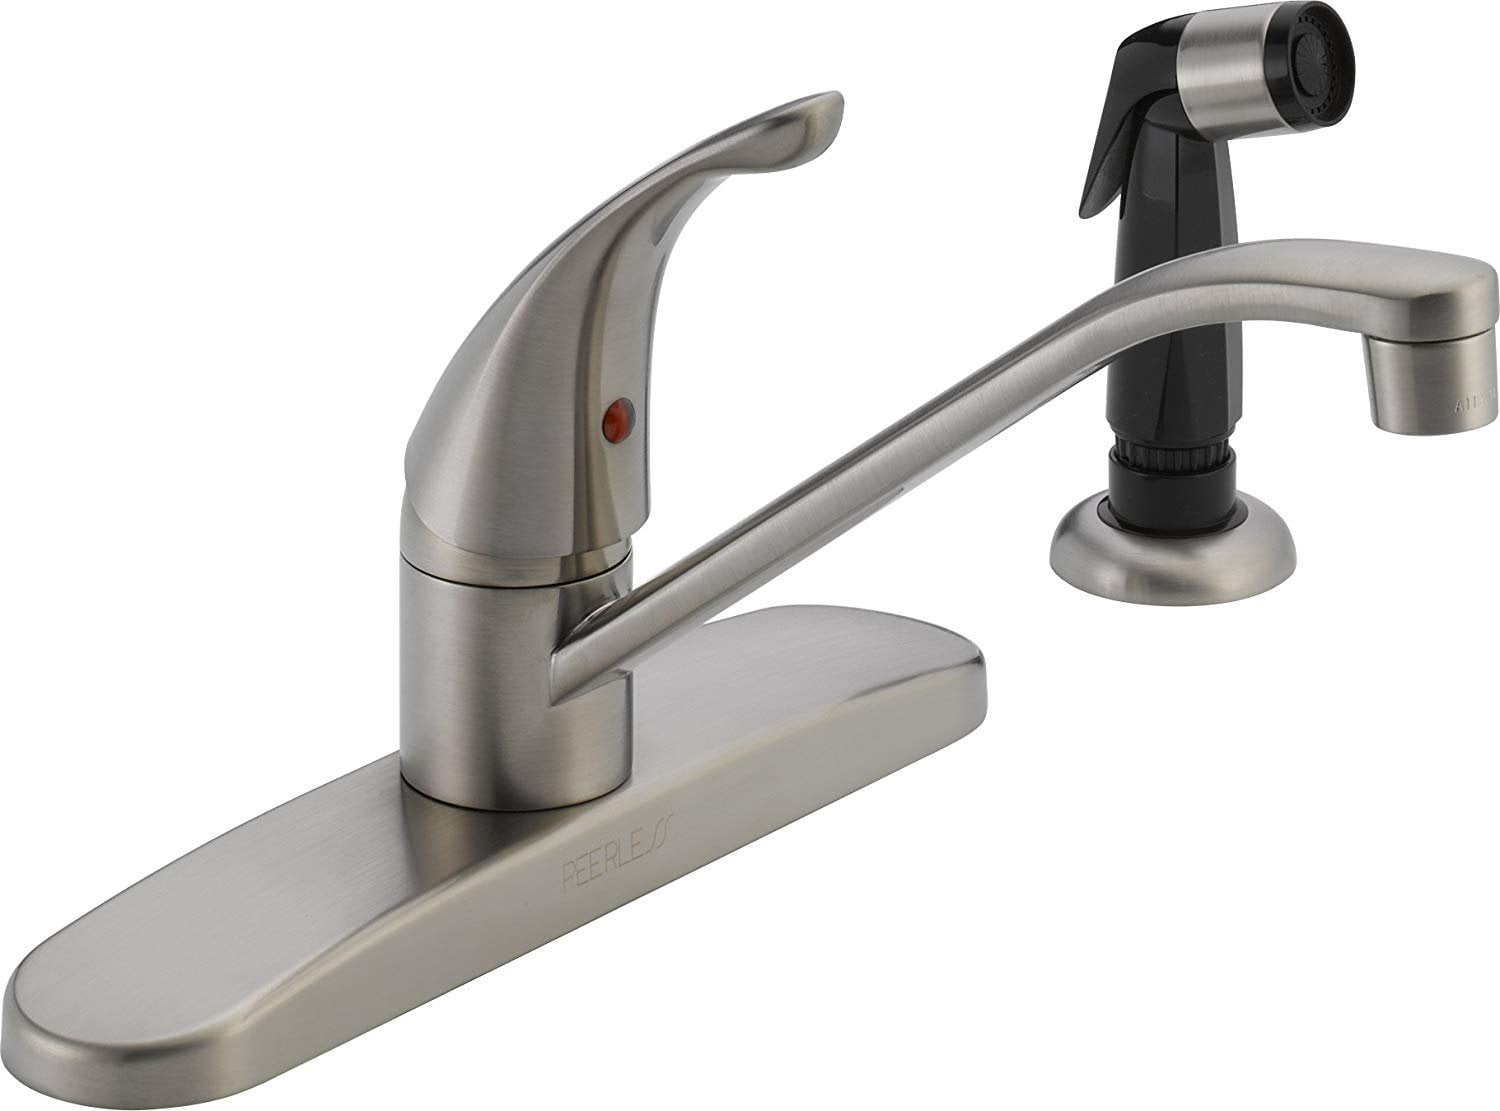
Place the new faucet into the hole in the sink and secure it with the mounting nuts and bolts. Use your adjustable wrench to tighten the connections, but be careful not to over-tighten as this can cause damage.Step 6: Install the New Faucet


How to Upgrade Your Kitchen Sink Faucet with a Handle


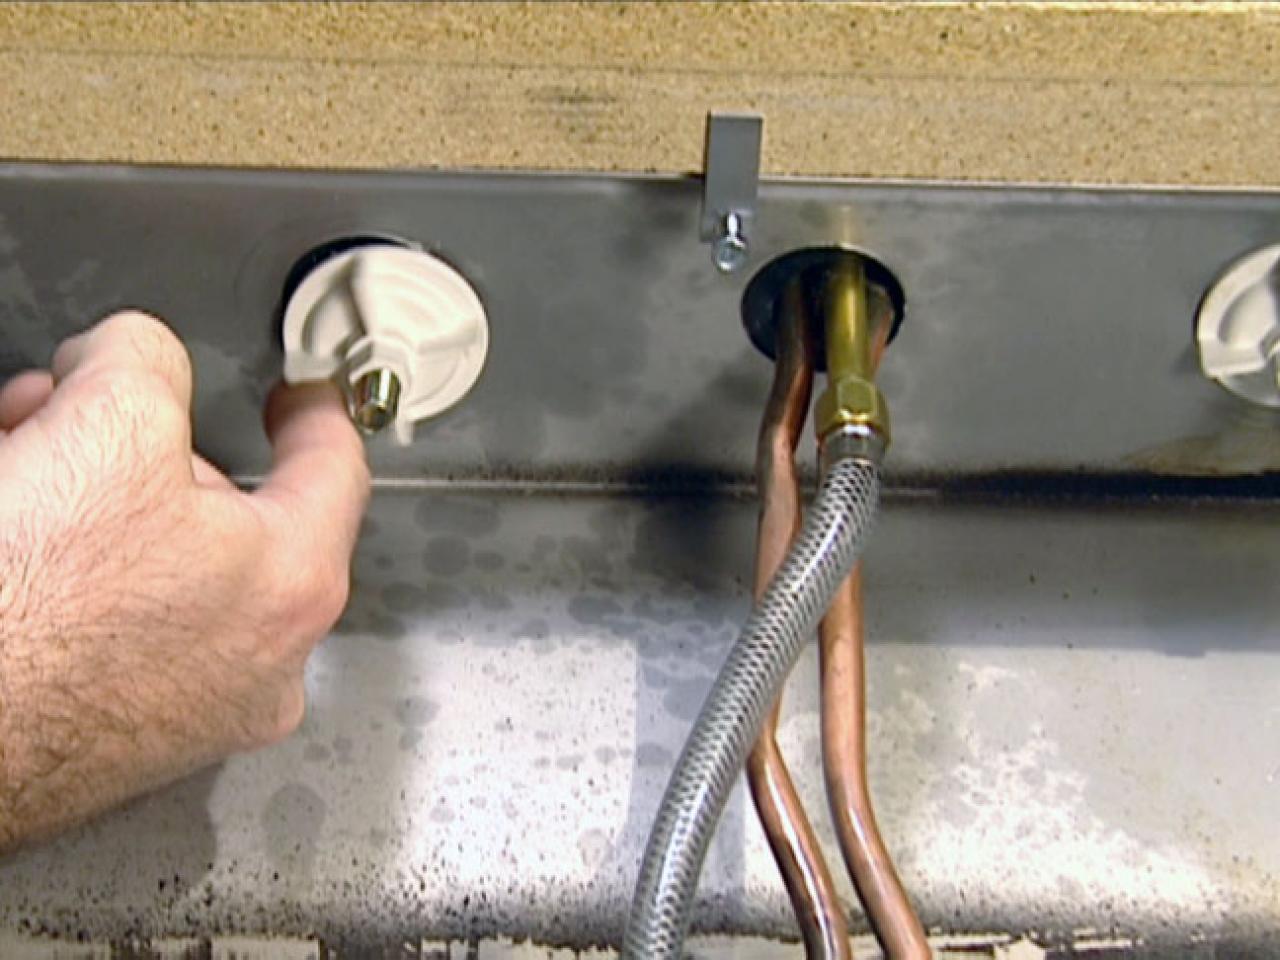
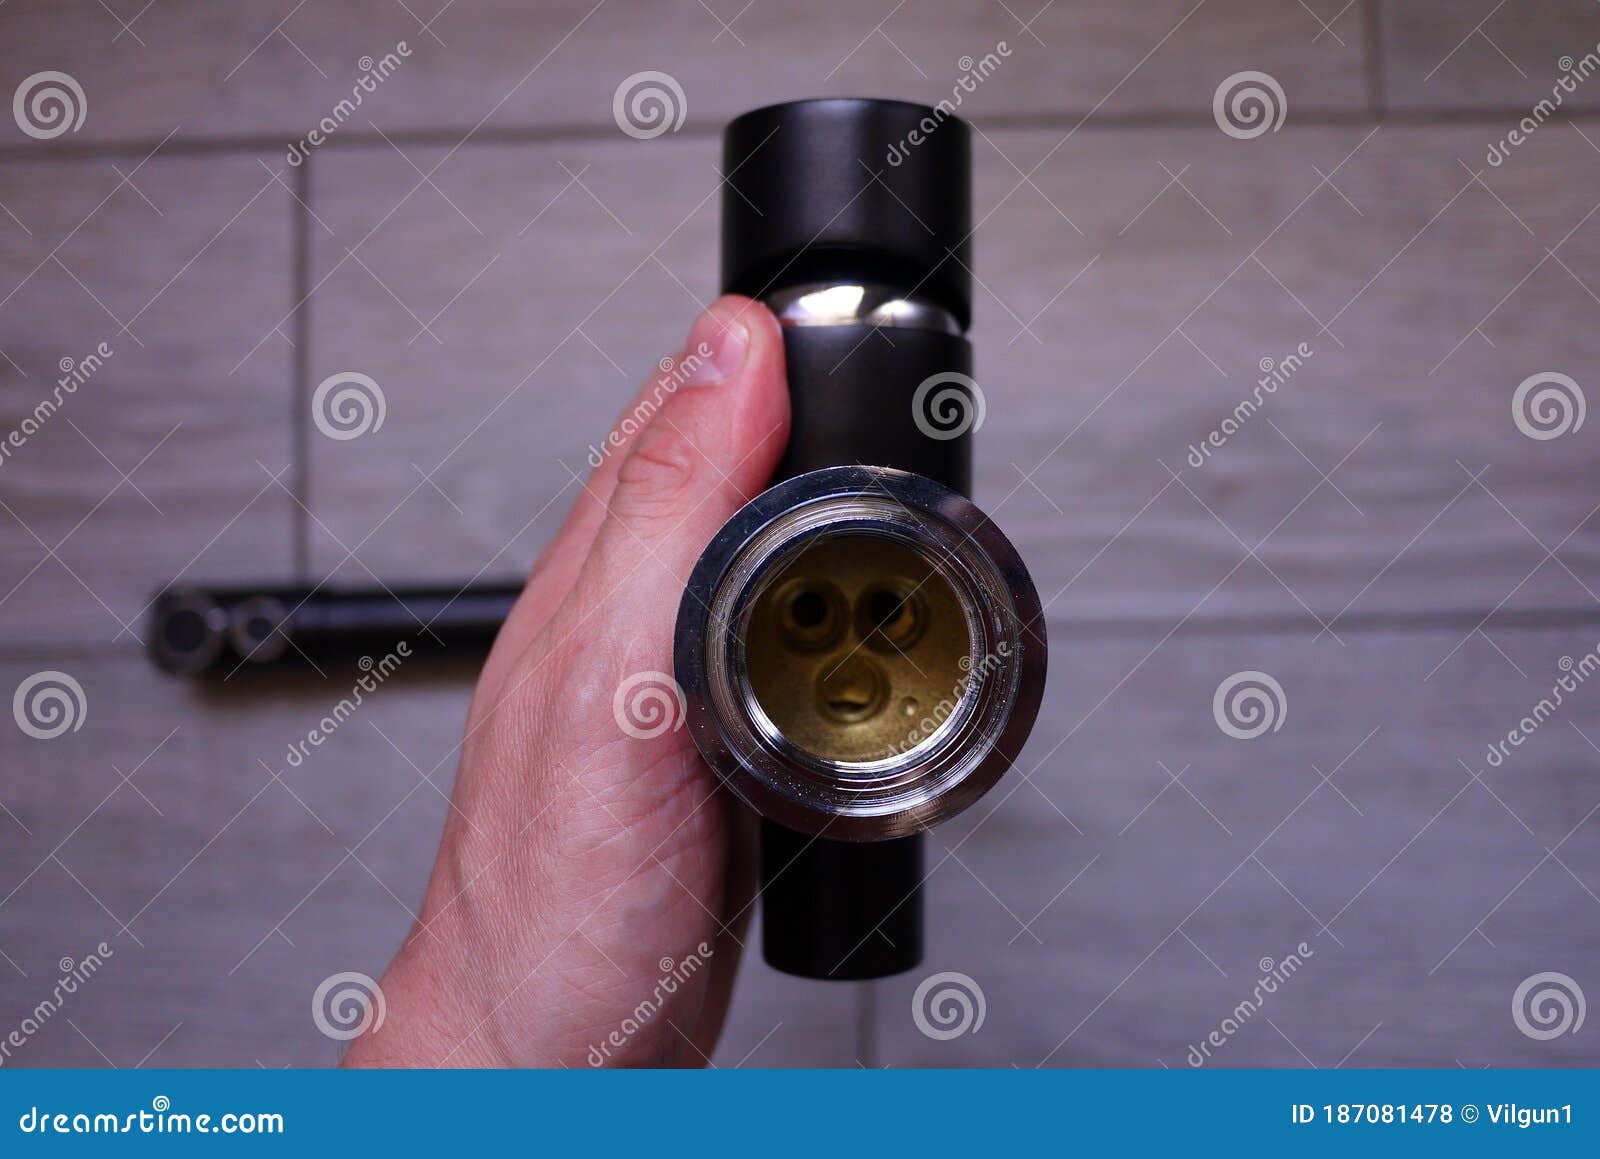
Use Teflon tape to wrap around the threads of the water supply lines. This will create a better seal and prevent leaks. Then, connect the water supply lines to the corresponding hot and cold water valves under the sink.Step 7: Connect the Water Supply
Replacing a Kitchen Sink Faucet with Handle: Common Mistakes to Avoid
Once everything is connected, turn the water supply back on and test for any leaks. If you notice any, turn off the water supply and tighten the connections as needed.Step 8: Test for Leaks

DIY: Replacing a Kitchen Sink Faucet with Handle Made Easy


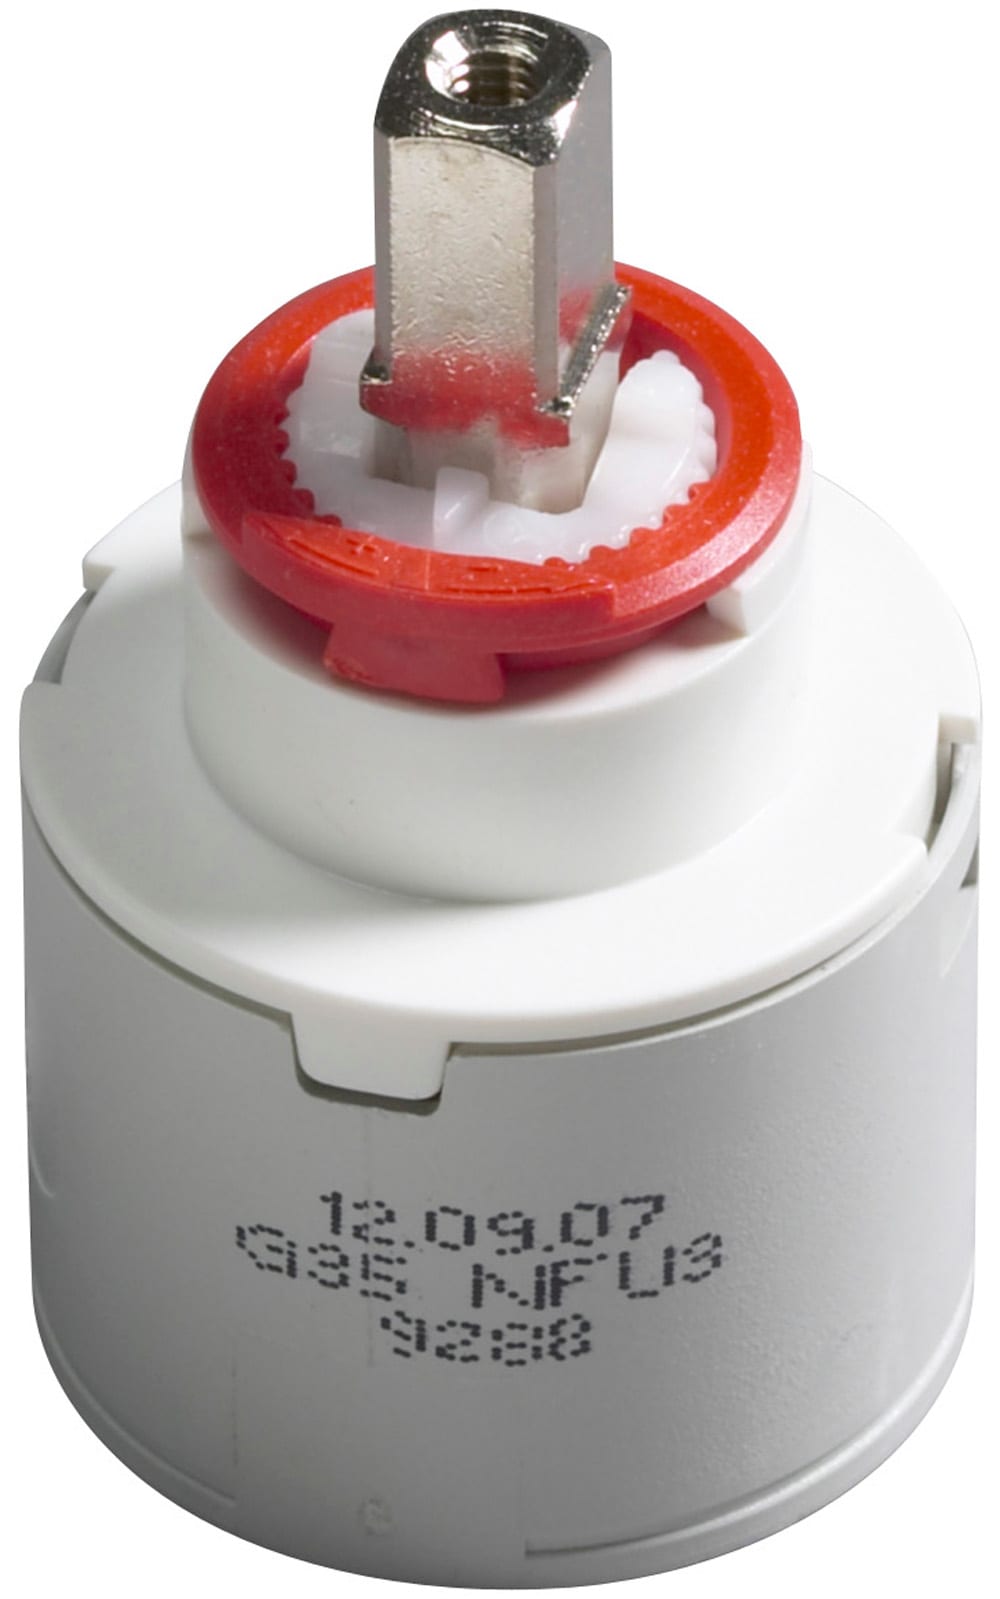
If your new faucet comes with a separate handle, attach it by following the manufacturer's instructions. This may involve screwing it onto the faucet or using a mounting plate.Step 9: Attach the Handle
Replacing a Kitchen Sink Faucet with Handle: Tools and Materials You'll Need
Replacing Your Kitchen Sink Faucet with Handle: A Step-by-Step Guide

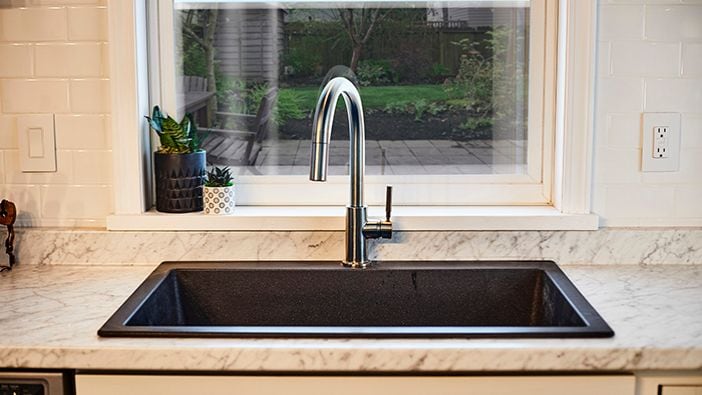
Why Replace Your Kitchen Sink Faucet?
 When it comes to house design, the kitchen is often considered the heart of the home. It's a space where we spend a significant amount of time cooking, eating, and entertaining. As such, it's crucial to have a functional and visually appealing kitchen. One way to achieve this is by replacing your old kitchen sink faucet with a new one.
Kitchen sink faucets
with handles are a popular choice among homeowners due to their ease of use and stylish design. Over time, your current faucet may become worn out, leaky, or simply outdated. Replacing it with a new one can not only enhance the overall look of your kitchen but also improve its functionality.
When it comes to house design, the kitchen is often considered the heart of the home. It's a space where we spend a significant amount of time cooking, eating, and entertaining. As such, it's crucial to have a functional and visually appealing kitchen. One way to achieve this is by replacing your old kitchen sink faucet with a new one.
Kitchen sink faucets
with handles are a popular choice among homeowners due to their ease of use and stylish design. Over time, your current faucet may become worn out, leaky, or simply outdated. Replacing it with a new one can not only enhance the overall look of your kitchen but also improve its functionality.
Steps to Replace Your Kitchen Sink Faucet with Handle
 Step 1: Gather Your Tools
Before you begin, make sure you have all the necessary tools on hand. These may include an adjustable wrench, pliers, screwdriver, plumber's putty, and a new kitchen sink faucet with handle.
Step 2: Turn Off the Water Supply
Before you start removing the old faucet, turn off the water supply by shutting off the valves under the sink. This will prevent any leaks or accidents while you work.
Step 3: Remove the Old Faucet
Next, remove the old faucet by loosening the nuts and disconnecting the water supply lines. You may need to use a wrench or pliers for this step. Once the faucet is detached, clean the area around the sink hole to remove any residue.
Step 4: Install the New Faucet
Apply plumber's putty around the base of the new faucet and insert it into the sink hole. From underneath the sink, secure the faucet in place with the mounting nuts provided. Then, connect the water supply lines to the corresponding valves.
Step 5: Test and Adjust
Turn on the water supply and test the new faucet to ensure there are no leaks. If everything looks good, you can adjust the handle for proper water flow and temperature.
Step 1: Gather Your Tools
Before you begin, make sure you have all the necessary tools on hand. These may include an adjustable wrench, pliers, screwdriver, plumber's putty, and a new kitchen sink faucet with handle.
Step 2: Turn Off the Water Supply
Before you start removing the old faucet, turn off the water supply by shutting off the valves under the sink. This will prevent any leaks or accidents while you work.
Step 3: Remove the Old Faucet
Next, remove the old faucet by loosening the nuts and disconnecting the water supply lines. You may need to use a wrench or pliers for this step. Once the faucet is detached, clean the area around the sink hole to remove any residue.
Step 4: Install the New Faucet
Apply plumber's putty around the base of the new faucet and insert it into the sink hole. From underneath the sink, secure the faucet in place with the mounting nuts provided. Then, connect the water supply lines to the corresponding valves.
Step 5: Test and Adjust
Turn on the water supply and test the new faucet to ensure there are no leaks. If everything looks good, you can adjust the handle for proper water flow and temperature.
In Conclusion
 Replacing your kitchen sink faucet with handle is a simple and cost-effective way to update your kitchen and make it more functional. With the right tools and a little bit of know-how, you can easily complete this project in just a few hours. So why wait? Give your kitchen a fresh new look by replacing that old faucet today!