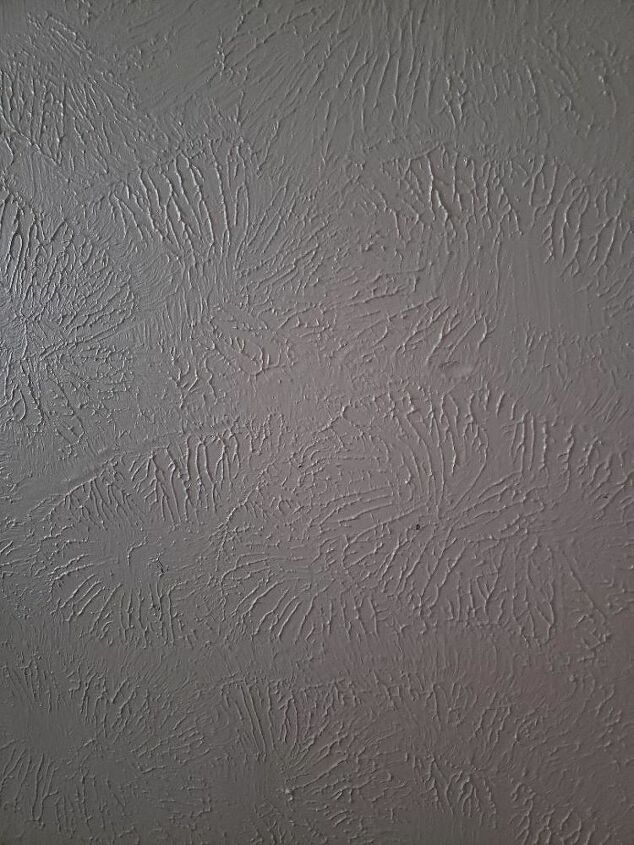
If you've noticed damage to the wall texture in your kitchen, you may be wondering how to fix it. Whether it's from wear and tear or an accidental spill, repairing wall texture can be a simple and cost-effective DIY project. Follow these steps to learn how to repair wall texture in your kitchen and restore your walls to their former beauty.1. How to Repair Wall Texture in Your Kitchen


1. How to Repair Wall Texture in Your Kitchen

:max_bytes(150000):strip_icc()/Orange-Peel-Wall-Texture-56a4a16d3df78cf772835375.jpg)
/cdn.vox-cdn.com/uploads/chorus_image/image/65892275/howto_fixplaster_01.0.jpg)
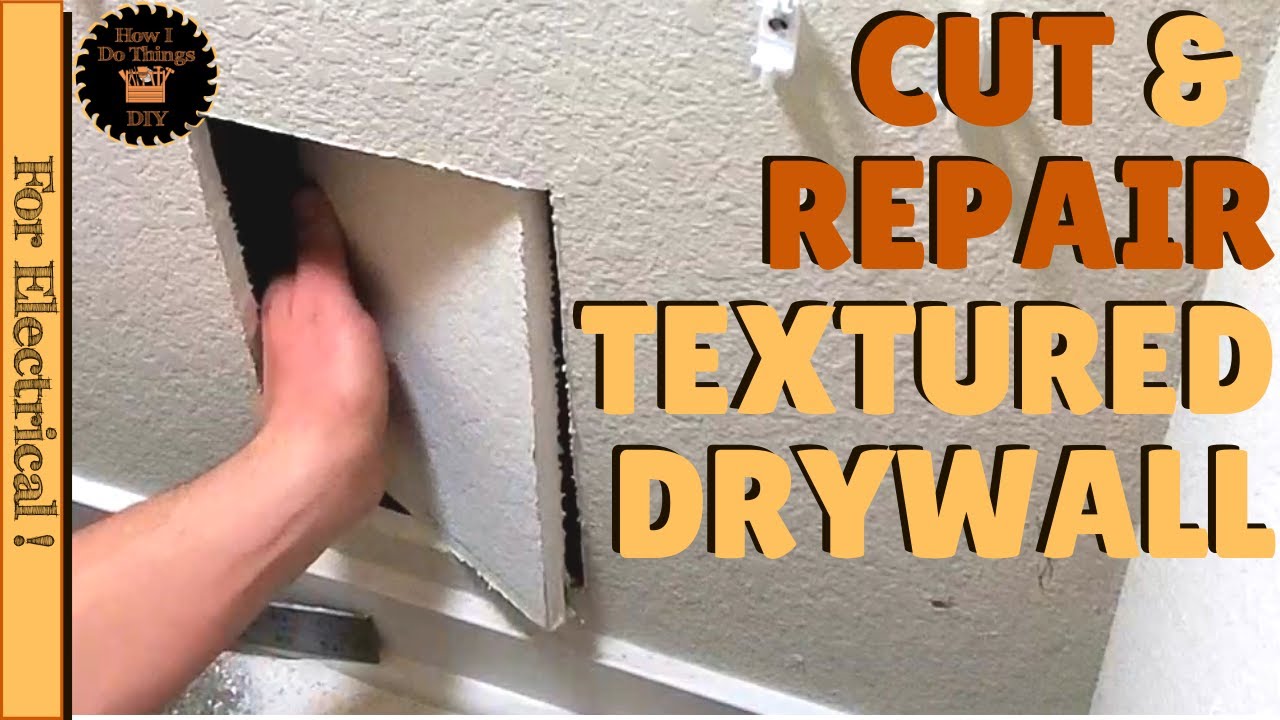
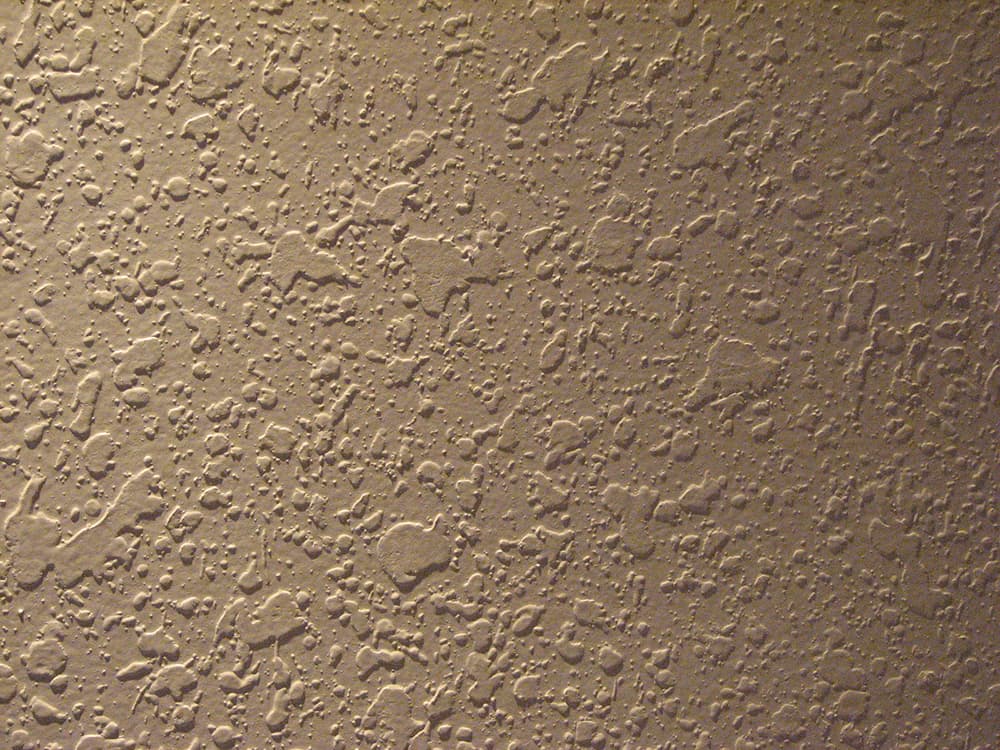
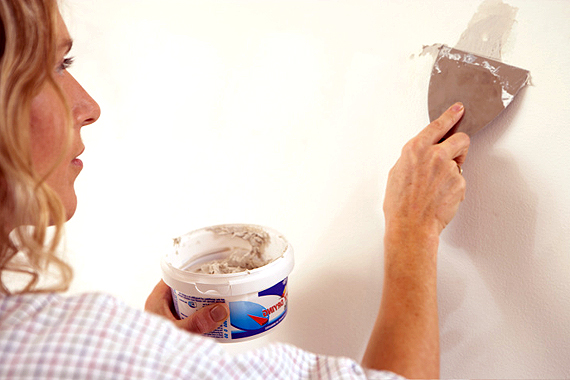
Repairing wall texture in your kitchen can easily be done as a DIY project. Begin by assessing the damage and gathering the necessary tools and materials. You will need a putty knife, joint compound, sandpaper, a sponge, and a texture spray. Use the putty knife to scrape off any loose or damaged texture, then fill in the area with joint compound. Once dry, sand it down until smooth and use the sponge to match the surrounding texture. Finally, use the texture spray to recreate the pattern and blend it in with the rest of the wall.2. DIY Kitchen Wall Texture Repair


2. DIY Kitchen Wall Texture Repair


When repairing wall texture in your kitchen, there are a few tips to keep in mind. Firstly, make sure you have the right tools and materials for the job. Secondly, take your time and follow the steps carefully, as rushing can result in a less than desirable outcome. Finally, remember to match the texture pattern and blend it in with the surrounding walls to create a seamless finish.3. Tips for Fixing Damaged Wall Texture in the Kitchen


3. Tips for Fixing Damaged Wall Texture in the Kitchen


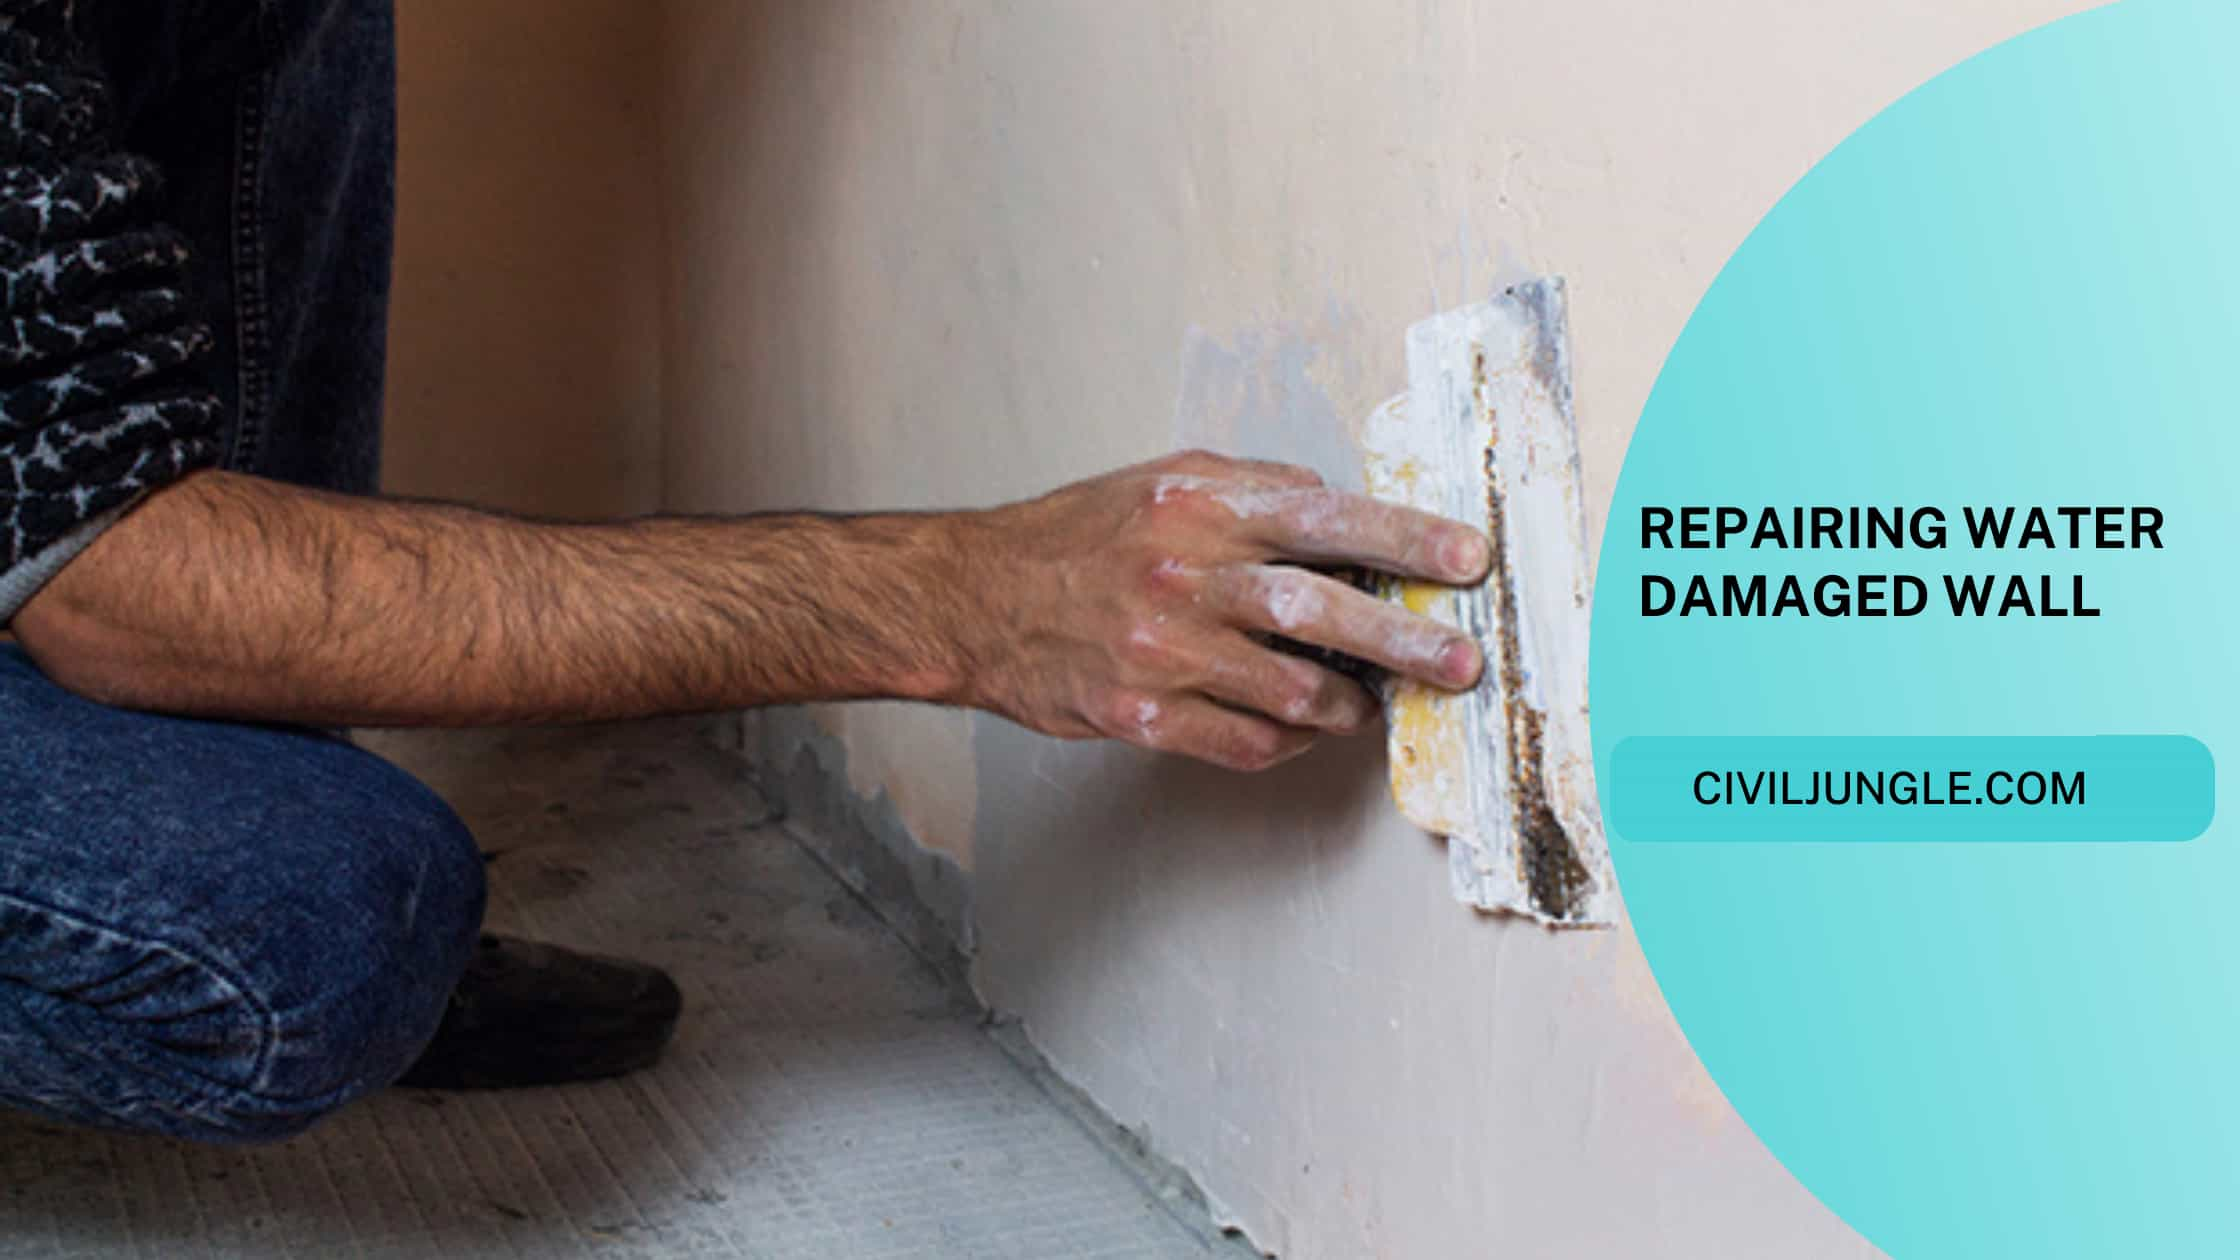


If you're new to DIY projects, the idea of repairing wall texture in your kitchen may seem daunting. But with the right steps, it can be a straightforward and easy process. Start by removing any loose or damaged texture, then fill in the area with joint compound and let it dry. Sand it down until smooth and use a sponge to match the texture. Finish off by blending in the texture with the surrounding walls using a texture spray.4. Easy Steps for Repairing Kitchen Wall Texture


4. Easy Steps for Repairing Kitchen Wall Texture


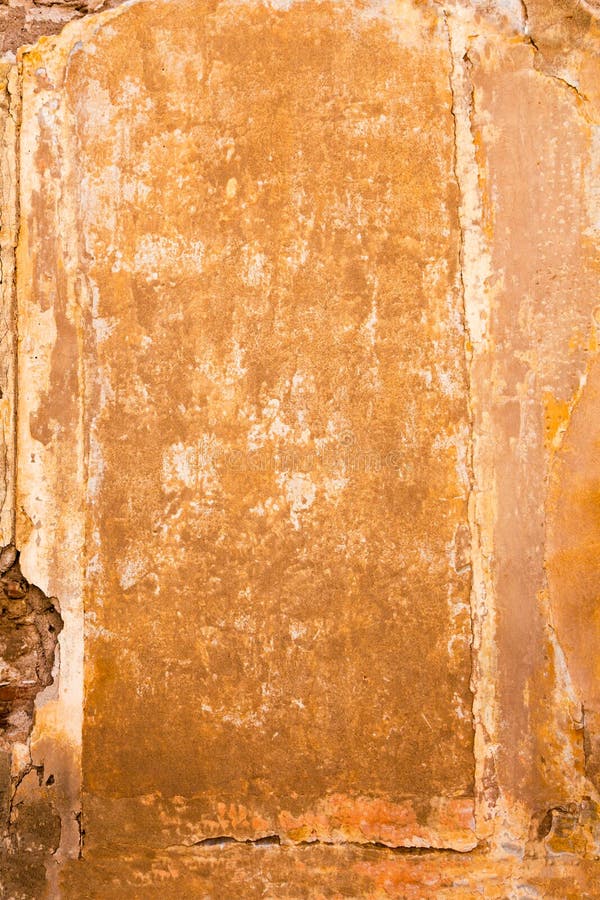
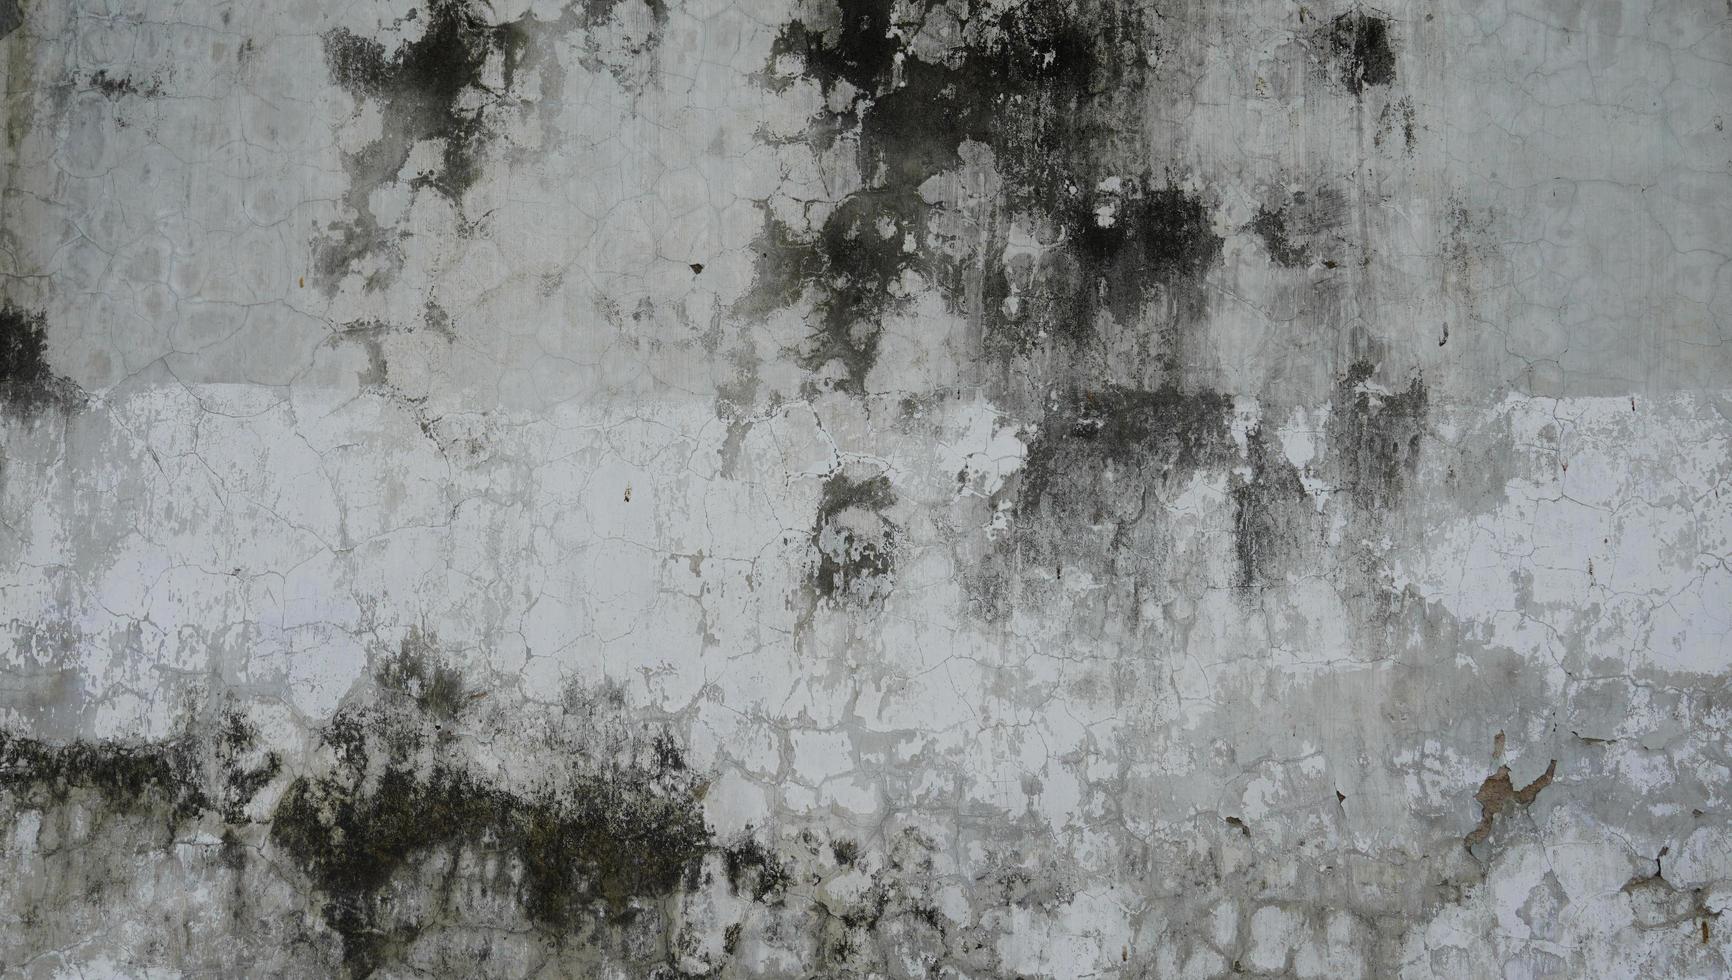
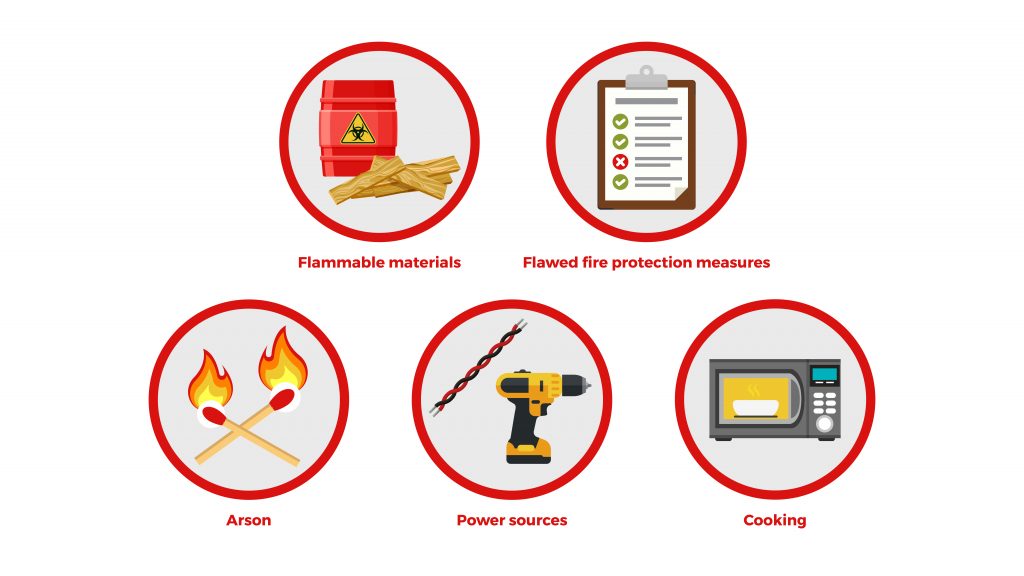
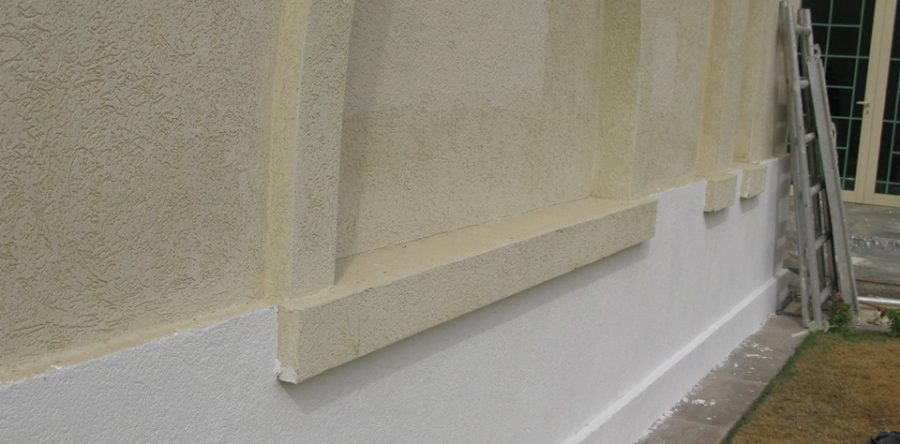
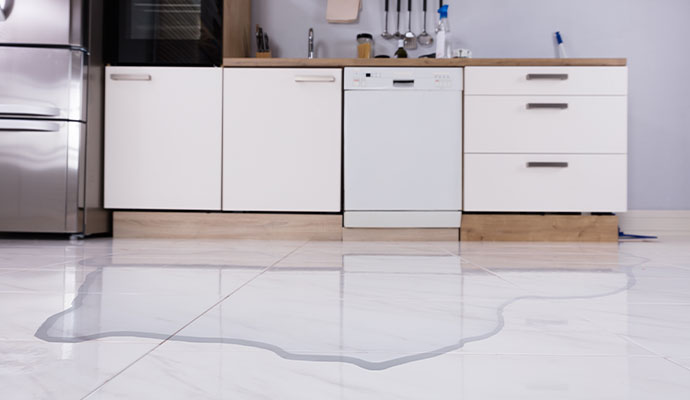
Understanding the common causes of kitchen wall texture damage can help prevent it from happening in the future. One of the most common causes is moisture, whether from cooking or accidental spills. Other causes can include wear and tear from daily use, scratches from furniture, or accidental damages from objects hitting the wall.5. Common Causes of Kitchen Wall Texture Damage


5. Common Causes of Kitchen Wall Texture Damage


When it comes to repairing wall texture in your kitchen, using the right products is essential for a successful outcome. Some of the best products for this task include joint compound, sandpaper, a sponge, and a texture spray. These can easily be found at your local hardware store and are relatively inexpensive.6. Best Products for Repairing Wall Texture in the Kitchen
:no_upscale()/cdn.vox-cdn.com/uploads/chorus_asset/file/19497734/howto_fixplaster_03.jpg)


6. Best Products for Repairing Wall Texture in the Kitchen


If you're not confident in your DIY skills or simply don't have the time to repair wall texture in your kitchen, you can always hire a professional. Professional wall texture repair services have the experience and expertise to fix any damage and can also advise on the best course of action to prevent future damage.7. Professional Kitchen Wall Texture Repair Services


7. Professional Kitchen Wall Texture Repair Services


If you're repairing a specific area of wall texture in your kitchen, you'll want to make sure it matches the existing texture. This can be achieved by using a sponge to dab on the texture spray and blending it in with the surrounding wall. You may need to practice on a small area before tackling the actual repair to get the right pattern and consistency.8. How to Match Existing Wall Texture in Your Kitchen
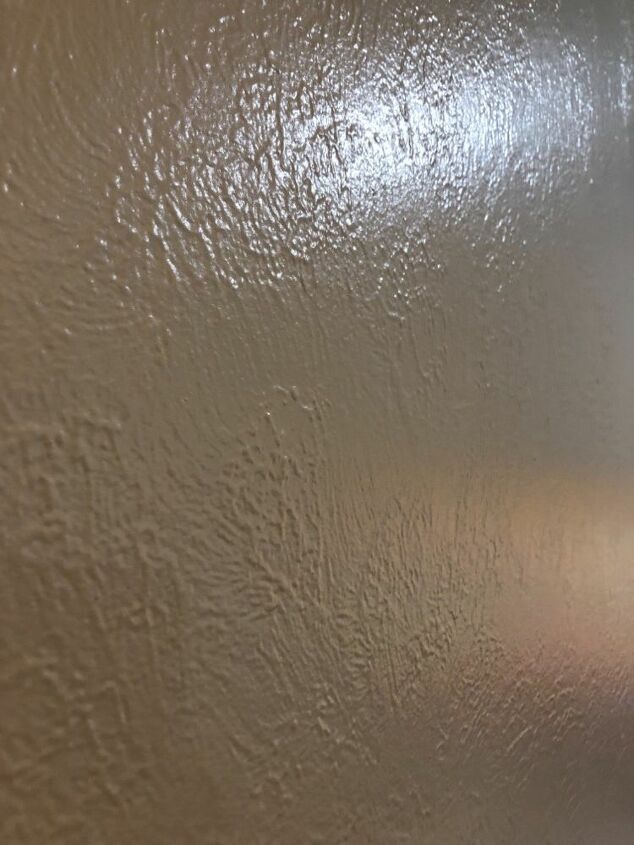

8. How to Match Existing Wall Texture in Your Kitchen


Once you've repaired the wall texture in your kitchen, you'll want to take measures to prevent future damage. This can include being mindful of moisture and cleaning up spills promptly, using furniture pads to prevent scratches, and avoiding hanging objects that may damage the walls. Regular maintenance and touch-ups can also help keep your kitchen walls looking their best.9. Preventing Future Damage to Kitchen Wall Texture


9. Preventing Future Damage to Kitchen Wall Texture


The cost of repairing wall texture in your kitchen will depend on the extent of the damage and whether you choose to DIY or hire a professional. DIY repairs can cost as little as $50, while professional services can range from $100 to $500. However, compared to completely repainting or replacing the walls, repairing wall texture is a cost-effective option.10. Cost of Repairing Wall Texture in the Kitchen


10. Cost of Repairing Wall Texture in the Kitchen


How to Repair Wall Texture in Your Kitchen

Introduction
 When it comes to house design, the kitchen is often considered the heart of the home. It's where we gather to cook, eat, and spend quality time with our loved ones. But with all the hustle and bustle that happens in the kitchen, it's no surprise that the walls can take a beating. From scratches and scuffs to cracks and holes, the wear and tear on your kitchen walls can really impact the overall look and feel of the space. That's why it's important to know how to repair wall texture in your kitchen. Not only will it restore the aesthetics of your kitchen, but it will also ensure that your walls are properly protected for years to come.
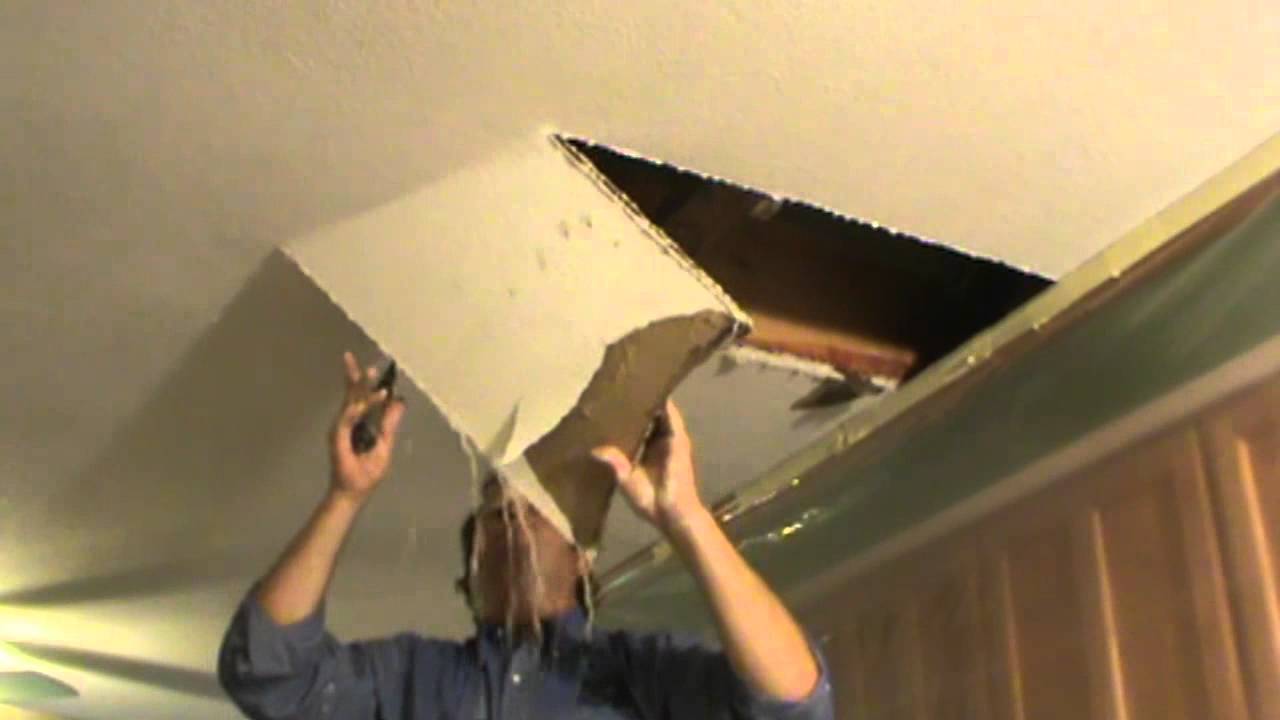
Assess the Damage
 The first step in repairing wall texture in your kitchen is to assess the damage. Is the texture simply worn out and in need of a fresh coat of paint, or are there larger cracks and holes that need to be filled? It's important to determine the extent of the damage before proceeding with any repairs. This will help you determine the best course of action and ensure that you have all the necessary tools and materials.
Prepare the Surface
 Before you can repair the wall texture, you need to prepare the surface. This involves removing any loose or peeling texture, as well as cleaning the walls thoroughly. Use a putty knife to scrape off any loose texture and then wipe down the walls with a damp cloth to remove any dirt or grime. This will create a smooth and clean surface for the repair to adhere to.
Repair the Texture
 Now it's time to repair the texture on your kitchen walls. For smaller cracks and holes, you can use a spackling compound to fill in the gaps. Simply apply the compound with a putty knife, making sure to smooth it out evenly. For larger areas, you may need to use a patching compound or joint compound. This will require a bit more skill and precision, so if you're unsure, it's best to consult a professional.
Apply a New Coat of Texture
 Once the repairs have been made and the compound has dried, it's time to apply a new coat of texture to your kitchen walls. There are a variety of options available, including spray-on texture, textured paint, and even textured wallpaper. Choose the option that best fits your budget and desired look for your kitchen. Apply the texture according to the instructions on the product, making sure to cover all repaired areas evenly.
Finish with a Fresh Coat of Paint
 Lastly, to complete the repair process, you'll want to finish with a fresh coat of paint. This will not only cover up any repairs, but it will also give your kitchen walls a clean and updated look. Choose a paint color that complements your kitchen design and apply it with a roller or brush, being careful not to disturb the newly applied texture.
In conclusion, knowing how to repair wall texture in your kitchen is an important skill for any homeowner. By following these steps, you can restore the look of your kitchen and protect your walls for years to come. So don't let damaged wall texture bring down the overall design of your kitchen, take action and repair it today!
Lastly, to complete the repair process, you'll want to finish with a fresh coat of paint. This will not only cover up any repairs, but it will also give your kitchen walls a clean and updated look. Choose a paint color that complements your kitchen design and apply it with a roller or brush, being careful not to disturb the newly applied texture.
In conclusion, knowing how to repair wall texture in your kitchen is an important skill for any homeowner. By following these steps, you can restore the look of your kitchen and protect your walls for years to come. So don't let damaged wall texture bring down the overall design of your kitchen, take action and repair it today!