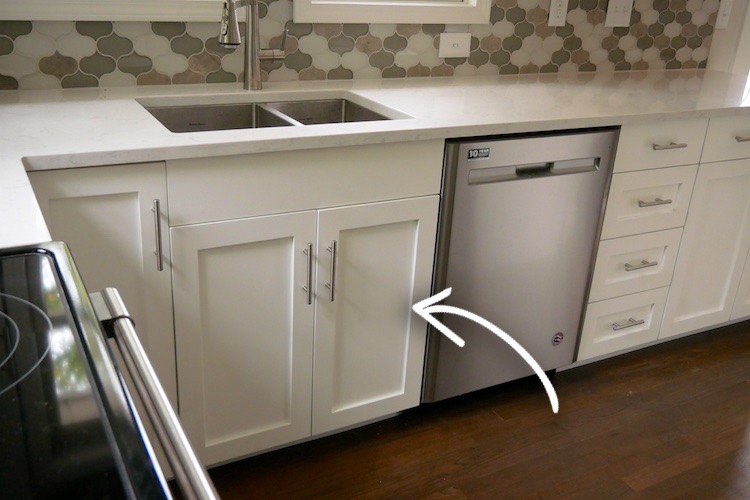
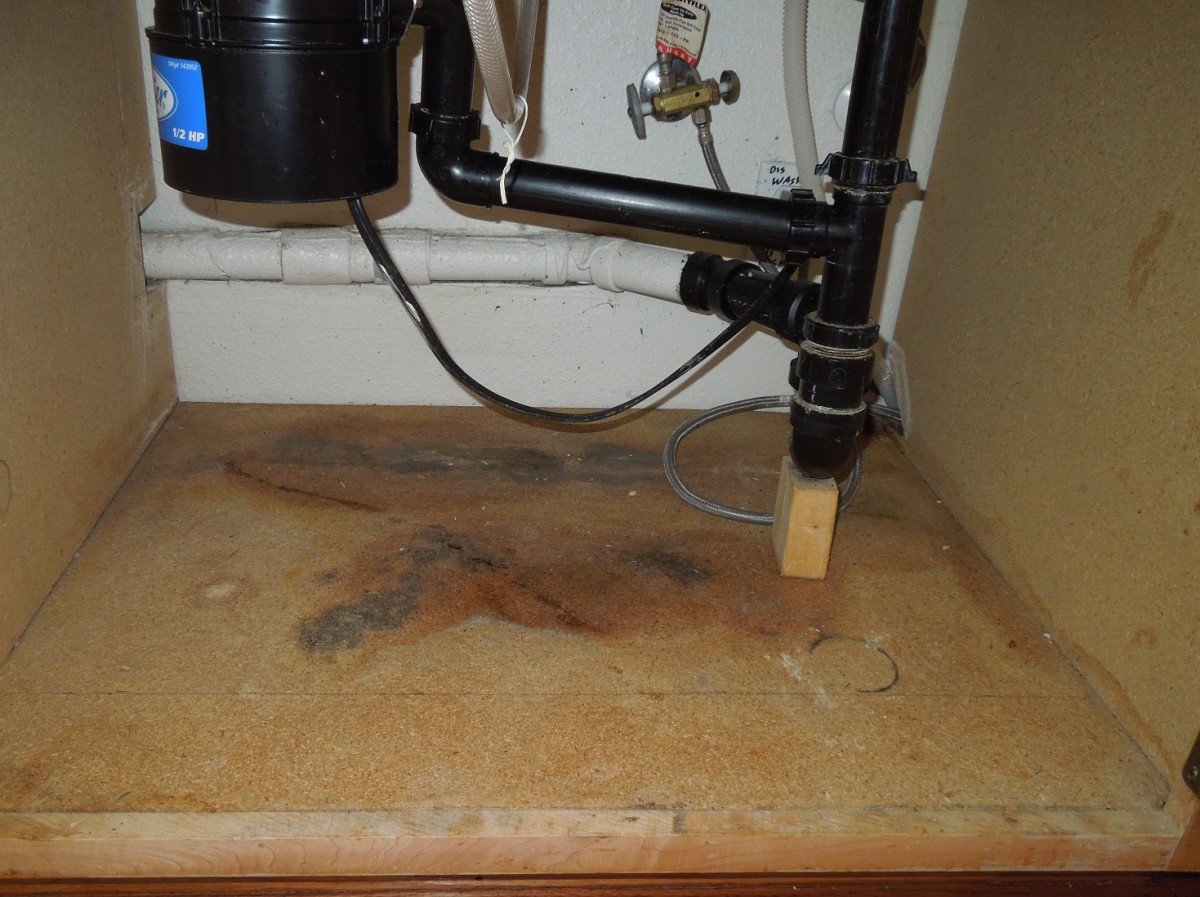
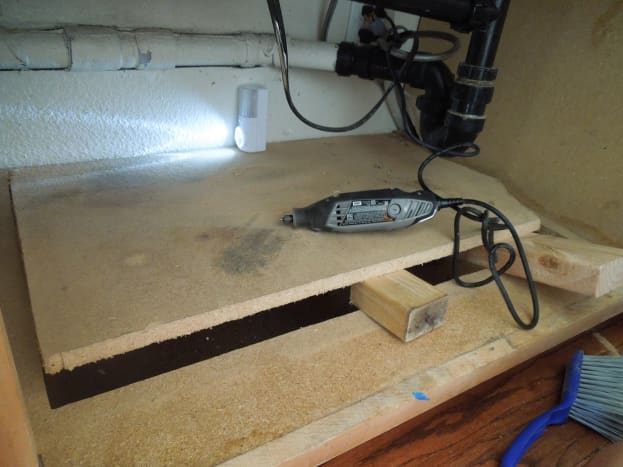
Is your kitchen sink cabinet floor starting to show signs of wear and tear? Don't worry, it's a common issue that many homeowners face as their cabinets age. The good news is that you don't have to spend a fortune on a full cabinet replacement. With a few simple steps, you can easily repair your kitchen sink cabinet floor and make it look as good as new. The first step is to identify the source of the damage. If it's a leaky pipe or a water spill that caused the damage, make sure to fix the issue before proceeding with the repair. Once the area is dry, you can move on to the repair process. Start by removing any damaged or rotted wood from the cabinet floor. Use a putty knife to scrape off any residue or debris and sand down the area to create a smooth surface. Next, apply a wood hardener to strengthen the remaining wood and prevent any further damage. Once the wood hardener is dry, you can use wood filler to fill in any gaps or holes in the cabinet floor. Be sure to smooth out the filler with a putty knife and let it dry completely. You can then sand down the area once again for a smooth finish. Finally, it's time to paint or stain the repaired area to match the rest of your cabinet. Use a high-quality paint or stain and apply it evenly with a brush or roller. Let it dry completely before using your cabinet again.1. How to Repair a Kitchen Sink Cabinet Floor


1. How to Repair a Kitchen Sink Cabinet Floor


Are you a handy person who loves taking on DIY projects? If so, you'll be happy to know that repairing a kitchen sink cabinet is a relatively simple task that you can do yourself. Not only will it save you money, but it will also give you a sense of accomplishment. The first step in any DIY project is to gather all the necessary tools and materials. For this repair, you'll need a putty knife, sandpaper, wood hardener, wood filler, paint or stain, and a brush or roller. Once you have everything you need, follow the steps mentioned in the previous heading to repair your kitchen sink cabinet floor. Make sure to take your time and be thorough in your repair for the best results. Remember, if you come across any issues that you're not comfortable handling, it's always best to seek the help of a professional. Safety should always be your top priority when taking on any DIY project.2. DIY Kitchen Sink Cabinet Repair


2. DIY Kitchen Sink Cabinet Repair


A sagging kitchen sink cabinet is not only unsightly, but it can also be a safety hazard. If you notice that your cabinet is starting to sag, it's important to address the issue as soon as possible to prevent any further damage. The first step is to remove the cabinet doors and empty out the contents of the cabinet. You'll then need to support the cabinet by placing a jack or a stack of books underneath it. This will prevent it from collapsing while you work on the repair. Next, use screws to secure any loose joints or connections in the cabinet. You may also need to add a support beam or brace to reinforce the cabinet's structure. Once everything is secure, you can remove the support and put the cabinet doors back on. If the sagging is due to water damage, you may need to follow the steps mentioned in the first heading to repair the kitchen sink cabinet floor before addressing the sagging issue.3. Fixing a Sagging Kitchen Sink Cabinet

3. Fixing a Sagging Kitchen Sink Cabinet


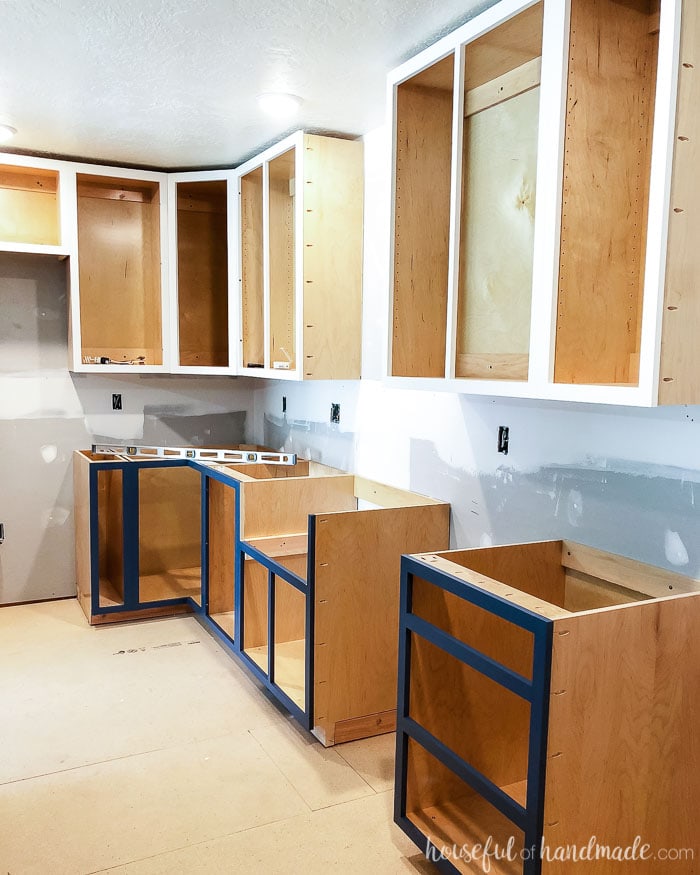
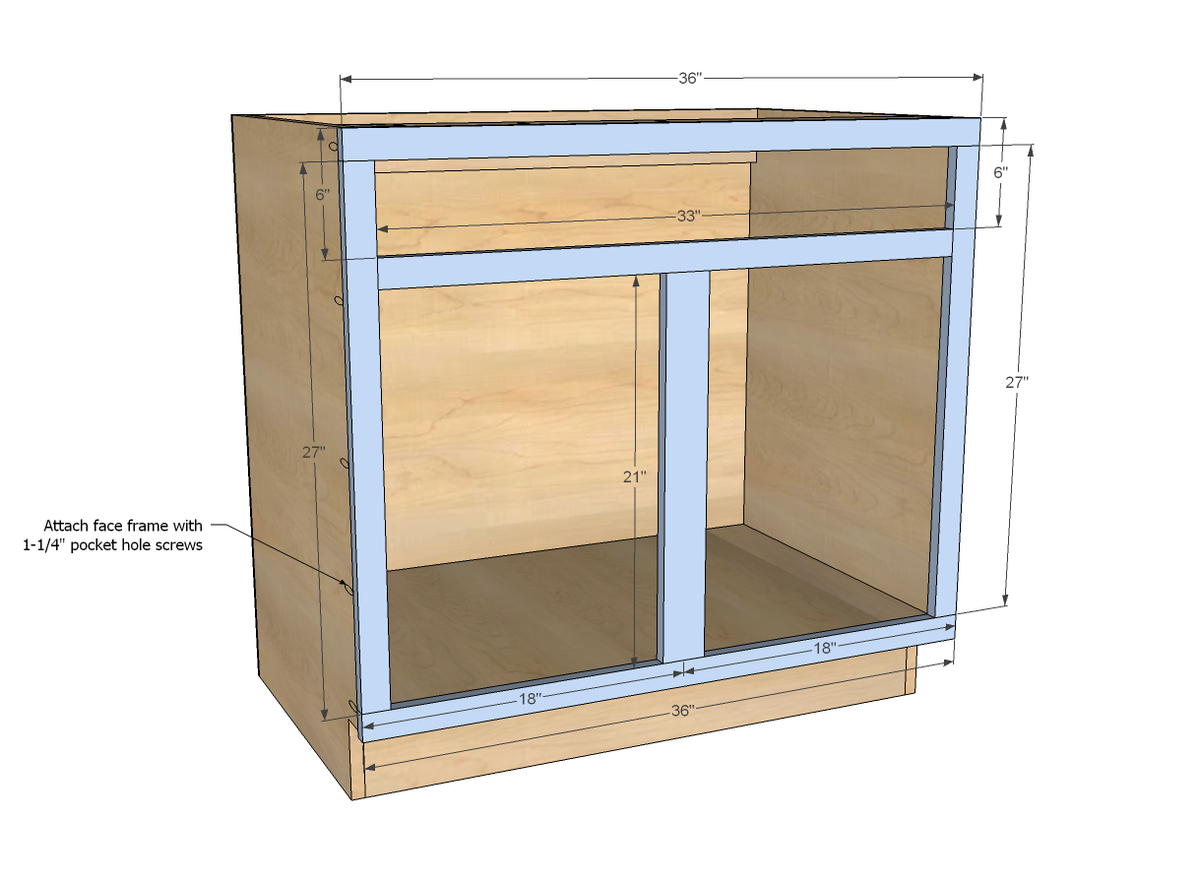
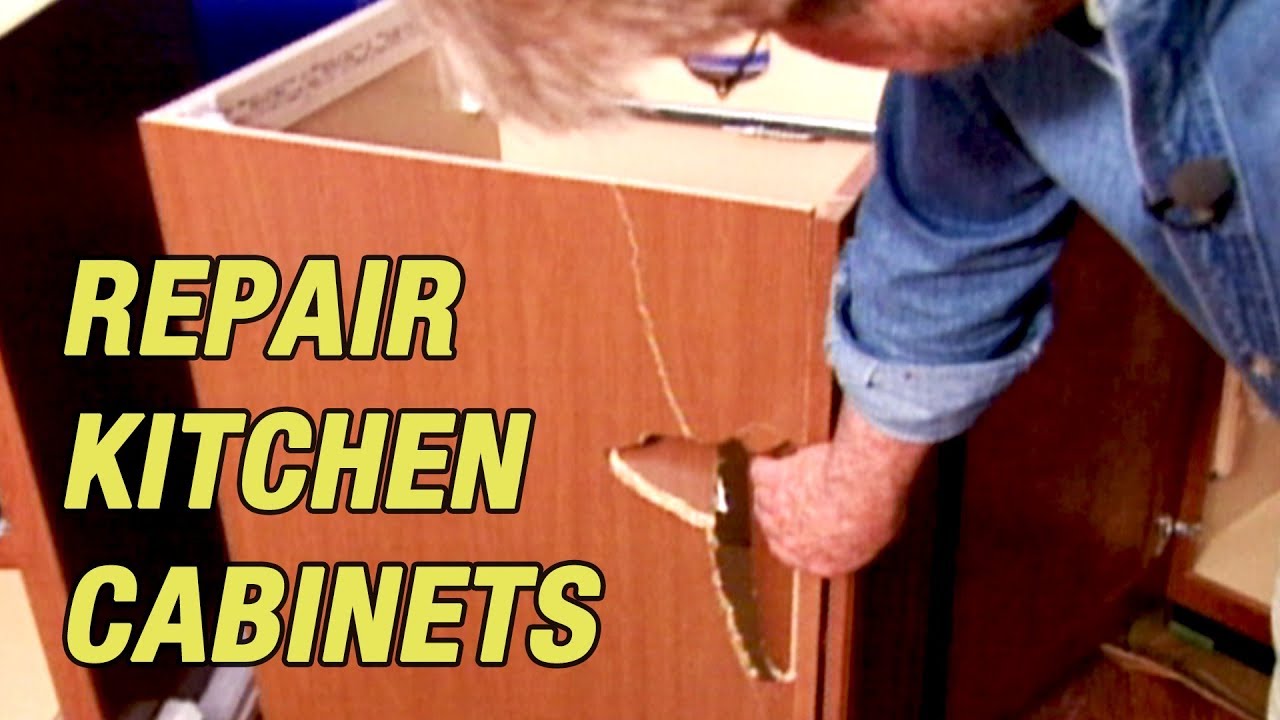
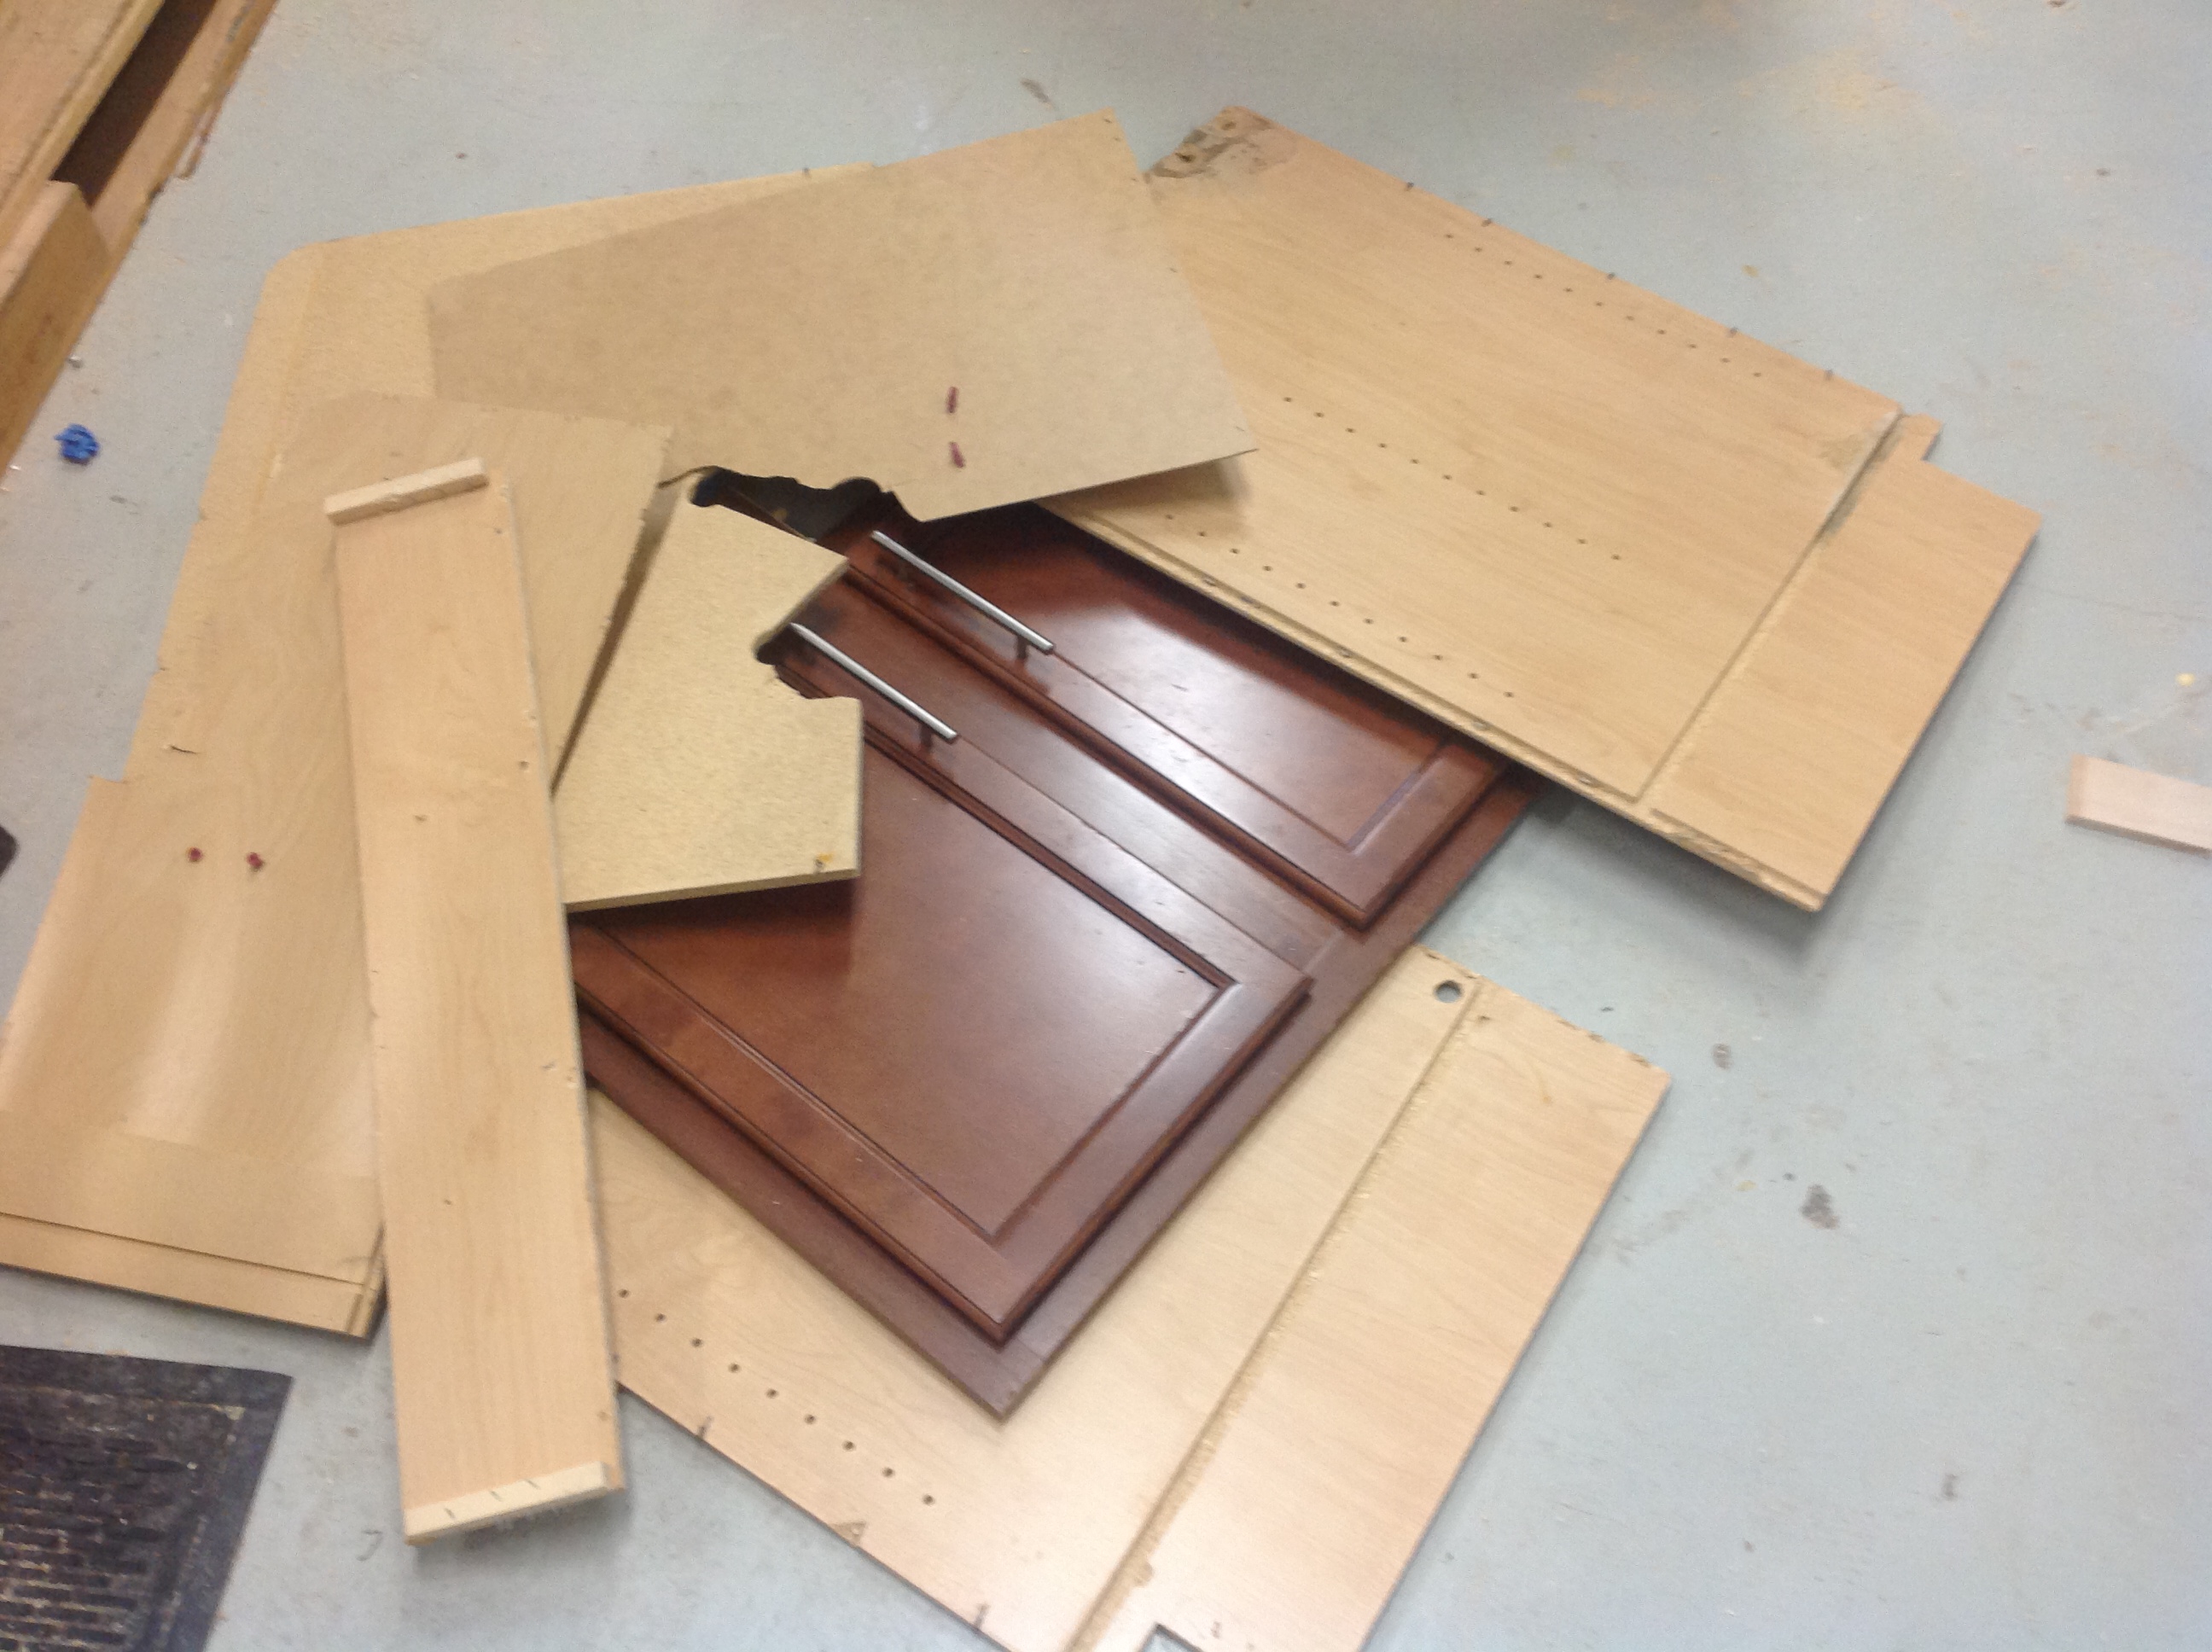
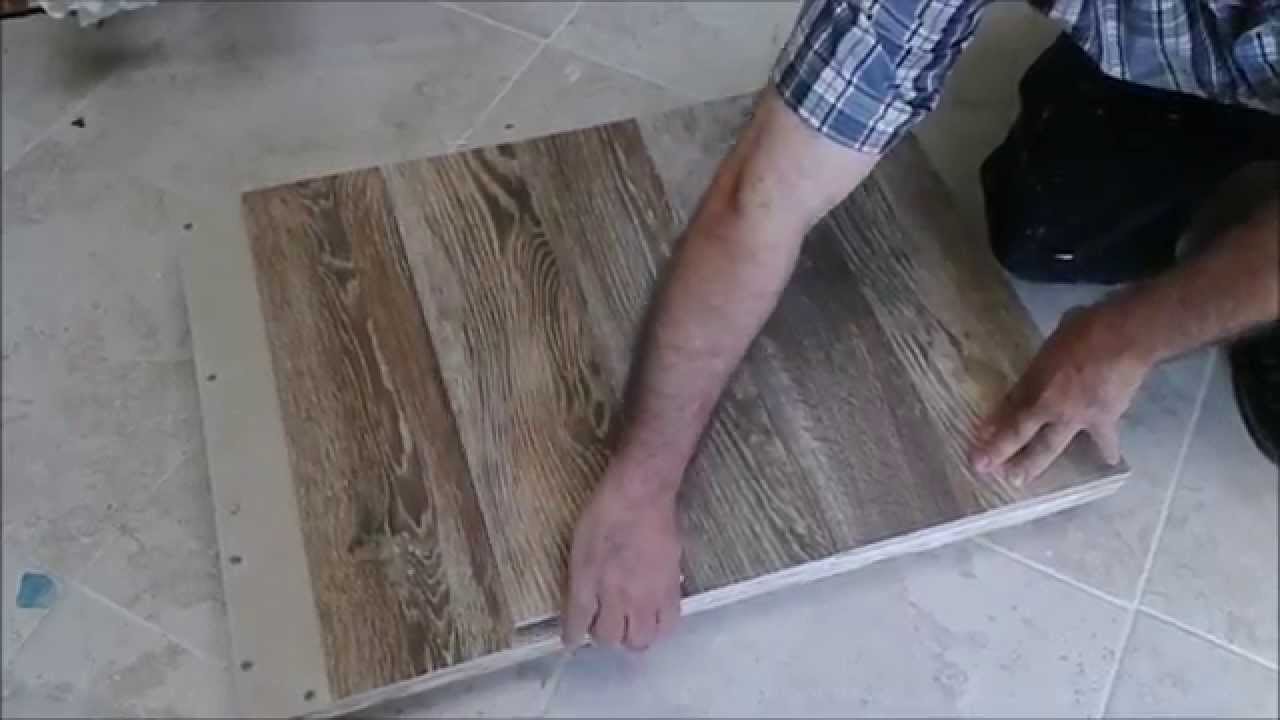
If you have a damaged kitchen sink cabinet panel, it may be tempting to replace the entire cabinet. However, with the right tools and materials, you can easily replace just the damaged panel and save yourself a lot of time and money. The first step is to measure the damaged panel and purchase a replacement panel of the same size. You'll also need a circular saw, a drill, screws, and a screwdriver for this repair. Start by removing the damaged panel from the cabinet. You may need to use a pry bar to gently remove it without causing any further damage. Once the panel is removed, use the circular saw to cut the new panel to the correct size. Next, use the drill to make pilot holes in the new panel before attaching it to the cabinet with screws. Make sure to use enough screws to secure the panel in place. You can then finish off the repair by painting or staining the new panel to match the rest of your cabinet.4. Replacing a Damaged Kitchen Sink Cabinet Panel


4. Replacing a Damaged Kitchen Sink Cabinet Panel


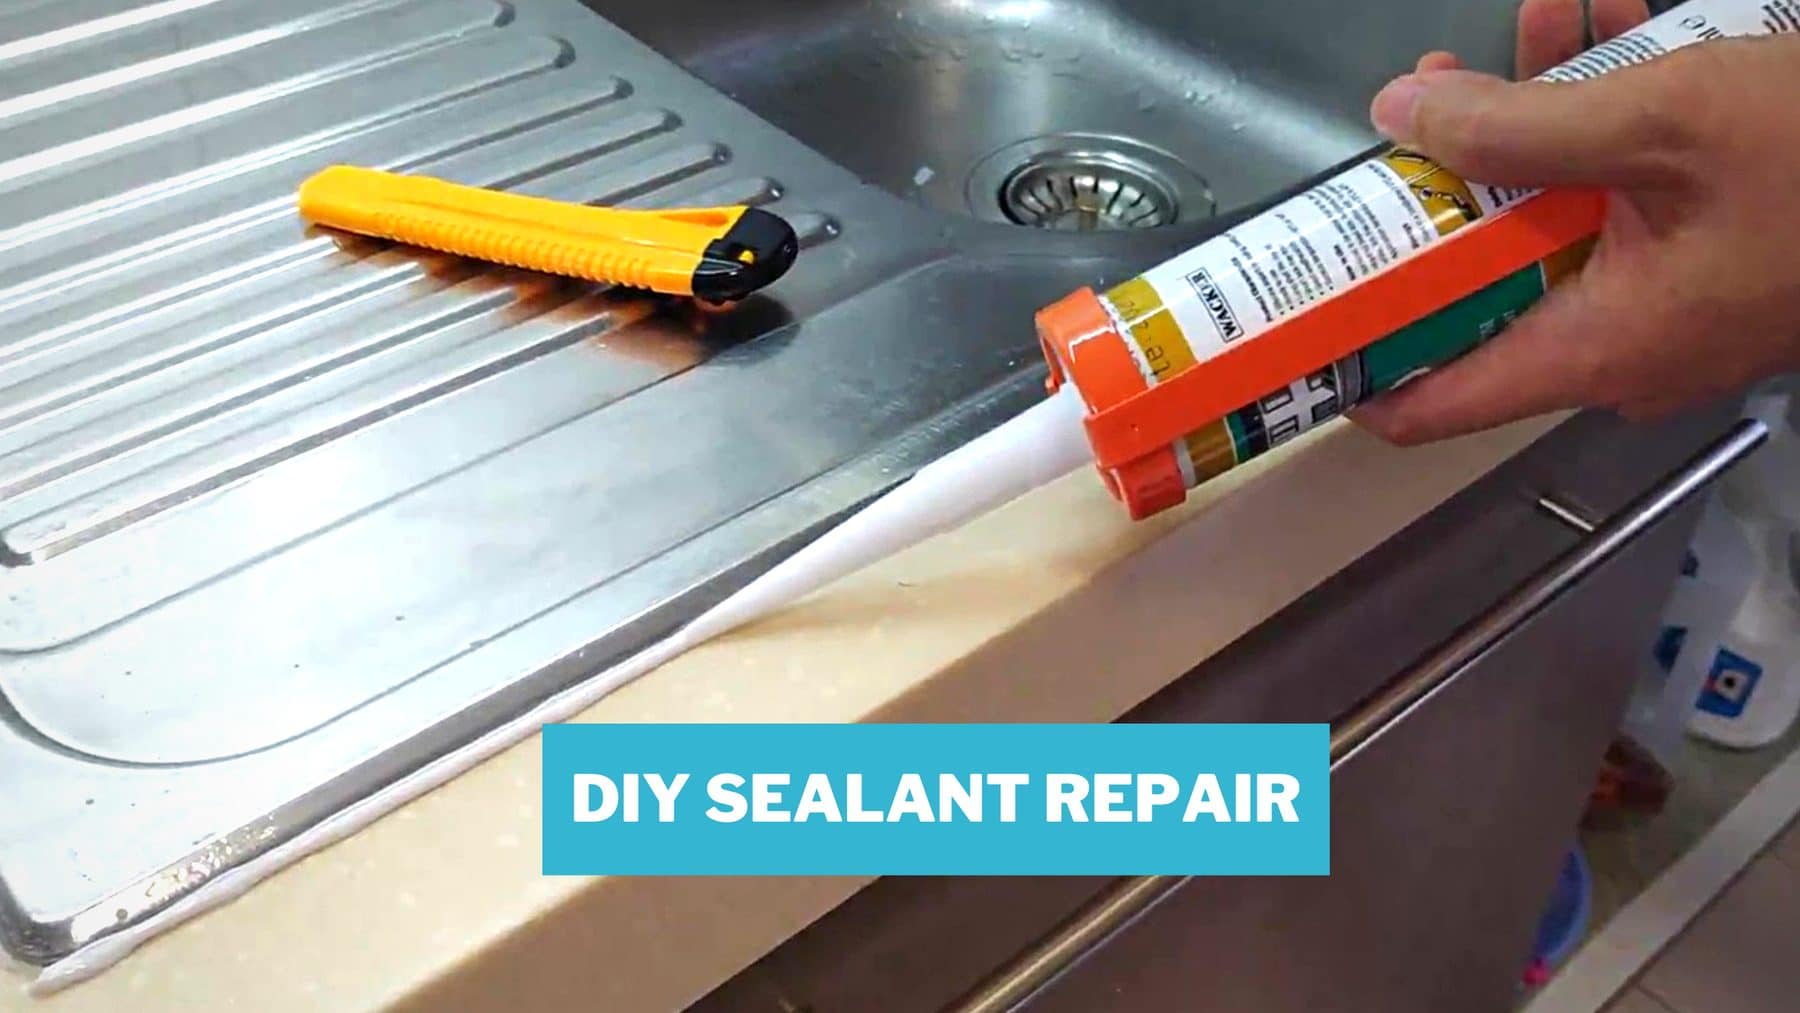
Prevention is always better than cure, and this is especially true when it comes to kitchen sink cabinet repairs. By following these easy tips, you can keep your cabinet in good shape and avoid any major repairs in the future. Regularly check for leaks under your sink and fix any issues immediately to prevent water damage to your cabinet. Wipe down any spills or splashes on your cabinet floor to prevent any stains or damage. Avoid placing heavy objects on your cabinet floor to prevent it from sagging or breaking. Apply a waterproof sealant to the bottom of your cabinet to protect it from any potential water damage. By following these simple tips, you can prolong the life of your kitchen sink cabinet and minimize the need for repairs.5. Easy Kitchen Sink Cabinet Repair Tips


5. Easy Kitchen Sink Cabinet Repair Tips


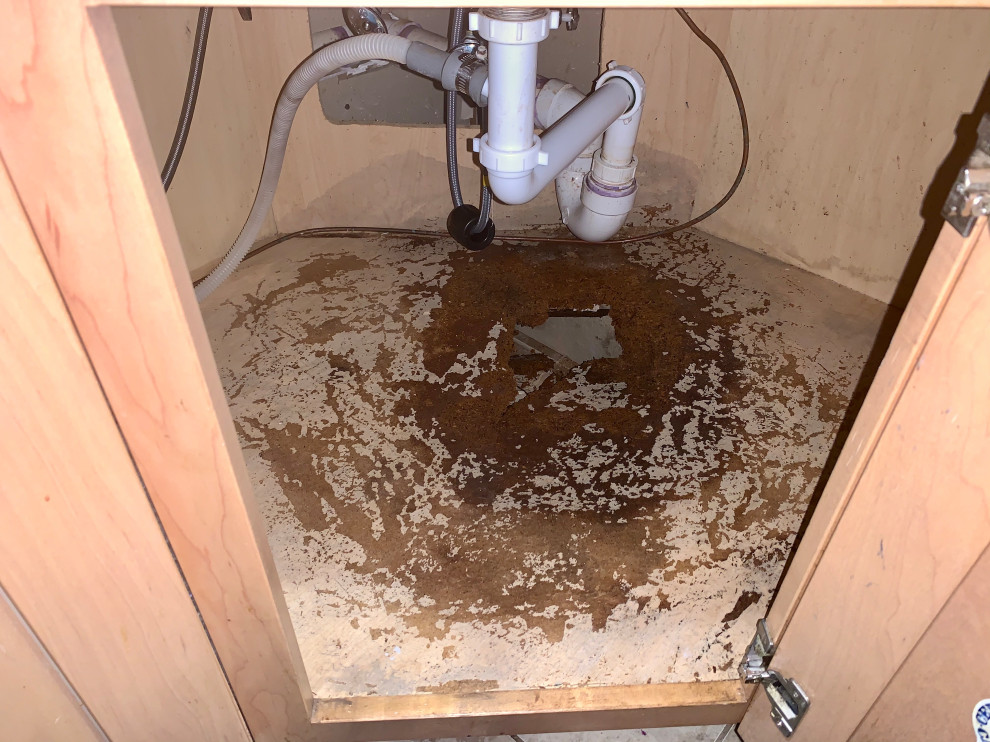
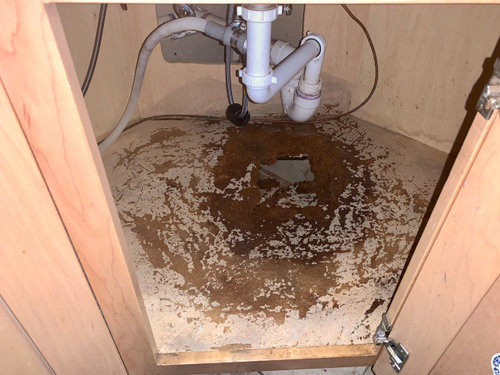
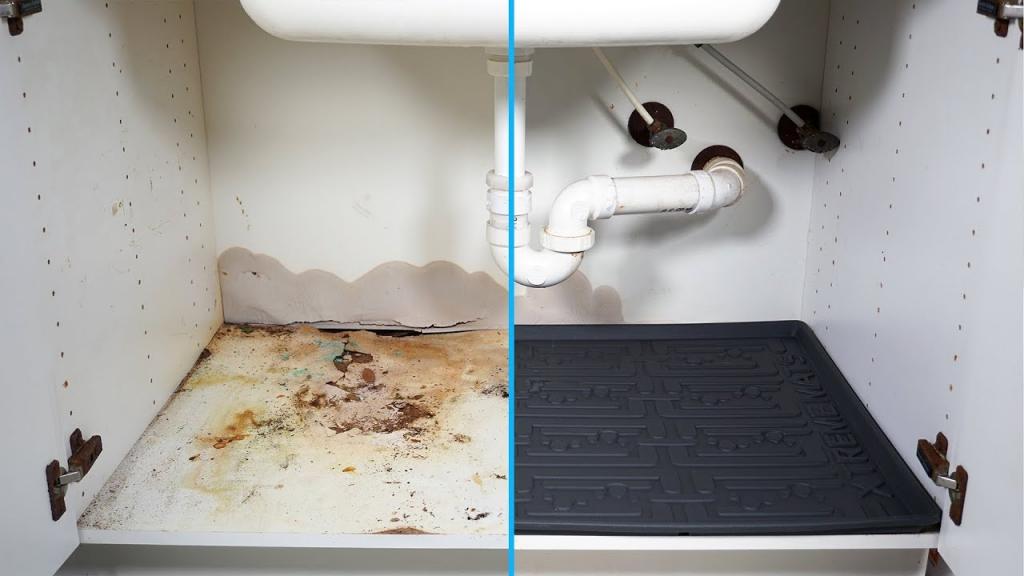
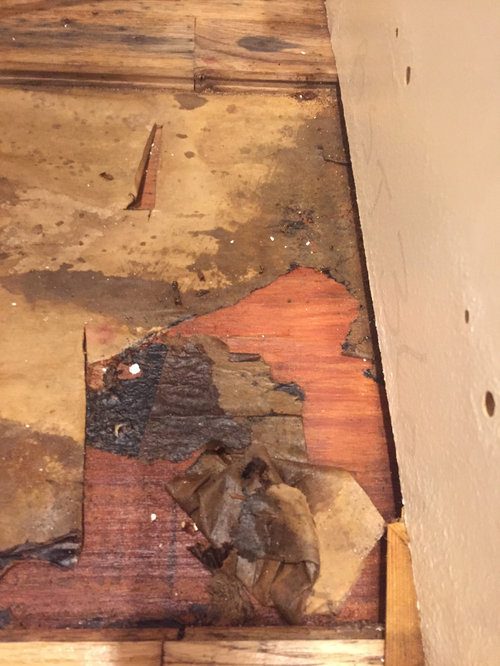
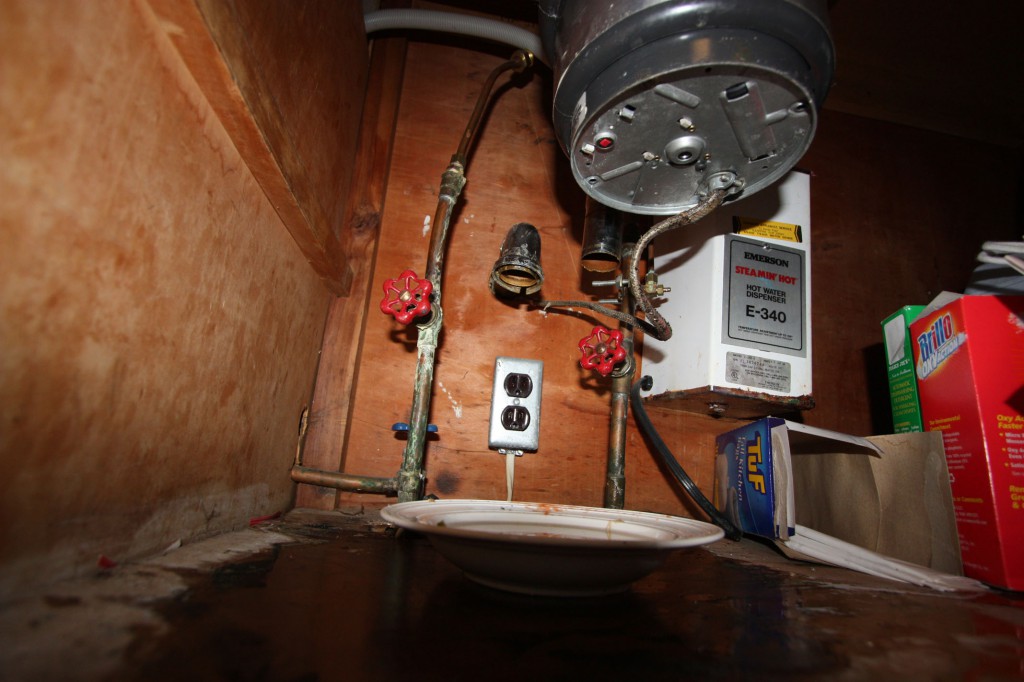
Water damage under a kitchen sink is a common issue that can lead to bigger problems if not addressed promptly. The first step in repairing water damage is to identify the source of the problem and fix it. Once that is done, you can move on to repairing the damaged area. Start by removing any damaged wood or materials from the area. Use a putty knife to scrape off any residue or debris and let it dry completely. You can then apply a wood hardener to strengthen the remaining wood and prevent any further damage. Once the wood hardener is dry, use wood filler to fill in any gaps or holes in the cabinet floor. Sand the area down for a smooth finish and then paint or stain it to match the rest of your cabinet. This should take care of any water damage and prevent it from worsening.6. Repairing Water Damage Under a Kitchen Sink
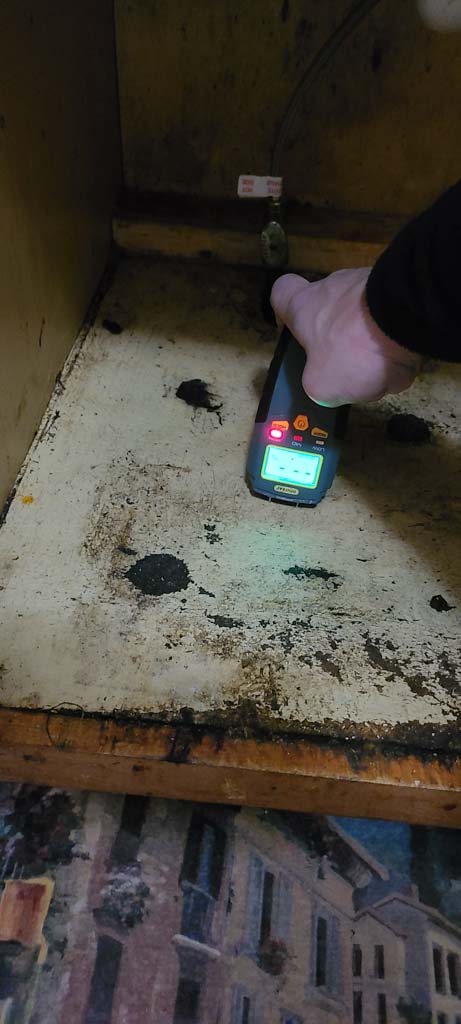

6. Repairing Water Damage Under a Kitchen Sink

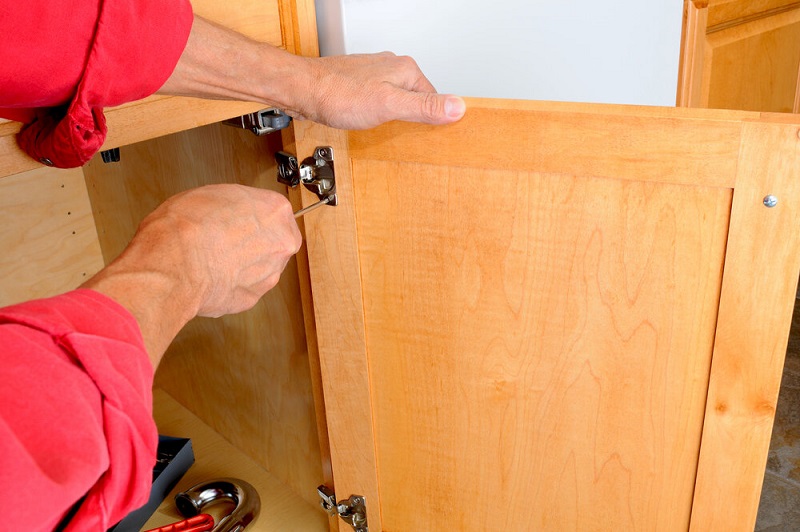
If your kitchen sink cabinet has a broken door or drawer, it's important to fix it as soon as possible to prevent any further damage. The good news is that this is a relatively simple repair that you can do on your own. Start by removing the broken door or drawer from the cabinet. You may need to use a screwdriver or a drill to do this. Once it's removed, you can use wood glue or screws to fix any broken parts or joints. If the damage is too severe, you may need to replace the door or drawer altogether. In that case, measure the dimensions of the broken piece and purchase a replacement. You can then install it using screws and hinges, making sure it fits perfectly in place.7. Steps for Fixing a Broken Kitchen Sink Cabinet


7. Steps for Fixing a Broken Kitchen Sink Cabinet
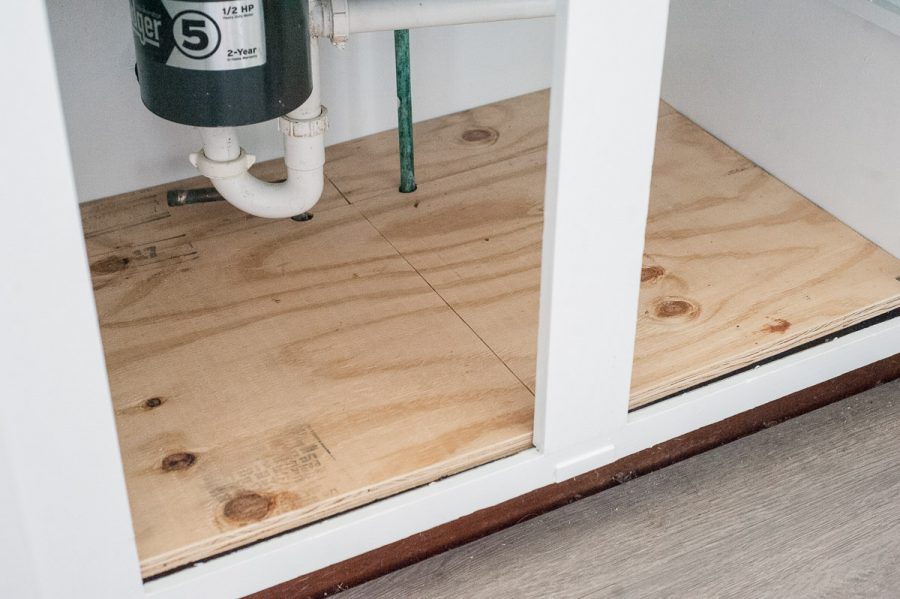
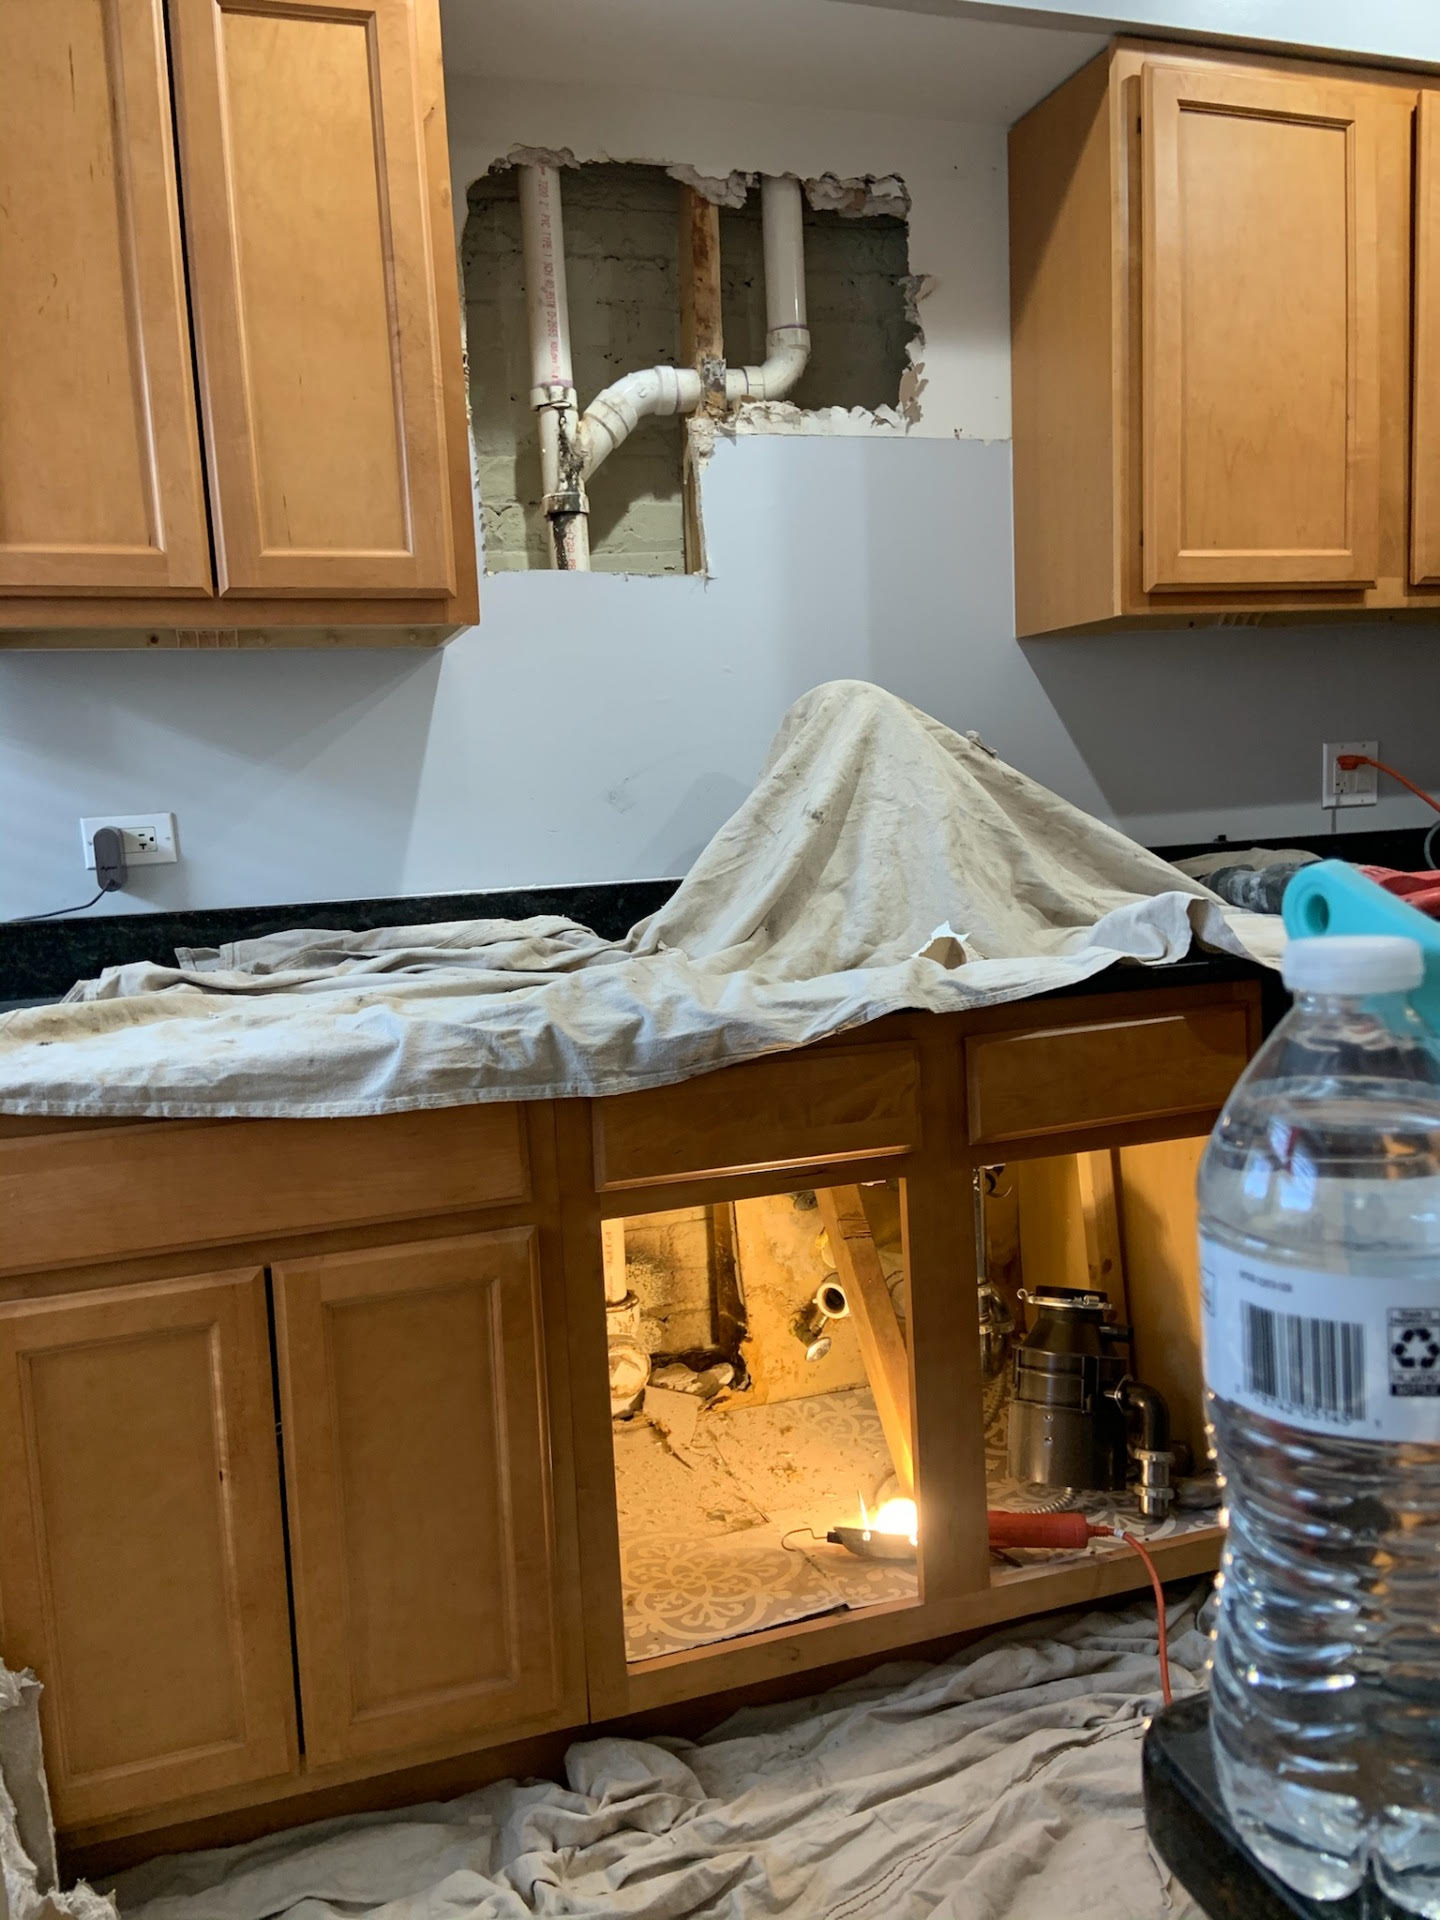
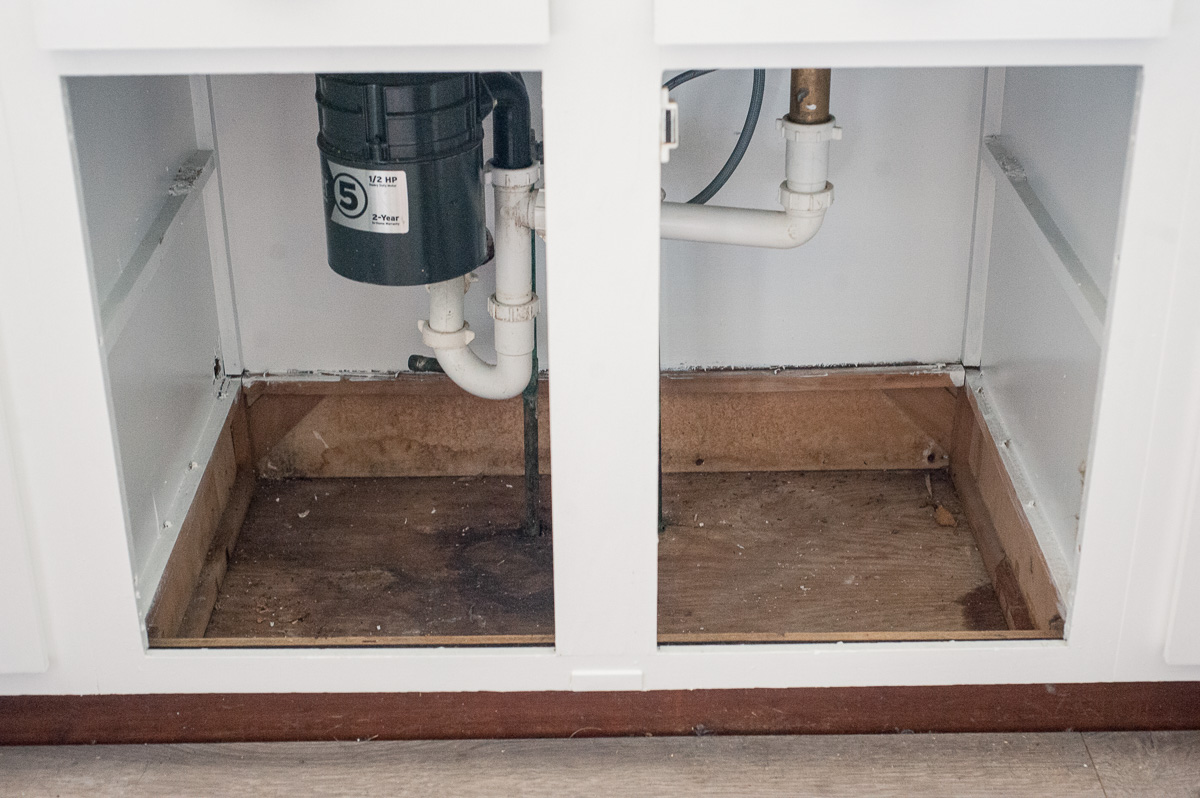
A rotted kitchen sink cabinet floor is a sure sign of water damage that has been left untreated for too long. In most cases, the best solution is to replace the entire cabinet floor. This may sound like a daunting task, but it's not as difficult as it seems. Start by removing the cabinet doors and emptying out the contents of the cabinet. You can then use a circular saw to cut out the rotted area and remove it. Measure the dimensions of the hole and purchase a replacement panel of the same size. Use screws to secure the new panel in place and finish off the repair by painting or staining the new panel to match the rest of your cabinet. Remember to also address the source of the water damage to prevent any further issues.8. How to Replace a Rotted Kitchen Sink Cabinet Floor

8. How to Replace a Rotted Kitchen Sink Cabinet Floor
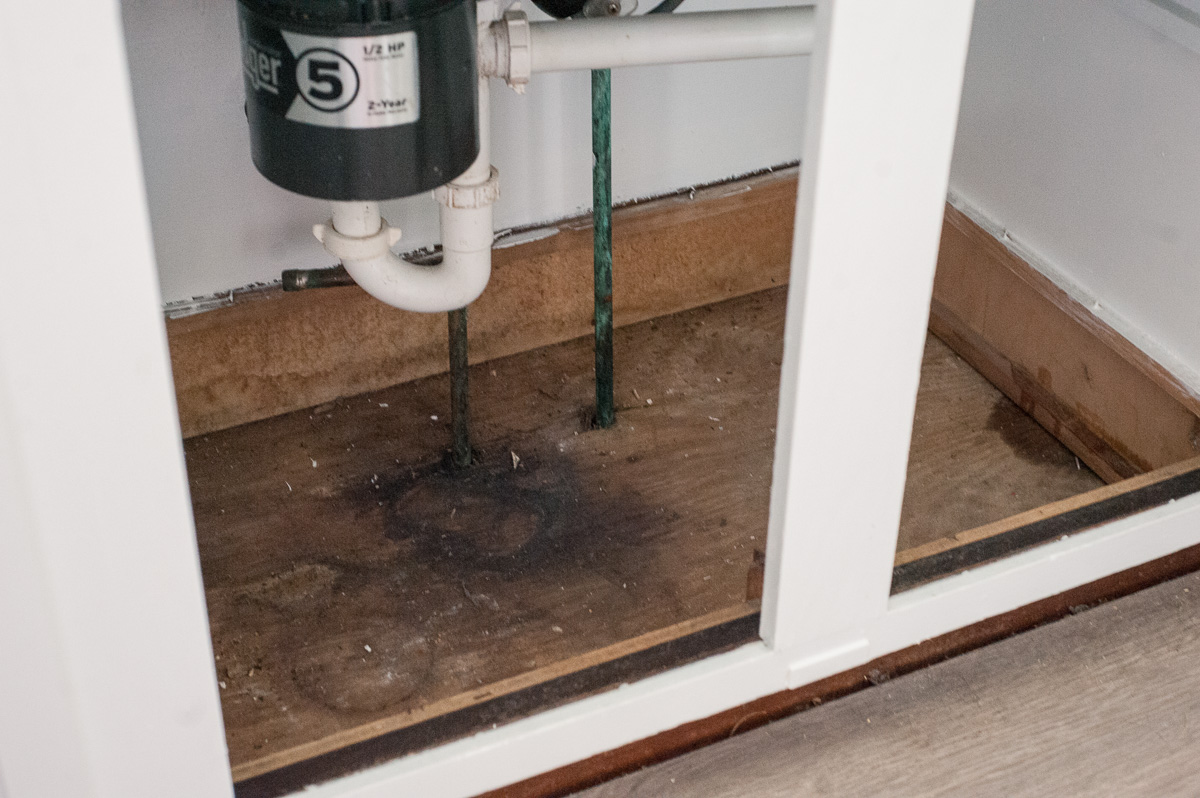
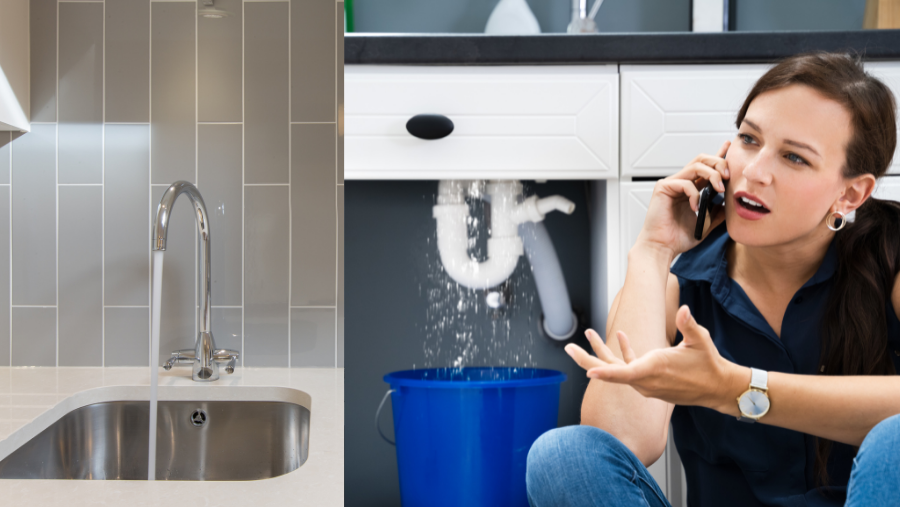
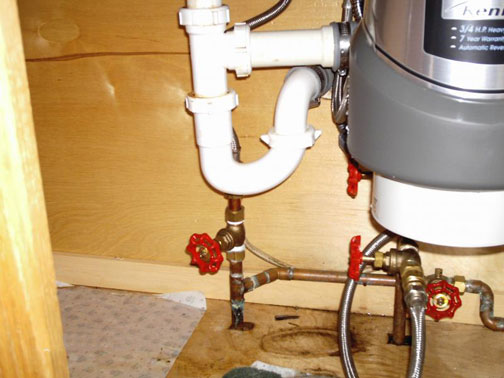
A leaky kitchen sink cabinet can cause a lot of damage if left untreated. The first step in repairing a leak is to locate the source of the problem and fix it. Once that is done, you can move on to repairing any damage that may have already occurred. If the leak has caused any water damage to the cabinet floor, follow the steps mentioned in the previous headings to repair it. You may also need to replace any damaged pipes or fittings to ensure that the leak doesn't occur again. Once the source of the leak is fixed, make sure to thoroughly dry out the area to prevent any mold or mildew growth. You can then reinforce the cabinet with screws and a support beam if necessary. Remember to regularly check for any new leaks and address them immediately to prevent any further damage.9. Repairing a Leaky Kitchen Sink Cabinet


9. Repairing a Leaky Kitchen Sink Cabinet


If your kitchen sink cabinet has sustained some damage, don't panic. With the right tools and techniques, you can easily repair it and make it look as good as new. Here are a few tips to keep in mind when repairing a damaged kitchen sink cabinet: Always start by identifying the source of the damage and fixing it first. Take your time and be thorough in your repair to ensure the best results. Use high-quality materials to ensure that your repair lasts a long time. Regularly check your cabinet for any signs of damage and address them immediately to prevent any major repairs in the future. By following these tips, you can keep your kitchen sink cabinet in good condition and avoid any major repairs.10. Tips for Repairing a Damaged Kitchen Sink Cabinet


10. Tips for Repairing a Damaged Kitchen Sink Cabinet
Why You Should Consider Repairing the Panel Under Your Kitchen Sink

The Importance of a Functional Kitchen
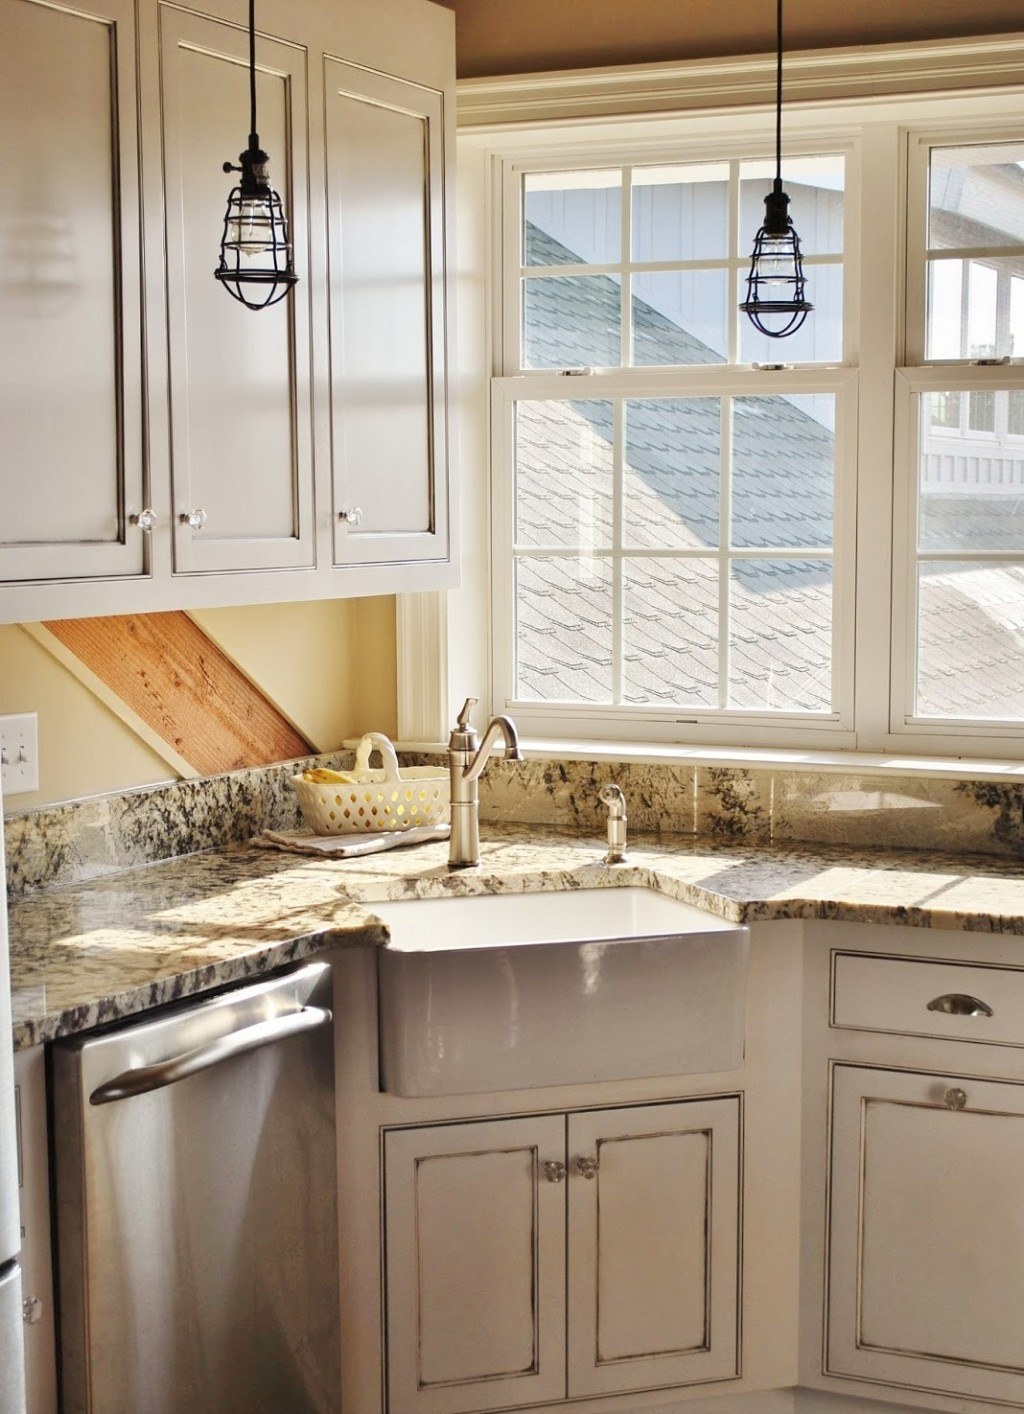
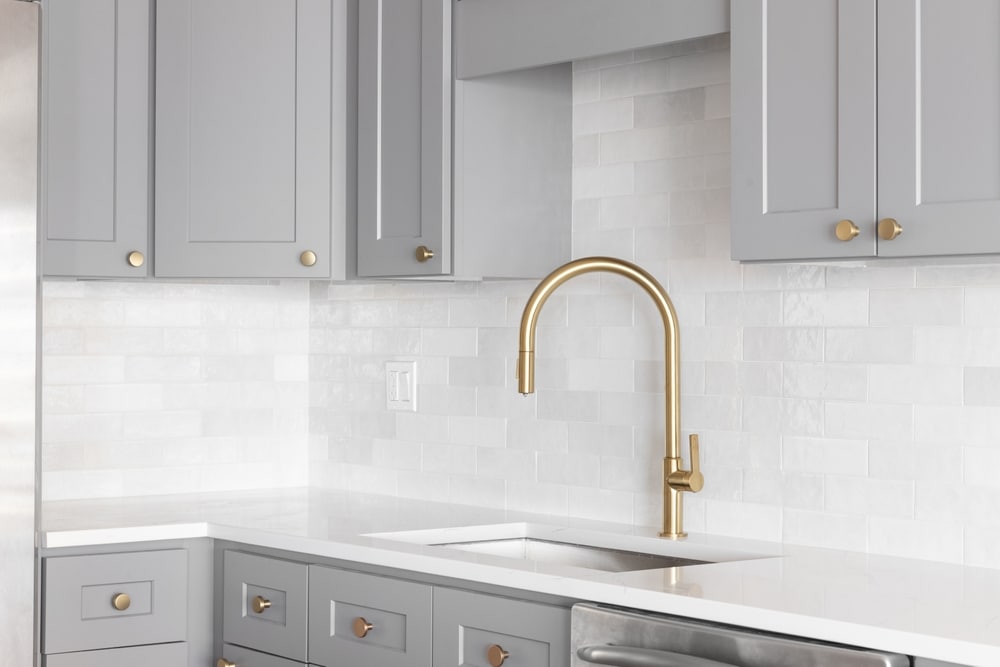
 A kitchen is the heart of any home, and having a functional and well-designed kitchen can make all the difference in your daily life. From preparing meals to hosting gatherings, a well-maintained kitchen can make these tasks easier and more enjoyable. However, even the most well-designed kitchens can experience wear and tear over time. One common issue that many homeowners face is a damaged panel under their kitchen sink. This may seem like a minor issue, but it can actually cause a lot of inconvenience and even lead to further damage if not addressed promptly. That's why it's important to consider repairing the panel under your kitchen sink.
The Role of the Panel Under Your Kitchen Sink
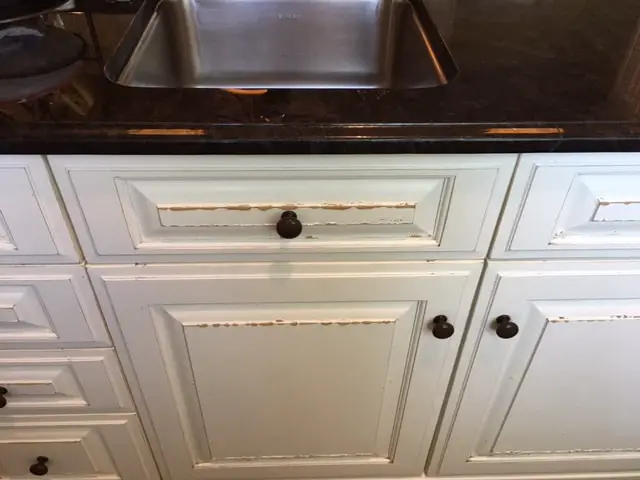
 The panel under your kitchen sink serves an important purpose. It not only adds a finishing touch to your kitchen's overall design, but it also helps to protect the plumbing and pipes under your sink. This panel is typically made of wood or a similar material and is prone to damage from water leaks, humidity, and even pests. If left unrepaired, a damaged panel can lead to mold growth, water damage, and even attract insects into your home. Additionally, a damaged panel can also affect the overall aesthetic of your kitchen, making it look worn out and unkempt.
Benefits of Repairing the Panel
 Repairing the panel under your kitchen sink may seem like a small task, but it can have a big impact on your kitchen's functionality and appearance. By repairing the panel, you can prevent further damage to your plumbing and avoid potential health hazards. It can also improve the overall look of your kitchen, giving it a fresh and polished appearance. Furthermore, repairing the panel can also increase the value of your home, making it a wise investment for the future.
Don't Wait, Take Action Now
If you've noticed any damage to the panel under your kitchen sink, it's important to take action and get it repaired as soon as possible. Ignoring the issue can lead to bigger problems and more costly repairs down the line. Consider hiring a professional to assess the damage and provide a solution that fits your budget and needs. With a repaired panel, you can enjoy a fully functional and visually appealing kitchen once again.
In Conclusion
Your kitchen is an important part of your home, and it's essential to keep it well-maintained and functioning properly. The panel under your kitchen sink may seem like a small component, but it plays a crucial role in the overall functionality and appearance of your kitchen. By repairing the panel, you can prevent further damage, improve the aesthetic of your kitchen, and increase the value of your home. Don't wait until it's too late, take action now and get your kitchen back in top shape.
Repairing the panel under your kitchen sink may seem like a small task, but it can have a big impact on your kitchen's functionality and appearance. By repairing the panel, you can prevent further damage to your plumbing and avoid potential health hazards. It can also improve the overall look of your kitchen, giving it a fresh and polished appearance. Furthermore, repairing the panel can also increase the value of your home, making it a wise investment for the future.
Don't Wait, Take Action Now
If you've noticed any damage to the panel under your kitchen sink, it's important to take action and get it repaired as soon as possible. Ignoring the issue can lead to bigger problems and more costly repairs down the line. Consider hiring a professional to assess the damage and provide a solution that fits your budget and needs. With a repaired panel, you can enjoy a fully functional and visually appealing kitchen once again.
In Conclusion
Your kitchen is an important part of your home, and it's essential to keep it well-maintained and functioning properly. The panel under your kitchen sink may seem like a small component, but it plays a crucial role in the overall functionality and appearance of your kitchen. By repairing the panel, you can prevent further damage, improve the aesthetic of your kitchen, and increase the value of your home. Don't wait until it's too late, take action now and get your kitchen back in top shape.