Removing Old Wall Tiles Kitchen
Are you tired of the outdated wall tiles in your kitchen? Are they chipped, cracked or just not your style anymore? It's time to give your kitchen a fresh new look by removing those old wall tiles. While it may seem like a daunting task, with the right tools and techniques, you can easily remove old wall tiles in your kitchen and transform the space into a modern and updated room.
How to Remove Old Wall Tiles in Kitchen
Before you get started, it's important to have a plan and the necessary tools. The following steps will guide you through the process of removing old wall tiles in your kitchen:
DIY Guide for Removing Old Wall Tiles in Kitchen
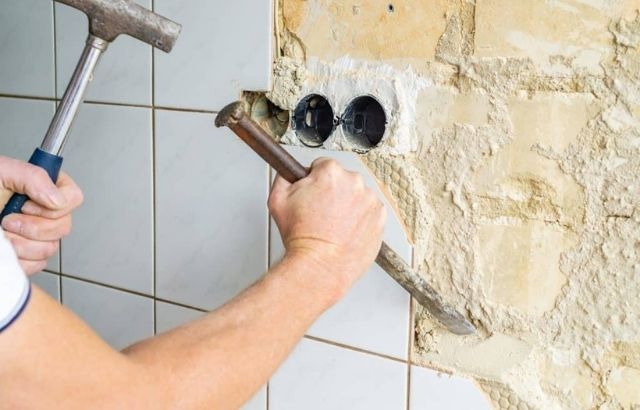
Step 1: Prepare the area - Lay down a drop cloth to protect your countertops and floors. Use painter's tape to cover any outlets or switches near the tiles. This will prevent any damage or accidents during the removal process.
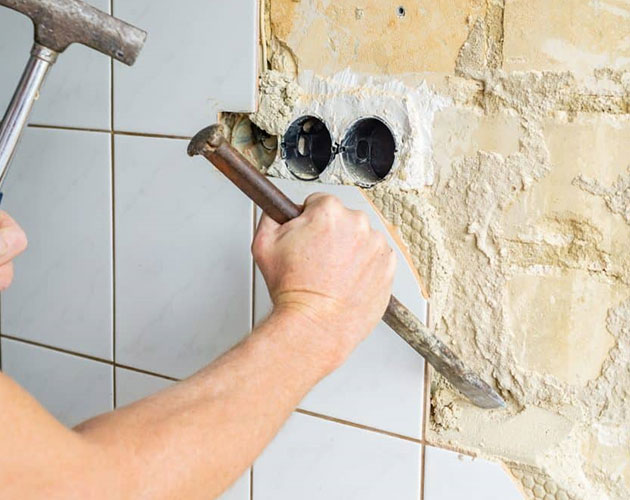
Step 2: Gather your tools - You will need a hammer, chisel, putty knife, grout saw, and safety glasses for this project. These tools will help you remove the tiles and any remaining adhesive or grout.
Step 3: Remove the grout - Use the grout saw to carefully remove the grout between the tiles. This will make it easier to remove the tiles without damaging the surrounding ones.
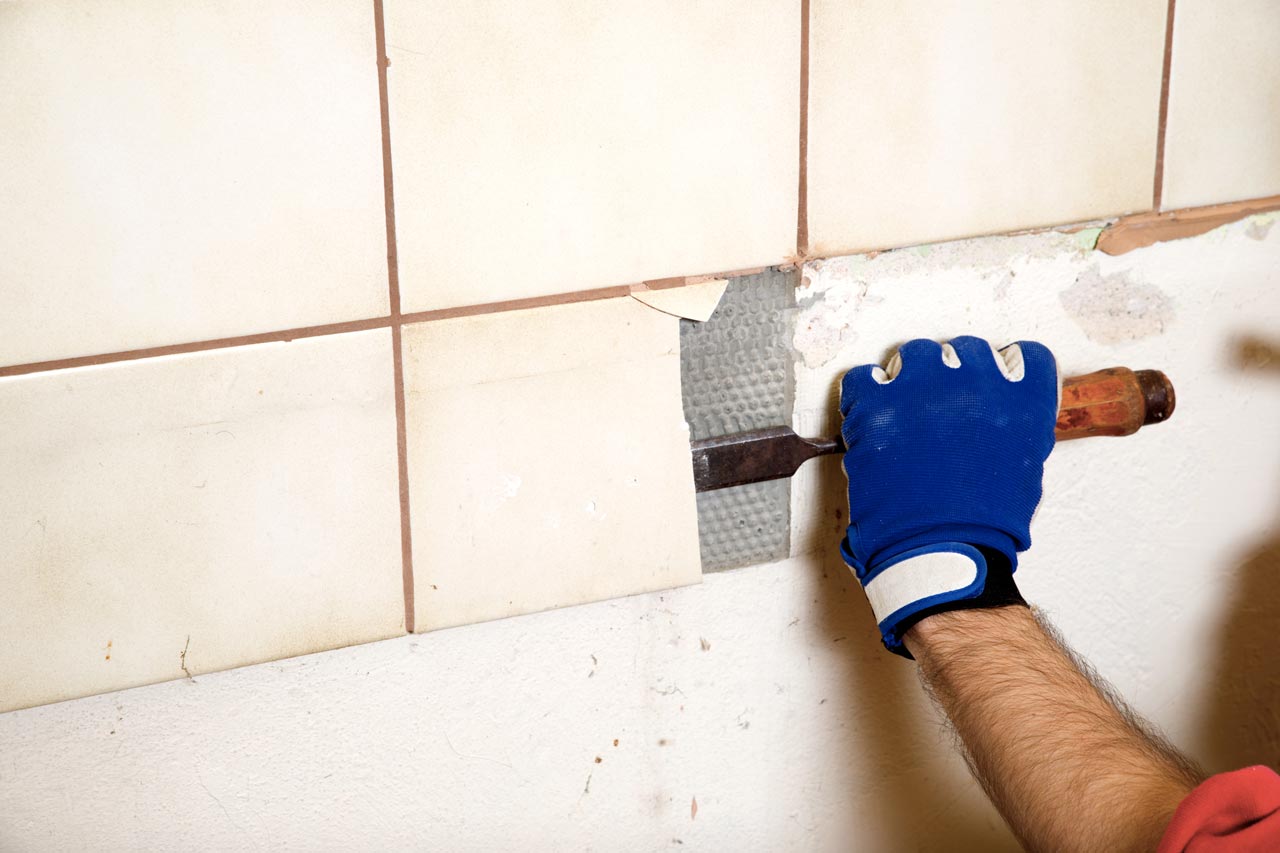
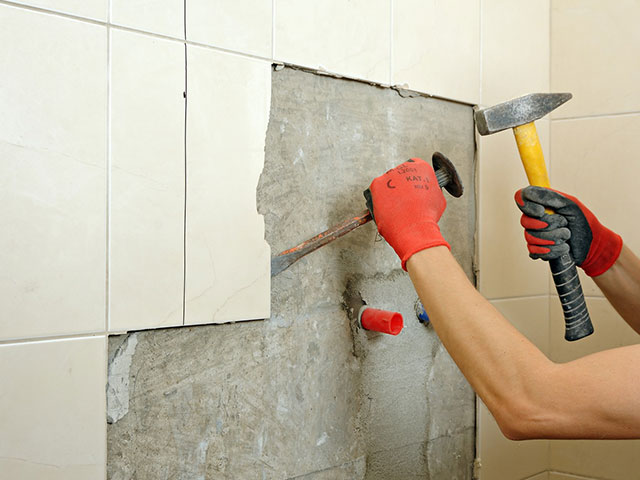
Step 4: Start removing the tiles - Use the hammer and chisel to gently tap the tiles and loosen them from the wall. Start from the bottom and work your way up. Be careful not to apply too much force, as this can cause the tiles to break and create a mess. If the tiles are difficult to remove, you can use a putty knife to help pry them off.
Step 5: Clean the wall - Once you have removed all the tiles, use a putty knife to scrape off any remaining adhesive or grout from the wall. You can also use a solution of warm water and vinegar to help dissolve any stubborn residue.
Step 6: Let the wall dry - Give the wall some time to dry completely before proceeding to the next step. This will ensure that the new tiles adhere properly.
Step 7: Apply new tiles - Now it's time to apply the new tiles! Follow the manufacturer's instructions for the proper application technique. Once the tiles are in place, allow them to dry completely before grouting.
Tools Needed for Removing Old Wall Tiles in Kitchen
As mentioned earlier, the tools you will need for this project include a hammer, chisel, putty knife, grout saw, and safety glasses. These tools are essential for removing the old tiles and preparing the wall for new ones. It's important to use proper safety gear, such as safety glasses, to protect your eyes from any debris.
Tips for Removing Old Wall Tiles in Kitchen
Tip 1: Work slowly and carefully - It's important to take your time and work carefully when removing old wall tiles. This will prevent any damage to the surrounding tiles and walls.
Tip 2: Use a heat gun - If the tiles are not budging, you can use a heat gun to warm up the adhesive and make it easier to remove. Be careful not to overheat the tiles, as this can cause them to crack.
Tip 3: Protect yourself - Wear safety glasses and gloves to protect yourself from any debris or sharp edges while removing the tiles.
Tip 4: Have patience - Removing old wall tiles can be a time-consuming process, so make sure you have enough time set aside for this project.
Best Methods for Removing Old Wall Tiles in Kitchen
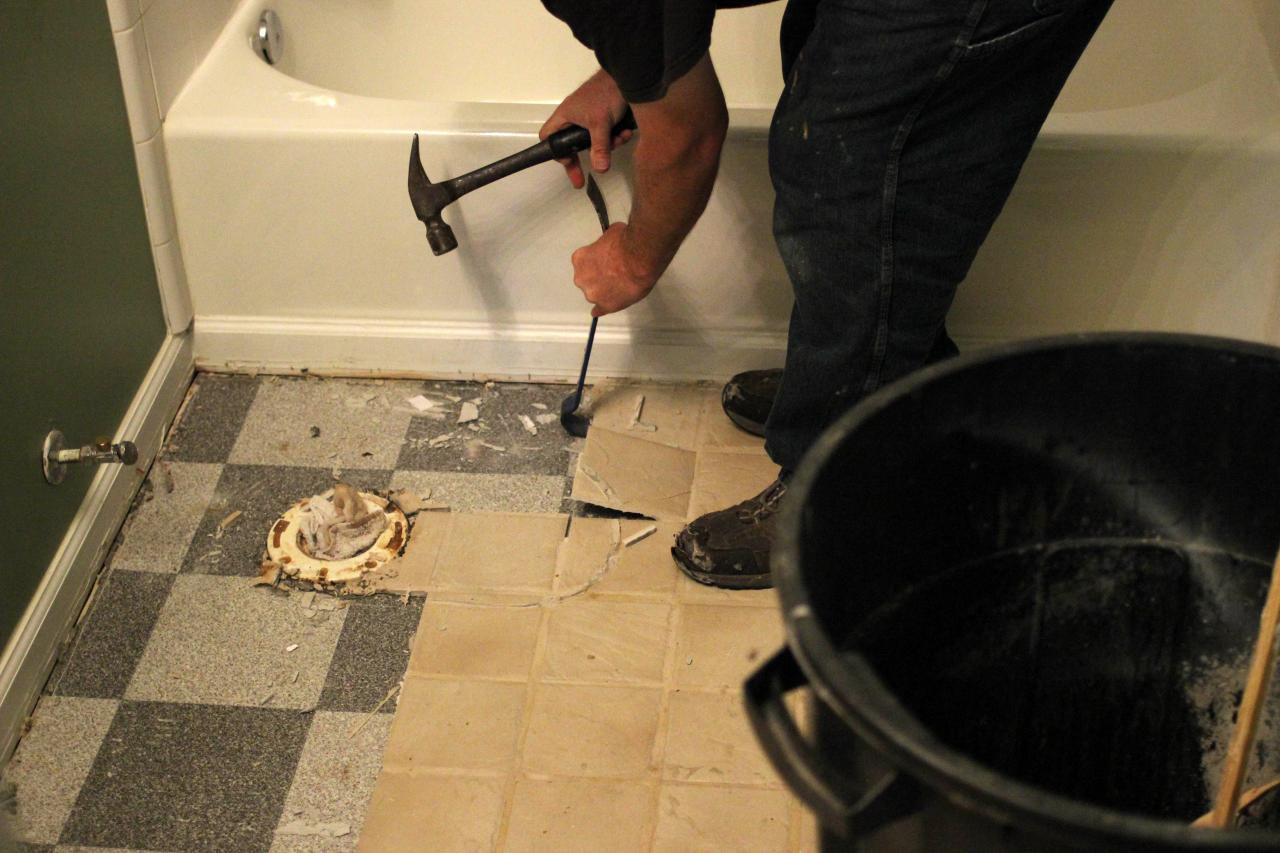
There are a few different methods for removing old wall tiles in your kitchen, but the most common and effective method is using a hammer and chisel. This method allows you to carefully remove the tiles without causing too much damage to the surrounding area. However, if the tiles are difficult to remove, you can also use a heat gun or a power tool specifically designed for tile removal.
Removing Old Wall Tiles in Kitchen: What You Need to Know
Before you start removing the old wall tiles in your kitchen, there are a few things you need to keep in mind:
1. It's a messy job - Removing old tiles can create a lot of dust and debris, so make sure to cover your countertops and floors and wear proper safety gear.
2. You may need to repair the wall - Removing the tiles may cause some damage to the wall, so be prepared to do some repairs before installing the new tiles.
3. It takes time - Removing old wall tiles is not a quick task, so make sure you have enough time set aside for this project.
Removing Old Wall Tiles in Kitchen: Common Mistakes to Avoid
Mistake 1: Using too much force - It's important to be gentle when removing the tiles to avoid causing any damage to the surrounding area.
Mistake 2: Not wearing safety gear - Make sure to wear safety glasses and gloves to protect yourself from any debris or sharp edges.
Mistake 3: Not preparing the area - Make sure to cover your countertops and floors and use painter's tape to protect any outlets or switches near the tiles.
Professional Services for Removing Old Wall Tiles in Kitchen
If you're not comfortable tackling this project on your own, or if you have a large area of tiles to remove, it may be best to hire a professional. They have the necessary tools and experience to remove the old tiles efficiently and without causing any damage to your walls.
In conclusion, removing old wall tiles in your kitchen may seem like a daunting task, but with the right tools and techniques, it can be a manageable DIY project. Make sure to plan ahead and take your time to ensure a successful and hassle-free tile removal process.
Why Removing Old Wall Tiles is Essential for a Kitchen Renovation

The Importance of Freshening Up Your Kitchen Design
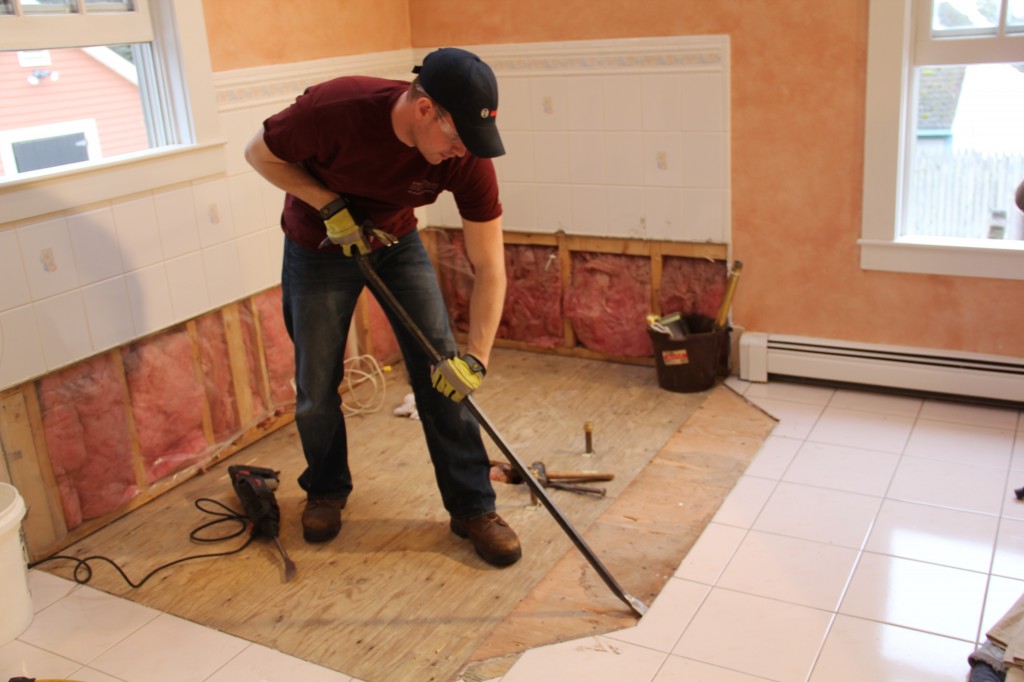
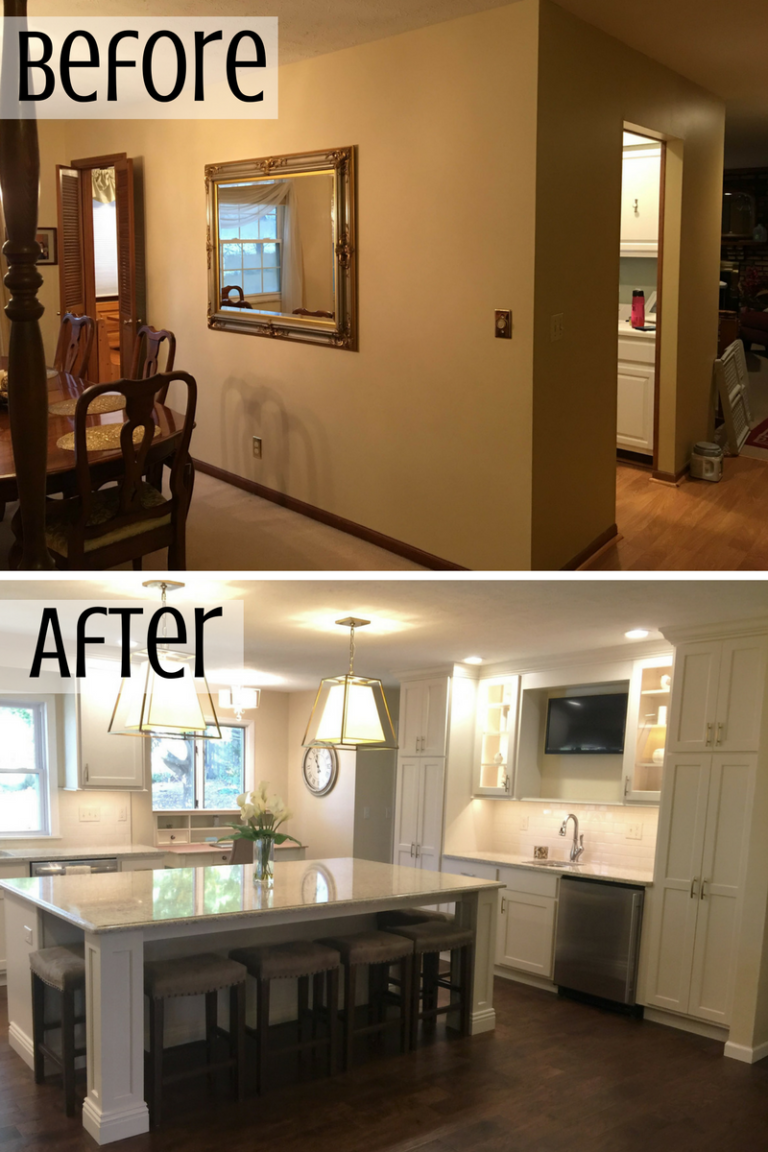
 When it comes to house design, the kitchen is often considered the heart of the home. It is where families gather to cook, eat, and spend quality time together. However, over time, even the most well-designed kitchens can start to look outdated and worn. This is why many homeowners opt for a kitchen renovation to freshen up the space and give it a new lease on life. And one crucial aspect of any kitchen renovation is removing old wall tiles.
Kitchen tiles
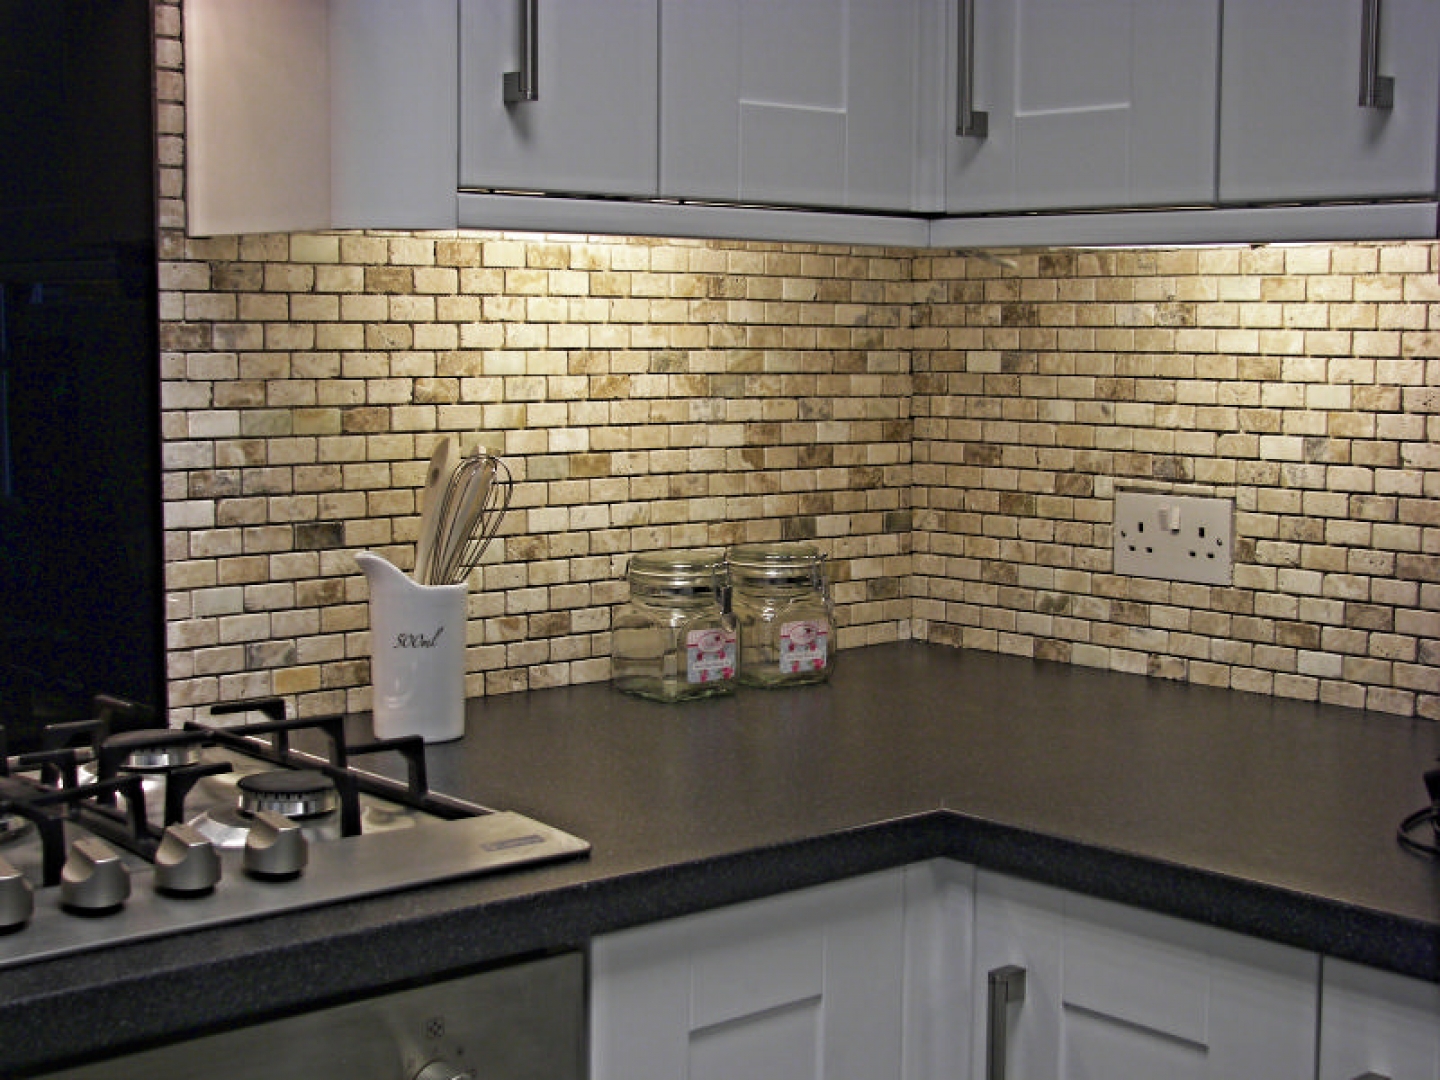
may seem like a small detail, but they can have a big impact on the overall look and feel of your kitchen. Over the years, tiles can become cracked, discolored, or simply outdated. This can make your kitchen look tired and dull, taking away from its potential as a beautiful and functional space. By removing old wall tiles and replacing them with fresh, modern ones, you can instantly transform the look of your kitchen and give it a much-needed facelift.
The Benefits of Removing Old Wall Tiles
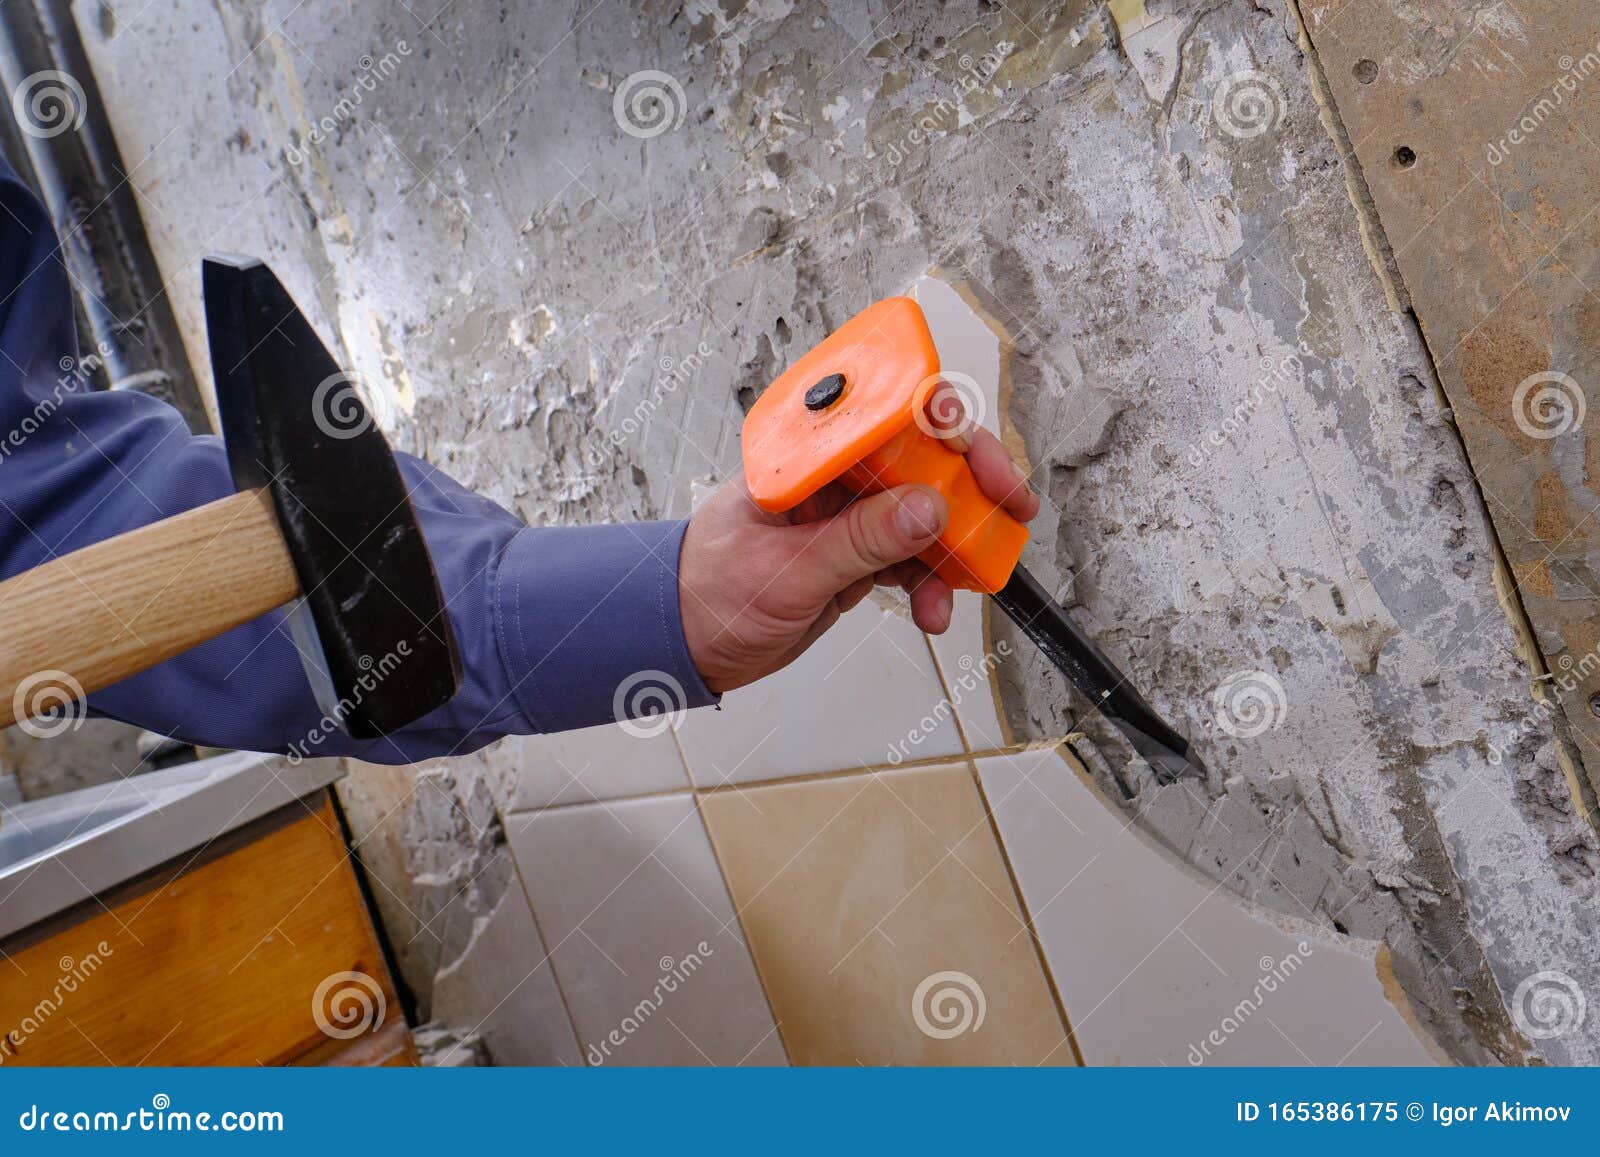 Aside from the obvious aesthetic benefits of removing old wall tiles, there are several other reasons why it is an essential step in any kitchen renovation. For one, old tiles can be a breeding ground for bacteria and mold, making your kitchen an unhealthy environment for cooking and eating. By removing these tiles, you can ensure a cleaner and healthier space for you and your family.
Moreover, removing old wall tiles also allows you to inspect the underlying structure of your kitchen walls. This is especially important if you live in an older home, as you may discover hidden damage or issues that need to be addressed. By taking the time to remove old tiles, you can ensure that your kitchen walls are in good condition and provide a solid foundation for your new tiles.
Removing old wall tiles
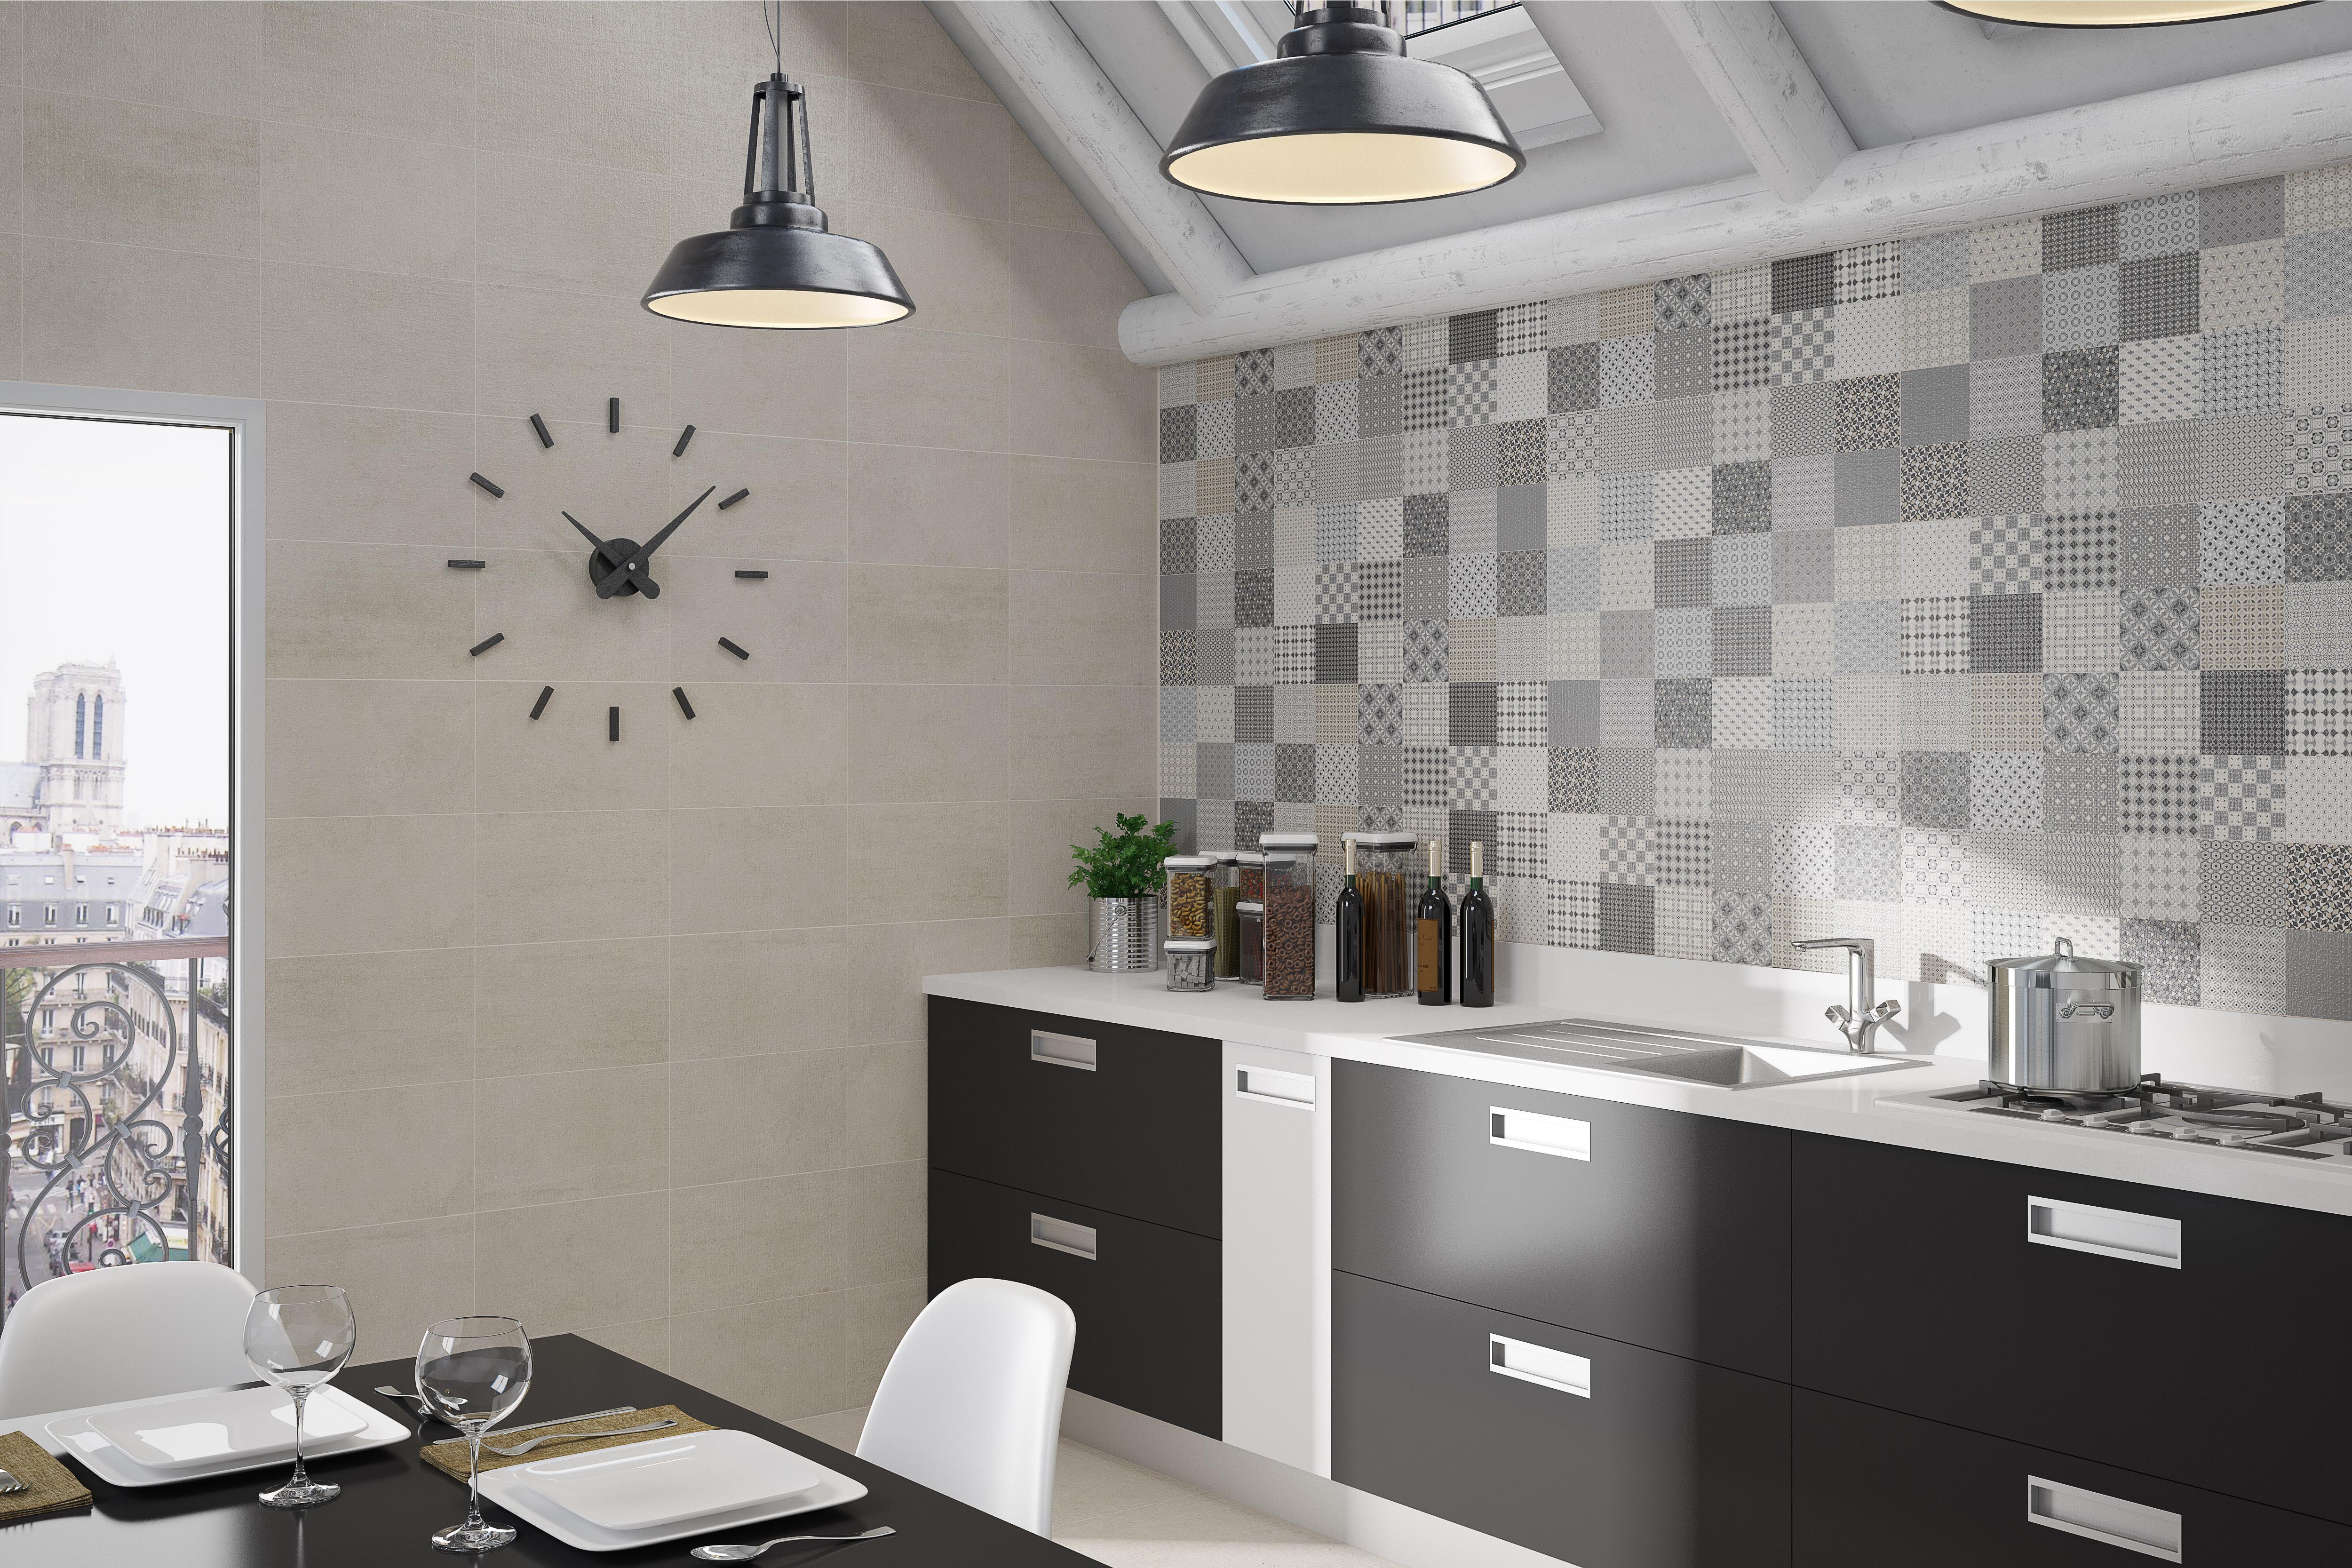
also gives you the opportunity to update the layout and design of your kitchen. You can choose from a variety of modern tile options, such as subway tiles, mosaic tiles, or even patterned tiles to add a unique touch to your kitchen. This will not only enhance the visual appeal of your kitchen but also increase its value and appeal to potential buyers if you ever decide to sell your home.
Final Thoughts
 In conclusion, removing old wall tiles is an essential step in any kitchen renovation. It not only freshens up the look of your kitchen but also provides a healthier and more functional space for you and your family. So, if you're planning a kitchen renovation, don't overlook the importance of removing old tiles and replacing them with new, modern ones. Your kitchen (and your family) will thank you for it.









/woman-removing-old-tiles-645377785-5852d2215f9b586e02d2ee25.jpg)

