If you're tired of looking at the grimy, discolored caulk around your kitchen sink, it may be time to take matters into your own hands and remove it. While it may seem like a daunting task, removing old caulk from a kitchen sink is actually a straightforward process that you can easily do yourself with the right materials and techniques. In this guide, we'll take you through the steps for successfully removing old caulk from your kitchen sink and give you some helpful tips and tricks along the way.How to Remove Old Caulk from a Kitchen Sink


How to Remove Old Caulk from a Kitchen Sink


:max_bytes(150000):strip_icc()/how-to-remove-old-caulk-1824827-01-3d0370c59e124dbbaa6560c68bab111c.jpg)


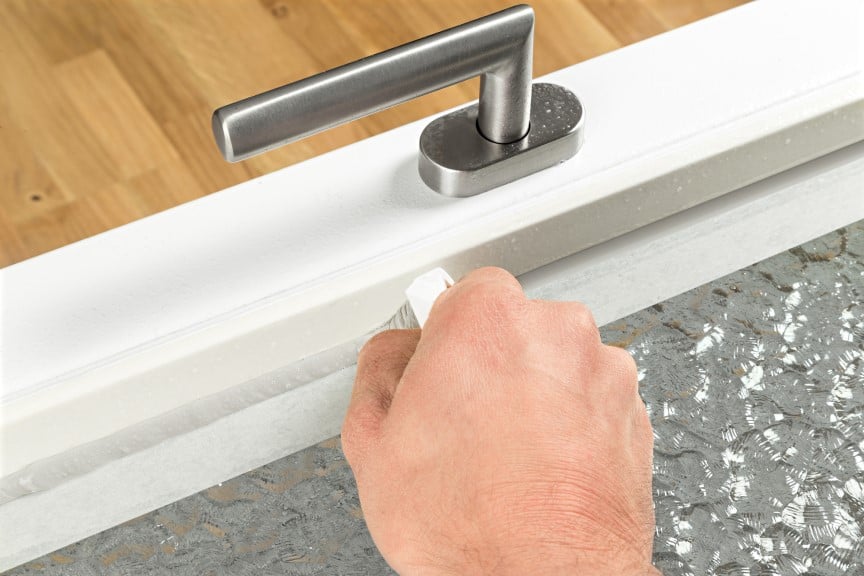
Before you get started, make sure you have all the necessary materials. You'll need a caulk removal tool, a utility knife, rubbing alcohol, a clean cloth, and new caulk. Once you have everything you need, follow these steps to remove the old caulk from your kitchen sink: Step 1: Use the caulk removal tool to score the old caulk. This will help loosen it and make it easier to remove. Step 2: Next, use the utility knife to carefully cut along the scored caulk line. This will help loosen any remaining caulk and make it easier to remove. Step 3: Once the caulk is scored and cut, use the caulk removal tool to scrape it away from the sink. Be gentle to avoid damaging the sink or surrounding surfaces. Step 4: After removing the majority of the caulk, use rubbing alcohol and a clean cloth to wipe down the area. This will help remove any leftover residue and prepare the surface for new caulk. Step 5: Finally, apply new caulk to the area using a caulk gun. Smooth out the caulk with your finger or a caulk smoothing tool for a clean finish. Allow the caulk to dry completely before using the sink.Removing Old Caulk from a Kitchen Sink: A Step-by-Step Guide


Removing Old Caulk from a Kitchen Sink: A Step-by-Step Guide
:max_bytes(150000):strip_icc()/caulk-removal-tool-56ec7f1b3df78ce5f83535fe.jpg)

If you're on a budget or just enjoy DIY projects, removing old caulk from a kitchen sink is a great task to add to your list. Not only will you save money on hiring a professional, but you'll also get the satisfaction of completing the job yourself. With the right tools and a little bit of patience, you can easily remove old caulk and give your kitchen sink a fresh new look.DIY: Removing Old Caulk from a Kitchen Sink


DIY: Removing Old Caulk from a Kitchen Sink

/how-to-remove-old-caulk-1824827-hero-4863fcf5169e426da8f822429ed46301.jpg)


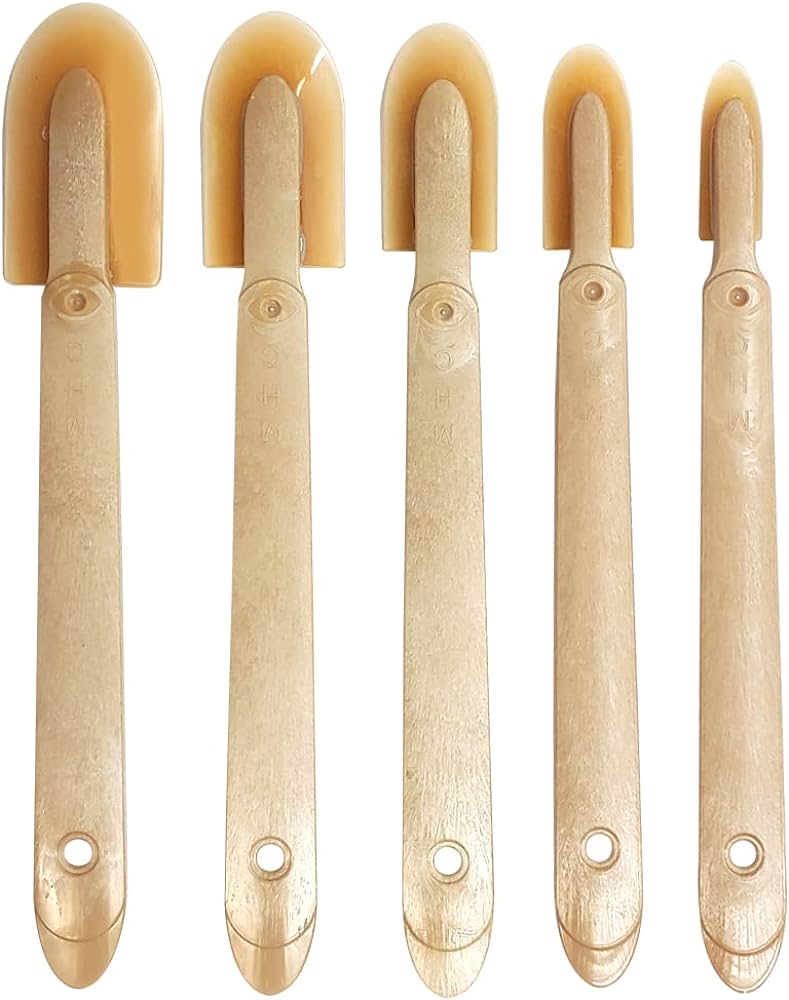
While there are several methods for removing old caulk from a kitchen sink, some are more effective than others. Here are the best methods to try: Using a caulk removal tool: This is the most effective method for removing old caulk as it is specifically designed for this purpose. It allows you to safely scrape away the old caulk without damaging the sink or surrounding surfaces. Using a utility knife: If you don't have a caulk removal tool, a utility knife can also do the job. Just be sure to use caution and be gentle to avoid any accidents. Using heat: Some people recommend using a hairdryer or heat gun to soften the caulk before trying to remove it. While this can work, it can also be dangerous and may damage the surrounding surfaces, so it's best to stick with the caulk removal tool or utility knife method.Best Methods for Removing Old Caulk from a Kitchen Sink


Best Methods for Removing Old Caulk from a Kitchen Sink


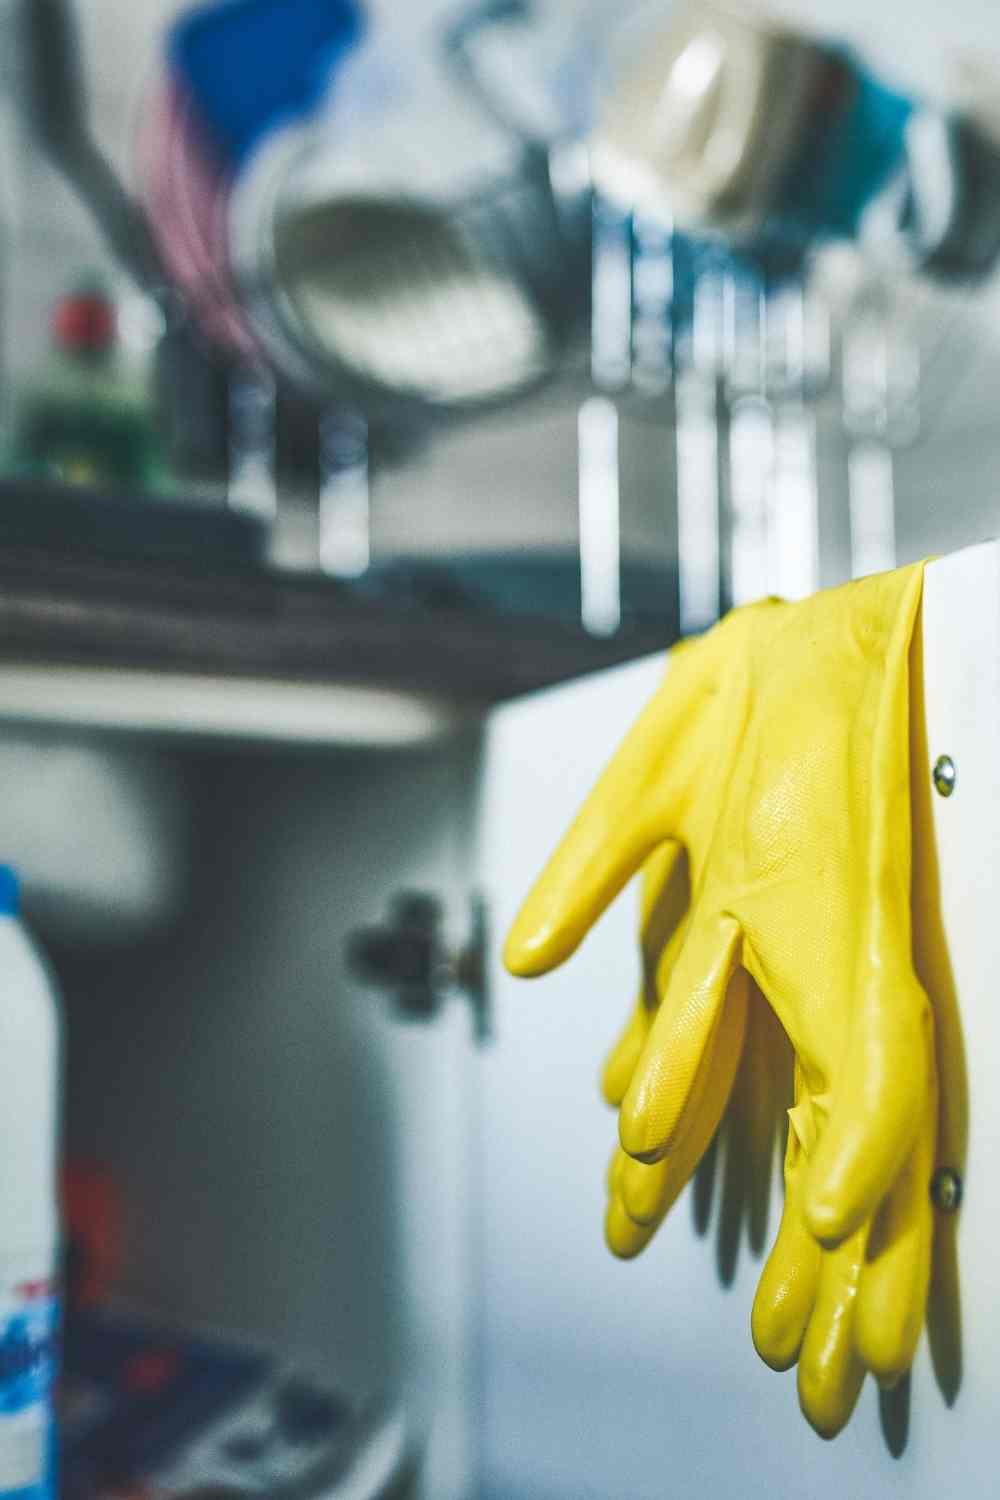
Here are a few helpful tips and tricks to keep in mind when removing old caulk from your kitchen sink: Use a caulk removal tool with a curved edge: This will allow you to scrape away the caulk more easily and help prevent any damage to the sink or surrounding surfaces. Score the caulk in multiple directions: This will help loosen the caulk and make it easier to remove. Wear gloves: Gloves will protect your hands from any sharp edges while using the caulk removal tool or utility knife. Be patient: Removing old caulk can take some time, so be patient and take breaks to avoid frustration or accidents.Removing Old Caulk from a Kitchen Sink: Tips and Tricks


Removing Old Caulk from a Kitchen Sink: Tips and Tricks


If you prefer a more detailed step-by-step guide, here's a breakdown of the process for removing old caulk from a kitchen sink: Step 1: Gather all necessary materials. Step 2: Score the old caulk with a caulk removal tool. Step 3: Use a utility knife to carefully cut along the scored caulk line. Step 4: Scrape away the majority of the caulk using the caulk removal tool. Step 5: Wipe down the area with rubbing alcohol and a clean cloth. Step 6: Apply new caulk using a caulk gun. Step 7: Smooth out the caulk with your finger or a caulk smoothing tool. Step 8: Allow the caulk to dry completely before using the sink.Step-by-Step Guide for Removing Old Caulk from a Kitchen Sink

Step-by-Step Guide for Removing Old Caulk from a Kitchen Sink

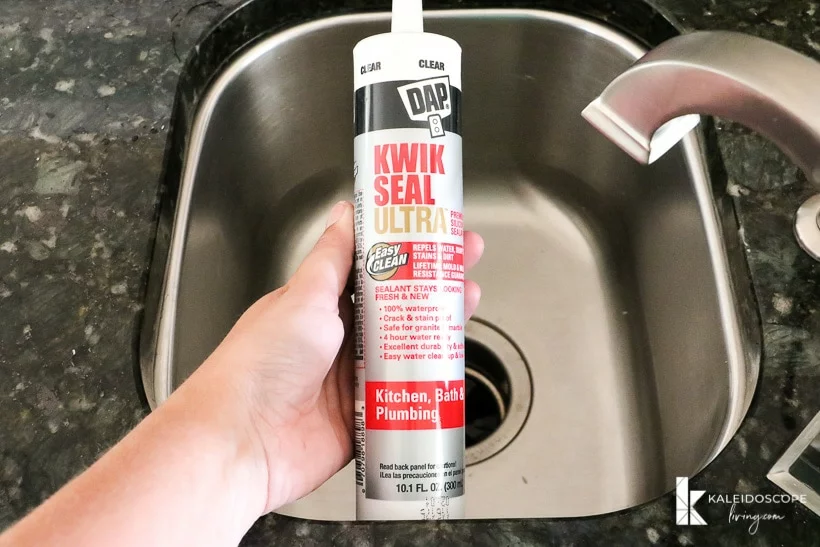


Before you start the process of removing old caulk from your kitchen sink, here are a few things to keep in mind: Choose the right caulk: When buying new caulk, make sure to choose a type that is specifically designed for use in kitchens and bathrooms. This will ensure that it is waterproof and mold-resistant. Check for mold: Before applying new caulk, check the area for any signs of mold. If you notice any, be sure to clean it thoroughly before applying new caulk. Regular maintenance is key: To prevent the need for frequent caulk removal, regularly clean and dry your sink and surrounding surfaces to avoid the buildup of mold and grime.Removing Old Caulk from a Kitchen Sink: What You Need to Know
Removing Old Caulk from a Kitchen Sink: What You Need to Know
If you're looking for an easy and effective way to remove old caulk from your kitchen sink, look no further than a caulk removal tool. This tool is designed specifically for this purpose and will make the process quick and hassle-free. With a little bit of elbow grease and the right tools, you can easily remove old caulk and give your kitchen sink a fresh new look.Easy and Effective Ways to Remove Old Caulk from a Kitchen Sink

Easy and Effective Ways to Remove Old Caulk from a Kitchen Sink
While removing old caulk may seem like a simple task, there are a few common mistakes that you should avoid to ensure a successful outcome: Not using the right tools: Using a caulk removal tool or utility knife is essential for safely and effectively removing old caulk. Avoid using other tools such as a putty knife or screwdriver, as these can damage the sink or surrounding surfaces. Not properly preparing the area: Before applying new caulk, make sure the area is clean and dry. This will help the new caulk adhere better and prevent any mold or mildew from forming. Using too much caulk: When applying new caulk, less is more. Using too much caulk can create a messy and uneven finish.Removing Old Caulk from a Kitchen Sink: Common Mistakes to Avoid


Removing Old Caulk from a Kitchen Sink: Common Mistakes to Avoid
/caulk-removal-tool-56ec7f1b3df78ce5f83535fe.jpg)

To ensure a successful outcome when removing old caulk from a kitchen sink, here are a few expert tips to keep in mind: Work in small sections: Instead of trying to remove all the caulk at once, work in small sections to achieve a cleaner and more precise result. Use a caulk smoothing tool: This will help create a smooth and even finish when applying new caulk. Use a hairdryer to speed up the drying process: If you're in a hurry, you can use a hairdryer on low heat to speed up the drying process of the new caulk. With these helpful tips and tricks, you can easily remove old caulk from your kitchen sink and give it a fresh new look. Remember to always use caution and the right tools for a successful outcome. Happy caulking!Expert Tips for Removing Old Caulk from a Kitchen Sink


Expert Tips for Removing Old Caulk from a Kitchen Sink
The Importance of Removing Old Caulk from Your Kitchen Sink
:max_bytes(150000):strip_icc()/how-to-remove-old-caulk-1824827-01-3d0370c59e124dbbaa6560c68bab111c.jpg)
Why is Caulk Necessary for Your Kitchen Sink?
 Caulk is a crucial component in keeping your kitchen sink in good condition. It is a waterproof sealant that is applied around the edges of your sink to prevent water from seeping into the cracks and causing damage. Not only does caulk protect your sink from water damage, but it also helps to keep your kitchen clean and free from mold and mildew. Over time, however, caulk can deteriorate and become discolored, making it less effective in protecting your sink. That's why it's important to regularly remove old caulk and replace it with a fresh layer.
How to Tell if Your Caulk Needs to be Replaced
:max_bytes(150000):strip_icc()/caulk-removal-tool-56ec7f1b3df78ce5f83535fe.jpg) If you notice that the caulk around your kitchen sink is cracked, peeling, or discolored, it's time to remove it and replace it. This is especially important if you see any signs of mold or mildew, as this can be a health hazard and can also cause damage to your sink. Additionally, if your caulk is more than a few years old, it may have already lost its effectiveness and will need to be replaced.
If you notice that the caulk around your kitchen sink is cracked, peeling, or discolored, it's time to remove it and replace it. This is especially important if you see any signs of mold or mildew, as this can be a health hazard and can also cause damage to your sink. Additionally, if your caulk is more than a few years old, it may have already lost its effectiveness and will need to be replaced.
The Benefits of Removing Old Caulk
 Removing old caulk from your kitchen sink not only improves the appearance of your sink, but it also helps to prevent potential damage. By removing the old caulk, you are able to thoroughly clean the area and ensure that the new caulk will adhere properly. This will create a stronger seal and better protect your sink from water damage. Additionally, removing old caulk and replacing it with new caulk can help to prevent the growth of mold and mildew, keeping your kitchen clean and healthy.
How to Remove Old Caulk from Your Kitchen Sink
 Removing old caulk from your kitchen sink may seem like a daunting task, but with the right tools and techniques, it can be done easily and efficiently. You will need a caulk removal tool, a putty knife, and a cleaning solution. Start by using the caulk removal tool to scrape away the old caulk. Then, use the putty knife to remove any remaining caulk residue. Next, clean the area with a cleaning solution to ensure all traces of the old caulk are gone. Finally, let the area dry completely before applying new caulk.
In conclusion, removing old caulk from your kitchen sink is an important maintenance task that should not be overlooked. By doing so, you can protect your sink from water damage, improve its appearance, and maintain a clean and healthy kitchen. With the right tools and techniques, this job can be done easily and will help to prolong the life of your sink. Don't wait until it's too late, regularly check and replace your caulk to ensure your kitchen sink remains in top condition.
Removing old caulk from your kitchen sink may seem like a daunting task, but with the right tools and techniques, it can be done easily and efficiently. You will need a caulk removal tool, a putty knife, and a cleaning solution. Start by using the caulk removal tool to scrape away the old caulk. Then, use the putty knife to remove any remaining caulk residue. Next, clean the area with a cleaning solution to ensure all traces of the old caulk are gone. Finally, let the area dry completely before applying new caulk.
In conclusion, removing old caulk from your kitchen sink is an important maintenance task that should not be overlooked. By doing so, you can protect your sink from water damage, improve its appearance, and maintain a clean and healthy kitchen. With the right tools and techniques, this job can be done easily and will help to prolong the life of your sink. Don't wait until it's too late, regularly check and replace your caulk to ensure your kitchen sink remains in top condition.