Removing a kitchen sink trap may seem like a daunting task, but with the right tools and knowledge, it can be a simple DIY project. Whether you need to clean out a clog or replace an old trap, knowing how to remove it properly is essential. Follow these steps for a smooth and successful removal process.How to Remove a Kitchen Sink Trap


How to Remove a Kitchen Sink Trap


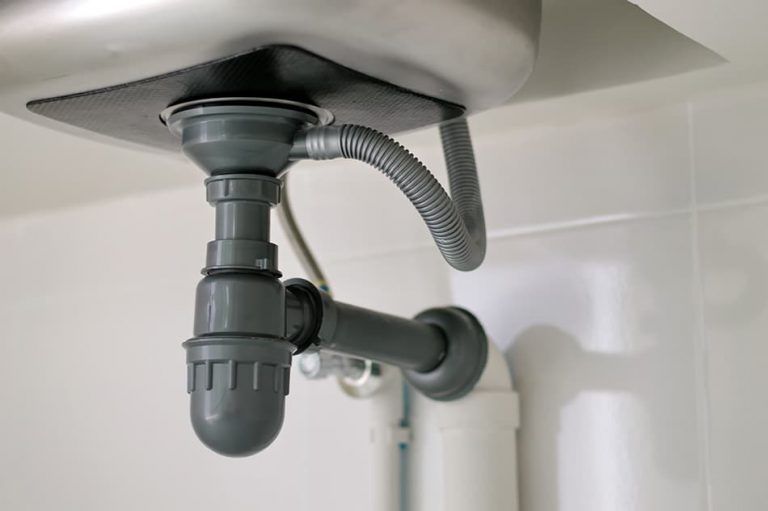
The kitchen sink trap is a curved pipe located under the sink that traps debris and prevents it from clogging your plumbing system. Over time, this trap can become clogged itself or develop leaks, requiring it to be removed and cleaned or replaced. Here's how to do it: Step 1: Gather Your Tools Step 2: Turn off the Water Supply Step 3: Place the Bucket Step 4: Loosen the Slip Nuts Step 5: Remove the Trap Step 6: Clean the Trap Step 7: Reattach the Trap Step 8: Turn the Water Back OnRemoving a Kitchen Sink Trap: A Step-by-Step Guide
Before starting, make sure you have all the necessary tools on hand. These include a bucket, pliers, a pipe wrench, and a plumber's snake. It's also a good idea to have gloves and a towel to protect your hands and catch any spills.
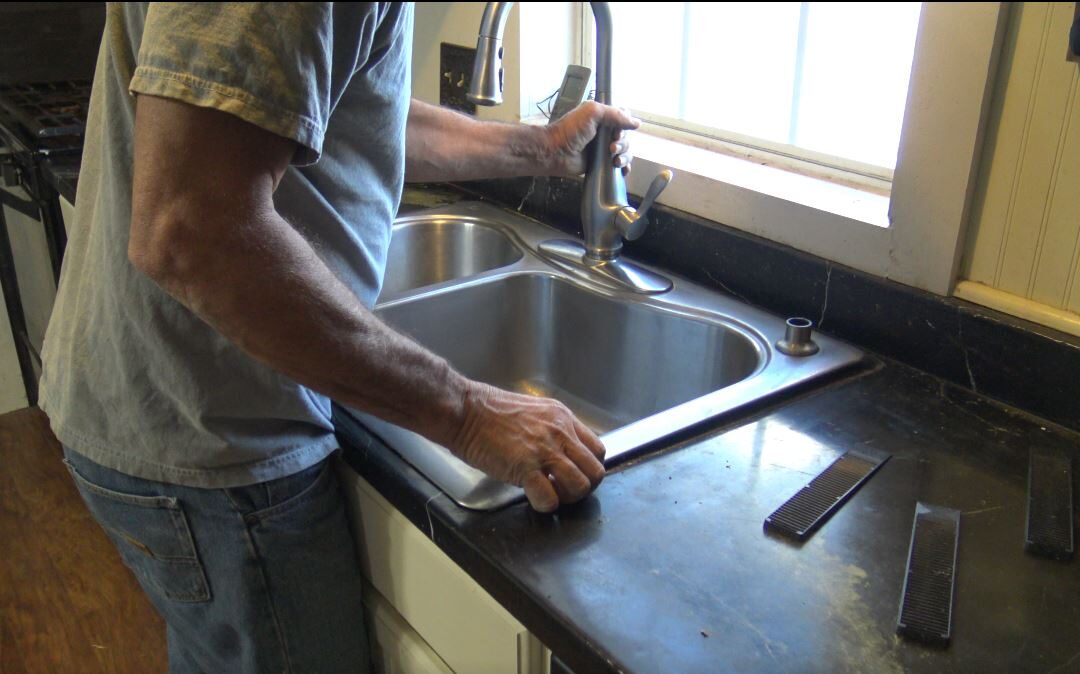
Locate the water valves under the sink and turn them off. This will prevent water from flowing while you work on the trap.
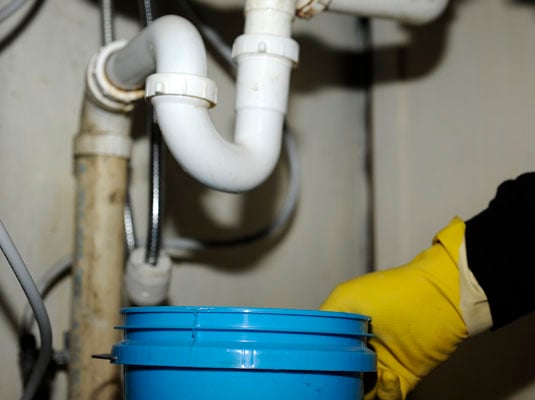
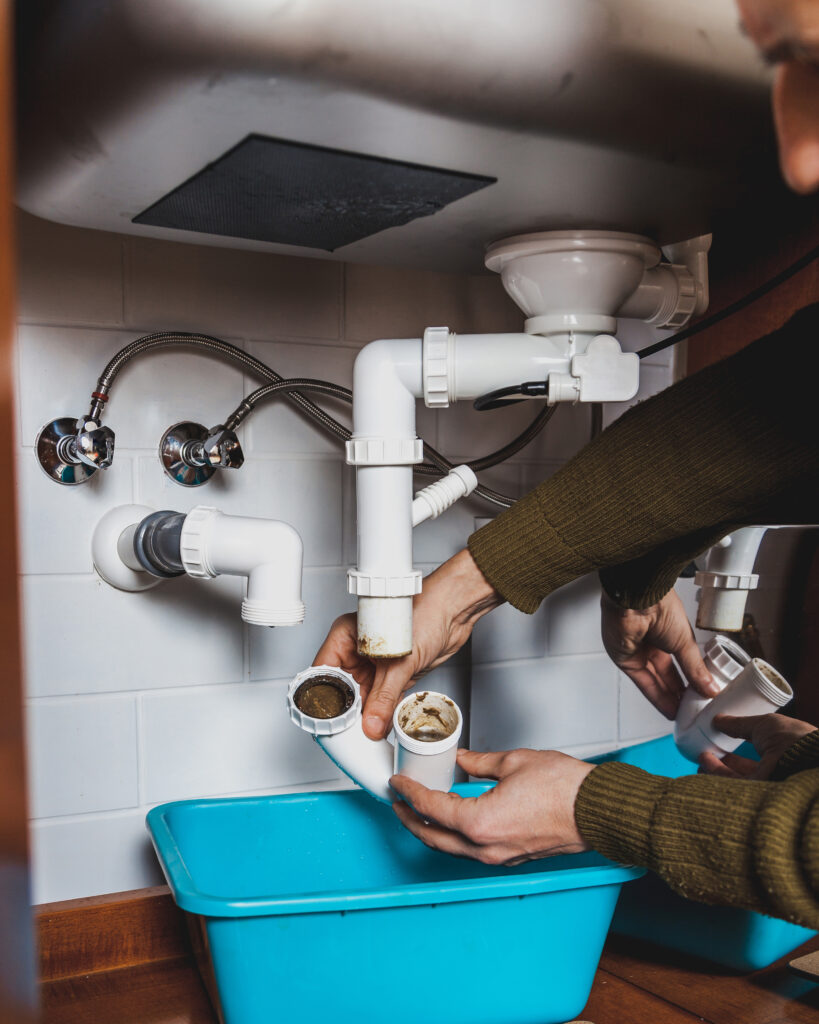
Place the bucket under the trap to catch any water or debris that may spill out.
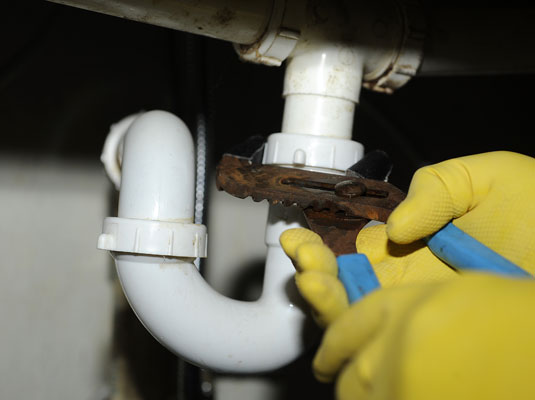
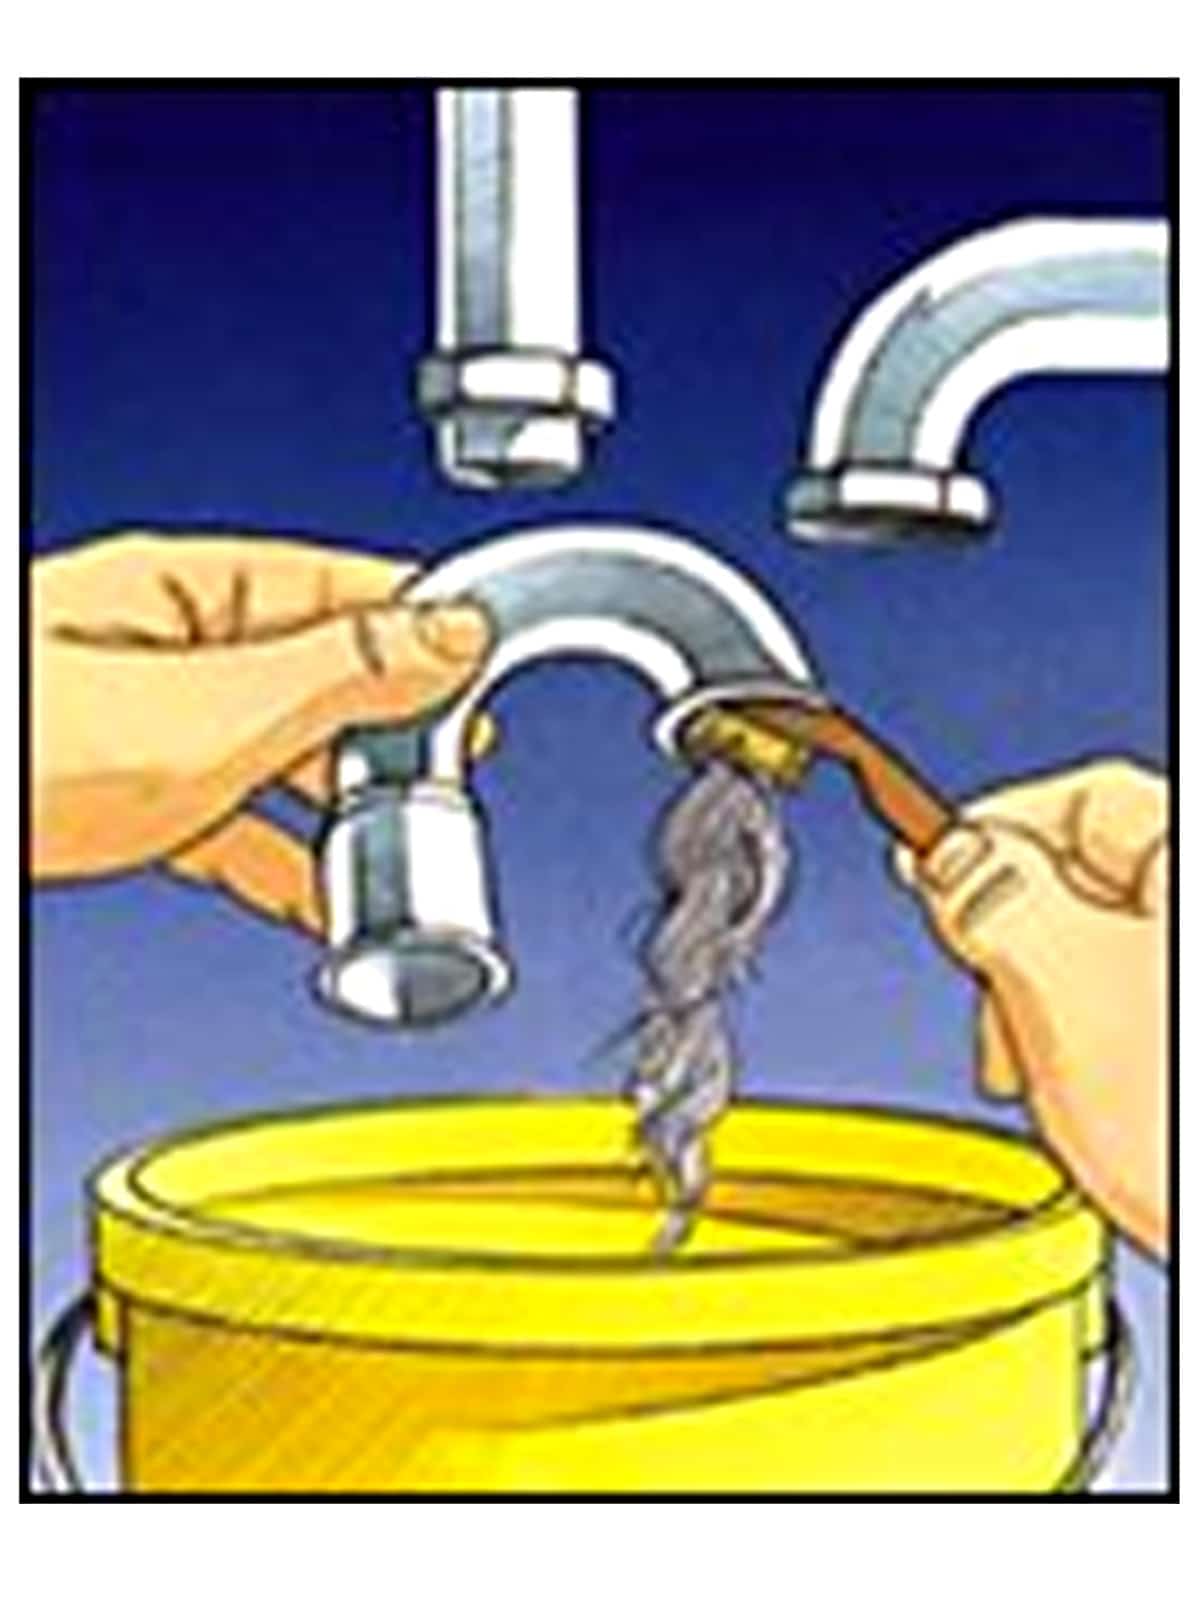
Using your pliers or pipe wrench, loosen the slip nuts on both ends of the trap. These are the nuts that hold the trap in place. You may need to use some force, as these nuts can be tight.
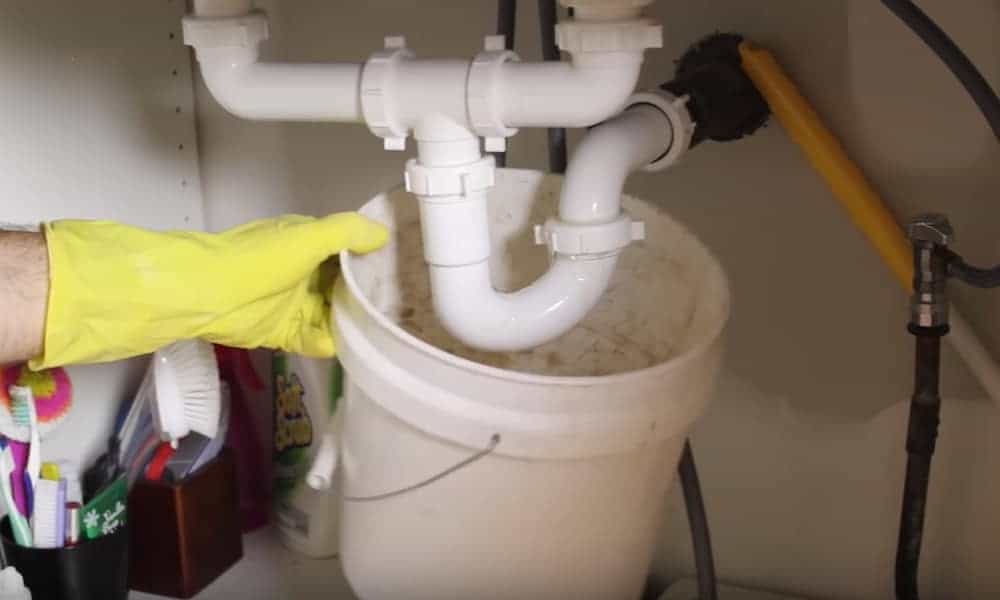
Once the slip nuts are loosened, carefully remove the trap from the pipes. Be cautious as there may still be some water and debris inside.
Take the trap to a sink or outdoor area and clean out any debris or buildup. You can also use a plumber's snake to clear any clogs from the trap.
After cleaning, reattach the trap to the pipes and tighten the slip nuts. Make sure they are secured and there are no leaks.
Once the trap is securely in place, turn the water valves back on and check for any leaks. If there are no leaks, congratulations, you have successfully removed and cleaned your kitchen sink trap!


Removing a Kitchen Sink Trap: A Step-by-Step Guide


Removing a kitchen sink trap is a simple task that can save you time and money. Rather than calling a plumber, you can easily do it yourself with just a few tools and some basic knowledge. Here are some tips and tricks to keep in mind when attempting to remove your kitchen sink trap: Tip 1: Use the Right Tools Tip 2: Be Gentle Tip 3: Clean the Trap Regularly Tip 4: Know When to ReplaceDIY: Removing a Kitchen Sink Trap
Having the right tools is crucial for a successful removal. Make sure you have pliers or a pipe wrench to loosen the slip nuts, as well as a bucket to catch any spills. A plumber's snake can also come in handy for clearing any clogs.
While you may need to use some force to loosen the slip nuts, it's important to be gentle when removing the trap. Using too much force can damage the pipes and cause leaks.
To prevent clogs and buildup, it's important to clean your kitchen sink trap regularly. This will also make it easier to remove and replace if necessary.
If your trap is old and worn out, it may be time to replace it instead of just cleaning it. Look for signs of corrosion or cracks, and consider upgrading to a newer, more efficient trap.


DIY: Removing a Kitchen Sink Trap


Removing a kitchen sink trap doesn't have to be a difficult and time-consuming task. With the right approach, it can be done quickly and easily. Here's the easy way to remove your kitchen sink trap: Step 1: Use a Plumber's Snake Step 2: Clean the Trap Regularly Step 3: Consider a Quick Release TrapRemoving a Kitchen Sink Trap: The Easy Way
If your trap is clogged, using a plumber's snake can quickly and easily clear the blockage. This will save you from having to remove the entire trap.
As mentioned earlier, regular cleaning of the trap can make the removal process much easier. This will prevent any buildup or clogs, making it easier to remove and replace when necessary.
If you frequently need to remove your kitchen sink trap, consider investing in a quick release trap. These traps have a lever that allows for easy removal without the need for tools.


Removing a Kitchen Sink Trap: Tips and Tricks

While removing a kitchen sink trap may seem like a simple task, there are some common mistakes that people make that can lead to bigger problems. Here are a few mistakes to avoid when removing your kitchen sink trap: Mistake 1: Using Too Much Force Mistake 2: Not Turning off the Water Mistake 3: Not Cleaning the TrapRemoving a Kitchen Sink Trap: Common Mistakes to Avoid
As mentioned earlier, using too much force can cause damage to your pipes and lead to leaks. Be gentle when removing the trap, and if it doesn't budge, try using a lubricant to loosen the slip nuts.
Forgetting to turn off the water supply before removing the trap can lead to a messy and potentially damaging situation. Always make sure the water is turned off before starting.
Cleaning the trap regularly is important not only for preventing clogs but also for making the removal process easier. Neglecting to clean the trap can make it more difficult to remove and put back in place.

The Easy Way to Remove a Kitchen Sink Trap


For an easy and stress-free removal process, follow these step-by-step instructions: Step 1: Gather Your Tools Step 2: Turn off the Water Supply Step 3: Place the Bucket Step 4: Loosen the Slip Nuts Step 5: Remove the Trap Step 6: Clean the Trap Step 7: Reattach the Trap Step 8: Turn the Water Back OnStep-by-Step Guide to Removing a Kitchen Sink Trap
As mentioned earlier, make sure you have all the necessary tools on hand before starting.
Locate and turn off the water valves under the sink.
Position the bucket under the trap to catch any spills.
Use pliers or a pipe wrench to loosen the slip nuts on both ends of the trap.
Carefully remove the trap from the pipes.
Take the trap to a sink or outdoor area and clean it thoroughly.
Put the trap back in place and tighten the slip nuts.
Turn the water valves back on and check for leaks.

Removing a Kitchen Sink Trap: Common Mistakes to Avoid


In order to successfully remove a kitchen sink trap, you'll need a few tools on hand. Here are the essential tools you'll need: 1. Pliers or Pipe Wrench 2. Bucket 3. Plumber's Snake 4. Gloves and TowelRemoving a Kitchen Sink Trap: Tools You'll Need
These tools are necessary for loosening the slip nuts on the trap.
A bucket will catch any water or debris that may spill out during the removal process.
This tool can help clear any clogs in the trap.
Gloves and a towel will protect your hands and catch any spills.

Step-by-Step Guide to Removing a Kitchen Sink Trap

Removing a kitchen sink trap may seem intimidating, especially when it involves dealing with pipes. However, with the right approach, you can remove the trap without causing any damage to your pipes. Here's how: Step 1: Be Gentle Step 2: Use a Lubricant Step 3: Avoid Using Excessive ForceHow to Remove a Kitchen Sink Trap Without Damaging Your Pipes
When loosening the slip nuts, be gentle and use just enough force to loosen them. This will prevent them from breaking or damaging the pipes.
If the slip nuts are too tight, try using a lubricant to loosen them. This will make it easier to remove the trap without causing any damage.
If the trap is not coming off easily, do not use excessive force. Instead, try using a lubricant or calling a professional for assistance.

Removing a Kitchen Sink Trap: Tools You'll Need


Despite following all the steps and tips mentioned above, there may be some common issues that can arise when removing a kitchen sink trap. Here's how to troubleshoot them: Issue 1: Slip Nuts Won't Loosen Issue 2: Leaks Issue 3: Clogs Removing a kitchen sink trap may seem like a daunting task, but with the right approach, it can be a simple and easy DIY project. Remember to be gentle, have the necessary tools on hand, and clean the trap regularly to prevent future clogs and issues. By following these tips and tricks, you can successfully remove and replace your kitchen sink trap without any hassle.Removing a Kitchen Sink Trap: Troubleshooting Common Issues
If the slip nuts are too tight to loosen, try using a lubricant or calling a professional for assistance. Using excessive force can cause damage to the pipes.
If there are leaks after reattaching the trap, make sure the slip nuts are tight enough. If the leak persists, there may be a crack or damage to the pipes that will require professional help.
If the trap is still clogged after cleaning it, try using a plumber's snake to clear any debris. If the clog persists, there may be a larger issue with your plumbing system that will require professional assistance.


How to Remove a Kitchen Sink Trap Without Damaging Your Pipes


Why Removing a Kitchen Sink Trap is an Important Aspect of House Design
The Purpose of a Kitchen Sink Trap
 When it comes to house design, every detail matters. This includes the seemingly mundane task of removing a kitchen sink trap. The kitchen sink trap is a pipe that is located under the sink and is designed to prevent debris and other materials from clogging up your plumbing system. It does this by creating a water seal that blocks gases from coming back up into your kitchen, while still allowing water to flow freely.
Featured Keywords: kitchen sink trap, house design
When it comes to house design, every detail matters. This includes the seemingly mundane task of removing a kitchen sink trap. The kitchen sink trap is a pipe that is located under the sink and is designed to prevent debris and other materials from clogging up your plumbing system. It does this by creating a water seal that blocks gases from coming back up into your kitchen, while still allowing water to flow freely.
Featured Keywords: kitchen sink trap, house design
The Benefits of Removing a Kitchen Sink Trap
 While the kitchen sink trap may serve a practical purpose, there are several benefits to removing it as well. Firstly, removing the trap allows for easier access to your plumbing system. This can come in handy when you need to unclog a stubborn drain or perform maintenance on your pipes. Secondly, removing the trap can also help improve the overall aesthetic of your kitchen. Without the bulky trap, you can create a cleaner and more streamlined look for your sink area.
Featured Keywords: removing, benefits, unclog, aesthetic, streamlined
While the kitchen sink trap may serve a practical purpose, there are several benefits to removing it as well. Firstly, removing the trap allows for easier access to your plumbing system. This can come in handy when you need to unclog a stubborn drain or perform maintenance on your pipes. Secondly, removing the trap can also help improve the overall aesthetic of your kitchen. Without the bulky trap, you can create a cleaner and more streamlined look for your sink area.
Featured Keywords: removing, benefits, unclog, aesthetic, streamlined
The Process of Removing a Kitchen Sink Trap
 Now that we understand the purpose and benefits of removing a kitchen sink trap, let's dive into the process itself. First, you will need to gather the necessary tools such as pliers, a bucket, and a replacement trap. Next, turn off the water supply to your sink and place the bucket under the trap to catch any water that may spill out. Then, using the pliers, loosen and remove the nuts that hold the trap in place. Once the trap is removed, you can easily clean it and replace it with a new one if needed.
Featured Keywords: process, tools, water supply, pliers, nuts, clean, replace
Now that we understand the purpose and benefits of removing a kitchen sink trap, let's dive into the process itself. First, you will need to gather the necessary tools such as pliers, a bucket, and a replacement trap. Next, turn off the water supply to your sink and place the bucket under the trap to catch any water that may spill out. Then, using the pliers, loosen and remove the nuts that hold the trap in place. Once the trap is removed, you can easily clean it and replace it with a new one if needed.
Featured Keywords: process, tools, water supply, pliers, nuts, clean, replace
Incorporating Trap Removal into House Design
 While removing a kitchen sink trap may seem like a small detail, it can have a big impact on the overall design of your house. Not only does it improve the functionality and appearance of your kitchen, but it also allows for easier maintenance and repairs in the long run. So, when planning your house design, don't overlook the importance of the kitchen sink trap and consider incorporating its removal into your plans for a more efficient and aesthetically pleasing space.
Featured Keywords: house design, impact, functionality, maintenance, repairs, aesthetically pleasing
While removing a kitchen sink trap may seem like a small detail, it can have a big impact on the overall design of your house. Not only does it improve the functionality and appearance of your kitchen, but it also allows for easier maintenance and repairs in the long run. So, when planning your house design, don't overlook the importance of the kitchen sink trap and consider incorporating its removal into your plans for a more efficient and aesthetically pleasing space.
Featured Keywords: house design, impact, functionality, maintenance, repairs, aesthetically pleasing