Removing Drain Strainer Bathroom Sink
Is your bathroom sink draining slowly or not at all? It may be time to remove the drain strainer and clean out any clogs. The drain strainer, also known as the drain basket or drain grate, is a metal or plastic component that sits in the sink drain and prevents larger objects from going down and clogging the pipes. Removing it may seem like a daunting task, but with the right tools and techniques, it can be a simple DIY project. Here are 10 easy steps to follow for removing a drain strainer from your bathroom sink.


Removing Drain Strainer Bathroom Sink


How to Remove a Bathroom Sink Drain Strainer
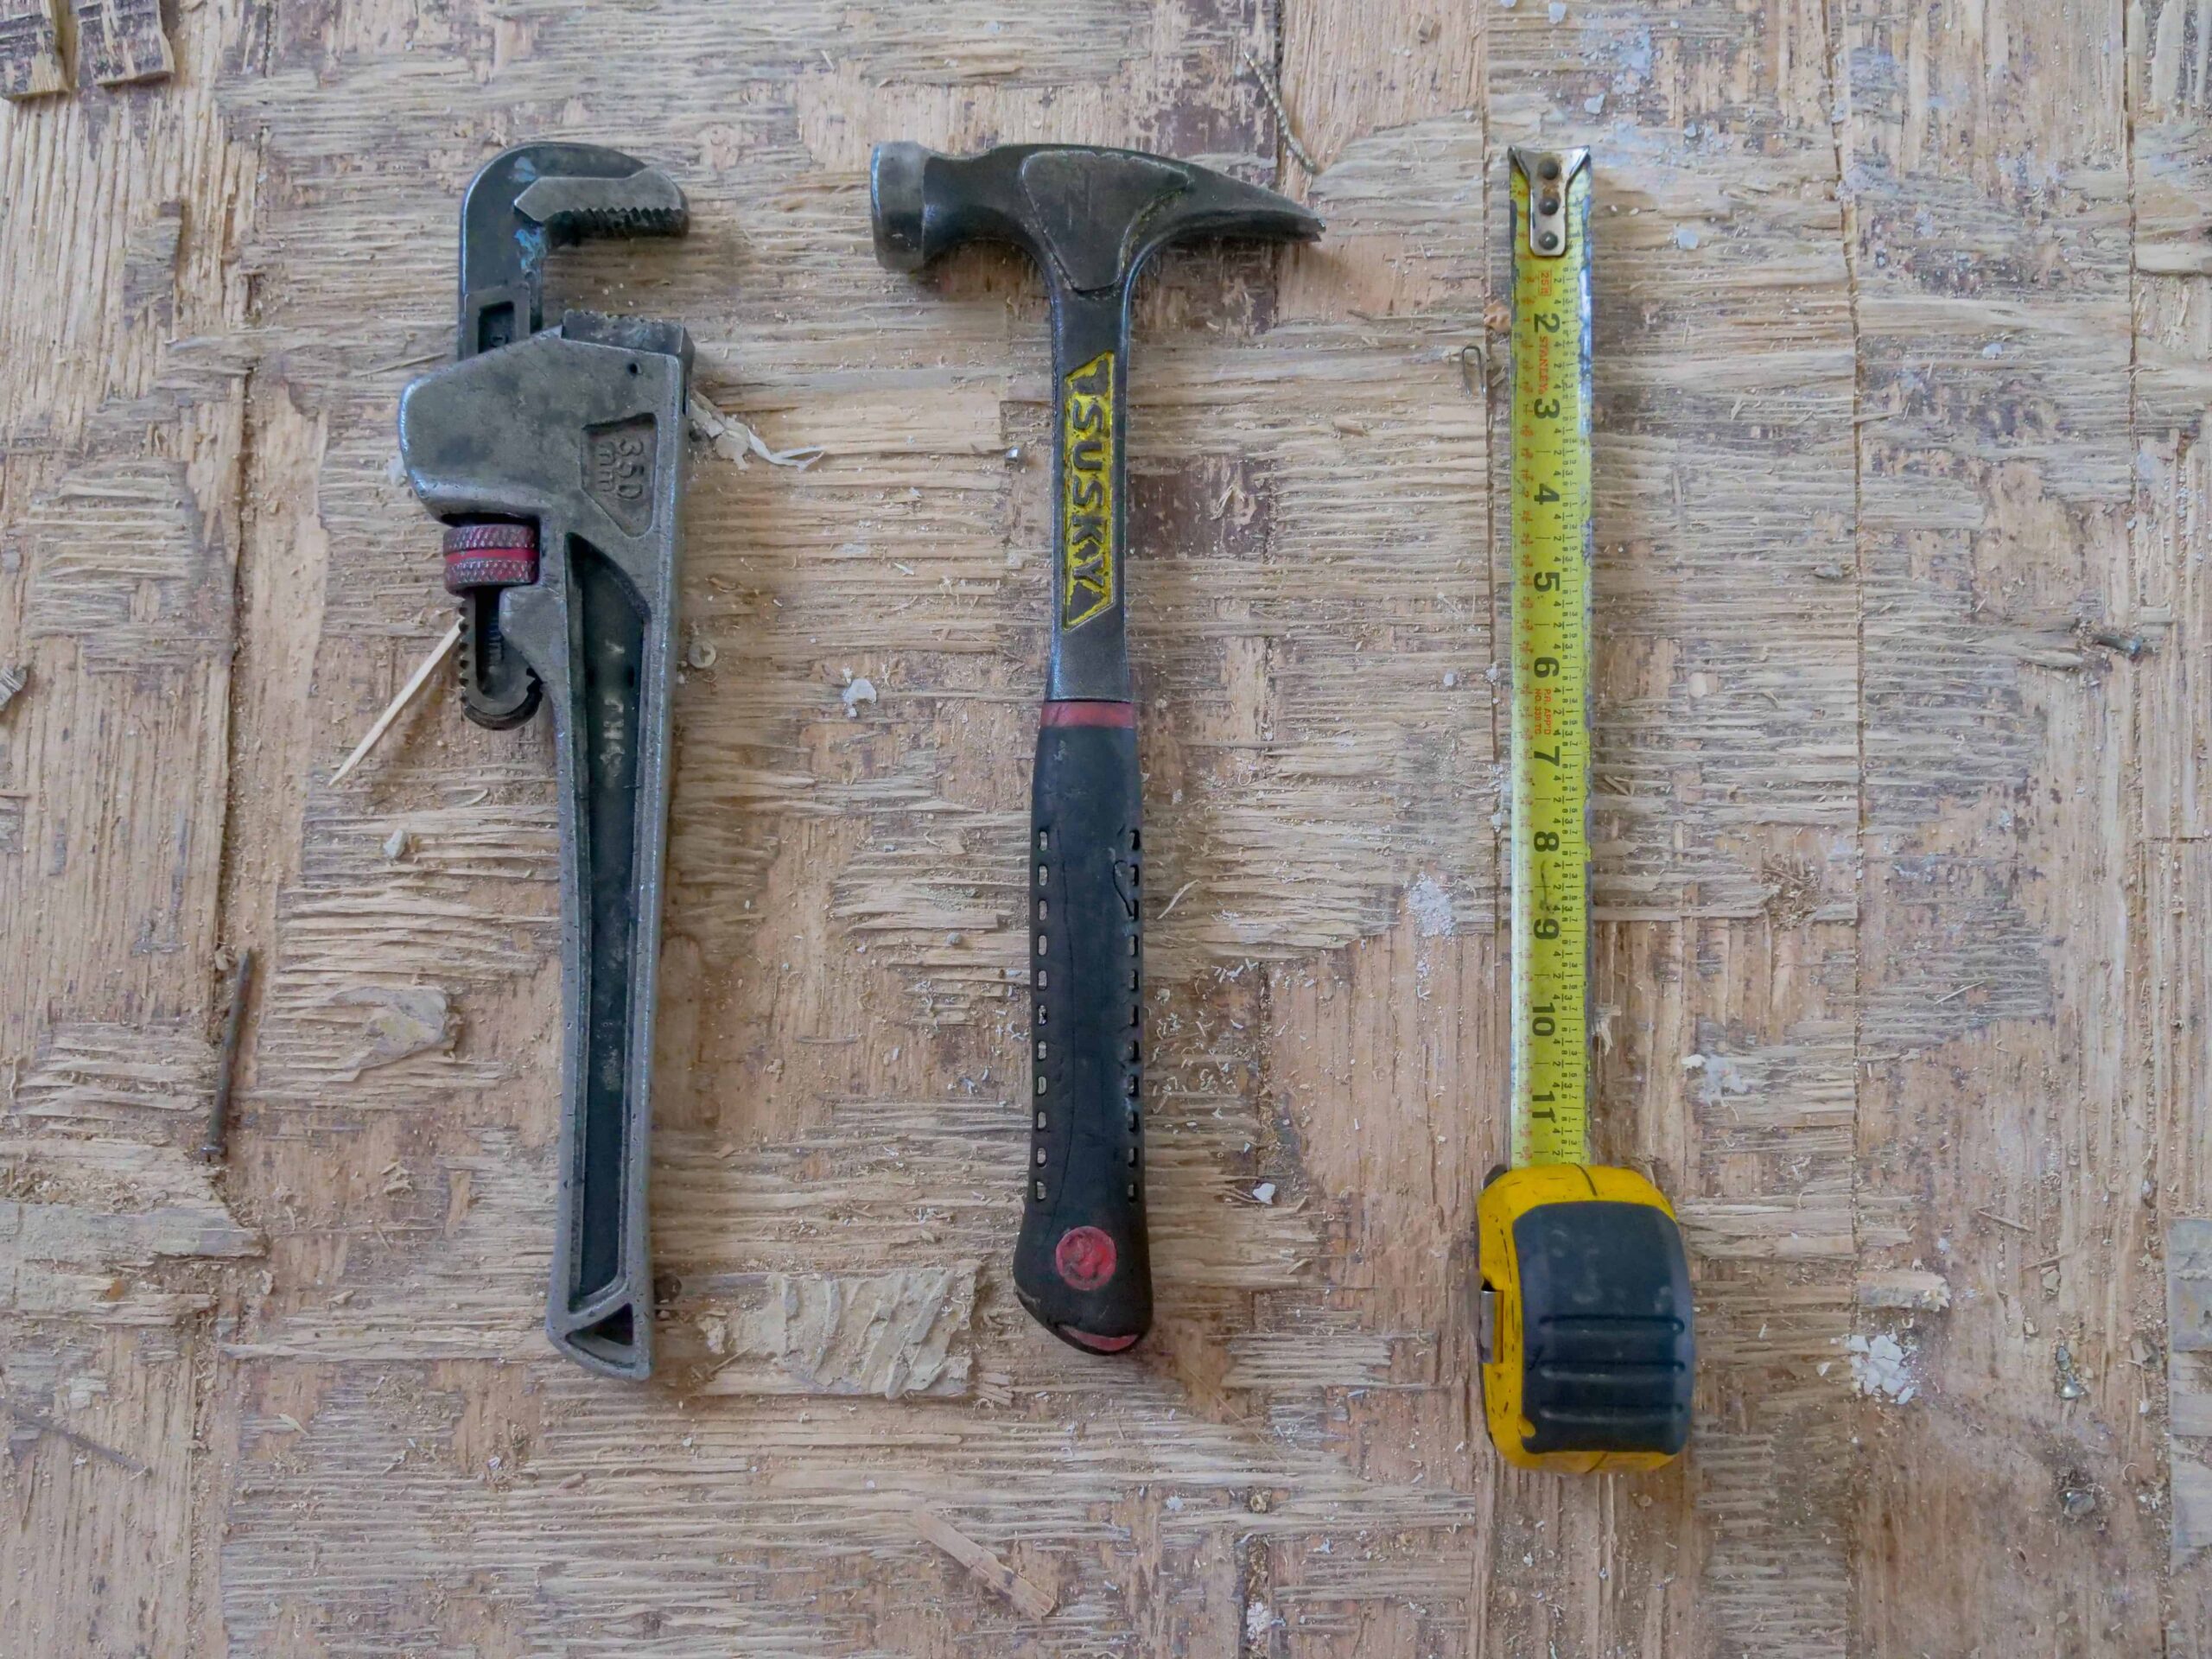
Before you begin, make sure to gather all the necessary tools. You will need a pair of pliers, a screwdriver, and a bucket to catch any water that may spill out. Once you have these items, follow these steps:


How to Remove a Bathroom Sink Drain Strainer


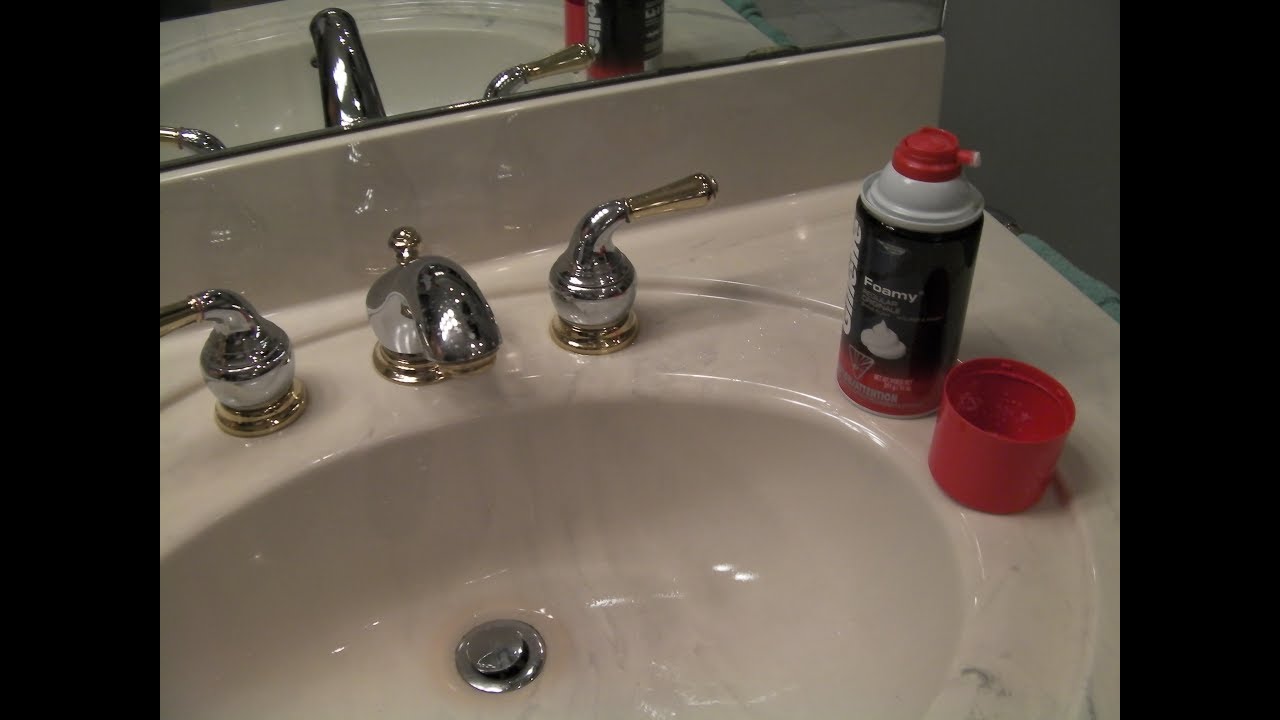
Step 1: Prepare the Sink
Start by clearing any items from the sink and wiping it down with a cloth. This will prevent any debris from falling into the sink and making a mess. You can also lay down a towel or old cloth to catch any water that may splash out.


DIY: Removing a Bathroom Sink Drain Strainer


Step 2: Locate the Drain Strainer
Next, you will need to locate the drain strainer in your sink. It is usually located in the center of the sink and is visible from the top. If your sink has a stopper, you will need to remove it first to access the strainer.


Step-by-Step Guide for Removing a Bathroom Sink Drain Strainer


:max_bytes(150000):strip_icc()/bathroom-sink-drain-installation-2718843-02-61e5ecbee1e949be8d8f45ac4f5a6797.jpg)

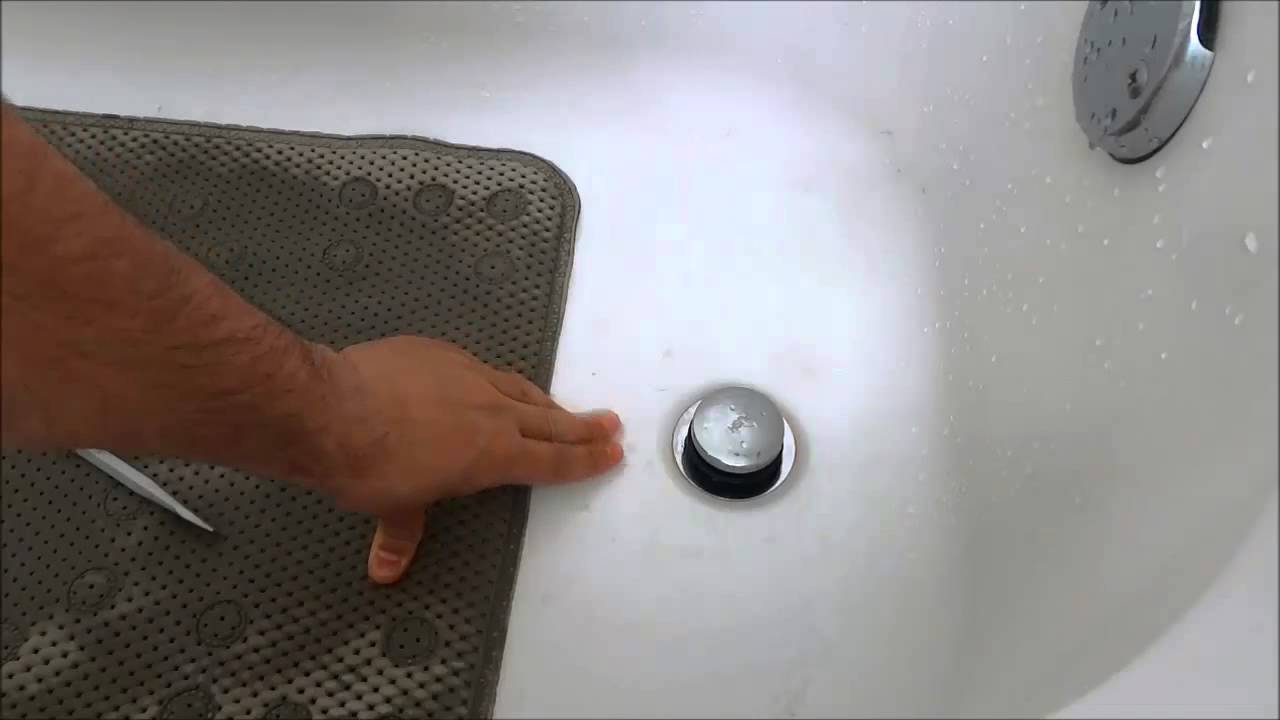
Step 3: Remove the Stopper (if applicable)
If your sink has a stopper, you will need to unscrew it or pull it up to remove it. Some stoppers may require a flathead screwdriver to loosen the screw holding it in place. Once the stopper is removed, you should be able to see the drain strainer below.

Quick and Easy Method for Removing a Bathroom Sink Drain Strainer


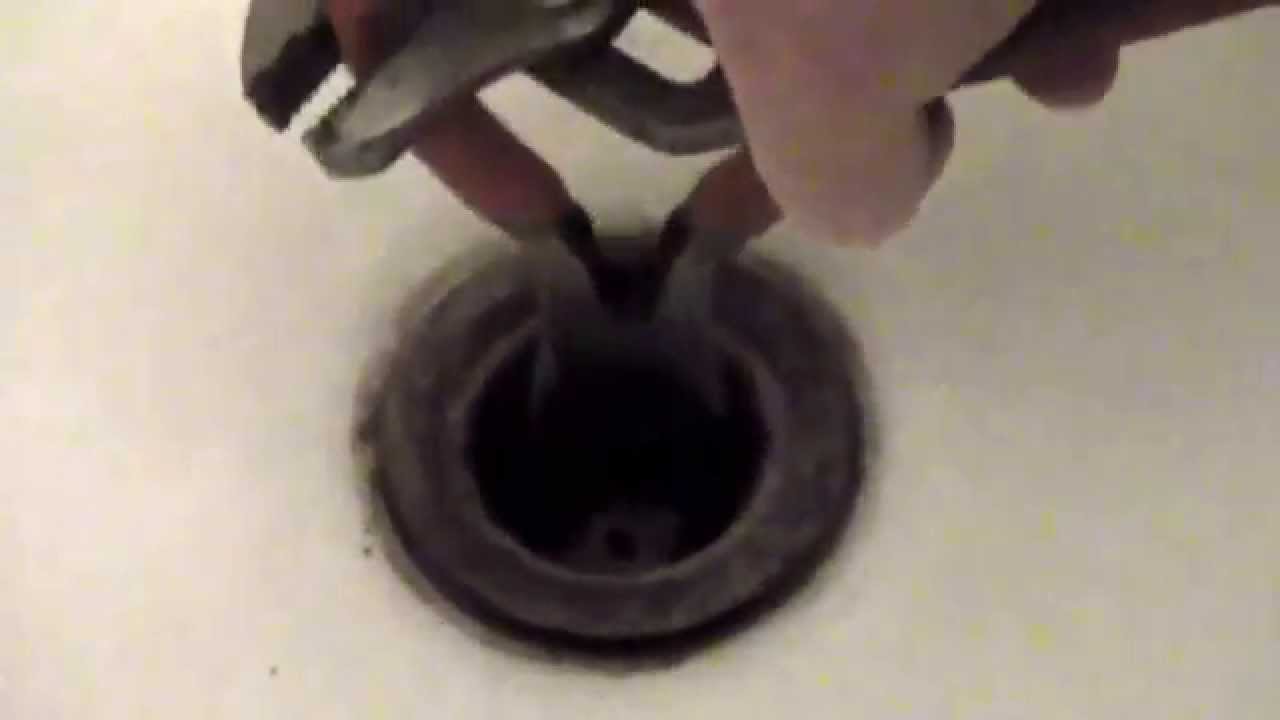
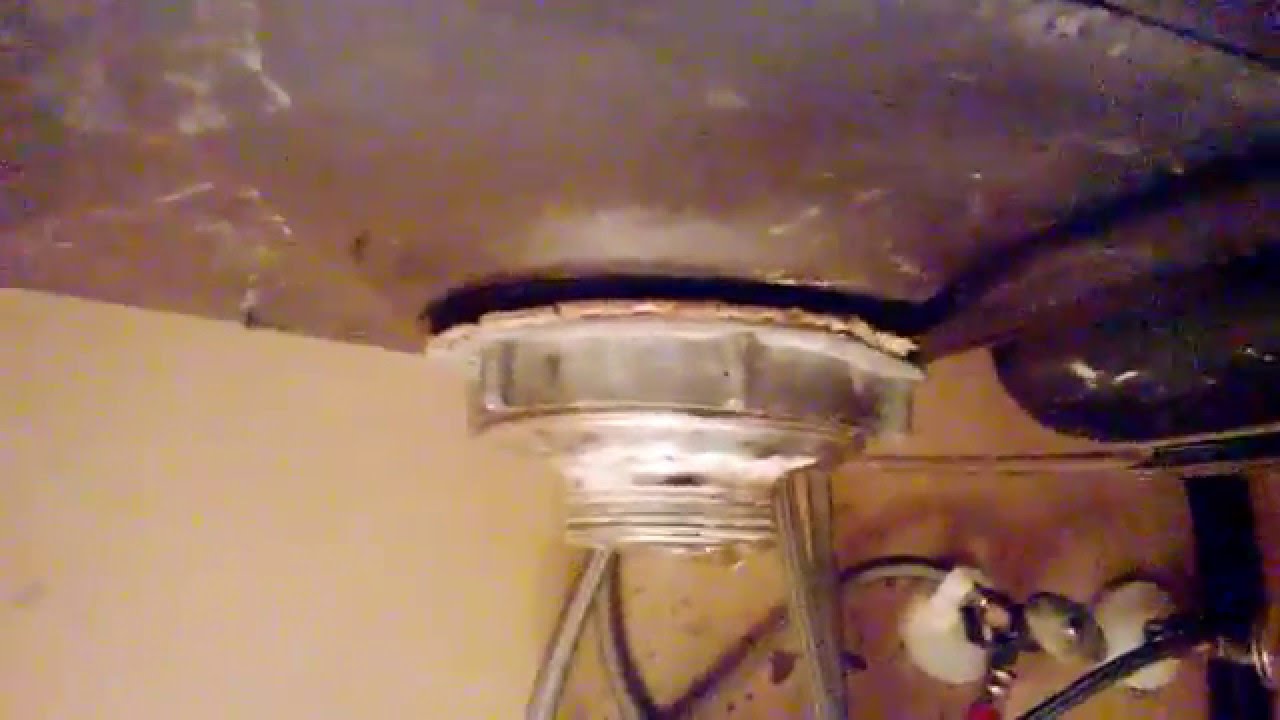
Step 4: Loosen the Locknut
Using your pliers, loosen the locknut that holds the drain strainer in place. The locknut is the circular piece that is located under the sink and connects the strainer to the drain pipe.


Removing a Clogged Drain Strainer in Your Bathroom Sink

:max_bytes(150000):strip_icc()/freshen-and-unclog-drain-with-baking-soda-1900466-22-bbf940b70afa4d5abef0c54da23b1d3f.jpg)

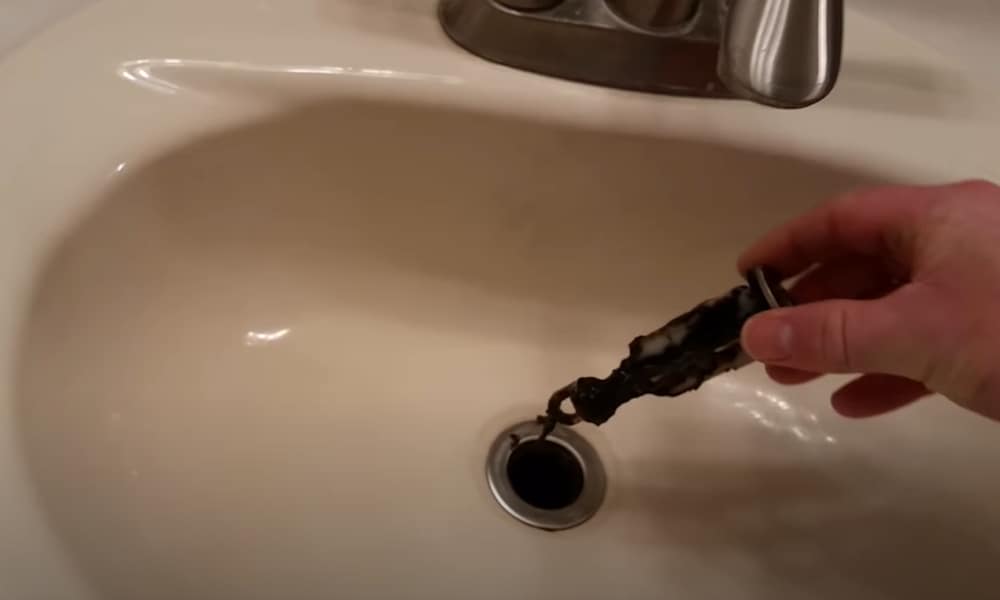
Step 5: Remove the Locknut and Strainer
Once the locknut is loose, you should be able to remove it by hand. Then, you can pull out the drain strainer from the sink. Be careful not to drop it or let it fall into the drain.

Efficient Ways to Remove a Bathroom Sink Drain Strainer


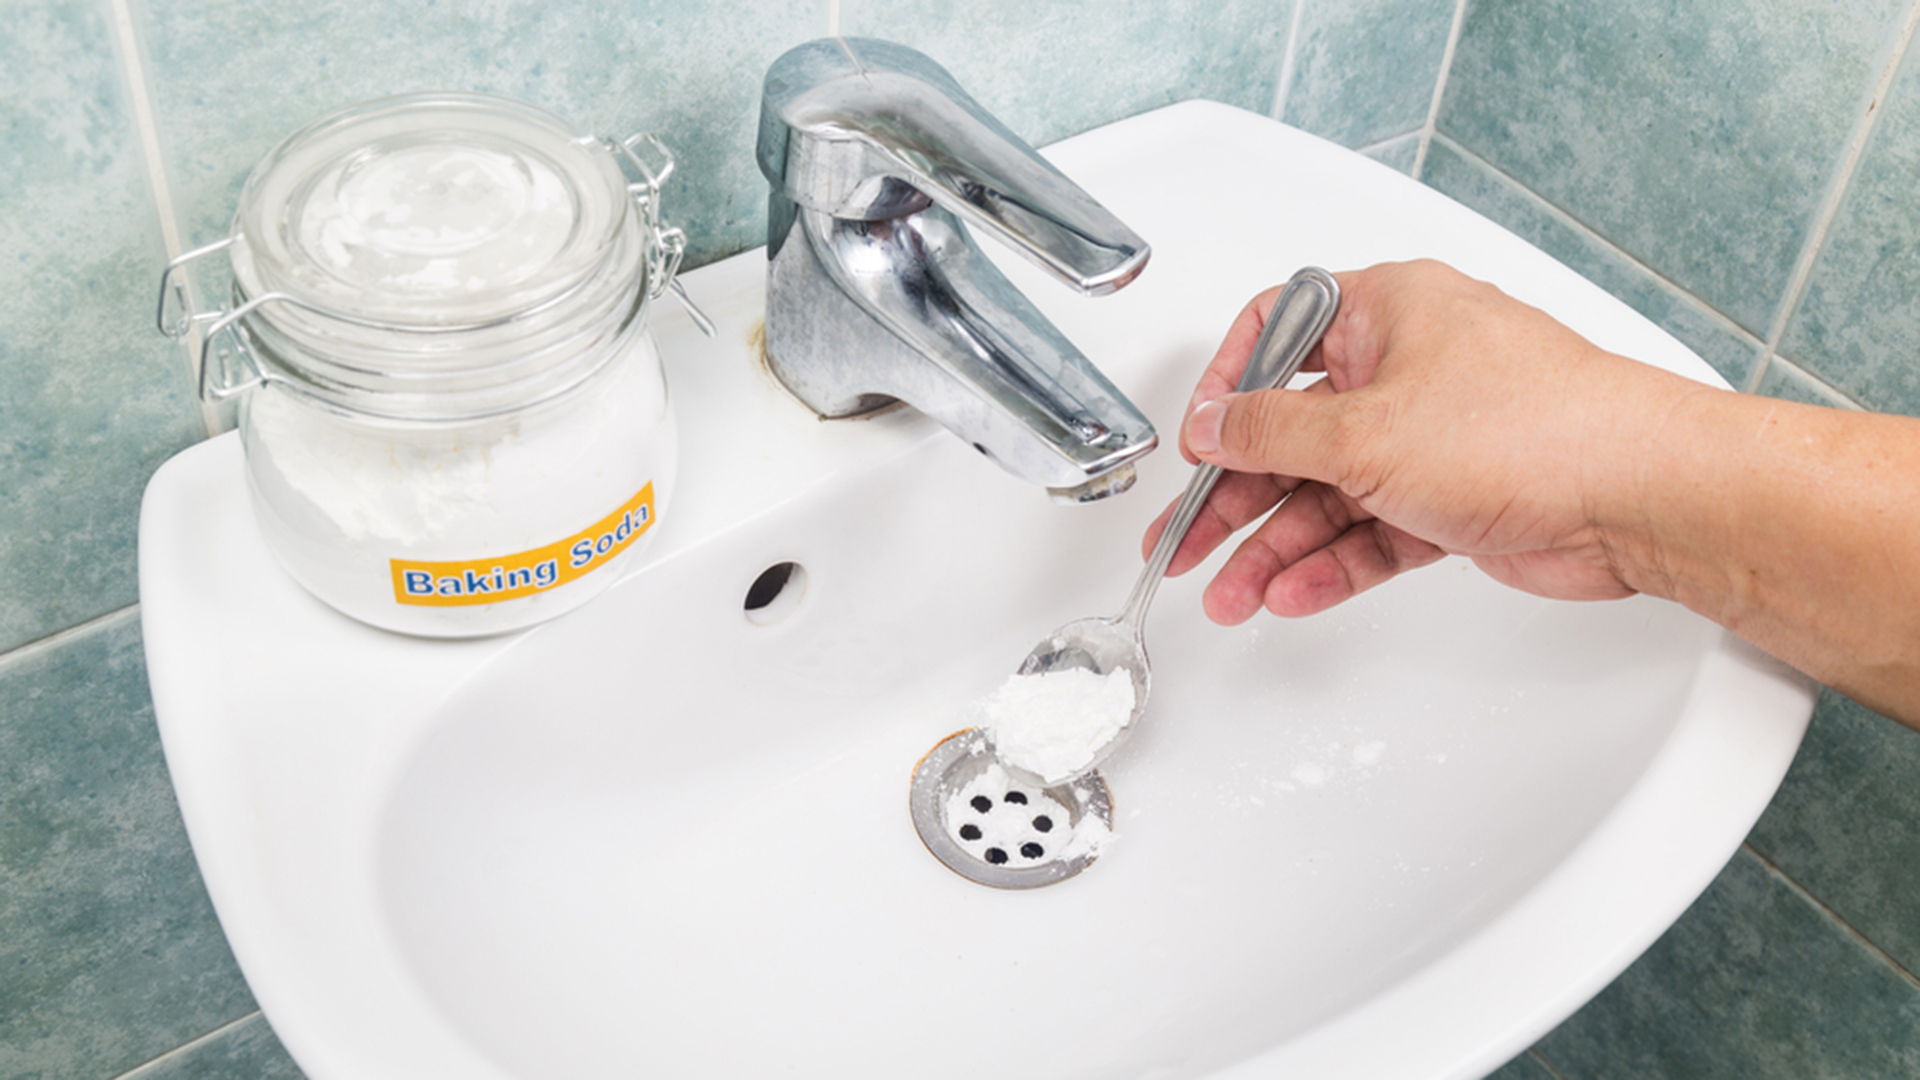
Step 6: Clean the Drain Strainer
With the strainer removed, you can now clean it. Use a brush or toothbrush to scrub away any debris or buildup. You can also soak it in a mixture of hot water and vinegar to help remove stubborn grime.


Removing a Rusty Drain Strainer from Your Bathroom Sink


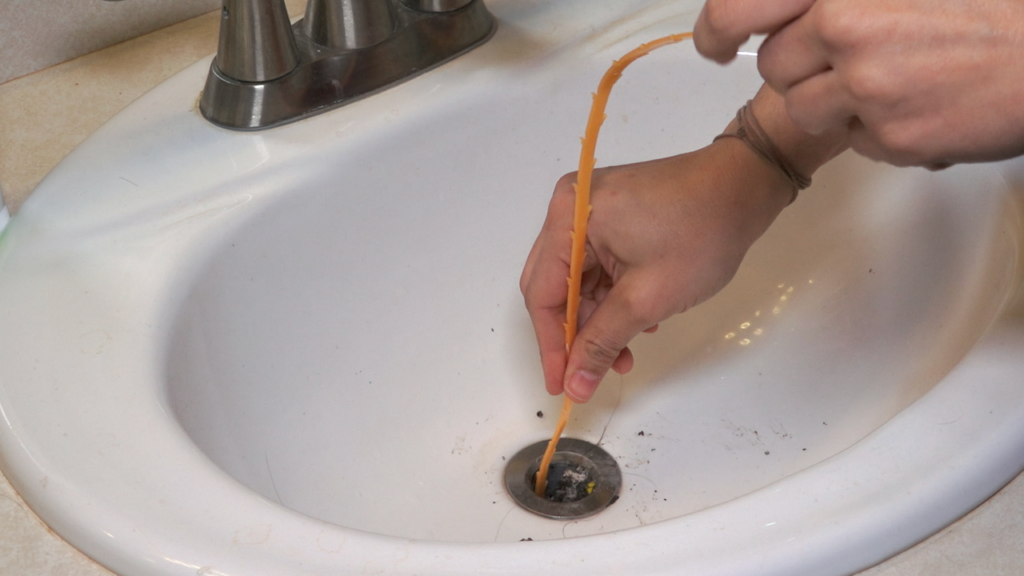

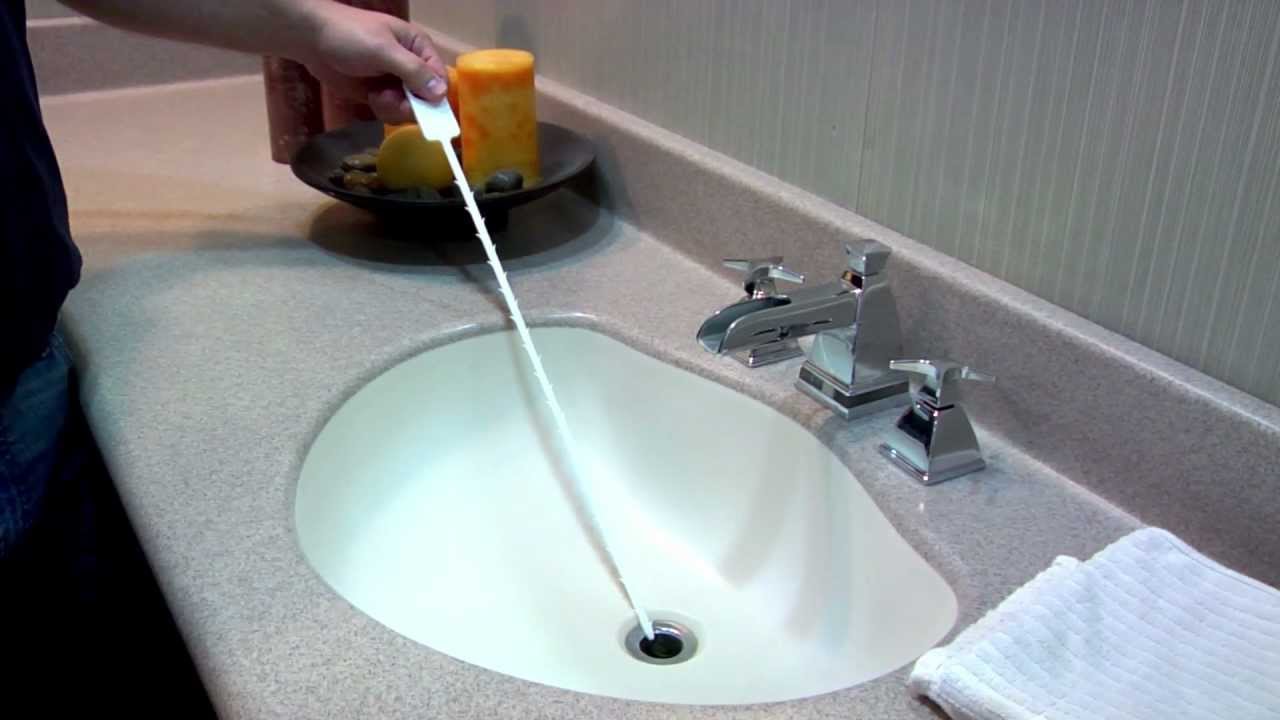
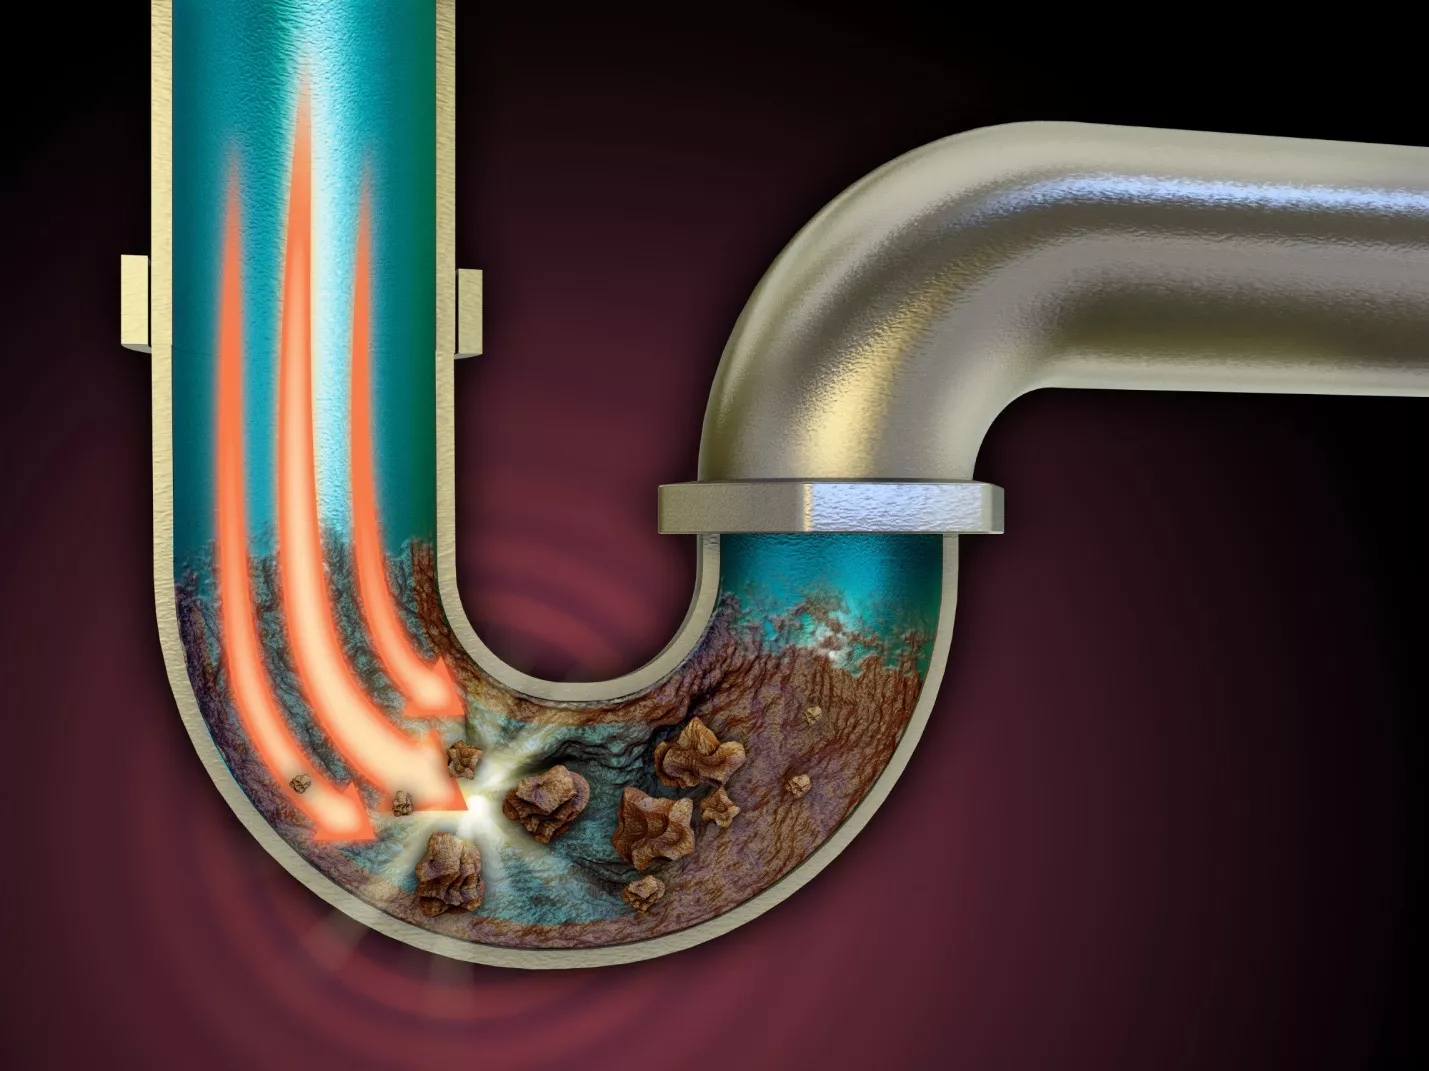
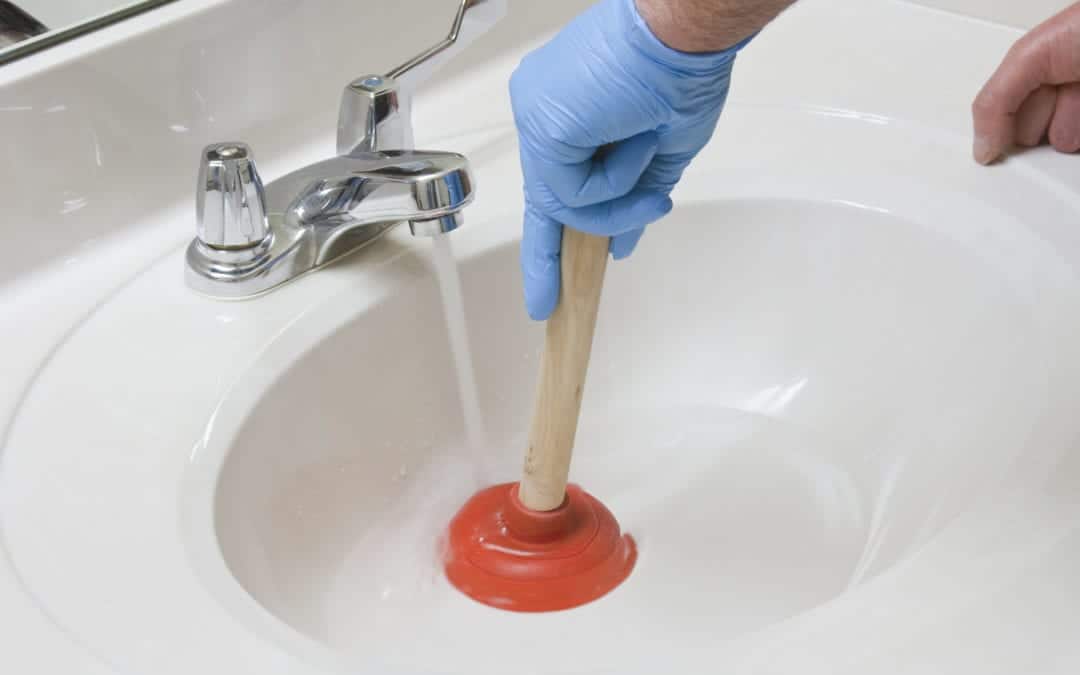
Step 7: Check the Drain Pipe
While you have the strainer removed, take the opportunity to check the drain pipe for any clogs or buildup. If you notice any, you can use a drain snake or plunger to clear it out.
Tips for Removing a Bathroom Sink Drain Strainer Without Damaging Your Sink


Step 8: Reinstall the Strainer
Once the strainer is clean and the drain pipe is clear, you can reinstall the strainer. Simply place it back in the sink and tighten the locknut with your pliers. Make sure it is snug but not too tight.


Professional Techniques for Removing a Bathroom Sink Drain Strainer


Why Removing Drain Strainer in Your Bathroom Sink is Important for House Design
Maximizing Drainage Efficiency
 When it comes to house design, every detail matters.
Removing the drain strainer in your bathroom sink
may seem like a small, insignificant task, but it can have a big impact on the overall design and functionality of your bathroom. One of the main reasons to remove the drain strainer is to
optimize drainage efficiency
. A clogged or inefficient drain can lead to standing water in your sink, which not only looks unsightly but can also create unpleasant odors and potential mold growth. By removing the strainer, water can flow freely and quickly down the drain, keeping your sink clean and hygienic.
When it comes to house design, every detail matters.
Removing the drain strainer in your bathroom sink
may seem like a small, insignificant task, but it can have a big impact on the overall design and functionality of your bathroom. One of the main reasons to remove the drain strainer is to
optimize drainage efficiency
. A clogged or inefficient drain can lead to standing water in your sink, which not only looks unsightly but can also create unpleasant odors and potential mold growth. By removing the strainer, water can flow freely and quickly down the drain, keeping your sink clean and hygienic.
Creating a Sleek and Streamlined Look
 Another benefit of removing the drain strainer is the aesthetic appeal it can bring to your bathroom design.
Bathroom sinks with exposed drains
can give off a sleek and modern look, especially if you have a designer faucet or a unique sink basin. The strainer can often be an eyesore, breaking up the clean lines and visual flow of your sink. By removing it, your sink will have a more
streamlined and cohesive appearance
, adding a touch of sophistication to your bathroom.
Another benefit of removing the drain strainer is the aesthetic appeal it can bring to your bathroom design.
Bathroom sinks with exposed drains
can give off a sleek and modern look, especially if you have a designer faucet or a unique sink basin. The strainer can often be an eyesore, breaking up the clean lines and visual flow of your sink. By removing it, your sink will have a more
streamlined and cohesive appearance
, adding a touch of sophistication to your bathroom.
Facilitating Easy Cleaning and Maintenance
 In addition to improving the functionality and appearance of your bathroom sink,
removing the drain strainer
can also make cleaning and maintenance easier. With the strainer out of the way, you can easily wipe down the surface of your sink without any obstacles. This can also prevent buildup of grime and debris that can get caught in the strainer, causing unpleasant odors and potential clogs. Without the strainer, you can also easily access and clean the drain itself, ensuring it stays clear and free-flowing.
In addition to improving the functionality and appearance of your bathroom sink,
removing the drain strainer
can also make cleaning and maintenance easier. With the strainer out of the way, you can easily wipe down the surface of your sink without any obstacles. This can also prevent buildup of grime and debris that can get caught in the strainer, causing unpleasant odors and potential clogs. Without the strainer, you can also easily access and clean the drain itself, ensuring it stays clear and free-flowing.
Considerations Before Removing the Strainer
 Before removing the strainer in your bathroom sink, it's important to consider a few things. First, make sure you have the right tools and know-how to safely remove the strainer without damaging your sink.
Consult with a professional
if you are unsure. Additionally, if you have young children in the house, it may be best to leave the strainer in place to prevent any small objects from falling down the drain. Finally, if you live in an area with hard water, removing the strainer may lead to more frequent cleaning and maintenance of your sink to prevent mineral buildup.
Before removing the strainer in your bathroom sink, it's important to consider a few things. First, make sure you have the right tools and know-how to safely remove the strainer without damaging your sink.
Consult with a professional
if you are unsure. Additionally, if you have young children in the house, it may be best to leave the strainer in place to prevent any small objects from falling down the drain. Finally, if you live in an area with hard water, removing the strainer may lead to more frequent cleaning and maintenance of your sink to prevent mineral buildup.
In Conclusion
 In conclusion,
removing the drain strainer in your bathroom sink
is a small but impactful step in optimizing the design and functionality of your bathroom. Not only does it improve drainage efficiency and create a sleeker appearance, but it also facilitates easier cleaning and maintenance. Consider the above factors before removing the strainer, and enjoy the benefits of a well-designed and functional bathroom sink.
In conclusion,
removing the drain strainer in your bathroom sink
is a small but impactful step in optimizing the design and functionality of your bathroom. Not only does it improve drainage efficiency and create a sleeker appearance, but it also facilitates easier cleaning and maintenance. Consider the above factors before removing the strainer, and enjoy the benefits of a well-designed and functional bathroom sink.