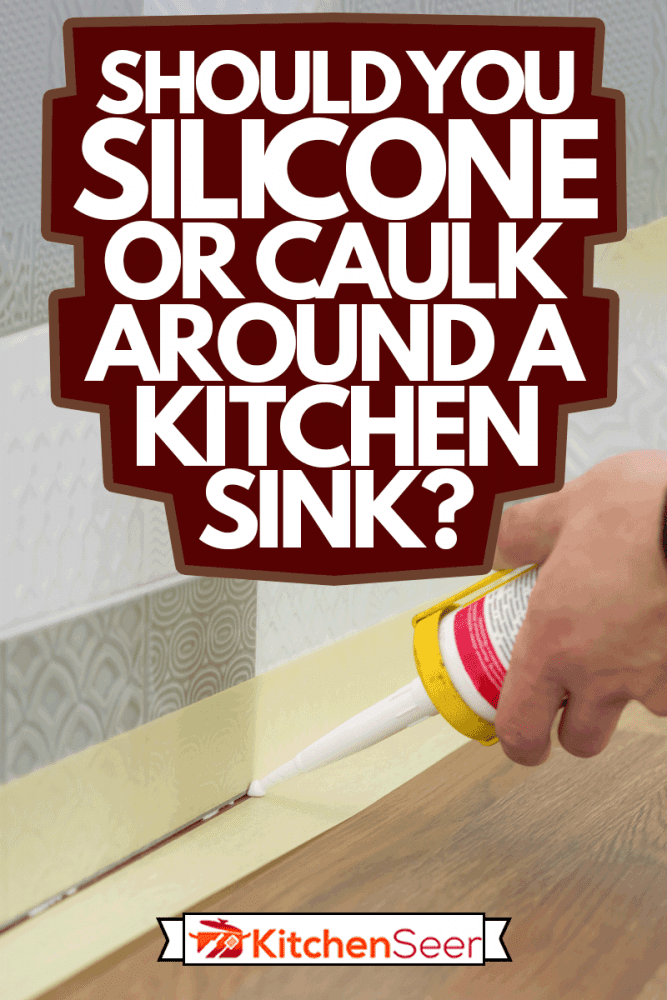
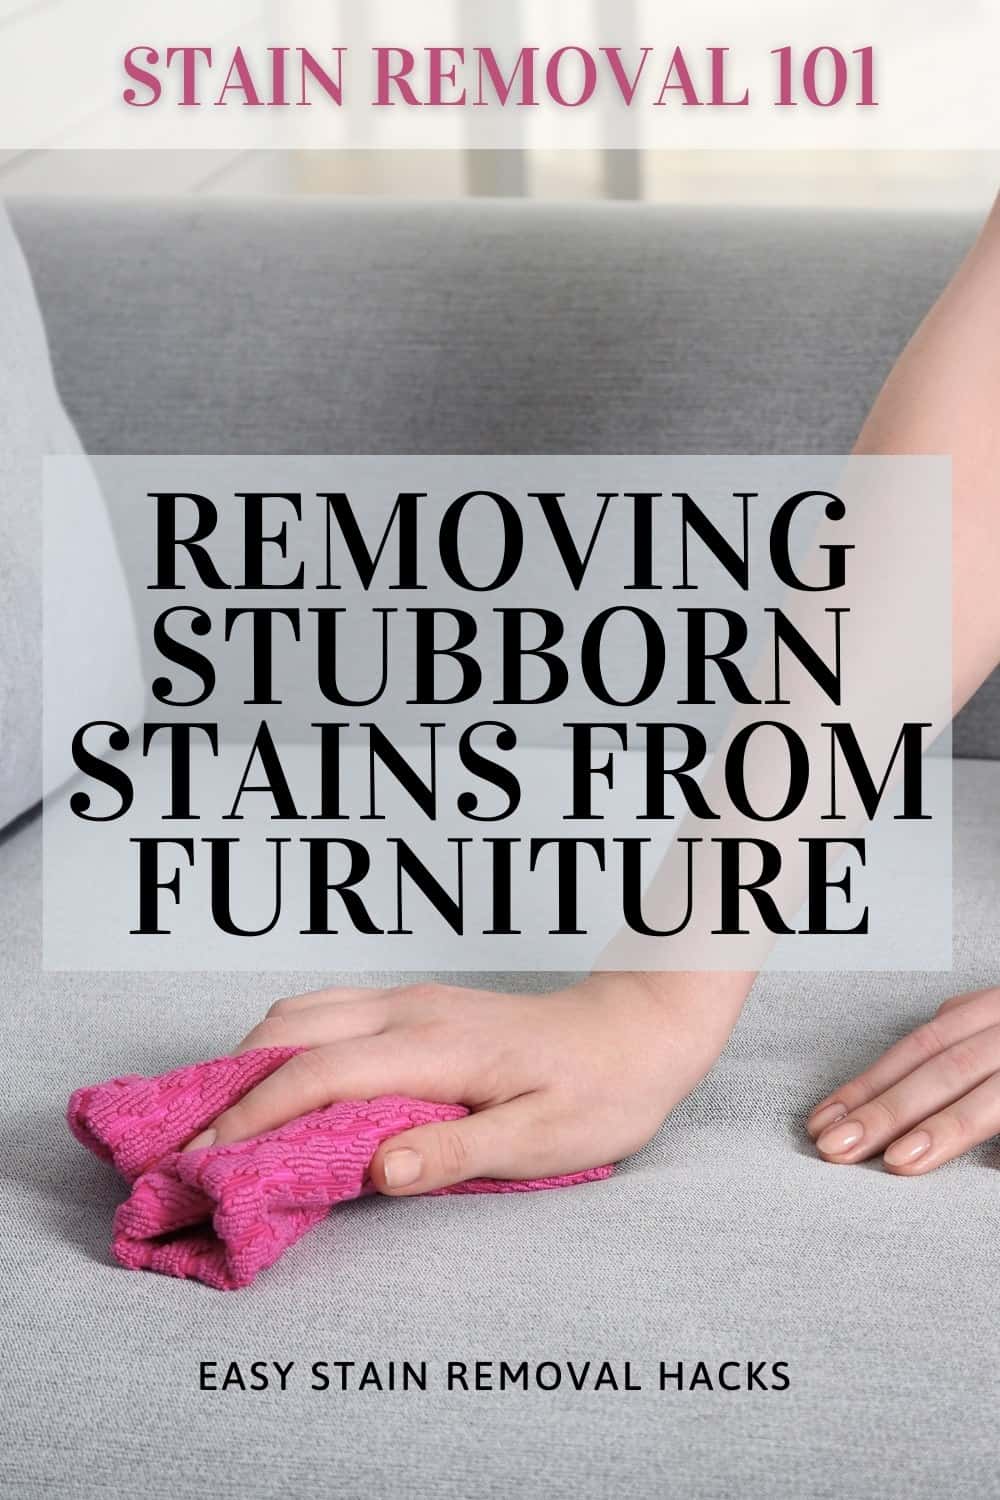
The caulk around your kitchen sink may seem like a small detail, but it plays an important role in keeping your sink and countertop properly sealed and free from water damage. Over time, caulk can become discolored, cracked, or moldy, making it necessary to remove and replace it. Here are 10 tips for safely and effectively removing caulk around your kitchen sink.Removing Caulk Around the Kitchen Sink


Removing Caulk Around the Kitchen Sink

:max_bytes(150000):strip_icc()/caulk-removal-tool-56ec7f1b3df78ce5f83535fe.jpg)


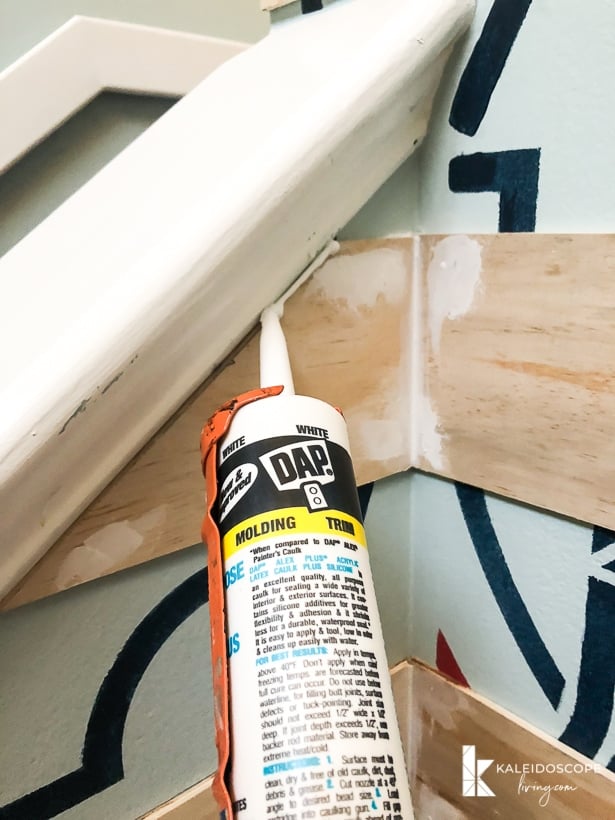
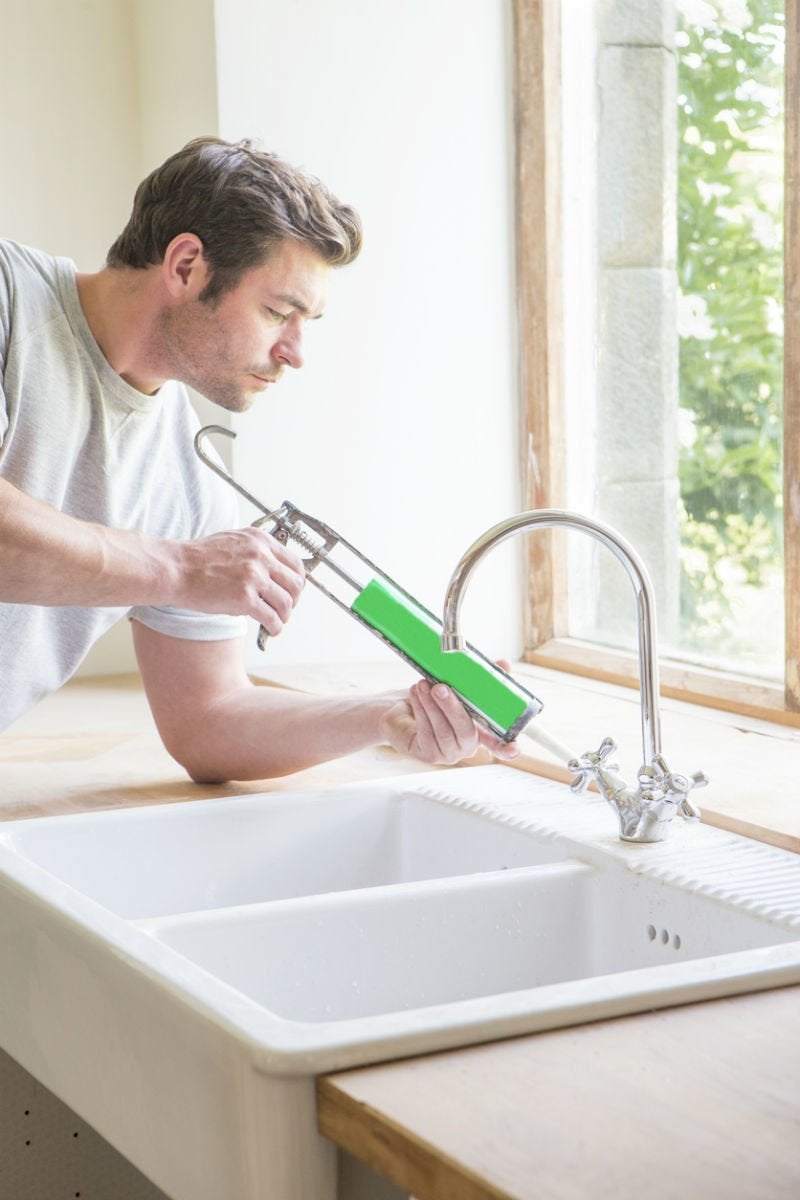
Removing caulk around your kitchen sink may seem like a daunting task, but with the right tools and techniques, it can be a relatively easy process. Begin by using a utility knife or a caulk removal tool to score and loosen the caulk around the edges of your sink. Then, use a caulk scraper or putty knife to carefully peel away the caulk from the surface. Be sure to wear gloves and work slowly to avoid damaging your sink or counter.How to Remove Caulk Around the Kitchen Sink


How to Remove Caulk Around the Kitchen Sink


There are a few different methods you can use to remove caulk from around your kitchen sink, but some are more effective than others. One of the best ways is to use a caulk softener, which helps to loosen and dissolve the caulk, making it easier to scrape away. Another effective method is to use a hairdryer to heat up the caulk, making it more pliable and easier to remove. Whichever method you choose, be sure to follow proper safety precautions and work carefully to avoid damaging your sink or counter.Best Way to Remove Caulk Around the Kitchen Sink


Best Way to Remove Caulk Around the Kitchen Sink


If you're a fan of DIY projects, removing caulk around your kitchen sink is a task you can easily tackle on your own. Start by gathering the necessary tools, including a utility knife or caulk removal tool, caulk scraper, and gloves. Then, follow the steps outlined above, making sure to work slowly and carefully. For stubborn caulk, you may need to use a caulk softener or heat gun to help loosen it. With a little patience and persistence, you can successfully remove the old caulk and give your sink a fresh, clean look.DIY Caulk Removal for Kitchen Sink


DIY Caulk Removal for Kitchen Sink


To help you through the process of removing caulk around your kitchen sink, here is a step-by-step guide:Step-by-Step Guide for Removing Caulk Around the Kitchen Sink

Step-by-Step Guide for Removing Caulk Around the Kitchen Sink


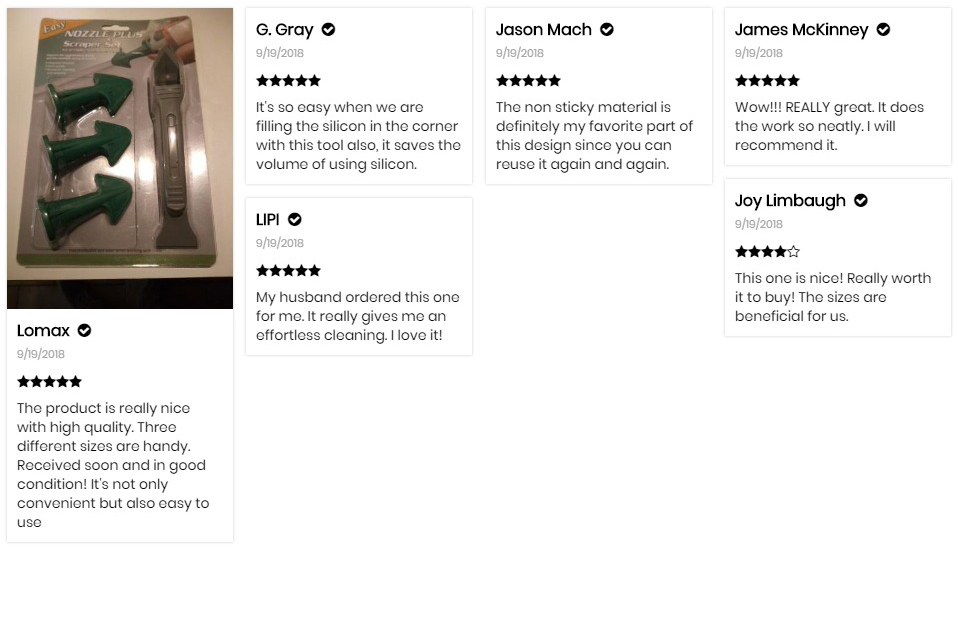
Having the right tools for the job can make all the difference when it comes to removing caulk around your kitchen sink. Here are the tools you'll need:Tools Needed for Removing Caulk Around the Kitchen Sink


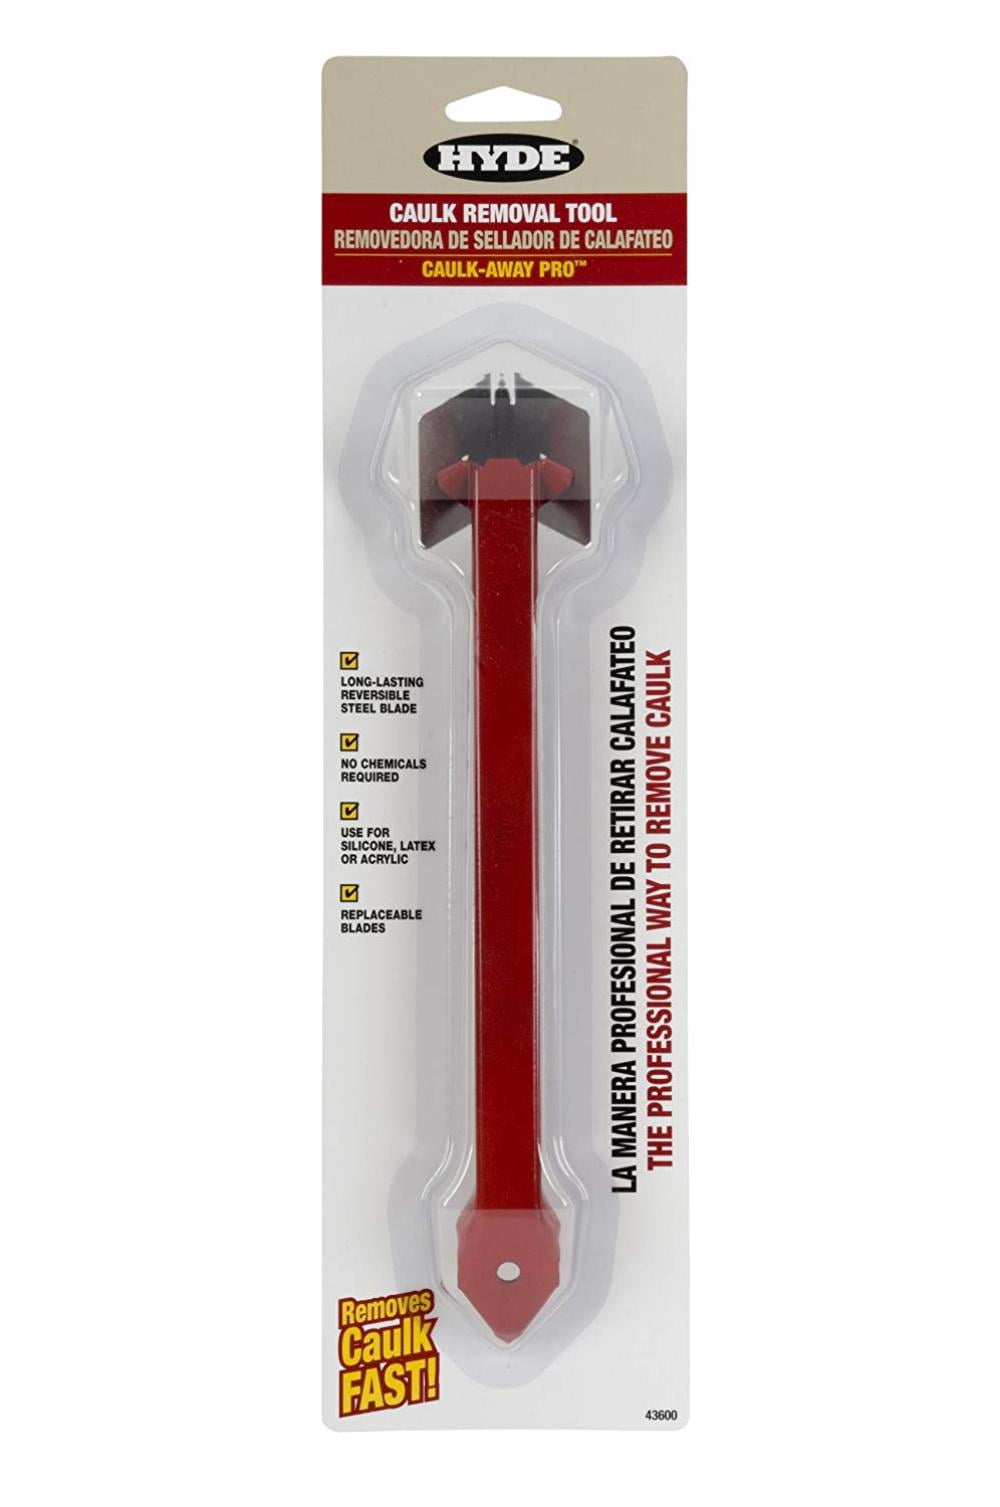
Tools Needed for Removing Caulk Around the Kitchen Sink


Removing caulk can be a tricky task, especially when it's stubborn and doesn't want to budge. Here are a few tips to help make the process easier and more effective:Tips for Removing Stubborn Caulk Around the Kitchen Sink


Tips for Removing Stubborn Caulk Around the Kitchen Sink

If you're looking for more environmentally-friendly methods for removing caulk, there are a few options you can try. Instead of using caulk softener, you can use a solution of equal parts vinegar and warm water to help loosen the caulk. You can also use a natural citrus-based solvent or a mixture of baking soda and water to create a paste that can help dissolve the caulk. Whichever method you choose, be sure to test it in a small, inconspicuous area first to ensure it doesn't damage your sink or counter.Eco-Friendly Methods for Removing Caulk Around the Kitchen Sink


Eco-Friendly Methods for Removing Caulk Around the Kitchen Sink


While removing caulk around your kitchen sink may seem like a simple task, there are a few common mistakes that can lead to problems. Here are some mistakes to avoid:Common Mistakes to Avoid When Removing Caulk Around the Kitchen Sink
Common Mistakes to Avoid When Removing Caulk Around the Kitchen Sink


If DIY isn't your thing or you're dealing with a particularly stubborn caulk, you may want to consider hiring a professional caulk removal service. These professionals have the tools and expertise to safely and effectively remove caulk without damaging your sink or counter. They can also help you choose the best caulk for your sink and provide a clean and professional finish. Removing caulk around your kitchen sink may require a bit of time and effort, but it's an important step in keeping your sink and counter in good condition. With the right tools and techniques, you can easily remove old caulk and replace it with a fresh, clean seal. Whether you choose to DIY or hire a professional, be sure to follow these tips for a successful caulk removal process.Professional Caulk Removal Services for Kitchen Sink


Professional Caulk Removal Services for Kitchen Sink

Why Removing Calk Around the Kitchen Sink is Essential for a Beautiful and Functional Kitchen

The Importance of Calk in Kitchen Design
 When it comes to kitchen design, every detail matters. From the color of the walls to the type of appliances, every decision contributes to the overall look and functionality of the space. One often overlooked aspect of kitchen design is the calk around the kitchen sink. This seemingly small element plays a crucial role in keeping your kitchen beautiful and functional.
Calk is a waterproof sealant that is used to fill gaps and joints between surfaces, such as the sink and countertop.
It not only provides a clean and finished look to your kitchen, but it also prevents water from seeping in and causing damage to your cabinets and walls. Over time, calk can become cracked, discolored, and filled with mold and mildew, making it necessary to remove and replace it.
When it comes to kitchen design, every detail matters. From the color of the walls to the type of appliances, every decision contributes to the overall look and functionality of the space. One often overlooked aspect of kitchen design is the calk around the kitchen sink. This seemingly small element plays a crucial role in keeping your kitchen beautiful and functional.
Calk is a waterproof sealant that is used to fill gaps and joints between surfaces, such as the sink and countertop.
It not only provides a clean and finished look to your kitchen, but it also prevents water from seeping in and causing damage to your cabinets and walls. Over time, calk can become cracked, discolored, and filled with mold and mildew, making it necessary to remove and replace it.
The Benefits of Removing Old Calk
 Removing calk around the kitchen sink is an essential step in maintaining a beautiful and functional kitchen.
Not only does it improve the overall appearance of your kitchen, but it also has other benefits that make it worth the effort. First and foremost, removing old calk and replacing it with a fresh layer will prevent water from seeping in and causing damage to your cabinets and walls. It also helps to prevent the growth of mold and mildew, which can be harmful to your health.
Moreover, removing old calk and replacing it with a new layer can also improve the efficiency of your kitchen. Old and cracked calk can allow water to leak into areas where it should not, causing damage and potentially leading to costly repairs. By replacing it, you can ensure that your kitchen remains functional and efficient.
Removing calk around the kitchen sink is an essential step in maintaining a beautiful and functional kitchen.
Not only does it improve the overall appearance of your kitchen, but it also has other benefits that make it worth the effort. First and foremost, removing old calk and replacing it with a fresh layer will prevent water from seeping in and causing damage to your cabinets and walls. It also helps to prevent the growth of mold and mildew, which can be harmful to your health.
Moreover, removing old calk and replacing it with a new layer can also improve the efficiency of your kitchen. Old and cracked calk can allow water to leak into areas where it should not, causing damage and potentially leading to costly repairs. By replacing it, you can ensure that your kitchen remains functional and efficient.
The Process of Removing Calk
 Removing calk around the kitchen sink may seem like a daunting task, but with the right tools and techniques, it can be done easily and effectively.
The first step is to soften the old calk using a calk softener or a heat gun. This will make it easier to remove without damaging the surrounding surfaces. Next, use a razor blade or specialized calk removal tool to scrape off the old calk. Make sure to clean the area thoroughly before applying a new layer of calk.
In conclusion,
removing calk around the kitchen sink is an essential step in maintaining a beautiful and functional kitchen.
By taking the time to remove and replace old calk, you can prevent damage, improve efficiency, and maintain the overall aesthetic of your kitchen. So don't overlook this detail in your kitchen design and make sure to regularly check and replace old calk to keep your kitchen looking and functioning at its best.
Removing calk around the kitchen sink may seem like a daunting task, but with the right tools and techniques, it can be done easily and effectively.
The first step is to soften the old calk using a calk softener or a heat gun. This will make it easier to remove without damaging the surrounding surfaces. Next, use a razor blade or specialized calk removal tool to scrape off the old calk. Make sure to clean the area thoroughly before applying a new layer of calk.
In conclusion,
removing calk around the kitchen sink is an essential step in maintaining a beautiful and functional kitchen.
By taking the time to remove and replace old calk, you can prevent damage, improve efficiency, and maintain the overall aesthetic of your kitchen. So don't overlook this detail in your kitchen design and make sure to regularly check and replace old calk to keep your kitchen looking and functioning at its best.