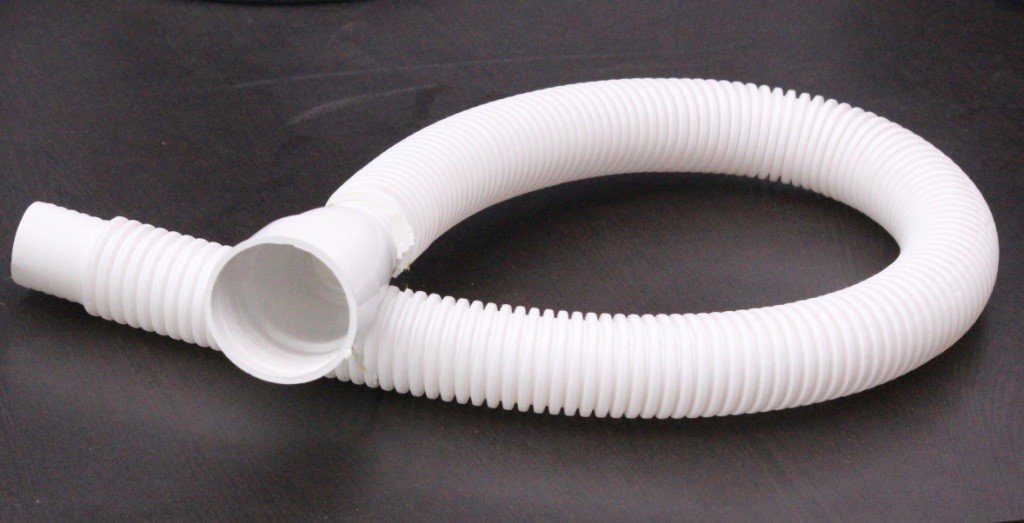
Removing Bathroom Sink Coupling Hose
The coupling hose is an essential component of your bathroom sink, connecting the faucet to the water supply lines. However, there may come a time when you need to replace or repair the coupling hose. In this article, we will guide you through the process of removing the bathroom sink coupling hose.


Removing Bathroom Sink Coupling Hose
How to Remove a Bathroom Sink Coupling Hose
Removing a bathroom sink coupling hose may seem like a daunting task, but with the right tools and technique, it can be a straightforward process. Here is a step-by-step guide to help you:


How to Remove a Bathroom Sink Coupling Hose


Step-by-Step Guide for Removing Bathroom Sink Coupling Hose
Step 1: Turn off the water supply to your bathroom sink. This can usually be done by turning off the shut-off valves under the sink. If your sink does not have shut-off valves, you will need to turn off the main water supply to your home.
Step 2: Place a bucket or container under the sink to catch any water that may drip out.
Step 3: Use pliers to loosen the coupling nuts on both ends of the coupling hose. You may need to use a wrench if the nuts are too tight.
Step 4: Once the nuts are loose, you can remove the coupling hose from the faucet and the water supply lines. If the hose is stuck, you can use a lubricant to help loosen it.
Step 5: Clean the connection points on the faucet and the water supply lines to remove any debris or buildup.
Step 6: Your old coupling hose is now removed, and you can proceed with installing a new one or making any necessary repairs.


Step-by-Step Guide for Removing Bathroom Sink Coupling Hose


Removing Bathroom Sink Coupling Hose: Tips and Tricks
Tip: Before removing the coupling hose, take a picture of how it is connected. This will make it easier for you to reattach the new hose in the correct position.
Trick: If the coupling nuts are too tight, you can use a hairdryer to heat them up, making them easier to loosen.
Removing Bathroom Sink Coupling Hose: Tips and Tricks


DIY: Removing Bathroom Sink Coupling Hose
Removing the bathroom sink coupling hose is a task that can easily be done as a DIY project. However, it is essential to be cautious and follow safety precautions to avoid any accidents or damage to your sink.


DIY: Removing Bathroom Sink Coupling Hose

Removing Bathroom Sink Coupling Hose: Common Mistakes to Avoid
While removing the bathroom sink coupling hose may seem like a simple task, there are some common mistakes that people make. These include:
Mistake #1: Not turning off the water supply before attempting to remove the hose, resulting in water leakage and potential damage.
Mistake #2: Using excessive force to loosen the coupling nuts, which can lead to damage or breakage.
Mistake #3: Not cleaning the connection points before reattaching the new coupling hose, which can cause leaks.


Removing Bathroom Sink Coupling Hose: Common Mistakes to Avoid


Tools You'll Need for Removing Bathroom Sink Coupling Hose
To successfully remove the bathroom sink coupling hose, you will need the following tools:
• Pliers
• Wrench (if necessary)
• Bucket or container
• Lubricant (optional)


Tools You'll Need for Removing Bathroom Sink Coupling Hose

Removing Bathroom Sink Coupling Hose: Safety Precautions
It is crucial to take proper safety precautions when removing the bathroom sink coupling hose. These include:
Safety Precaution #1: Always turn off the water supply before attempting to remove the coupling hose.
Safety Precaution #2: Wear protective gloves to protect your hands from any sharp edges or potential leaks.
Safety Precaution #3: Use caution when using pliers or a wrench to avoid any injuries.
Removing Bathroom Sink Coupling Hose: Safety Precautions
Removing Bathroom Sink Coupling Hose: Troubleshooting Guide
If you encounter any issues while removing the bathroom sink coupling hose, here are some troubleshooting tips:
Issue #1: The coupling nuts are too tight to loosen.
Solution: Use a hairdryer to heat up the nuts, making them easier to loosen.
Issue #2: The hose is stuck and won't come off.
Solution: Use a lubricant to help loosen the hose.
Issue #3: There is water leaking from the connection points.
Solution: Check that the nuts are tightened properly and that the connection points are clean before reattaching the new coupling hose.

Removing Bathroom Sink Coupling Hose: Troubleshooting Guide

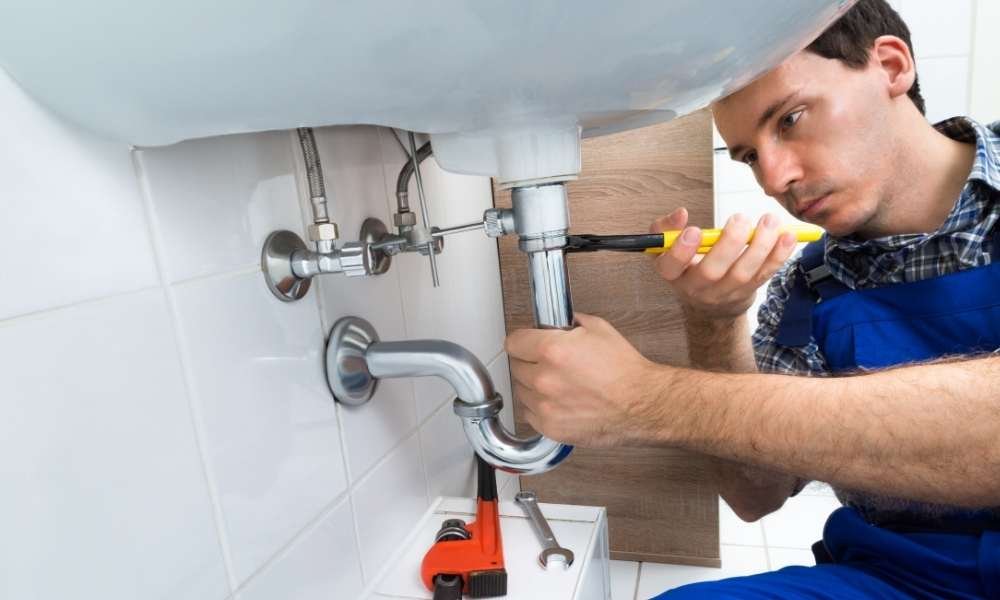
Removing Bathroom Sink Coupling Hose: Professional Services vs. DIY
Removing the bathroom sink coupling hose is a task that can easily be done as a DIY project. However, if you are not confident in your abilities or encounter any difficulties, it is always best to seek professional help. They have the necessary experience and tools to ensure the job is done correctly and safely.
Now that you know how to remove a bathroom sink coupling hose, you can confidently tackle this task on your own. Remember to take proper safety precautions and follow the step-by-step guide, and you'll have your old coupling hose removed in no time.
Removing Bathroom Sink Coupling Hose: Professional Services vs. DIY
How to Properly Remove a Bathroom Sink Coupling Hose
Introduction
 When it comes to designing a house, every detail matters. From the color of the walls to the type of faucets in the bathrooms, every element plays a role in creating the perfect atmosphere. And when it comes to bathroom design, the sink is often a focal point. But what happens when you need to replace or repair the sink coupling hose? In this article, we will guide you on how to properly remove a bathroom sink coupling hose and ensure a smooth and hassle-free process.
Step 1: Gather Your Tools
 Before you begin, make sure you have all the necessary tools at hand. This will save you time and frustration. You will need an adjustable wrench, pliers, plumber's tape, and a bucket or towel to catch any water that may leak.
Step 2: Shut Off the Water Supply
 Before you start disconnecting any pipes, it is crucial to turn off the water supply to the sink. You can do this by shutting off the water valves under the sink or by turning off the main water supply for the house.
Step 3: Prepare the Sink
 To make the process easier, remove any items from the sink and clear the area underneath. This will give you more space to work and prevent any accidents from occurring.
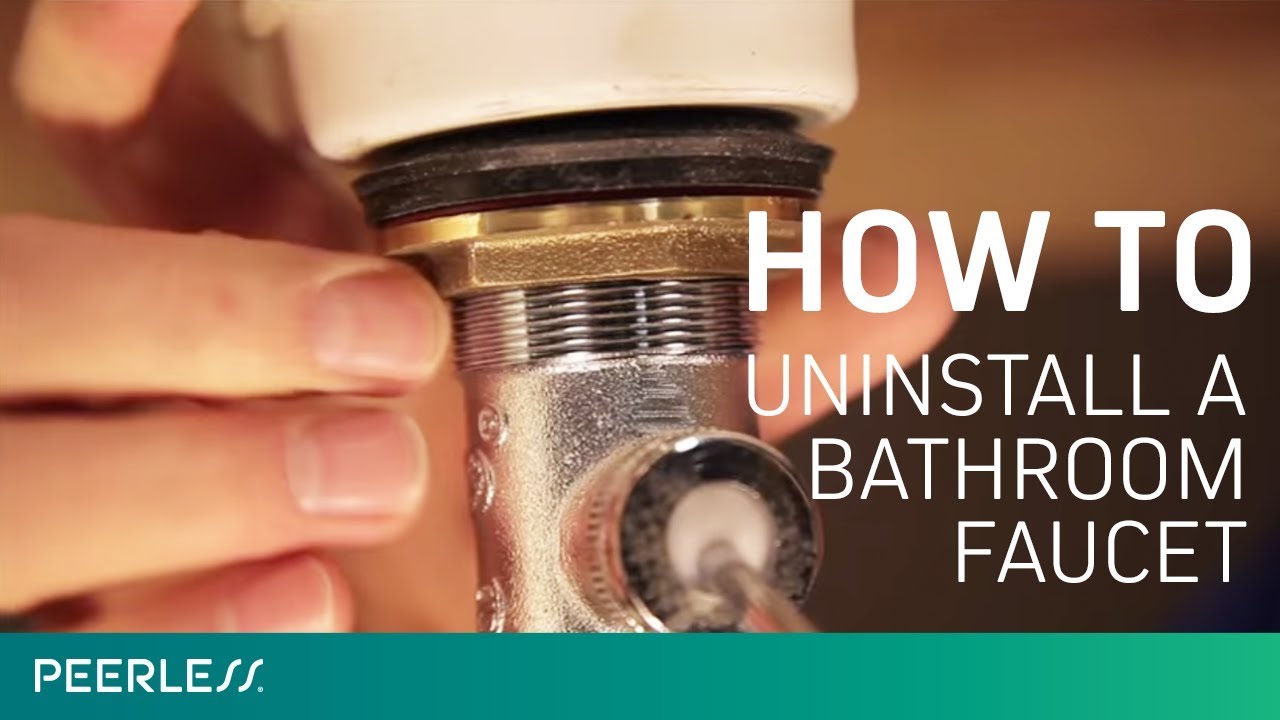
Step 4: Loosen the Coupling Nut
 Using your adjustable wrench, loosen the coupling nut that connects the sink coupling hose to the faucet. Turn it counterclockwise until it is loose enough to be removed by hand.
Step 5: Remove the Hose
 Once the coupling nut is loose, use your pliers to grip the hose and pull it out of the faucet. If the hose is stuck, you may need to use a bit of force to remove it.
Step 6: Clean and Replace
 Before installing the new hose, make sure to clean the area thoroughly. This will prevent any dirt or debris from affecting the new coupling. Once clean, apply a thin layer of plumber's tape to the threads of the faucet to ensure a tight seal.
Step 7: Install the New Hose
 Insert the new hose into the faucet and tighten the coupling nut with your adjustable wrench. Make sure it is tight enough to prevent any leaks, but be careful not to over-tighten and damage the threads.
In Conclusion
 Removing a bathroom sink coupling hose may seem like a daunting task, but with the right tools and steps, it can be a simple and straightforward process. By following these steps, you can ensure a smooth and successful removal, allowing you to continue designing your dream house with ease.