Are you tired of your old, outdated wooden bathroom sink basin? Maybe it's time for an upgrade or a change in style. Whatever the reason, removing a wooden bathroom sink basin may seem like a daunting task, but with the right tools and techniques, it can be a simple and straightforward process. In this article, we will discuss the top 10 ways to remove a wooden bathroom sink basin and get your bathroom looking fresh and modern.1. Introduction: Removing a Wooden Bathroom Sink Basin
The first step in removing a wooden bathroom sink basin is to gather all the necessary tools. You will need a wrench, pliers, screwdriver, putty knife, and a utility knife. It's also a good idea to have a bucket or large container to catch any water that may come out during the removal process.2. Gather Your Tools
The next step is to turn off the water supply to the sink. Locate the shut-off valves under the sink and turn them clockwise to shut off the water. If your sink does not have shut-off valves, you will need to turn off the main water supply to your house.3. Turn Off the Water Supply
Once the water supply is turned off, use your pliers to disconnect the water supply lines from the underside of the sink. You may need to use a wrench if they are tightly secured. Make sure to have a towel or container handy to catch any excess water that may drip out.4. Disconnect the Water Supply Lines
Next, use your pliers or wrench to loosen the nuts that hold the drain pipe in place. Remove the pipe and set it aside. You may need to use a putty knife to scrape away any old putty or sealant that may be holding the pipe in place.5. Remove the Drain Pipe
Many wooden bathroom sink basins are secured to the countertop with clips. Use your screwdriver to loosen these clips and remove them. Be careful not to damage the countertop in the process.6. Loosen the Sink Clips
Using your utility knife, carefully cut through any sealant that may be holding the sink to the countertop. Be sure to wear gloves and be cautious not to cut yourself.7. Cut the Sealant
With the clips and sealant removed, you should now be able to lift the sink away from the countertop. Be careful not to damage the countertop or the sink itself.8. Lift the Sink Away
With the sink removed, you can now clean up any remaining sealant or debris from the countertop. This is also a good time to make any necessary repairs or updates to the plumbing or countertop before installing your new sink.9. Clean Up and Prep for Installation
Removing a wooden bathroom sink basin may seem like a daunting task, but with the right tools and techniques, it can be a simple and straightforward process. Now that your old sink is removed, you can install your new sink and enjoy a fresh and updated look in your bathroom. In conclusion, removing a wooden bathroom sink basin is not as difficult as it may seem. With the proper tools and steps, you can easily remove your old sink and prepare for a new one. Remember to always take safety precautions and be careful not to damage any surrounding areas during the removal process. Now that you have the knowledge and tools to remove a wooden bathroom sink basin, it's time to get started on your bathroom upgrade. Whether you're looking for a sleek, modern design or a more traditional look, removing your old sink is the first step in creating your dream bathroom. So don't hesitate, gather your tools and say goodbye to that old wooden sink basin today!10. Conclusion: Time to Install Your New Sink
Why You Should Consider Removing a Wooden Bathroom Sink Basin in Your House Design

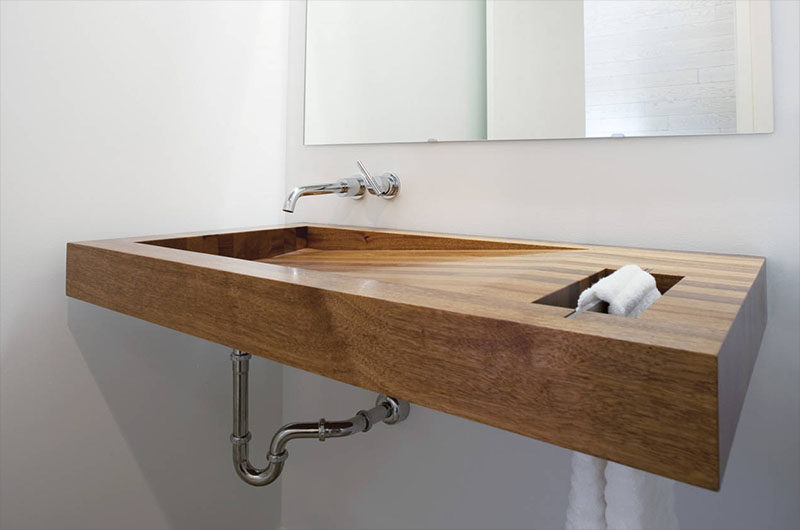
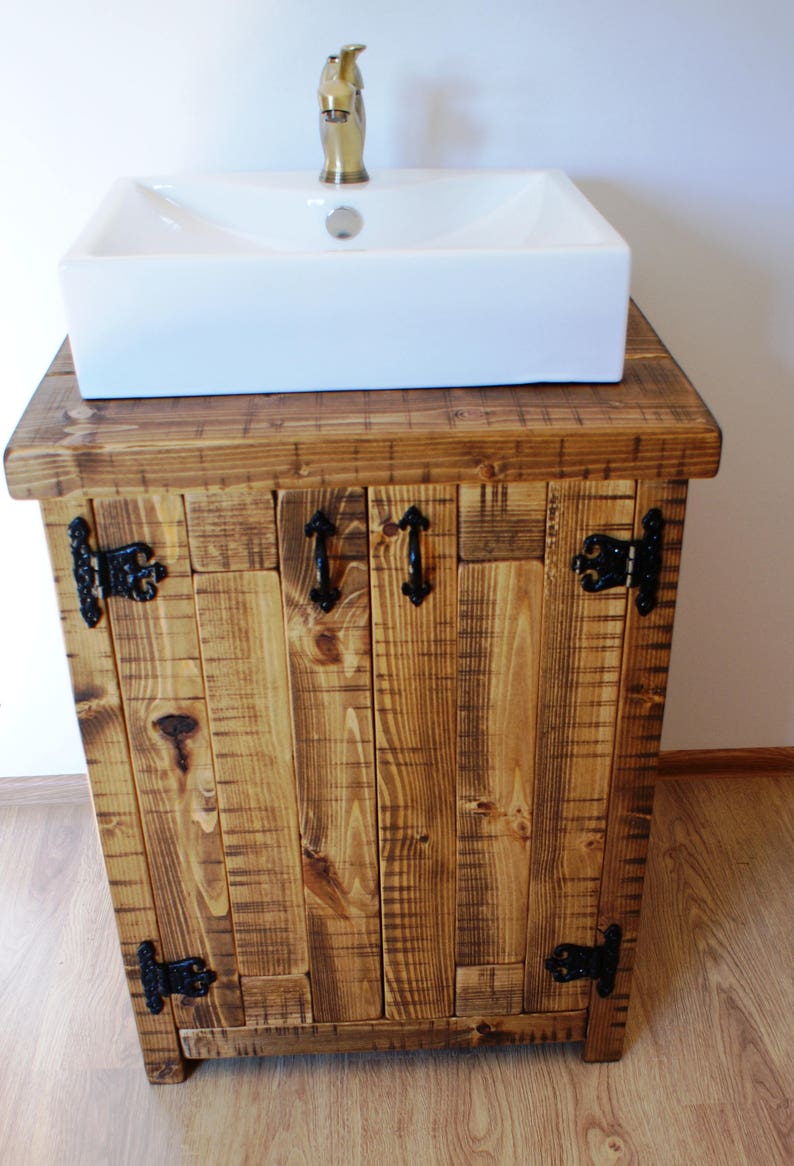
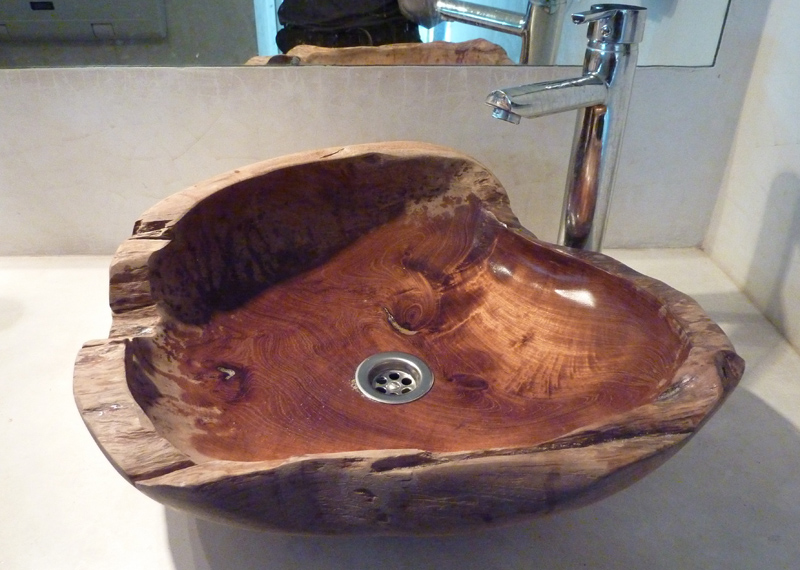
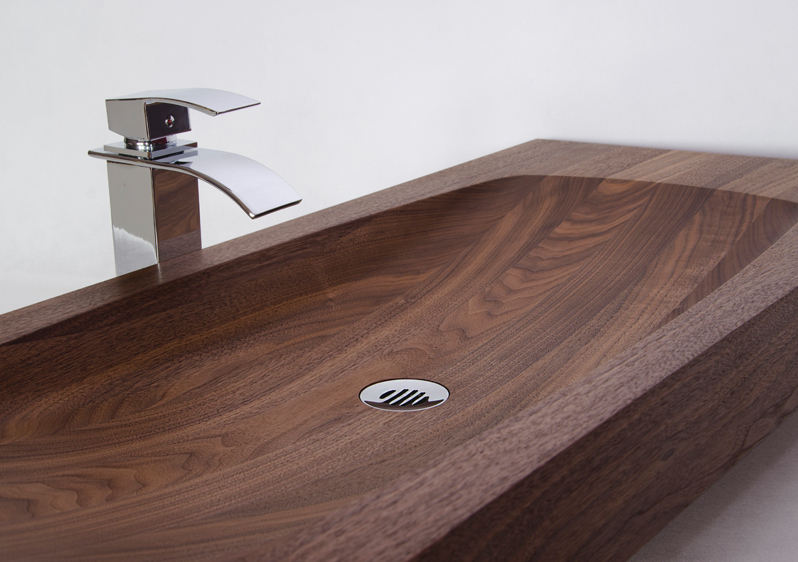
The Beauty of Wooden Bathroom Sink Basins
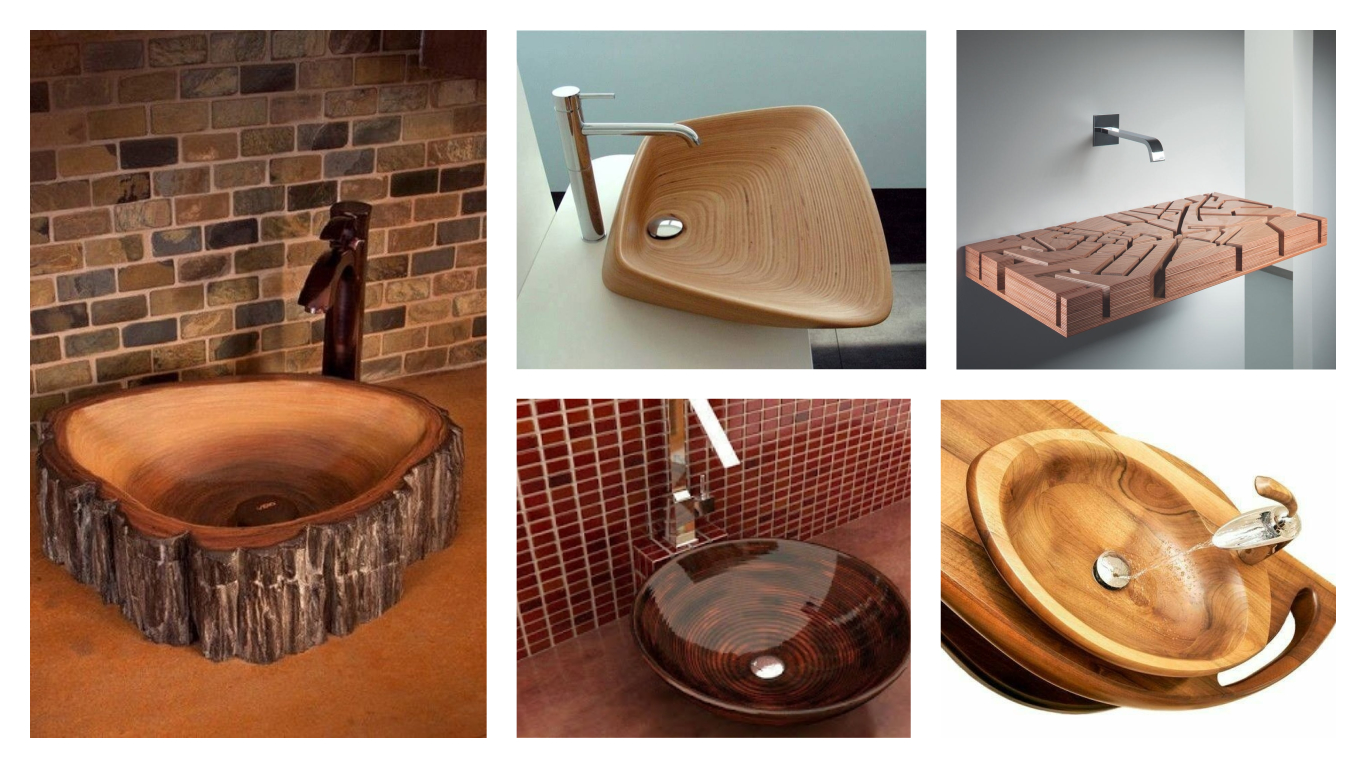
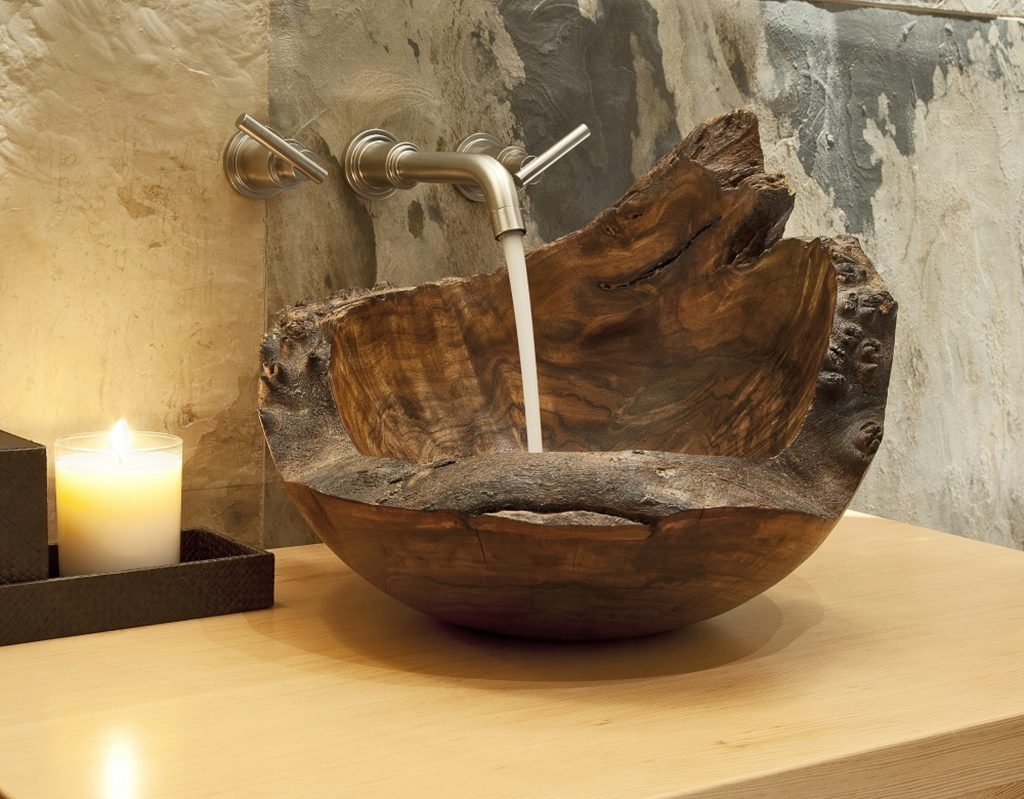
 When it comes to house design, the bathroom is often considered one of the most important rooms. It is a place where we start and end our day, and it should be a space that not only functions well but also reflects our personal style. One way to add a touch of warmth and authenticity to your bathroom is by incorporating a wooden sink basin. The natural texture and warmth of wood can bring a sense of tranquility and elegance to the space. However, as much as we love the look of a wooden bathroom sink basin, there are certain factors to consider before making it a permanent fixture in your bathroom.
The Drawbacks of Wooden Bathroom Sink Basins
 While wooden sink basins can add a unique touch to your bathroom, it is important to acknowledge their potential drawbacks. Firstly, wood is a porous material, which means it can absorb water and moisture. This can lead to warping, cracking, and other forms of damage if not properly maintained. Additionally, wood is a natural material that can be affected by changes in temperature and humidity. This can cause the wood to expand and contract, leading to potential leaks and other issues. Moreover, wood is not as durable as other materials, such as ceramic or stone, which can make it less practical for high-traffic bathrooms.
The Benefits of Removing a Wooden Bathroom Sink Basin
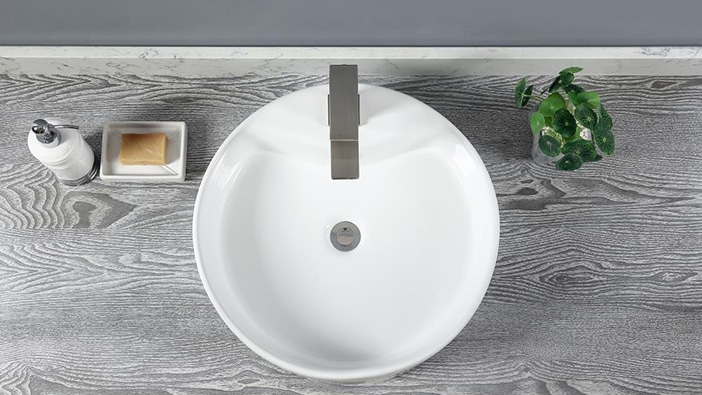
 If you currently have a wooden bathroom sink basin and are experiencing any of the above-mentioned issues, it may be time to consider removing it. Not only will this eliminate any potential problems, but it also opens up opportunities for other design options. By removing a wooden sink basin, you can opt for a more durable and low-maintenance material, such as ceramic or stone. These materials are not only water-resistant but also come in a variety of styles and colors to suit your design preferences. Additionally, removing a wooden sink basin can also create more space in your bathroom and make it easier to clean and maintain.
In Conclusion
 While wooden sink basins can add a unique and natural touch to your bathroom, they may not be the most practical option for everyone. If you are considering incorporating one into your bathroom design, it is important to weigh the benefits against the potential drawbacks. However, if you currently have a wooden sink basin and are experiencing any issues, it may be time to consider removing it and exploring other design options. Ultimately, the decision should be based on your personal preferences and the functionality of your bathroom.


