Removing Tile from a Kitchen Sink: A Step-by-Step Guide
Are you tired of the outdated tile in your kitchen sink? Removing it may seem like a daunting task, but with the right tools and techniques, you can do it yourself and save some money. Follow this step-by-step guide for removing tile from a kitchen sink and give your sink a fresh new look.


Removing Tile from a Kitchen Sink: A Step-by-Step Guide


How to Remove Tile from a Kitchen Sink
The first step in removing tile from a kitchen sink is to gather all the necessary tools and materials. You will need a hammer, chisel, scraper, protective eyewear, and gloves. Make sure to choose a chisel with a sharp edge for easier removal.
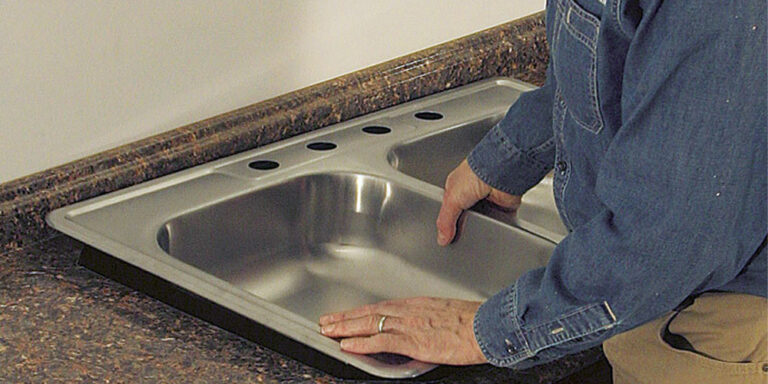
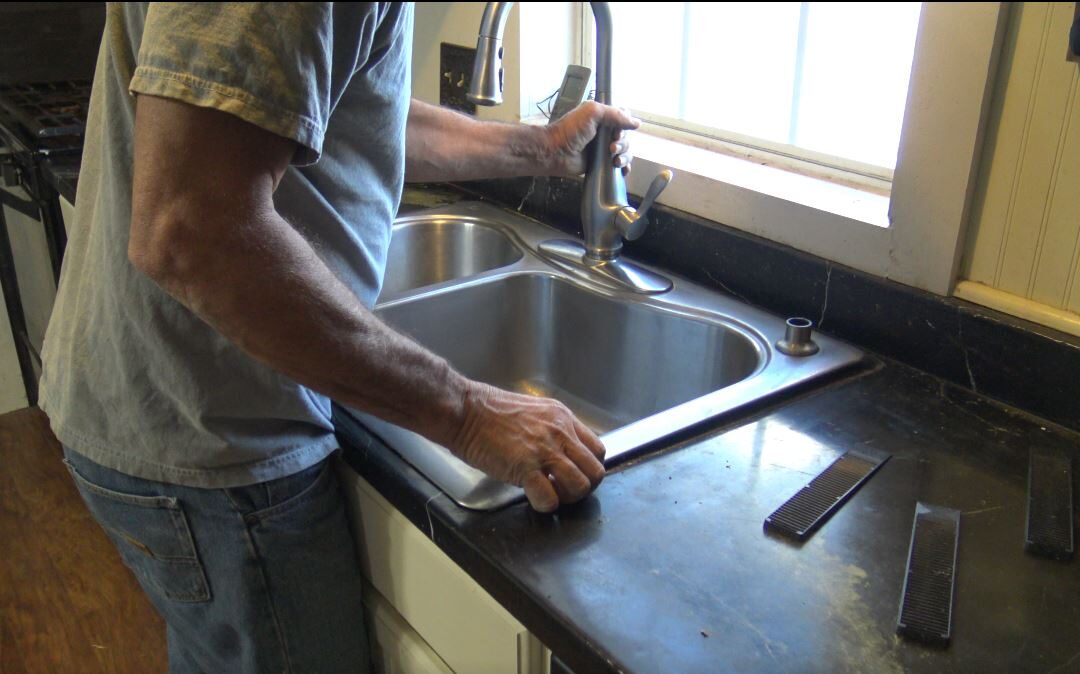
Next, turn off the water supply to the sink and disconnect the faucet and drain. Clear out any items from the sink and cover the surrounding area with a drop cloth to protect it from debris.
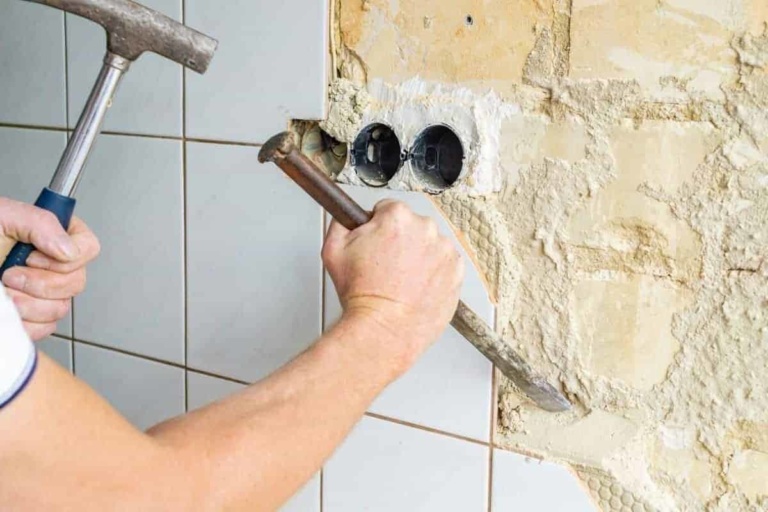
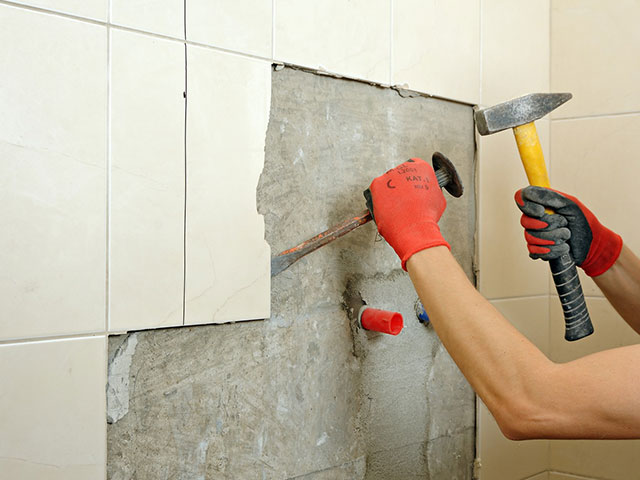
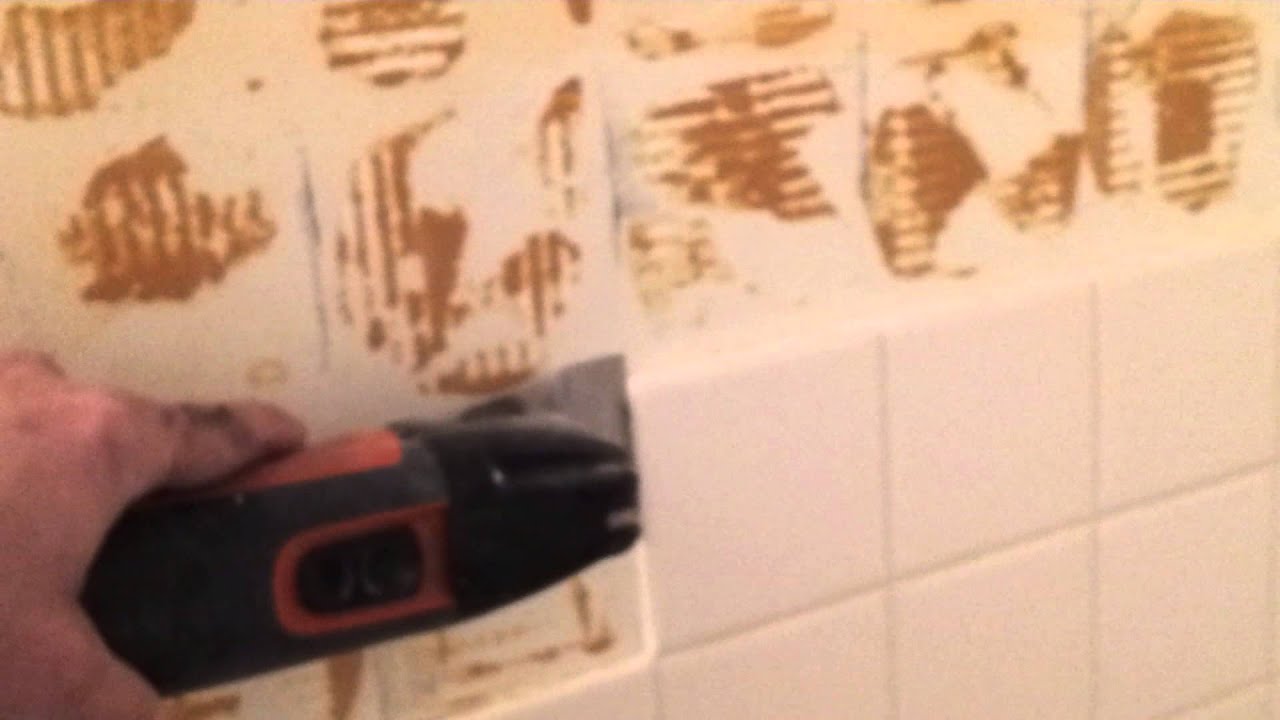
Now, it's time to start removing the tile. Use the hammer and chisel to break the tile into smaller pieces. Start at one corner and work your way across, using the chisel to lift and break the tile. Be careful not to hit the sink or surrounding area with the hammer.
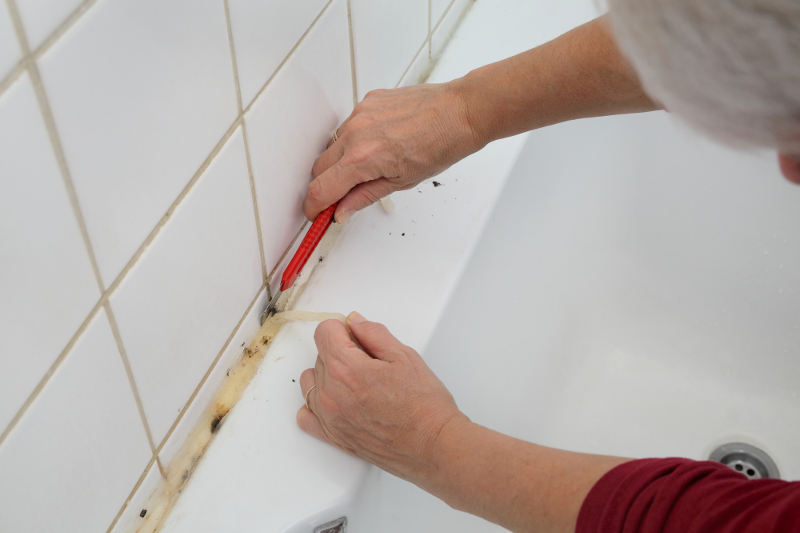
Once the tile is broken into smaller pieces, use the scraper to remove any remaining adhesive or grout. Be patient and take your time to avoid damaging the sink. You can also use a heat gun to soften the adhesive and make it easier to scrape off.
Continue this process until all the tile is removed. Once you're done, clean the area with a mild detergent and water to remove any remaining debris or adhesive.


How to Remove Tile from a Kitchen Sink


DIY: Removing Tile from a Kitchen Sink
Removing tile from a kitchen sink is a DIY project that anyone can tackle with the right tools and knowledge. It may seem intimidating at first, but with patience and care, you can achieve great results and save yourself some money in the process.
Before starting the removal process, it's important to protect yourself by wearing gloves and protective eyewear. You don't want to risk any injuries from flying debris or sharp edges.
Another important tip is to work in small sections. This will make it easier to control the removal and avoid damaging the sink or surrounding area. Take your time and be gentle with the hammer and chisel, using them to break the tile into smaller, manageable pieces.
If you encounter any stubborn adhesive or grout, don't be afraid to use a heat gun to soften it and make it easier to remove. And always clean the area thoroughly after the tile is removed to ensure a clean and smooth surface for your new tile.


DIY: Removing Tile from a Kitchen Sink


Removing Tile in a Kitchen Sink: Tips and Tricks
Removing tile in a kitchen sink may seem like a simple task, but there are some important tips and tricks to keep in mind for a successful removal process. Here are a few to consider:
Protect the sink: Before starting the removal process, cover the sink with a tarp or drop cloth to protect it from debris and damage.
Start at the edges: It's best to start removing the tile from the edges and work your way to the center. This will make it easier to control and avoid any damage to the sink.
Be patient: Removing tile can be a time-consuming process, especially if it's your first time. Take your time and be patient to avoid any accidents or mistakes.
Use a heat gun: A heat gun can be a useful tool for softening adhesive and making it easier to remove. Just be careful not to overheat and damage the sink.
Clean as you go: It's important to clean the area as you go to avoid any accumulation of debris or adhesive, which can make the process more difficult.


Removing Tile in a Kitchen Sink: Tips and Tricks


The Best Way to Remove Tile from a Kitchen Sink
While there are different methods for removing tile from a kitchen sink, the best way will depend on the type of tile and adhesive used. However, there are some general tips that can help make the process easier:
Choose the right tools: Make sure to have all the necessary tools and choose a chisel with a sharp edge for easier removal.
Protect yourself: Always wear protective gear to avoid any injuries from flying debris or sharp edges.
Work in small sections: This will make it easier to control the removal process and avoid any damage to the sink or surrounding area.
Use a heat gun: If you encounter stubborn adhesive or grout, a heat gun can be a useful tool for softening it and making it easier to remove.
Clean thoroughly: After the tile is removed, clean the area thoroughly to ensure a smooth surface for your new tile.


The Best Way to Remove Tile from a Kitchen Sink
:max_bytes(150000):strip_icc()/remove_tile_grout_in_a_few_simple_steps_1822630_03-5d5a661a967b4aabab4f3411252508a5.jpg)


Removing Tile in a Kitchen Sink: Common Mistakes to Avoid
The removal process may seem straightforward, but there are some common mistakes that can happen if you're not careful. Here are a few to avoid:
Not protecting the sink: Make sure to cover the sink with a tarp or drop cloth to avoid any damage from debris or accidental hits with the hammer.
Using the wrong tools: Choosing the wrong tools can make the process more difficult and increase the risk of damaging the sink.
Rushing the process: It's important to take your time and be patient when removing tile. Rushing can lead to accidents and mistakes.
Not cleaning as you go: Not cleaning the area as you remove the tile can result in a buildup of debris and adhesive, making the process more difficult.
Overheating with a heat gun: A heat gun can be a useful tool, but it's important not to overheat and damage the sink or surrounding area.


Removing Tile in a Kitchen Sink: Common Mistakes to Avoid


Step-by-Step Guide for Removing Tile in a Kitchen Sink
To sum up, here is a step-by-step guide for removing tile from a kitchen sink:
Step 1: Gather all necessary tools and materials.
Step 2: Turn off the water supply and disconnect the faucet and drain.
Step 3: Cover the sink and surrounding area with a tarp or drop cloth.
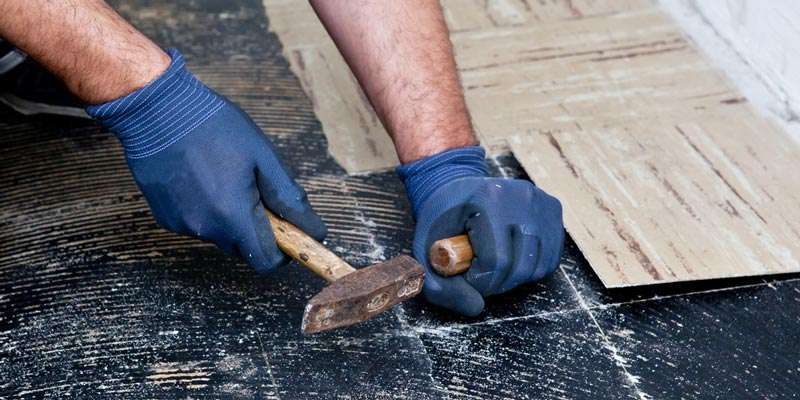
Step 4: Use a hammer and chisel to break the tile into smaller pieces.
Step 5: Use a scraper to remove any remaining adhesive or grout.
Step 6: Clean the area with a mild detergent and water.


Step-by-Step Guide for Removing Tile in a Kitchen Sink


:max_bytes(150000):strip_icc()/remove_tile_grout_in_a_few_simple_steps_1822630_01-b72988e0255c448fbdcdc3b03d3372e9.jpg)


Removing Tile in a Kitchen Sink: Tools and Materials You'll Need
Before starting the removal process, make sure to have all the necessary tools and materials. Here is a list of what you'll need:
Tools: Hammer, chisel, scraper, protective eyewear, gloves, heat gun (optional).
Materials: Mild detergent, water.


Removing Tile in a Kitchen Sink: Tools and Materials You'll Need

/woman-removing-old-tiles-645377785-5852d2215f9b586e02d2ee25.jpg)
How to Remove Tile in a Kitchen Sink Without Damaging the Sink
One of the biggest concerns when removing tile from a kitchen sink is damaging the sink itself. But with the right tools and techniques, you can avoid any damage and have a successful removal process.
Choose the right tools: Make sure to choose a chisel with a sharp edge for easier removal and avoid using excessive force with the hammer.
Work in small sections: This will help you control the removal process and avoid any accidental hits on the sink.
Be patient: Rushing can lead to accidents and mistakes. Take your time and be gentle with the tools.
Clean as you go: This will prevent any buildup of debris or adhesive, making the process easier and avoiding any damage to the sink.


How to Remove Tile in a Kitchen Sink Without Damaging the Sink


Removing Tile in a Kitchen Sink: What to Do with the Old Tile
Once the tile is removed, you may be wondering what to do with the old tile. Here are a few suggestions:
Recycle: If the tile is in good condition, you can donate it or recycle it for use in other projects.
Dispose: If the tile is damaged, you can dispose of it in the appropriate waste bin.
Keep as a memento: If you're feeling sentimental, you can keep a few pieces of the old tile as a memento of your DIY project.
Removing tile from a kitchen sink may seem like a daunting task, but with the right tools and techniques, you can do it yourself and give your sink a fresh new look. Just remember to protect yourself, work in small sections, and be patient. Happy renovating!

Removing Tile in a Kitchen Sink: What to Do with the Old Tile


Why Remove Tile in Your Kitchen Sink?

Protect Your Sink from Damage
 Tile in the kitchen sink
may seem like a good idea at first, as it can add a stylish touch to your kitchen design. However, over time,
tile in the sink
can become damaged from constant exposure to water and cleaning products. This can lead to cracks, chips, and even mold growth, which can be difficult to clean and repair. By removing the tile in your kitchen sink, you can
prevent damage
and keep your sink looking pristine for years to come.
Tile in the kitchen sink
may seem like a good idea at first, as it can add a stylish touch to your kitchen design. However, over time,
tile in the sink
can become damaged from constant exposure to water and cleaning products. This can lead to cracks, chips, and even mold growth, which can be difficult to clean and repair. By removing the tile in your kitchen sink, you can
prevent damage
and keep your sink looking pristine for years to come.
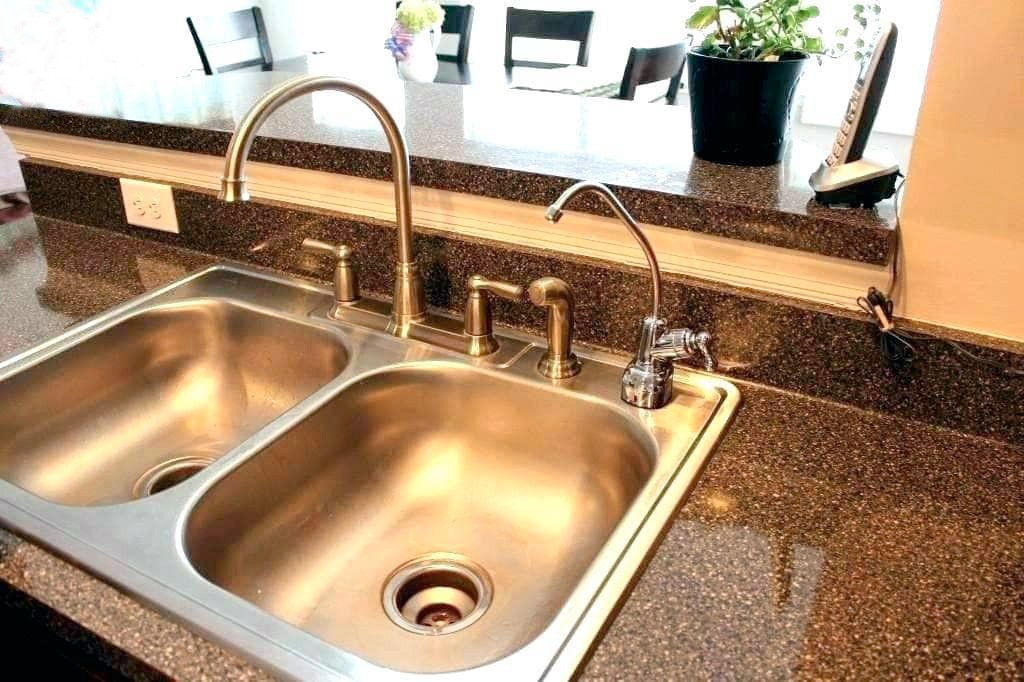
Improve the Functionality of Your Sink
 Tile can also
negatively impact the functionality
of your kitchen sink. The grout lines in between the tiles can collect dirt and grime, making it difficult to keep the sink clean. This can also create a breeding ground for bacteria and germs, posing a potential health hazard. Furthermore, if the tiles are not properly sealed, water can seep through and damage the underlying structure of your sink. By removing the tile, you can
improve the functionality
of your sink and make it easier to maintain.
Tile can also
negatively impact the functionality
of your kitchen sink. The grout lines in between the tiles can collect dirt and grime, making it difficult to keep the sink clean. This can also create a breeding ground for bacteria and germs, posing a potential health hazard. Furthermore, if the tiles are not properly sealed, water can seep through and damage the underlying structure of your sink. By removing the tile, you can
improve the functionality
of your sink and make it easier to maintain.
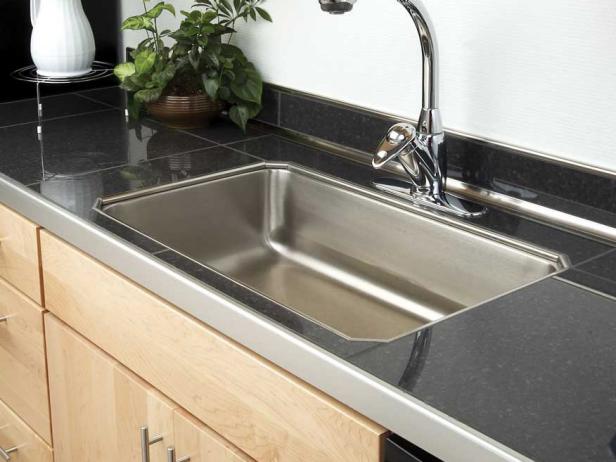
Create a More Modern Look
 If you have an older home with
outdated tile
in your kitchen sink, removing it can give your kitchen a much-needed update. By replacing the tile with a more modern and sleek material, such as stainless steel or porcelain, you can
transform the look
of your entire kitchen. This can also increase the value of your home, making it a wise investment for future resale.
If you have an older home with
outdated tile
in your kitchen sink, removing it can give your kitchen a much-needed update. By replacing the tile with a more modern and sleek material, such as stainless steel or porcelain, you can
transform the look
of your entire kitchen. This can also increase the value of your home, making it a wise investment for future resale.
Save Time and Money on Repairs
 Removing
tile in your kitchen sink
can also save you time and money in the long run. With tile, there is always the risk of damage or wear and tear, which can require frequent repairs. By removing the tile, you eliminate the need for these repairs and can save money on maintenance costs. Additionally, installing new tile can be a time-consuming and expensive process, whereas removing it is a relatively quick and affordable task.
In conclusion, while
tile in the kitchen sink
may seem like a stylish and functional choice, it can actually cause more harm than good. By removing the tile, you can protect your sink from damage, improve its functionality, create a more modern look, and save time and money on repairs. Consider this simple yet effective solution to upgrade the design and functionality of your kitchen sink.
Removing
tile in your kitchen sink
can also save you time and money in the long run. With tile, there is always the risk of damage or wear and tear, which can require frequent repairs. By removing the tile, you eliminate the need for these repairs and can save money on maintenance costs. Additionally, installing new tile can be a time-consuming and expensive process, whereas removing it is a relatively quick and affordable task.
In conclusion, while
tile in the kitchen sink
may seem like a stylish and functional choice, it can actually cause more harm than good. By removing the tile, you can protect your sink from damage, improve its functionality, create a more modern look, and save time and money on repairs. Consider this simple yet effective solution to upgrade the design and functionality of your kitchen sink.