Removing a Sunken Living Room: A Step-by-Step Guide
If you're tired of feeling like you're living in a pit, it may be time to remove that sunken living room. While these trendy designs were popular in the 1960s and 1970s, they can make a space feel closed off and dated in today's modern homes. But don't worry, with a little bit of planning and some elbow grease, you can transform your sunken living room into a more open and spacious area. Follow this step-by-step guide to learn how to remove a sunken living room and create a whole new look for your home.
How to Remove a Sunken Living Room and Create a More Open Space
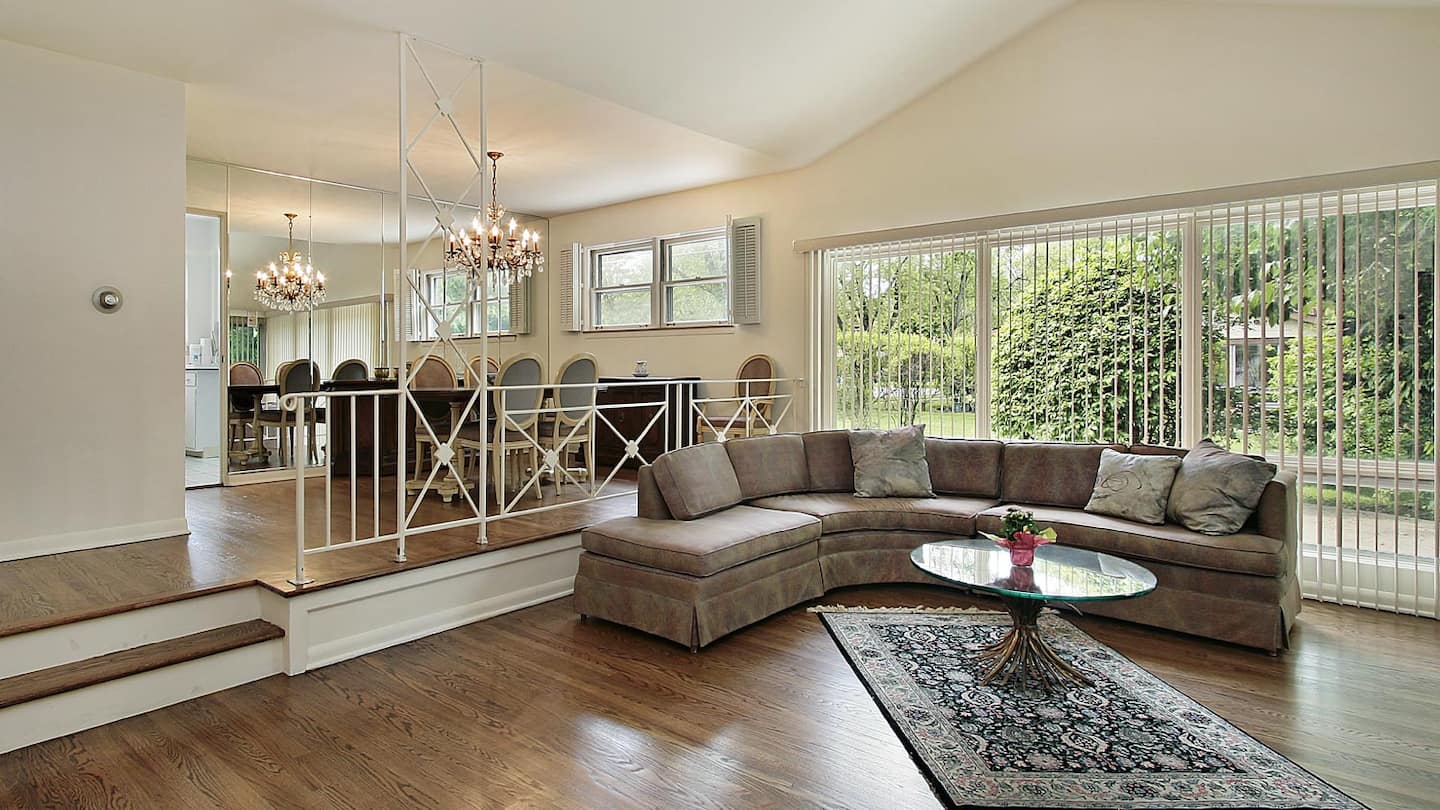
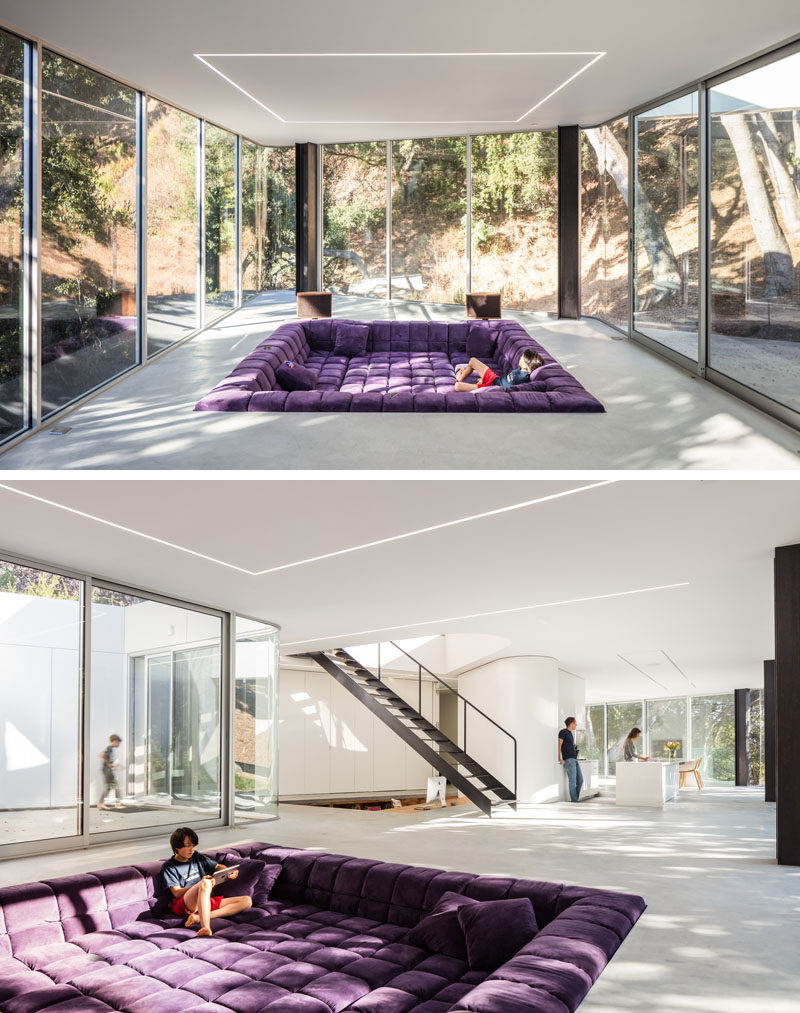
The first step to removing a sunken living room is to determine the scope of the project. Some sunken living rooms are simply a few inches below the rest of the floor, while others may be several feet deep. The process will vary depending on the depth of your sunken living room, but the overall steps are the same.
Step 1: Clear out the room. Remove all furniture, decor, and any other items from the living room.
Step 2: Remove flooring. Use a pry bar to remove the flooring in the sunken living room. This may include carpet, tile, or hardwood. If the flooring is glued down, you may need to use a heat gun to soften the adhesive before prying it up.
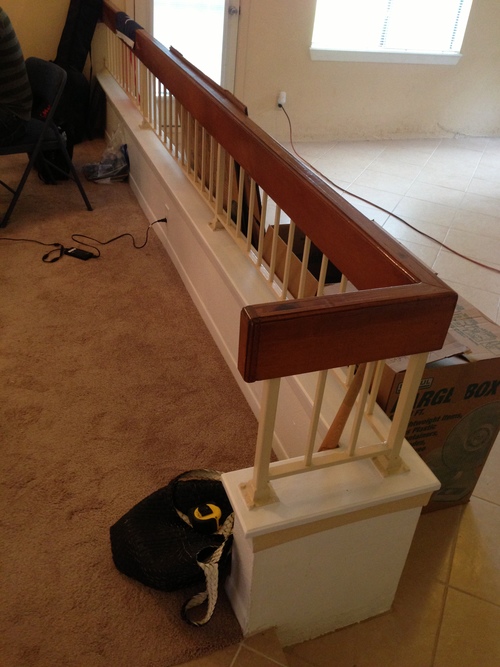
Step 3: Remove walls. If your sunken living room is surrounded by walls, you will need to remove them. Use a hammer and pry bar to carefully take down the walls, being cautious of any electrical or plumbing that may be hidden behind them.
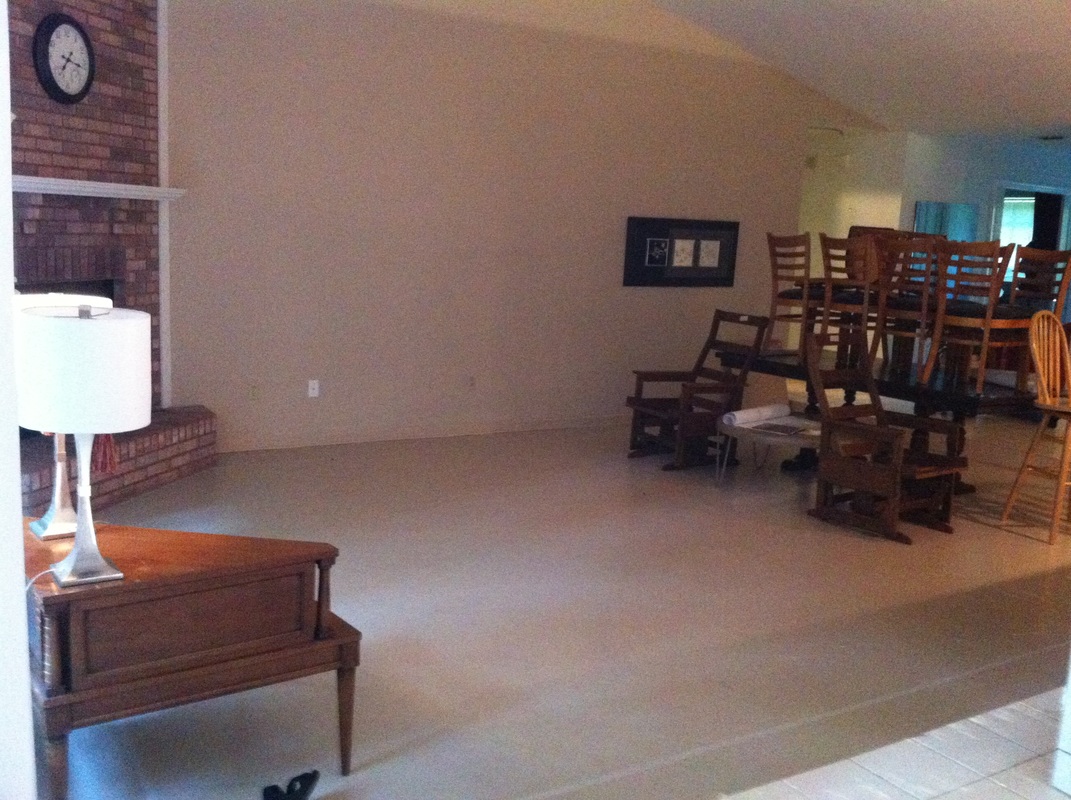
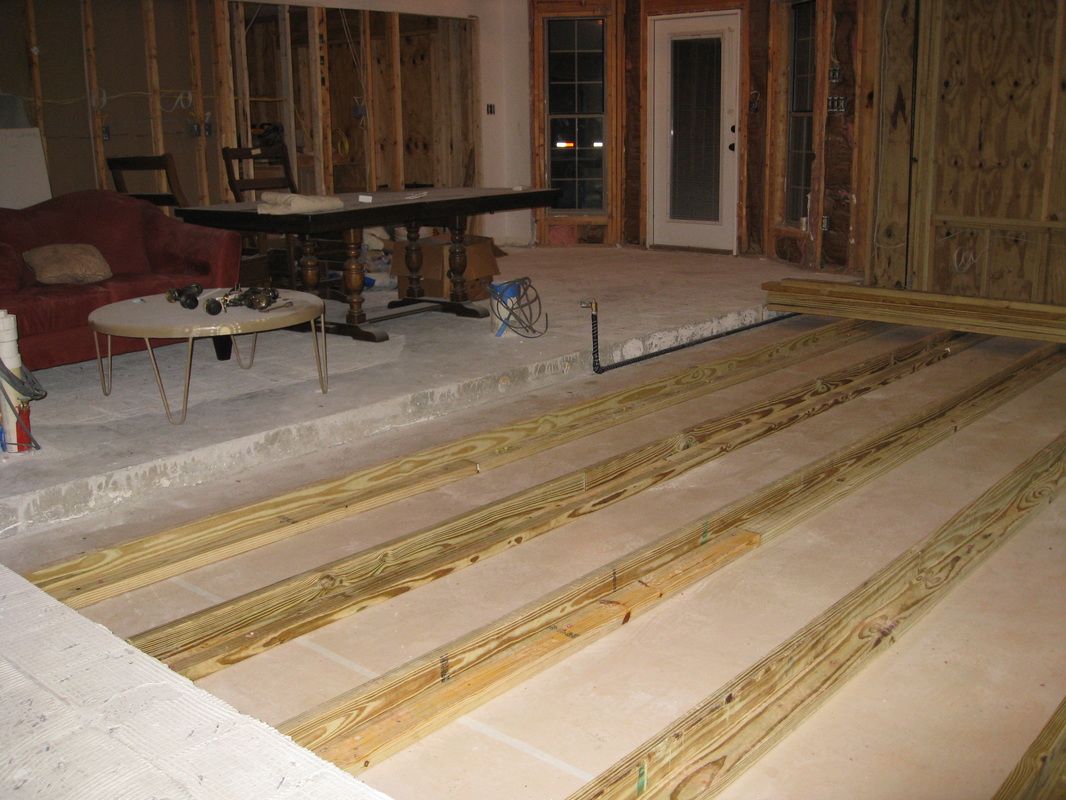
Step 4: Fill in the hole. Once the walls are removed, you will be left with a hole in the floor. Use cement or a self-leveling compound to fill in the hole and create a smooth, even surface.
Step 5: Refinish the floor. Once the hole is filled and dry, you can refinish the floor to match the rest of the room. This may involve sanding, staining, or painting, depending on the type of flooring you have.
Step 6: Decorate. With the sunken living room removed, you now have a blank canvas to work with. Add furniture, decor, and other personal touches to create a more open and inviting space.
Sunken Living Room Removal: What You Need to Know
Before you dive into removing your sunken living room, there are a few things you should keep in mind.
Permits: Depending on where you live, you may need to obtain permits before starting this project. Check with your local building authority to see if any permits are required.
Structural Considerations: If your sunken living room is a few feet deep, it may be necessary to consult with a professional contractor or engineer to ensure the removal does not compromise the structural integrity of your home.
Cost: The cost of removing a sunken living room will vary depending on the size and complexity of the project. It is recommended to get quotes from multiple contractors before making a decision.
Removing a Sunken Living Room: Pros and Cons
As with any home renovation project, there are pros and cons to removing a sunken living room.
Pros:
DIY Sunken Living Room Removal: Tips and Tricks
While it is possible to remove a sunken living room on your own, it is a big undertaking that requires careful planning and execution. Here are a few tips and tricks to help you along the way.
Tip 1: Be sure to wear protective gear, such as gloves and safety glasses, when removing walls and flooring.
Tip 2: Use a level to ensure the floor is even before filling in the hole.
Tip 3: If you come across any unexpected electrical or plumbing, consult with a professional before proceeding.
Sunken Living Room Removal Cost: What to Expect
The cost of removing a sunken living room will vary depending on the size and complexity of the project, as well as your location and the contractor you choose. On average, you can expect to pay anywhere from $5,000 to $10,000 for this type of renovation.
However, keep in mind that removing a sunken living room can also increase the value of your home and make it more appealing to potential buyers, making it a worthwhile investment in the long run.
From Sunken to Spacious: Transforming Your Living Room
Once your sunken living room is removed, you will be left with a more open and spacious area. Take advantage of this new space by incorporating some of these design ideas:
Removing a Sunken Living Room: Before and After Inspiration
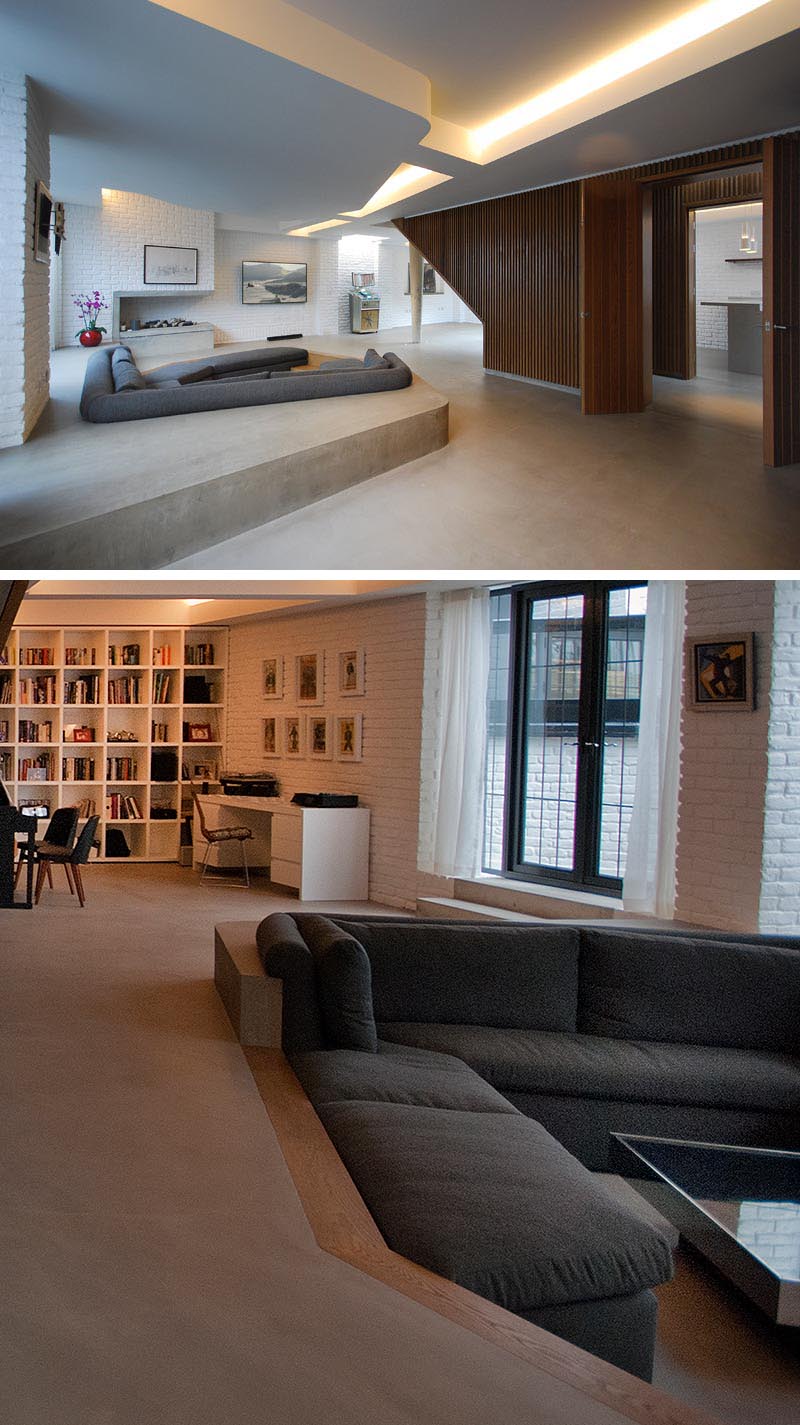
Still not sure if removing your sunken living room is the right choice for you? Take a look at these stunning before and after transformations for some inspiration.
Before:
Sunken Living Room Removal: Hiring a Professional vs. DIY
Deciding whether to hire a professional or tackle the project on your own depends on your level of experience and the complexity of the project. In general, hiring a professional can save you time, stress, and ensure the job is done correctly. However, if you have experience with home renovations and feel confident in your abilities, DIY may be a cost-effective option.
Creating a Seamless Transition: Flooring Options for Sunken Living Room Removal
When removing a sunken living room, it's important to consider how you will transition from the lower level to the rest of the room. Here are a few flooring options to create a seamless transition:
Why Removing Sunken Living Rooms is a Modern House Design Trend

Creating an Open and Spacious Layout
 In recent years, the trend of removing sunken living rooms has gained popularity in modern house design. This once popular feature of 70s and 80s homes is now considered outdated and impractical.
Removing sunken living rooms
not only gives your home a fresh and updated look, but it also creates a more open and spacious layout.
Eliminating Tripping Hazards
 One of the main reasons for removing sunken living rooms is to eliminate tripping hazards. These sunken areas were often a few steps lower than the rest of the house, making it easy for someone to accidentally trip and fall. This becomes even more dangerous for children and elderly individuals.
By removing sunken living rooms
, you are not only making your home safer, but you are also reducing the risk of potential injuries.
Maximizing Usable Space
 Sunken living rooms were once considered a luxury feature, but in reality, they were just wasted space. These areas were rarely used for anything other than a gathering space for guests. By
removing sunken living rooms
, you can maximize the usable space in your home. This allows for more functional and versatile rooms that can be used for a variety of purposes such as a home office, playroom, or extra bedroom.
Increasing Property Value
 Another benefit of removing sunken living rooms is the potential increase in property value. With the growing trend of open concept living, homes with sunken living rooms can be seen as outdated and less desirable. By removing this feature and creating a more open and modern layout, you can potentially increase the value of your home.


