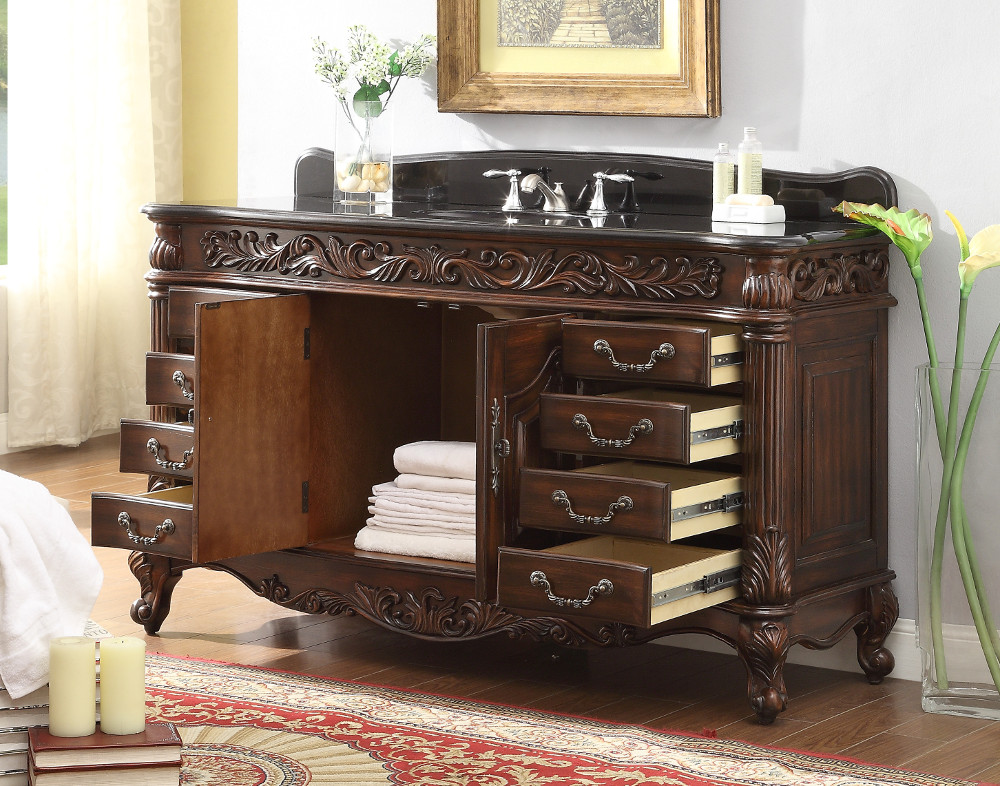
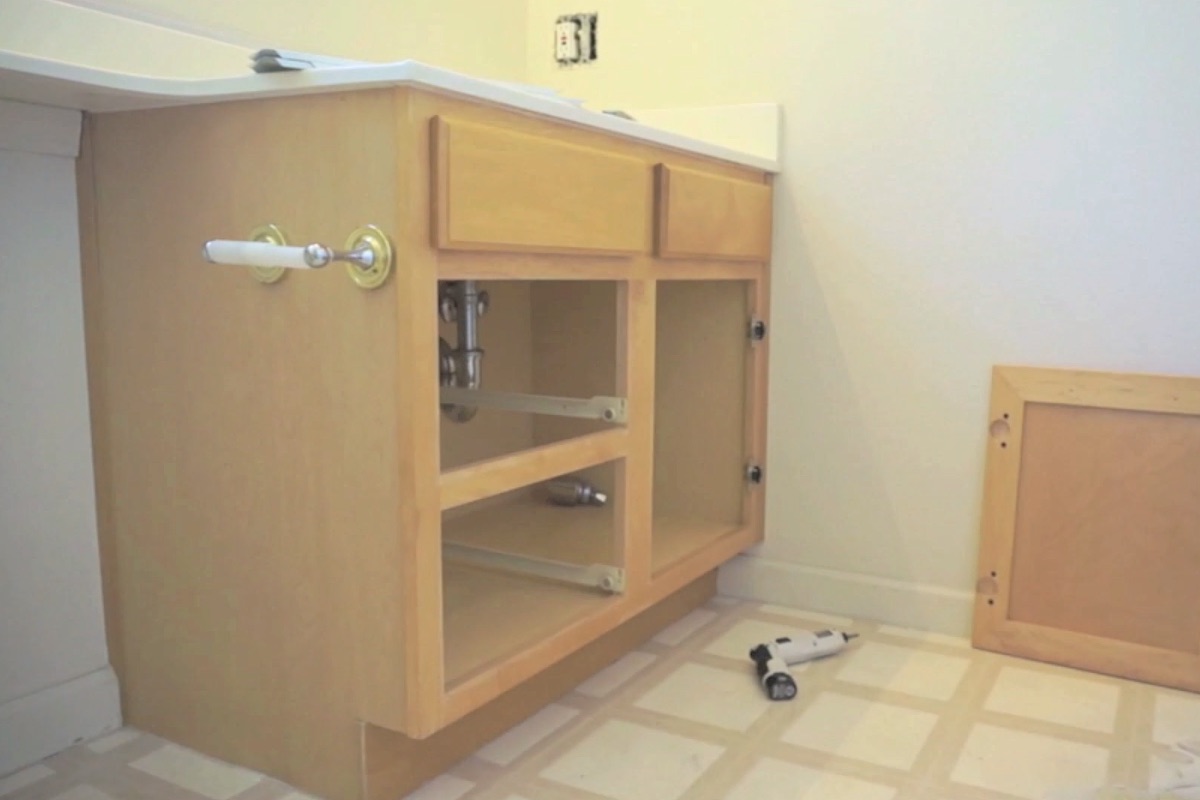
If you're in the process of renovating your bathroom, one of the first things you may want to tackle is removing the old bathroom vanity. Whether it's outdated, damaged, or just not your style, removing an old bathroom vanity can make a big difference in the overall look and feel of your bathroom. However, this task may seem daunting at first, especially if you've never done it before. But fear not, we've got you covered with this step-by-step guide on how to remove an old bathroom vanity.Remove Old Bathroom Vanity
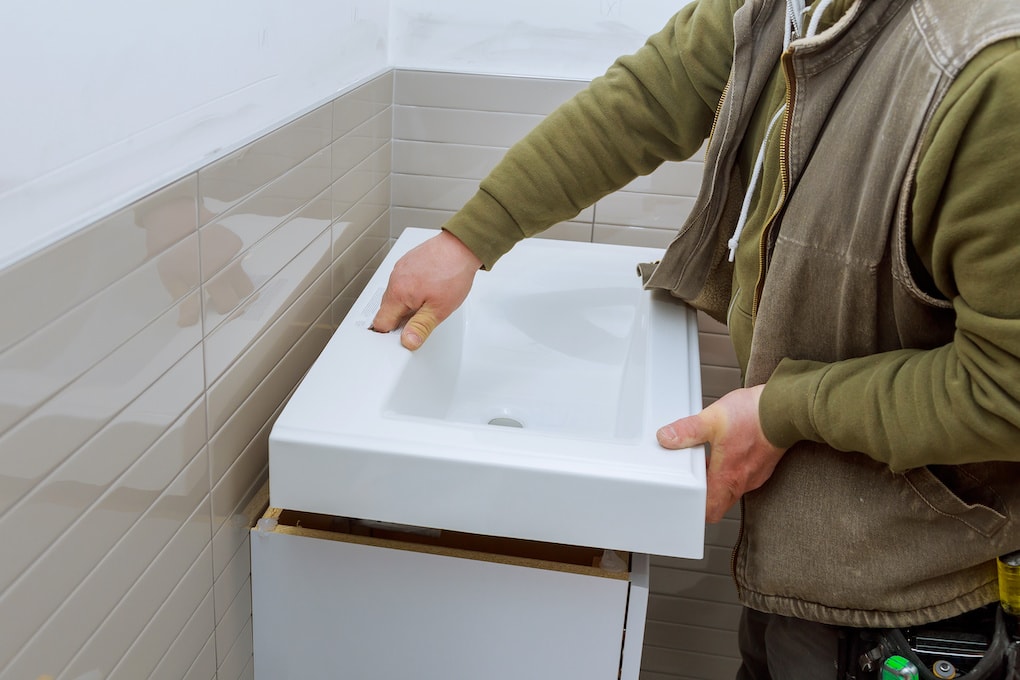
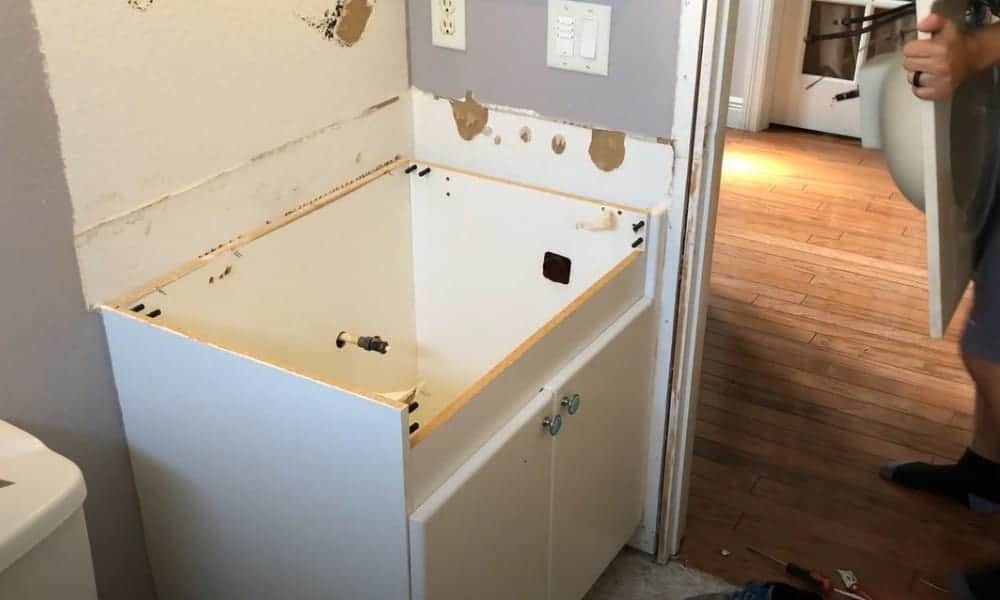
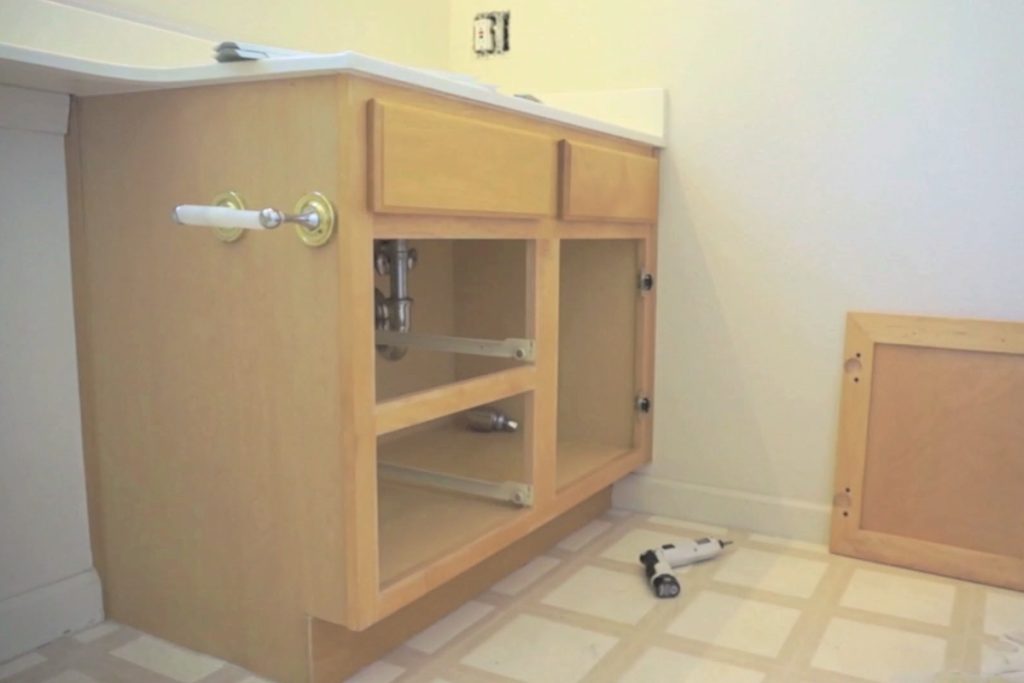
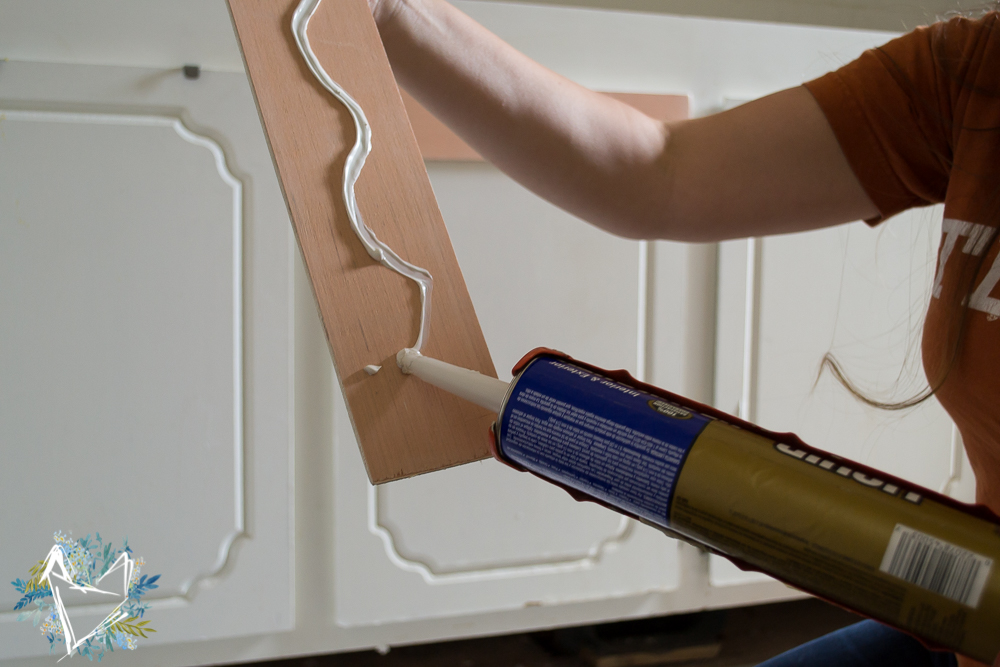
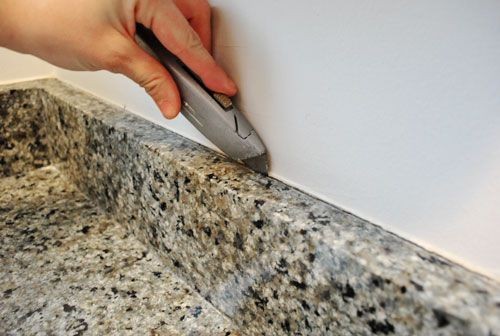
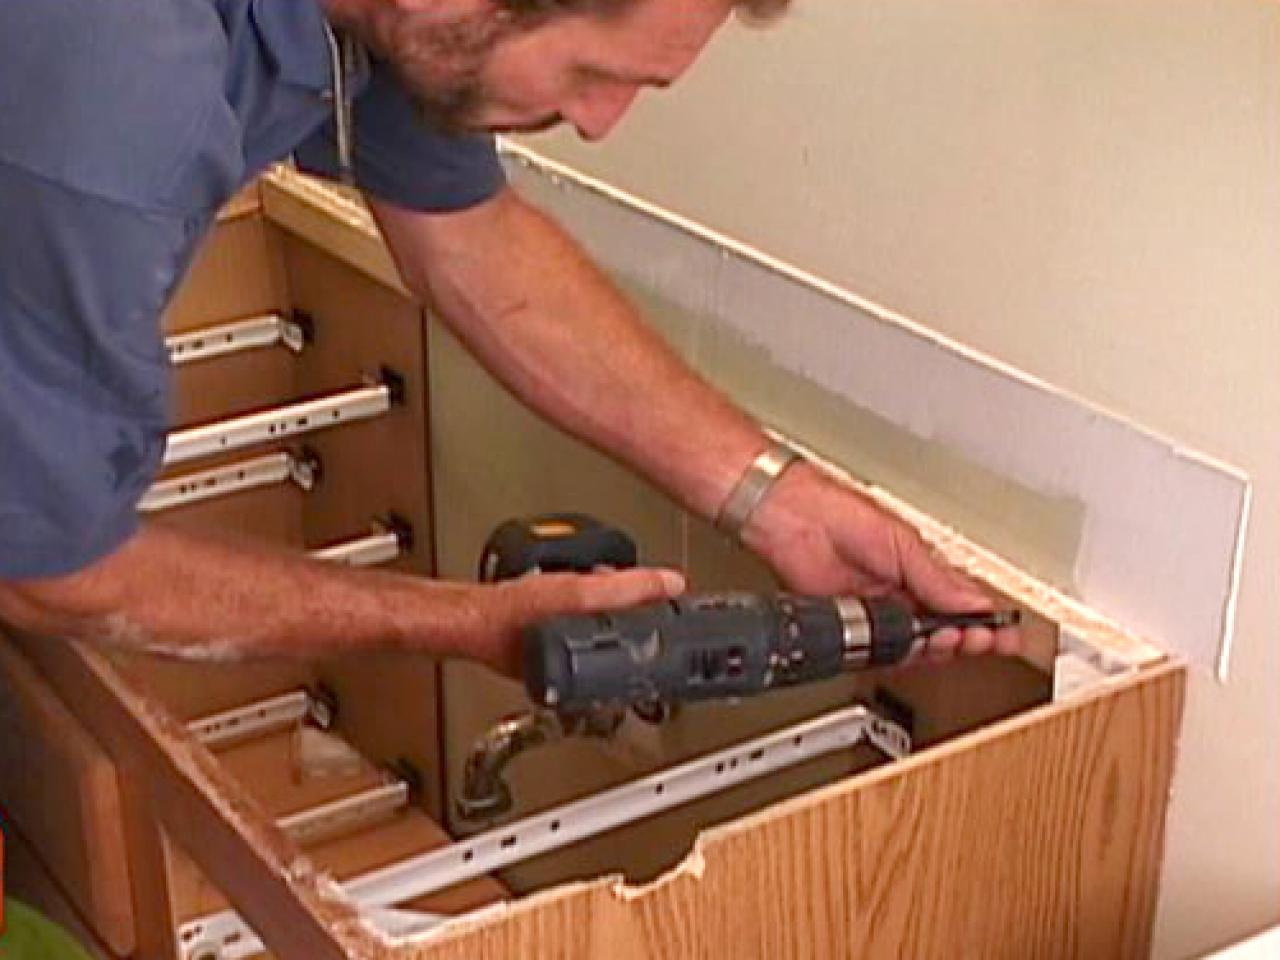
Before you begin, make sure you have all the necessary tools and materials on hand. This may include a screwdriver, pliers, utility knife, and a pry bar. You may also need a bucket or bin to collect any debris or small parts that may come loose during the process. Step 1: Start by turning off the water supply to the bathroom. This can usually be done by turning off the valve located under the sink. Step 2: Next, disconnect the water supply lines from the faucet. You may need pliers to loosen the connections. Make sure to have a bucket or towel handy to catch any excess water. Step 3: If your vanity has a backsplash, use a utility knife to cut through any caulking between the backsplash and the wall. This will make it easier to remove the backsplash without damaging the wall. Step 4: If your vanity has a countertop, you will need to remove it next. Use a pry bar to gently pry the countertop away from the vanity base. If the countertop is secured with adhesive, you may need to use a heat gun to loosen it before prying it off. Step 5: Now it's time to remove the vanity from the wall. Use a screwdriver to remove any screws holding the vanity in place. If the vanity is not screwed into the wall, it may be secured with construction adhesive. In this case, you may need to use a pry bar to carefully remove the vanity from the wall. Step 6: Once the vanity is removed, check the area for any remaining screws or adhesive and remove them if necessary. Step 7: If you're planning on installing a new vanity in the same location, take this opportunity to inspect the plumbing and make sure everything is in good working order. If not, now is the time to make any necessary repairs before installing the new vanity.How to Remove an Old Bathroom Vanity
Removing an old bathroom vanity may seem like a simple task, but it's important to take your time and be careful to avoid any damage to the surrounding area. Here are a few tips to keep in mind: Tip #1: If your vanity has a granite or marble top, be extra careful when removing it as these materials can be heavy and fragile. It may be helpful to have an extra set of hands to help lift and remove the countertop. Tip #2: If your vanity has a tile backsplash, use caution when removing it to avoid damaging the surrounding tiles. A heat gun may be helpful in loosening the adhesive to make removal easier. Tip #3: If your vanity is attached to the wall with construction adhesive, be patient when removing it. Use a pry bar and work slowly to avoid damaging the drywall or surrounding tiles. Tip #4: If your vanity is attached to the wall with screws, make sure to keep track of them and store them in a safe place so you can easily find them when it's time to install the new vanity.Removing an Old Bathroom Vanity
Removing an old bathroom vanity is a task that can easily be done as a DIY project. However, if you're not confident in your abilities or if your vanity is particularly heavy or difficult to remove, it may be best to hire a professional to ensure the job is done safely and correctly. But for those who want to tackle this project on their own, following the steps outlined in this guide should help make the process a little easier.DIY Bathroom Vanity Removal
To recap, here are the basic steps for removing an old bathroom vanity: Step 1: Turn off the water supply. Step 2: Disconnect the water supply lines from the faucet. Step 3: Remove the backsplash (if applicable). Step 4: Remove the countertop. Step 5: Remove the vanity from the wall. Step 6: Check for any remaining screws or adhesive and remove them. Step 7: Inspect the plumbing and make any necessary repairs.Steps for Removing an Old Bathroom Vanity
One of the biggest concerns when removing an old bathroom vanity is causing damage to the wall or surrounding tiles. To avoid this, follow these tips: Tip #1: If your vanity is attached to the wall with screws, use a screwdriver to carefully remove them without damaging the drywall. Tip #2: If your vanity is attached with construction adhesive, use a pry bar and work slowly to avoid damaging the drywall or surrounding tiles. Tip #3: If your vanity has a tile backsplash, use a utility knife to cut through any caulking between the backsplash and the wall before removing it. Tip #4: If your vanity has a granite or marble top, be extra careful when removing it as these materials can be heavy and fragile. It may be helpful to have an extra set of hands to help lift and remove the countertop.Removing a Bathroom Vanity Without Damaging the Wall
Here are a few additional tips to keep in mind when removing an old bathroom vanity: Tip #1: Before starting, make sure to have all the necessary tools and materials on hand. Tip #2: If your vanity is particularly heavy or difficult to remove, it may be helpful to have an extra set of hands to help. Tip #3: If you're planning on installing a new vanity, take this opportunity to inspect the plumbing and make any necessary repairs before installing the new vanity. Tip #4: If you're not confident in your abilities, it may be best to hire a professional to remove the vanity for you.Tips for Removing an Old Bathroom Vanity
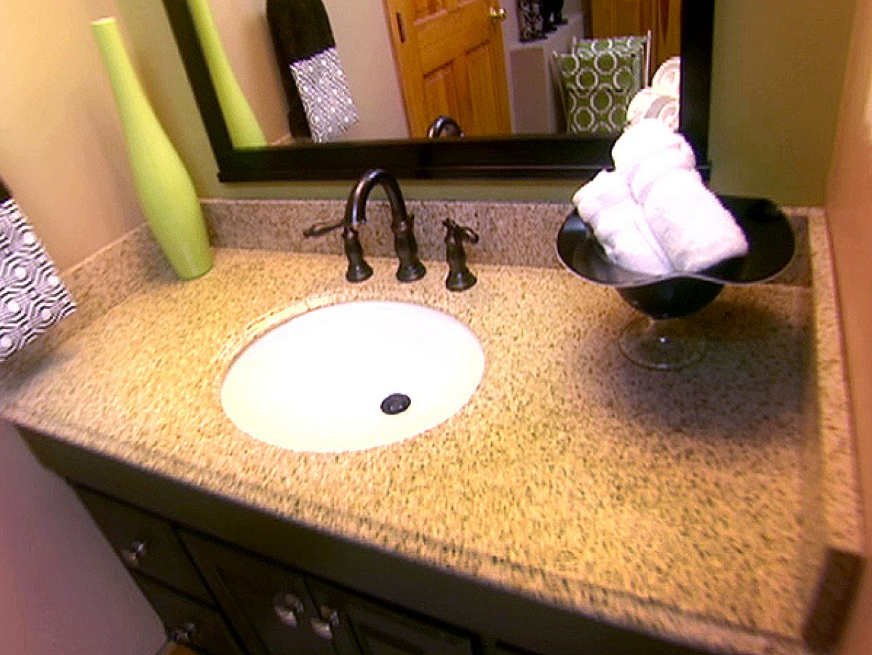
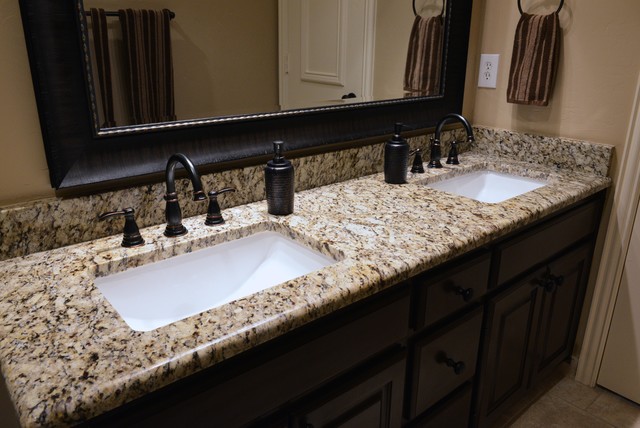
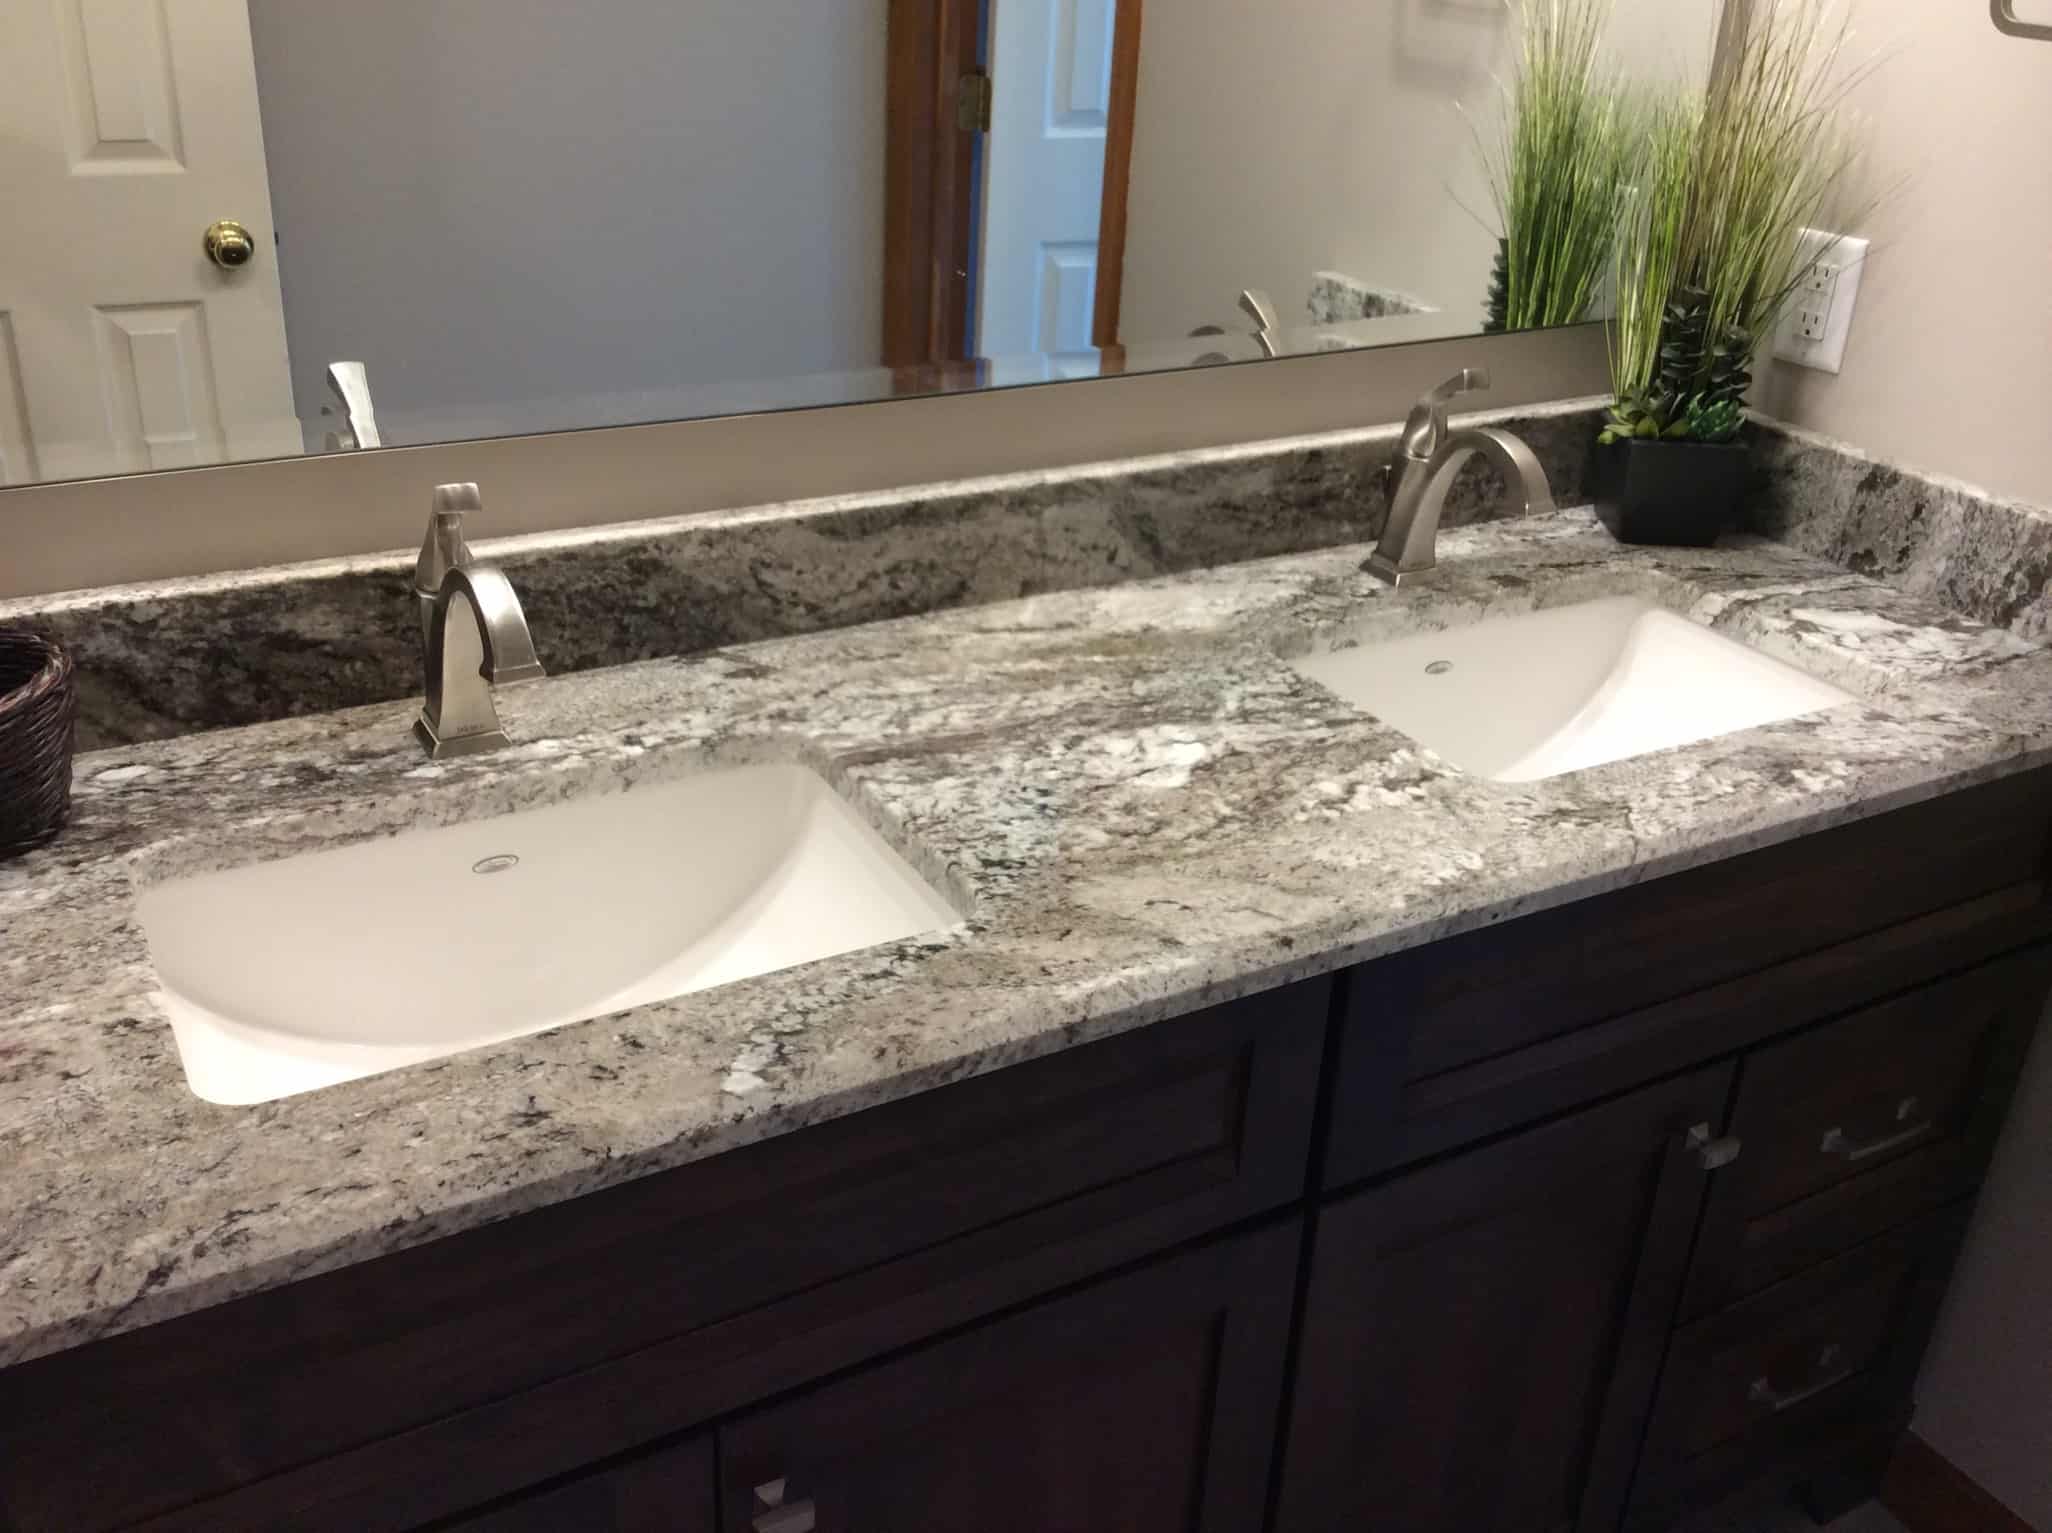
If your old bathroom vanity has a granite top, it's important to be extra careful when removing it to avoid any damage. Here are a few tips to keep in mind: Tip #1: Use caution when lifting and removing the granite top as it can be heavy and fragile. Tip #2: It may be helpful to have an extra set of hands to help lift and remove the countertop. Tip #3: If the countertop is attached with adhesive, use a heat gun to loosen it before prying it off.Removing a Bathroom Vanity with a Granite Top
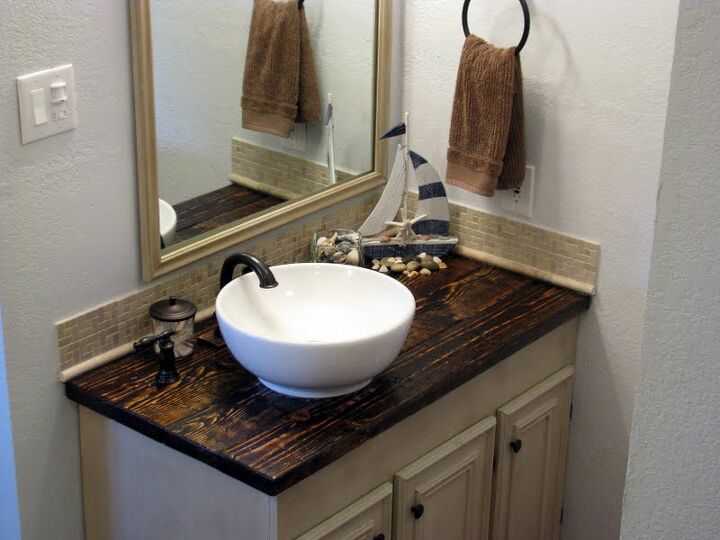
If your old bathroom vanity has a tile backsplash, it's important to take extra care when removing it to avoid damaging the surrounding tiles. Here are a few tips to keep in mind: Tip #1: Use a utility knife to cut through any caulking between the backsplash and the wall before removing it. Tip #2: Use a pry bar and work slowly to avoid damaging the surrounding tiles. Tip #3: If necessary, use a heat gun to loosen the adhesive before prying off the backsplash.Removing a Bathroom Vanity with a Tile Backsplash
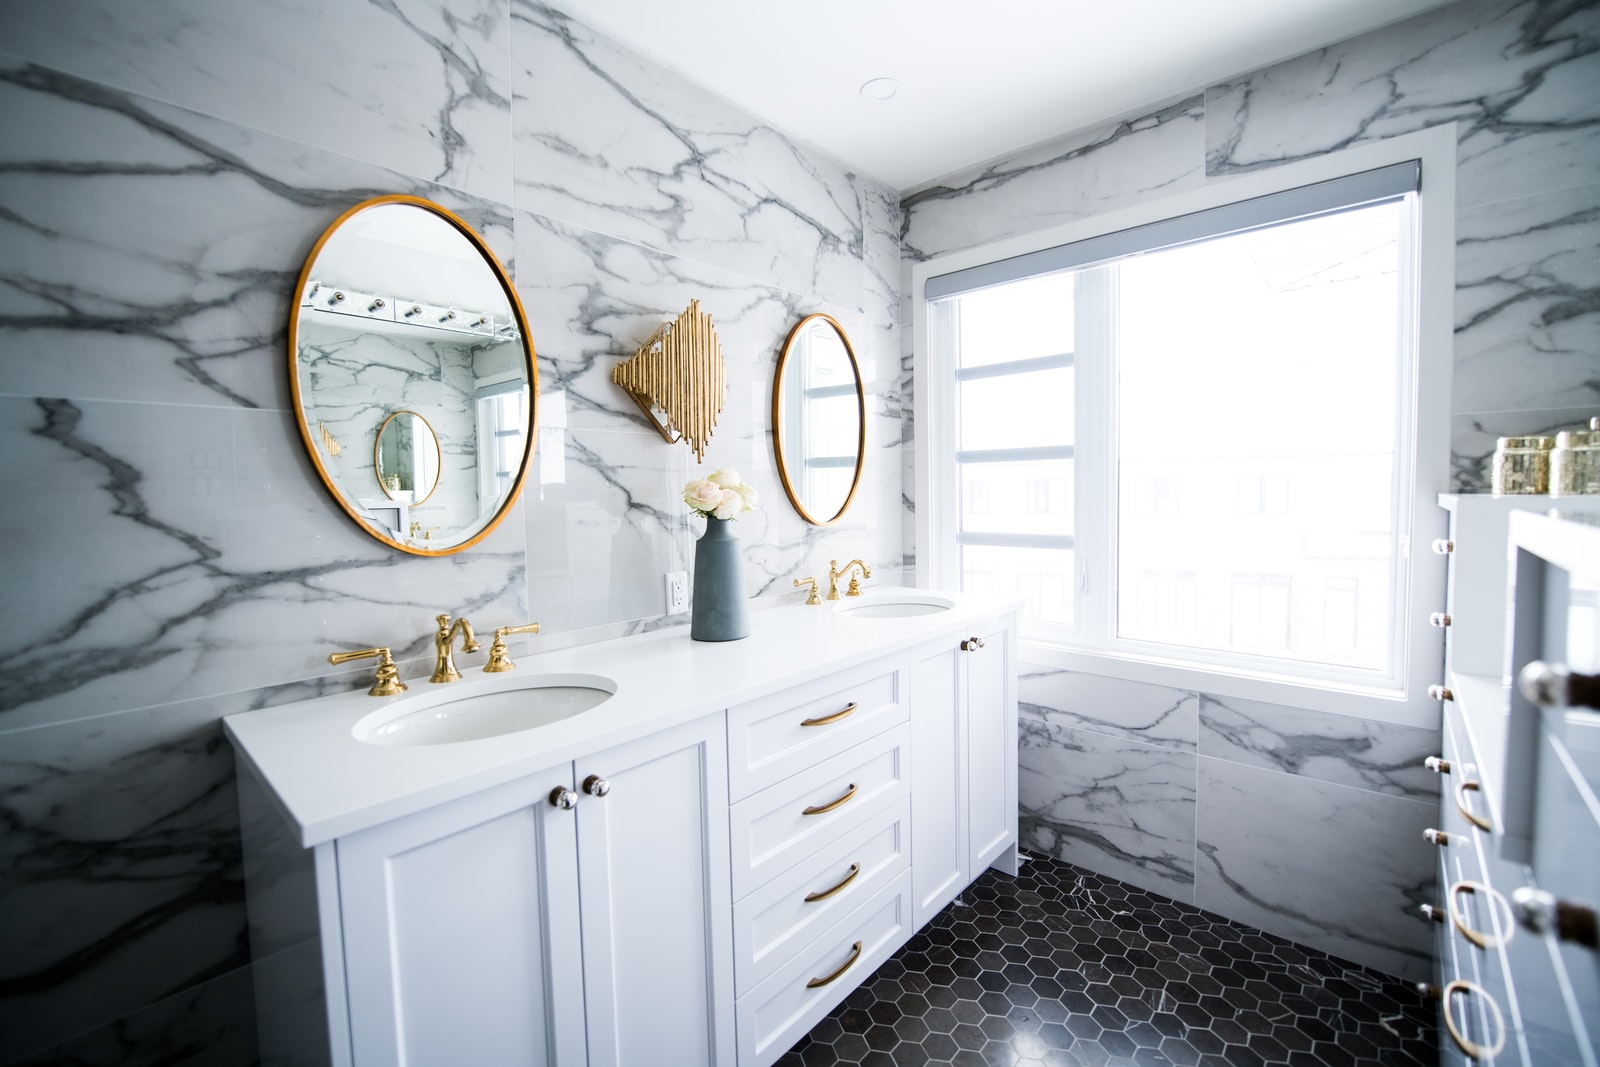
If your old bathroom vanity has a marble top, it's important to be extra careful when removing it to avoid any damage. Here are a few tips to keep in mind: Tip #1: Use caution when lifting and removing the marble top as it can be heavy and fragile. Tip #2: It may be helpful to have an extra set of hands to help lift and remove the countertop. Tip #3: If the countertop is attached with adhesive, use a heat gun to loosen it before prying it off.Removing a Bathroom Vanity with a Marble Top
Why Removing Your Old Bathroom Vanity is a Smart Design Move

Maximizing Space and Functionality
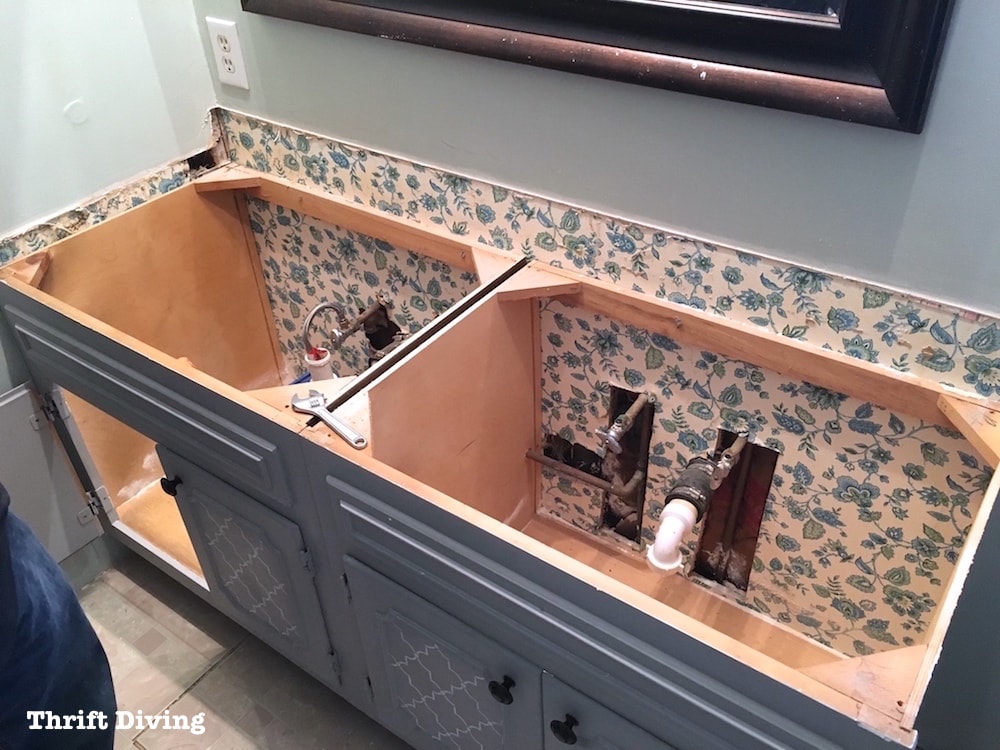 Replacing an old bathroom vanity may seem like a daunting task, but it can greatly improve the overall design and functionality of your bathroom. As one of the most used spaces in a home, the bathroom should be a comfortable and functional space. However, an outdated vanity can make the room feel cramped and limit storage options. By removing the old vanity, you can open up the space and create a more functional and organized bathroom.
Removing the clutter and creating a more spacious layout not only improves the aesthetic appeal of your bathroom but also makes it easier to move around and use the space efficiently.
You can opt for a smaller vanity or install wall-mounted shelves to utilize the vertical space and further increase storage options. This not only adds to the functionality of the room but also gives it a cleaner and more organized look.
Upgrading the Design and Style
 Another reason to remove an old bathroom vanity is to upgrade the design and style of the room. As trends and styles change over time, your old vanity may look outdated and no longer fit in with the overall design of your house. By removing it, you can create room for a new, modern vanity that can completely transform the look and feel of your bathroom.
Replacing an old vanity with a new one can instantly give your bathroom a fresh and updated look, making it more appealing to potential buyers if you decide to sell your home in the future.
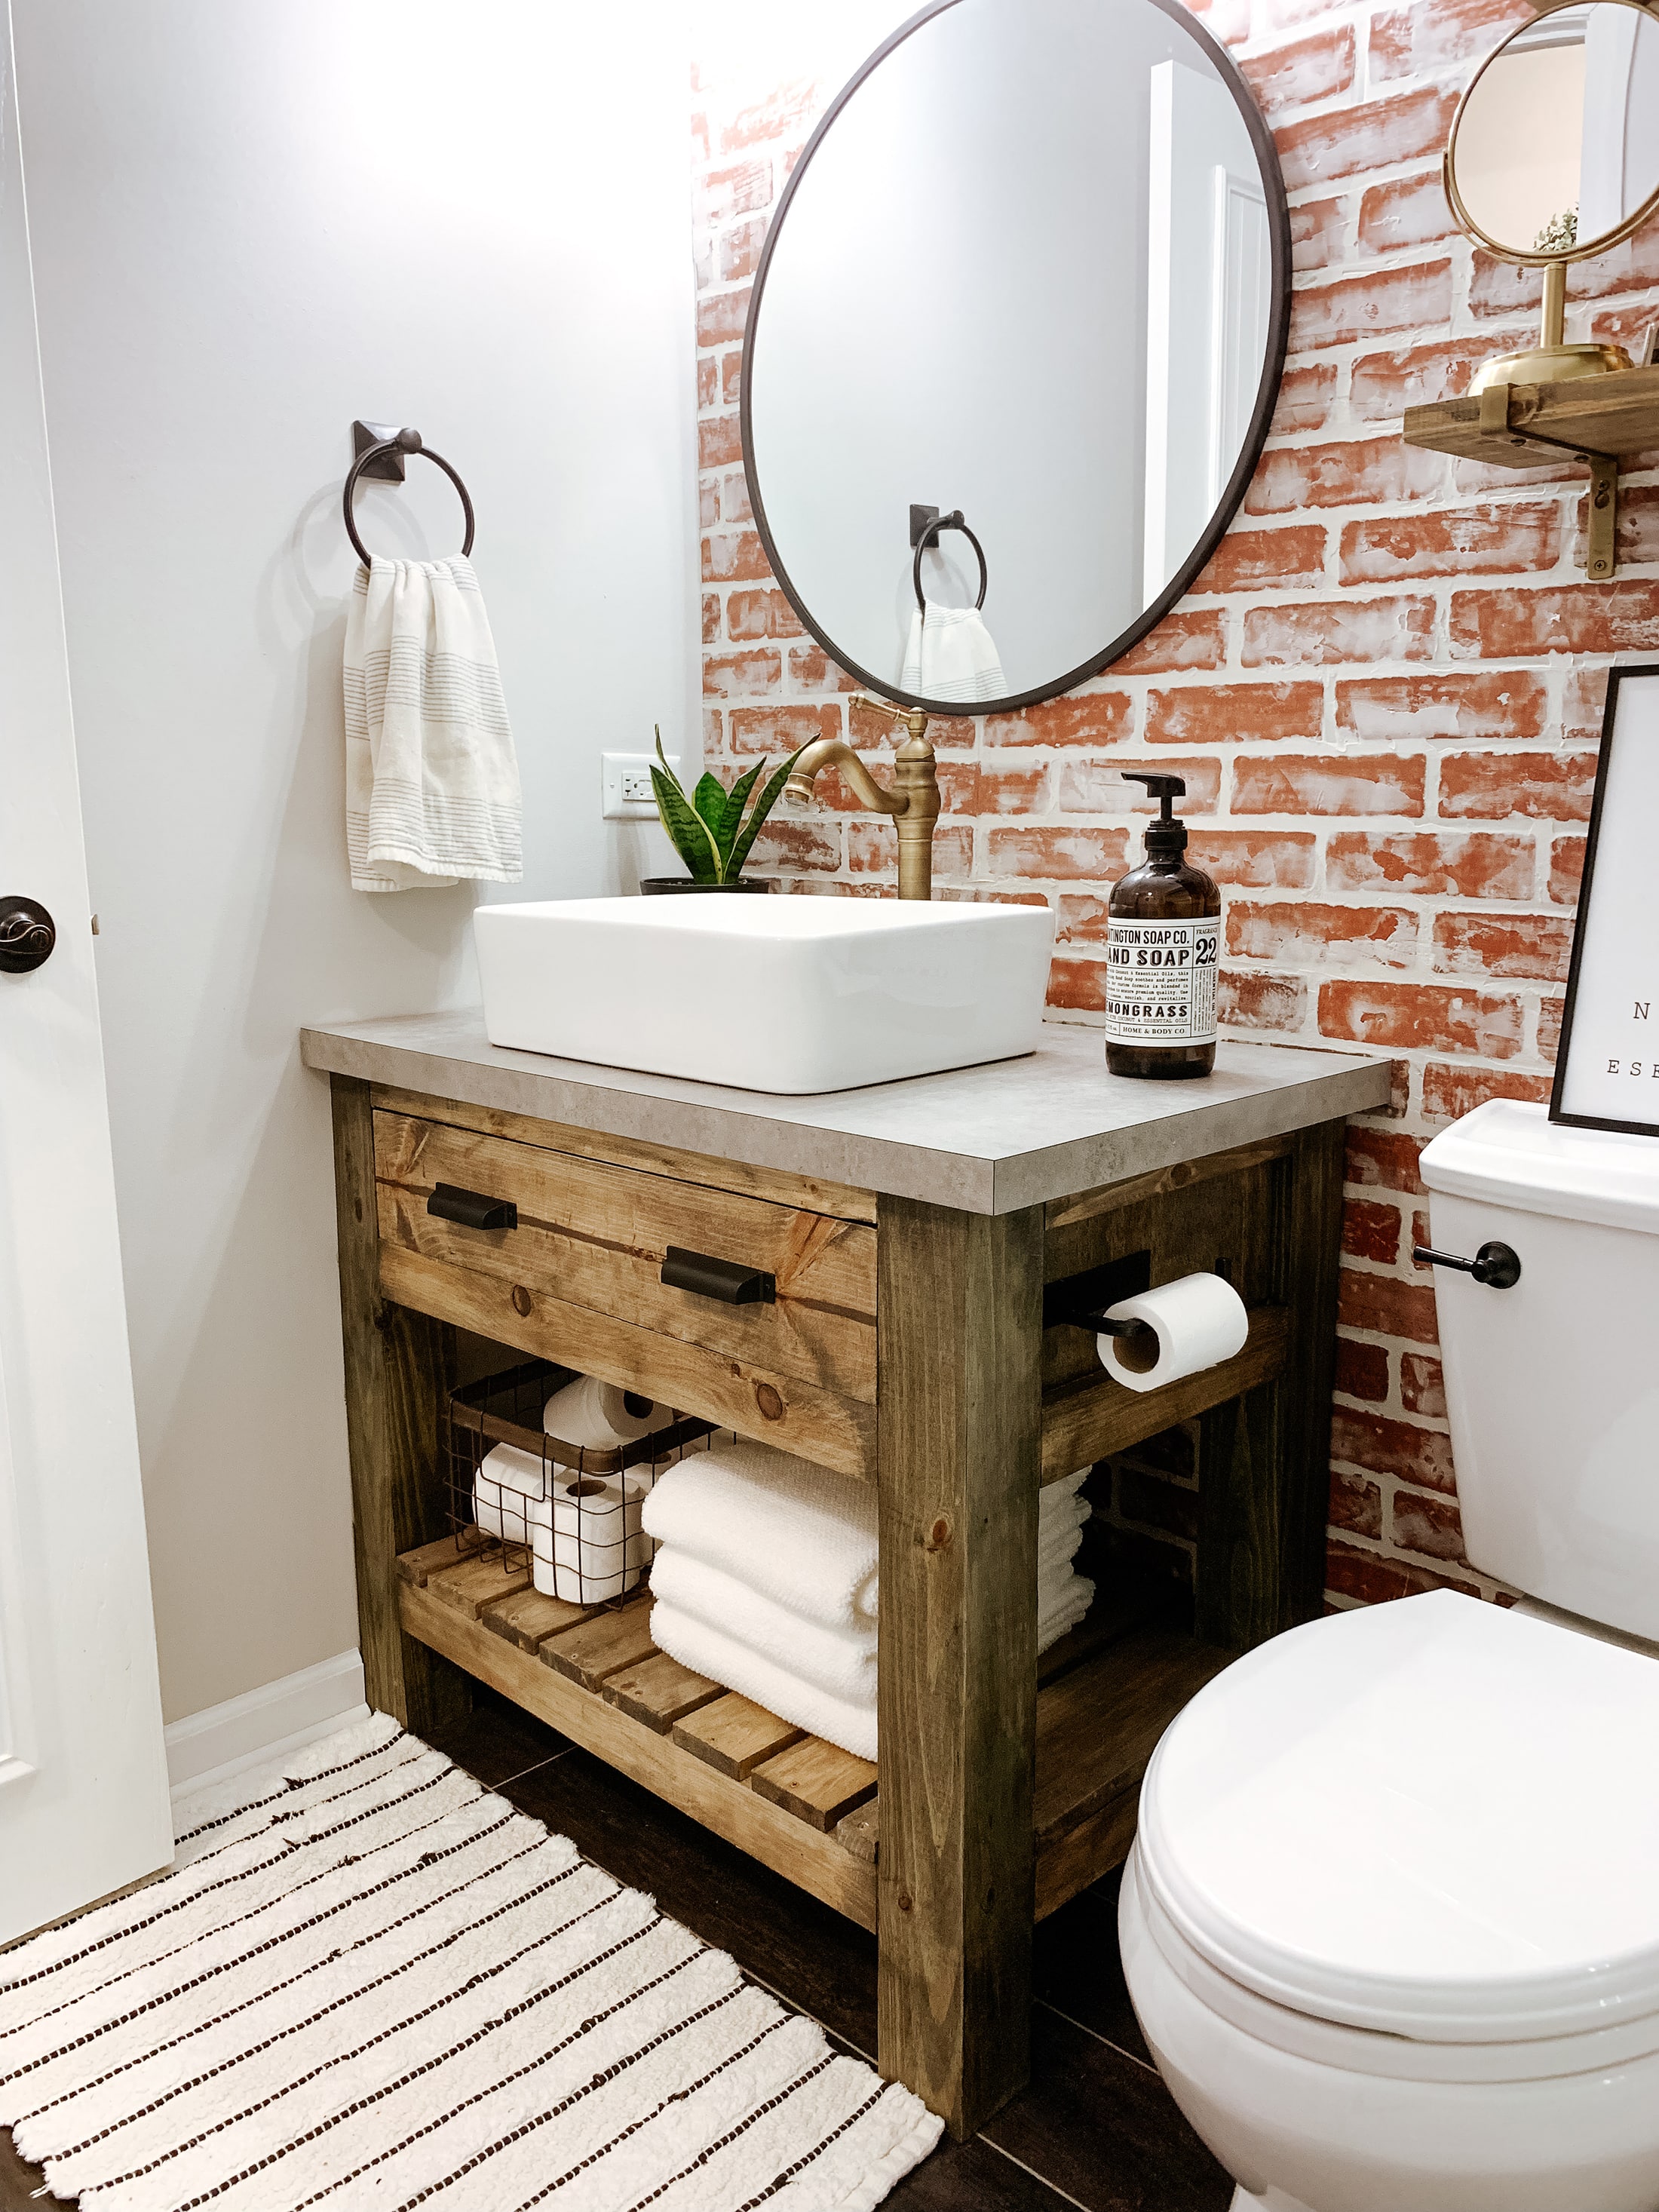
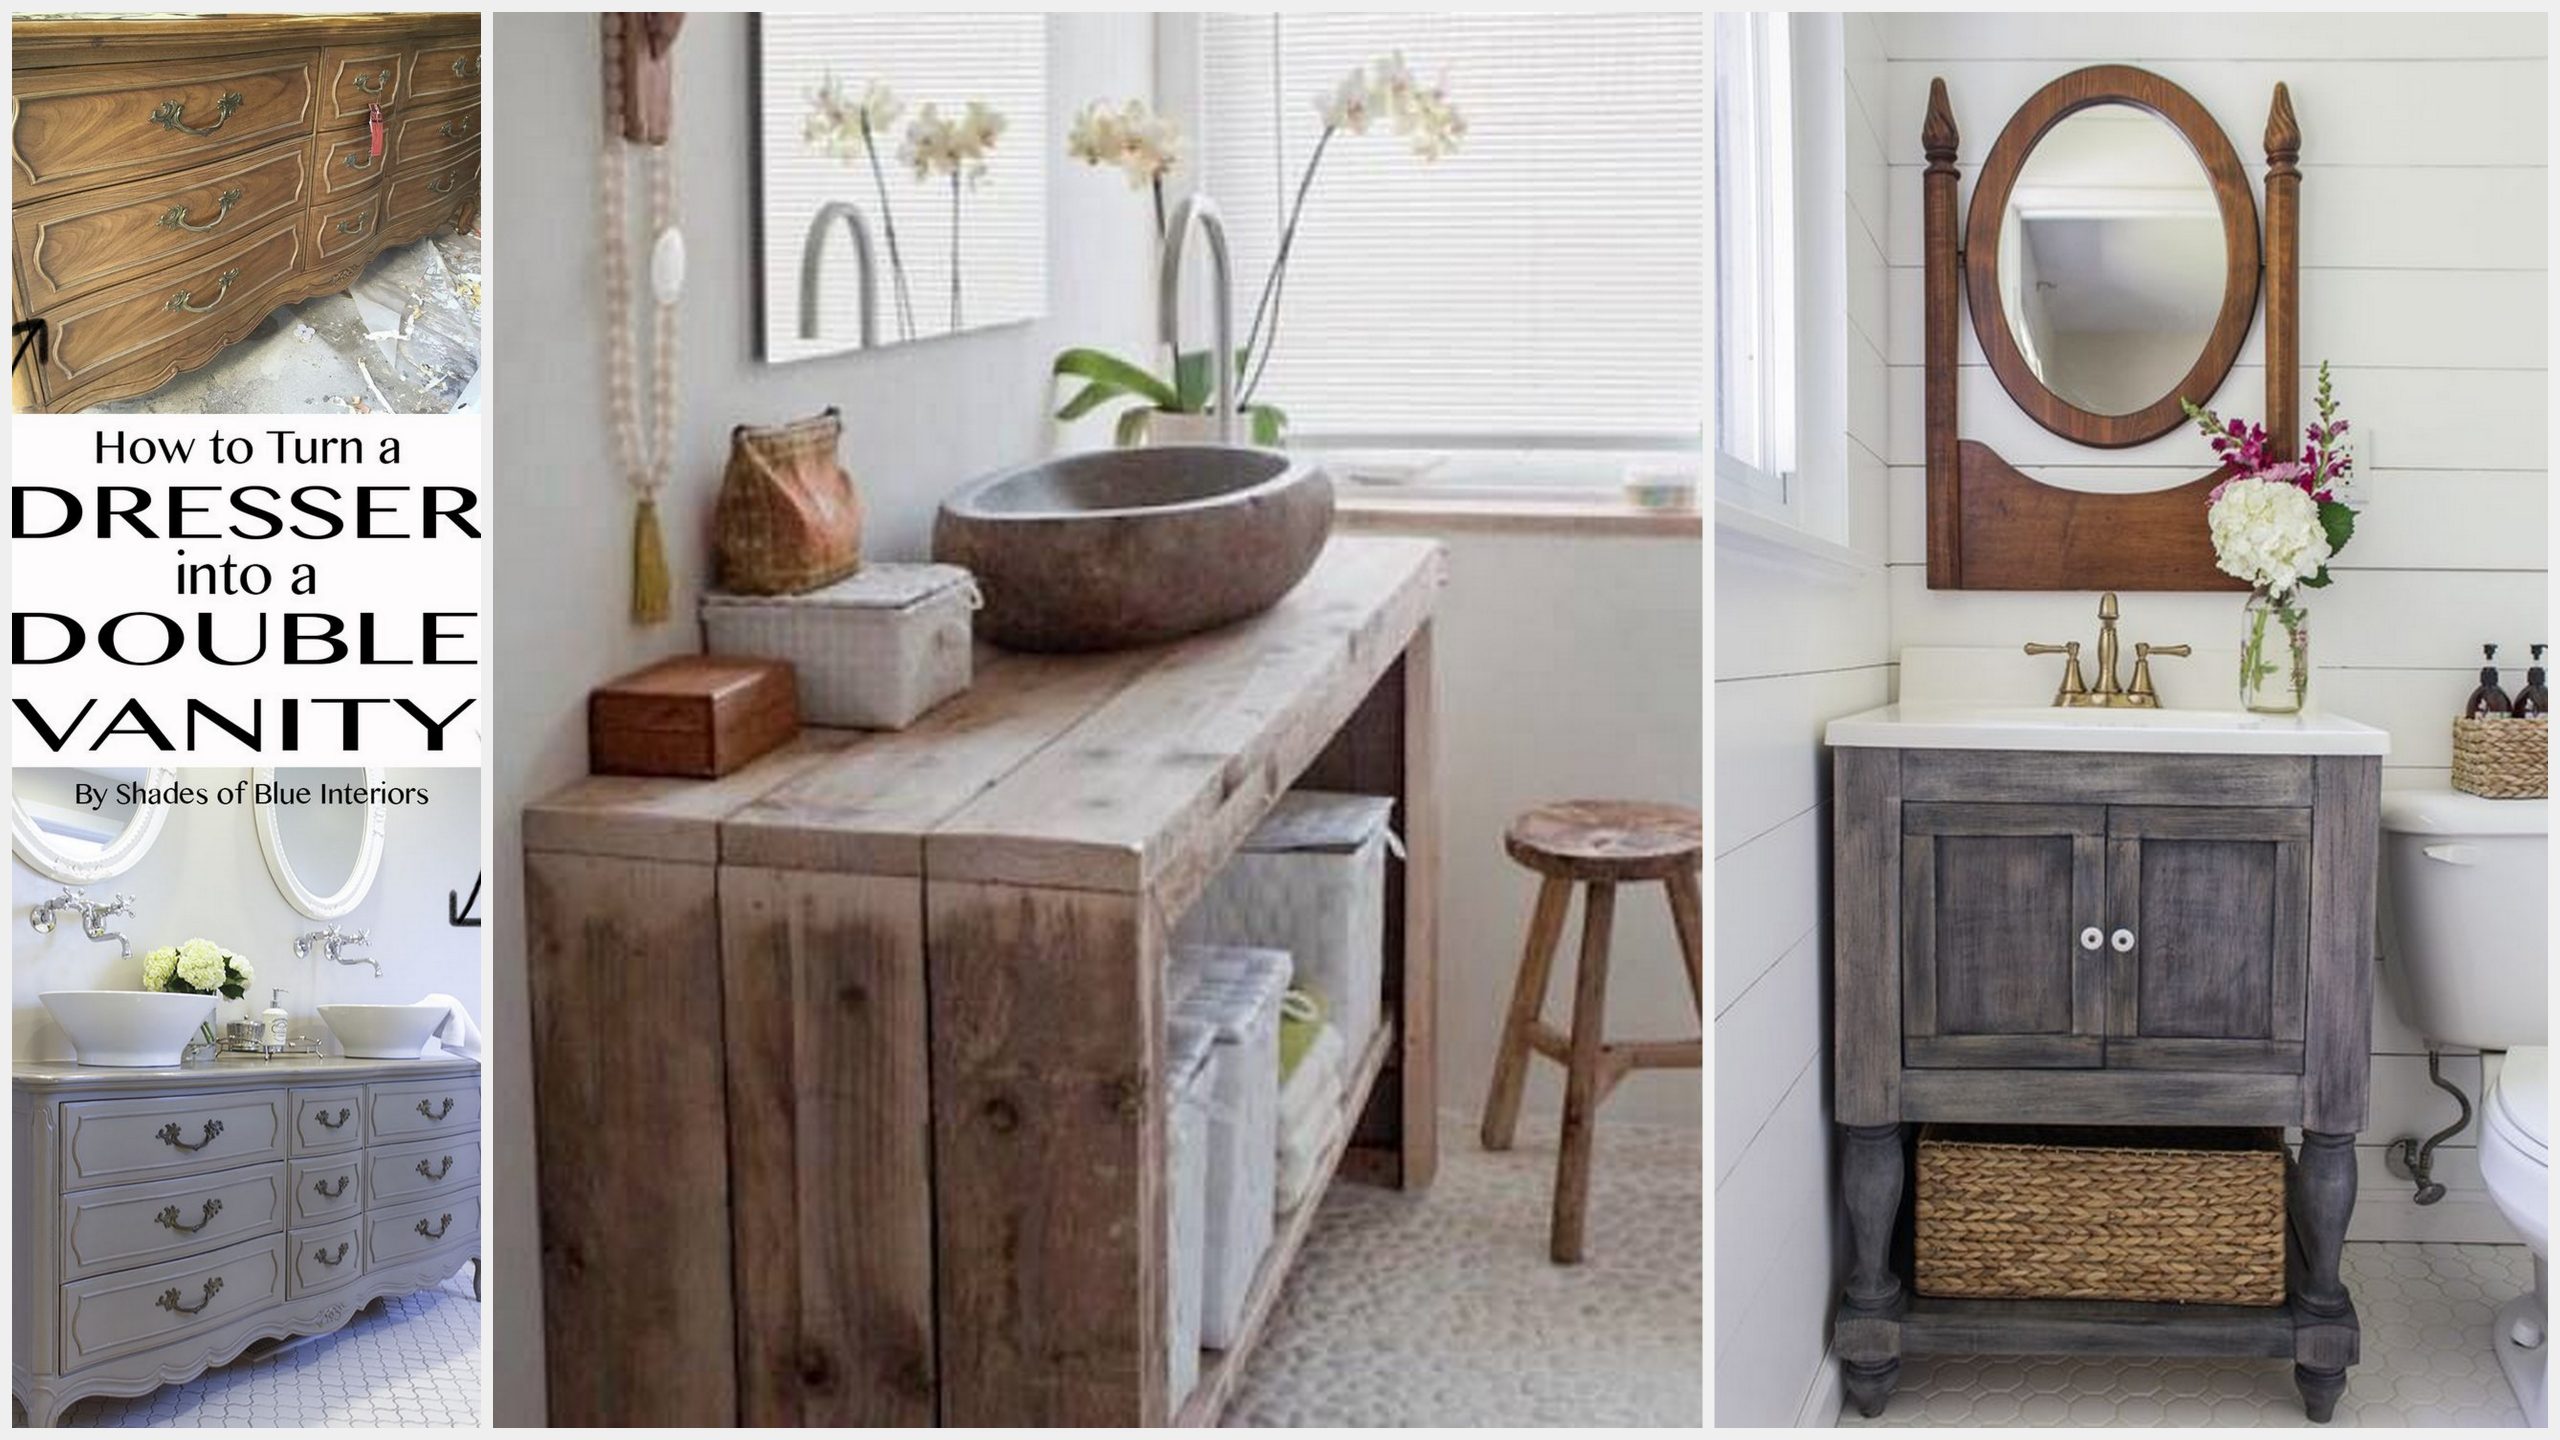
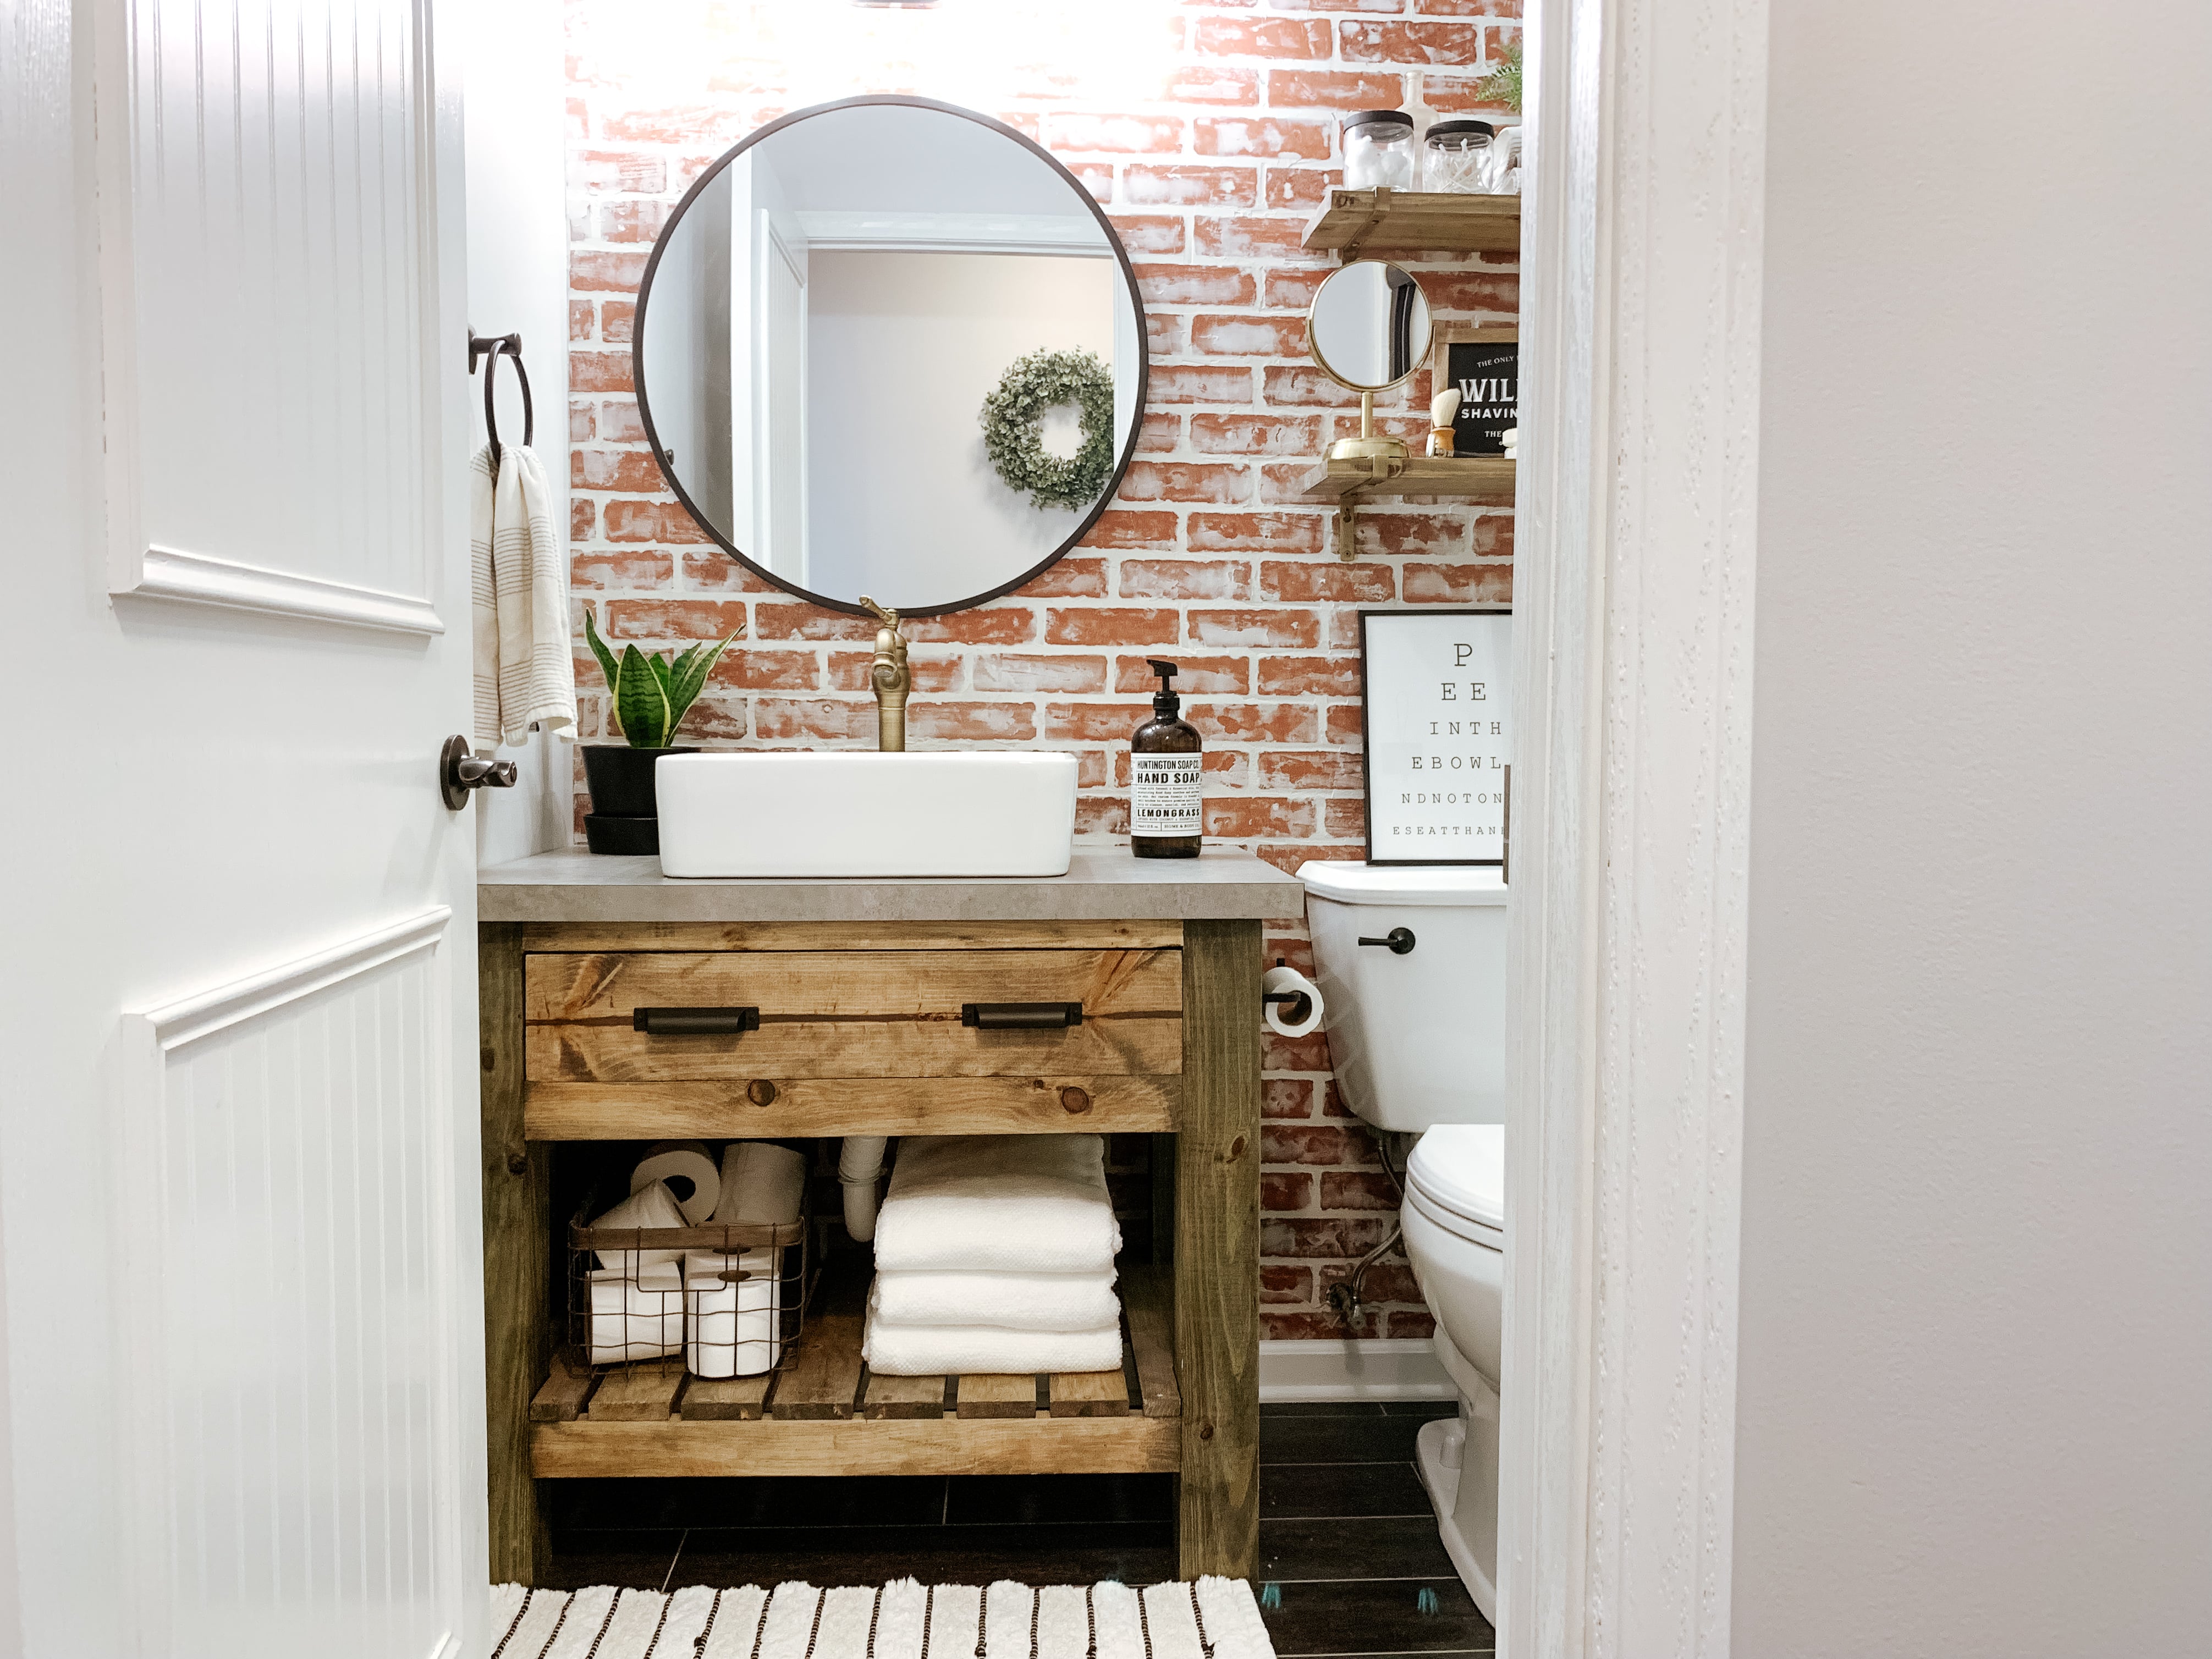
You can choose from a variety of styles, colors, and materials to match your personal taste and the overall design of your house. This simple change can greatly enhance the aesthetic appeal of your bathroom and add value to your home.
Preventing Future Problems
 Old bathroom vanities can also pose potential problems in the long run. Over time, the constant exposure to moisture and humidity can cause the vanity to deteriorate and develop mold or mildew. This not only affects the appearance of the vanity but can also lead to health hazards and costly repairs.
By removing an old bathroom vanity and replacing it with a new one, you can prevent these issues and ensure the longevity of your bathroom.
Modern vanities are often made with moisture-resistant materials, making them more durable and easier to maintain. This proactive approach not only saves you from future headaches but also adds to the overall value of your home.
In conclusion, removing an old bathroom vanity may seem like a daunting task, but it can greatly improve the overall design and functionality of your bathroom. By maximizing space and functionality, upgrading the design and style, and preventing future problems, replacing an old vanity can be a smart design move that adds value to your home. So don't hesitate to make this simple yet impactful change in your bathroom design.


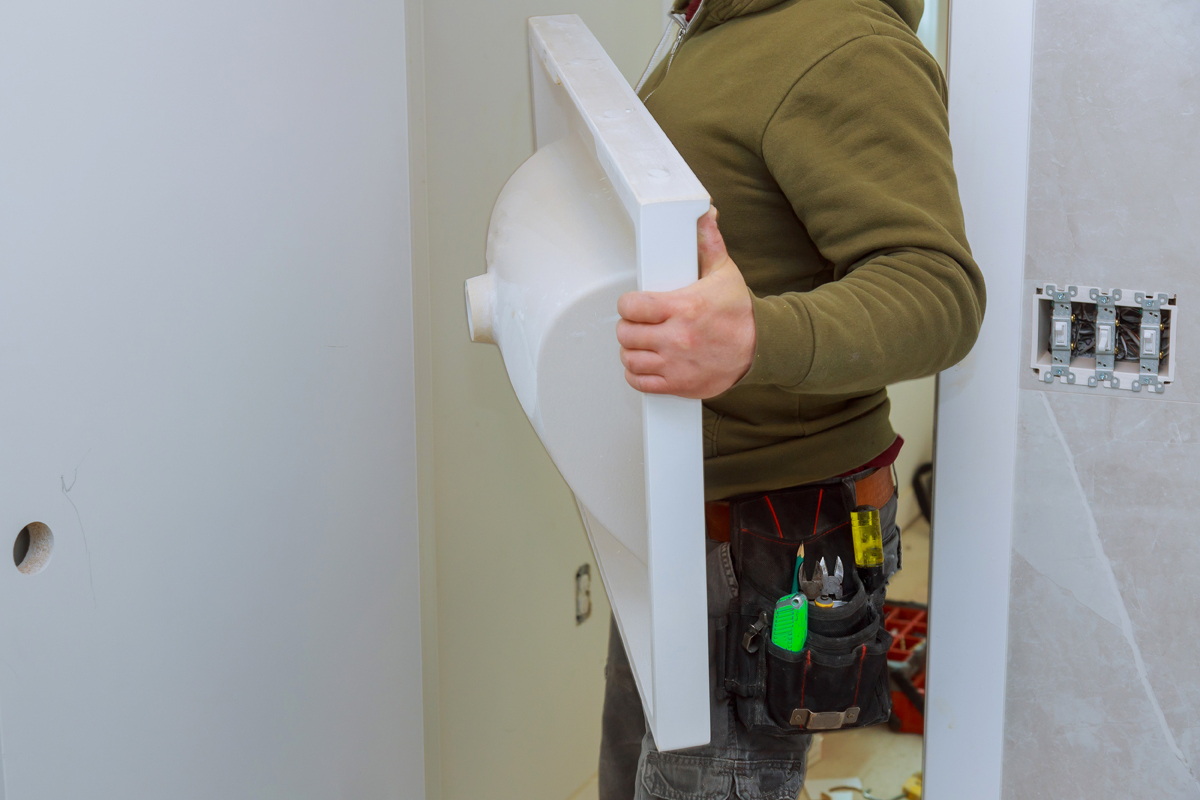


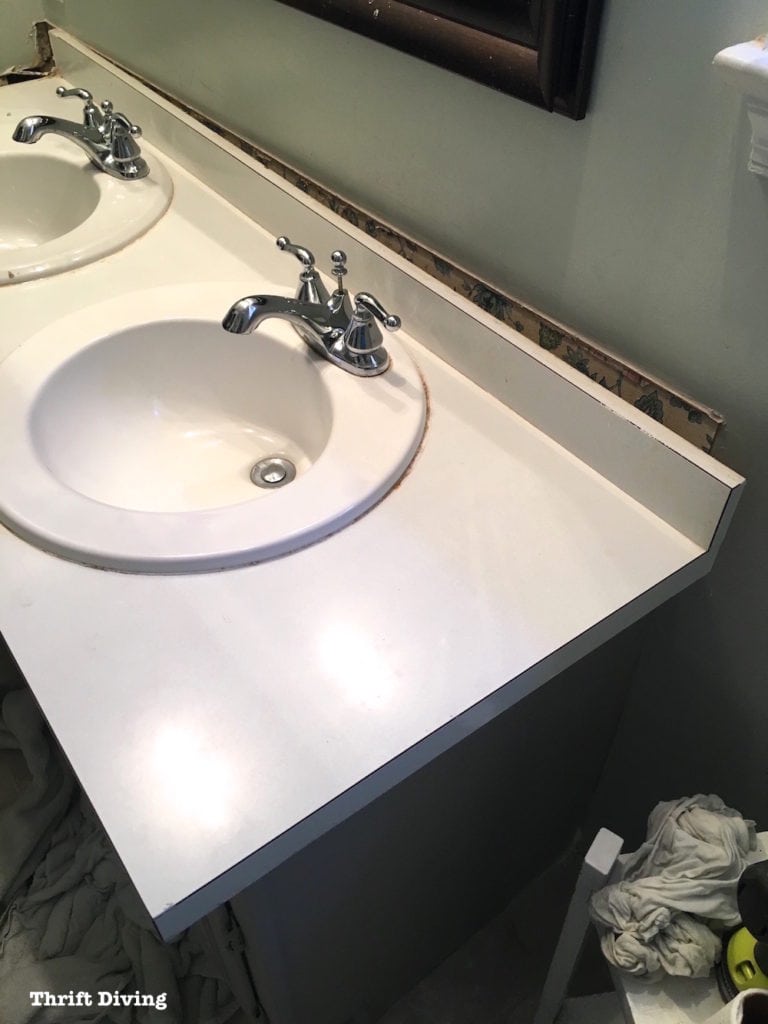





:max_bytes(150000):strip_icc()/build-something-diy-vanity-594402125f9b58d58ae21158.jpg)


/cherry-diy-bathroom-vanity-594414da5f9b58d58a099a36.jpg)


