Removing a kitchen sink can seem like a daunting task, especially when you're worried about damaging your beautiful countertop. But with the right tools and techniques, you can remove your kitchen sink without causing any harm. In this article, we'll share our top 10 tips for removing a kitchen sink without wrecking the countertop.How to Remove a Kitchen Sink Without Wrecking the Countertop
Before you begin, make sure you have all the necessary tools on hand. This includes a screwdriver, pliers, adjustable wrench, and a putty knife. You may also need a caulk remover and a utility knife if your sink is caulked to the countertop.1. Gather Your Tools
Before you start disconnecting any pipes, be sure to turn off the water supply to your sink. This can usually be done by turning the shut-off valves under the sink clockwise. If you don't have shut-off valves, you'll need to turn off the main water supply to your house.2. Shut Off the Water Supply
Using your pliers, loosen the nuts on the drain pipes and remove them. If the pipes are stuck, you may need to use a pipe wrench. Make sure to have a bucket or towel ready to catch any water that may spill out.3. Disconnect the Drain Pipes
If your sink has a garbage disposal, you'll need to remove it before you can take out the sink. First, unplug the disposal from the electrical outlet. Then, use a screwdriver to disconnect it from the sink and remove it.4. Remove the Garbage Disposal (If Applicable)
Most kitchen sinks are held in place with clips underneath the countertop. Use a screwdriver to loosen these clips and remove them. If your sink does not have clips, it may be glued or caulked to the countertop.5. Loosen the Sink Clips
If your sink is caulked to the countertop, you'll need to cut the caulk before you can remove it. Use a caulk remover or a utility knife to carefully cut through the caulk around the edges of the sink.6. Cut the Caulk (If Applicable)
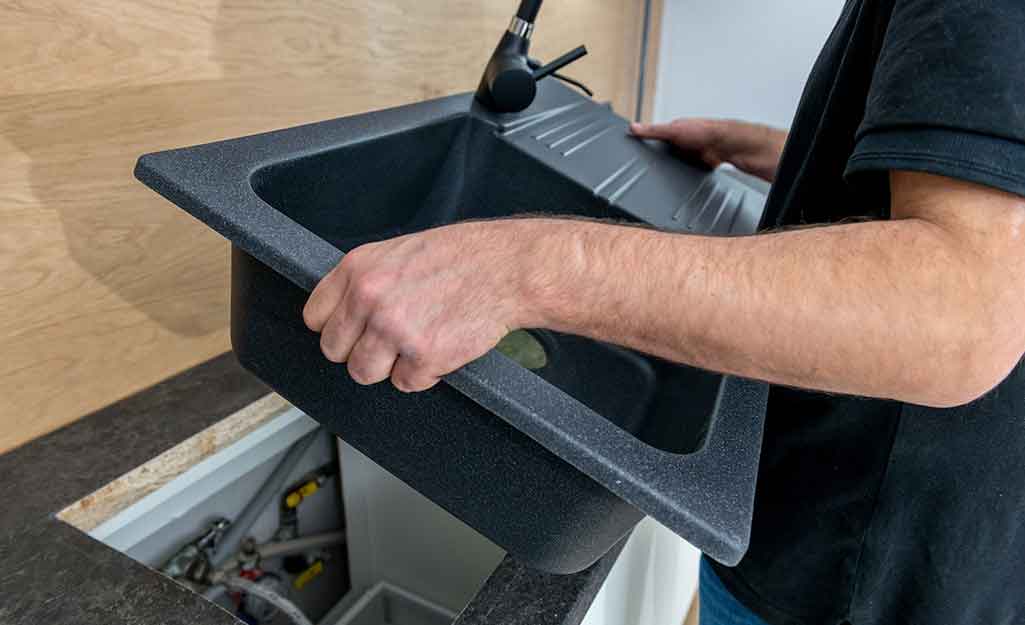
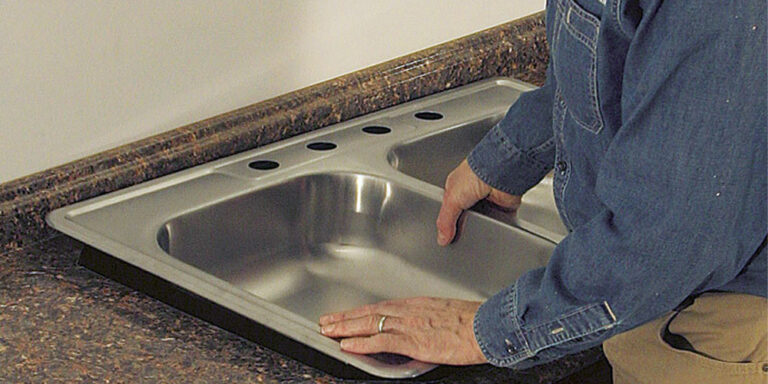
With all the pipes and attachments disconnected, you should now be able to lift the sink out of its place. Have a friend or family member help you with this step, as sinks can be heavy and bulky.7. Lift the Sink Out
Once the sink is removed, use a putty knife to scrape off any remaining caulk or adhesive from the countertop. You may also want to use a gentle cleaner to remove any residue left behind.8. Clean the Countertop
If you're replacing your old sink with a new one, now is the time to install it. Follow the manufacturer's instructions and make sure to properly secure the sink to the countertop with clips or caulk.9. Install Your New Sink
Removing a Kitchen Sink Without Damaging Your Countertop
Efficient Tips for a Smooth Kitchen Renovation
 Renovating your kitchen can be an exciting and daunting task. While updating the fixtures and appliances can give your kitchen a fresh new look, it can also come with a lot of challenges. One of the most crucial yet tricky tasks during a kitchen renovation is removing the old kitchen sink without causing any damage to the countertop. The last thing you want is to end up with a cracked or chipped countertop, adding unnecessary expenses to your renovation budget. However, with the right tools and techniques, it is possible to remove a kitchen sink without wrecking your countertop.
Step 1: Gather the Necessary Tools
Before you begin the process, it is essential to gather all the necessary tools and equipment. This includes a utility knife, a putty knife, a screwdriver, a basin wrench, and a plumber's wrench. You may also need a pry bar, a hammer, and a bucket to catch any excess water or debris during the process. Having all the tools at hand will make the process smoother and more efficient.
Step 2: Turn off the Water Supply
Before you start removing the sink, make sure to turn off the water supply. Locate the shut-off valves under the sink and turn them off. If you cannot find the valves, you may need to shut off the main water supply to your house. This step is crucial to prevent any water from leaking out when you disconnect the pipes.
Step 3: Disconnect the Plumbing
Using your basin wrench and plumber's wrench, loosen and disconnect the water supply lines and the drain pipes from the sink. Make sure to have a bucket underneath to catch any excess water. You may also need to use a putty knife to scrape off any old putty or caulk around the sink.
Step 4: Remove the Sink Clips or Brackets
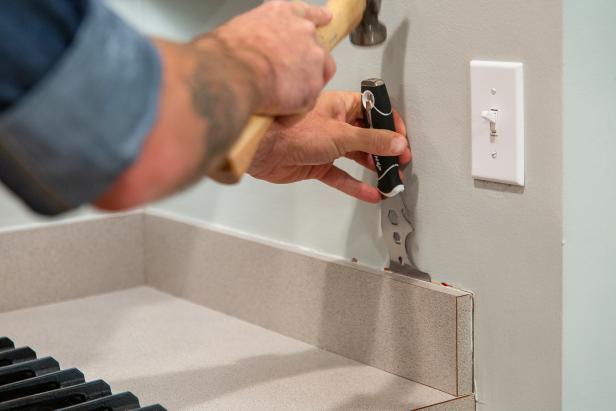
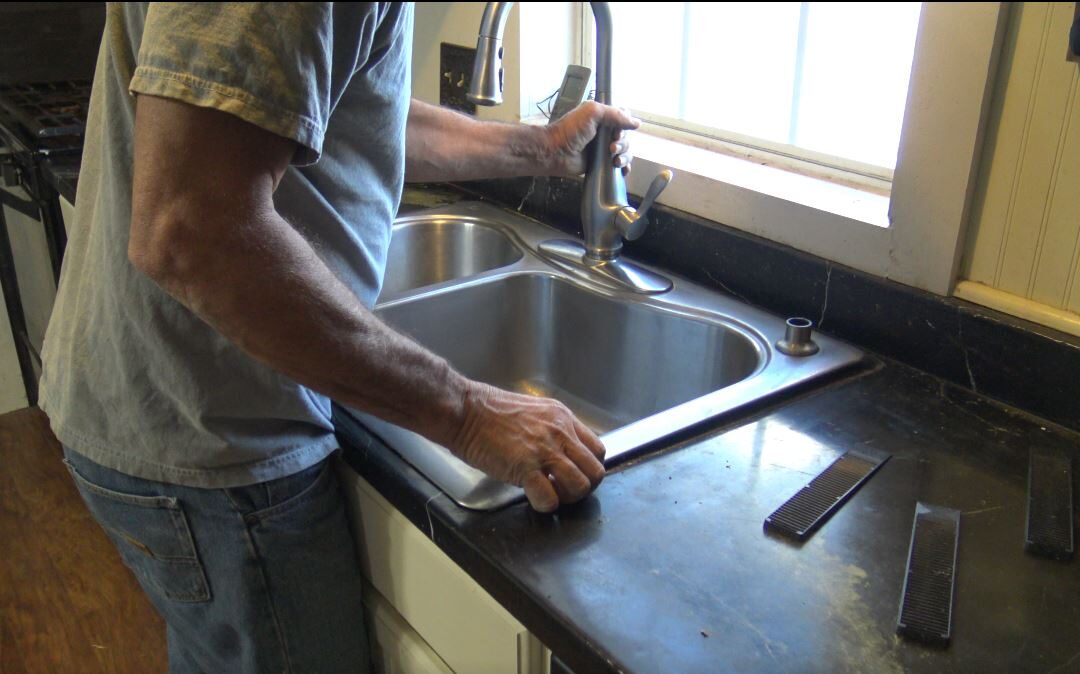
Most kitchen sinks are held in place by clips or brackets attached to the underside of the countertop. Use a screwdriver to loosen and remove these clips or brackets. You may also need to use a pry bar and hammer to gently tap the sink away from the countertop. Be careful not to hit too hard, as it can cause damage to the countertop.
Step 5: Lift and Remove the Sink
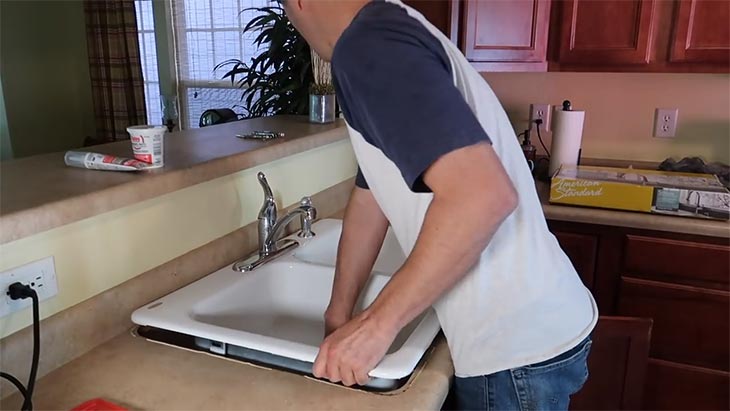
Once the sink is loosened, carefully lift it up and out of the countertop. If the sink is still stuck, you may need to use a putty knife to gently pry it away. It is crucial to have someone assist you during this step, as kitchen sinks can be heavy and awkward to handle.
Step 6: Clean and Prepare the Countertop
After removing the sink, clean the area thoroughly and remove any old putty or caulk. Inspect the countertop for any damage and make any necessary repairs before installing the new sink.
Removing a kitchen sink without damaging your countertop requires patience, the right tools, and careful handling. By following these steps, you can successfully remove your old kitchen sink and prepare for a smooth and hassle-free renovation. Remember to take your time and be gentle to avoid any mishaps. Happy renovating!


